Close
0%
0%

PostNote

an urban hardware e-ink display build

Similar projects worth following
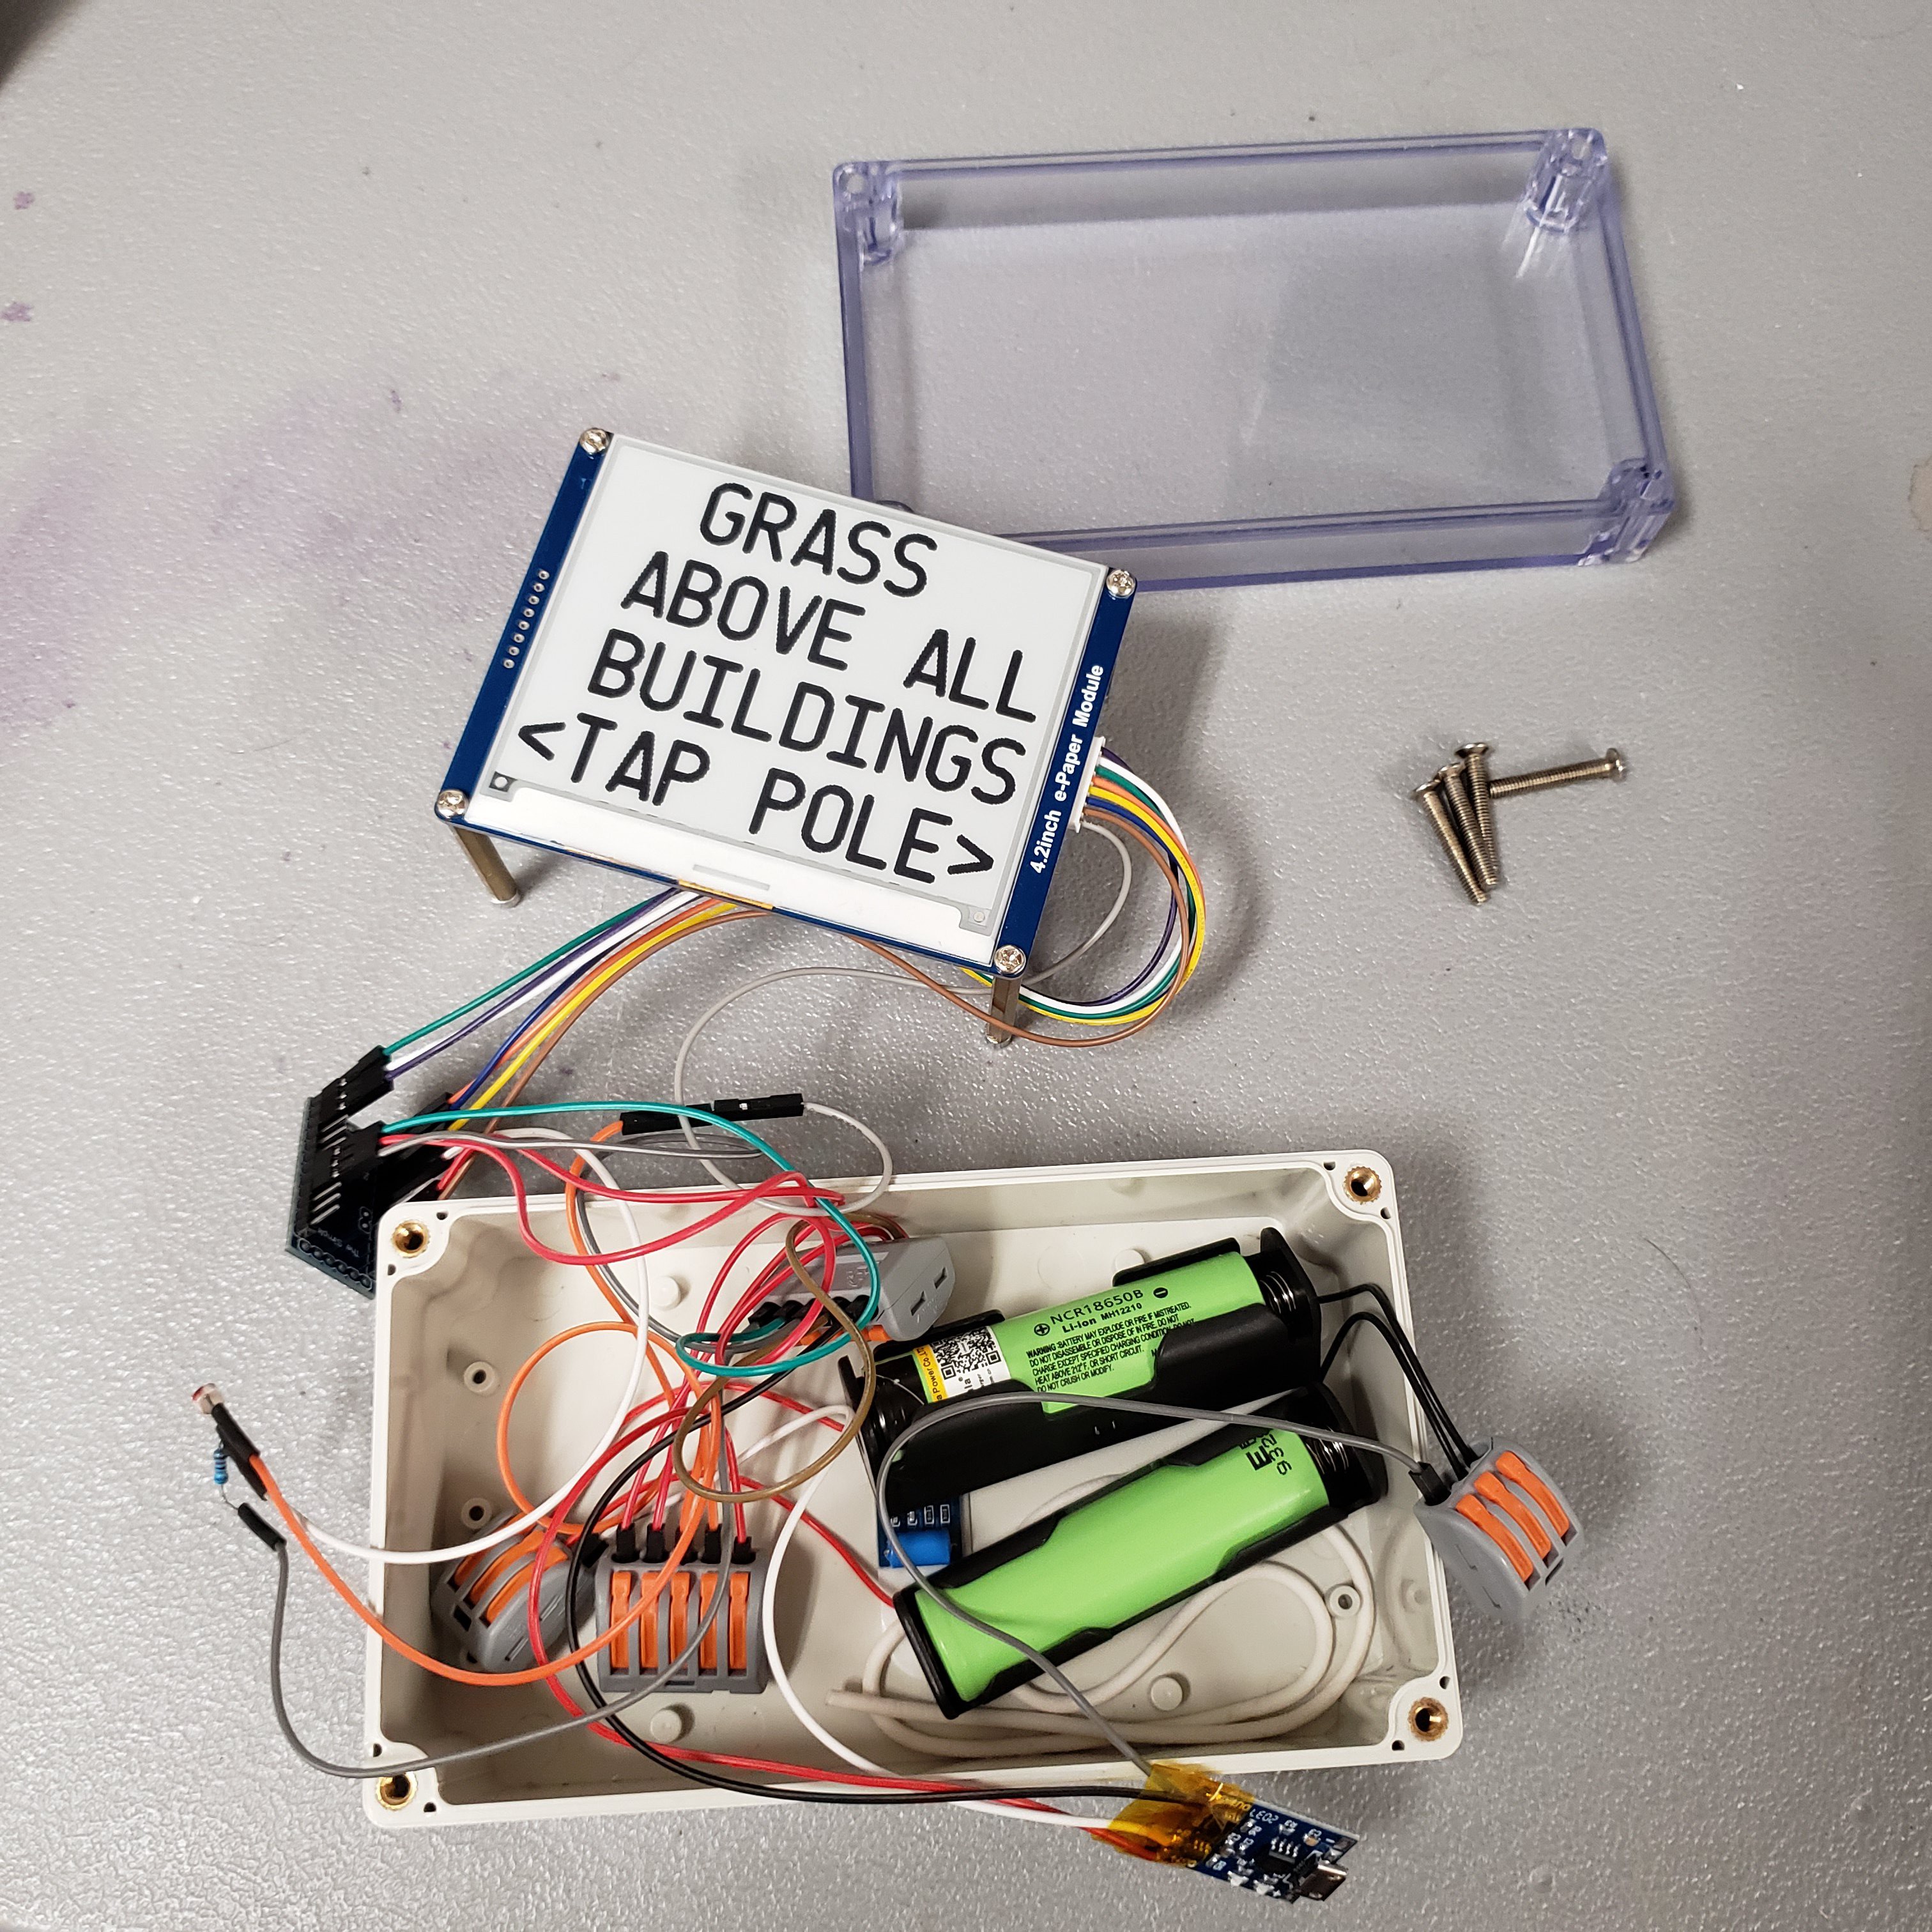
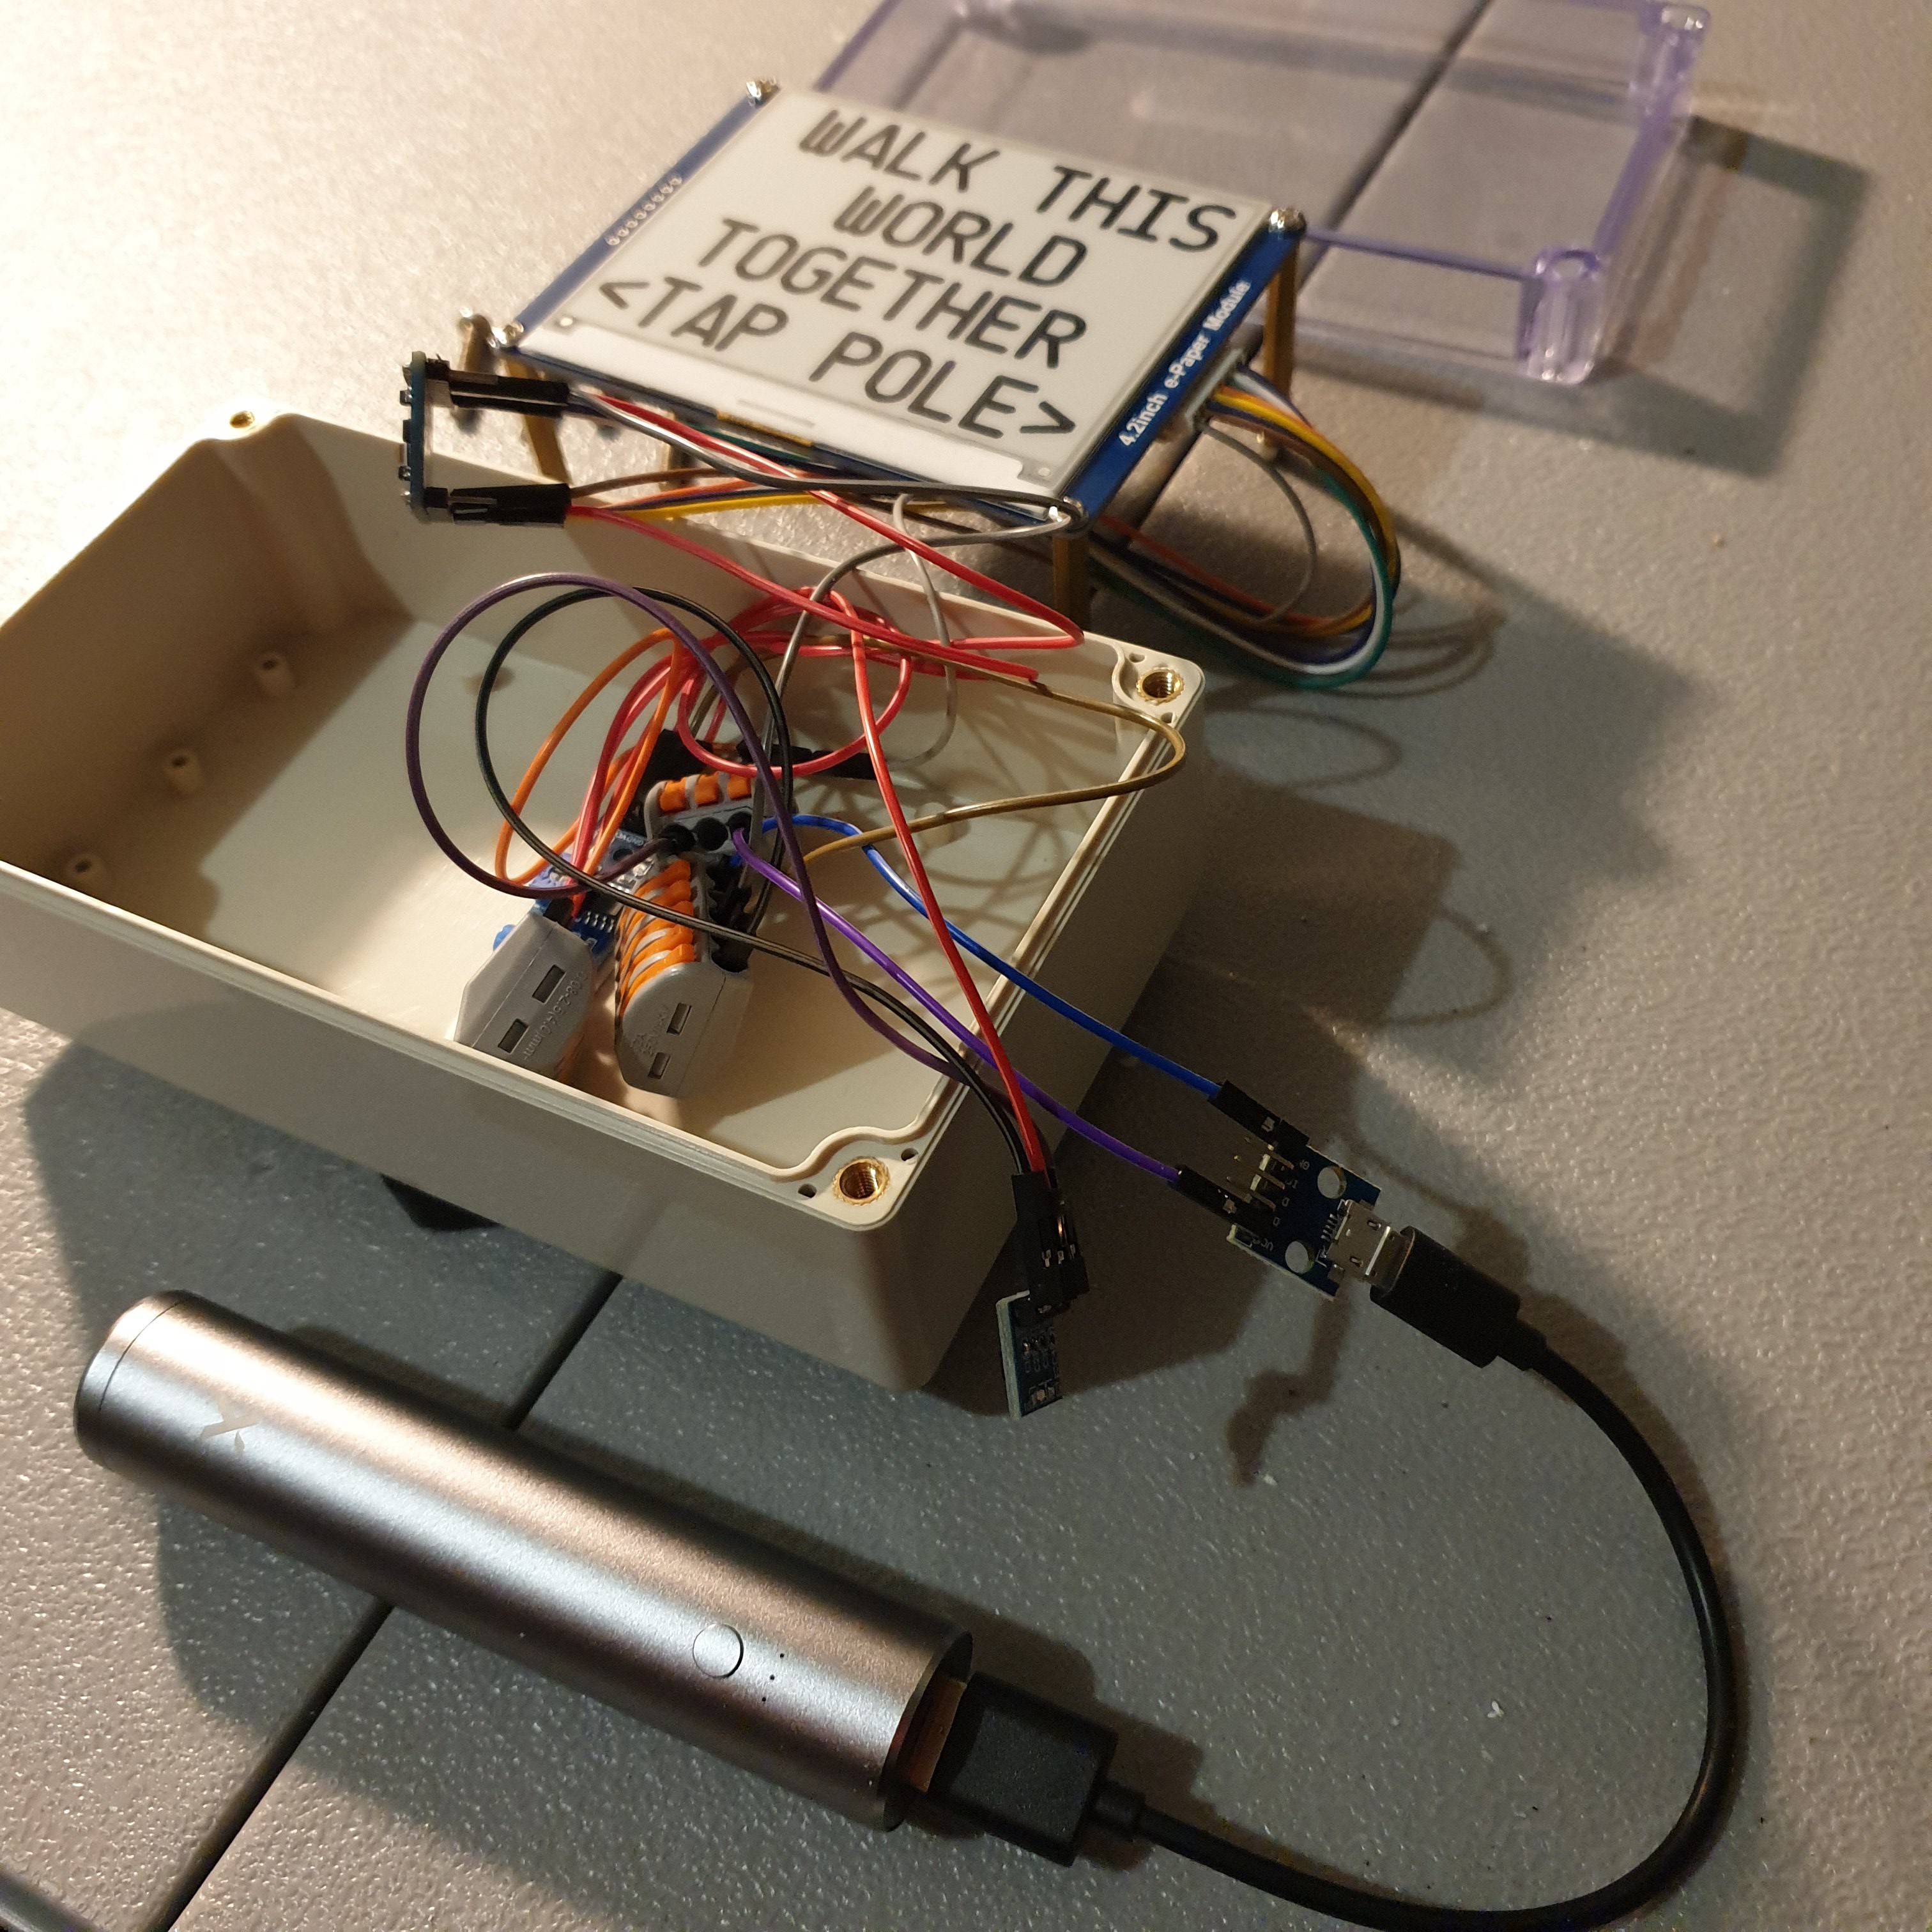
PostNote is a battery powered, e-ink display build for urban environments. Users are able to interact with the device by tapping/knocking on what ever surface the device is mounted to. A vibration sensor detects the knock and the e-ink display is changed. It is waterproof and uses a magnetic mount.

I became interested in the idea of "urban hardware" after learning about LED throwies. Postnote is my own take on interactive hardware for urban environments.

The two biggest challenges of this build:

1. Arduino Pro Mini 3.3V 8Mhz microcontroller does not have much memory to store images and update the display.

2. Waveshare e-ink display font library did not have a font size large enough to be seen from a distance.  

Since the Arduino Pro Mini has so little memory to store image data, the only good way to achieve a large number of unique images is to use an alphabet. The alphabet strategy uses common letter image data to construct each text/phrase image. In other words, a single large image is constructed using multiple smaller images.

The Arduino Pro Mini also does not have enough SRAM to build and load an image that is the full resolution of the e-ink display. Instead, it builds and loads eight segments to the e-ink display to build one full image frame.

The largest font size available with the Waveshare Arduino example is only 24 pixels tall. A larger font size was needed so this device could be placed far out of reach of the user (so it can't be tampered with) and still allow the user to read it. I ended up copying Waveshares font library template and building a custom 64 font size using images of CQ monospace font. It was easiest to use a monospaced font where all letters occupy the same horizontal spacing.

  • 1 × Arduino Pro Mini Power LED removed
  • 1 × Waveshare 4.2in E-Ink Display
  • 1 × 0.7-5V to 3.3V Boost Converter
  • 2 × 3400mAh 18650 Rechargeable Battery Cells
  • 2 × 18650 Cell Holders

View all 7 components

  • LDR, sleep mode, and TP4056 battery charger module

    John Opsahl03/03/2022 at 02:16 0 comments

    Recent changes to the PostNote design achieves close to 1.5 months of operation. 

    The Arduino Pro Mini microcontroller now goes into sleep mode if light is not detected by an LDR. Once asleep, the watchdog timer wakes the microcontroller up every 8 seconds. If the LDR detects no light, then the microcontroller goes back to sleep and the wake/sleep cycle continues. If light is detected, the main PostNote sketch is executed. 

    Adding the TP4056 battery charger module ensures that the 18650 batteries don't discharge below minimum voltage this time. This reduces the amount of total energy that can be draw from the batteries, but it also means the batteries don't get damaged and can be recharged.

  • New Battery Strategy

    John Opsahl03/22/2021 at 03:59 0 comments

    I installed two fully charged 3Ah 18650s connected in parallel to the Postnote device back in mid January. I noticed that power was no longer being supplied to the device in early March. My goal is to achieve at least three months between battery charges so I am starting to consider putting the microcontroller into sleep mode at night, increasing battery capacity, and potentially adding a solar panel.

    One other issue was that there was no battery management device to prevent voltage of the battery cells from discharging to below 2.5V. The two 18650s were measuring less than 1V after the month and a half period. My plan is to instead use a USB phone backup battery stick. It should prevent the battery from dropping below voltage. As a bonus, it already has the charging circuit so can be recharged from any 5.0V USB source.

  • Tamper-proof Interaction

    John Opsahl01/25/2021 at 17:10 0 comments

    An interesting challenge of this build was developing a way that users can interact with a device in an urban environment but also give them little opportunity to tamper with or destroy the device. 

    One of my first thoughts was to have users interact with the device using a laser pointer. This would allow the device to be placed far enough out of reach that users could not easily tamper with it but would have no issues targeting it with a laser pointer. I ultimately gave up on this approach because there is a signifant amount of low flying air traffic at the park where I had considered installing the device. That and the other hazards of laser pointers that make them less appropriate for children.

    The final solution I arrived at was enabling users to interact with the device by tapping on a metal pole. I was already planning on mounting it to a metal pole using a magnetic mount so this made a lot of sense. Just like the laser pointer solution it can be placed out of reach. The additional benefit is that a special tool is not required to interact with the device. Users could just tap the pole with a stick or maybe the side of their phone.

View all 3 project logs

Enjoy this project?

Share

Discussions

Similar Projects

Does this project spark your interest?

Become a member to follow this project and never miss any updates