Close
0%
0%

PewPew Slim

PewPew in a business card form factor.

Similar projects worth following

The #PewPew Standalone is optimized for cost, and since that means that you want to do as little soldering as possible, it uses a ready LED matrix as a single component. However, if you instead use discrete LEDs, replace the buttons with touch pads, the USB socket with a 0.6mm thick PCB cutout and drop the battery and power switch, you can get something really thin — below 2mm total. Something that could possibly be used as a business card.

  • Bigger Version Done

    deʃhipu04/06/2022 at 18:54 0 comments

    It only took me one year to finish the version from the previous log. Of course I assembled it as soon as the PCBs arrived, but I couldn't get it to work, and I blamed bad soldering on the LEDs, which unfortunately couldn't be easily corrected, as they have SMD footprints, and for practical reason of being arranged in a tight display, there is nothing sticking out.

    After several attempts at getting it to work using my mini-hot plate, I mostly gave up on this.

    A few days ago I went and tried to assemble a second PCB, this time using a more common LED footprint, that could be soldered by hand and easily reworked. And of course it didn't work either. So I desoldered all but one LEDs, and started investigating, and turns out this whole time I had the rows and columns switched. Duh.

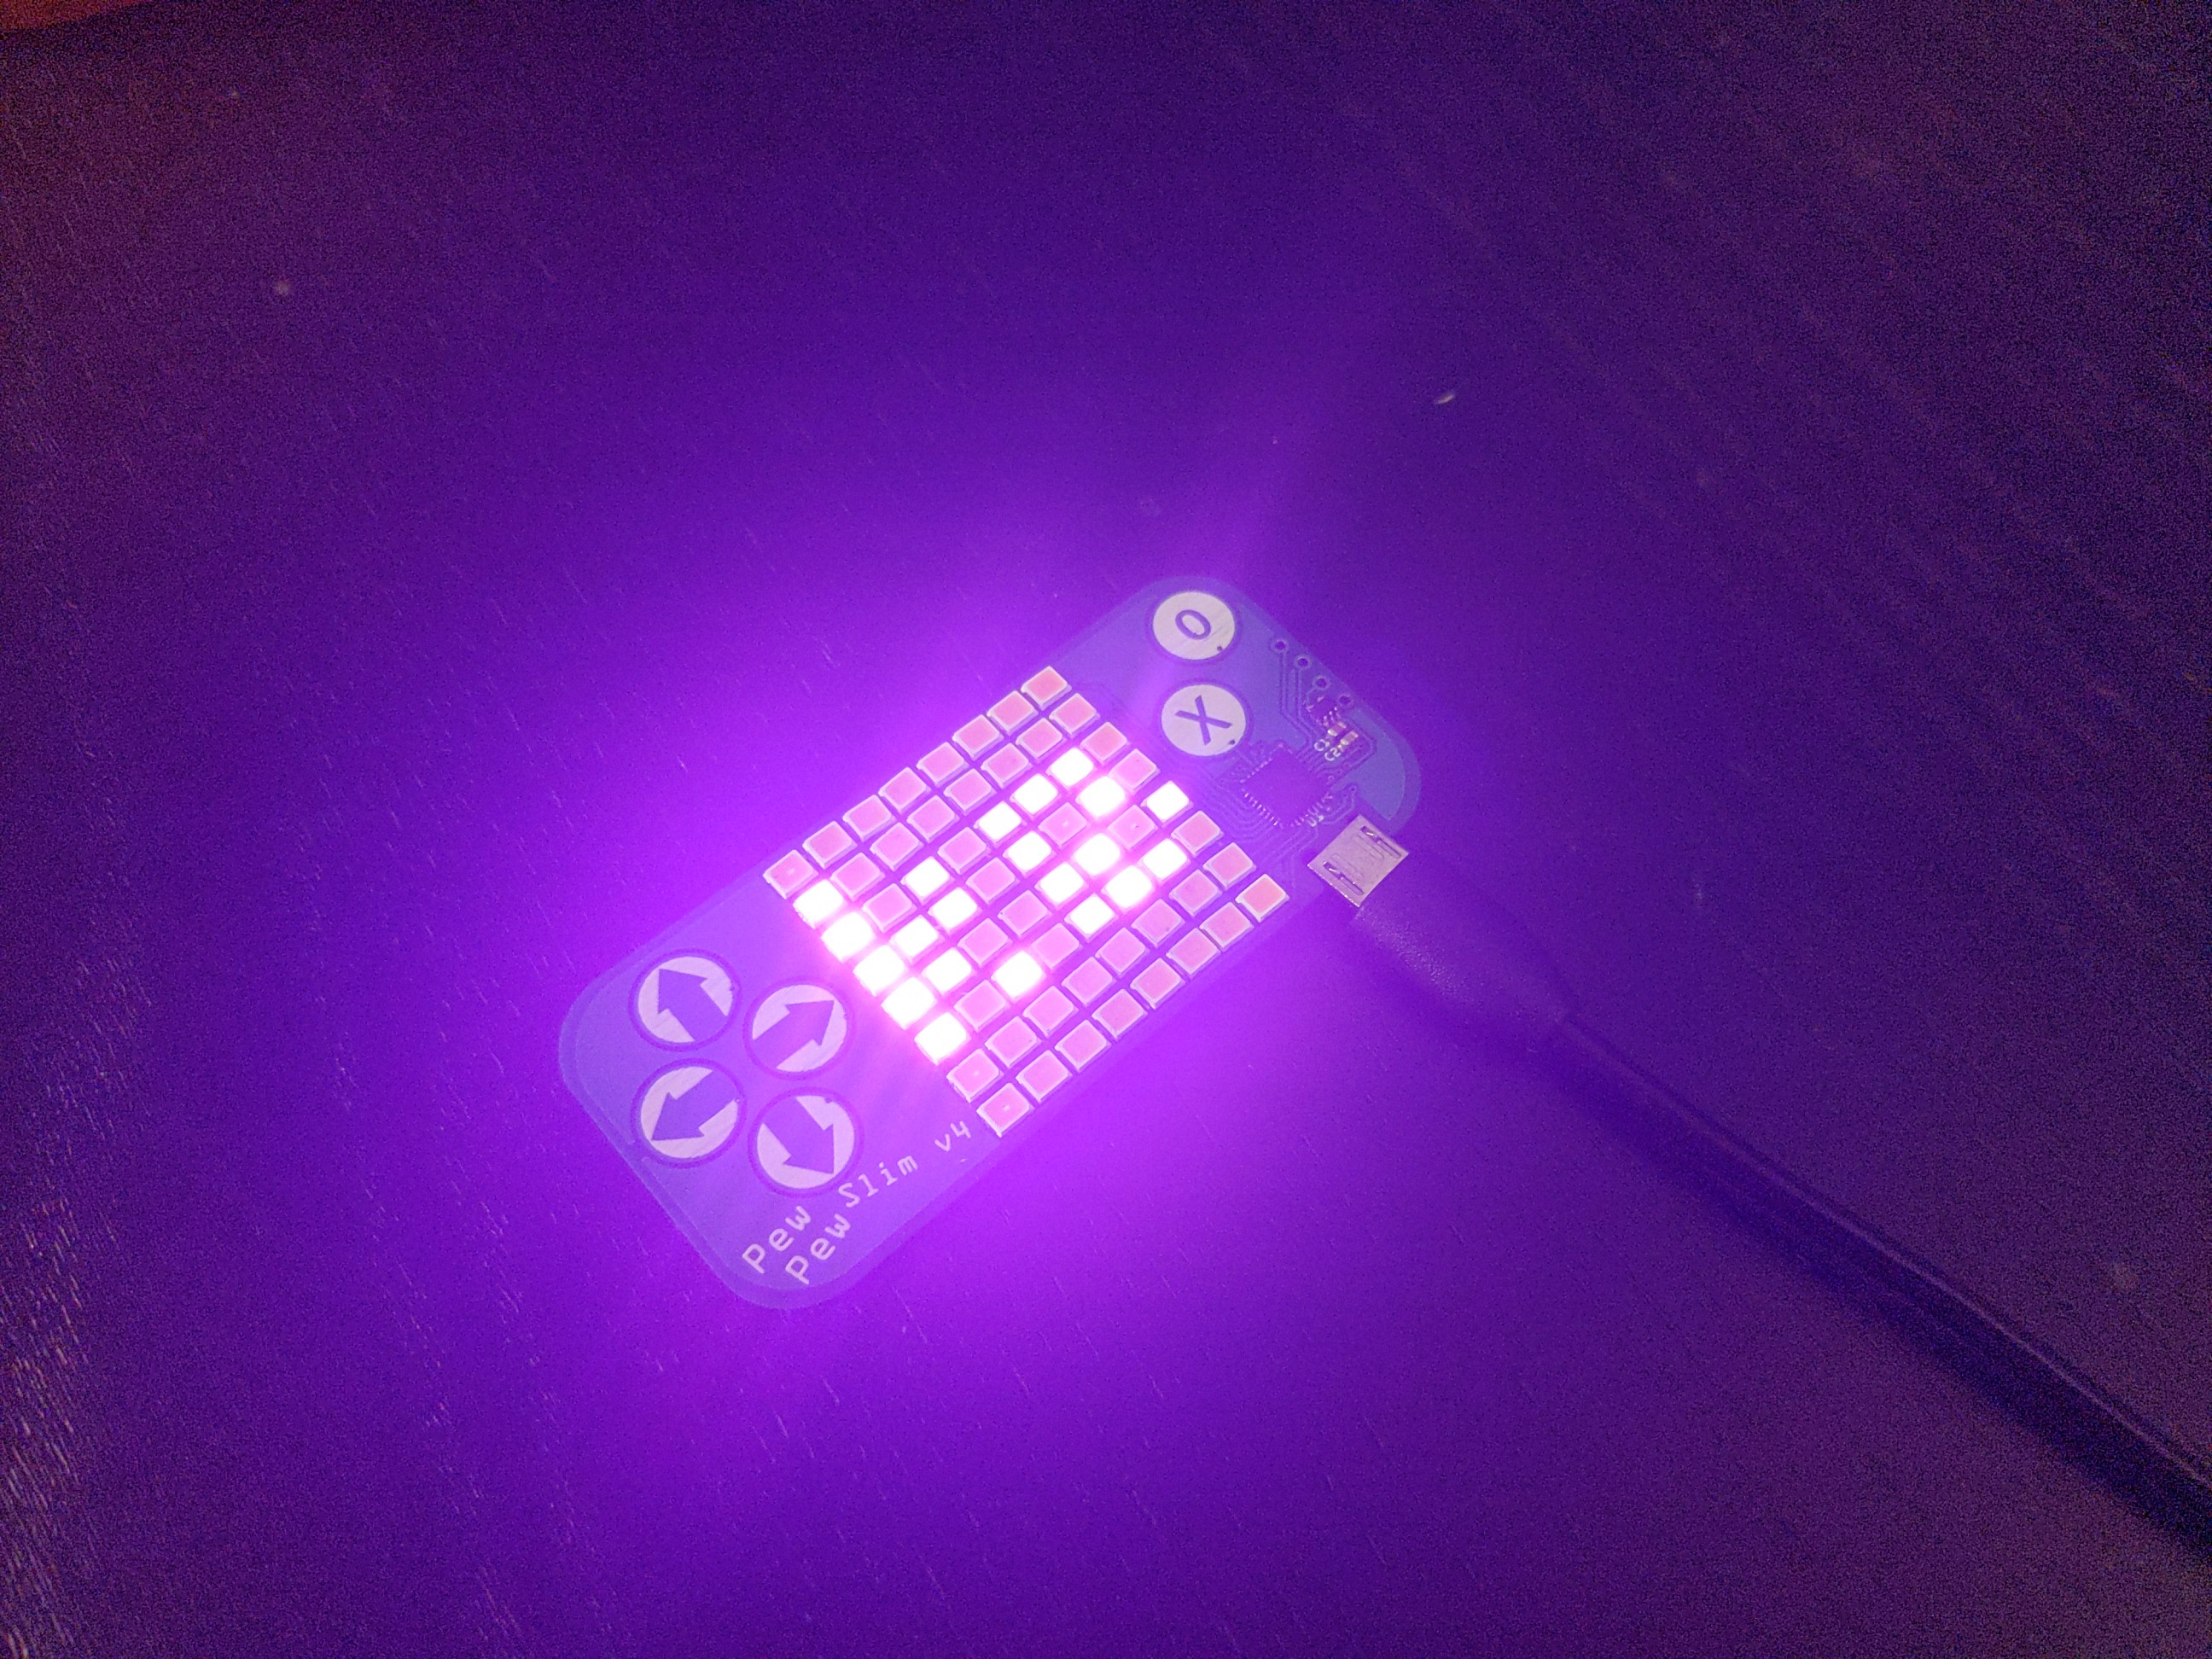
    So I went back to the original unit, switched the rows and columns, and what do you know, it worked, with only a few "bad pixels" due to soldering. But those were easy enough to fix using the hot plate, so now I have a fully working unit. I might also finish the second one with regular LEDs, but soldering them by hand is a bit of a chore, so we will see.

  • Going Bigger

    deʃhipu03/11/2021 at 12:31 0 comments

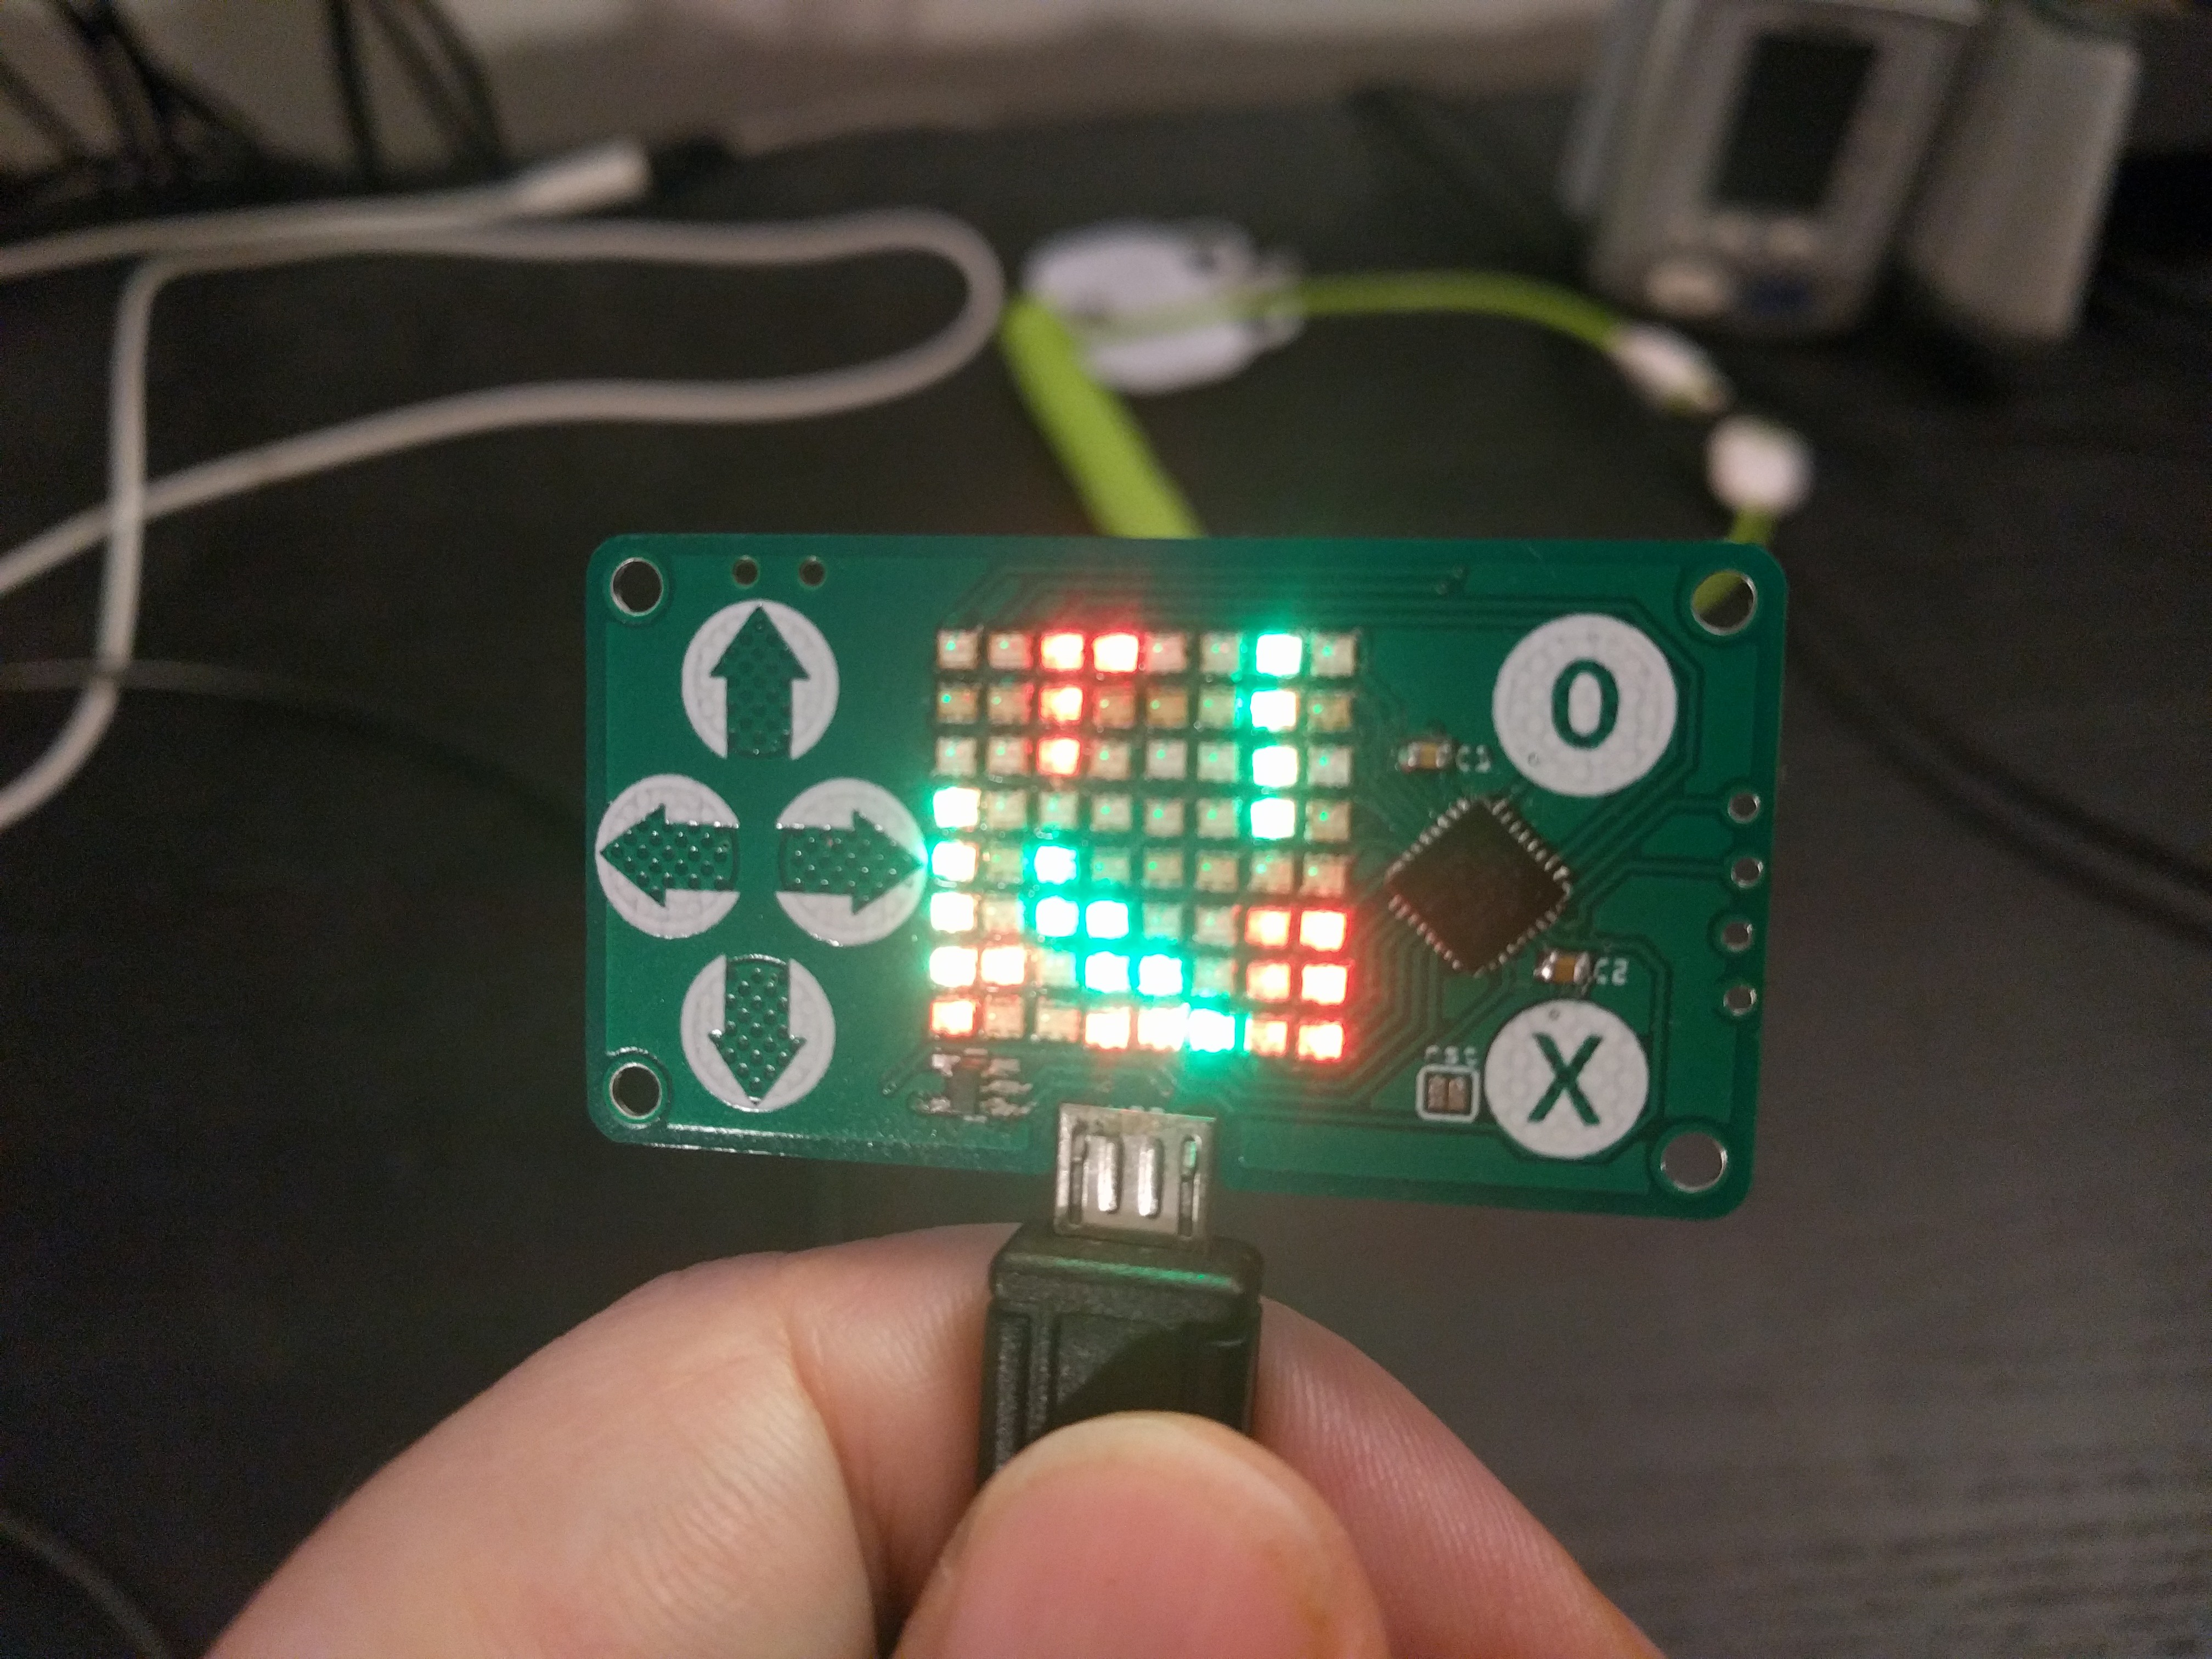
    I got a bunch of cheap rectangular pink LEDs, so I'm trying to do the same thing, but in the form factor of the original #PewPew Standalone:

  • The Prototype

    deʃhipu02/05/2021 at 19:29 0 comments

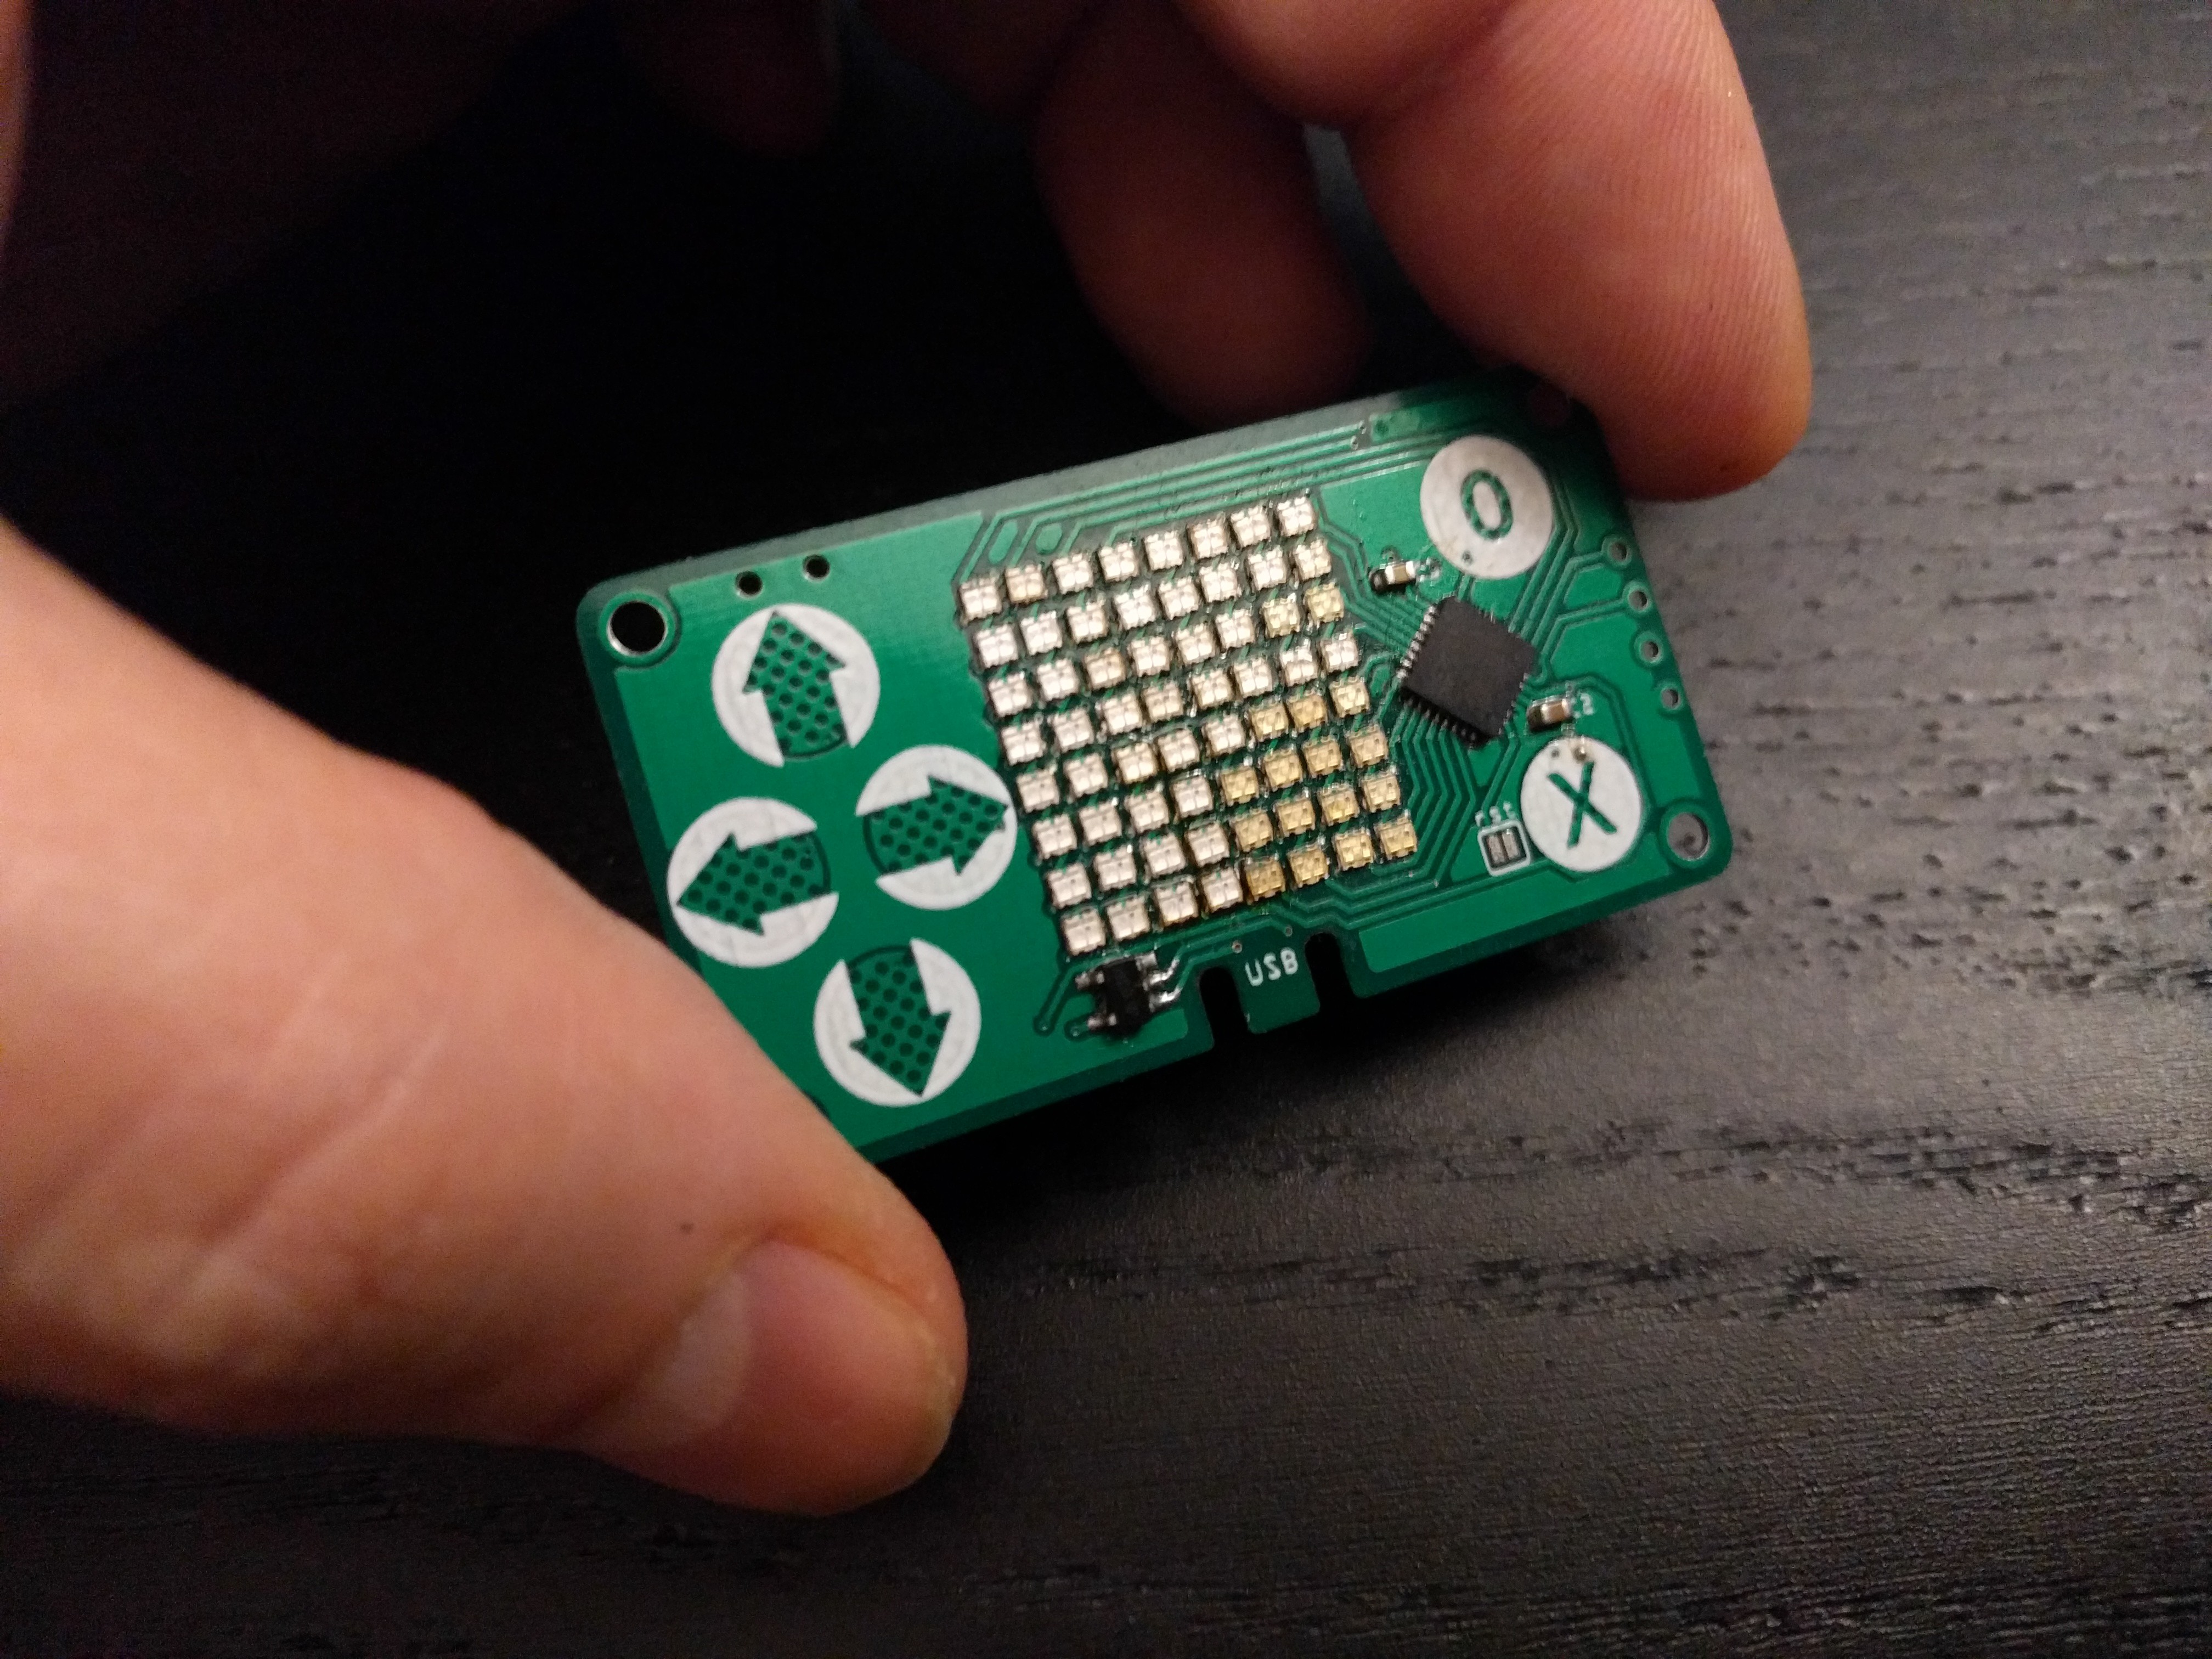
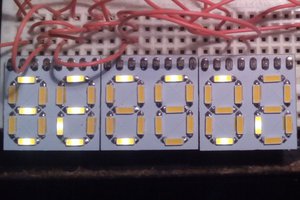
    It took longer than anticipated, but with checking after each diode, I finally managed to get all of them properly soldered without any shorts. Then I made a branch of CircuitPython with the right code, and here it is:

    I must say I'm not entirely happy about it. Due to changes in CircuitPython 5.x, the interrupts are not as stable as they used to be, and you can see the LEDs flickering a little, which is annoying. Lack of a diffuser also makes it look worse than the very first version of #PewPew FeatherWing with the bi-color matrix.

    The touch pads are tricky. The direction pads are a bit too close together and it's hard to use them — it's expected, but there simply isn't more space on the PCB for it. At the same time, despite my efforts to route the traces for the touch pads out of the way, it's easy to accidentally touch them on them back of the PCB.

    Generally, considering the huge amount of work needed to get this working, and the rather mediocre end result, I think I will stop with this prototype and not pursue this more. It was a good experiment, but I think the end result is not great.

  • The Assembly

    deʃhipu02/04/2021 at 22:09 2 comments

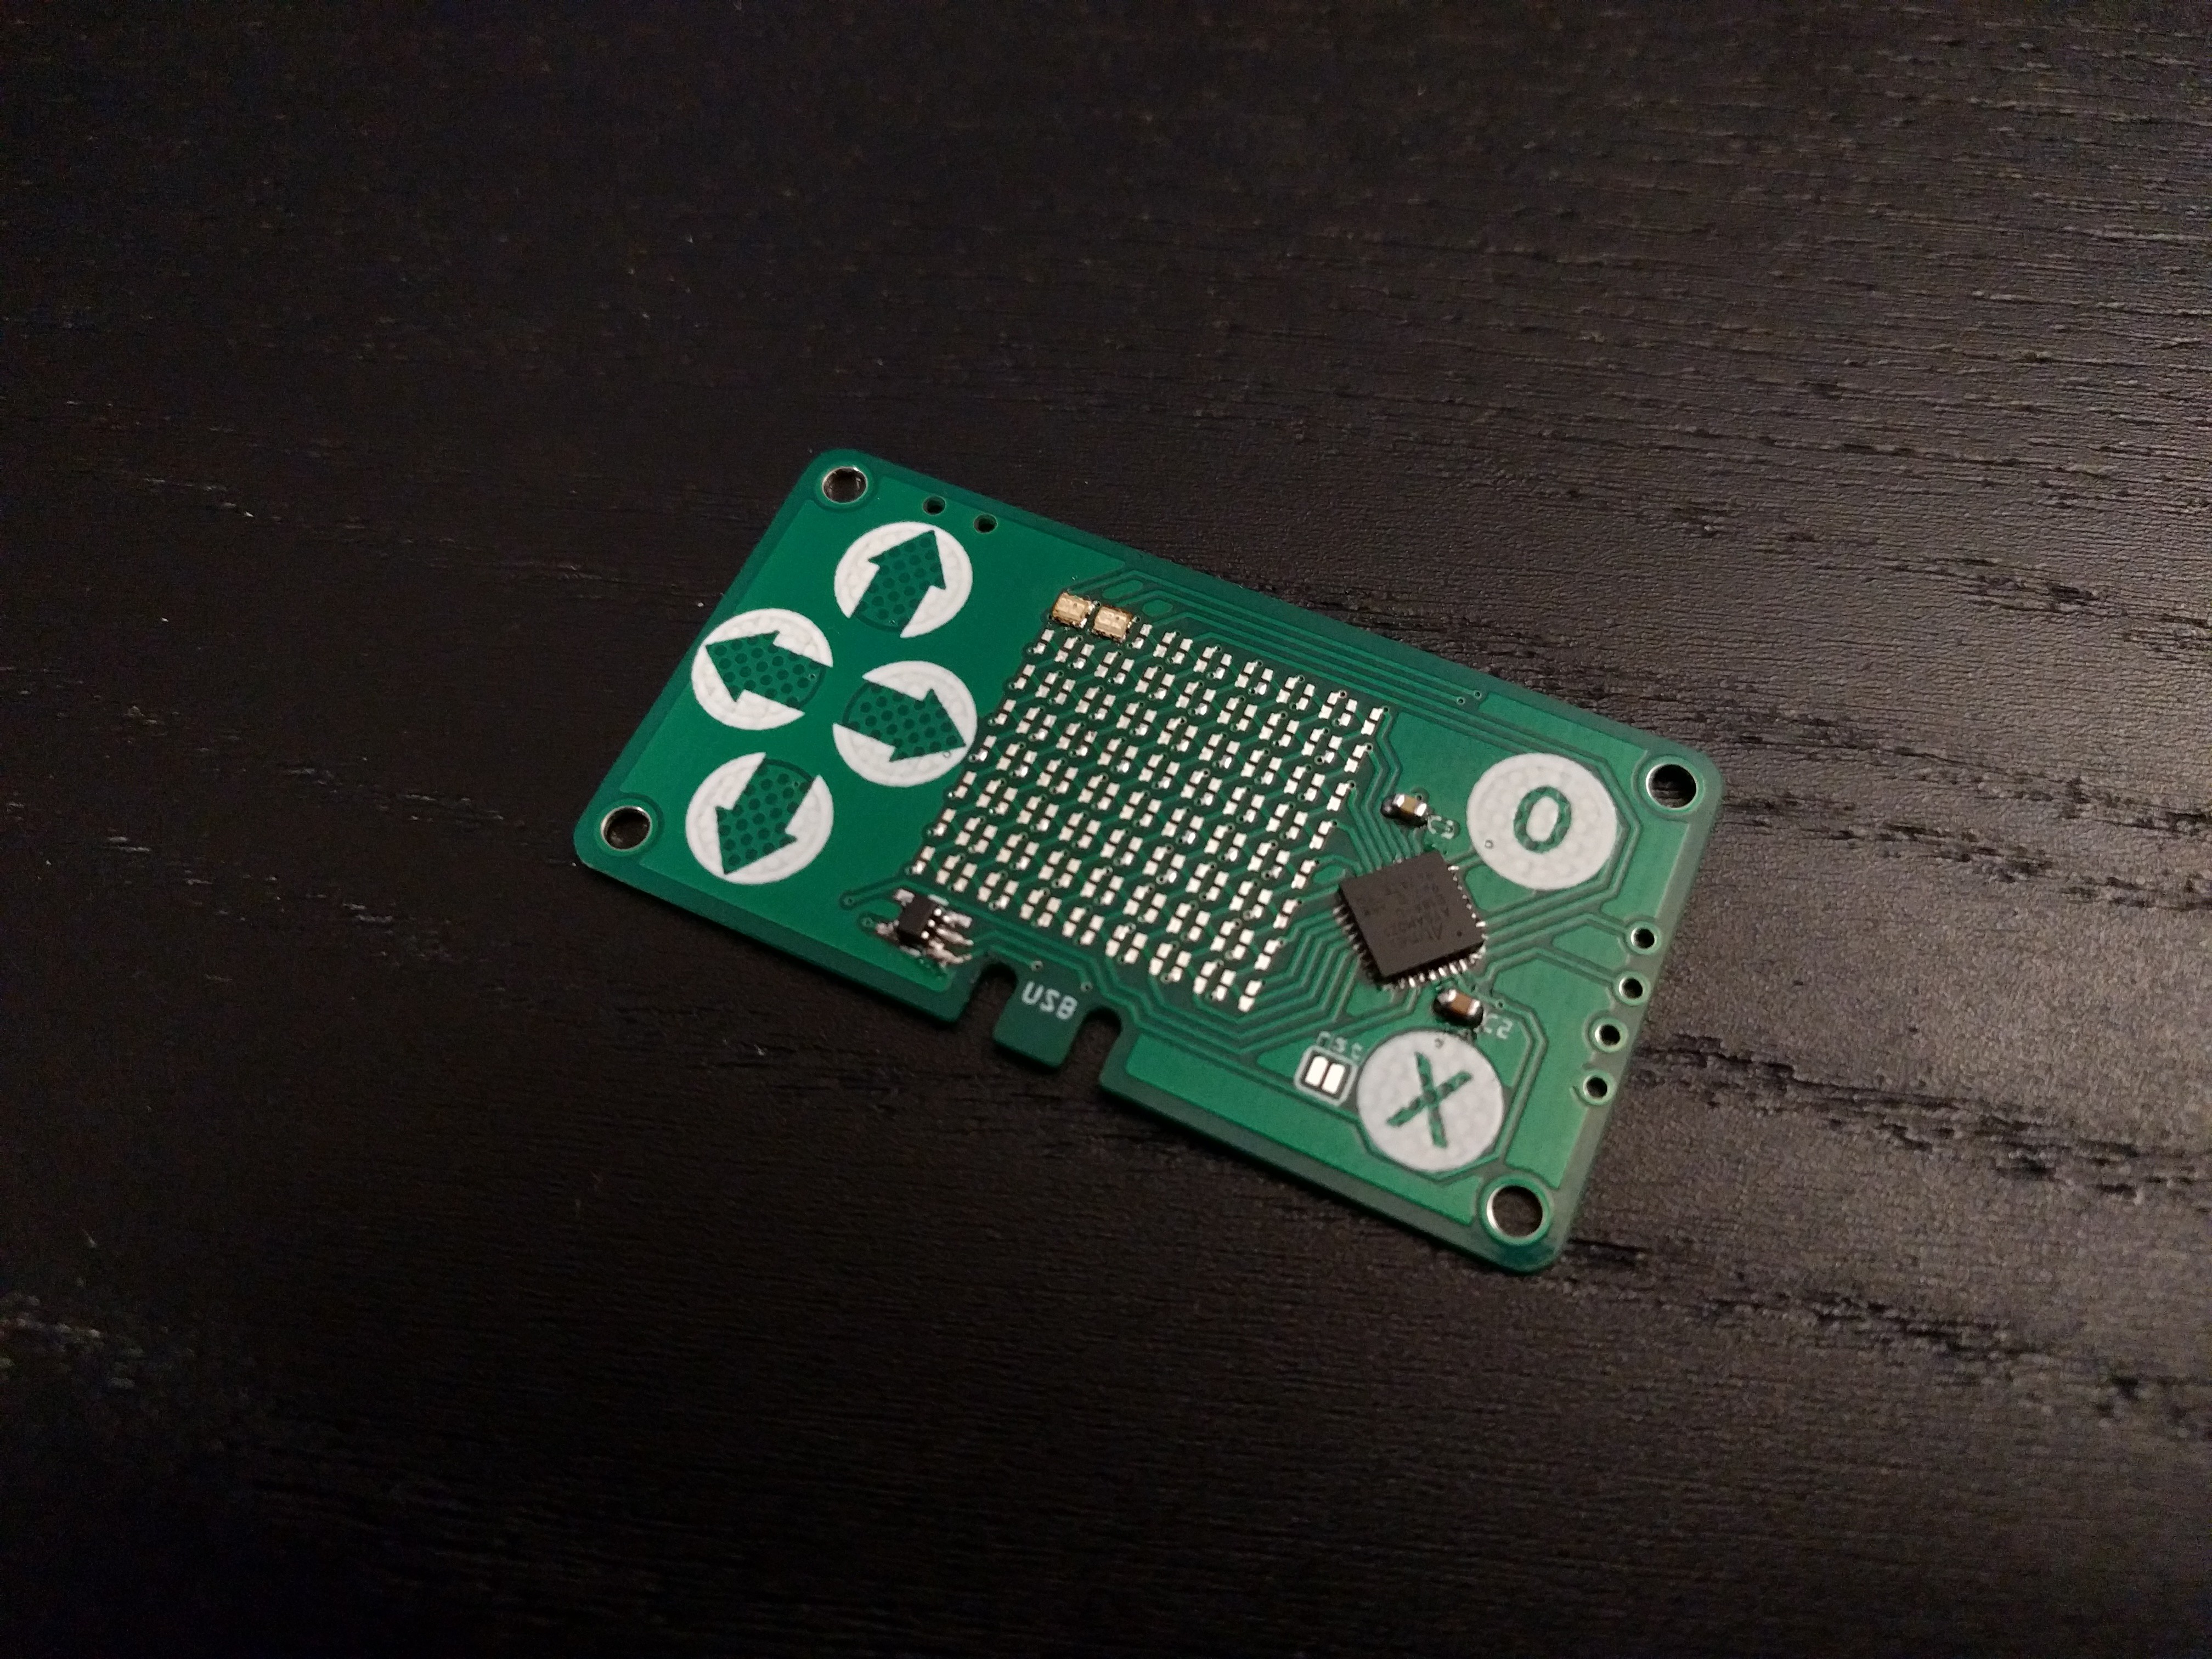
    You would think this is the perfect case for the SMT Assembly service offered by JLCPCB — all components on one side, no sockets, a lot of tiny parts that are best assembled by a machine. Unfortunately, they don't do 0.6mm boards, and that's a hard requirement here. Also, their service doesn't accept Fritzing's PNP files, so I would have to write one manually, specifying the placement of all the 64 LEDs. So I decided that I will try and assemble at least one prototype by hand, using a hot air gun.

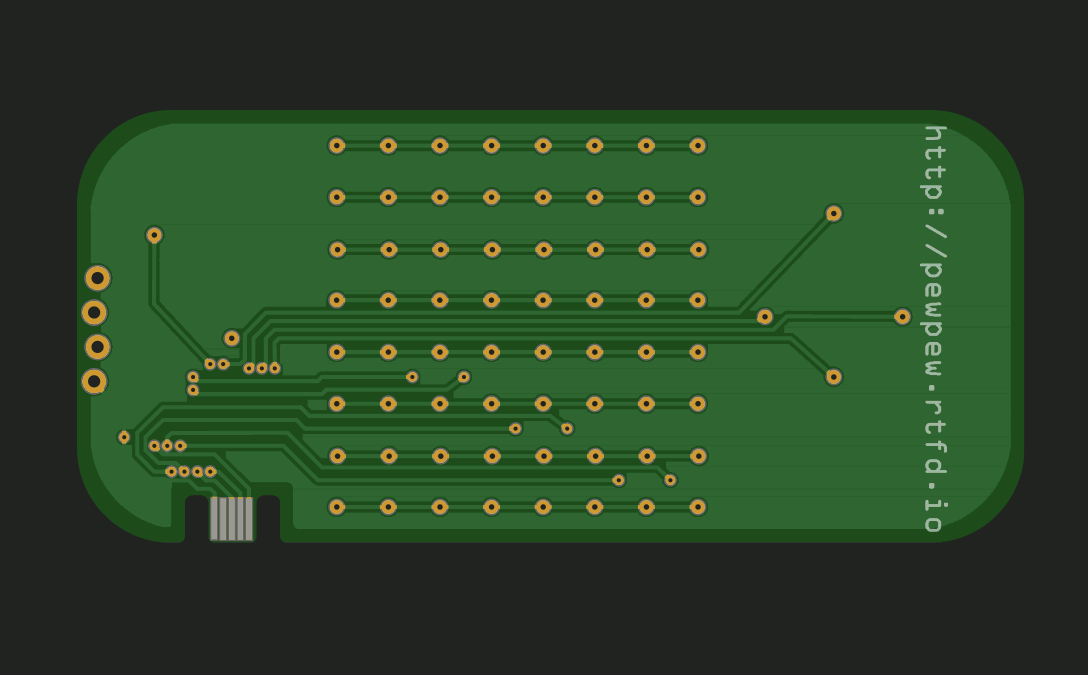
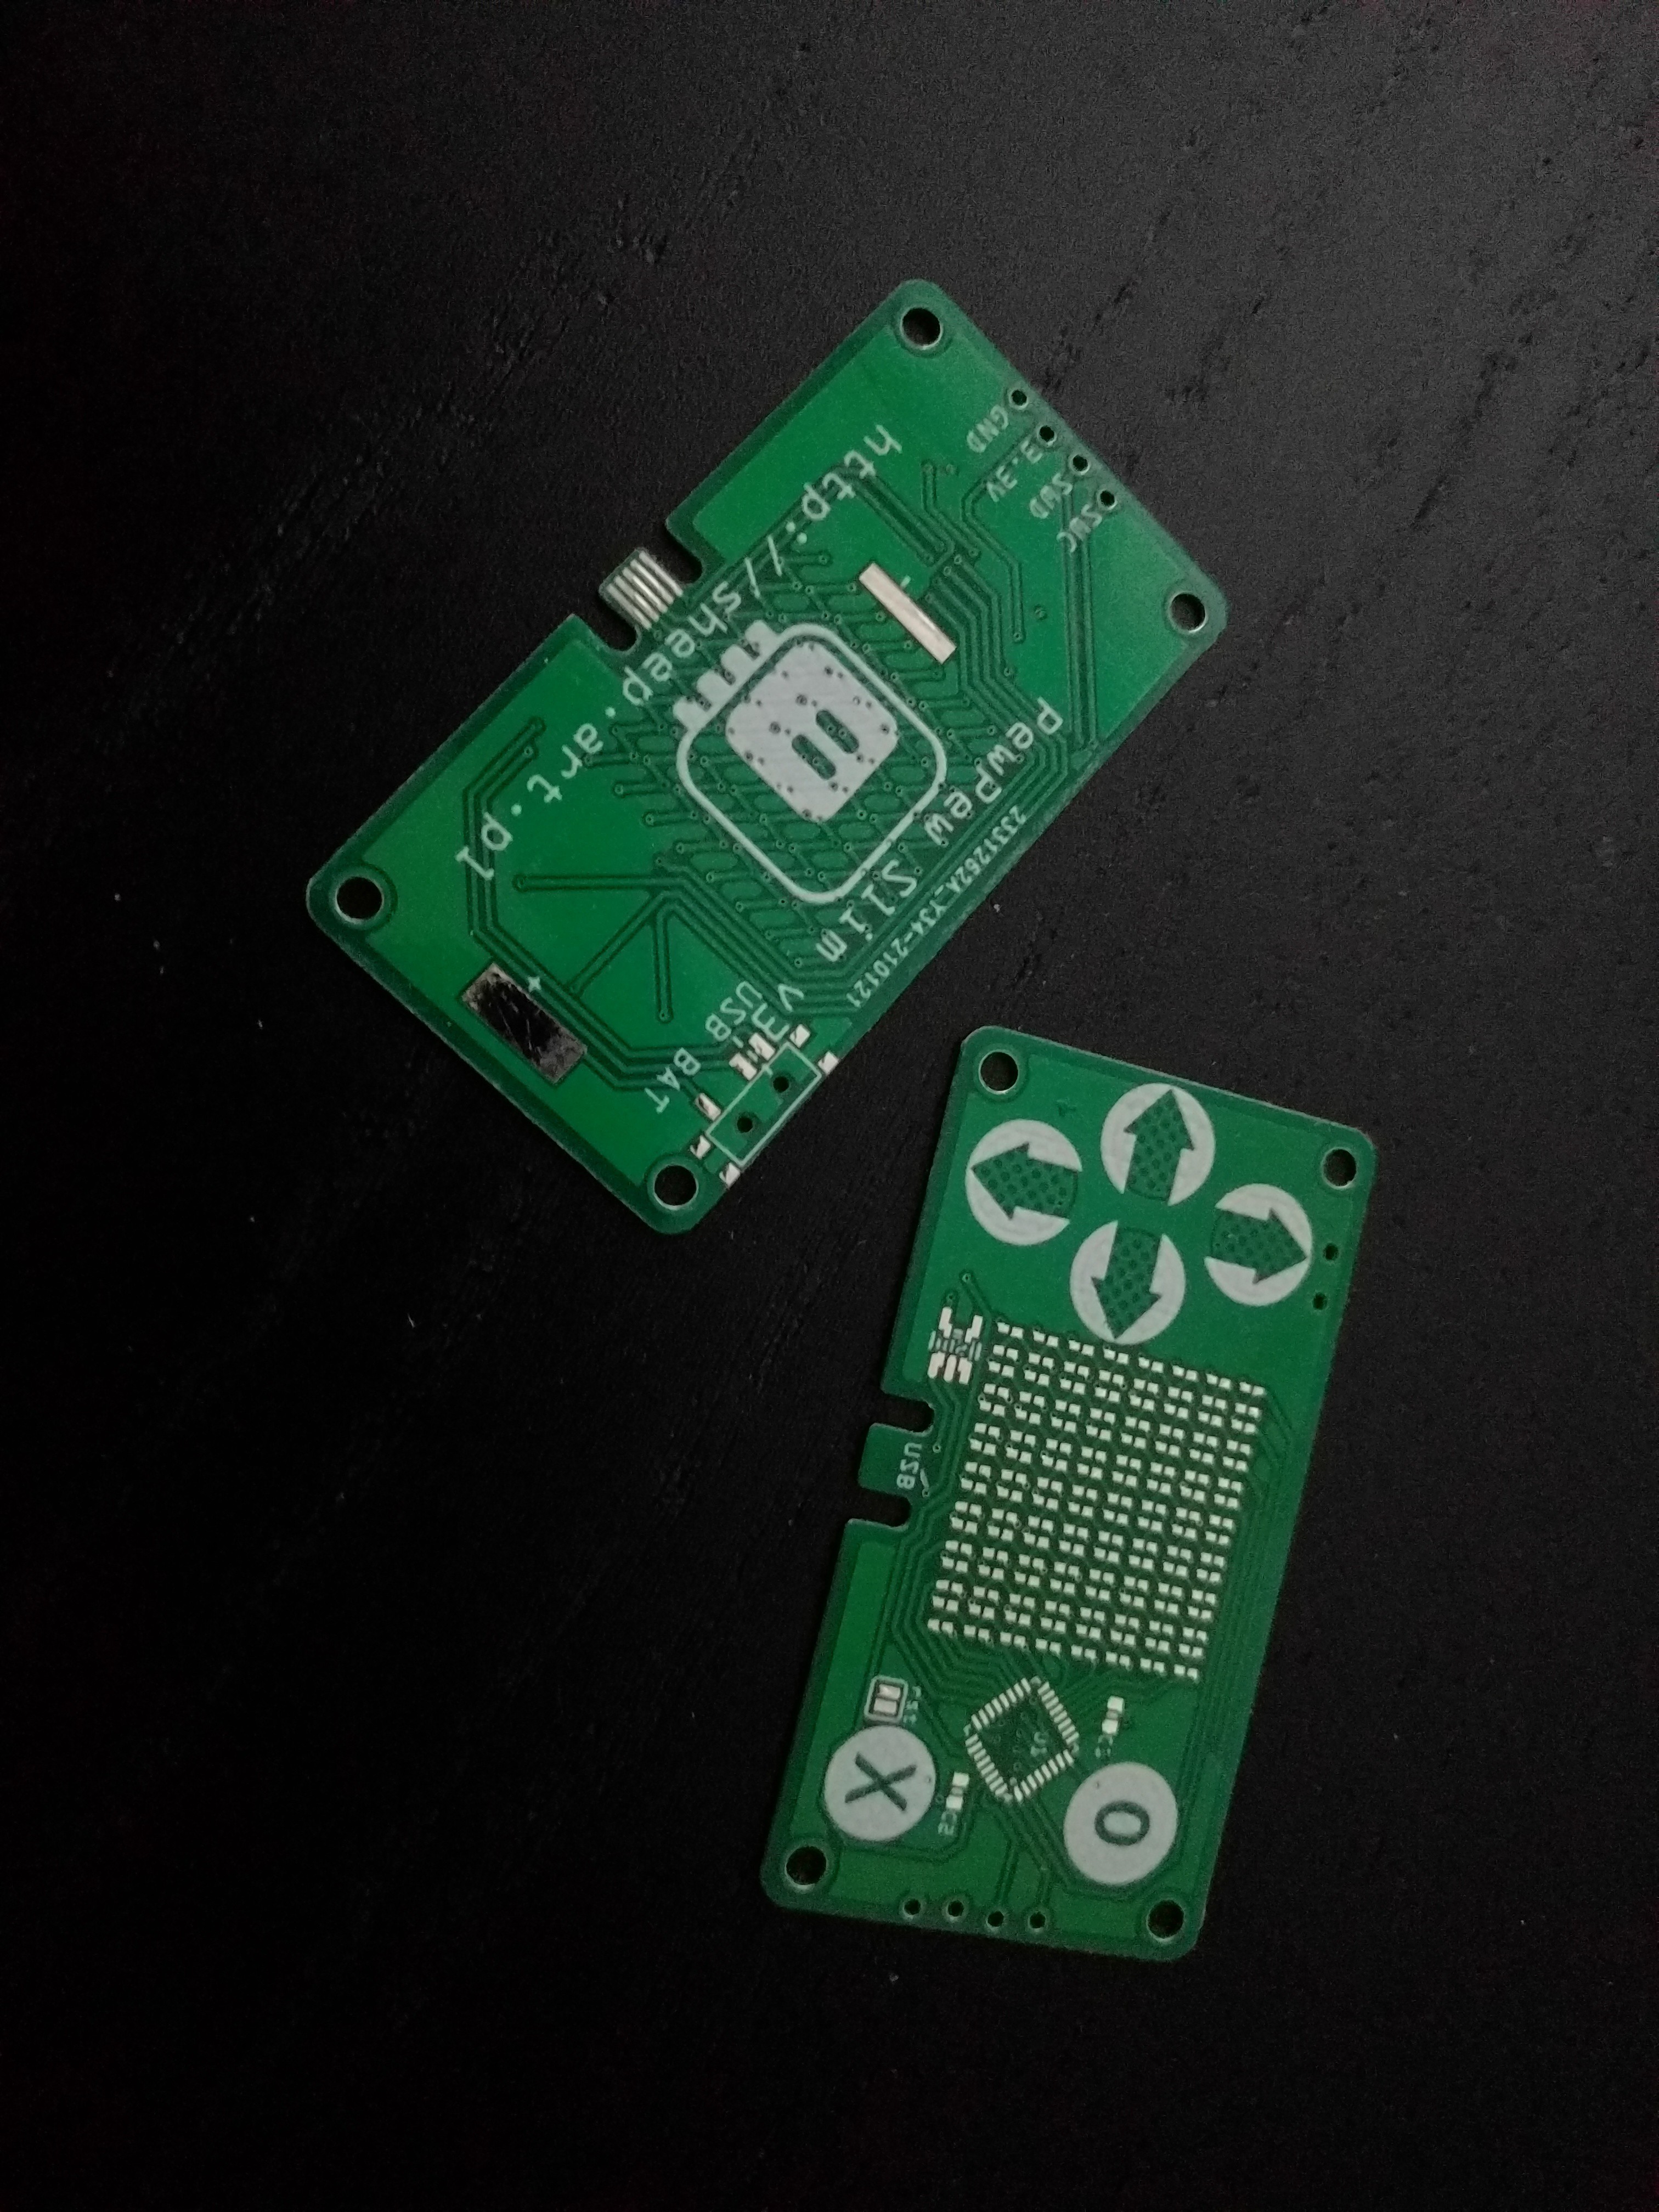
    Even before I started the assembly, I noticed a small problem — there is an extra trace in the LED matrix on the bottom side, connecting two rows that should not be connected. Can you spot it? In any case, a quick cut with a knife solved that. The final version will have that fixed, of course.

    Another problem I noticed is that the footprint for those LEDs, which was recommended by the Aliexpress seller, is really a minimal footprint, with nothing sticking out from under the LED. That means that hot air is the only way I can solder it. Next version will have minimally larger pads, as much as space permits.

    I didn't yet have the smaller LDO, so I made the footprint for it double, so that I can use either the larger or the smaller one. I'm using the larger one during the tests, later the smaller one arrived and I replaced it. The final version will only have the smaller footprint.

    Finally, I'm not happy with the vias inside the microcontroller footprint. This chip has a thermal pad, and the solder mask that JLCPCB uses is really thin and easy to scratch, so I'm worried about shorts in there. For now I put a bit of kapton tape there, but that makes the chip sit a bit higher than it should. I will have to see if I can somehow move that.

    My first approach to the assembly was optimistic. I just tinned the pads, heated the solder with the gun and placed each of the LEDs. I had two stripes of 50, that's why you can see two different colors in there — whiter and more yellowish. I expected some of the LEDs to not work and have to be reworked, but I didn't expect what actually happened.

    I flashed the firmware with the code for the old #PewPew Standalone — it should work, it would just use only one side of the LEDs, with one color. Once I have that working, I can work on improved code that would handle both colors. Unfortunately what I got as a result is quite random. Multiple LEDs on both rows and columns seem to be shorted together, lighting up in groups and in random colors. I guess my soldering job was worse than I expected.

    So now I'm doing a second attempt.

    I wrote this simple test program, that lights up each LEDs in each color for a short moment:

    import board
    import digitalio
    import time
    
    _rows = (
        digitalio.DigitalInOut(board._R1),
        digitalio.DigitalInOut(board._R2),
        digitalio.DigitalInOut(board._R3),
        digitalio.DigitalInOut(board._R4),
        digitalio.DigitalInOut(board._R5),
        digitalio.DigitalInOut(board._R6),
        digitalio.DigitalInOut(board._R7),
        digitalio.DigitalInOut(board._R8),
    )
    _cols = (
        digitalio.DigitalInOut(board._C1),
        digitalio.DigitalInOut(board._C2),
        digitalio.DigitalInOut(board._C3),
        digitalio.DigitalInOut(board._C4),
        digitalio.DigitalInOut(board._C5),
        digitalio.DigitalInOut(board._C6),
        digitalio.DigitalInOut(board._C7),
        digitalio.DigitalInOut(board._C8),
    )
    
    for row in _rows:
        row.switch_to_output(value=0)
        for col in _cols:
            col.switch_to_output(value=1)
            time.sleep(0.25)
            col.switch_to_input()
        row.switch_to_output(value=1)
        for col in _cols:
            col.switch_to_output(value=0)
            time.sleep(0.25)
            col.switch_to_input()
        row.switch_to_input()

    Now I am soldering one LED at a time and running the test after each. Obviously this is taking much more time, and is much more work, but hopefully I only need to do it once to get the prototype to work. Once I have the firmware ready, the next version with larger pads can be assembled in a fab, with solder paste, stencil and a pnp machine.

  • The Design

    deʃhipu02/04/2021 at 21:47 0 comments

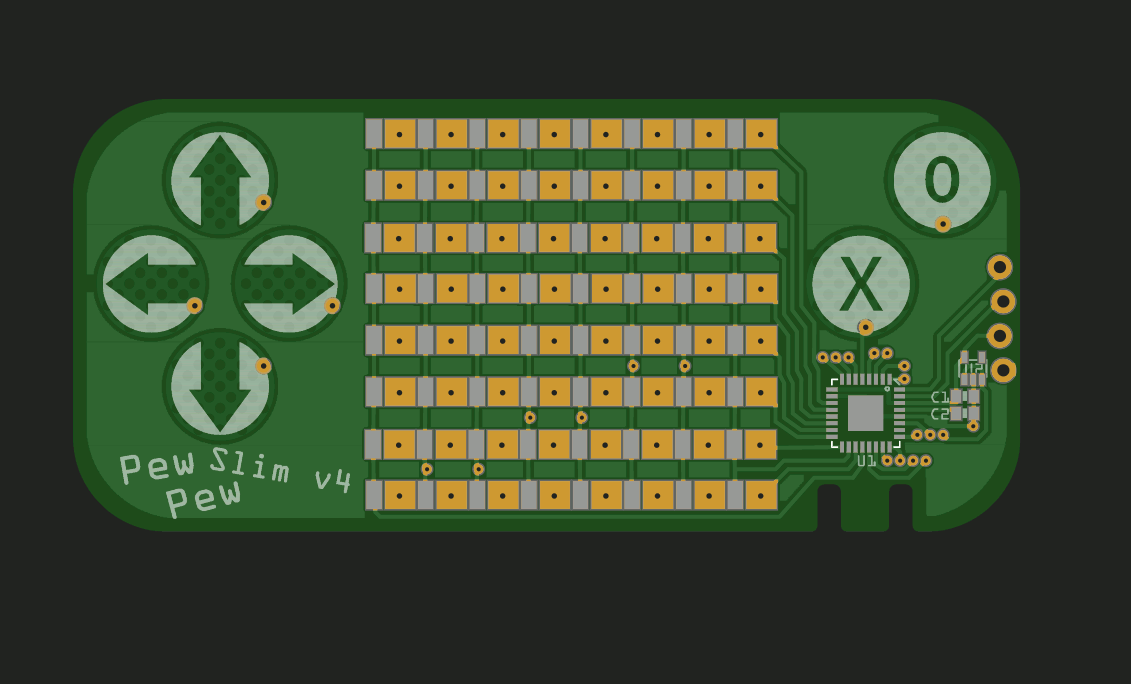
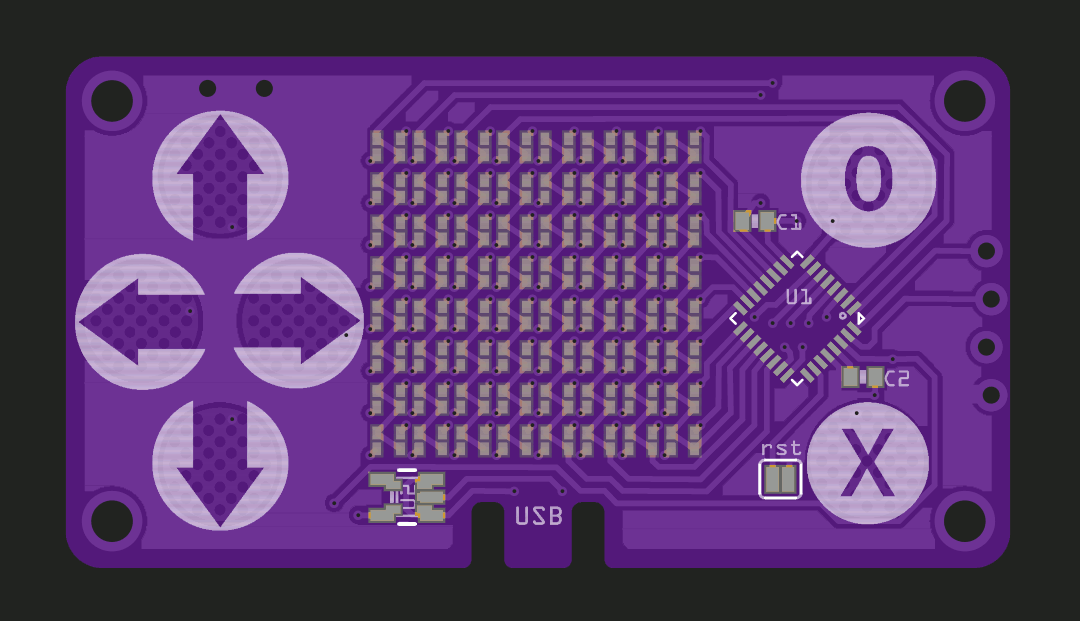
    I always wanted to make a version of the PewPew with discrete LEDs, but it didn't make much sense for many reasons. It looks worse, as you lose the diffuser that is built into the LED matrix, and it costs more, even if individual LEDs are cheaper, having to solder them all makes the costs grow. The resulting display is smaller, but PewPew's display is already too small, and people prefer the versions with larger matrices. Finally I convinced myself of two advantages: first, it's really slim, as the LED matrices are usually really thick, and individual LEDs aren't, and second, I can use bi-color LEDs to get back to the original color display experience.

    Once I started to optimize for flatness, other decisions came naturally: touch pads in place of buttons, and USB socket cut out of the PCB itself.

    If we want to keep it thin, of course we need to drop the battery, and without the battery we don't need the power switch (though I am leaving footprints for both of them on the back, so they can be added later by the user).

    The final touch is replacing the thickest part, the voltage regulator, with one in a slightly smaller (and thinner) package.

    The LEDs are connected in a cross-linked fashion, so that sending current one way will light up one color, and the other way the other color. I will be alternating that really fast, so you can get both colors too. This requires some custom C code to be added to the _pew library in CircuitPython, but it's nothing complicated, and keeps the number of pins needed by the matrix the same.

    Routing the traces for the touch pads is a bit of a challenge, because you don't want the user to touch the traces accidentally while playing. So I've hidden the vias under the microcontroller chip (removing the thermal pad and making sure the vias are tented), and routed everything at the top, as far away from fingers as possible.

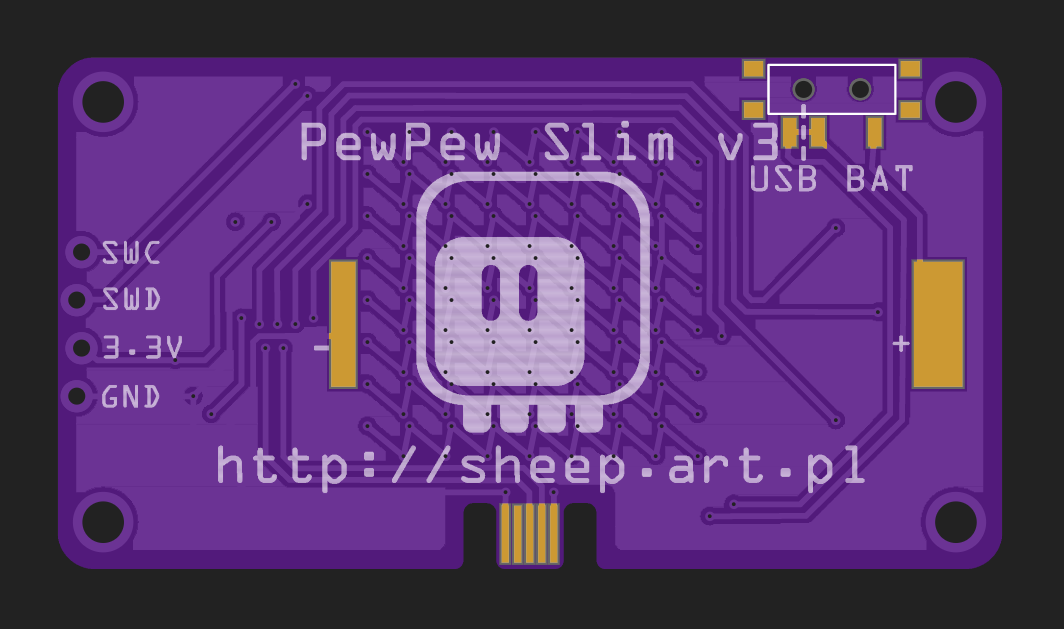
    Finally, for easy programming, I broke out the SWD and SWC pins (which are also used to drive the LEDs) to a header of staggered holes on the side. You can insert a male pin header in there temporarily, and remove it when flashing the firmware is done.

View all 5 project logs

Enjoy this project?

Share

Discussions

adamalewis24 wrote 02/05/2021 at 02:15 point

Awesome stuff my man. I am BiggestGuy and I approve this project.

I reckon if you could maintain this form factor and find a way of implementing user interaction you could create a sort of business-card-sized remote control. With something like a membrane top with metal underneath (in the same sense as a membrane keyboard) it could make for a pretty interesting and ergonomic system that could be paired to other projects. 

either way its super cool!

  Are you sure? yes | no

deʃhipu wrote 02/05/2021 at 22:53 point

There is user interaction — the buttons are done with a capacitive touch pads. It's a game console, wouldn't make much sense without user interaction.

  Are you sure? yes | no

Similar Projects

Does this project spark your interest?

Become a member to follow this project and never miss any updates