Background
Most terminal emulators like xterm and PuTTY take raw text and formatting instructions and interpret them to display formatted text on the screen like the original hardware did. However they are software only constructs that are derived from the documentation supplied with say an actual VT100 terminal, hence the "emulator" moniker. So in the previous log I used one of these documentation based emulators, minicom, to test my RS-232 connection. It works pretty well and is probably a reasonably accurate reproduction of the original VT100 terminal behavior.
But what if we could do better. Thanks to Lars Brinkhoff we are able to do just that. His terminal-simulator project can be found over on GitHub. What makes this better? The About from his readme:
This is a software simulation of the VT100 hardware. The original firmware ROM is built in and executed by an 8080 emulator. Other components include video display with character generator ROM, settings NVRAM, Intel 8251 USART, and a keyboard matrix scanner.
This is a relatively new project, still under active development, but I can tell you from personal experience it works quite well. While this is still a software construct, by running the code from the actual VT100 ROMs you are going to achieve much more accurate experience.
Running the Simulator
I downloaded the code from the terminal-simulator repository and unpacked it onto the Pi in my VT100 reproduction. I ran a make from within the vt100 folder. I was then able to run the following command from the same vt100 folder:
./vt100 /dev/serial0
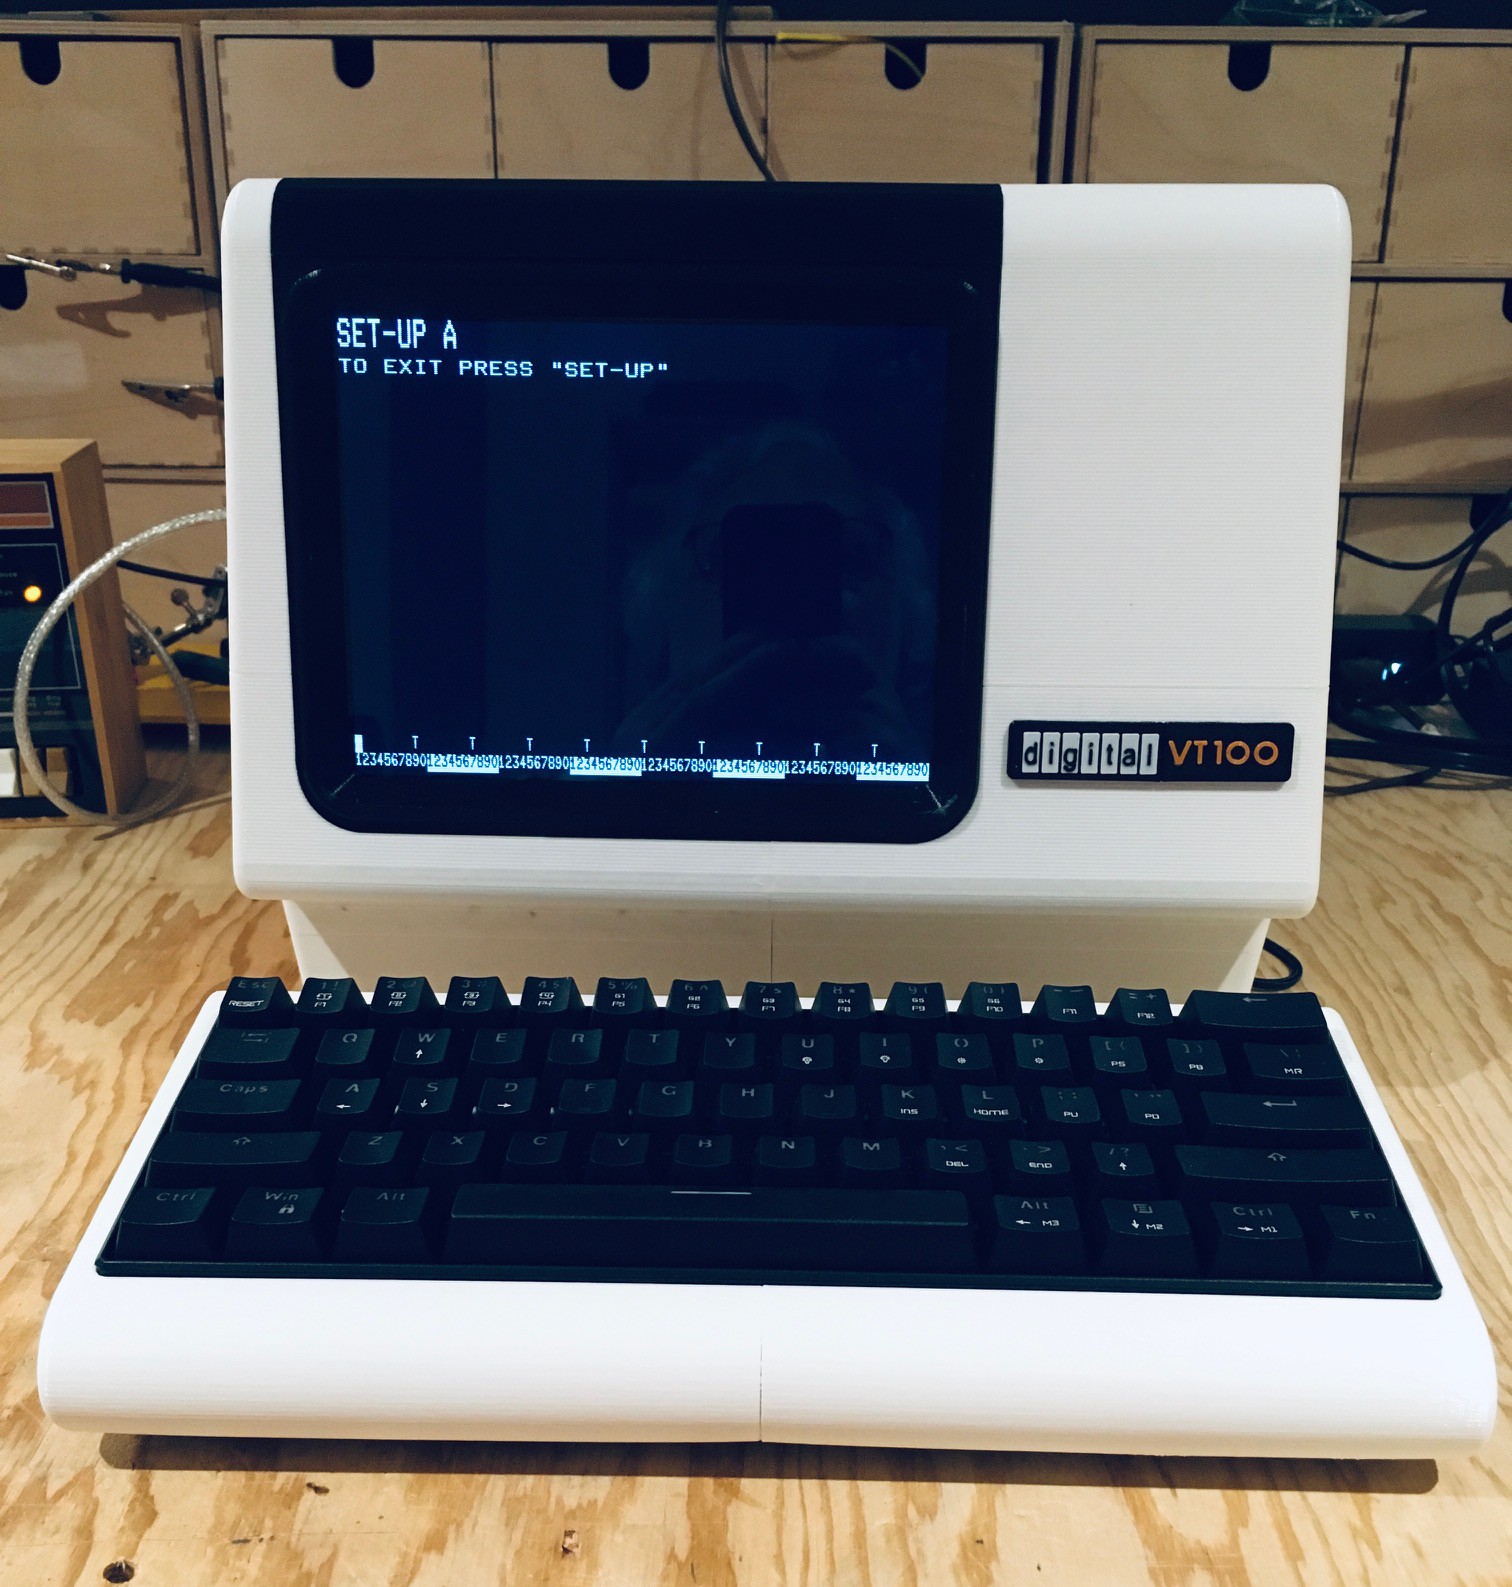
This resulted in a blank screen with a blinking box cursor in the upper left corner. I immediately pressed F9 which put me in the SET-UP screen.

Wow. when you see the SET-UP screen pop up you really know that this is the real deal. The one change you want to make here is to set the SCROLL option to JUMP. SMOOTH scrolling isn't quite ready yet.

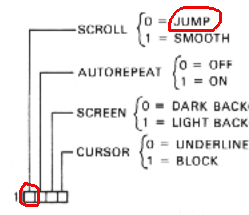
From the VT100 User Guide you would do this by:
- Press 5 to switch to the SET-UP B screen.
- Move the cursor to be on top of the first number in the first block of 4 options.
- Press 6 to change the value from 1 (SMOOTH) to 0 (JUMP).
- Press F9 to exit SET-UP.
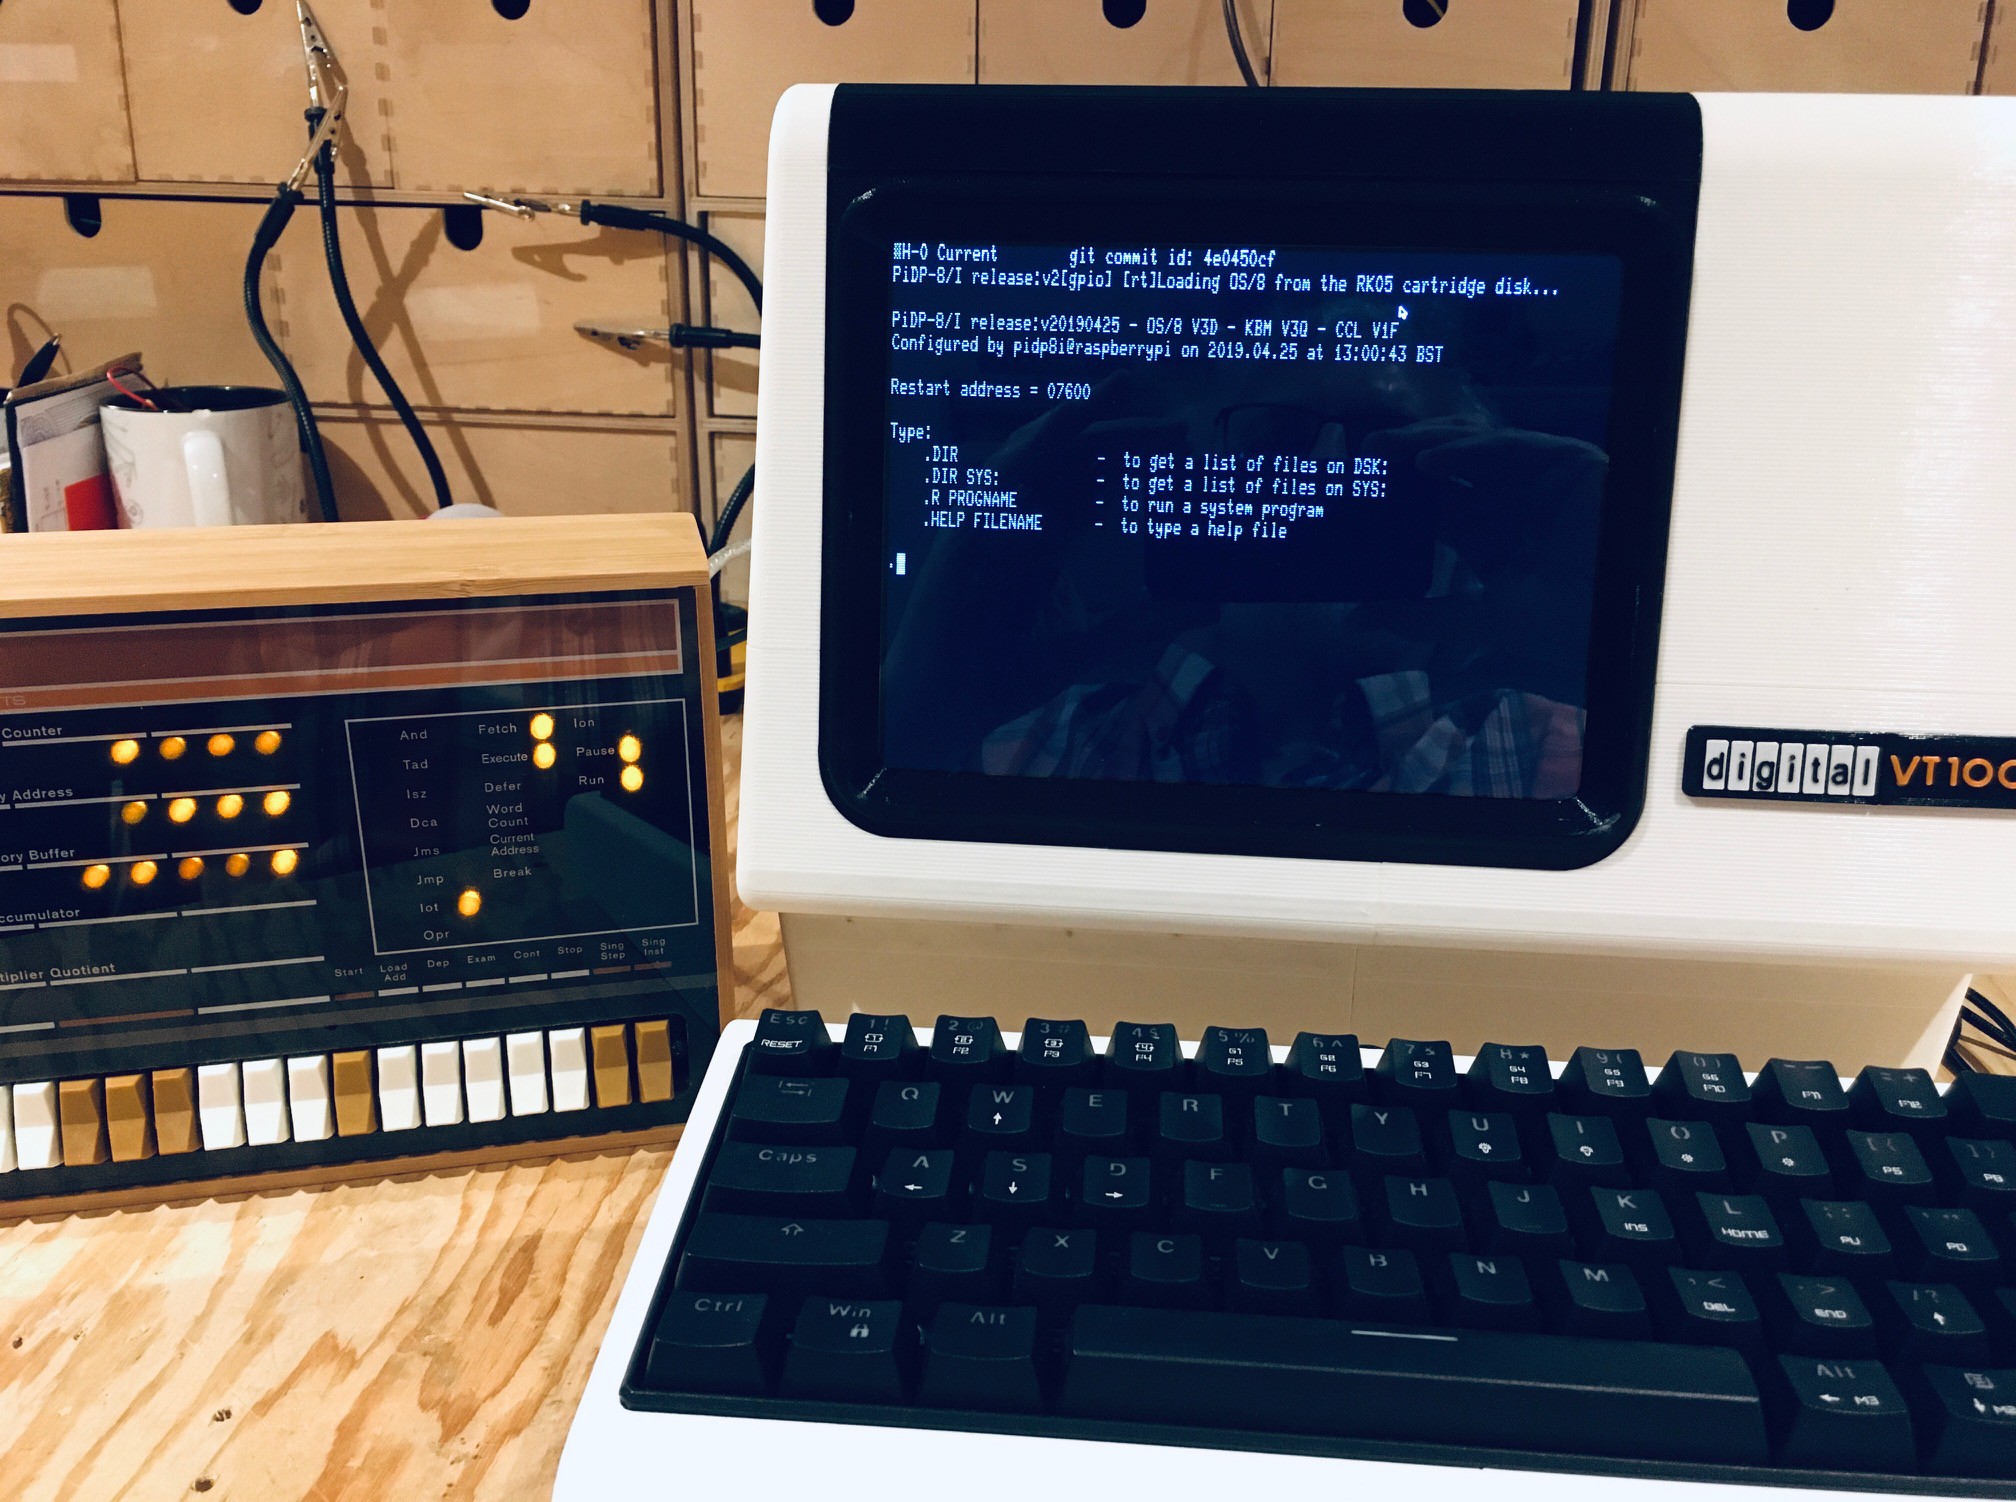
Now at this point you should be able to press Enter to get the login prompt for the PiDP-8/I machine. Log in and run the emulator just as you did with minicom.

You can exit the simulator by pressing Ctrl-F11.
When I saw these screens I commented to Lars:
I am loving the look of the screen! With our modern smooth looking anti-aliased typefaces we forget the blocky pixelated letters of terminals past. I really want this look for my VT100.
This makes the whole VT100 experience so much more authentic. Thank you Lars for making this happen.
 Michael Gardi
Discussions
Become a Hackaday.io Member
Create an account to leave a comment. Already have an account? Log In.