Michael Gardi
-
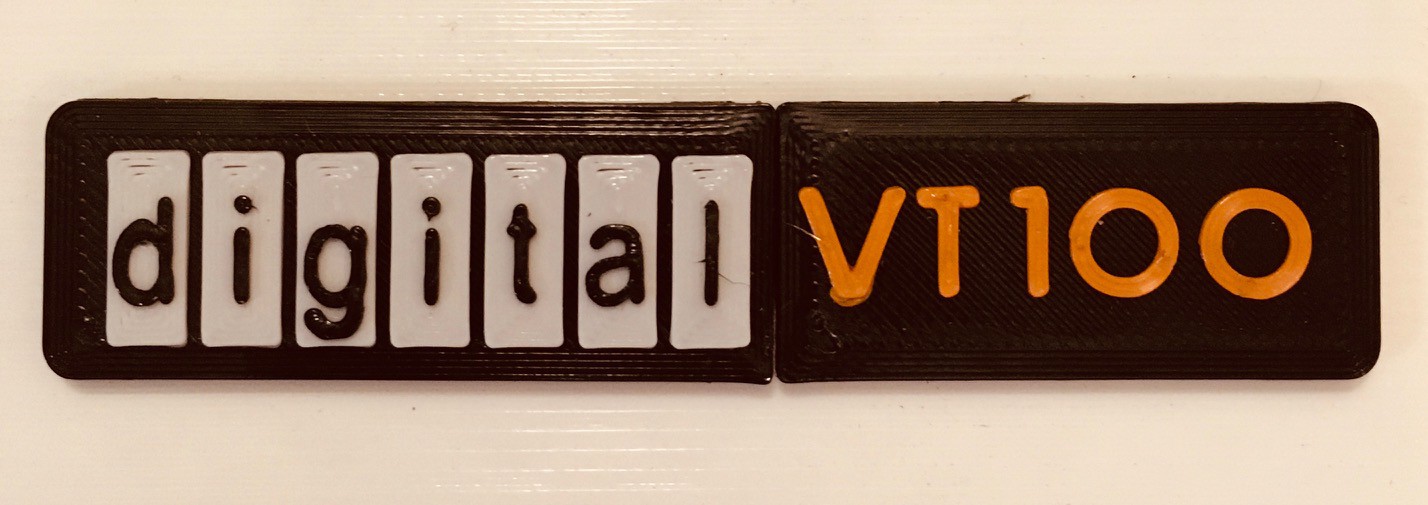
Logo
02/14/2021 at 00:24 • 0 commentsThe VT100 design is basically done. but even at 2:3 scale this is a still a pretty big artifact to 3D print. Because of the limited size of my print bed, I will have to split the console into 14-16 pieces, each of which will take 15-20 hours to print. So that leaves me with a lot of time on my hands to work on some of the other project details, like the Logo.
![]()
I had to print the Logo full size because at 2:3 scale the letters fell below the resolution of a .4 mm print nozzle. So it's ready to slap on when I get enough of the console printed and assembled.
-
Who Knew Keyboards Were Such a Big Thing?
02/12/2021 at 14:39 • 0 commentsProbably most of the people reading Hackaday knew, but not me. I think because I'm not a touch typist (long story), one keyboard is pretty much the same as another to me. That is certainly not the case for the large and vocal group of keyboard enthusiasts out there.
When I scaled down the keyboard frame and measured, I found that at most I had an area of 295 x 110 mm to fit the actual keyboard. Yikes! So I began my quest for the perfect keyboard for this project.
I have a couple of smallish bluetooth keyboards around and thought something along those lines would do the trick, but after a pretty extensive search could find nothing suitable.
For a while I thought about creating a custom keyboard based on the SICK-68 design I found on these very pages. But that felt too much like a complete project inside of my project. So no.
After that it didn't take long before I stumbled upon the wild world of mechanical "gaming" keyboards. 40%, 45%, 60%, linear vs tactile, Cherry MX, ortholinear vs staggered, so much to learn. The good news for me was the many of these designs had a form factor small enough to fit into my VT100 keyboard frame.
Case in point, the Planck EZ is only 234 x 82 mm, well within the limits for my build. However the cost of this absolutely gorgeous piece of technology was prohibitive for this project, and the ortholinear layout not in keeping with the original VT100's. But I felt I was on the right track here.
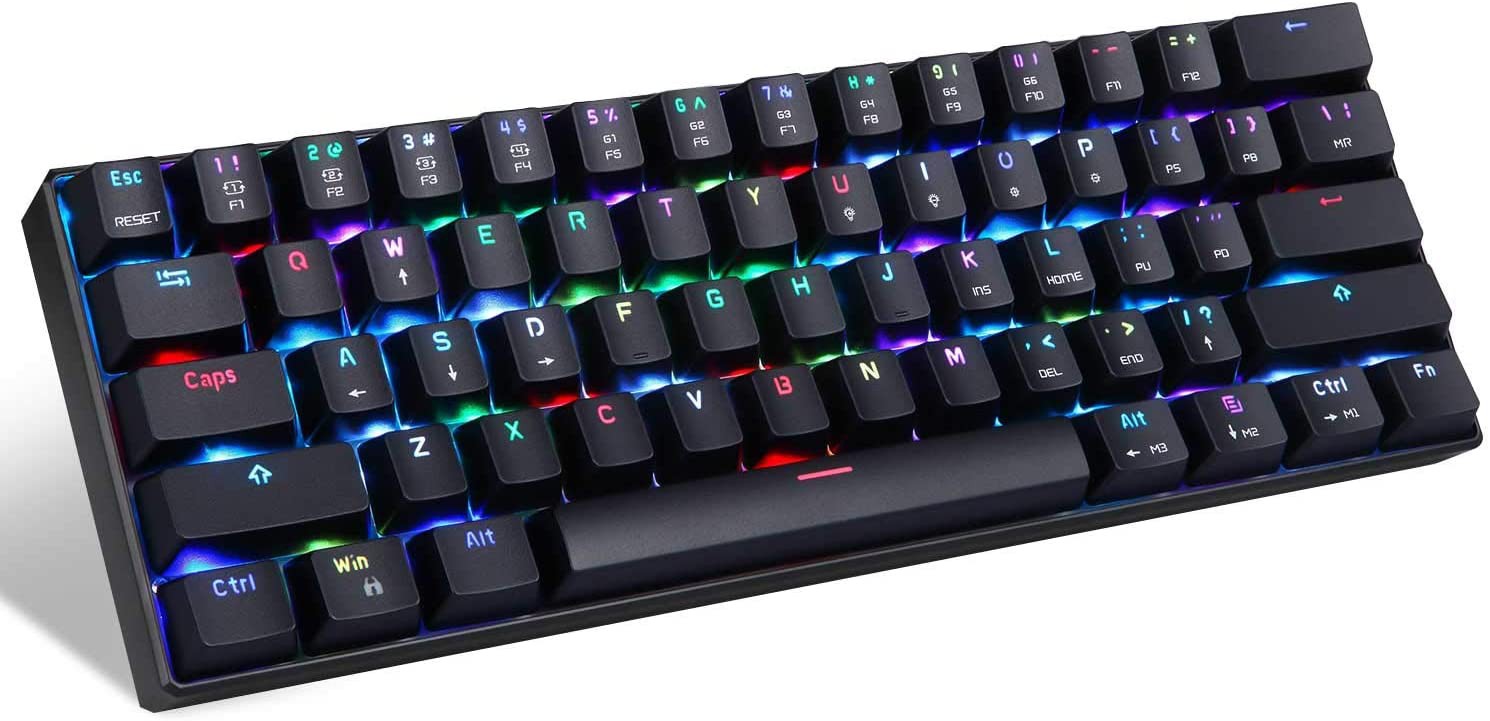
Eventually I found the MOTOSPEED CK61.
![]()
At 290 x 100 mm the CK61 just fit into my design. It was well reviewed and reasonably priced enough that I could afford to use it for this project. I ordered the version with the "Blue Switch" which I assumed were Cherry MX BLUE (or clones) and in fact turned out to be nice and "clicky". The more conventional staggered layout is definitely a better look for this reproduction. I knew that I would never find a keyboard with a number pad that would fit, so I feel that this keyboard is a reasonable choice.
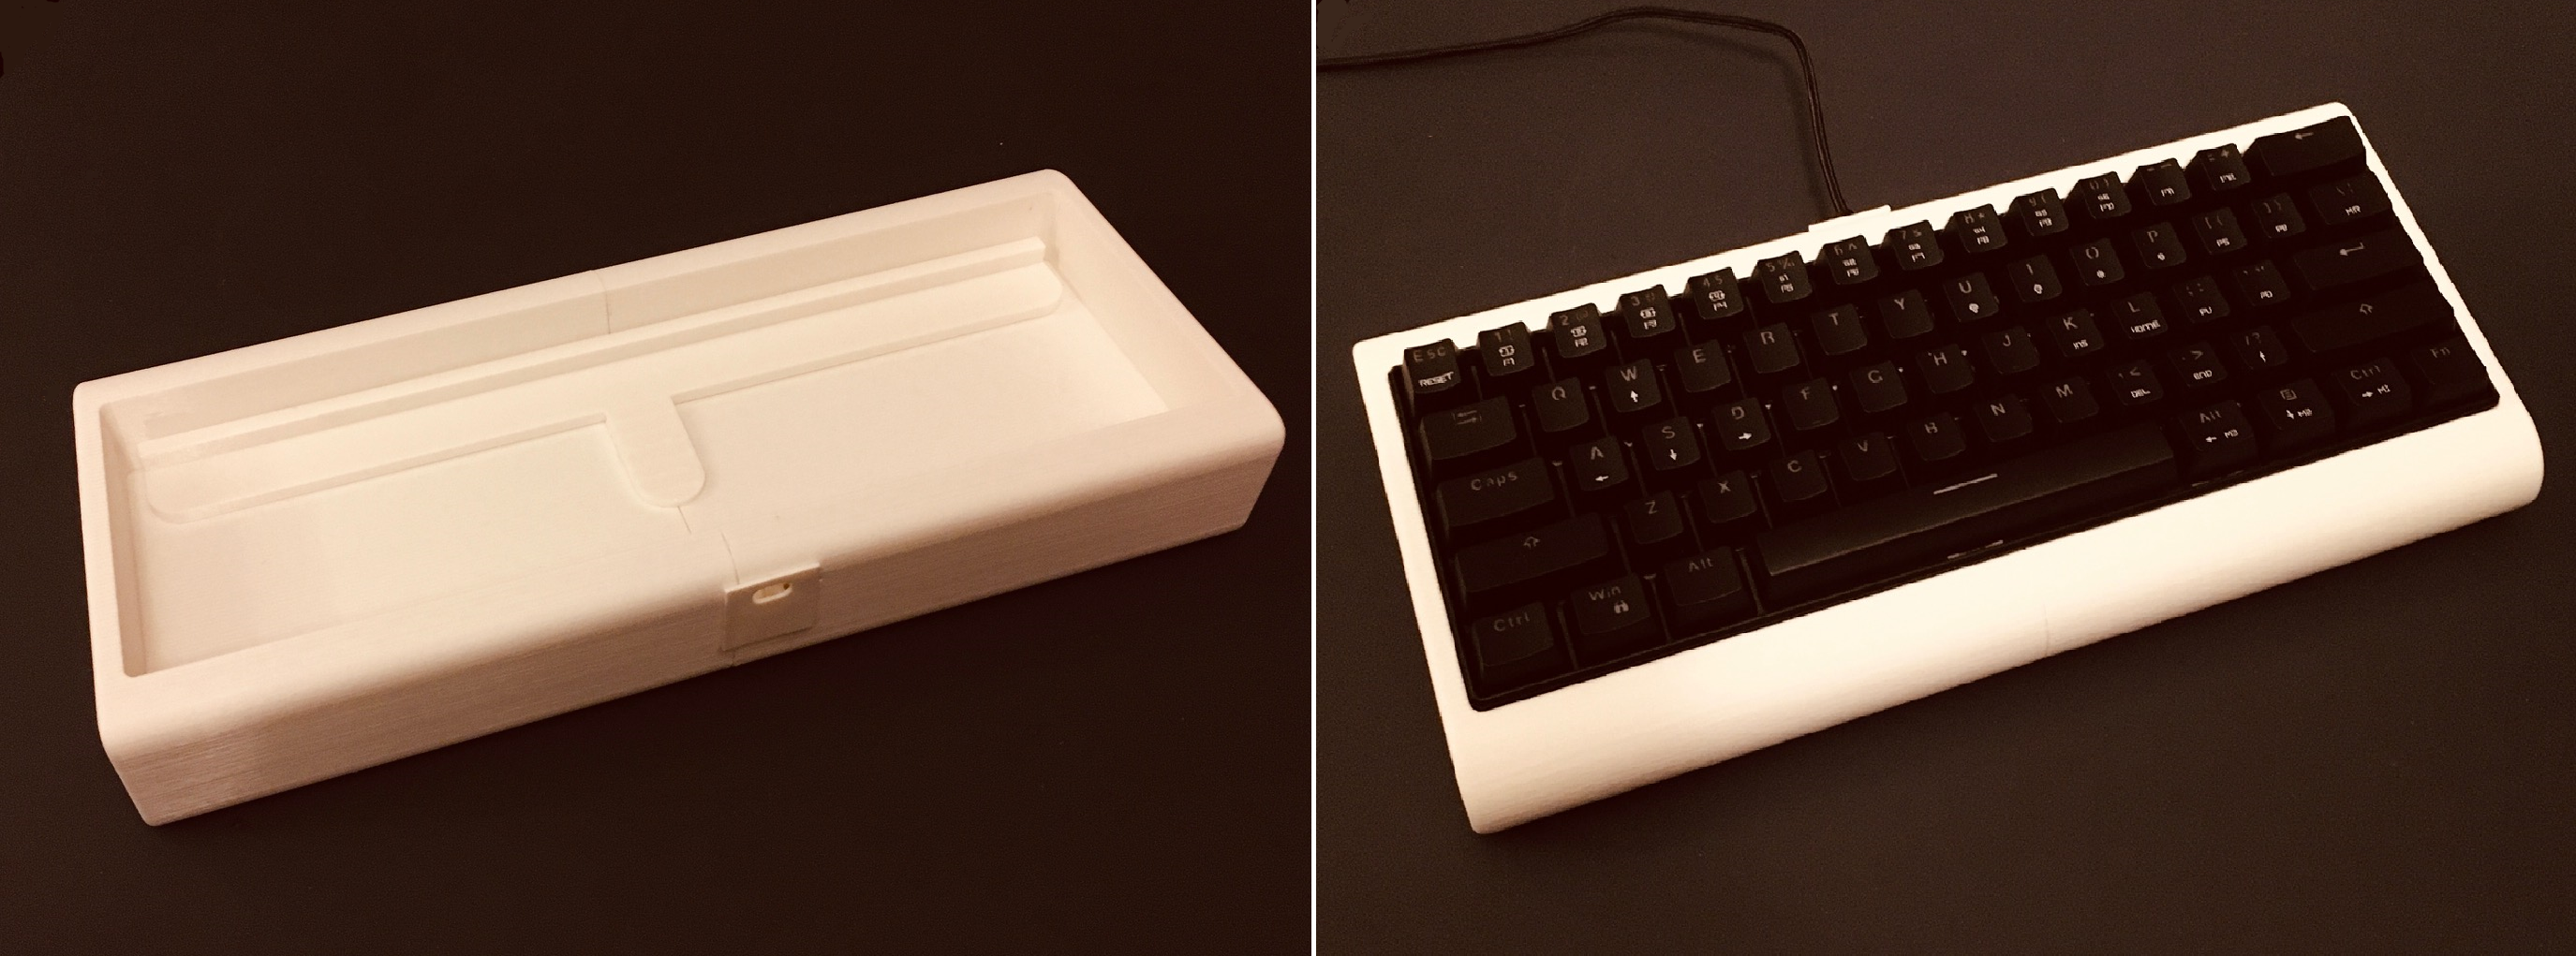
And here is the result.
![]()
On the left is the VT100 frame. I had to print it in two pieces which I glued together and reinforced with the cross piece you can see, also glued on, which supports the front of the keyboard at the proper height. On the right the finished keyboard.
I'm happy with the result which is authentic looking enough for me. Until it was all together, I had not realized how uncomfortable some of these early keyboards must have been to use. Again as a hunt and peck guy I didn't notice back in the day when I'm sure that I used said keyboard at some point in my career.
-
Creating a Model
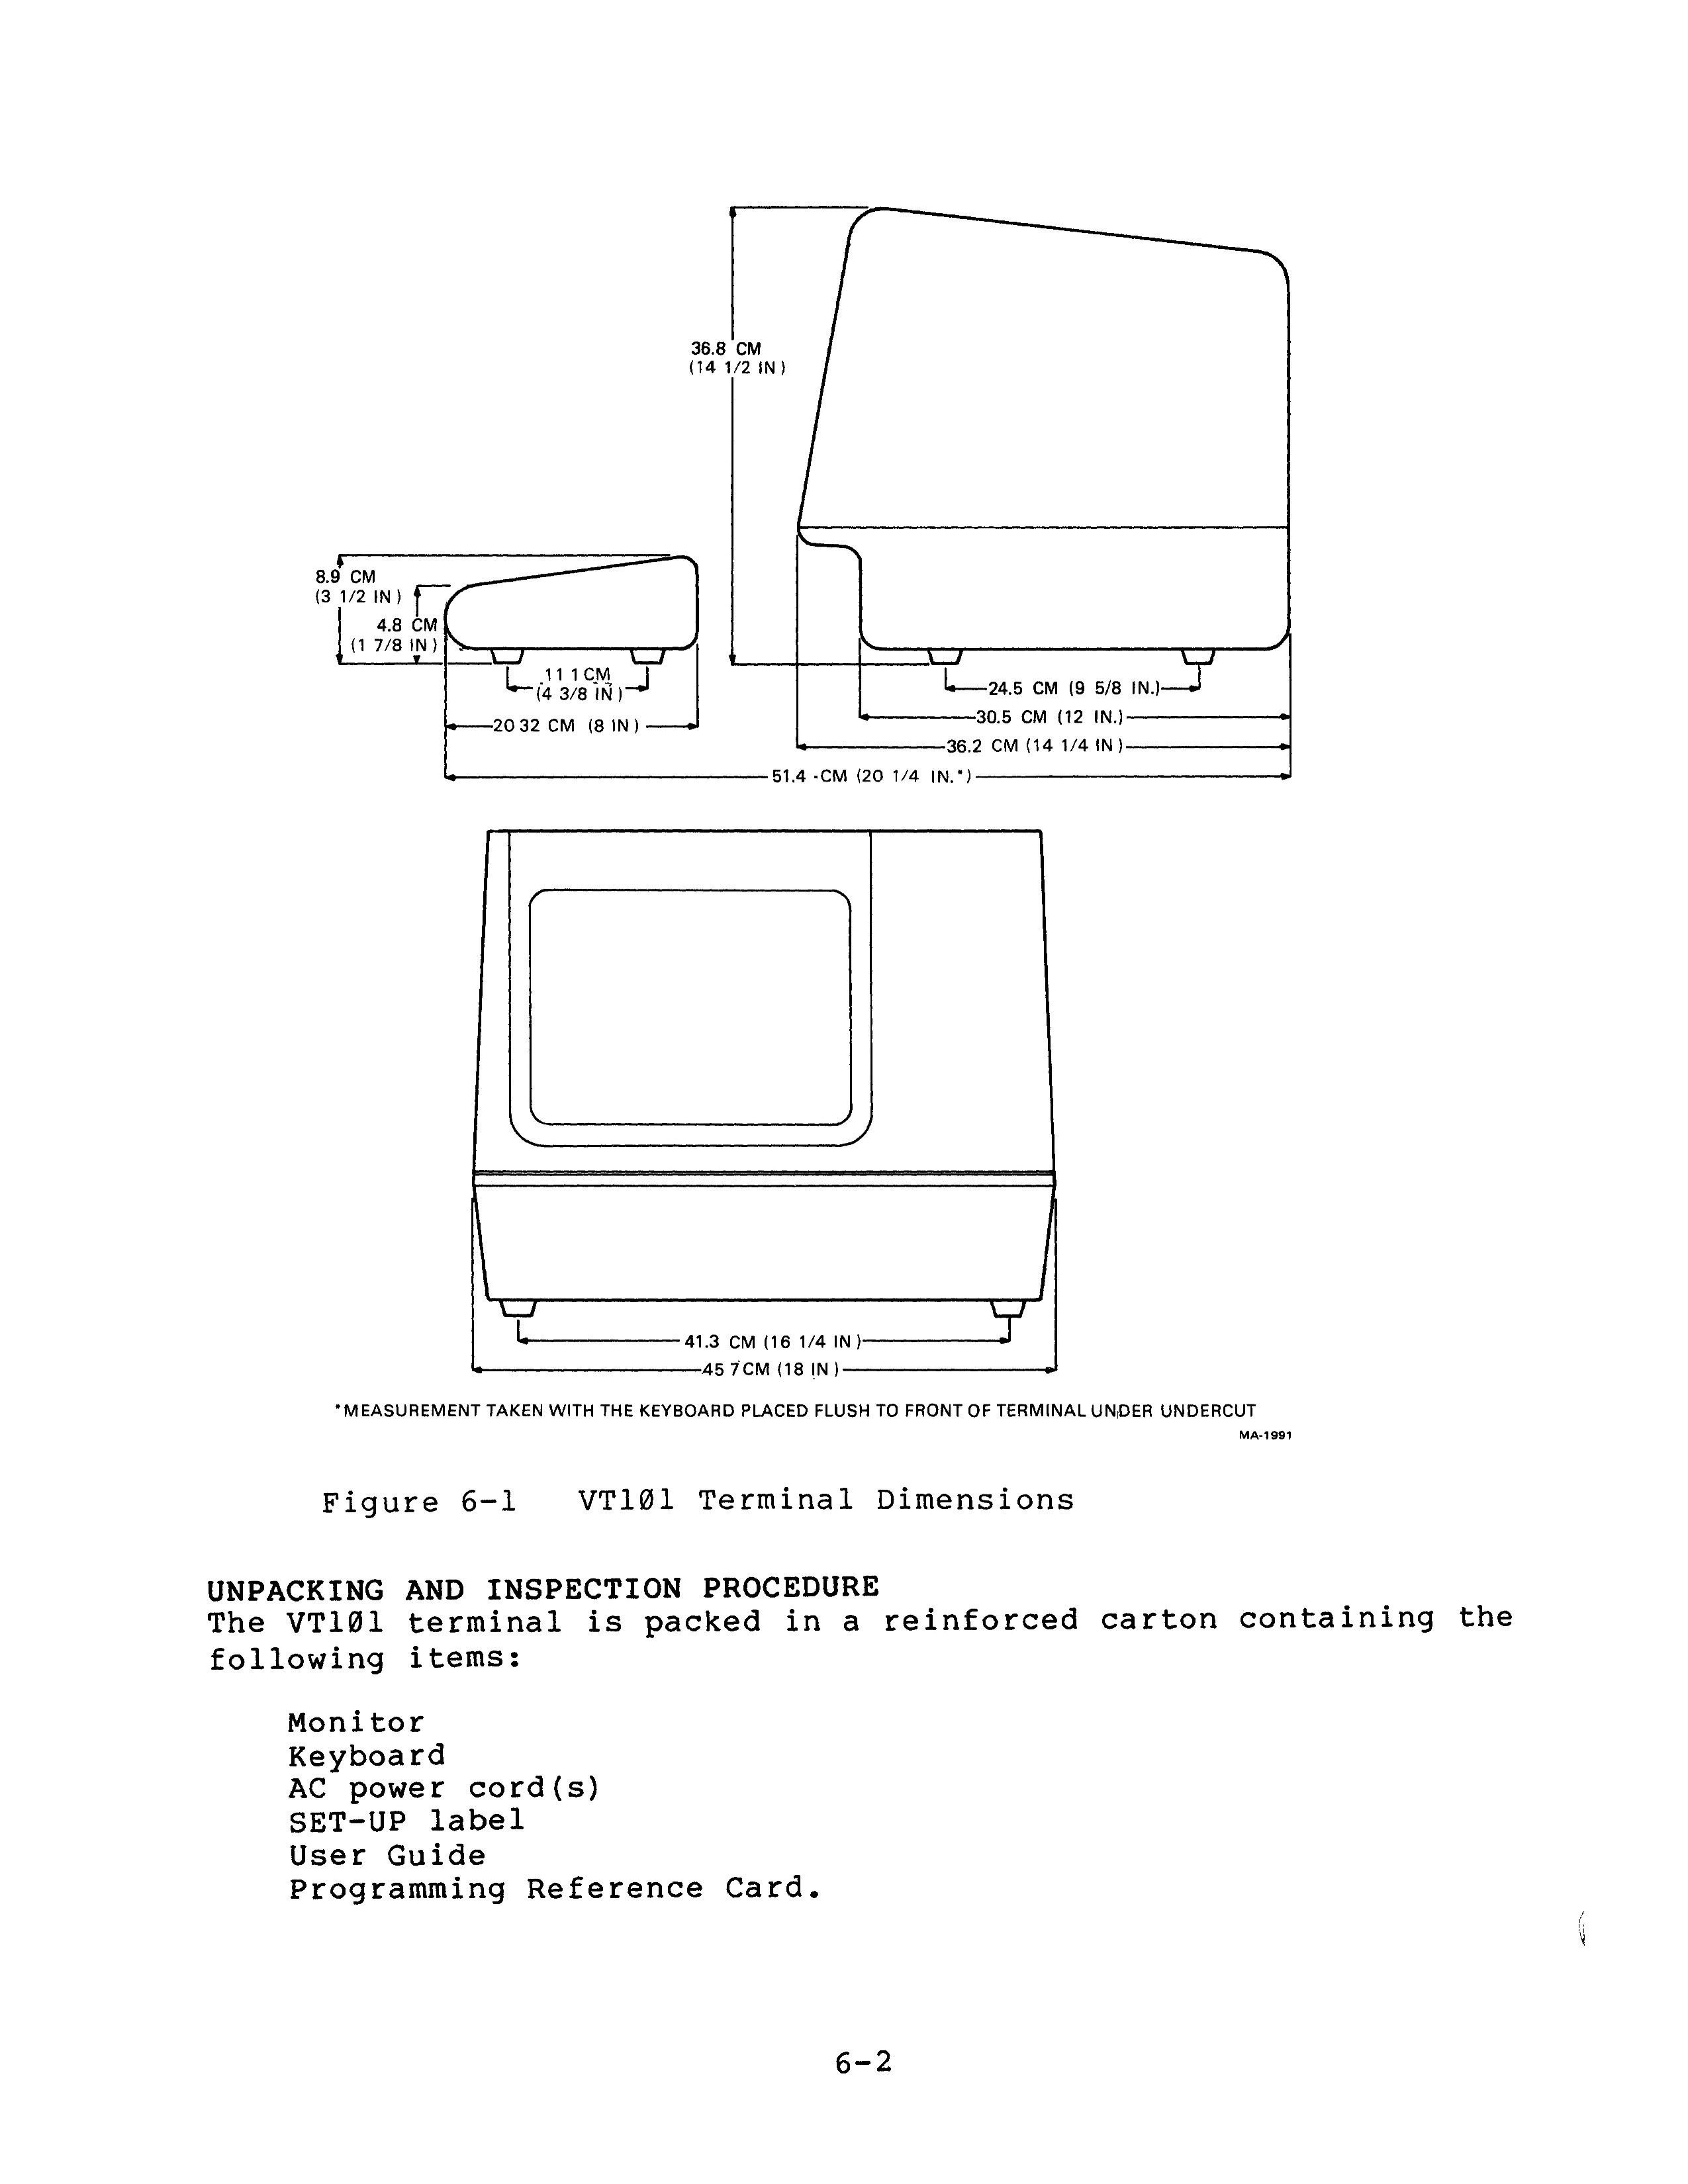
02/09/2021 at 20:42 • 0 commentsI managed to find a VT101 Video Terminal User Guide online, and basically, for someone that often does reproductions of artifacts that they can't actually afford to buy, struck gold.
![]()
Figure 6-1 is all I need to create a suitably scaled VT100 3D model.
![]()
So just a couple of hundred hours of 3D printing (seriously the keyboard alone is 30+ hours or so), and shoehorn in a keyboard and display and I'll be done.
-
What It Is and What It's Not
02/08/2021 at 21:10 • 0 commentsSince the DEC VT100 was the gold standard for serial terminals in the early years, that's what I will base my design on, and since it will be a driver for a 2:3 scale PDP-8I I'll scale my design accordingly.
I will not be making a true replica VT100. The plan in fact is not even to make a real serial terminal. I want to make something that is clearly a VT100 derivative as close as possible in look, but sourced with modern components. So for instance it will have an LCD screen disguised as a CRT, and the 2:3 scale precludes having a full sized keyboard with number pad like the original. The display will be hooked directly via HDMI to the Raspberry Pi running the PDP software, and the keyboard will be USB connected to the Pi as well.
2:3 Scale VT100 Terminal Reproduction
I want to make a scale model VT100 terminal for use with my 2:3 scale PiDP-8/I.