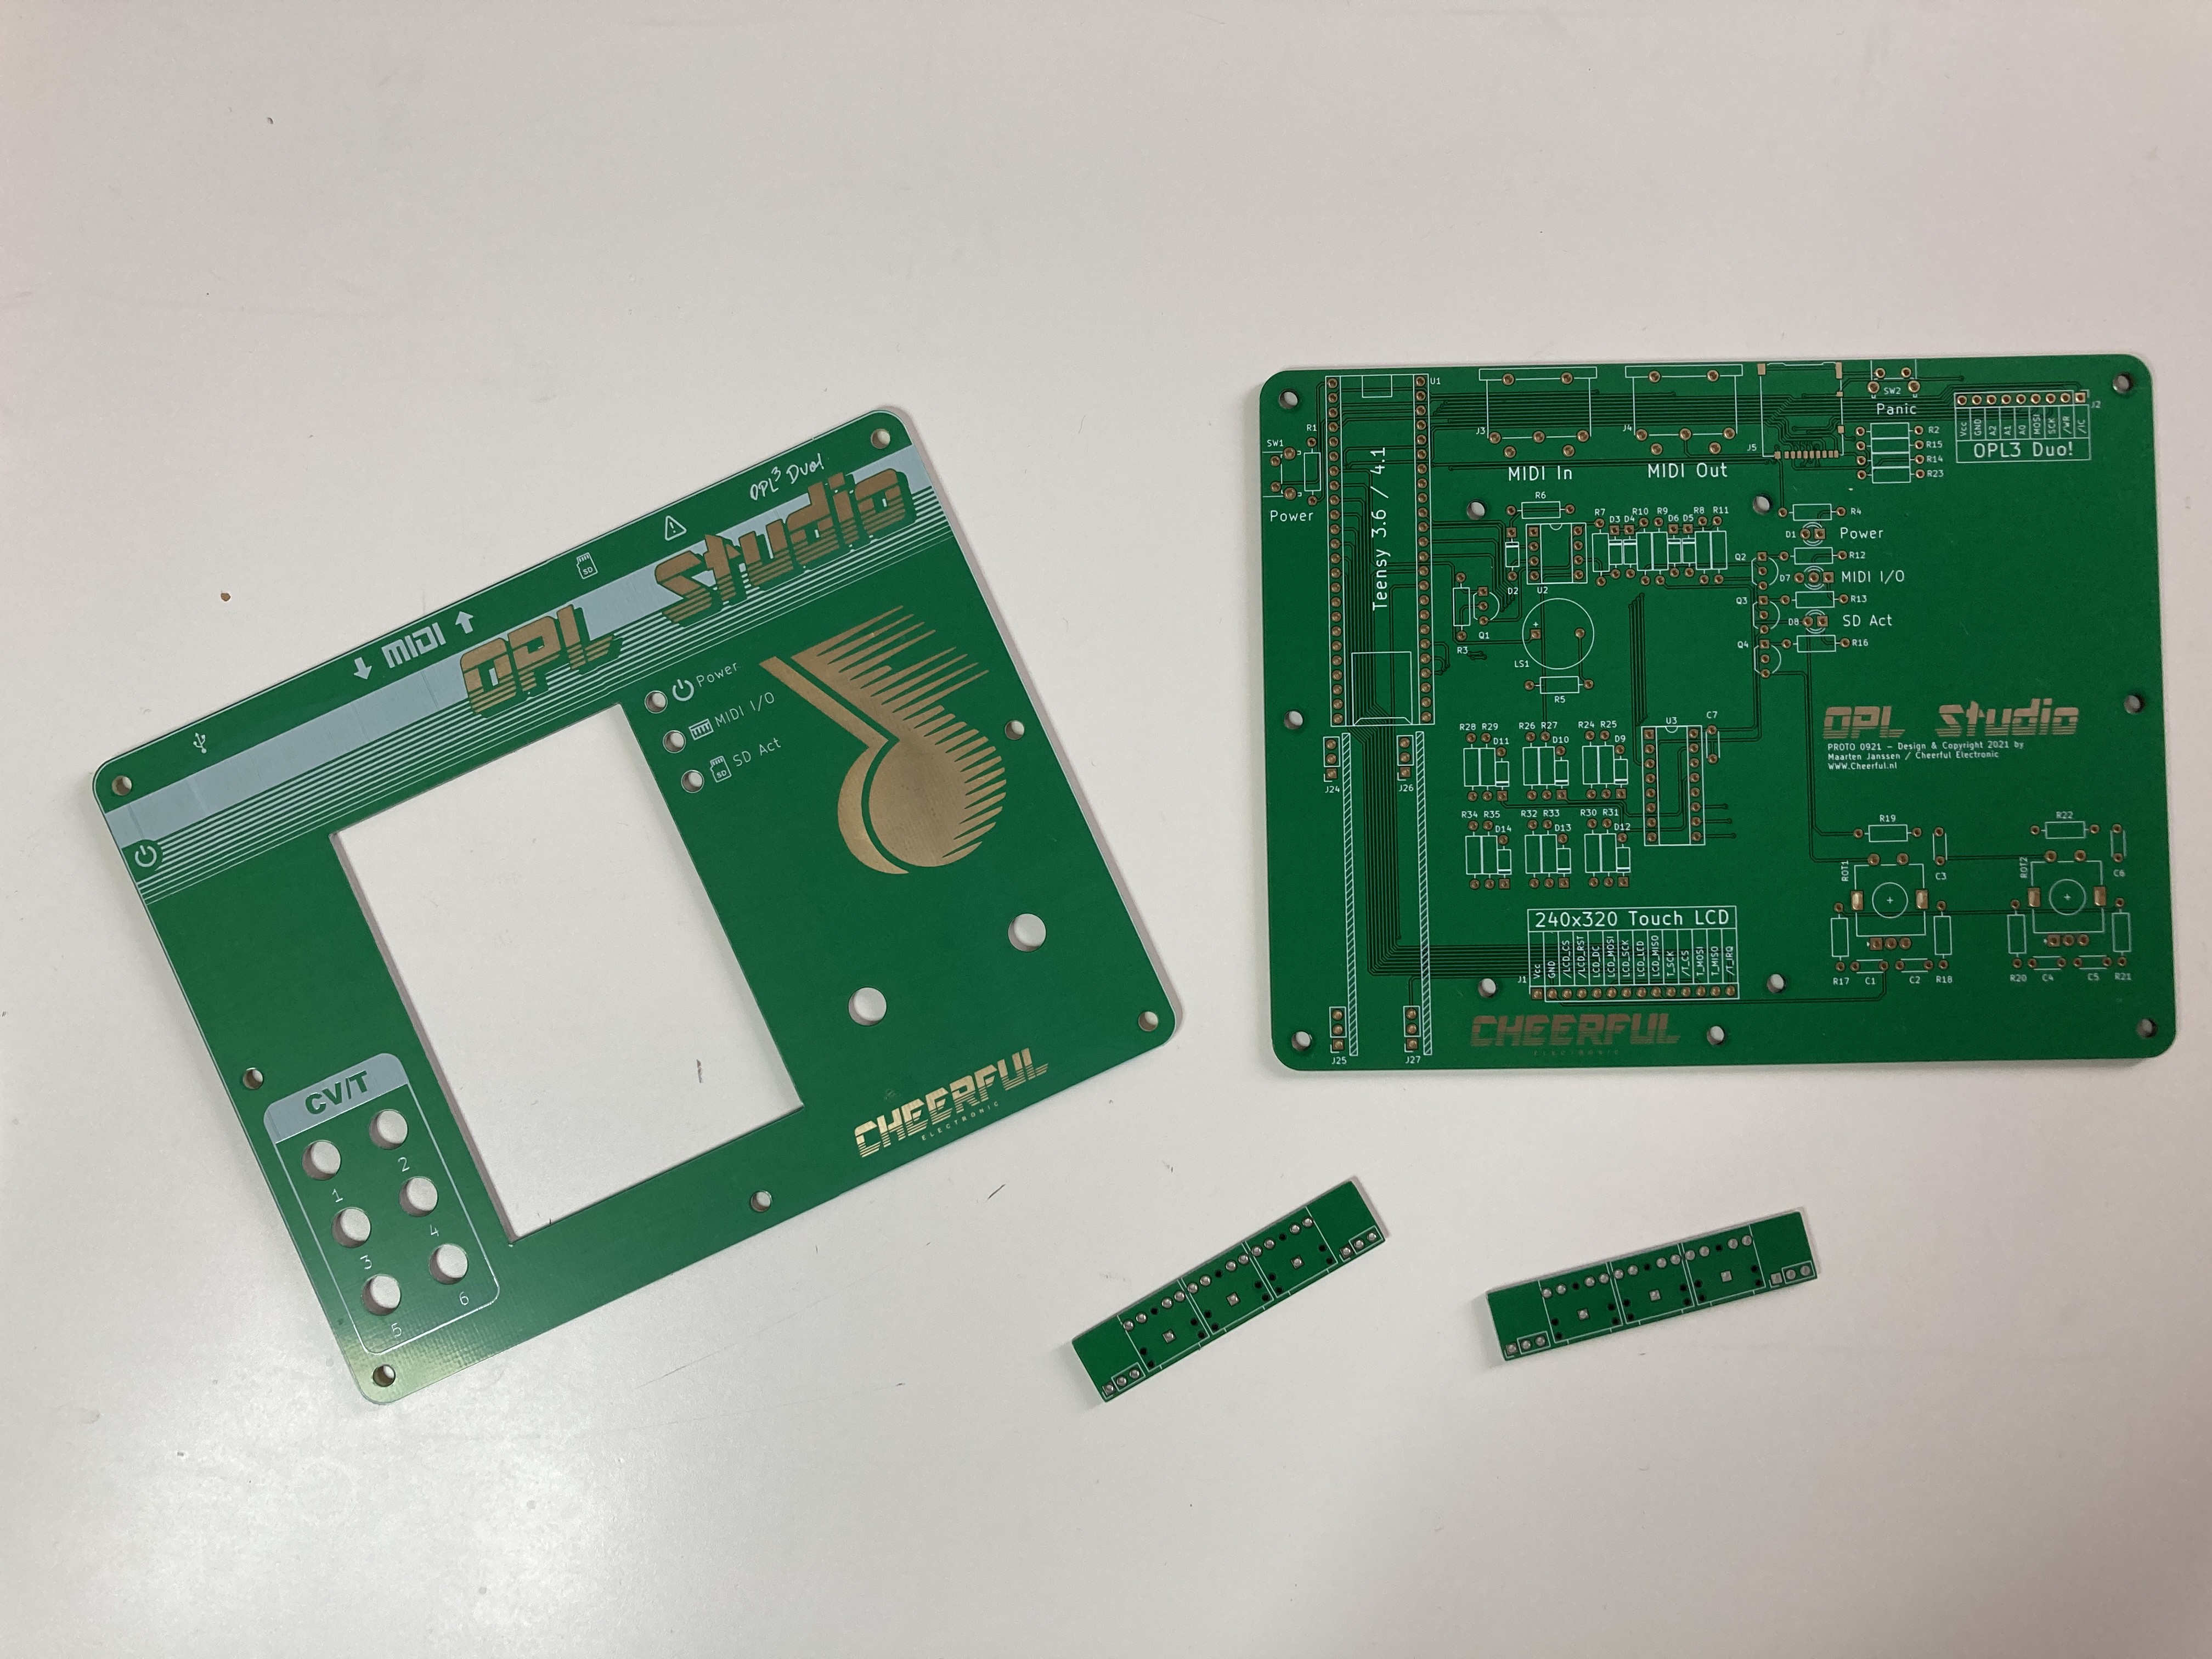
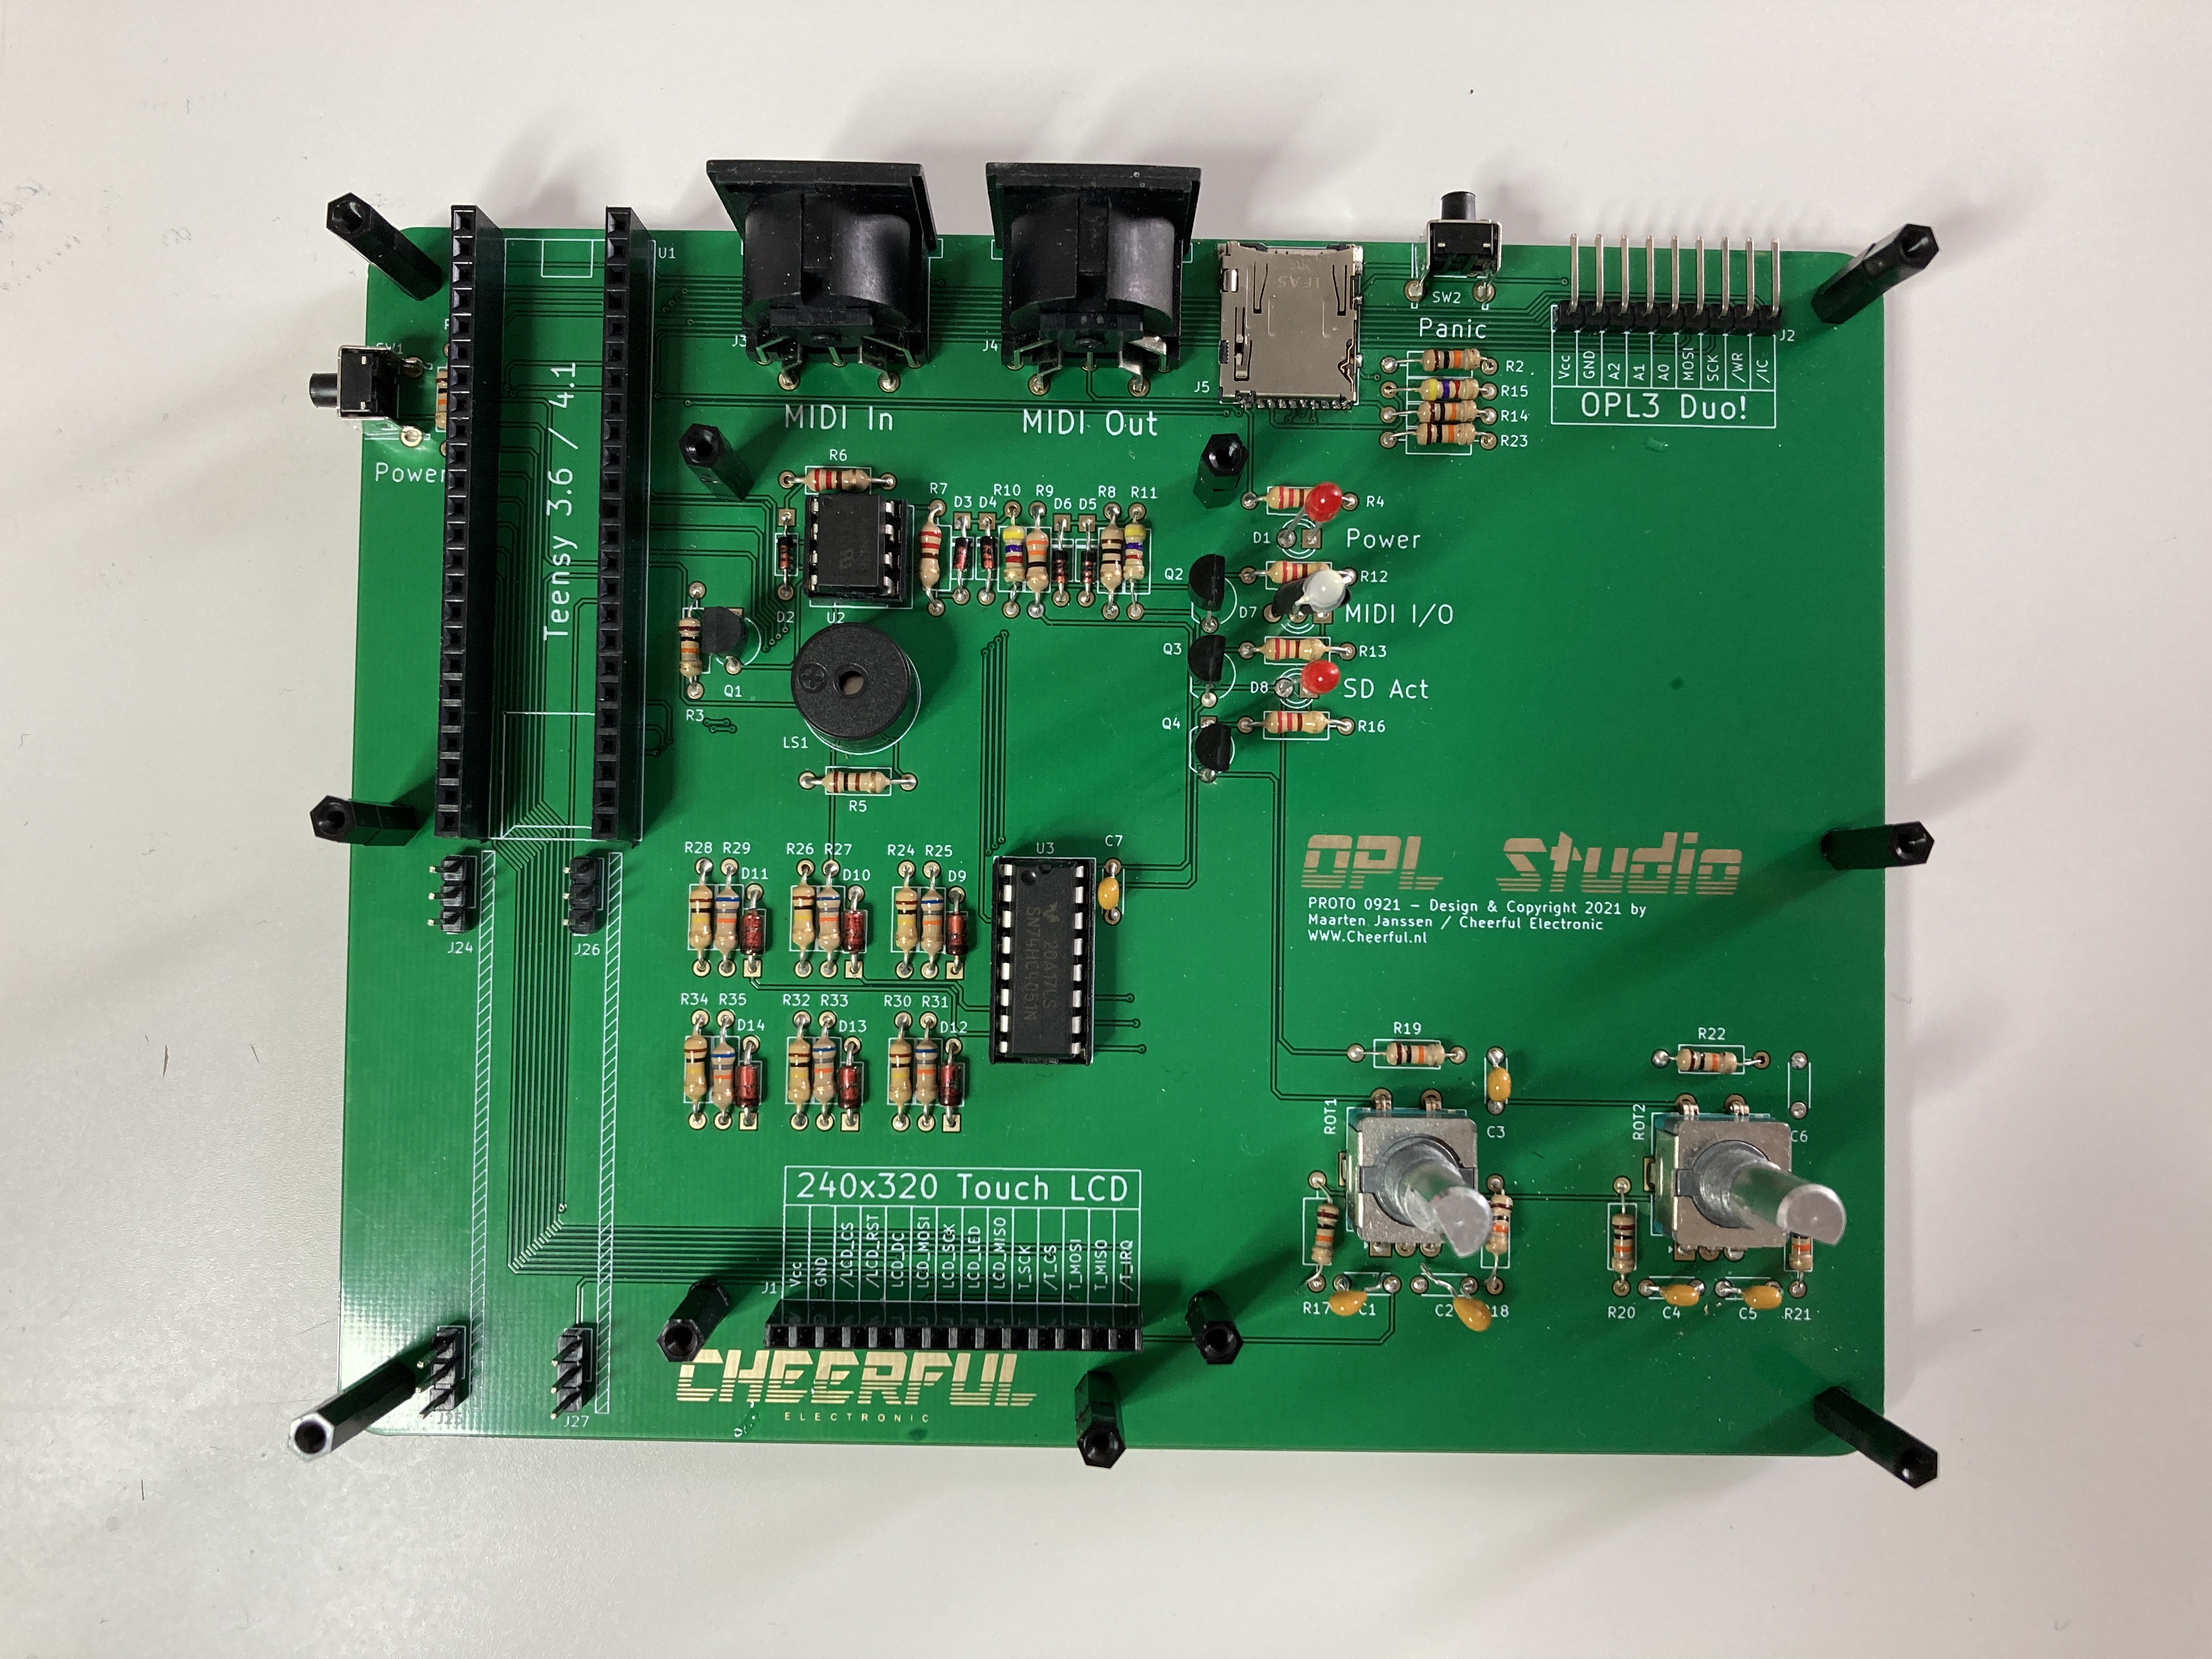
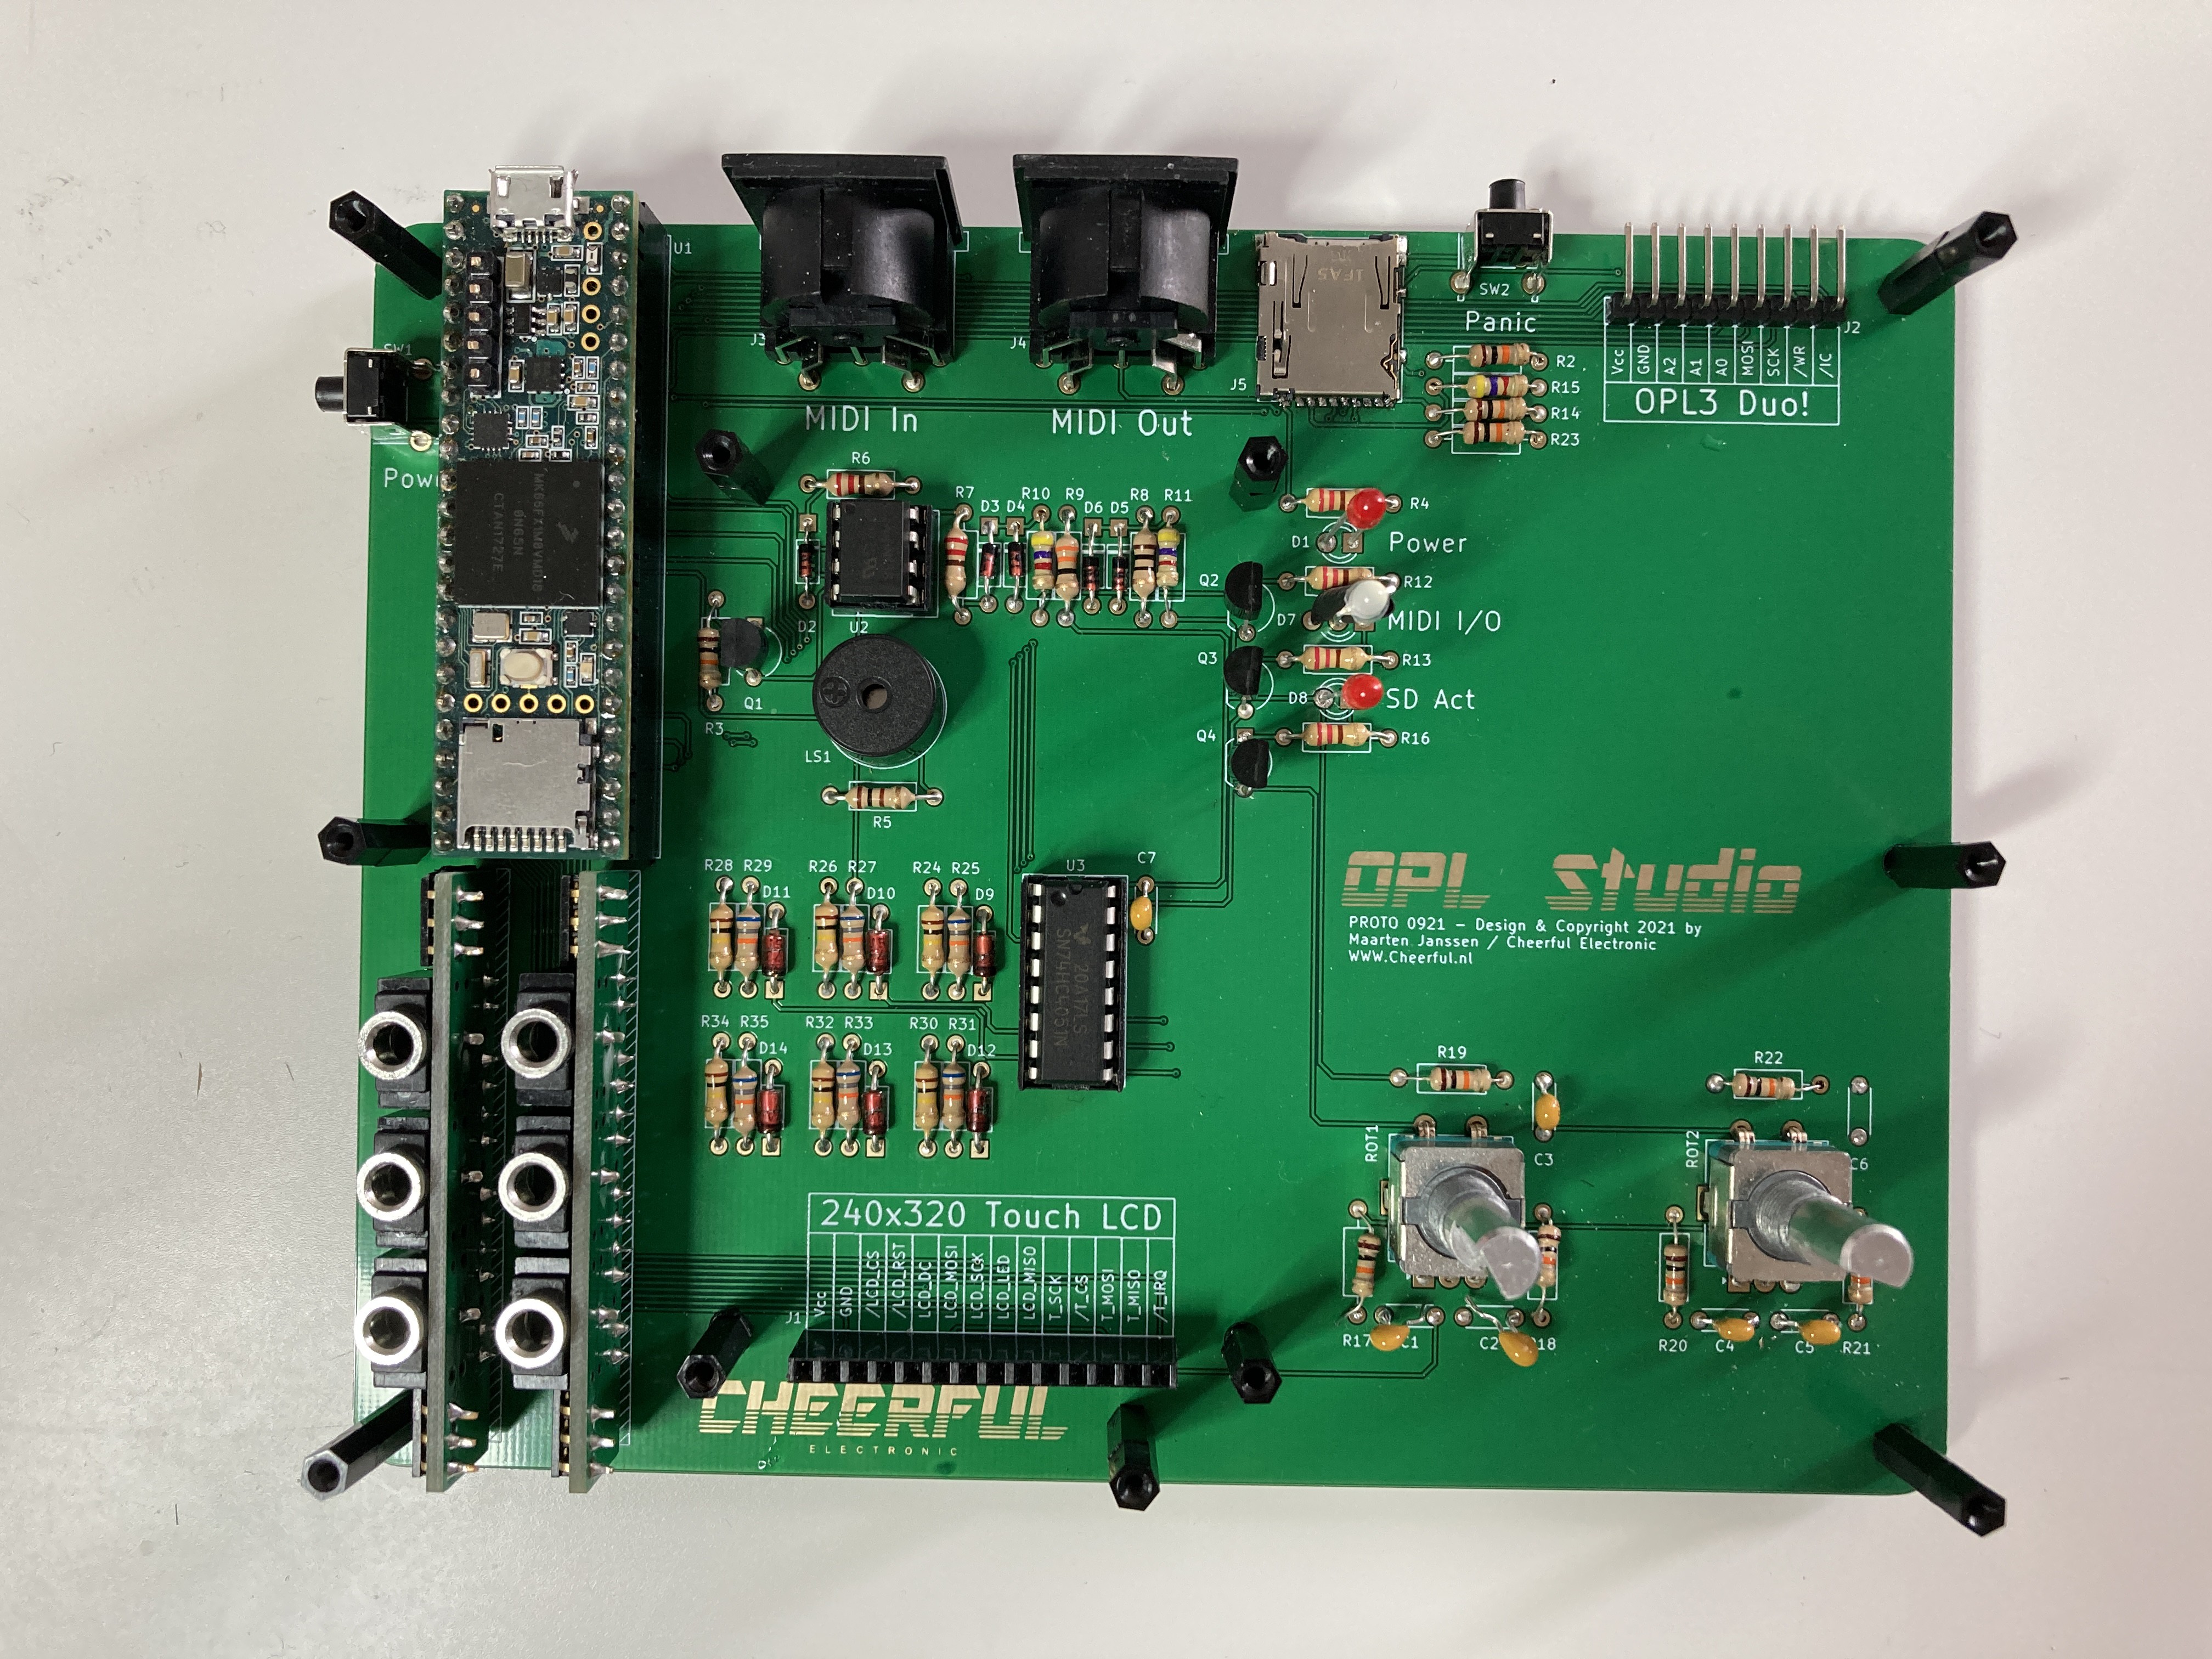
Finally the PCBs of the 2nd prototype arrived! As you can see it's quite a big change compared to the first prototype. All the potentiometers and buttons are gone in favor of two rotary encoders and the Eurorack inputs have moved onto small plugin boards. What I'm most excited about is the front panel. It's the first time I'm trying to make one.

I did however make quite a number of mistakes while designing the board. For starters I completely forgot the connections for the power and panic buttons and the connection from the Teensy to the mosfet that powers on the device. Oops! Nothing that a few bodge wires won't fix however.
Next problem was with the LEDs. I'm not sure what I was thinking while working on the schematic, but I messed up. Long story short the LEDs where on when they should be off and vice versa. Swapping the NPN transistors for PNP transistors also got that problem fixed. Except for the bi-color LED that indicates MIDI activity. I used the wrong footprint and had to bend some wired to make it work. I also swapped the green LEDs I initially installed for some red ones I had lying around since the green ones were so bright they were hurting my eyes.
Then still the rotary encoders are a bit to eratic for my liking, the footprint of the little beeper is too large and the SPI bus is having some issues, yet I got it all to work! :)


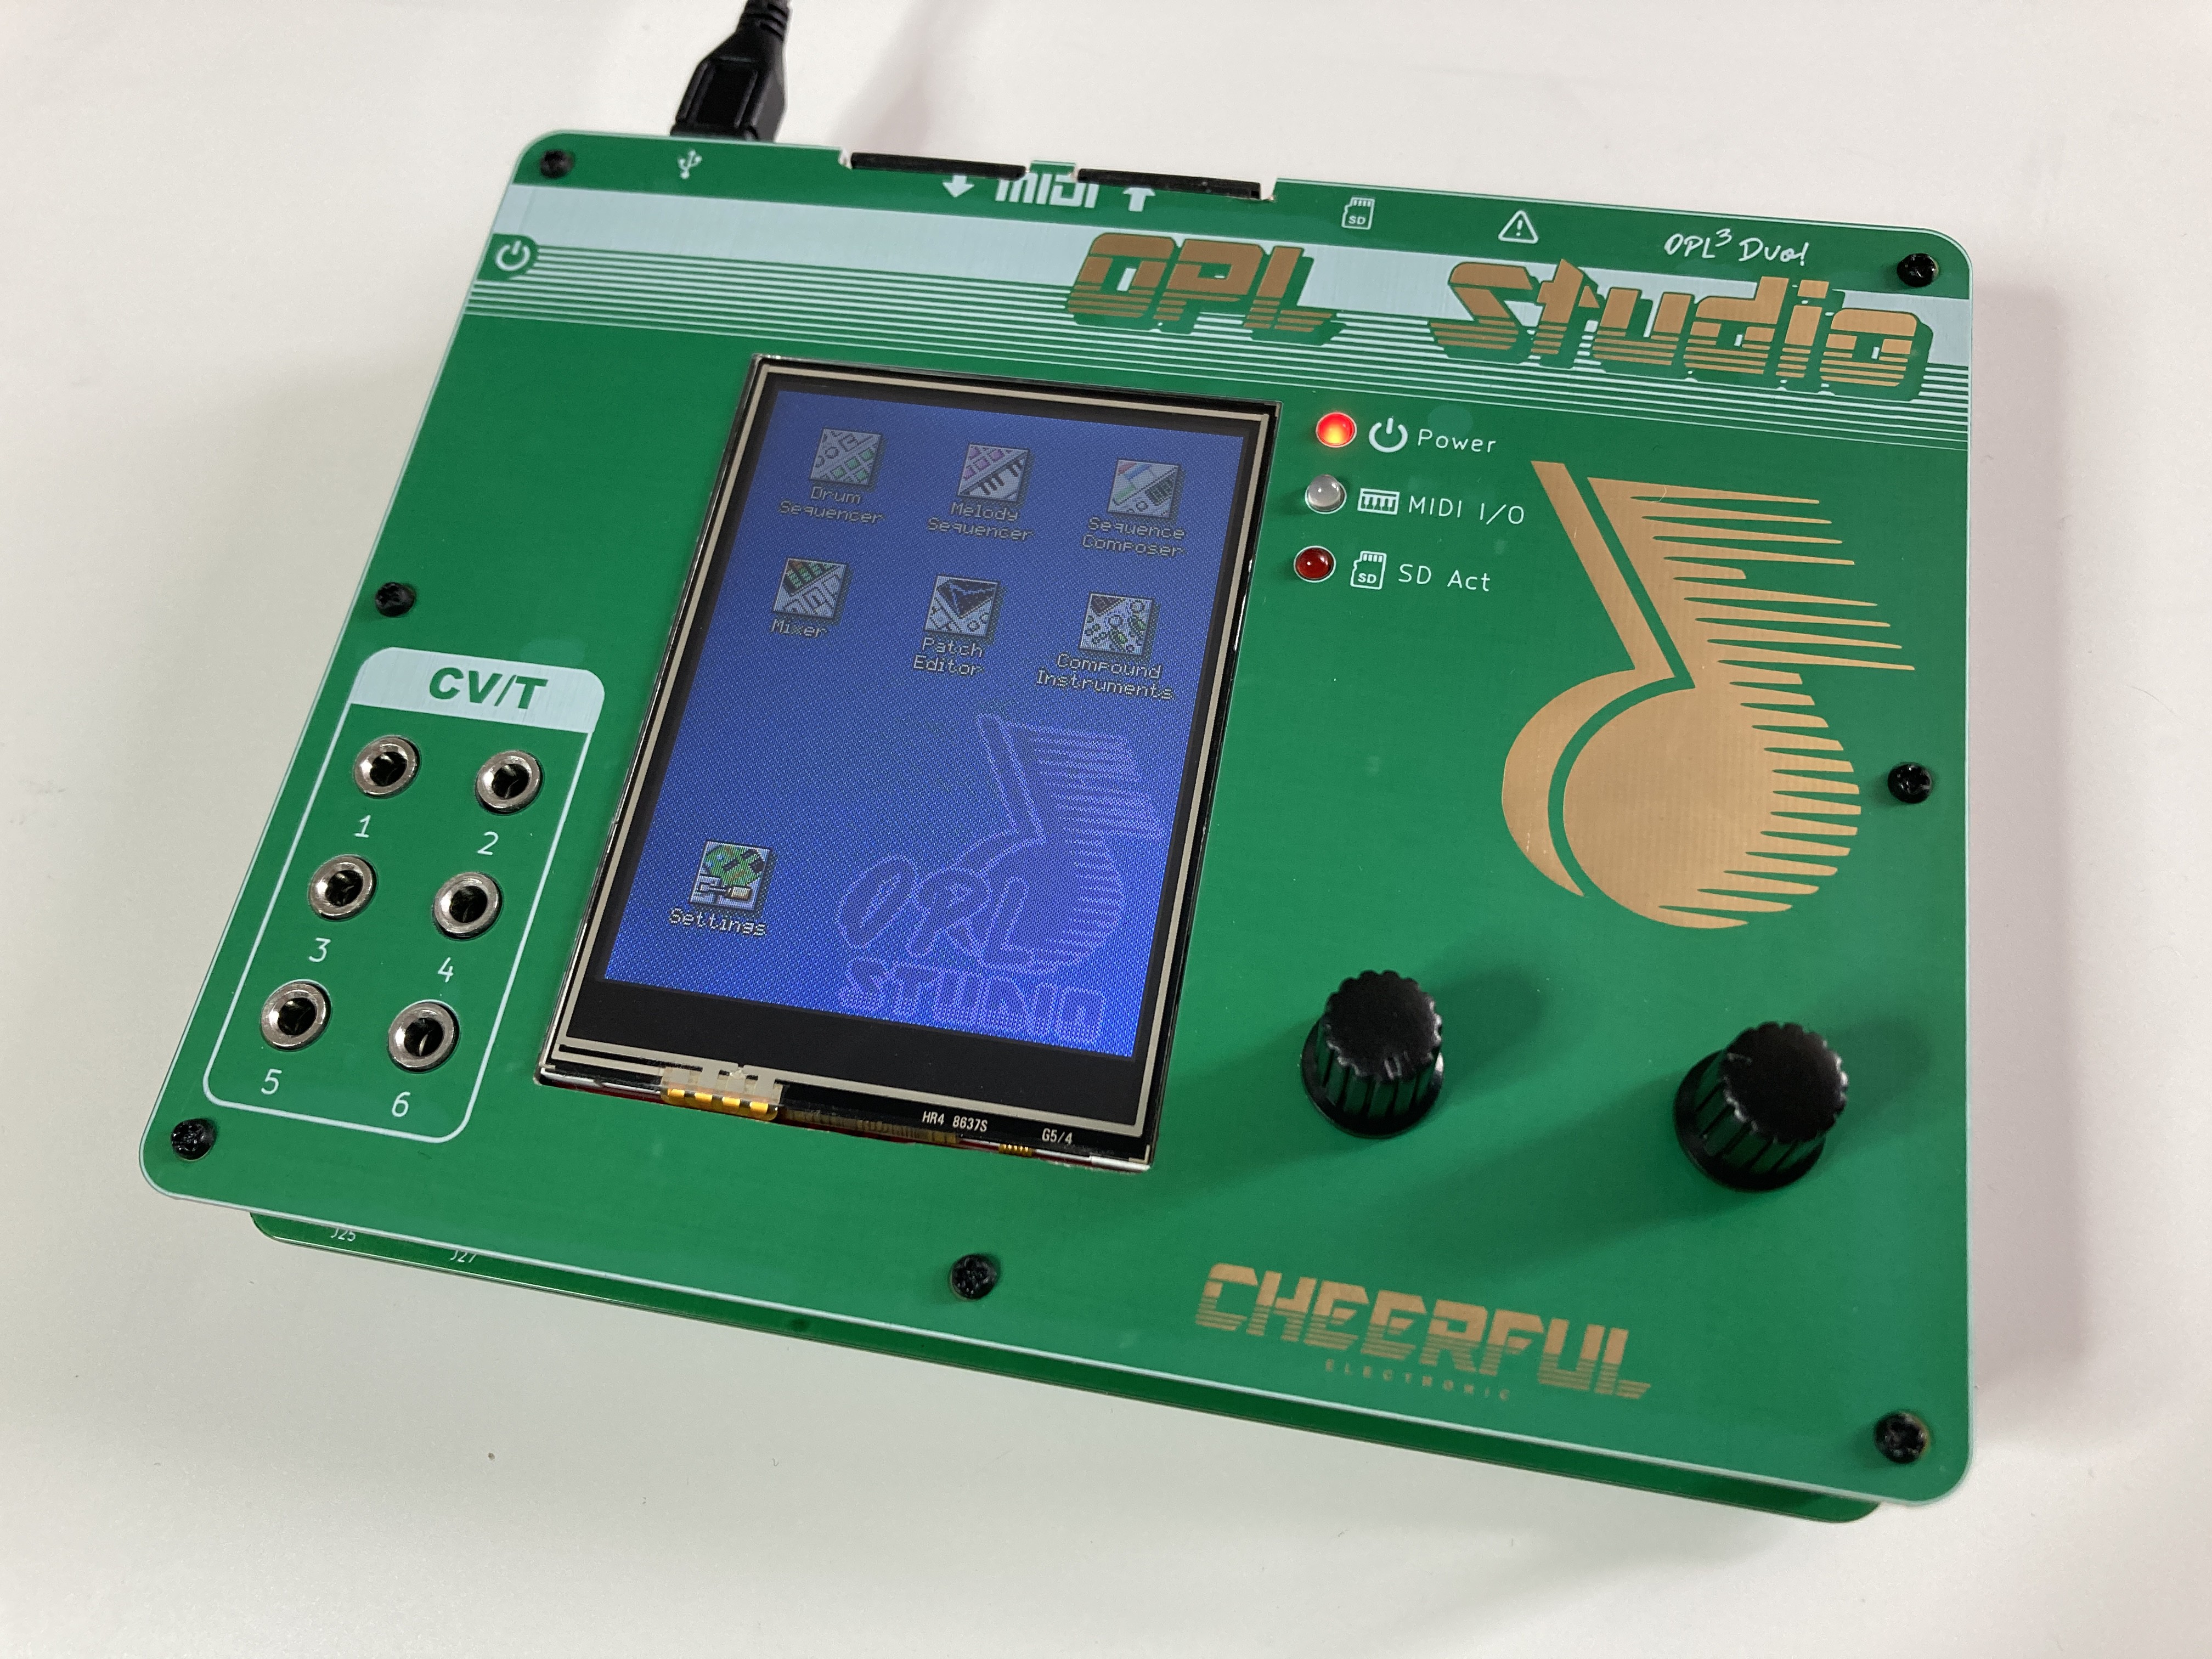
Now the electrical side is all good, next came some physical issues. The front panel didn't quite fit as intended, though it came pretty close. With some filing to allow the screen to fit and some dremeling to make room for the MIDI plugs the front panel fits nice and snug!

For my first time making a front panel I'm really happy, but I also thinks that it looks very plane and boring. Maybe it needs a more interesting graphics than the double note I took from my OPL3 Duo! board. I'm also thinking of trying a black front panel to make the screen stand out more and make the graphics really pop.
With every error I found I've immediately gone back to my KiCad design files to make the changes so I won't mis any changes I make and so another run of prototypes within a week or two to hopefully get the final issues ironed out.
In the mean time I also hope to find a slightly taller connector for the screen or think of another way to connect it. Right now the screen is pressed into the connector on the main board just barely. Also the plastic screws and standoffs really need to go and be replaced with metal ones.
Saving and Loading Sessions
Up to now the OPL Studio is not yet able too save or load anything other than instrument patches. That's of course really annoying when you're working on a bigger project. You don't want to start from scratch every time you power on the device. So besides working on the prototype I've also put some time in allowing to load and save sessions.
The first step I've taken is to allow other devices to send system exclusive (sysEx) MIDI events to the OPL studio. These SysEx events can contain and data the OPL Studio works with, such as instrument patches, drum or melody sequences and songs, but through SysEx messages you can also directly control the OPL3 chips. Of course the OPL Studio also needs to be able to send these SysEx events and allow you to save and load sessions to the SD card.
The Session Manager will be the new module that I'm working on that allows you to save and load a session from SD or send particular settings as SysEx events. Receiving SysEx events can of course happen and any time and it will immediately update the UI. This is very cool to see!
Small Minor Improvements
Lastly I made some extra improvements to the melody sequencer. So far all notes that were played in a sequence would have their key on for the full duration of a step, giving a legato effect. This often didn't sound right so I now allow to select the key on duration of the notes per sequence in 3 steps from staccato to legato.
Another annoyance that I managed to fix was due to the metronome. While live recording a melody by listening to the metronome beeps for timing I found that in the recording the notes always ended up on the previous step. I had already tried many fixes in the software before I realized that this was actually a human bug! The metronome would play a beep exactly at the start of a beat. This was causing the human to incorrectly time its key presses slightly before hearing the beep and the note being registered in the wrong step. Offsetting the metronome beep to sound just a few MIDI ticks after the start of the beat fixes the issue. Recording is now really smooth!
 Maarten Janssen
Discussions
Become a Hackaday.io Member
Create an account to leave a comment. Already have an account? Log In.