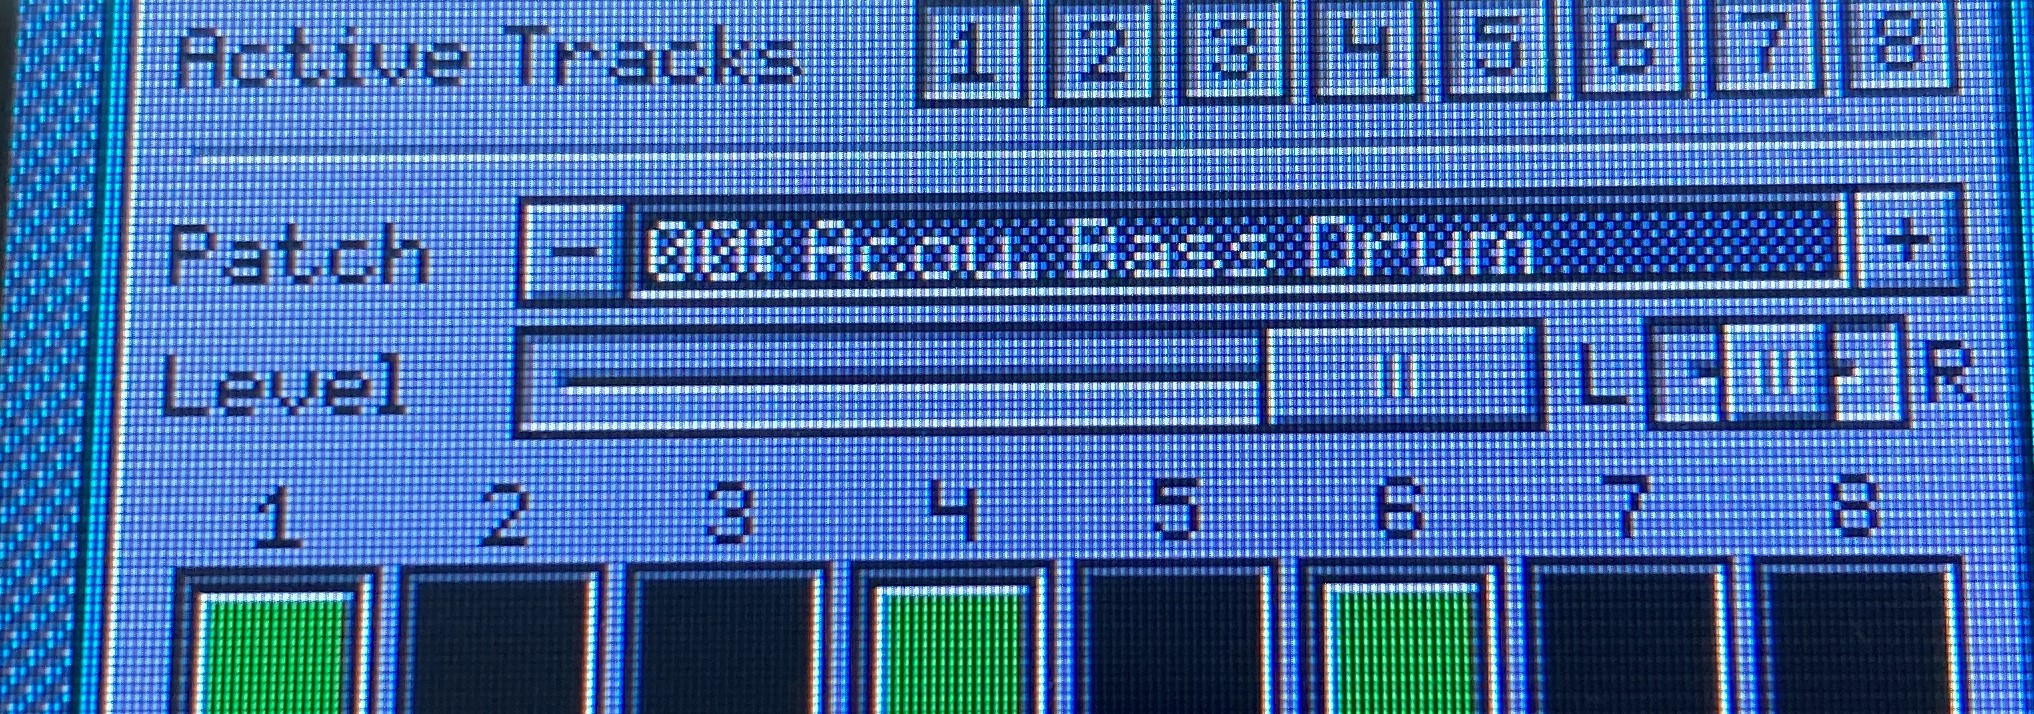
This is a long overdue project update... The past couple of weeks haven't been very kind to me where every couple of days something in or around the house broke down. Also my laptop wasn't safe from this curse and the hinges of its screen snapped off completely. This left me with only a very old HP laptop that wasn't really up to the task anymore to do any serious developement. Never the less I did mandage to put in some nice updates!
Power and Panic
The 2nd prototype has two buttons that so far had no function. A power button to switch the thing on and off and a panic button that you can press when the OPL 'hangs' due to bad settings or broken MIDI. Both buttons are now functioning.
The power button does as you would expect in a graceful way: it fades the screen and volume in and out as the OPL Studio is powered on or off. and refreshes the screen in the background to hide the ugly screen build up.
When you press the panic button the OPL3 Duo will be reset and all MIDI will be flushed to stop hanging notes.
Some UI Tweaks
There are also some small UI tweaks. First of them is a performance improvement for controls to prevent excessive repaints when possible. Another update has to do with the element being focused so its value can be altered with the rotary controls. Previously the focused element would show its value in bright white, but this would not make it stand out enough. So now the active element also gets a blue background for the value.

Compound Instrument Editor
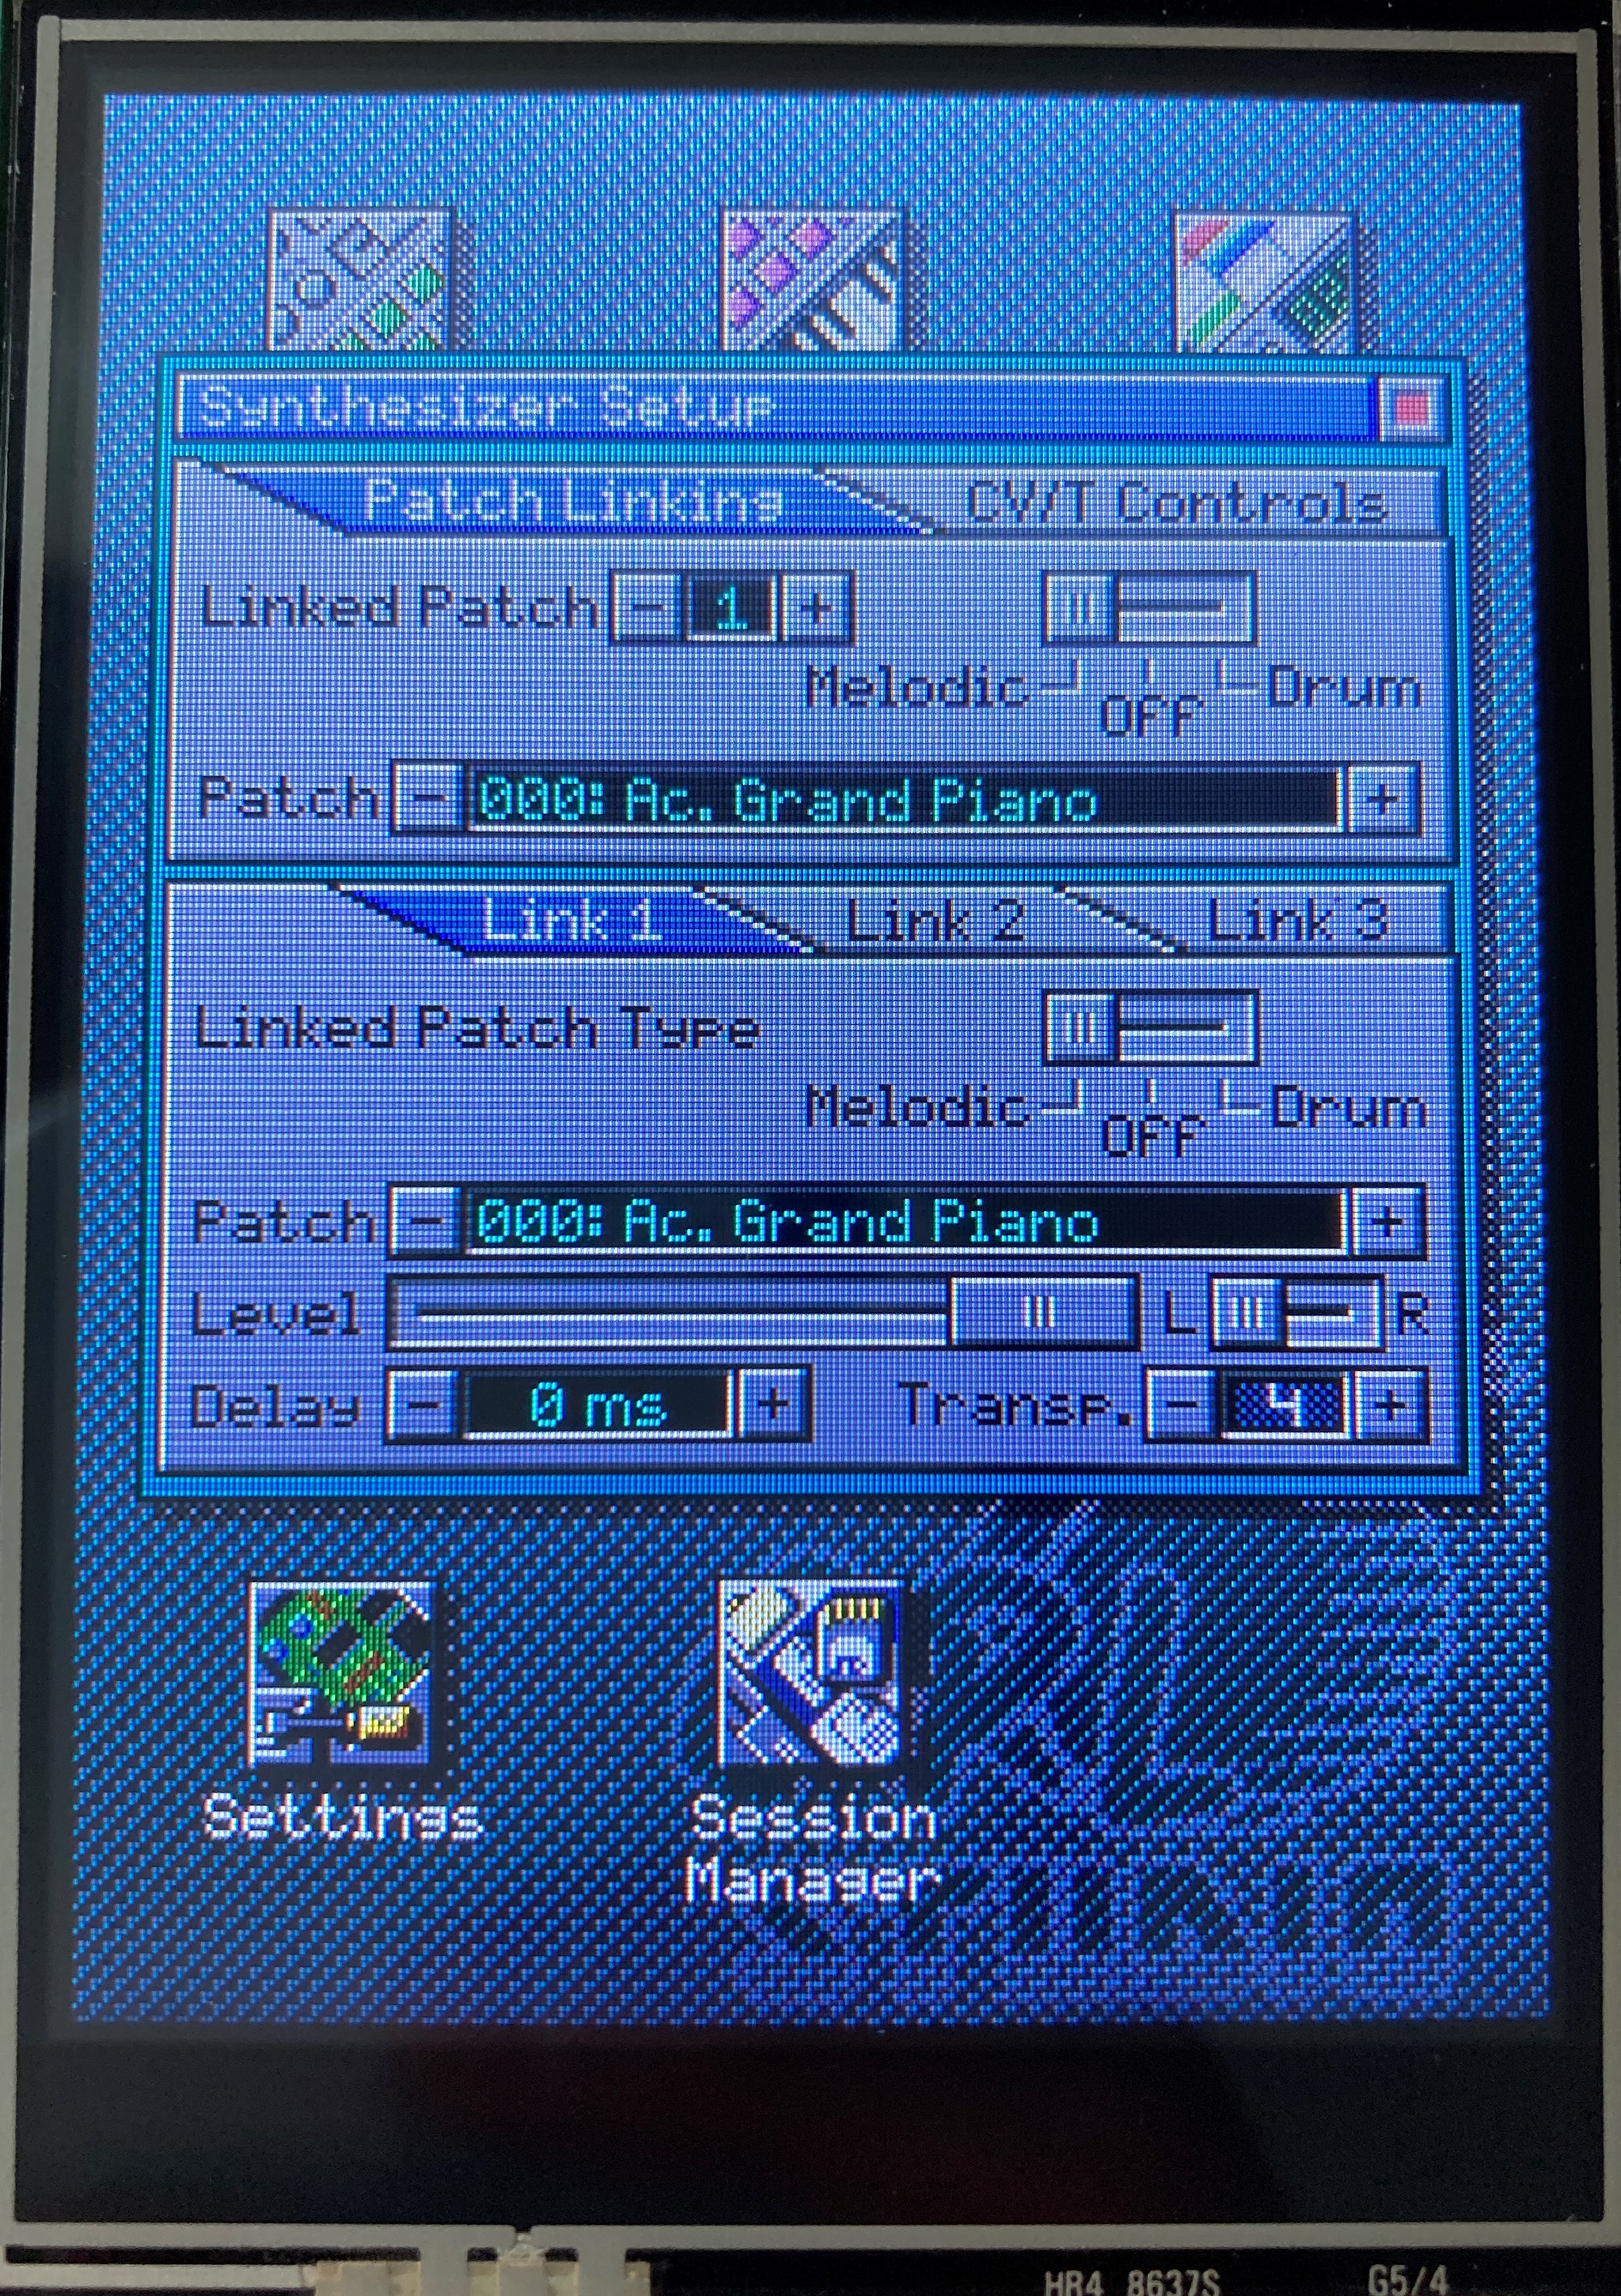
The Compound Instrument Editor was completely overhauwled into the Synthesizer Setup. The Synthesizer Setup will now be the place to edit compound instruments which will from now on be called 'Linked Patches'. The UI is more compact now with some new controls to select between disabled, melodic and drum links. The Synthesizer Setup will also be the place where you can setup the functions of the 6 analog CV/T inputs of the OPL Studio. This UI is not ready yet in this update.

Analog CV/T Input Handling
The OPL Studio has 6 CV/T (control voltage / trigger) inputs that you can use to control various parameters such as channel frequency, output level, ADSR envelope, etc. These functions will all be configurable from the Synthesizer Setup module.
Getting this part of the OPL Studio implementad had been a pain for a long time, but in this update it's starting to work. The hardware part that I designed for the 2nd prototype is working correctly and you can feed the inputs a voltage between 0v and 8v to control what ever function if configured for the input. In the demo at the end of this update I'm showing a very simple setup with a potentiometer that sends a control voltage between 0v and 5v to override the output level of the 3rd operator of a patch. This is very fun to play with and can give some wonderful sounds!

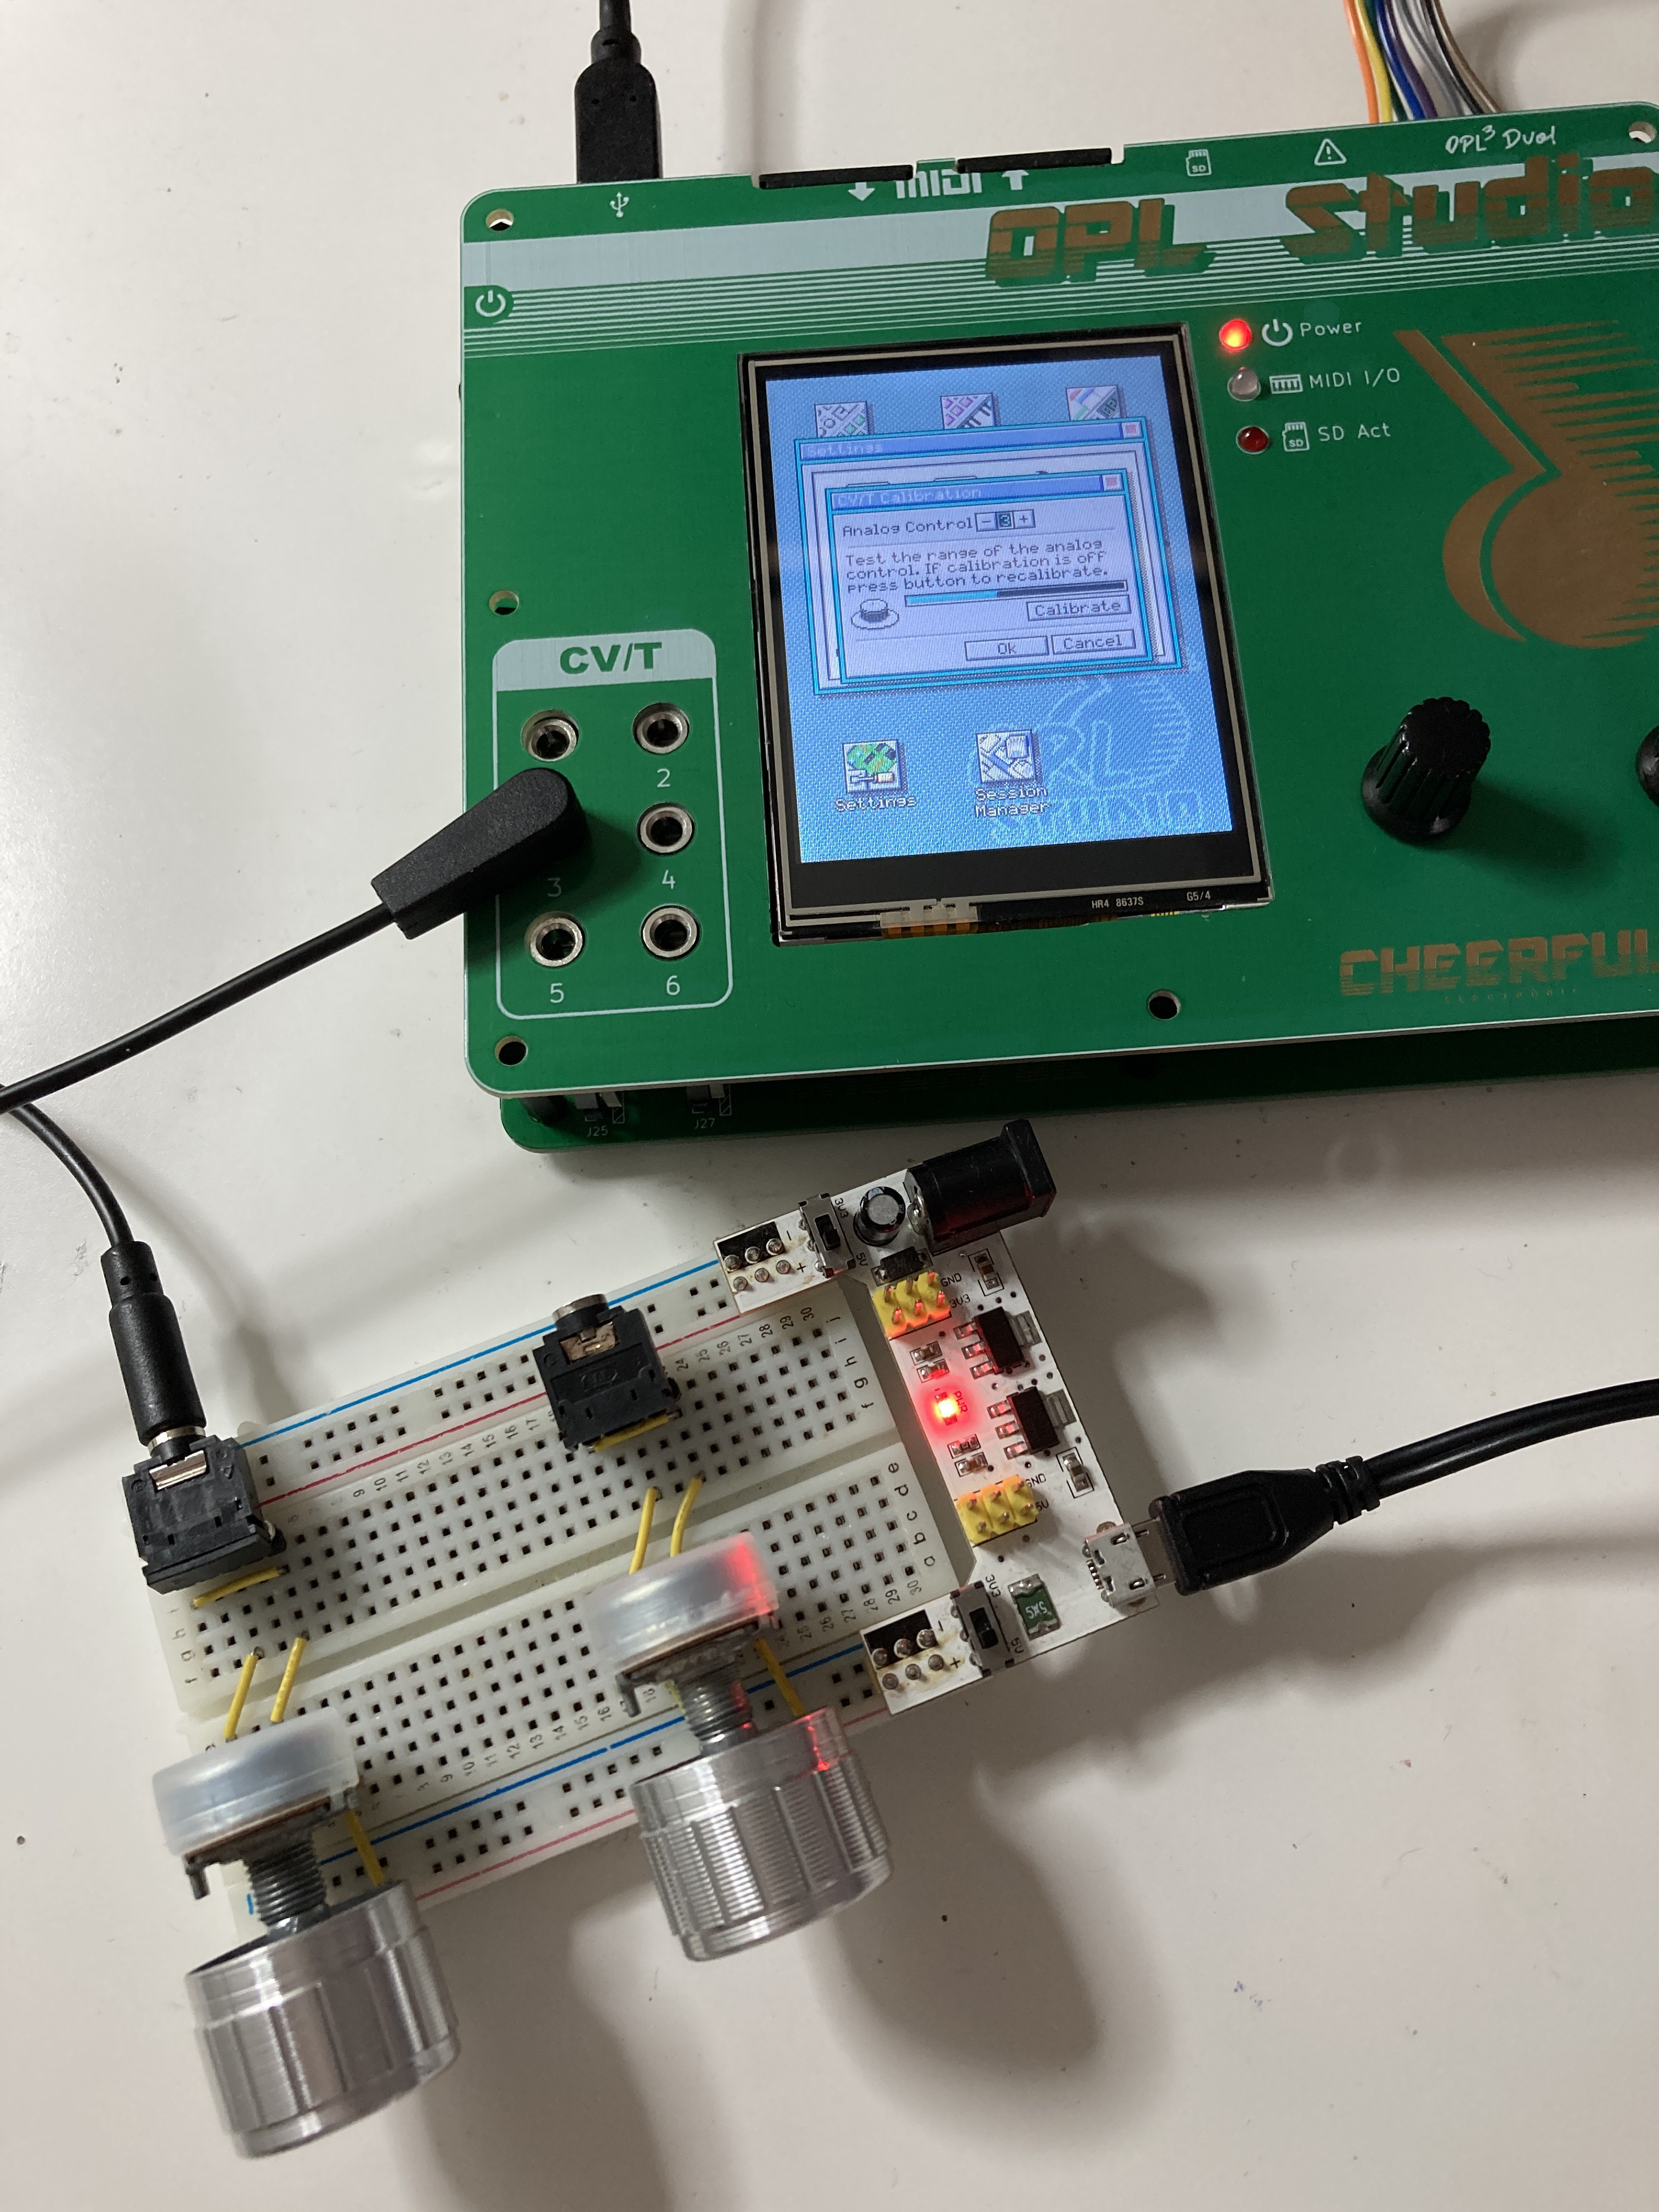
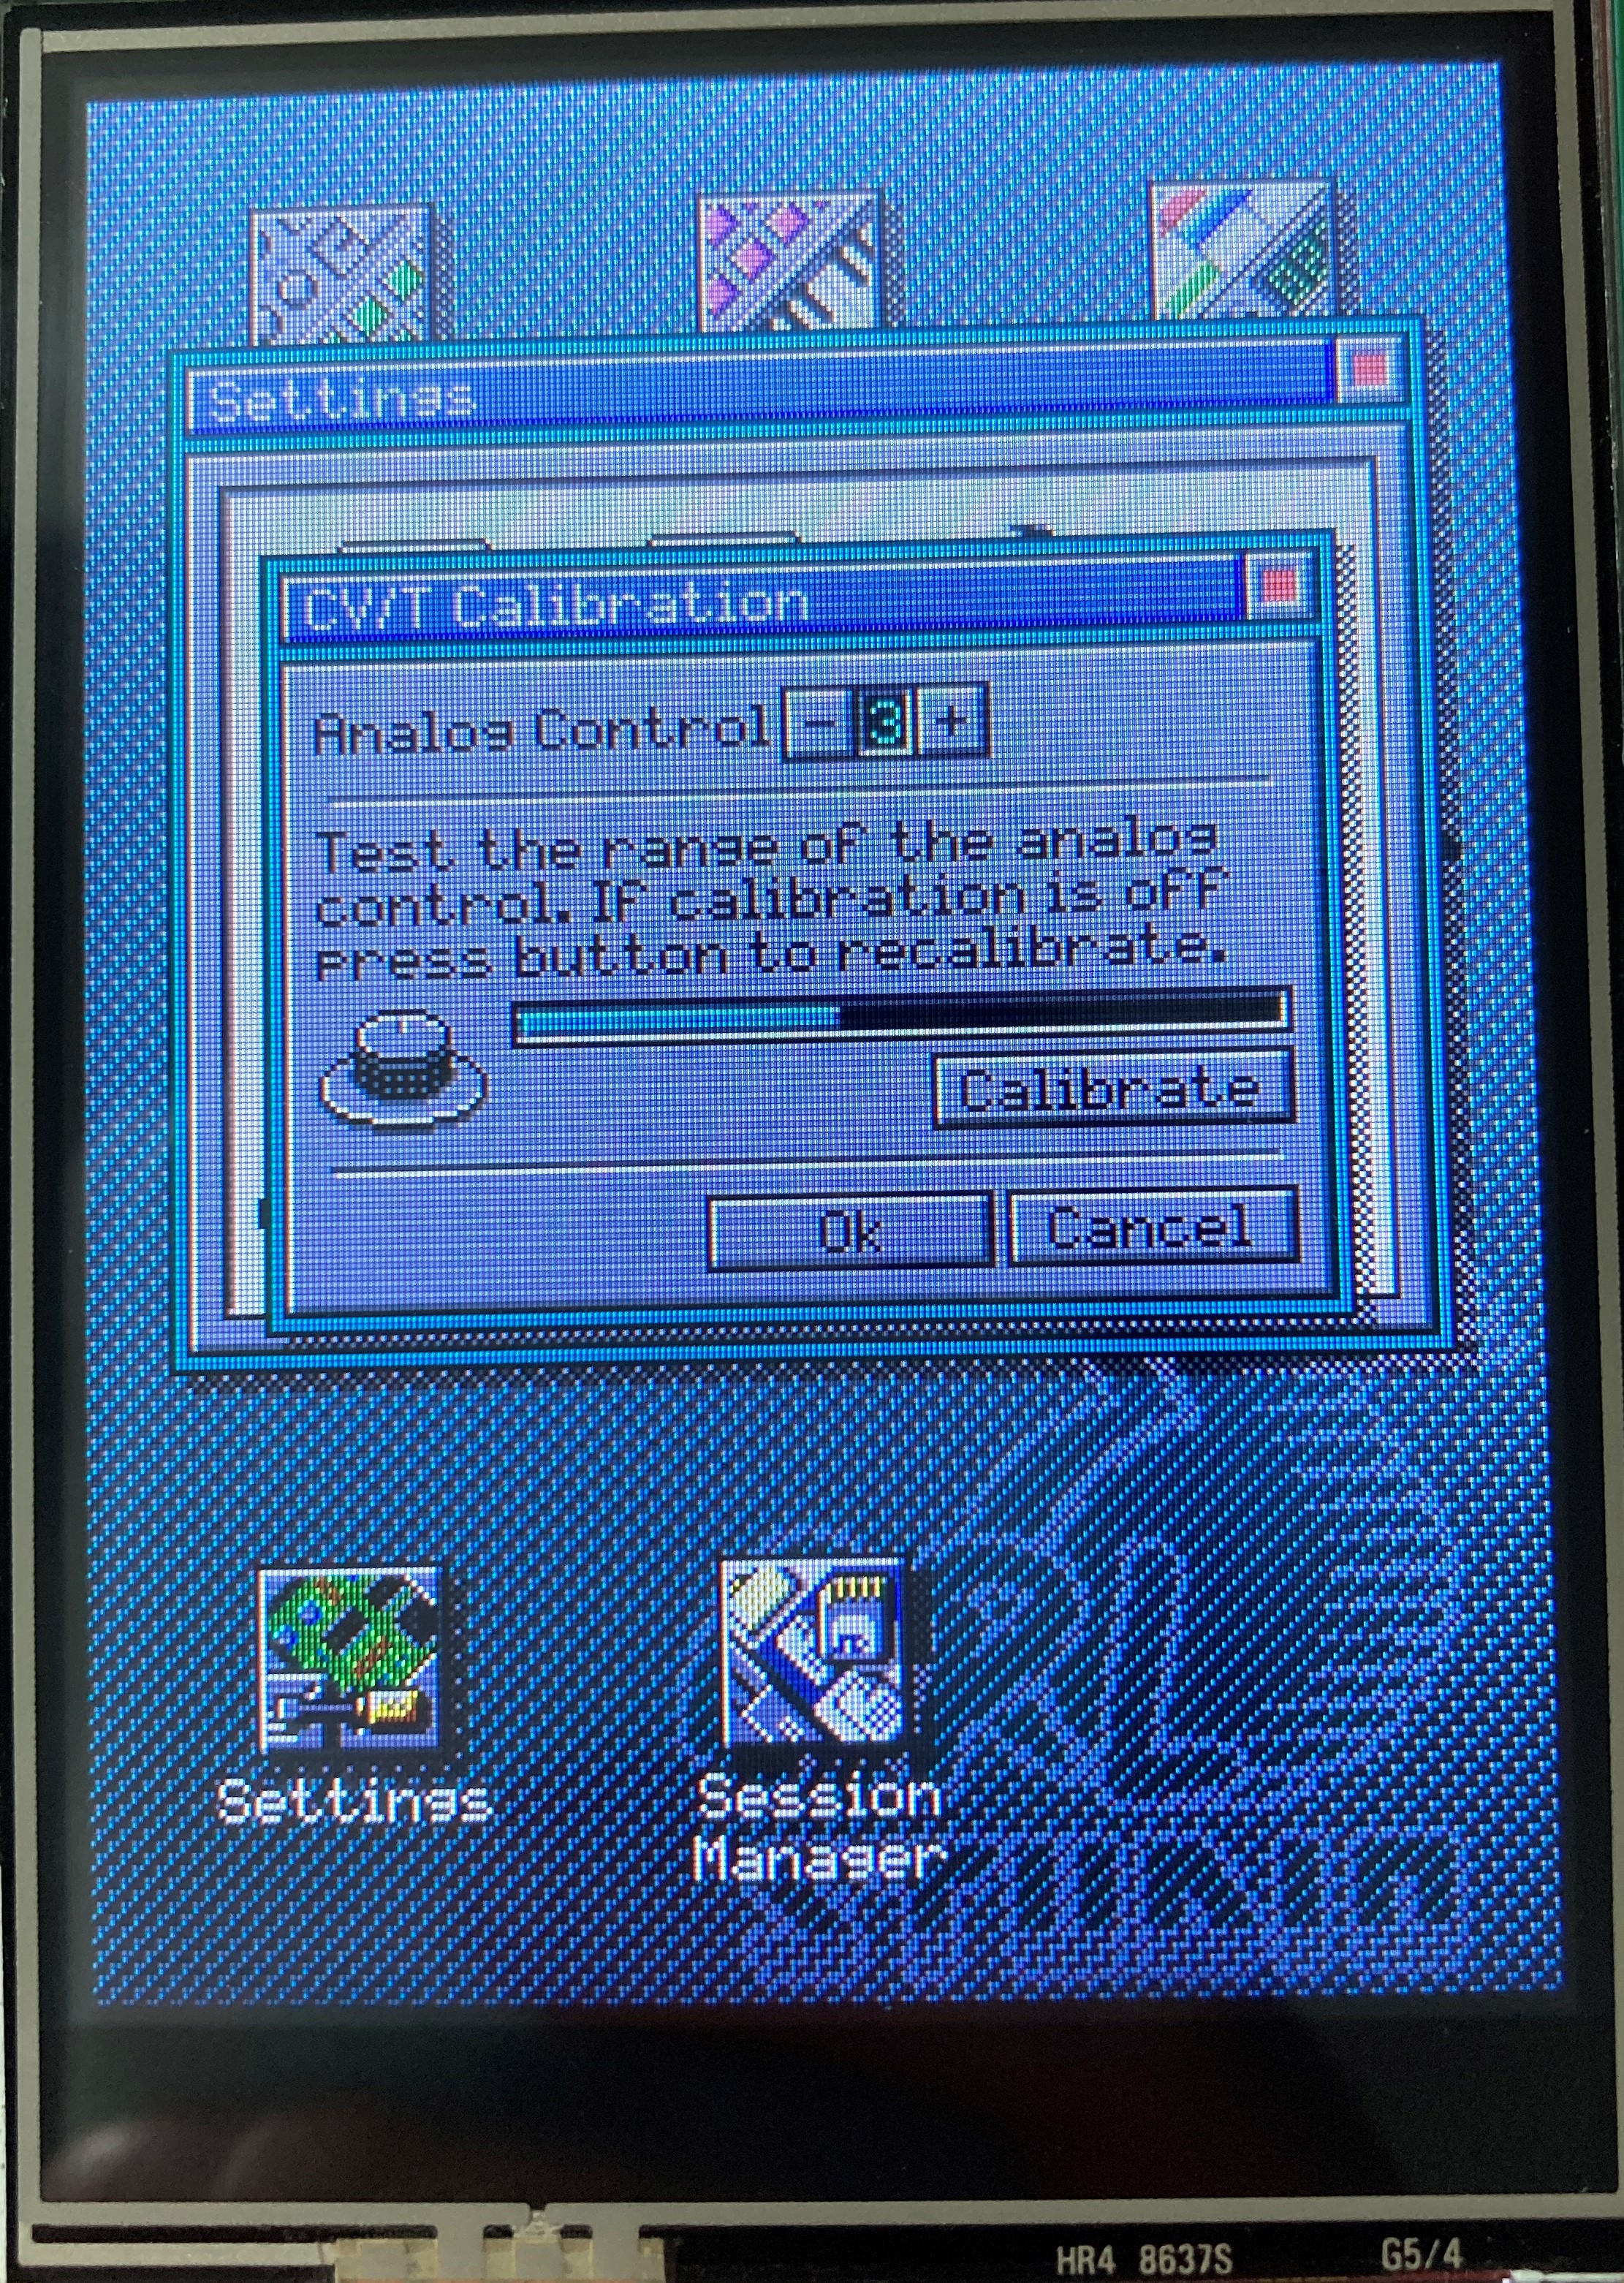
Now since you can connect any kind of home brew control voltage generating thing to the CV/T inputs I also added a small testing and calibration wizard to the settings screen. This will allow you to calibrate your analog inputs so you can make use of the full range and you are not limited to always having to use a 0v to 8v scale.

A new mic!
I also baught a new microphone to make better recordings of the audio since I wasn't really capable to make good stereo recordings. The drivers of my laptop always seemed to do something 'smart' with the audio that broke the stereo recording and the Chinese quality USB dongle I had was only doing mono recording despite its promised spec (what a surprise).
I now have a RØDE AI-Micro for recording that's giving me excellent results. In fact it shows how much noise the OPL Studio is generating! Especially the PWM signals that control the LCD screen brighness and the signals going to the internal speaker are causing noise on the power line that's audible when you make a recording. This is why you can hear the clicks from the stylus in the video below while I'm recording only the audio from the OPL3 Duo.
I've already solved some of these noise issues, but it's still an ongoing effort to make the device more quiet for the final prototype.
 Maarten Janssen
Discussions
Become a Hackaday.io Member
Create an account to leave a comment. Already have an account? Log In.