Reducing the number of controls
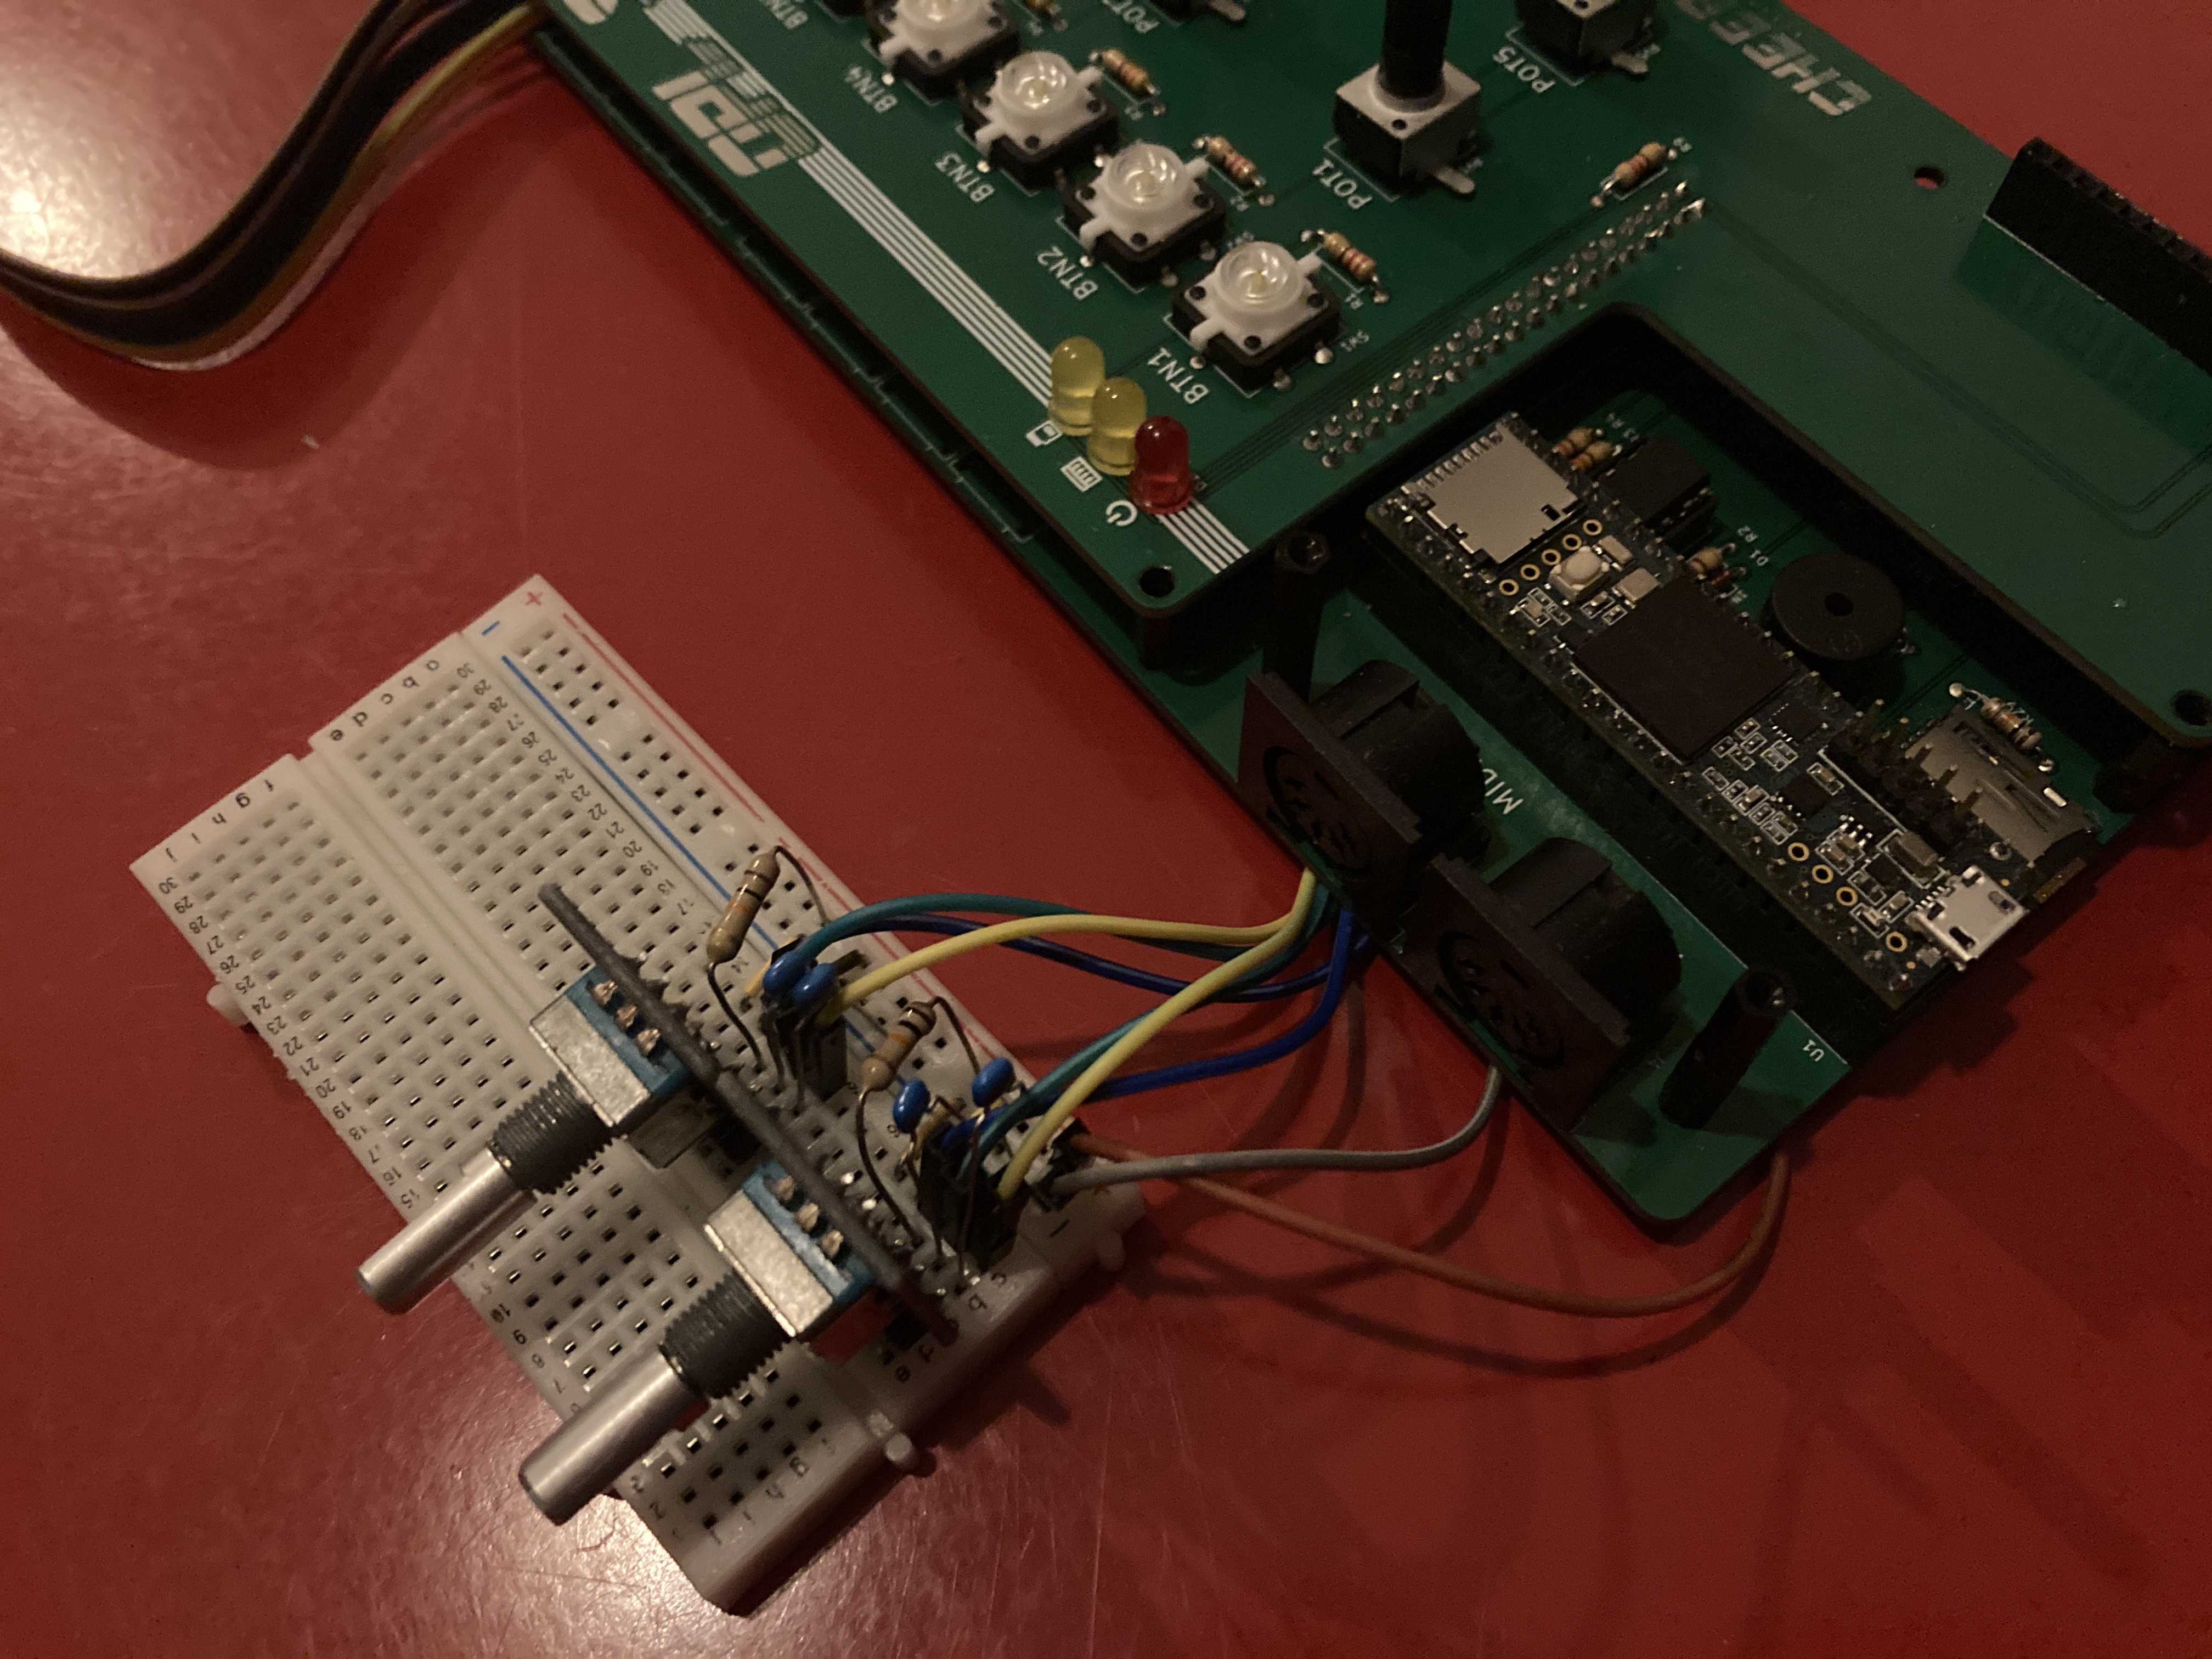
On the last update I wrote that I thought about getting rid of the buttons and the potentiometers on the second board, or maybe to replace them for rotary encoders. A reader suggested to use a single rotary encoder to change the value of the active control in the UI. This was a great suggestion, thanks again!. I soldered some breadboard wires on the back of the board to the Teensy and hooked up a rotary encoder.

Being able to change control values this way really improves the workflow for example when you're cediting patches or while making a step recording to advance the sequence. As you can see in the picture I added a second encoder that allows you to cycle through the controld on the screen. Tapping on a control with the pointer will also make it active so its value can be changed using the rotary encoder. It took some time to implement this new feature for all of the modules in the UI, but it was well worth the effort to make the workflow a lot smoother compard to just the stylus input.
I'm trying to keep this update short, so in the next update I'll add a video to demonstrate the use of the rotary encoders.
Smaller software updates
Besides the addition of the rotary controls I had some time to make a few bug fixes and improvements. For example a long open small bug where buttons in the UI would remain in a clicked state if the coordinates of the stylus jitter is now fixed.
A fix that I really like, which also improves the workflow in the UI, is that now modules can now link from one to the other. For example it's now possible to double tap on a sequence block in the composer module to directly jump into the drum or melody editor for that sequence.
A final fix I did is to speed up the rendering of patterns such as the home screen background and the patterns rendered on sequence blocks.
New prototypes are coming!
After making the decision to get rid of the flashy buttons and pots I started to redo the schematic and PCB designs to have a second small batch of prototypes made. The second prototype is going to be smaller than the first one after removing the controls and all components are now integrated into a single PCB instead of the two layers I had before. The control voltage and trigger inputs have been reduced from 8 to 6 and moved to two small plug-in boards that mount below the Teensy. I added a power button and a panic button. The panic button will be to reset the OPL3 Duo! when it gets stuck on a note due to wrong instrument parameters or broken MIDI messages. I really missed having this button while playing around.

I'm trying something new as well by adding a front panel in the form of a second PCB that can be mounted on top of the main board using standoffs. If I did my measurements correctly then front panel should nicely fit around the screen, the LEDs, rotary encoders and secure the control voltage sockets in place.

 Maarten Janssen
Discussions
Become a Hackaday.io Member
Create an account to leave a comment. Already have an account? Log In.