 Tijl Schepens
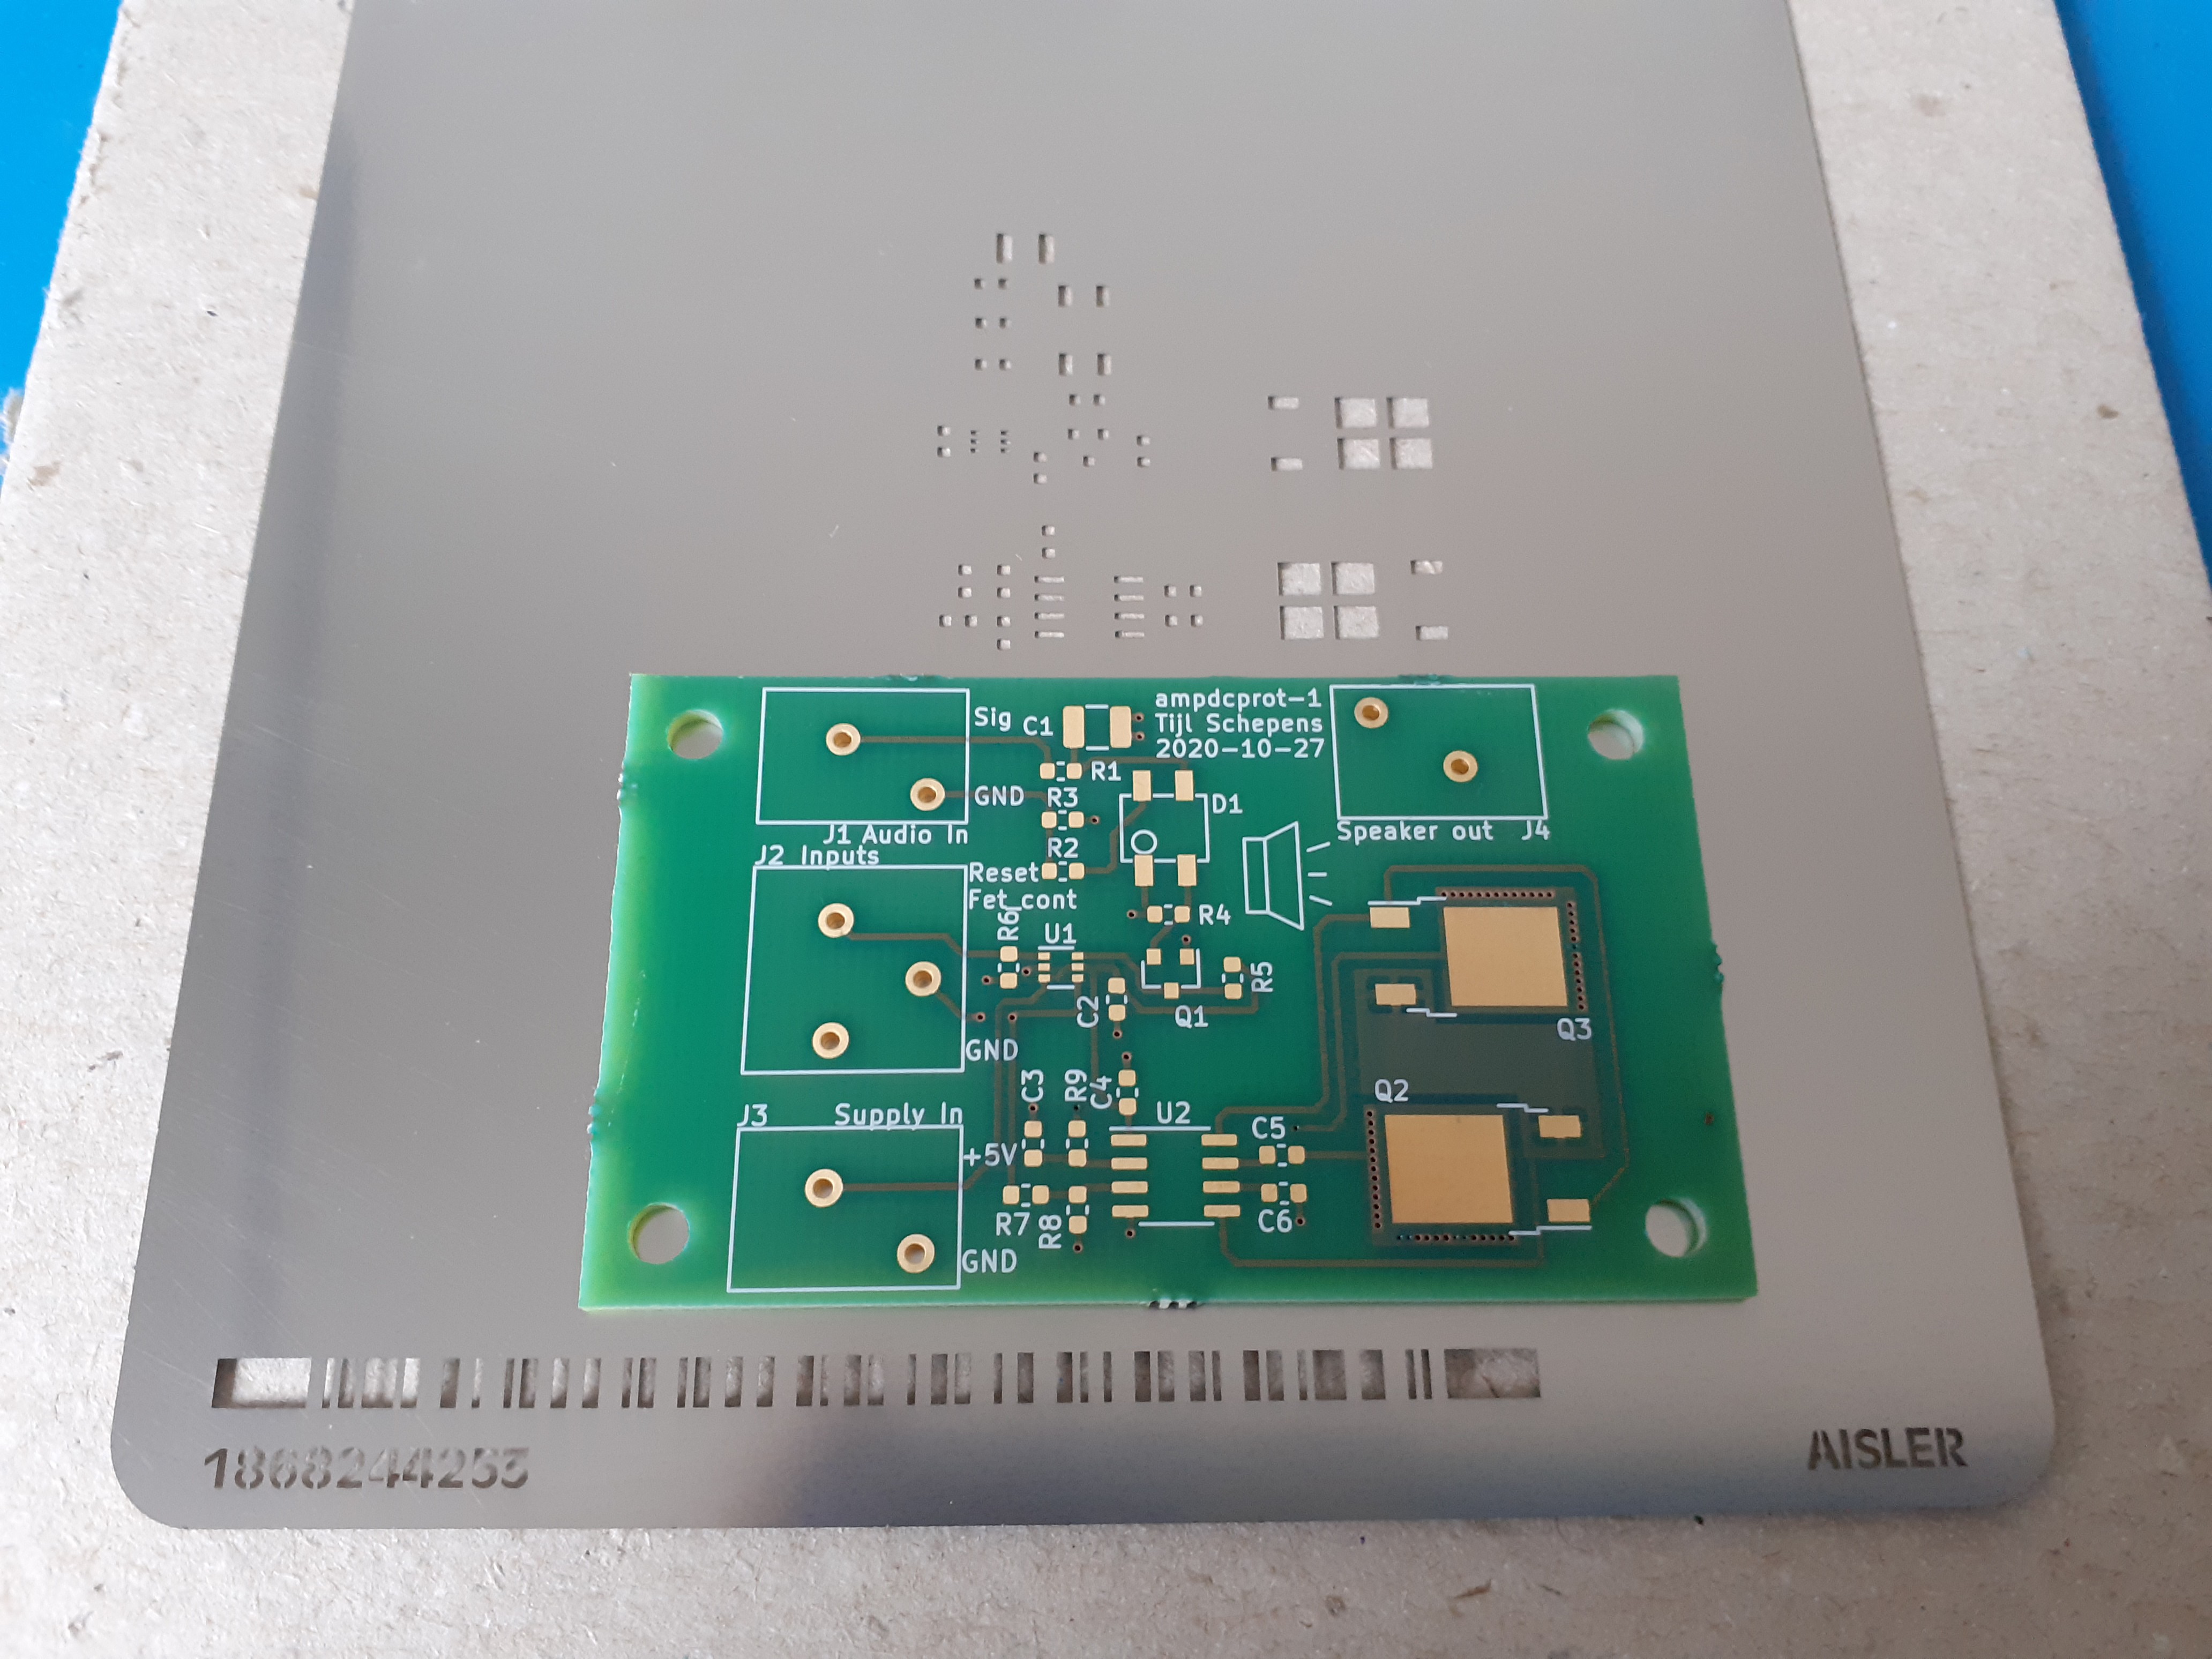
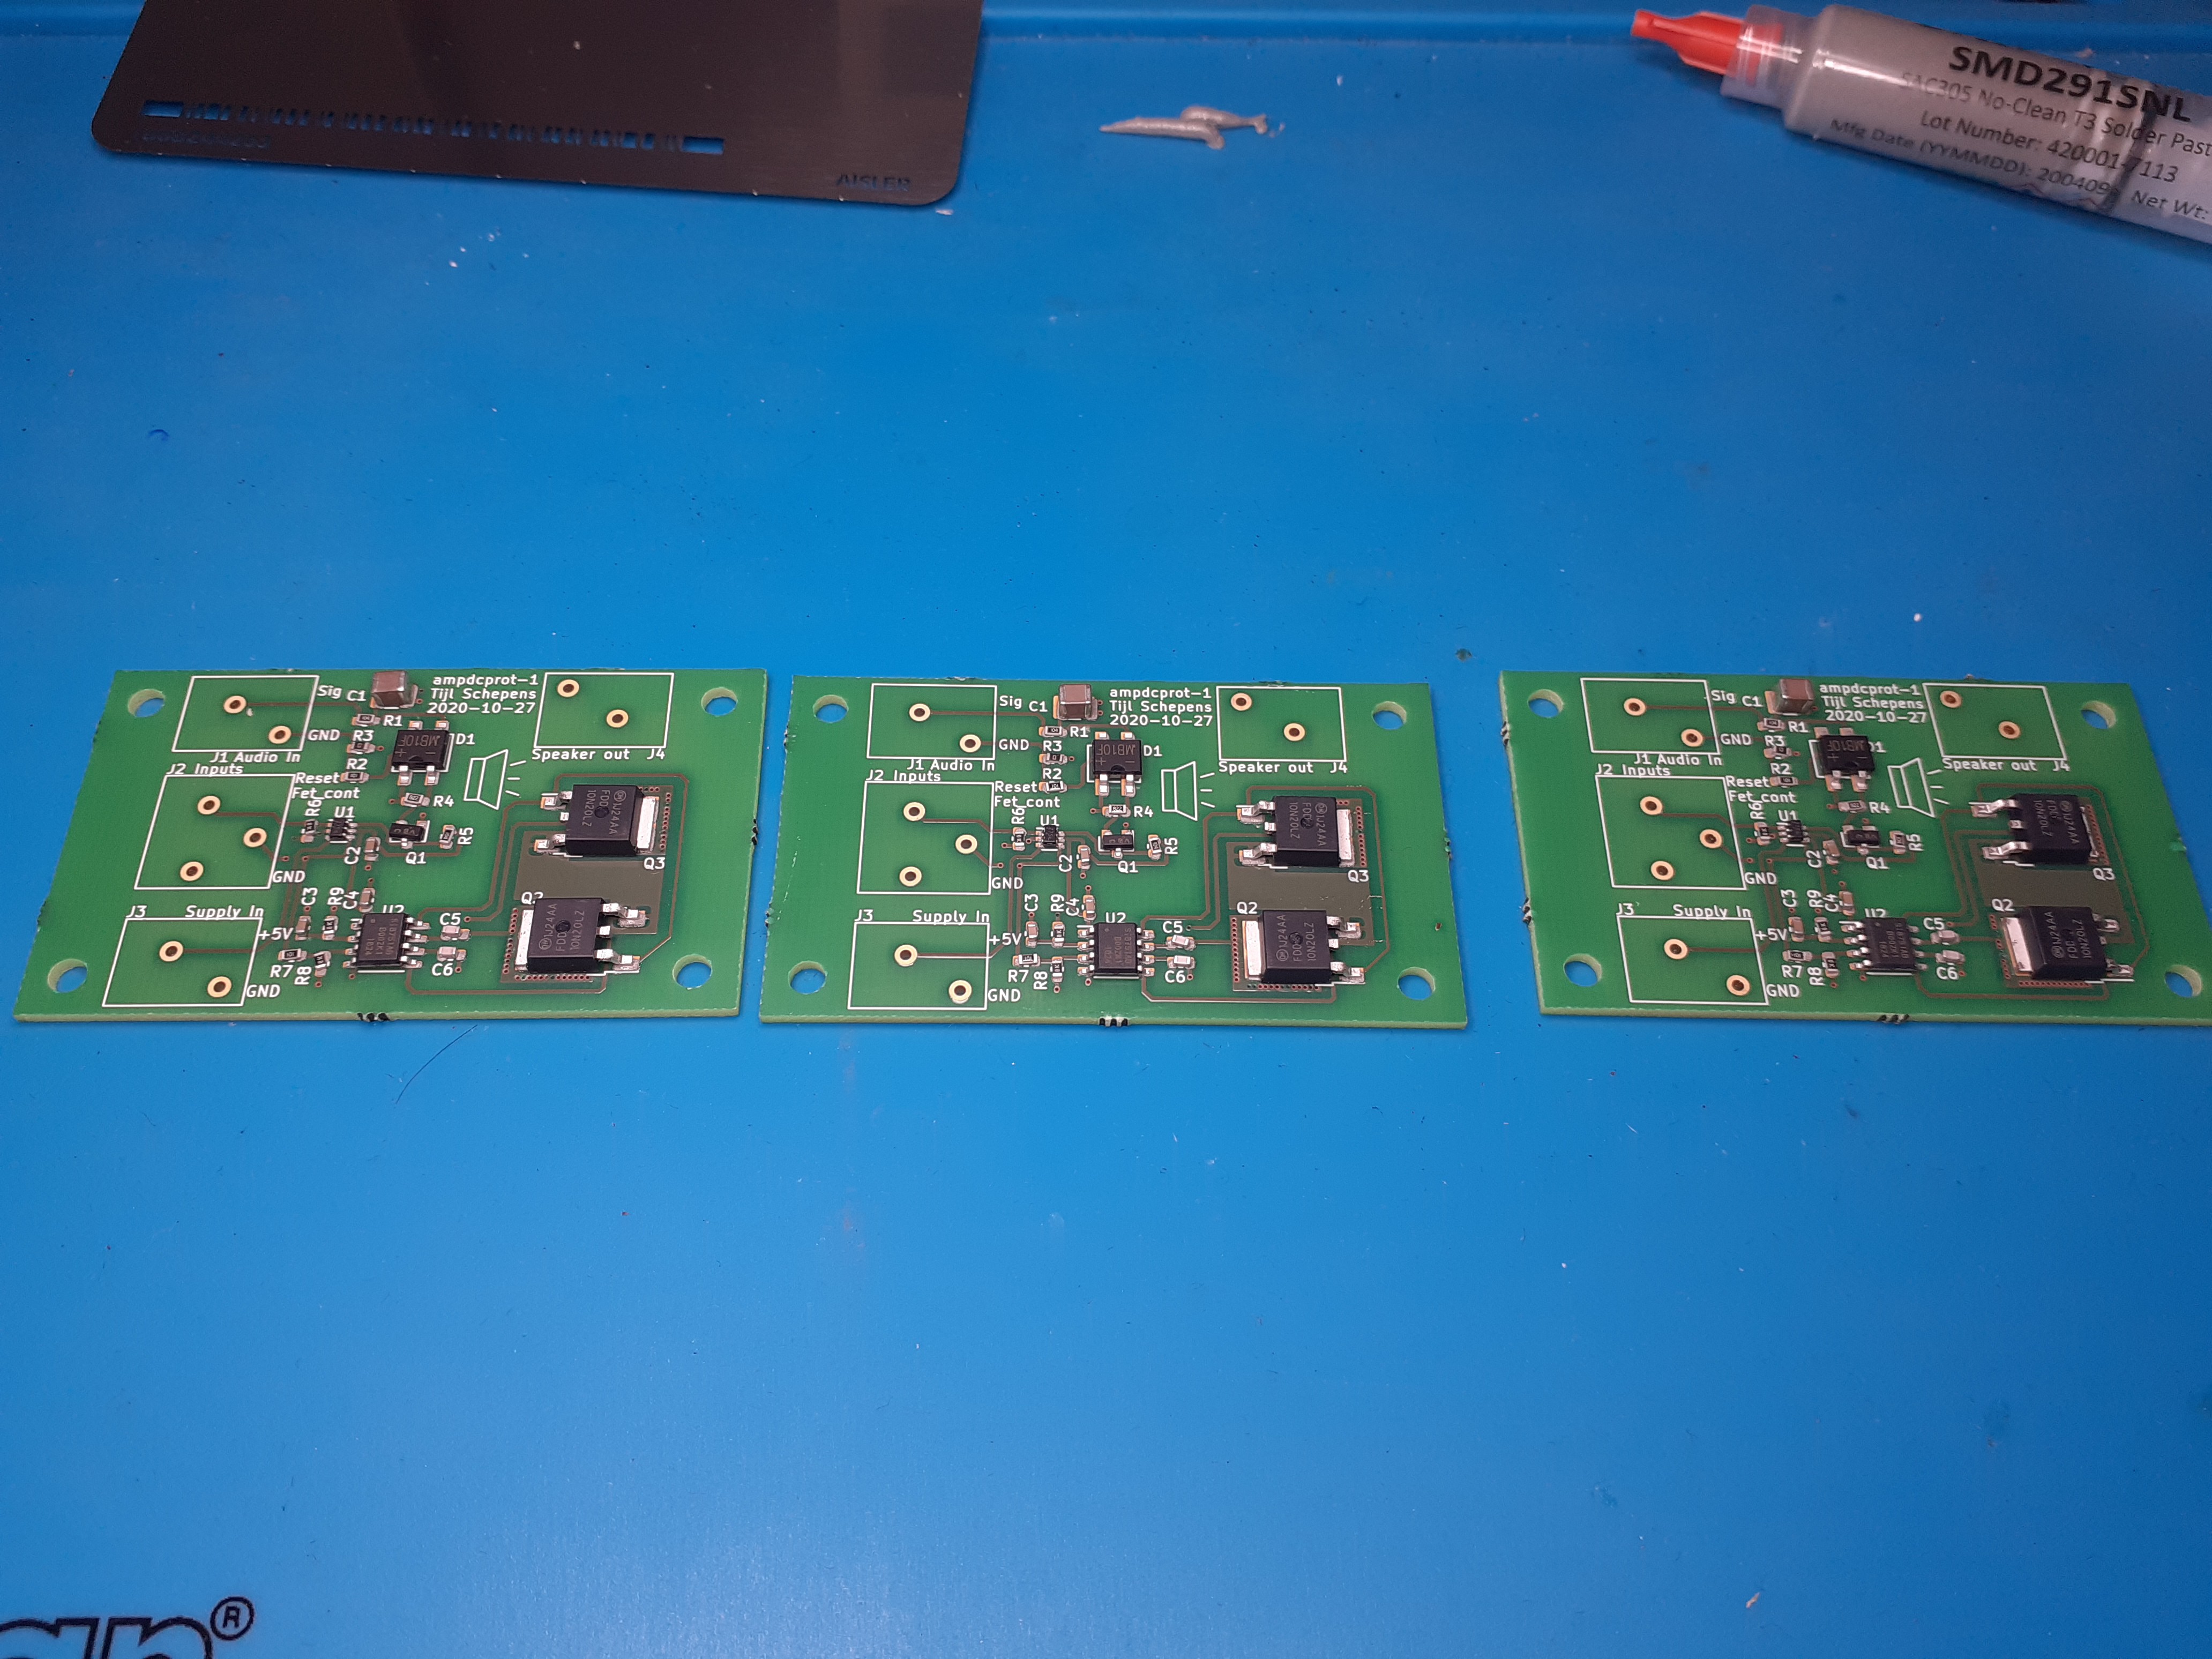
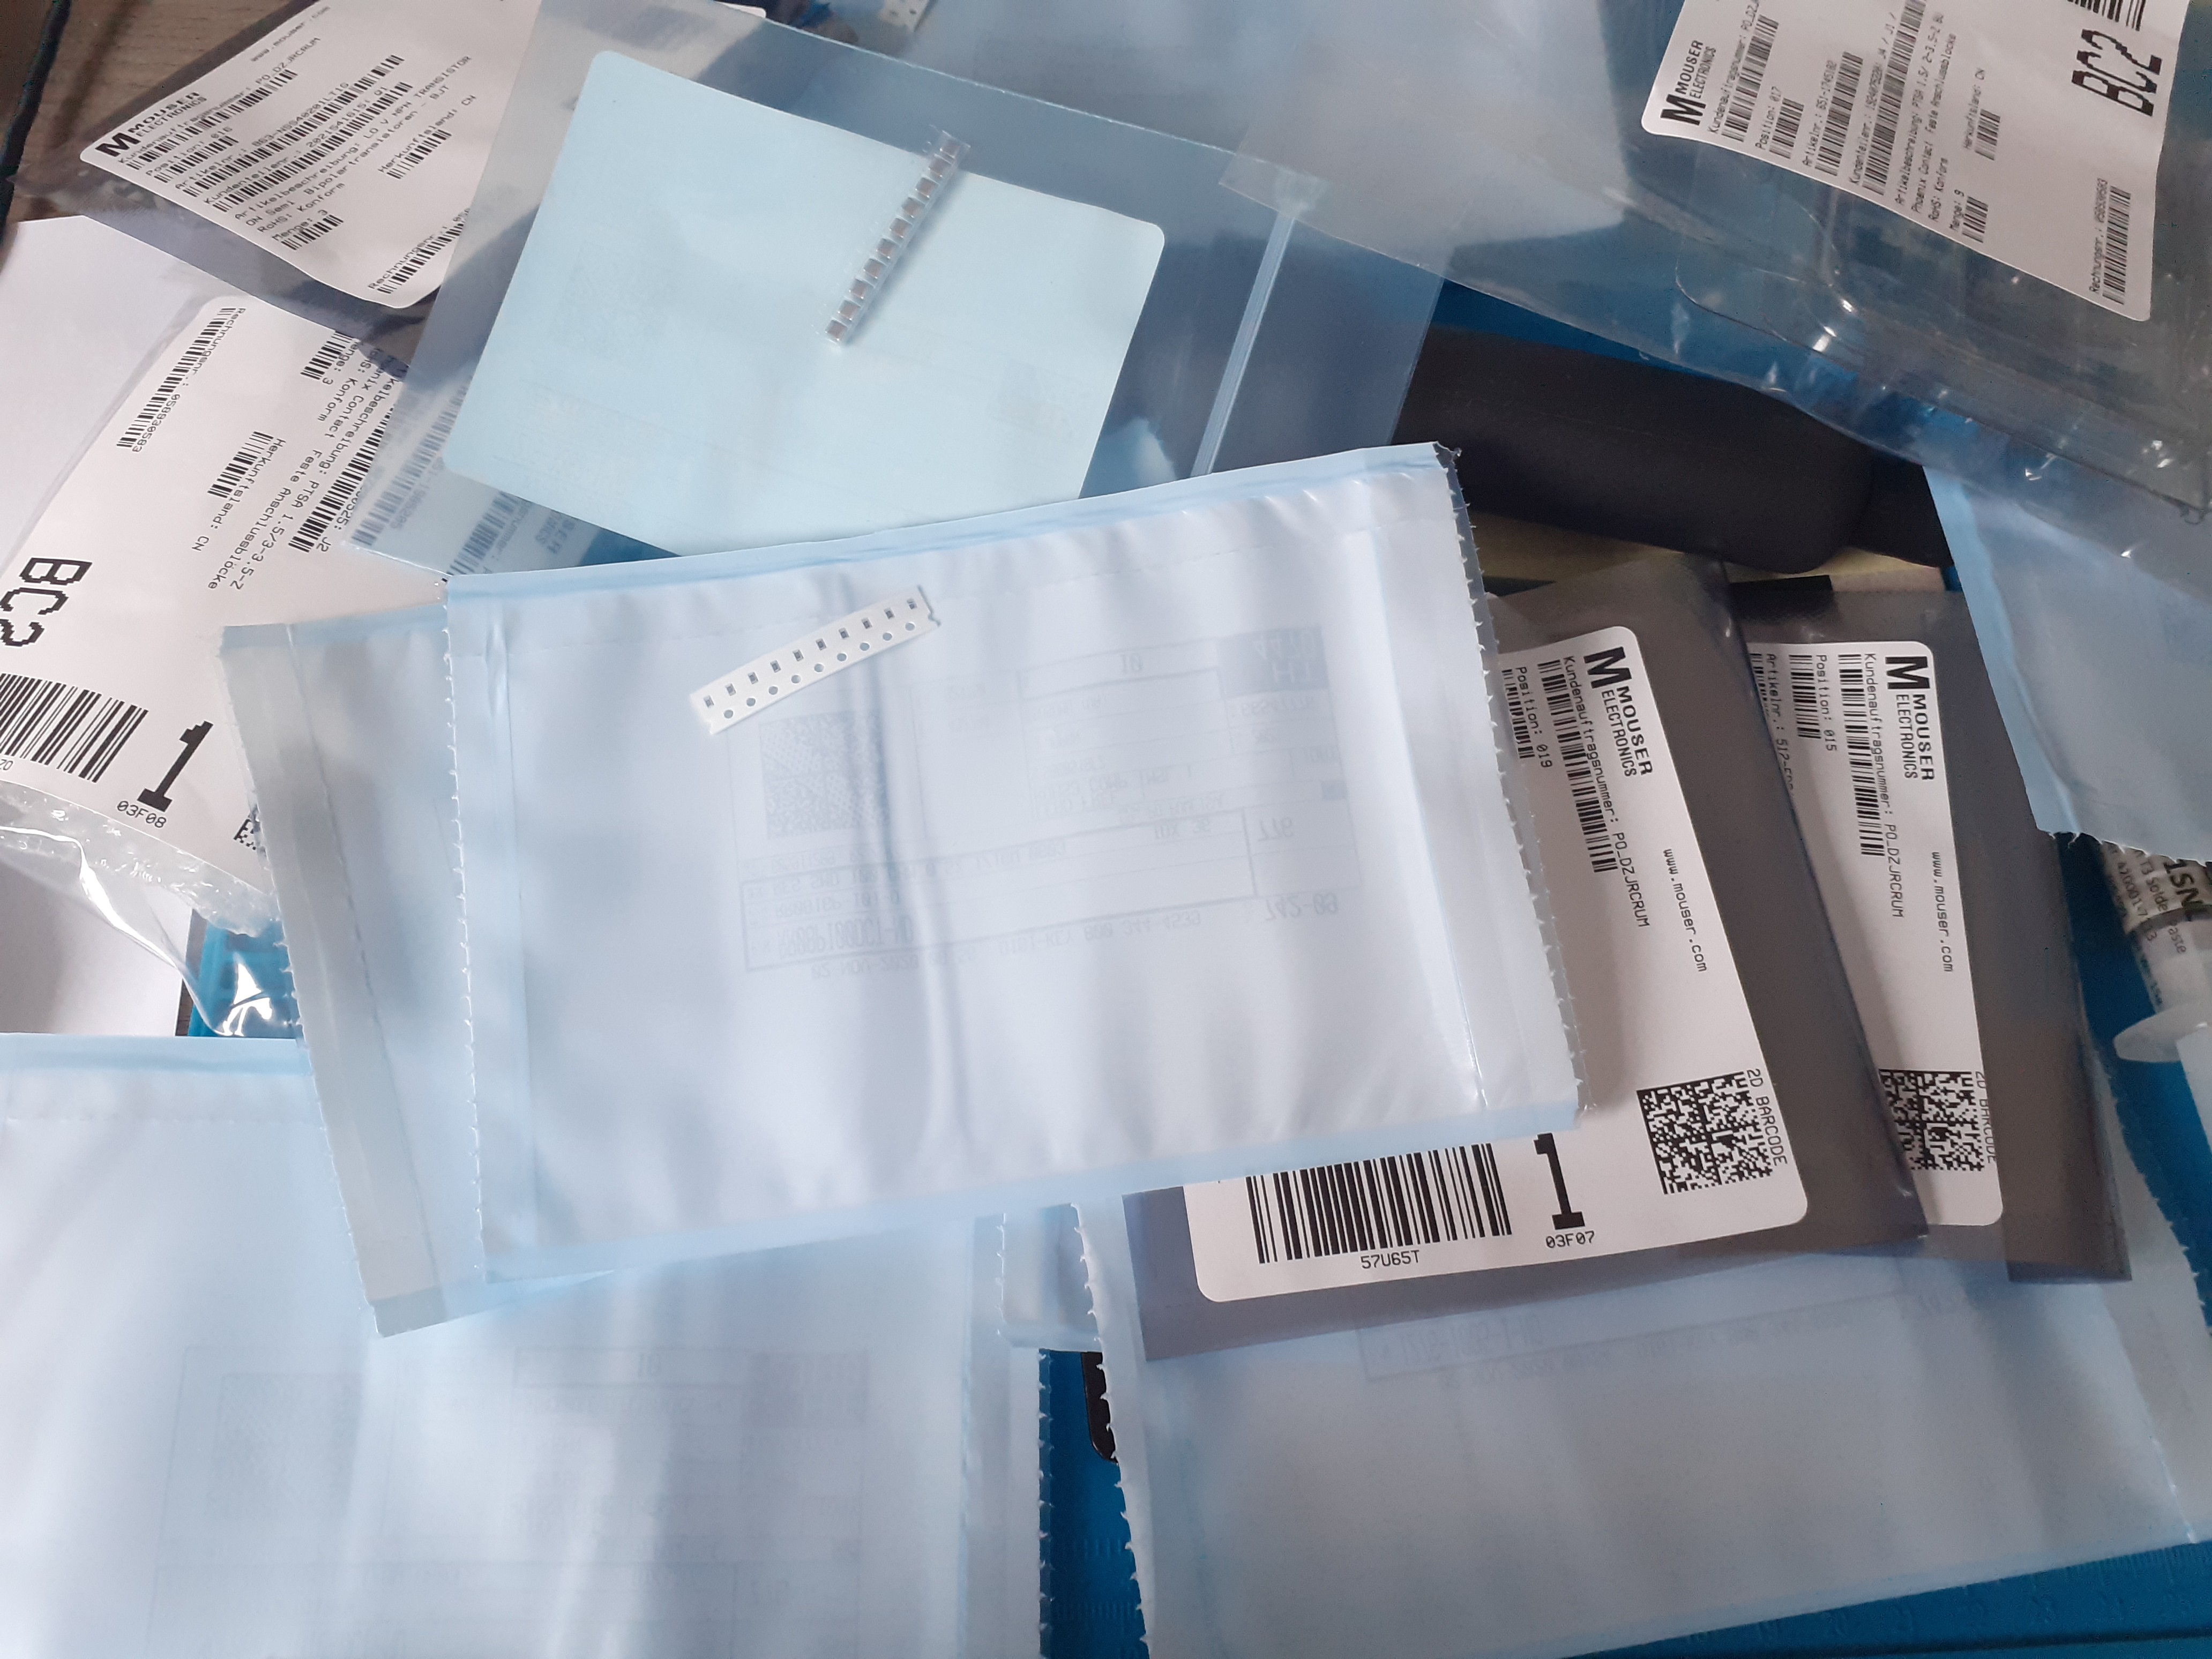 After receiving the PCBs and components from the good people at Aisler we can start assembling!
Using the stencil and a hot air gun it was quite easy to solder all the components. There are not small pitch or other difficult to solder components on the board.
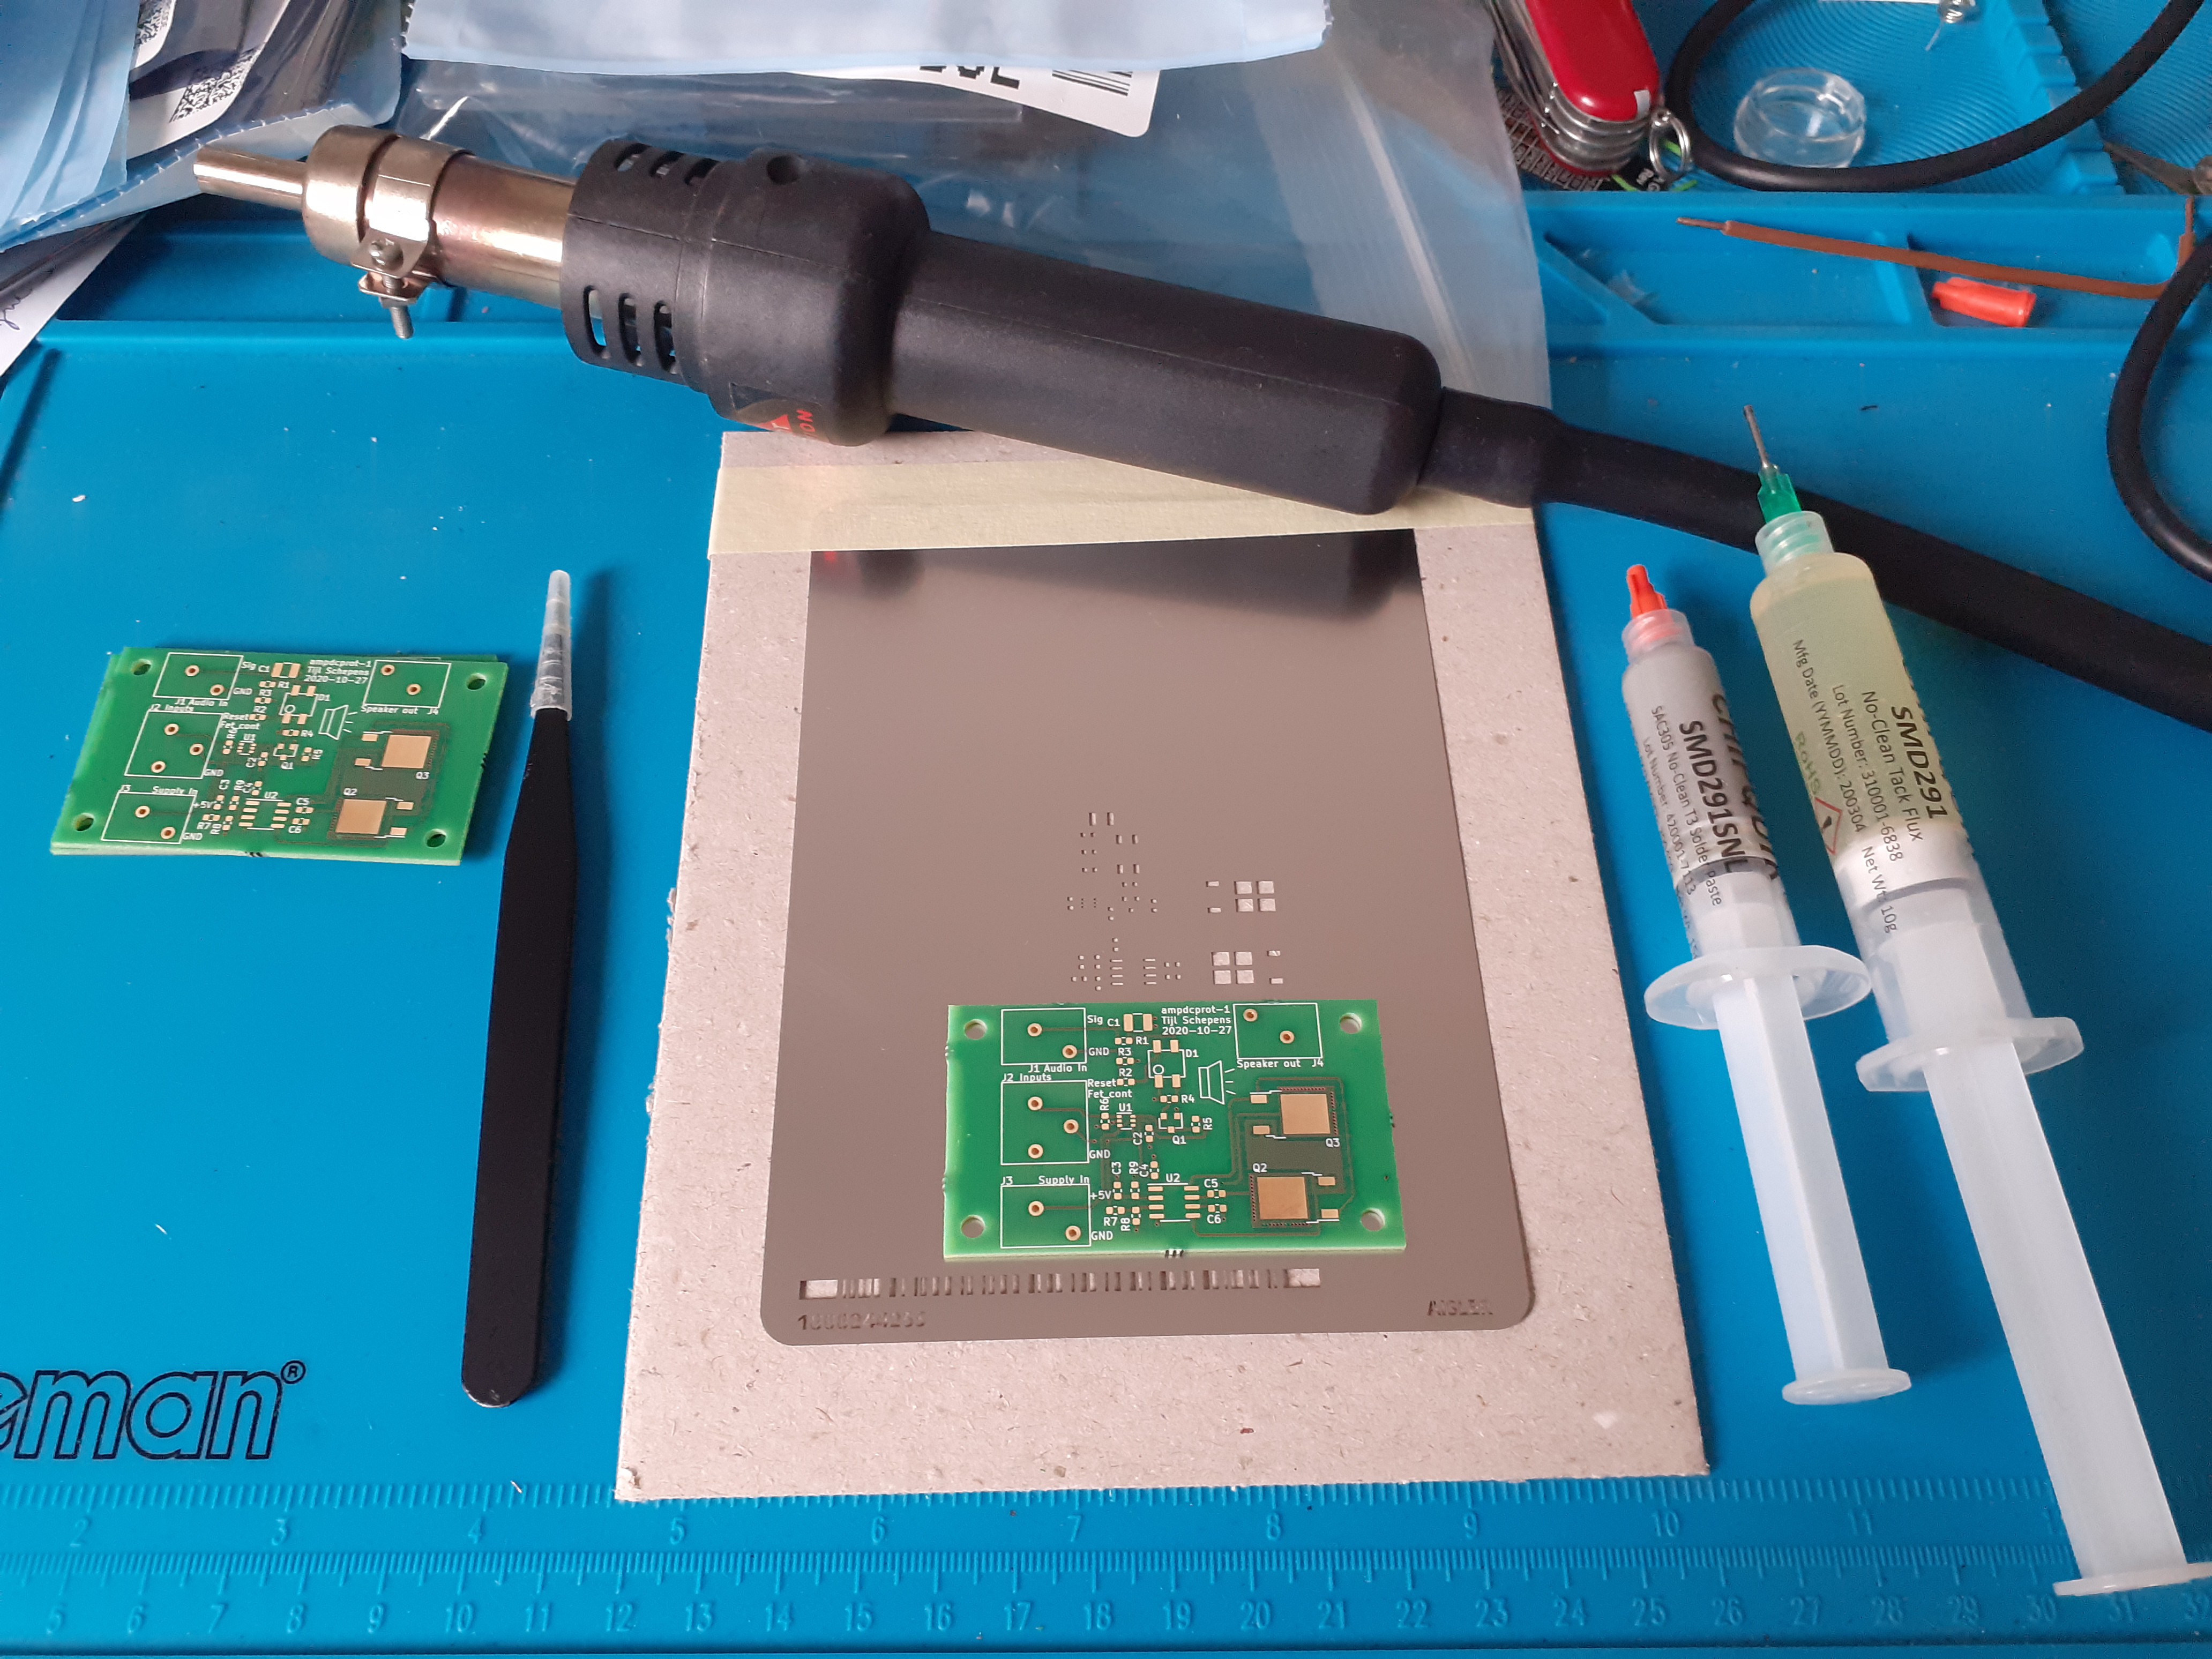 Applying solder paste and reflowing everything.
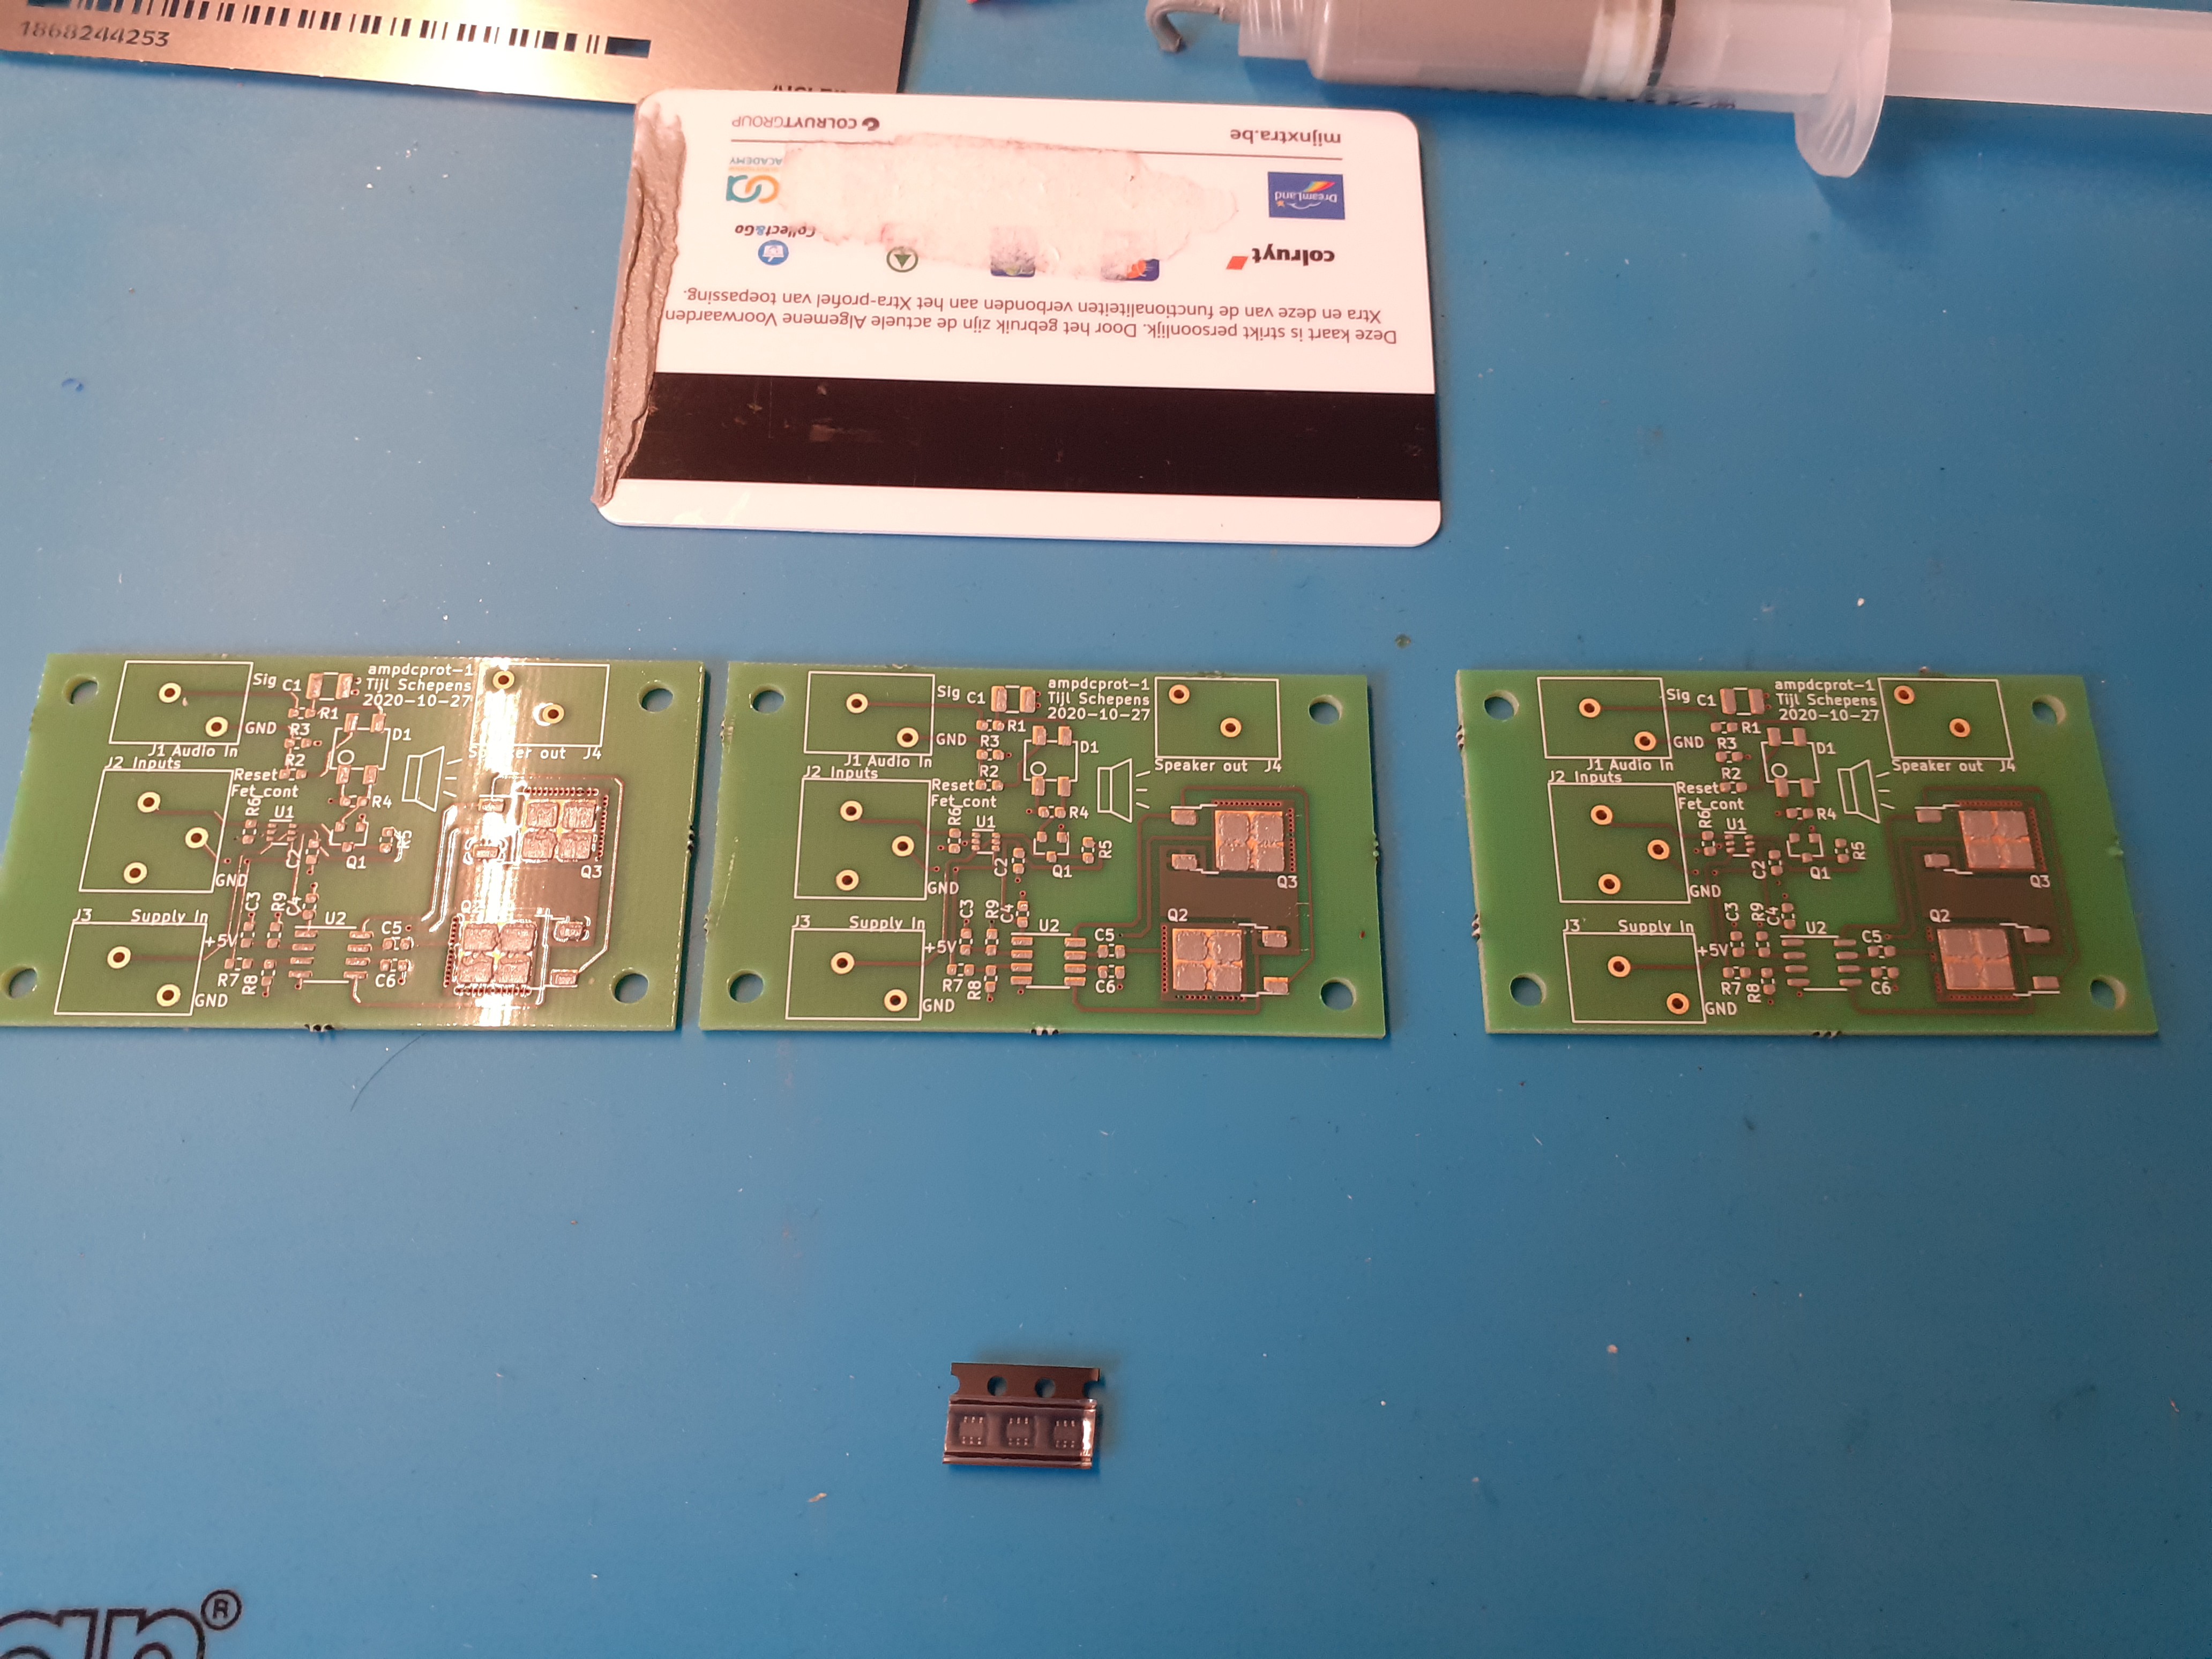
 For the connectors it seems that I made a mistake. I think I ordered the wrong ones as my footprint matches the datasheet.
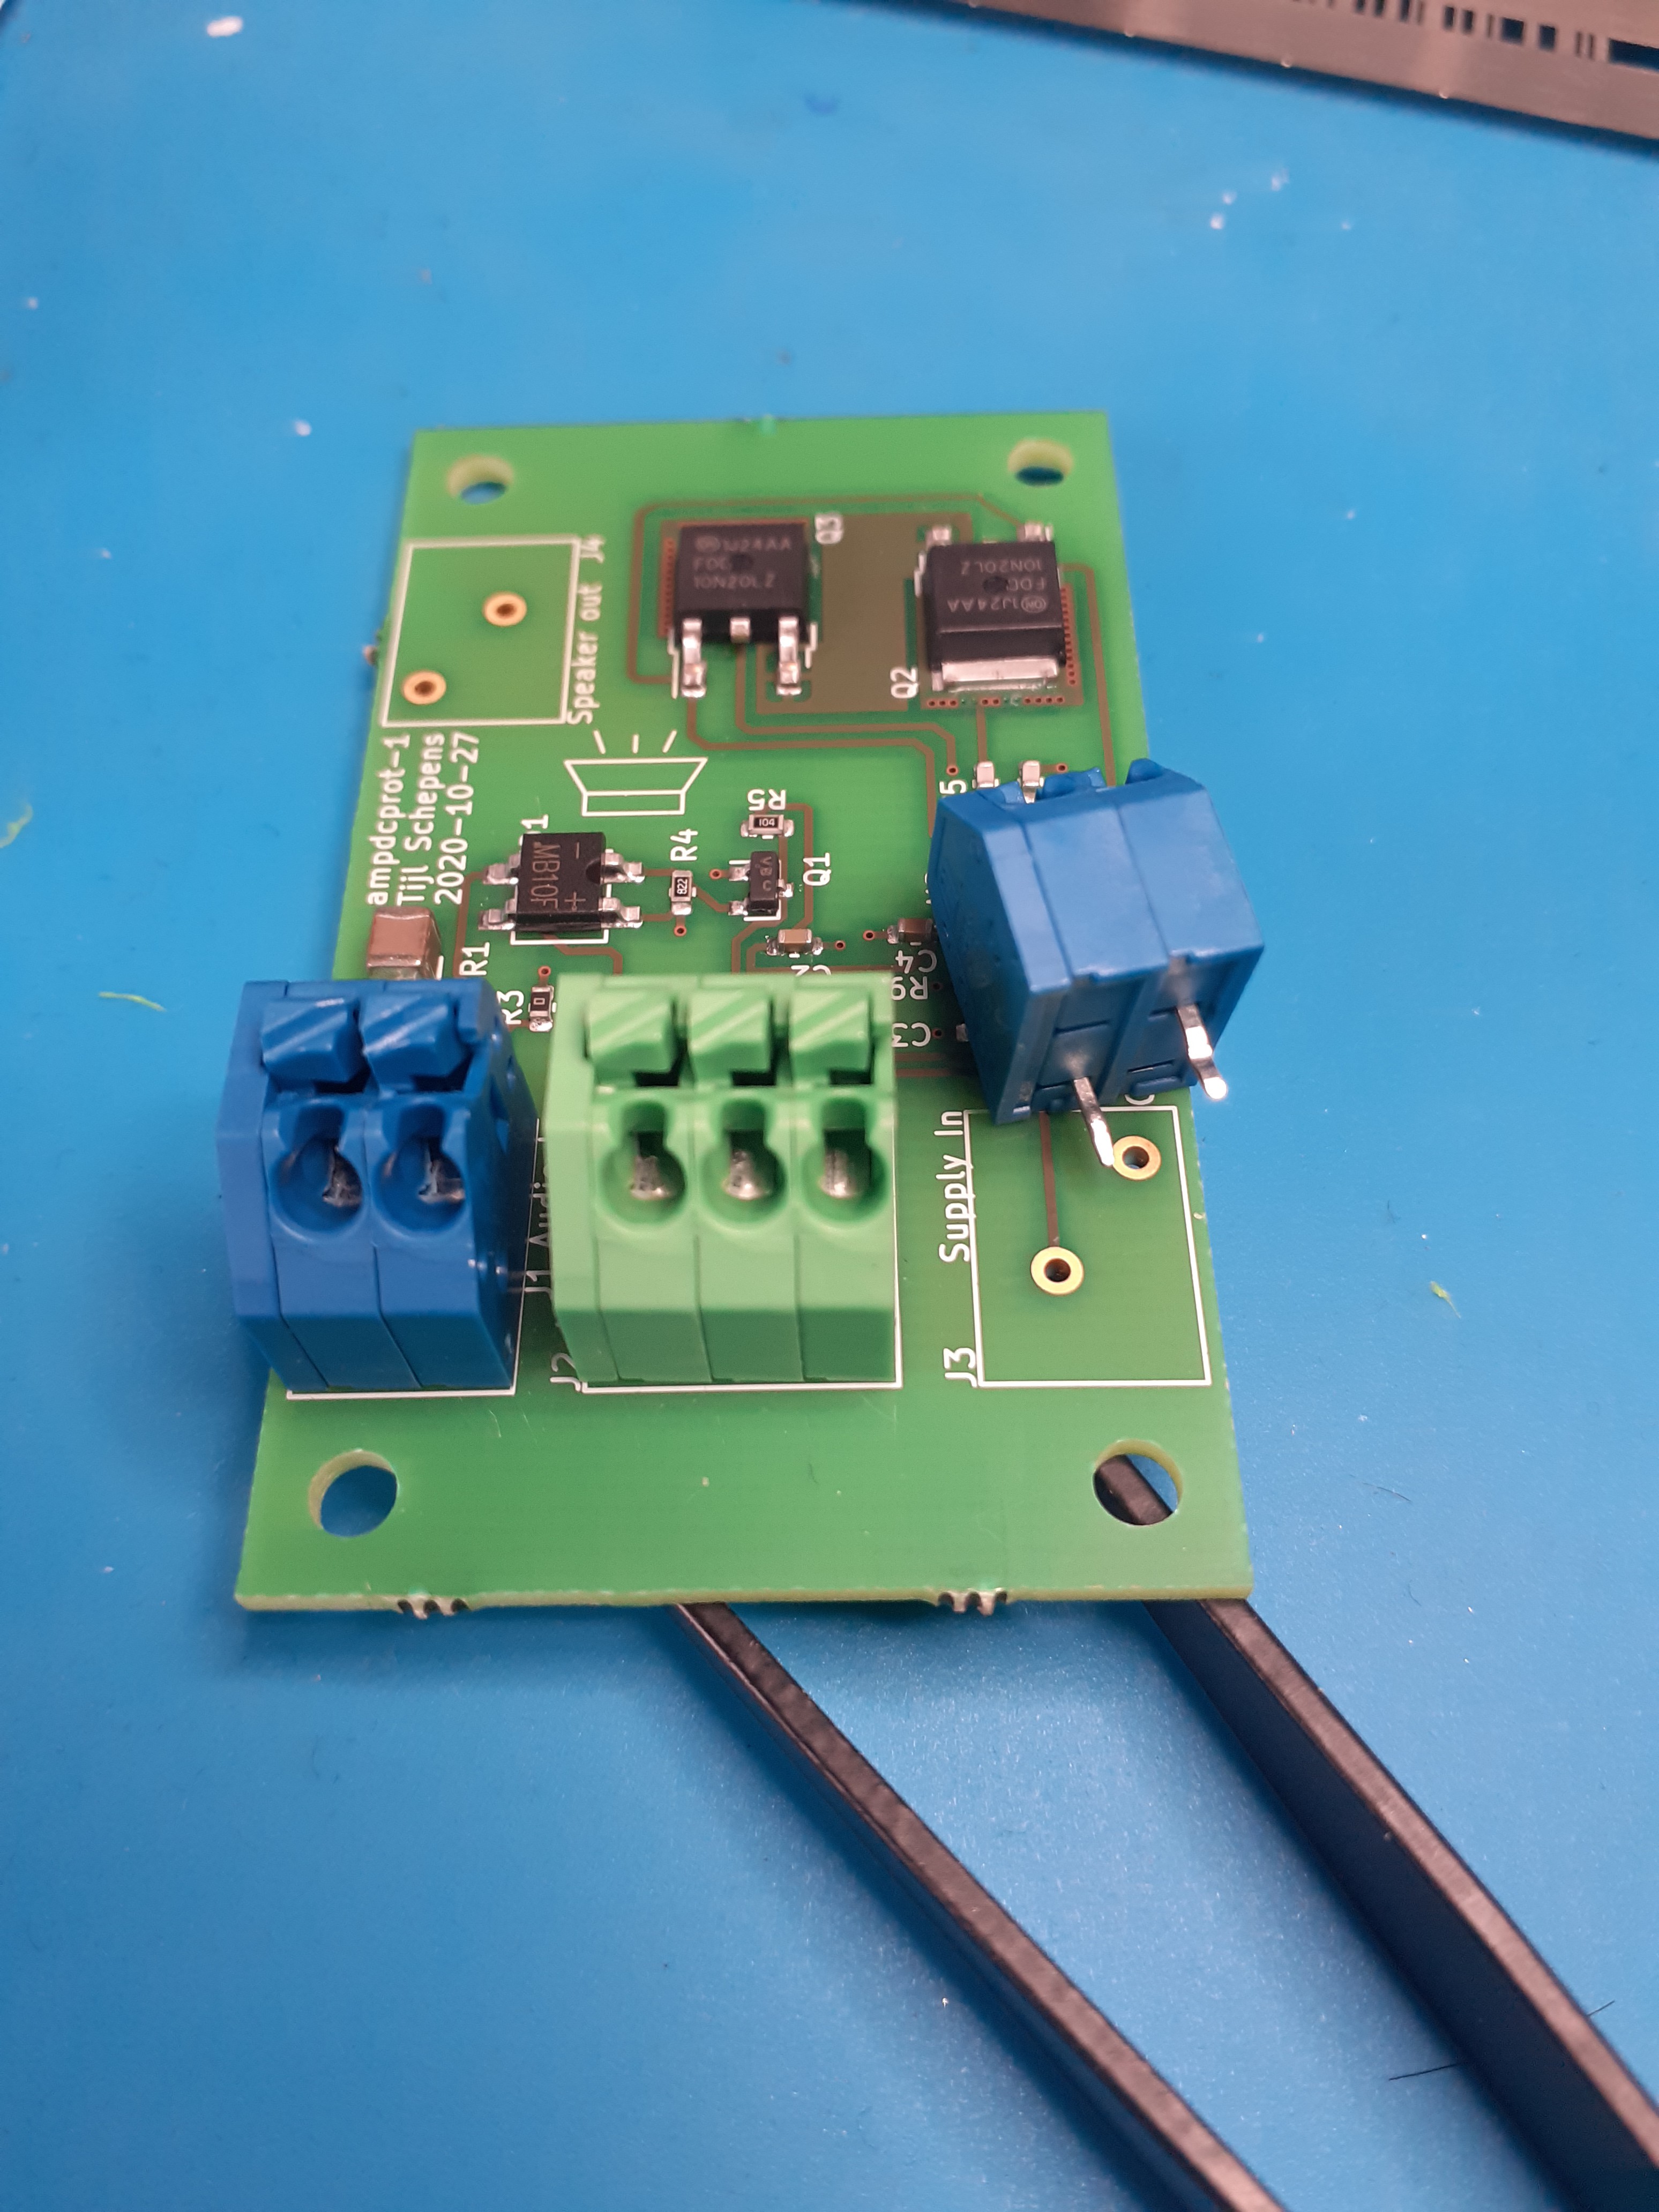 The pins of the connector are swapped. So they do not fit...
The good news is that these connectors are easy to disassemble. All the parts are just pushed together and can be separated with little force and a pocket knife.
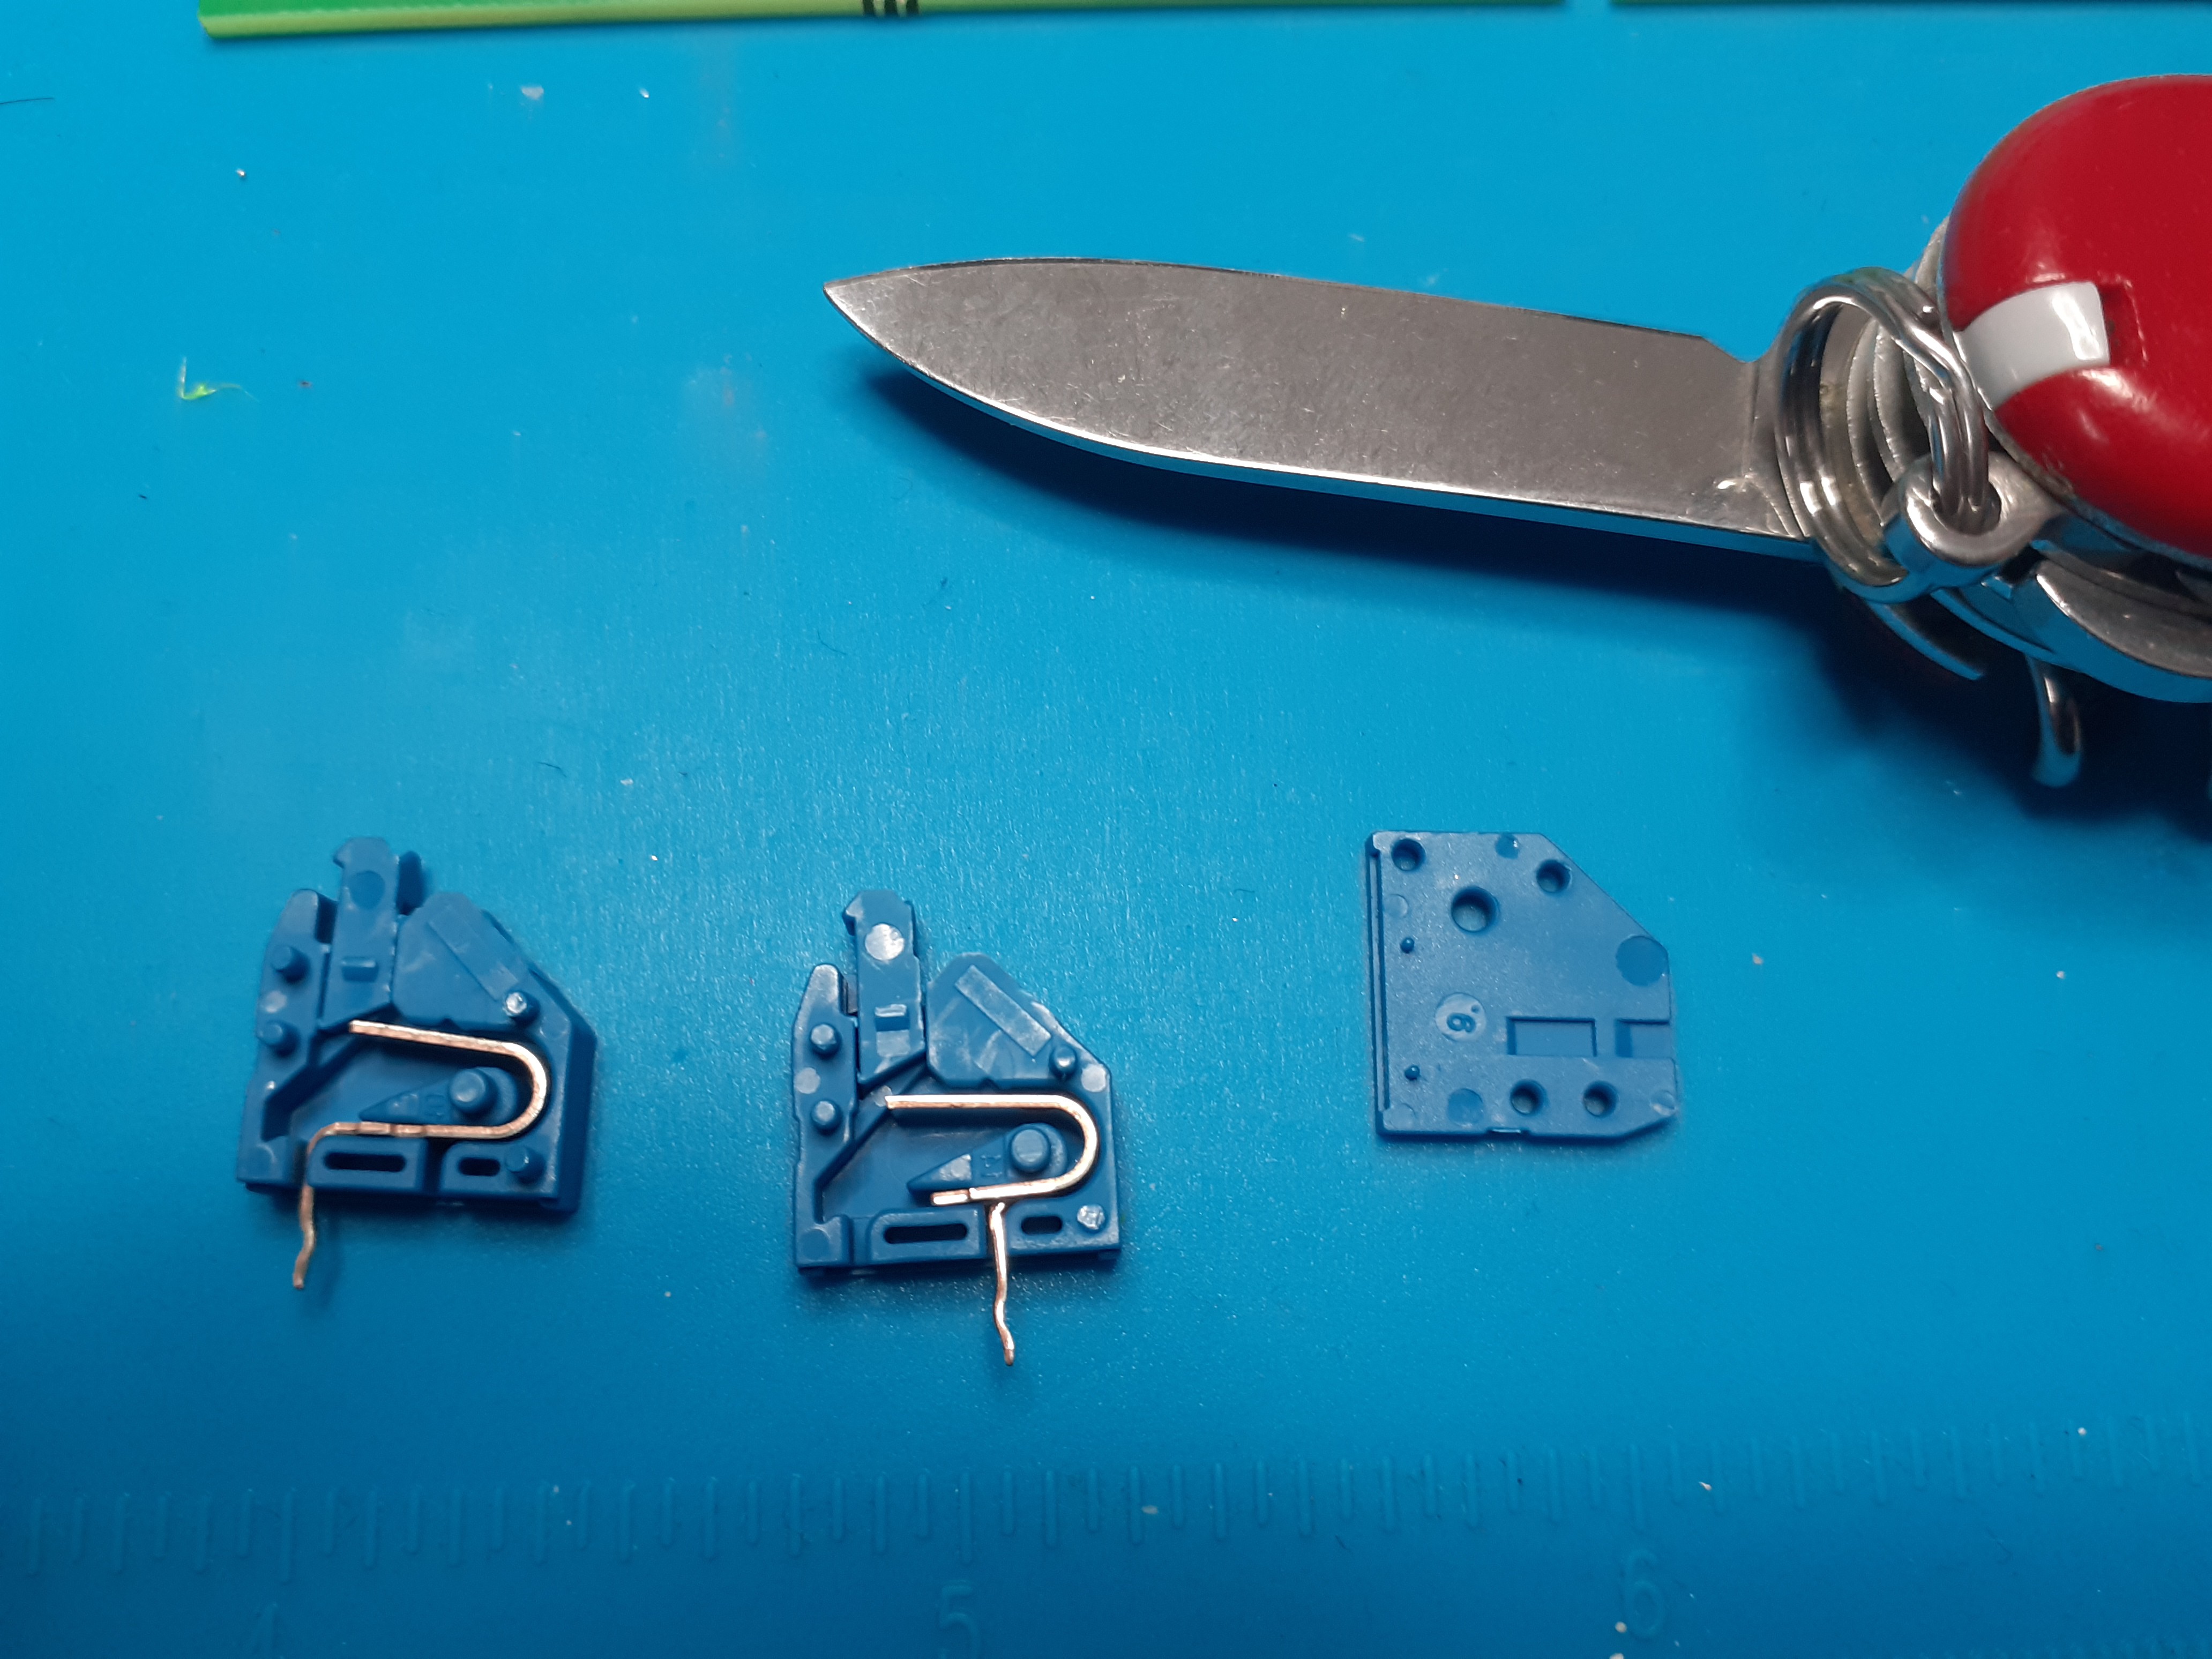 Now that the three parts of the connector are loose, we can just swap the pins. That way they fit into our connector footprint!
The green connector does fit, so I must have ordered a wrong one for the two pins variant.
Now that everything is soldered we can start doing some measurements on the board.
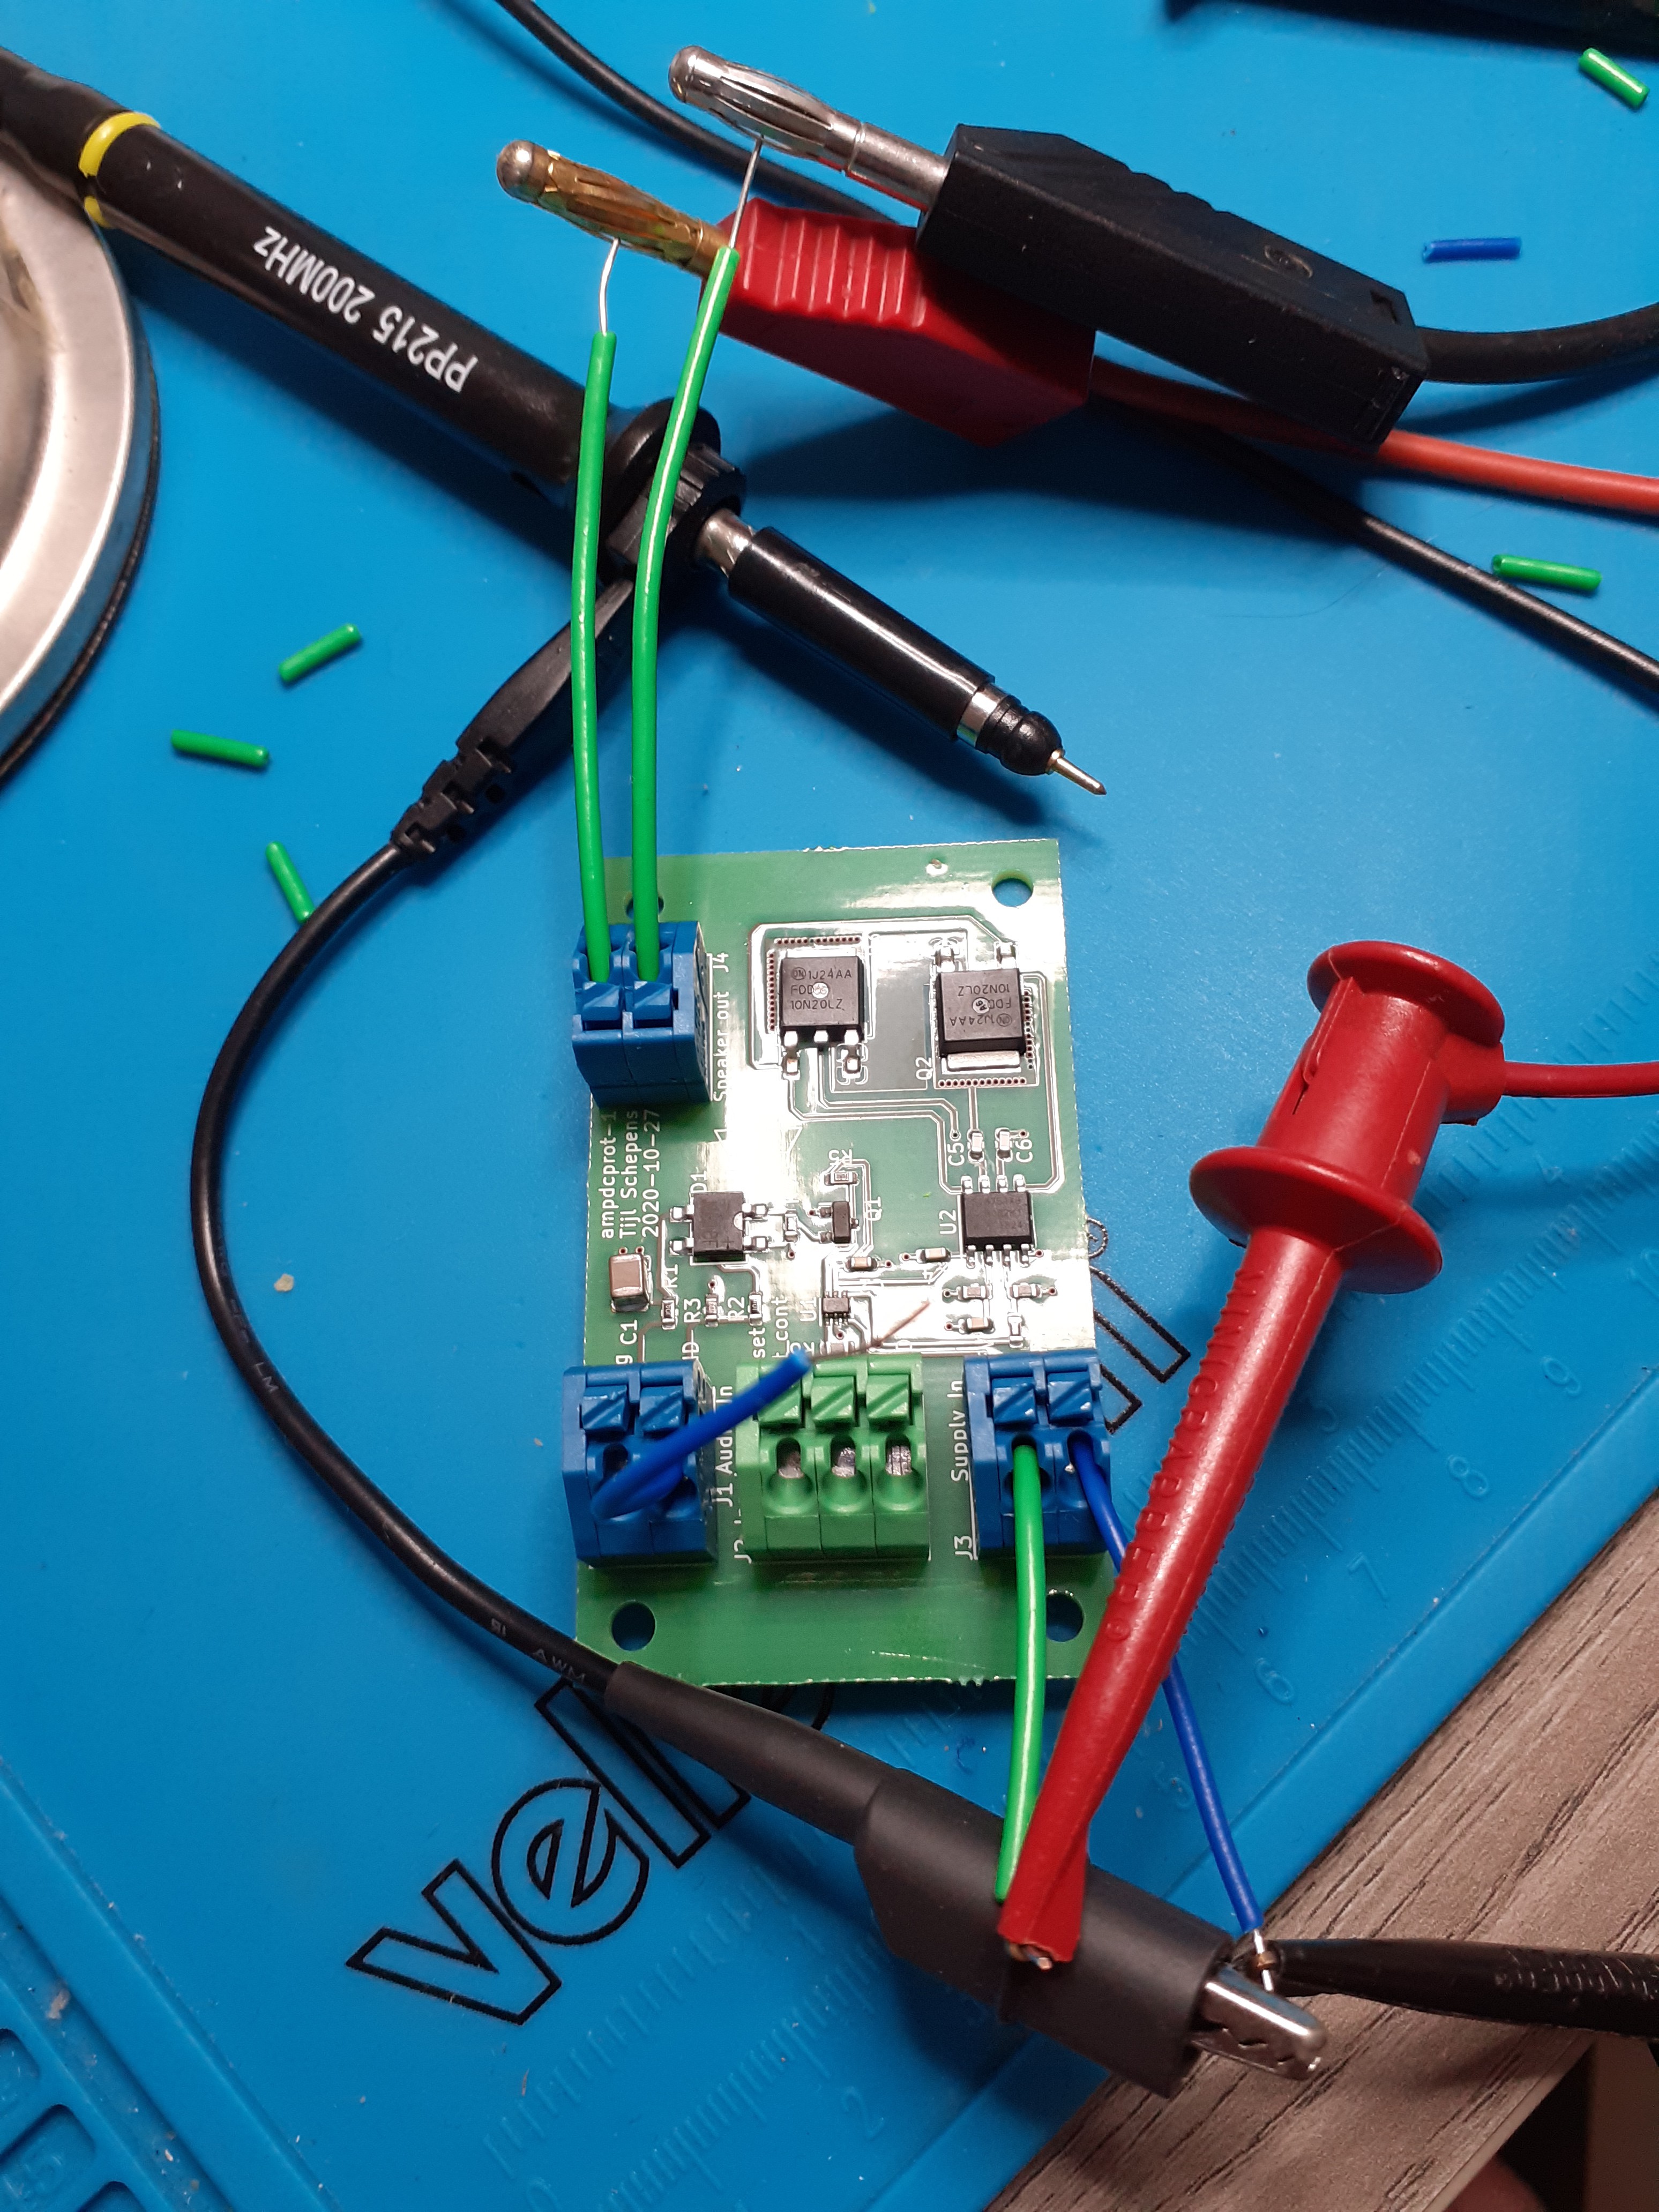
I did some quick verification to see if I made stupid mistakes. On first sight it seems that the board works as expected. Now I can start to do some more in depth measurements!
Discussions
Become a Hackaday.io Member
Create an account to leave a comment. Already have an account? Log In.