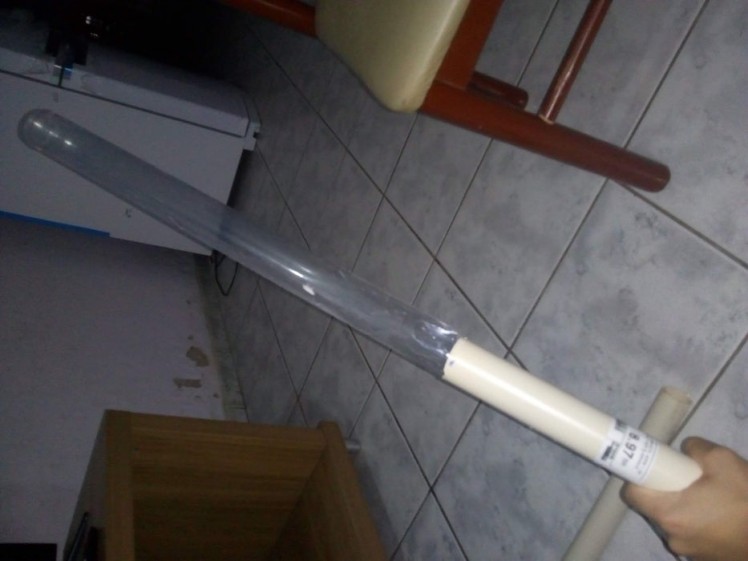
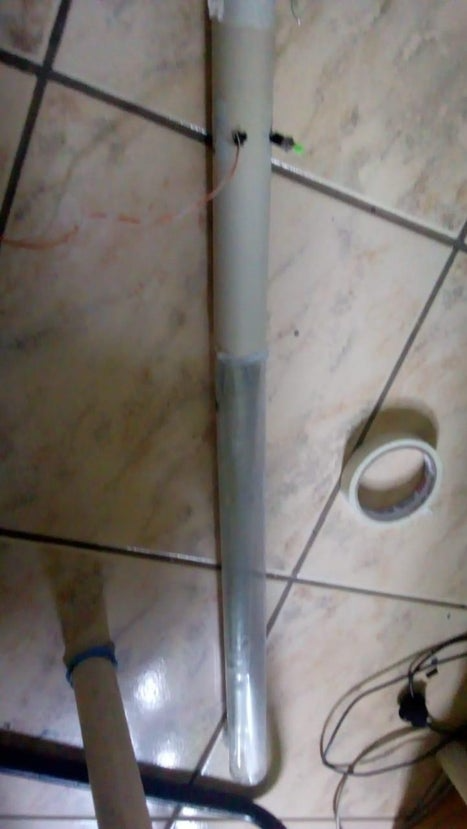
This is a handmade simple lightsaber,you can on/off LEDs manually,and it have s wooden clamp triggers plus a analog stick for general playing,comes with a mpu6050 gyro/accel for some additional movement based buttons
A motion sensing controller for the "force sensitive"gamers,improve your gaming experience with this affordable gaming lightsaber.
To make the experience fit your profile, pick a username and tell us what interests you.
We found and based on your interests.
This is a handmade simple lightsaber,you can on/off LEDs manually,and it have s wooden clamp triggers plus a analog stick for general playing,comes with a mpu6050 gyro/accel for some additional movement based buttons
ibus.cppput this along with ibus,h and the .ino archive in the same foldercpp - 666.00 bytes - 02/27/2021 at 15:28 |
|
|
Lightsaber_Game_Controller.inoFor the controllerino - 2.62 kB - 02/27/2021 at 15:28 |
|
|
ibus.hh - 197.00 bytes - 02/27/2021 at 15:28 |
|
For the hilt, we gonna to cut 30 cm of the PVC pipe, it's a very comfortable height to be handled, and after that the pipe must be sanded.
Mark with a pen where your fingers and thumbs rest naturally, it will be for the buttons and analog wires to pass, also make one for the led switch. Now let's drill a hole with the used soldering iron, watch out for the hot plastic.
We gonna carefully sand the plastic tube, I used a plastic tube generally used for Christmas balls.
It is not tough enough for some lightsaber fights, but it is safe enough not to break your TV or monitor screen if you accidentally hit it with the saber blade.
To fit in on the PVC pipe, you can gently crumple the far end of the plastic tube, or carefully pass something hot(like the soldering iron) near the end of it, lately we gonna use tape to firm the blade.
Our “saber crystal” the source of the power and of this gaming lightsaber are the Accelerometer /Gyroscope MPU6050, responsible for literally “sense the force” for responding our moves in game, and of course the battery that are responsible for powering the LEDs inside the blade.
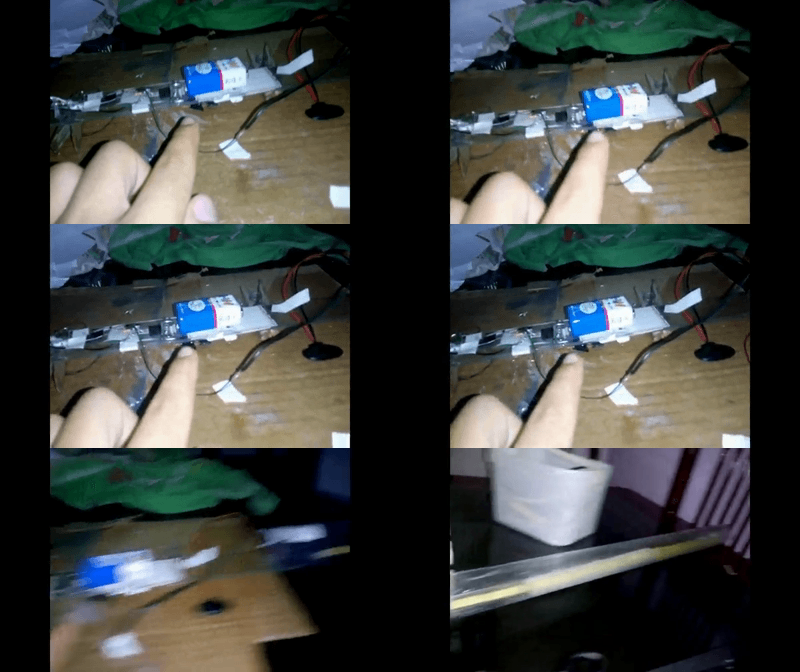
We gonna mount the sensor in the middle of a ruler with approx same wideness dimensions of the PVC pipe for fitting inside it, positioning the sensor on the middle guarantees stability and precision on the sensor reading, because the only force acting on it is the one that you apply on it. Screwing or just fixing the sensor with tape shall make it not fall off the ruler while you move.
The 9V Battery are heavy enough to unbalance the motion of our lightsaber, so I glued and taped it down of the same point the sensor is fixed, these cames with the cost of a hard time replacing the battery, but I am working on a future design for making a “door” in the middle of the pipe to switch it.also these batteries have a good lifetime of like some months.
Solder the sensor following this diagram, a good advise is to hot glue the terminals after soldering, this guarantee that clashes and tensioning the wires are not going to make the solder joints “broke”.
Create an account to leave a comment. Already have an account? Log In.
Become a member to follow this project and never miss any updates
By using our website and services, you expressly agree to the placement of our performance, functionality, and advertising cookies. Learn More