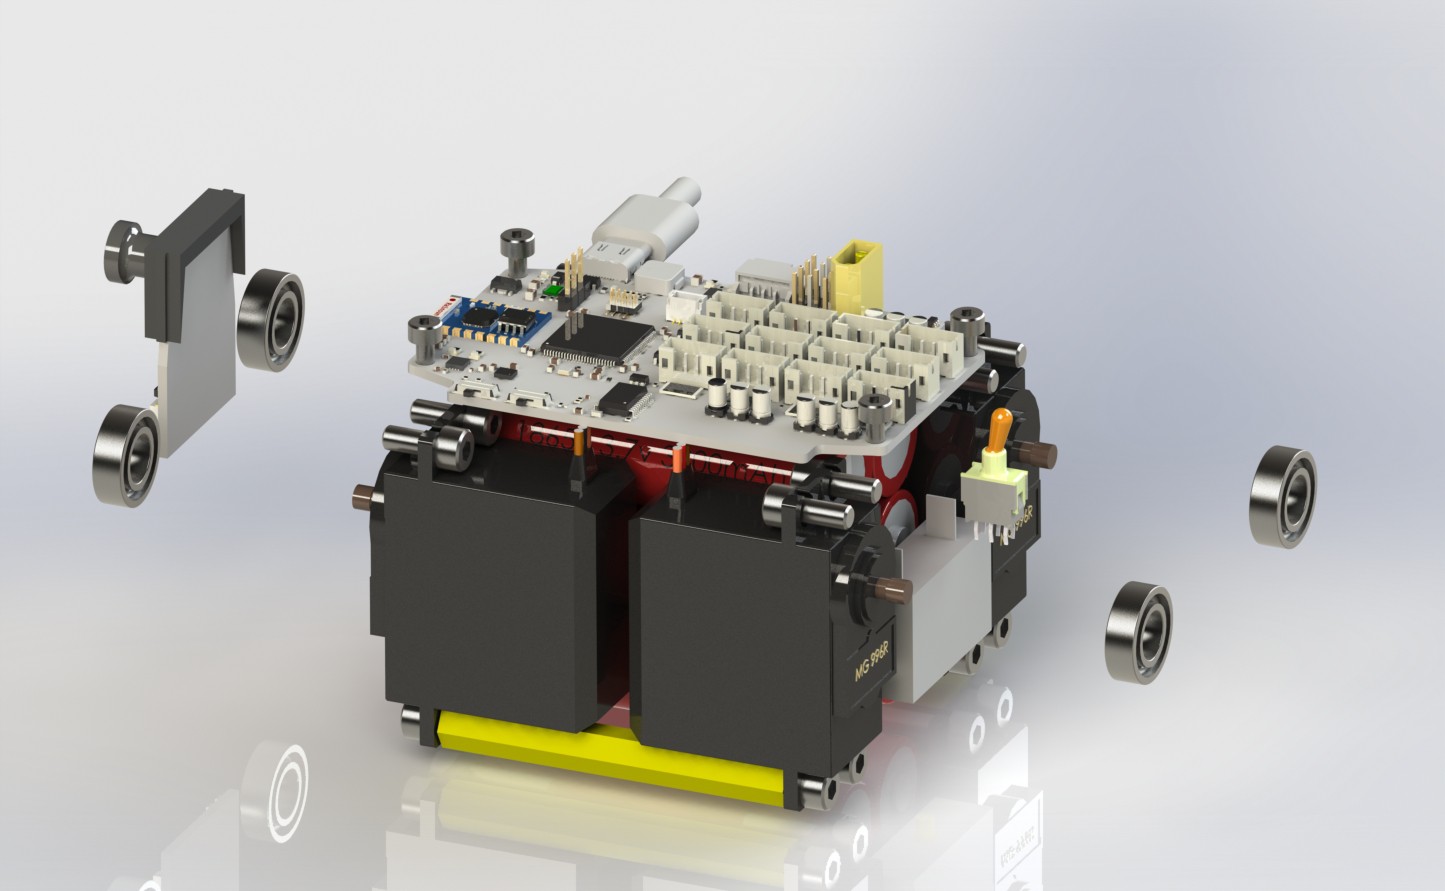
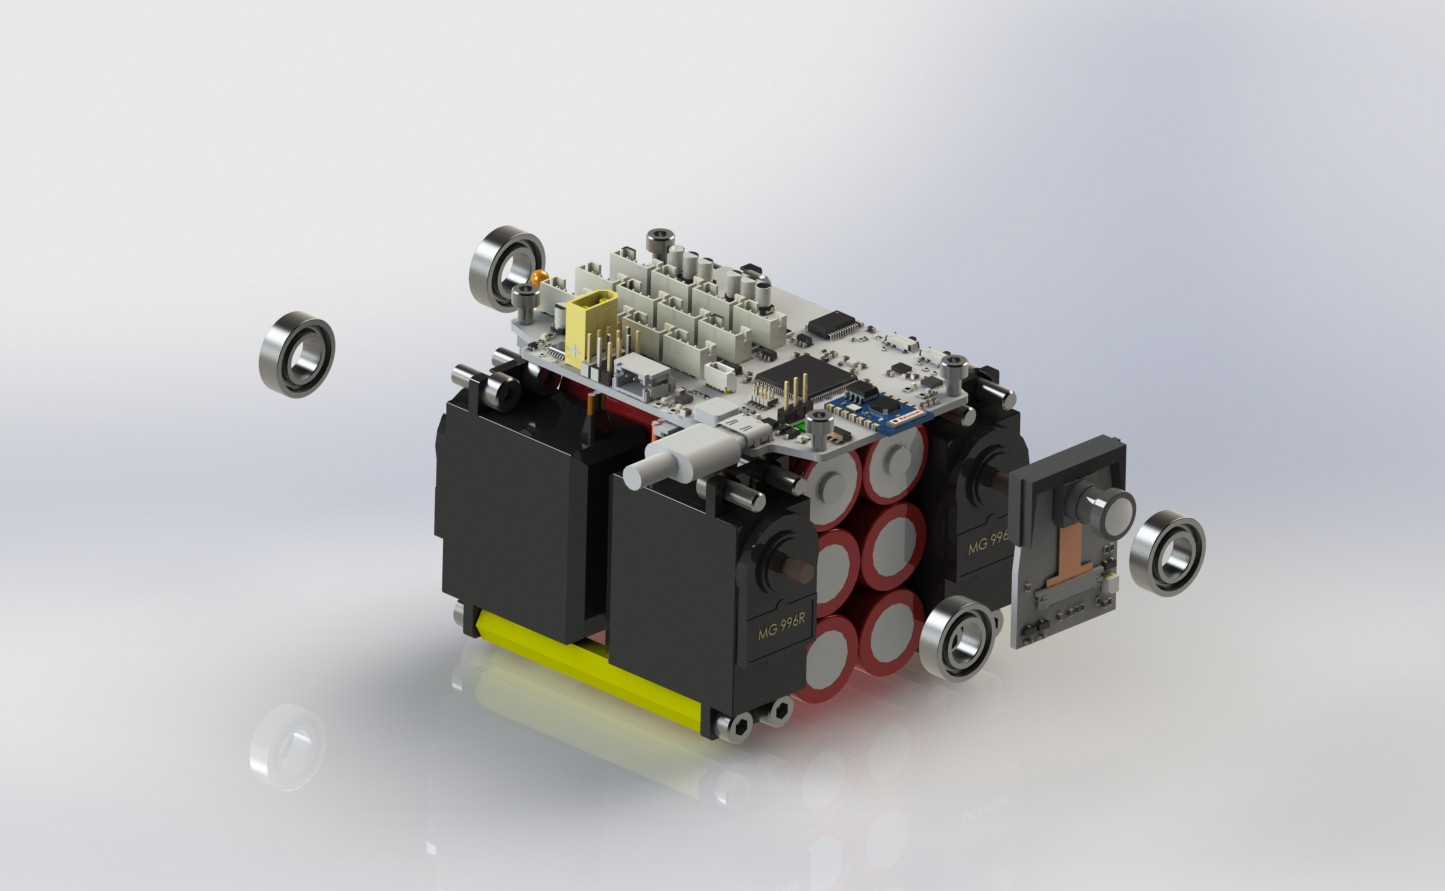
Let's take a closer look at what's inside the robot ;)
Here are two renders without the chassis part and covers, you can see how compact everything is!
I made sure to have everything symmetric as to get a center of gravity in....well the center!
concentrated mass is always a good idea, and as compact and stressful to assemble as it may seem, it's actually pretty easy to do so, the batteries are fixed to a bottom part that is secured with 2 bolts and could be removed by simply disconnecting them form the board and the switch
You can see that there's only one board inside the robot, the mother board, no power distribution stuff, no extra breakouts, just the motherboard, which might be both a blessing and a curse, having a logic board connected to a power distribution board might be a safer system, but space is money in my case. Everything I need is one the board, and there's a blog on that, make sure to check it out!
The battery power doesn't just connect to the board, there is a 6.3A fuse, and 10A manual switch before that, to ensure security, the load switch on the board is good for up to 9A!


The servos for the Hip joints are nicely tucked inside the chassis, optimizing the usage of the space available and giving the Robot an overall shorter length.
Consider this quick blog as an introduction to what I'm working on currently, which is a full assembly manual of the Robot, with exploded views of the assemblies and annotations!
I'm also working on a render that has some open source quads lined up together, I'm reaching out to their creators, if you designed a quadruped and have no problem sharing the STEP and would to see it, Private message me and I'll add yours to the render!
 Wissam Tedros
Discussions
Become a Hackaday.io Member
Create an account to leave a comment. Already have an account? Log In.