Close
0%
0%

Refurbish an Eufy Robovac L70 battery

How to repair the battery of an Eufy Robovac L70 robot vacuum cleaner

Public Chat
Similar projects worth following

Beware the uneducated, Eufy Robovac L70 batteries are protected from tampering (for good reason), but it is possible to replace the Lithium Cells in them! Which is good, as you cannot buy replacement battery packs....

2021-03-05 14.27.04.jpg

JPEG Image - 2.00 MB - 03/20/2021 at 22:48

Preview

  • 8 × Sony VTC5A 18650 Lithium cells

  • Wires and a welder

    ClimbinElectronics03/20/2021 at 22:17 2 comments

    Firstly, please be careful with lithium cells. If you do not know what you are doing, do not try this at home. If things go wrong you might destroy your expensive robot or burn down your house. Having said that, please try to repair all things instead of throwing them away.


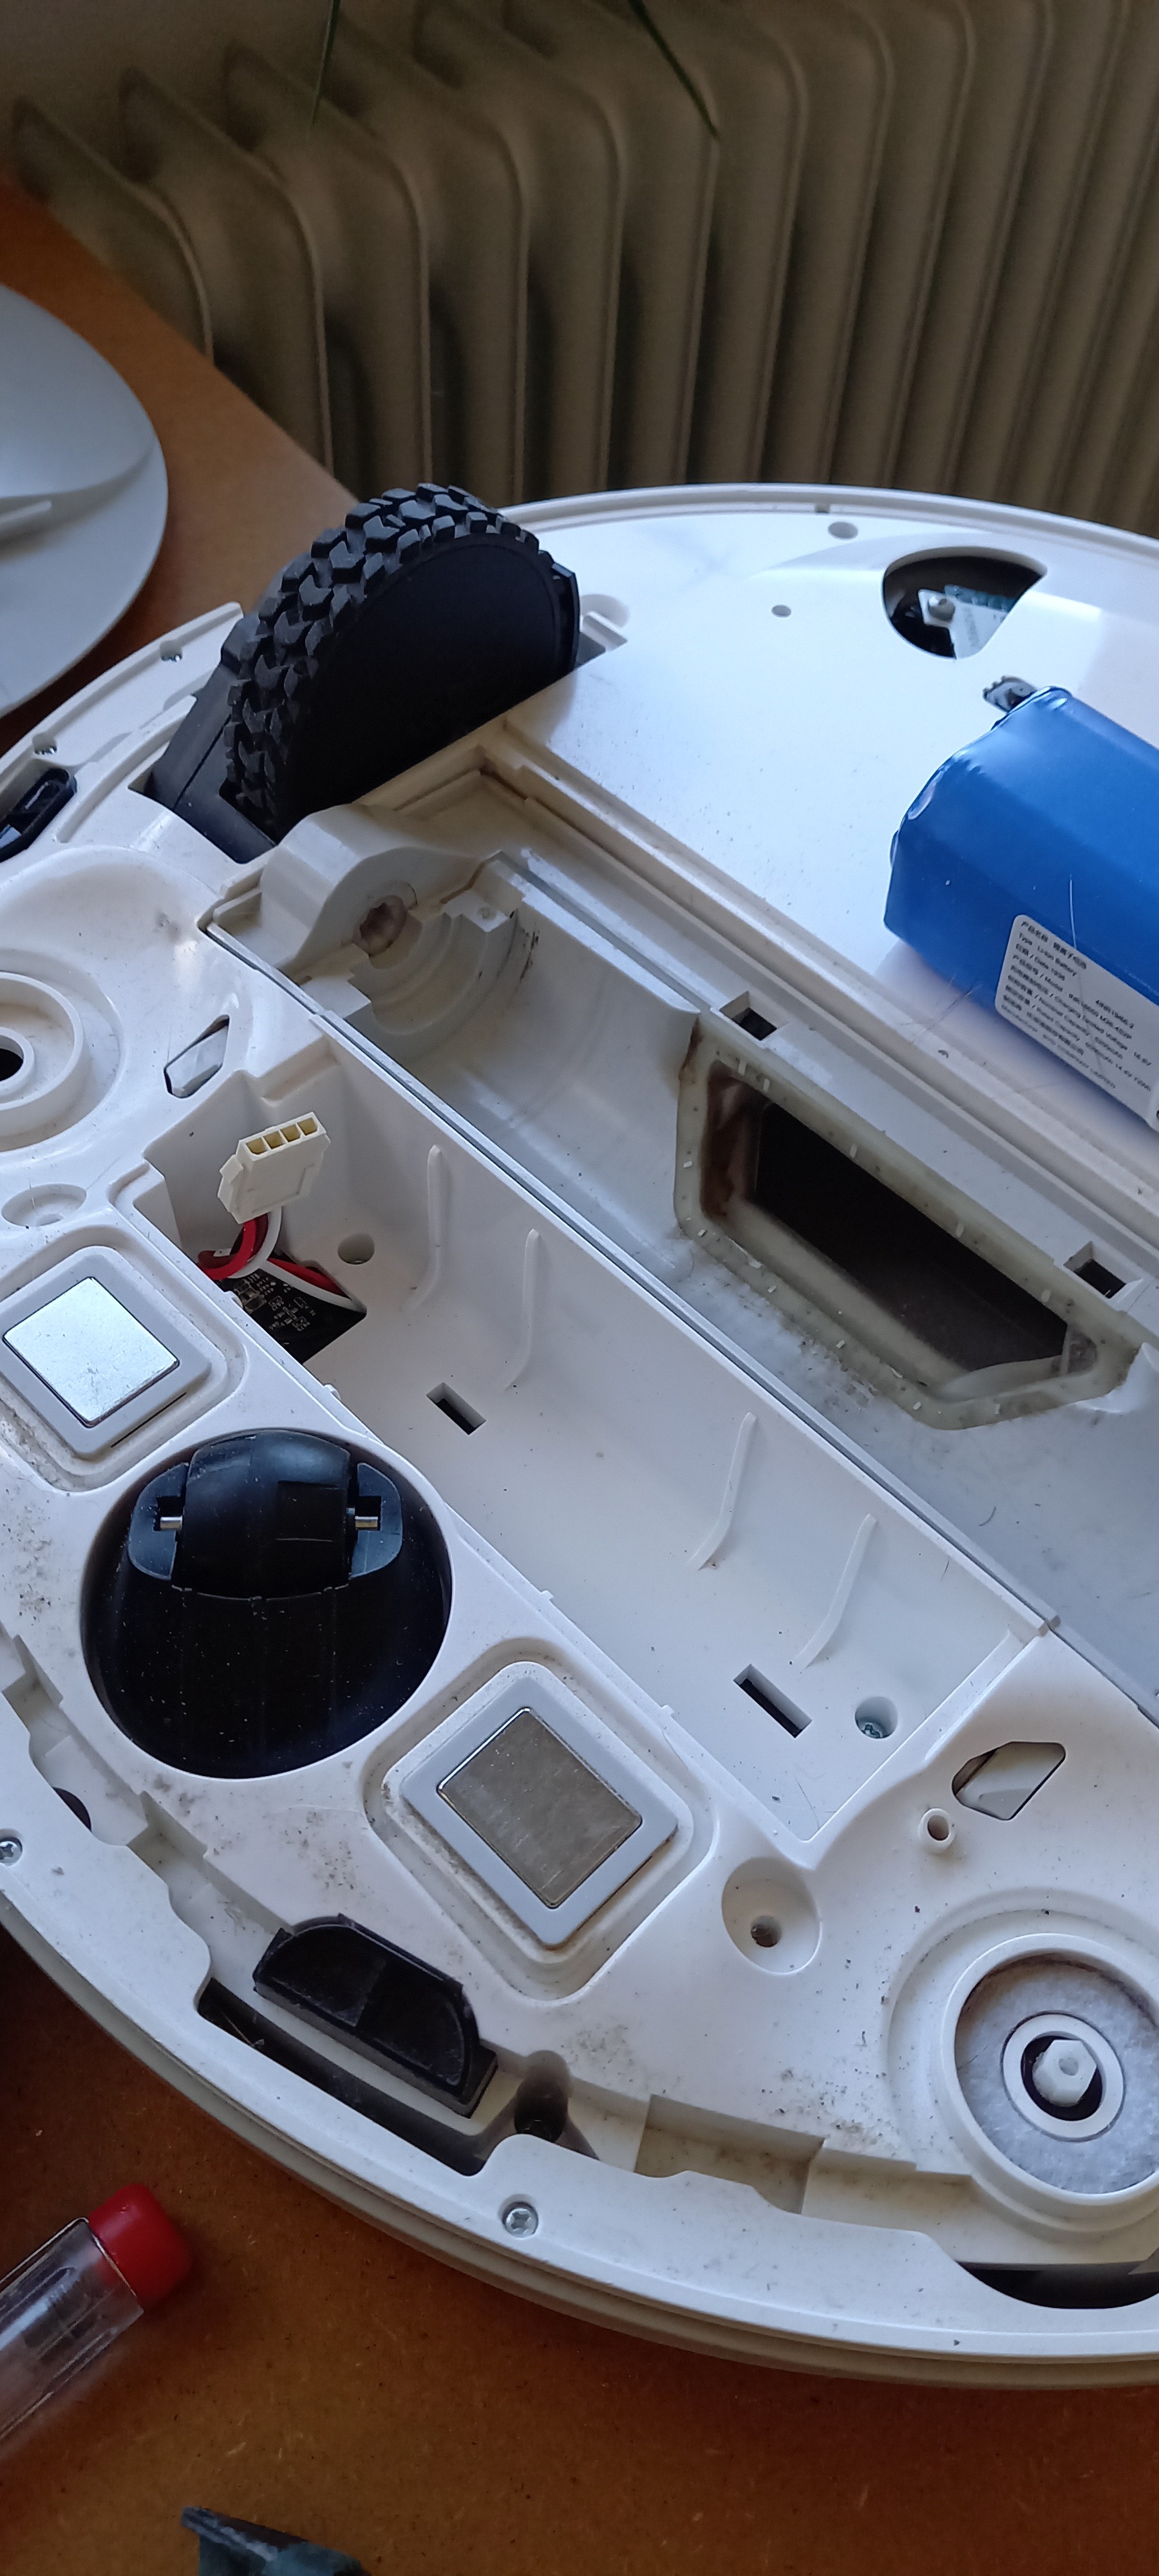
    So, I received an Eufy Robovac L70 from somebody because the battery was (almost) dead within one year. To the credit of Eufy/Anker, they received a completely new robot vacuum under warranty. To Eufy/Anker's discrete, they received a completely new robot vacuum instead of only a new battery. A new battery can be replaced in under 5 minutes, just loosen 5 screws and pull out the old battery and put in a new battery. So why it is not possible to buy one is a mystery to me and a big f*ck you to the environment.

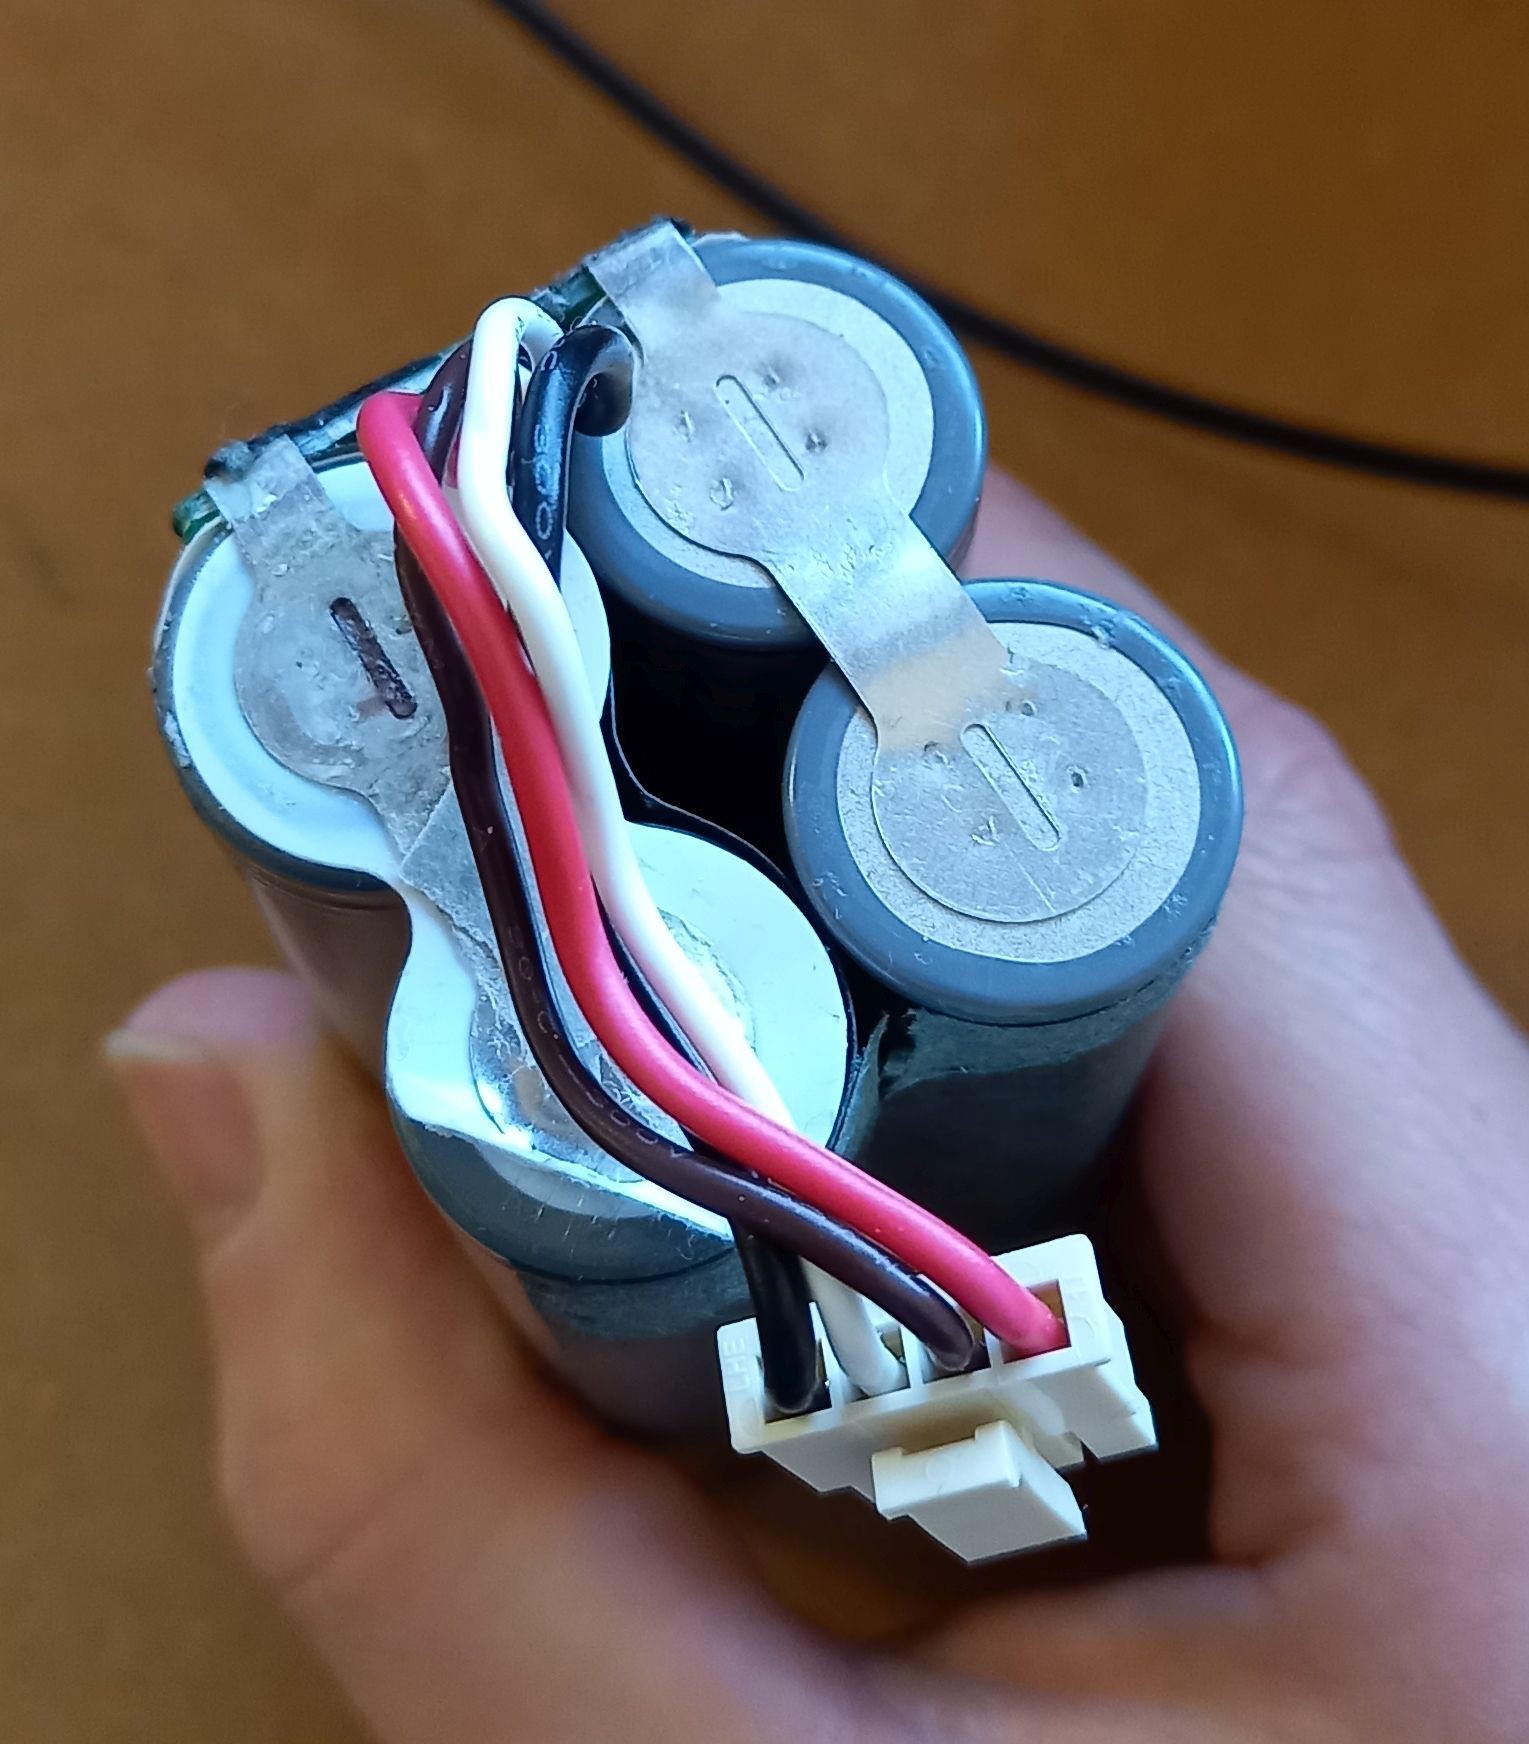
    As I said you cannot find a battery replacement for this vacuum robot anywhere. So, it was time to try to replace the cells of the battery pack. The battery pack contains 8x 18650 cells, with a total capacity of 5.2Ah. 


    After taking the battery out of the robot and removing the outer heatshrink layer, the 8 cells packed in paper shielding and a PCB covered in foam can be seen.  I charged and then fully discharged the pack using an Imax B6AC charger, the remaining capacity was 500mAh instead of 5200mAh. That explained Eufy's unmotivated cleaning....

    The connector from the battery pack contains four wires, Plus,  minus and two other wires, probably an SMBus/I2C communication bus. So it is probably a smart battery pack containing an TI BQ series IC. Those are notorious for bricking the battery pack if you disconnect the cells from the main PCB. But by keeping the batteries connected at all times, I already fooled a BQ chip once.  So let's begin. 


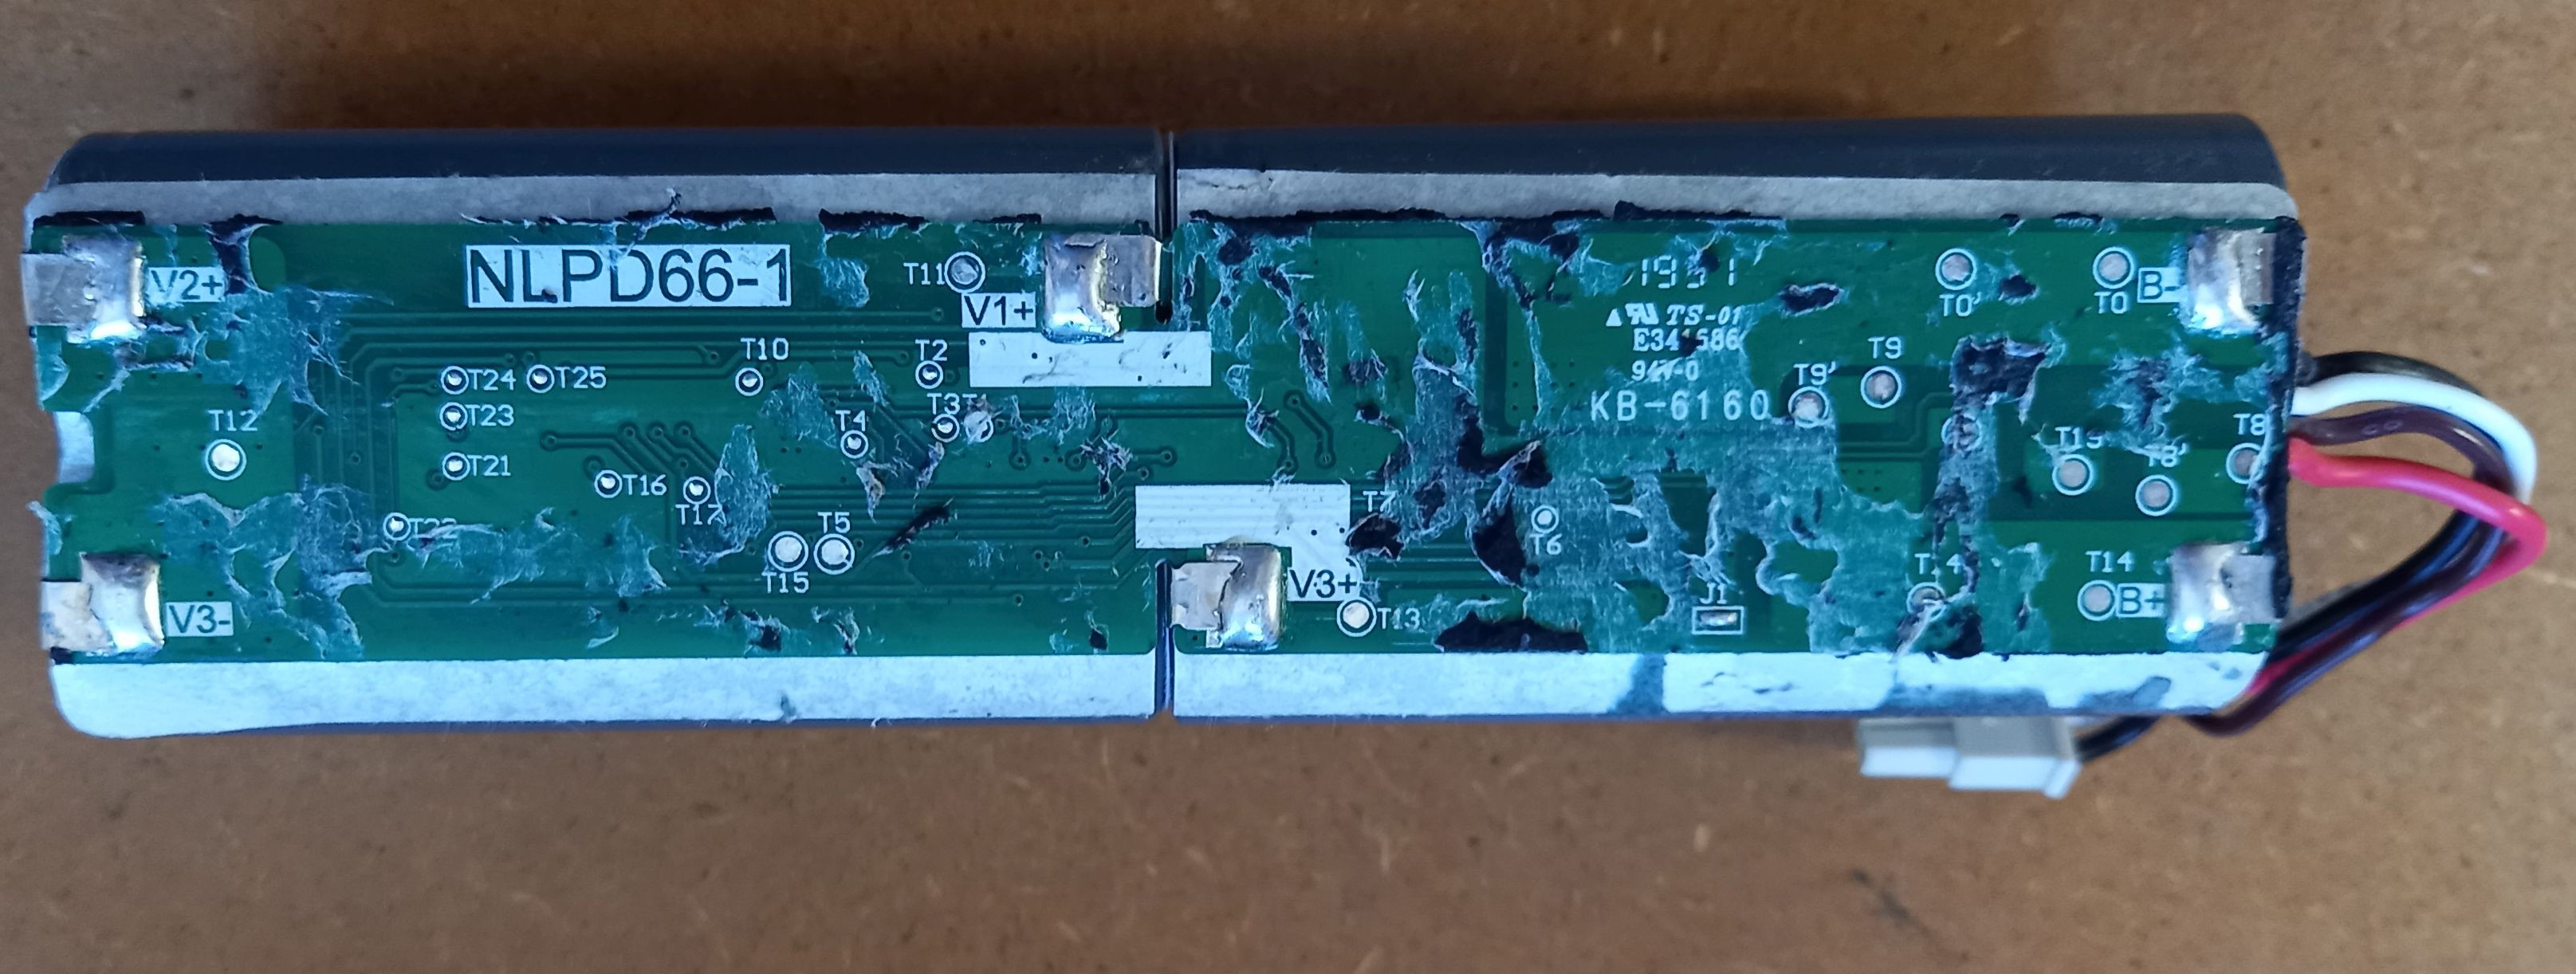
    Remove all the layers of insulation and foam from the battery. The PCB with a lot of test pads are uncovered. Sadly the parts on the PCB are on the unreachable side. The cells used by the manufacturer are grey INR18650M26 cells from  LG. As I really like the Sony VTC5A cells and they have the same capacity, I will use those to replace the old cells. 

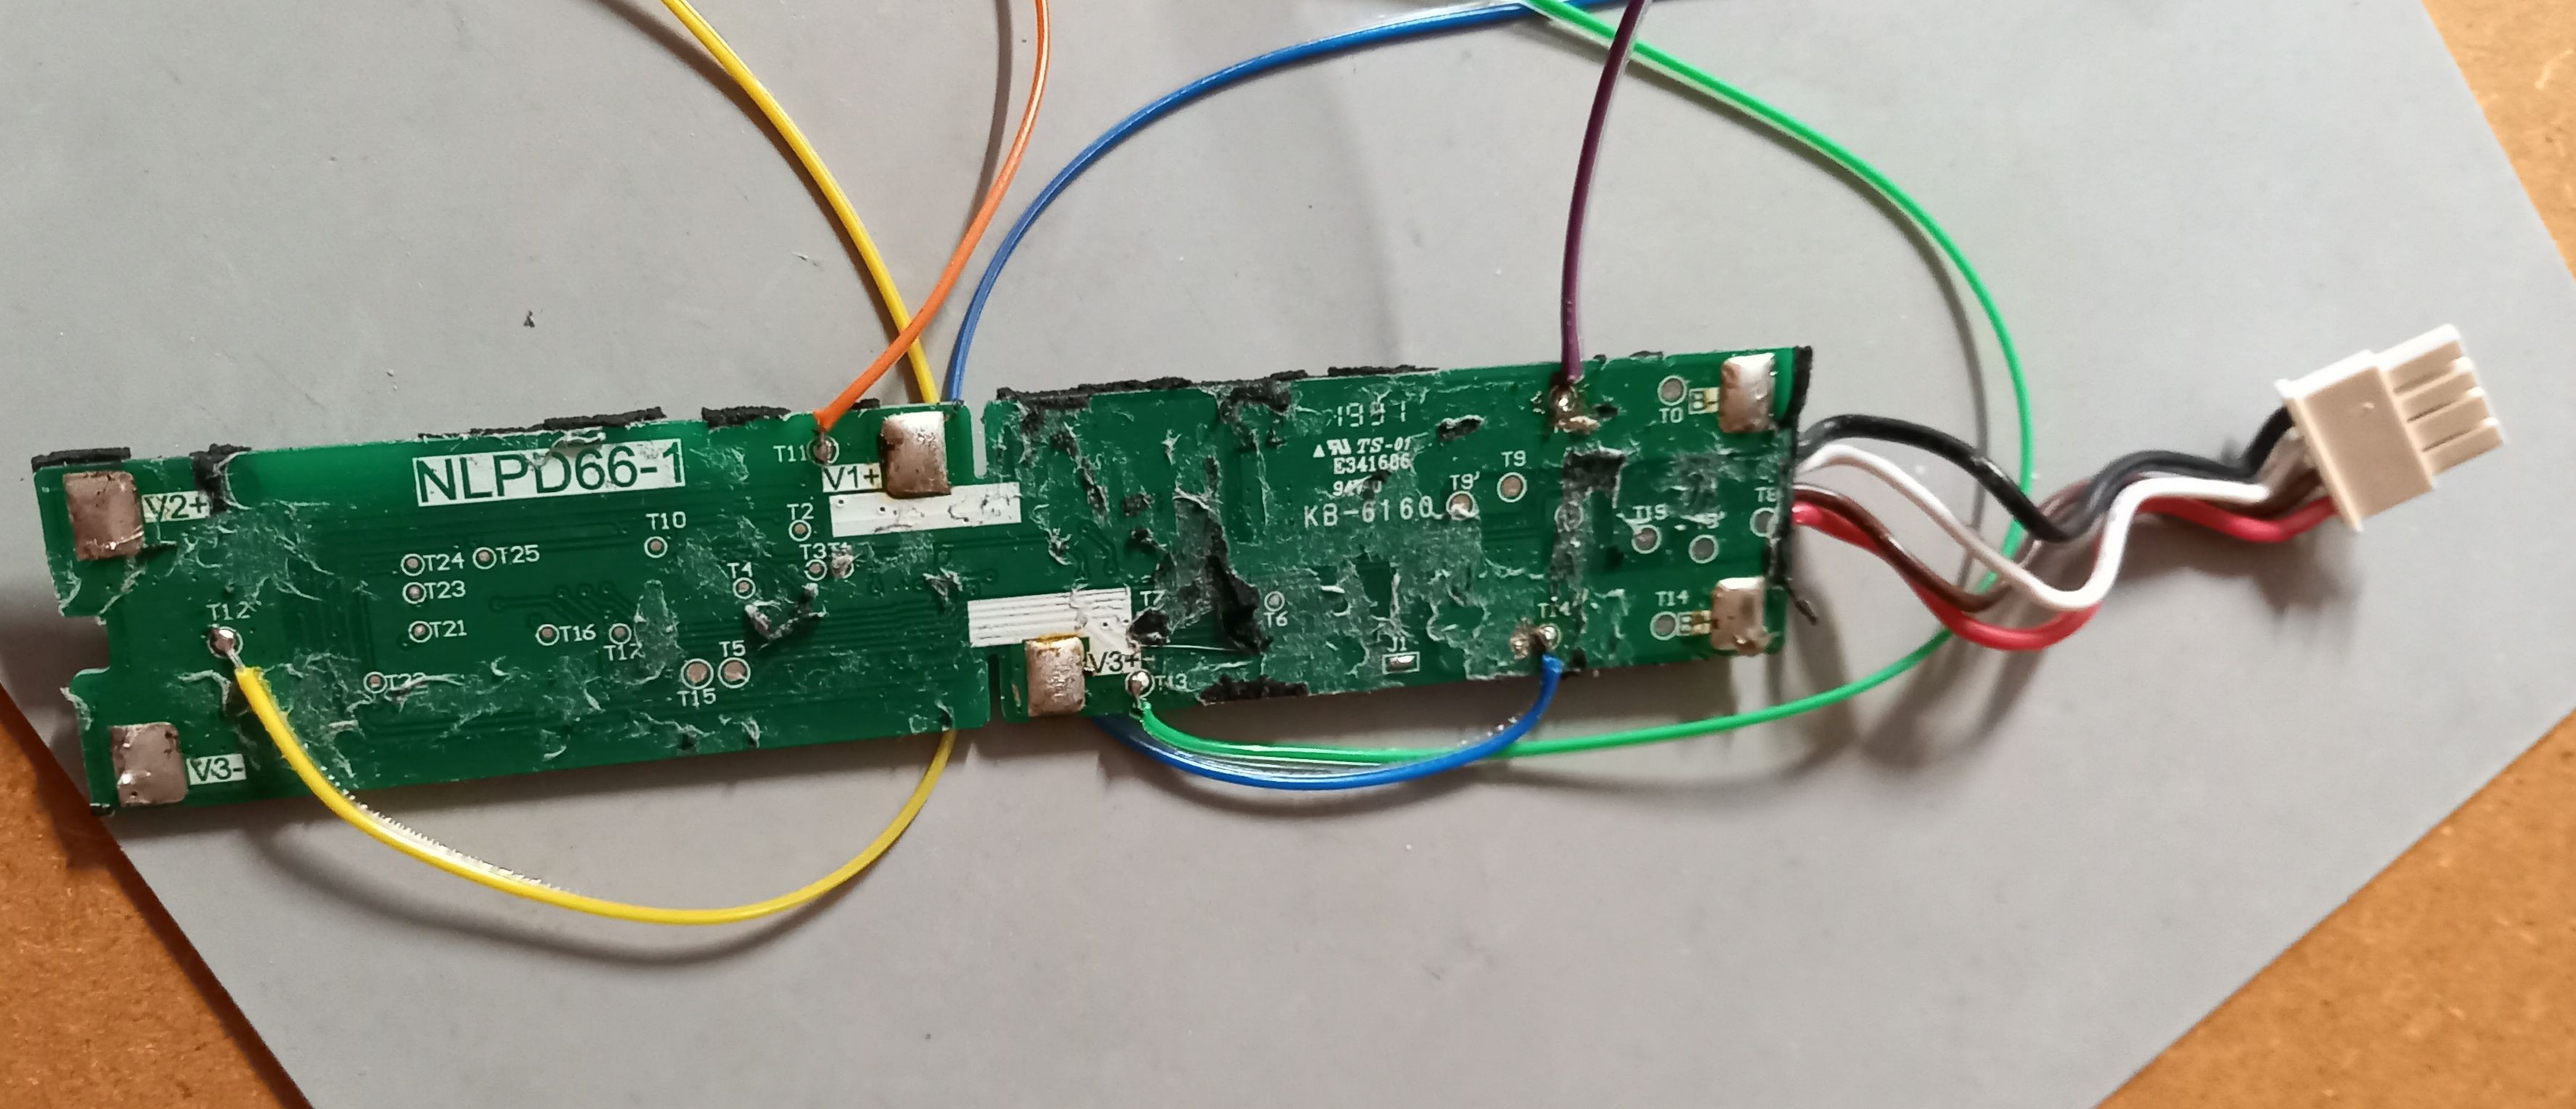
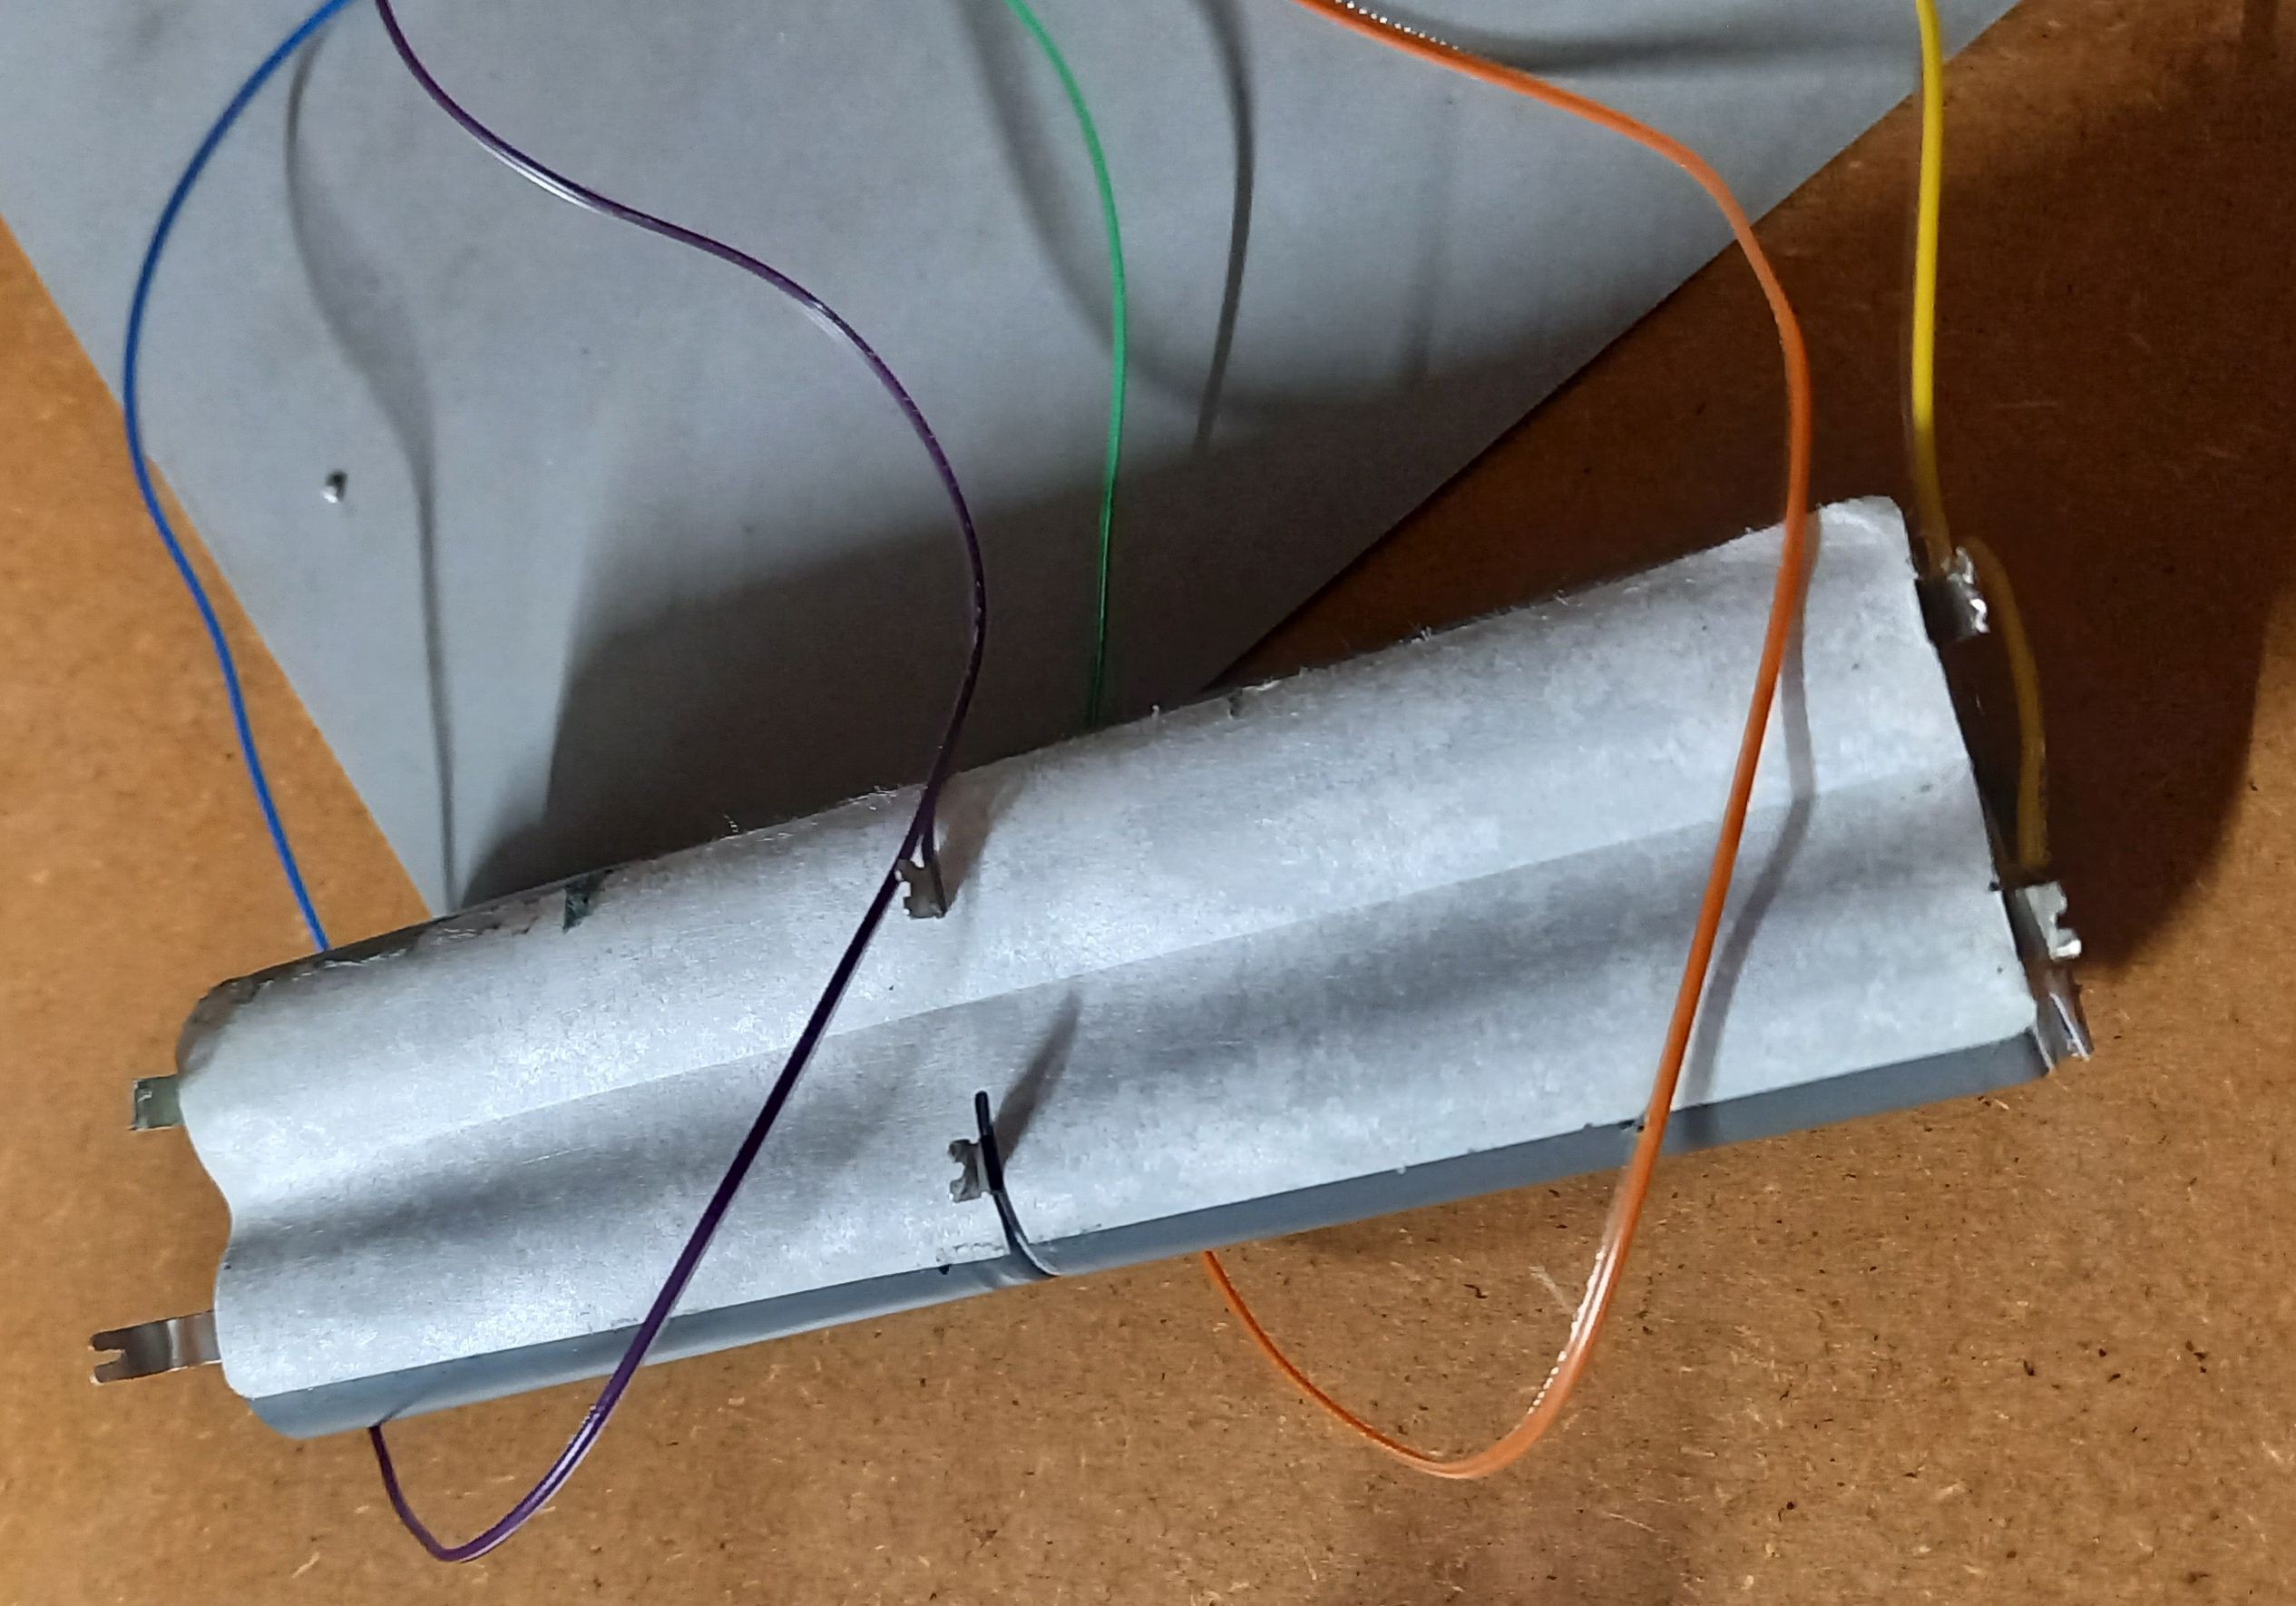
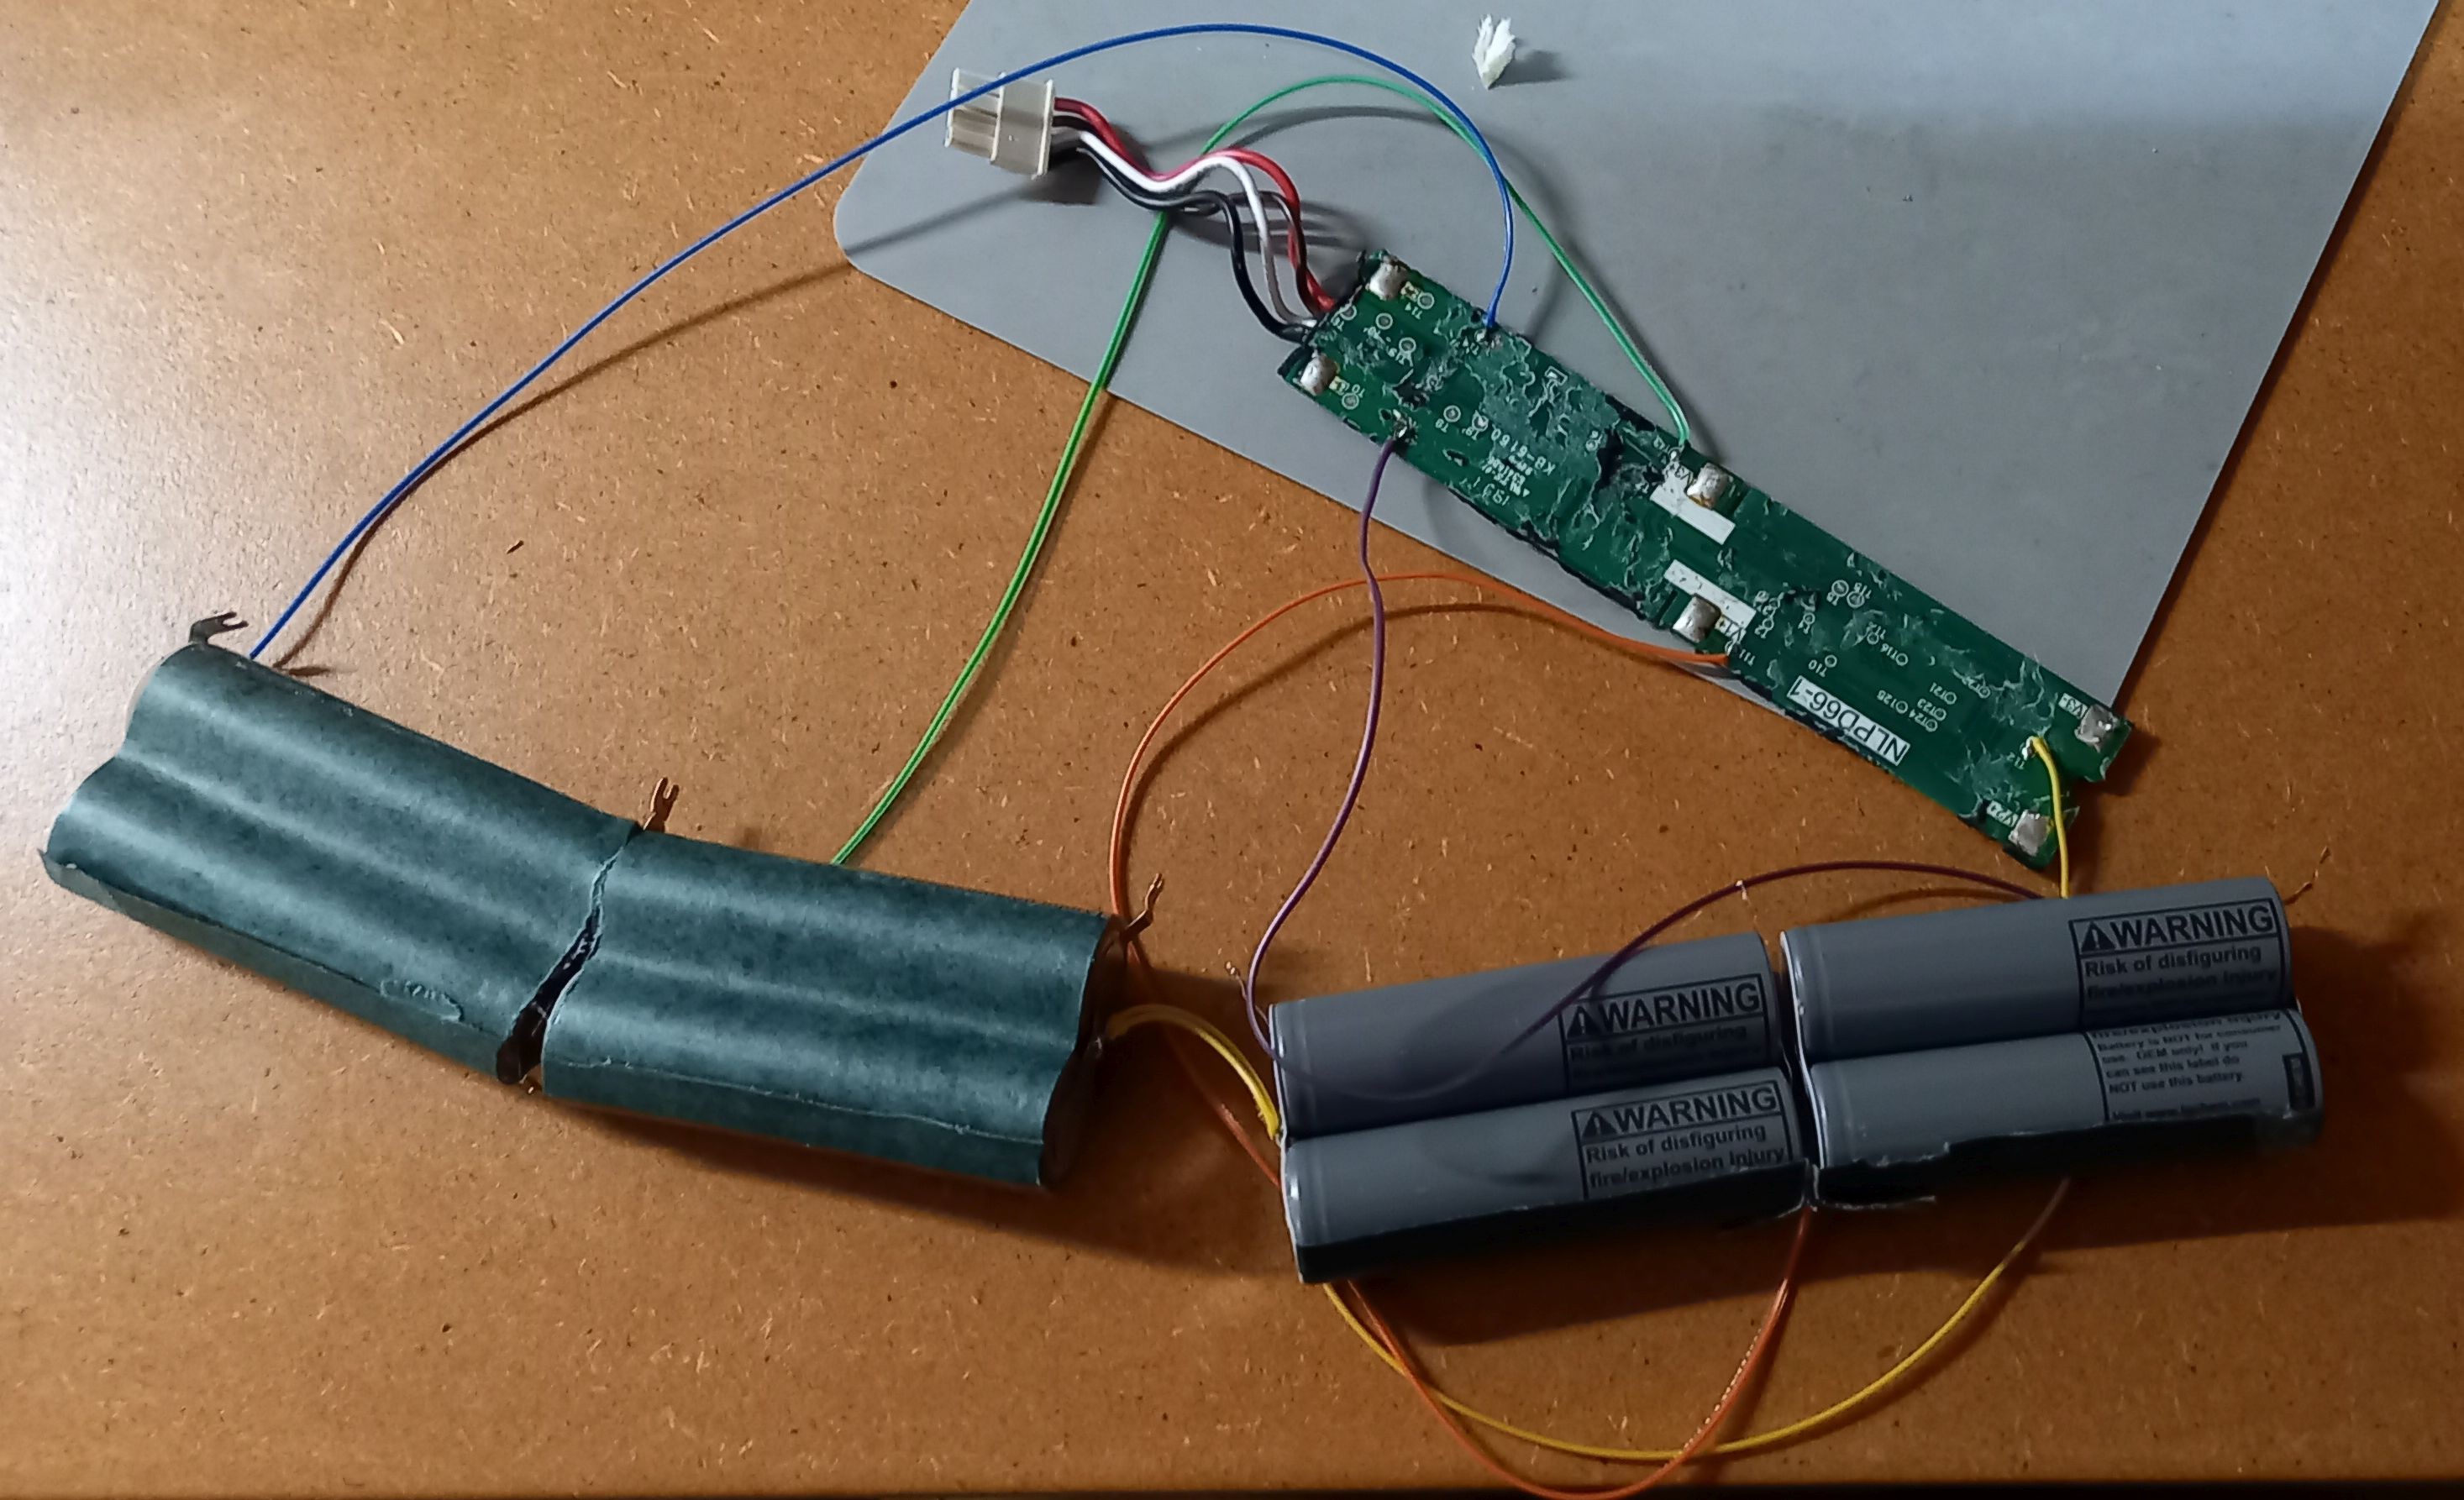
    Solder 30cm wires from the welded tabs (do not solder directly to battery because of the heat) to the convenient corresponding test points on the PCB. Do not forget to also solder a wire from the cell ending in V2+ and the cell ending in V3-, because the batteries are only connected through the PCB here.

    Now we can flip over the PCB and see the other side.

    Ha, U1 is indeed a BQ40z50 from TI, with a lot of build in protections and SHA1 authentication, so no screwing this up. The chemical Fuse F1 is blown by the BQ chip on the slightest sign of misuse, but it can still be fooled! 

    An overview shot of the dissasembled but still connected battery.

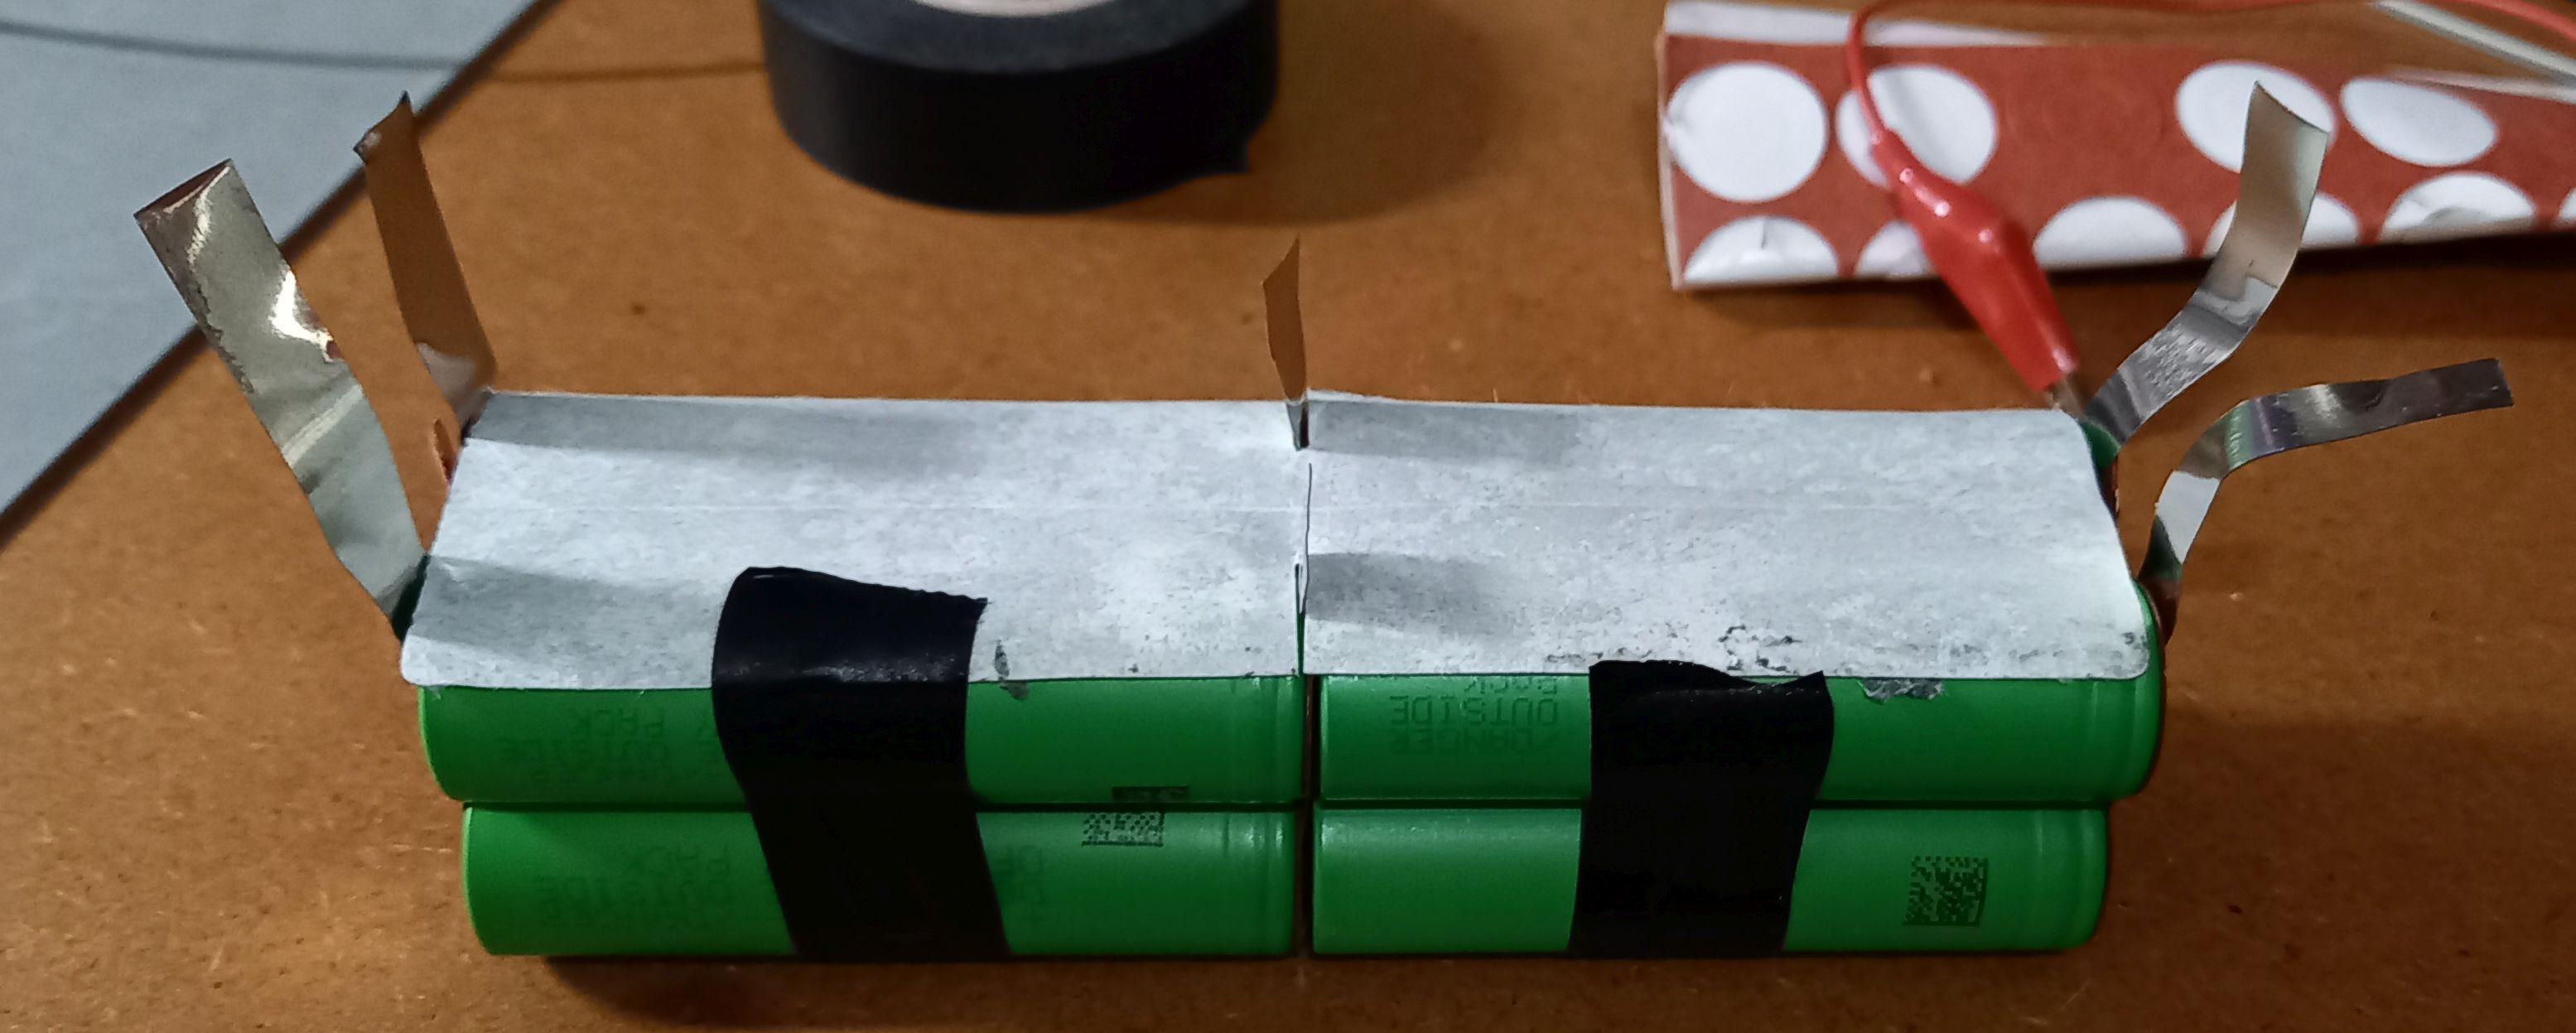
    I build a new battery pack from the Sony VTC5A cells using my trustworthy Sunko 709A lithium battery spot welder and some nickel strip. Make sure the layout is exactly the same as the old cells and the tabs poke out at the right side. Use the isolation from the old cells or use new pieces and make sure you use paper/plastic isolation circles on the plus side of the lithium cells. 

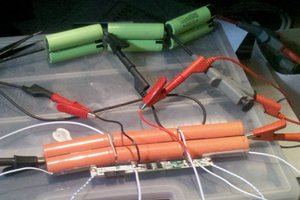
    After you have the feeling that the pack is build sturdy enough to make sure no burning Eufy will drive through your home, equalize the old and the new pack to the same voltages. I soldered 1 ohm resistors to all tabs of the old pack and used some crocodile clip test leads to connect them to the new pack. After a few hours, the cells were all at the same voltage. Now the PCB can put on top of the new pack, the tabs cut to size and soldered to the PCB.

    Before adding the foam on the PCB and the shrinkwrap, let's try if Eufy accepts the new battery. Reconnect the battery and put Eufy on the charging station, the battery will be charged. This will take longer than Eufy indicates, keep it charging for a few hours. 

    After charging once, Eufy can already clean a lot longer...

    Read more »

View project log

Enjoy this project?

Share

Discussions

Tugay Bozkurt wrote 11/05/2023 at 19:30 point

Bu bms nasıl reset atılır mutlaka bir yolu vardır nlpd66-1 çıkış vermiyor


  Are you sure? yes | no

Similar Projects

Does this project spark your interest?

Become a member to follow this project and never miss any updates