 Dominik Meffert
Until now, I used a mix of polyvinyl butyral and ethanol as ink for the printer, and even though PVB worked well for regulating the viscosity of the mix, the dried-up ink layer had bad adhesion properties so that it was constantly peeling off into flakes which gave it a very dirty look.

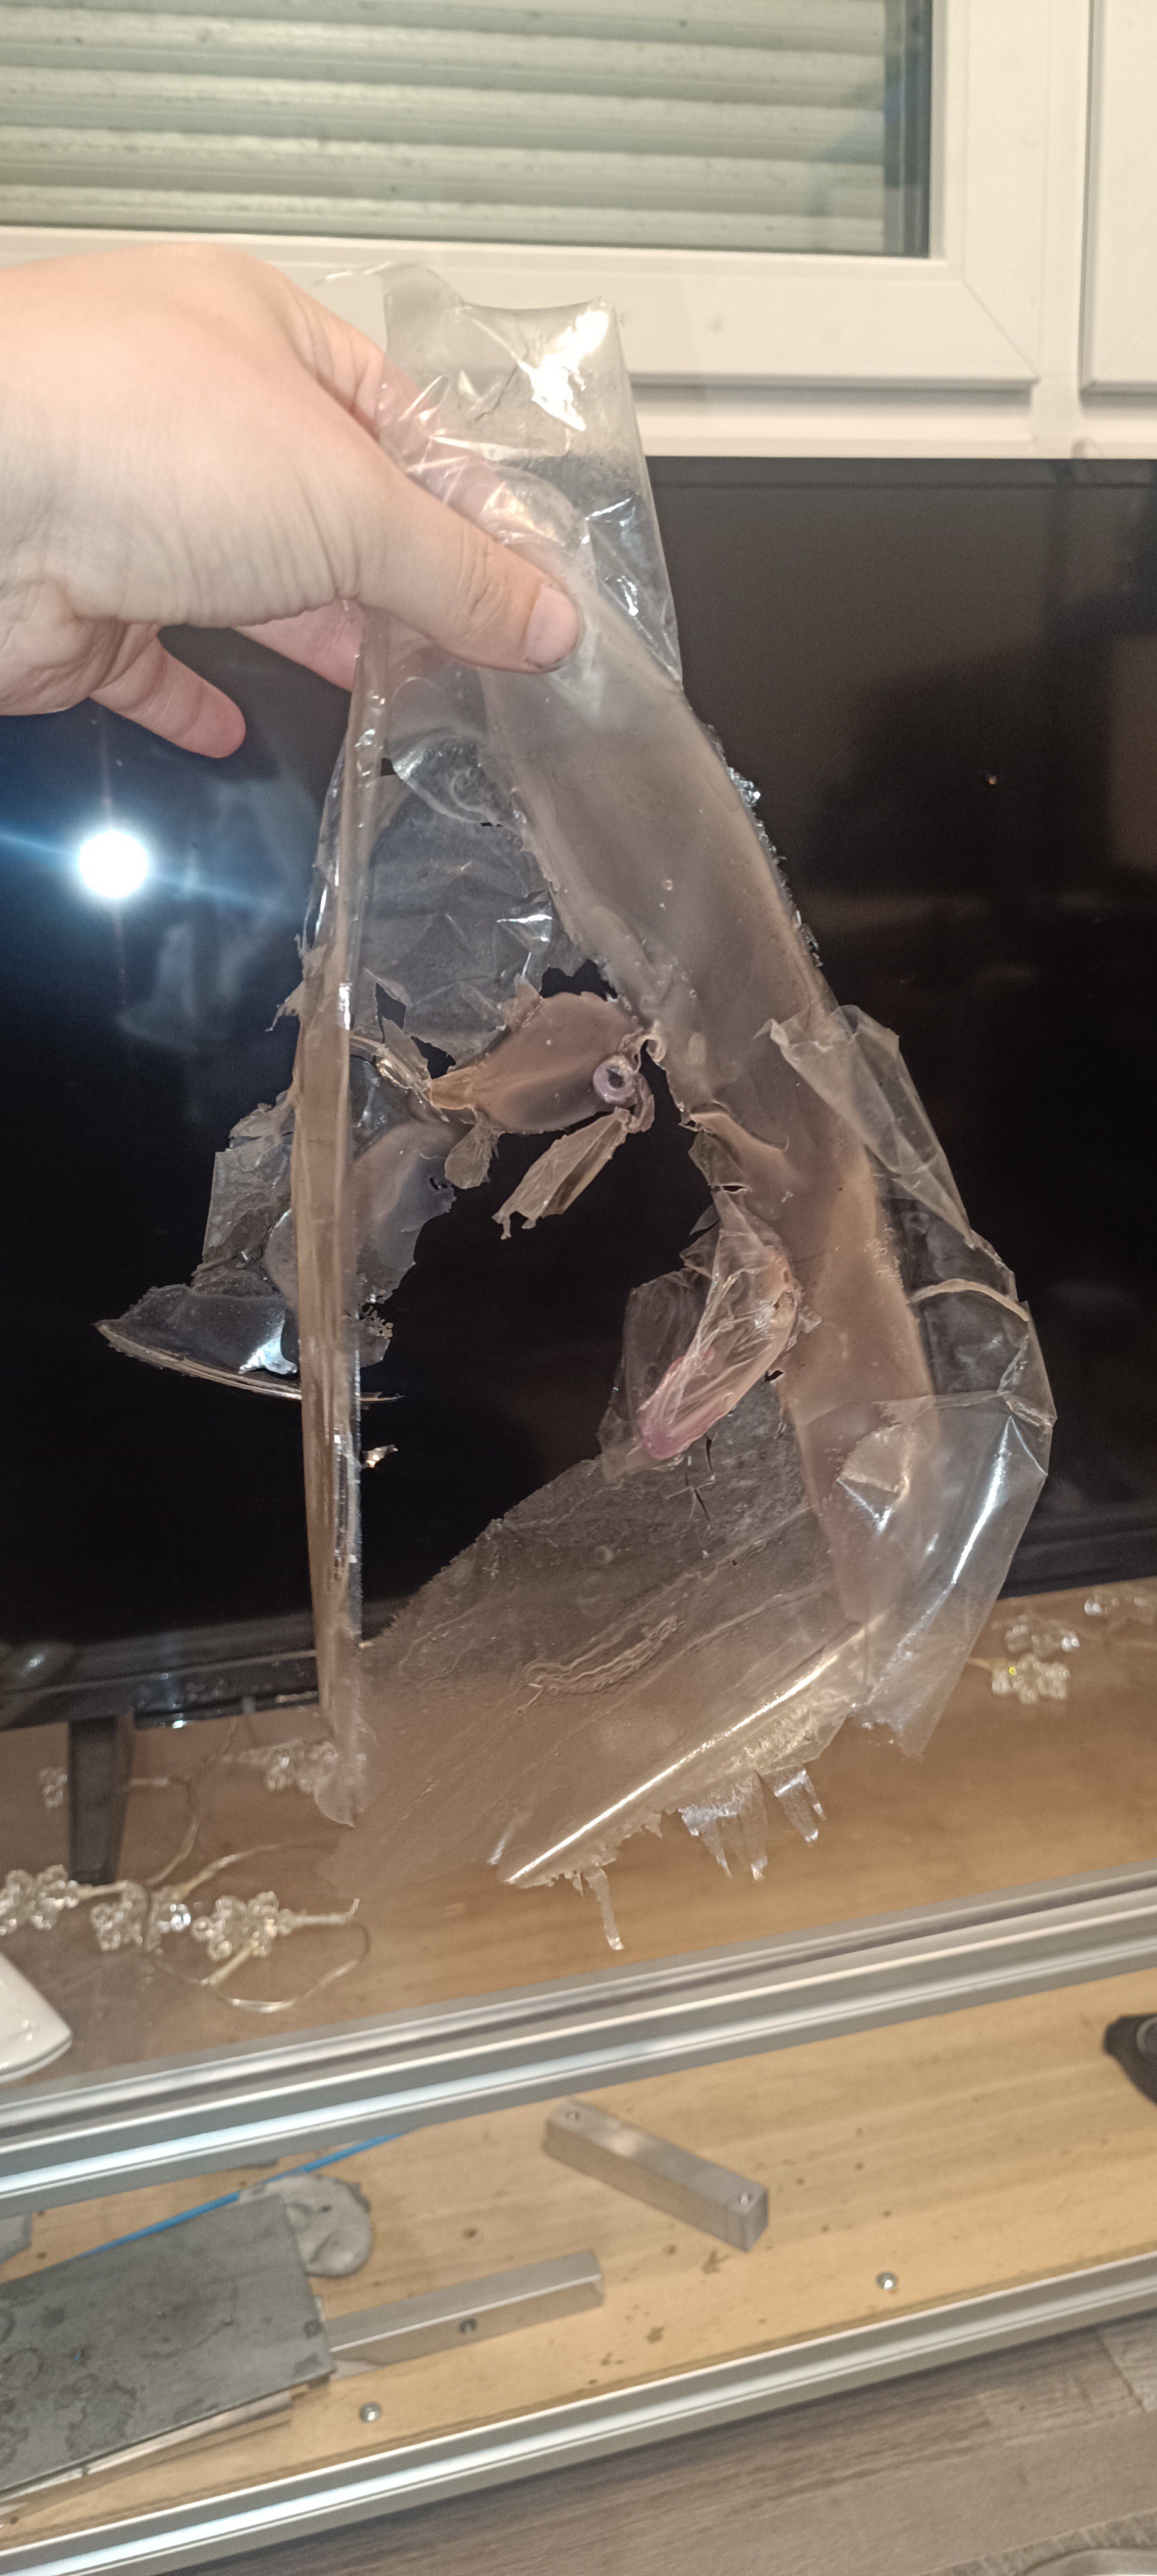
Because of that, I started searching for other ethanol-based inks.
Shellac
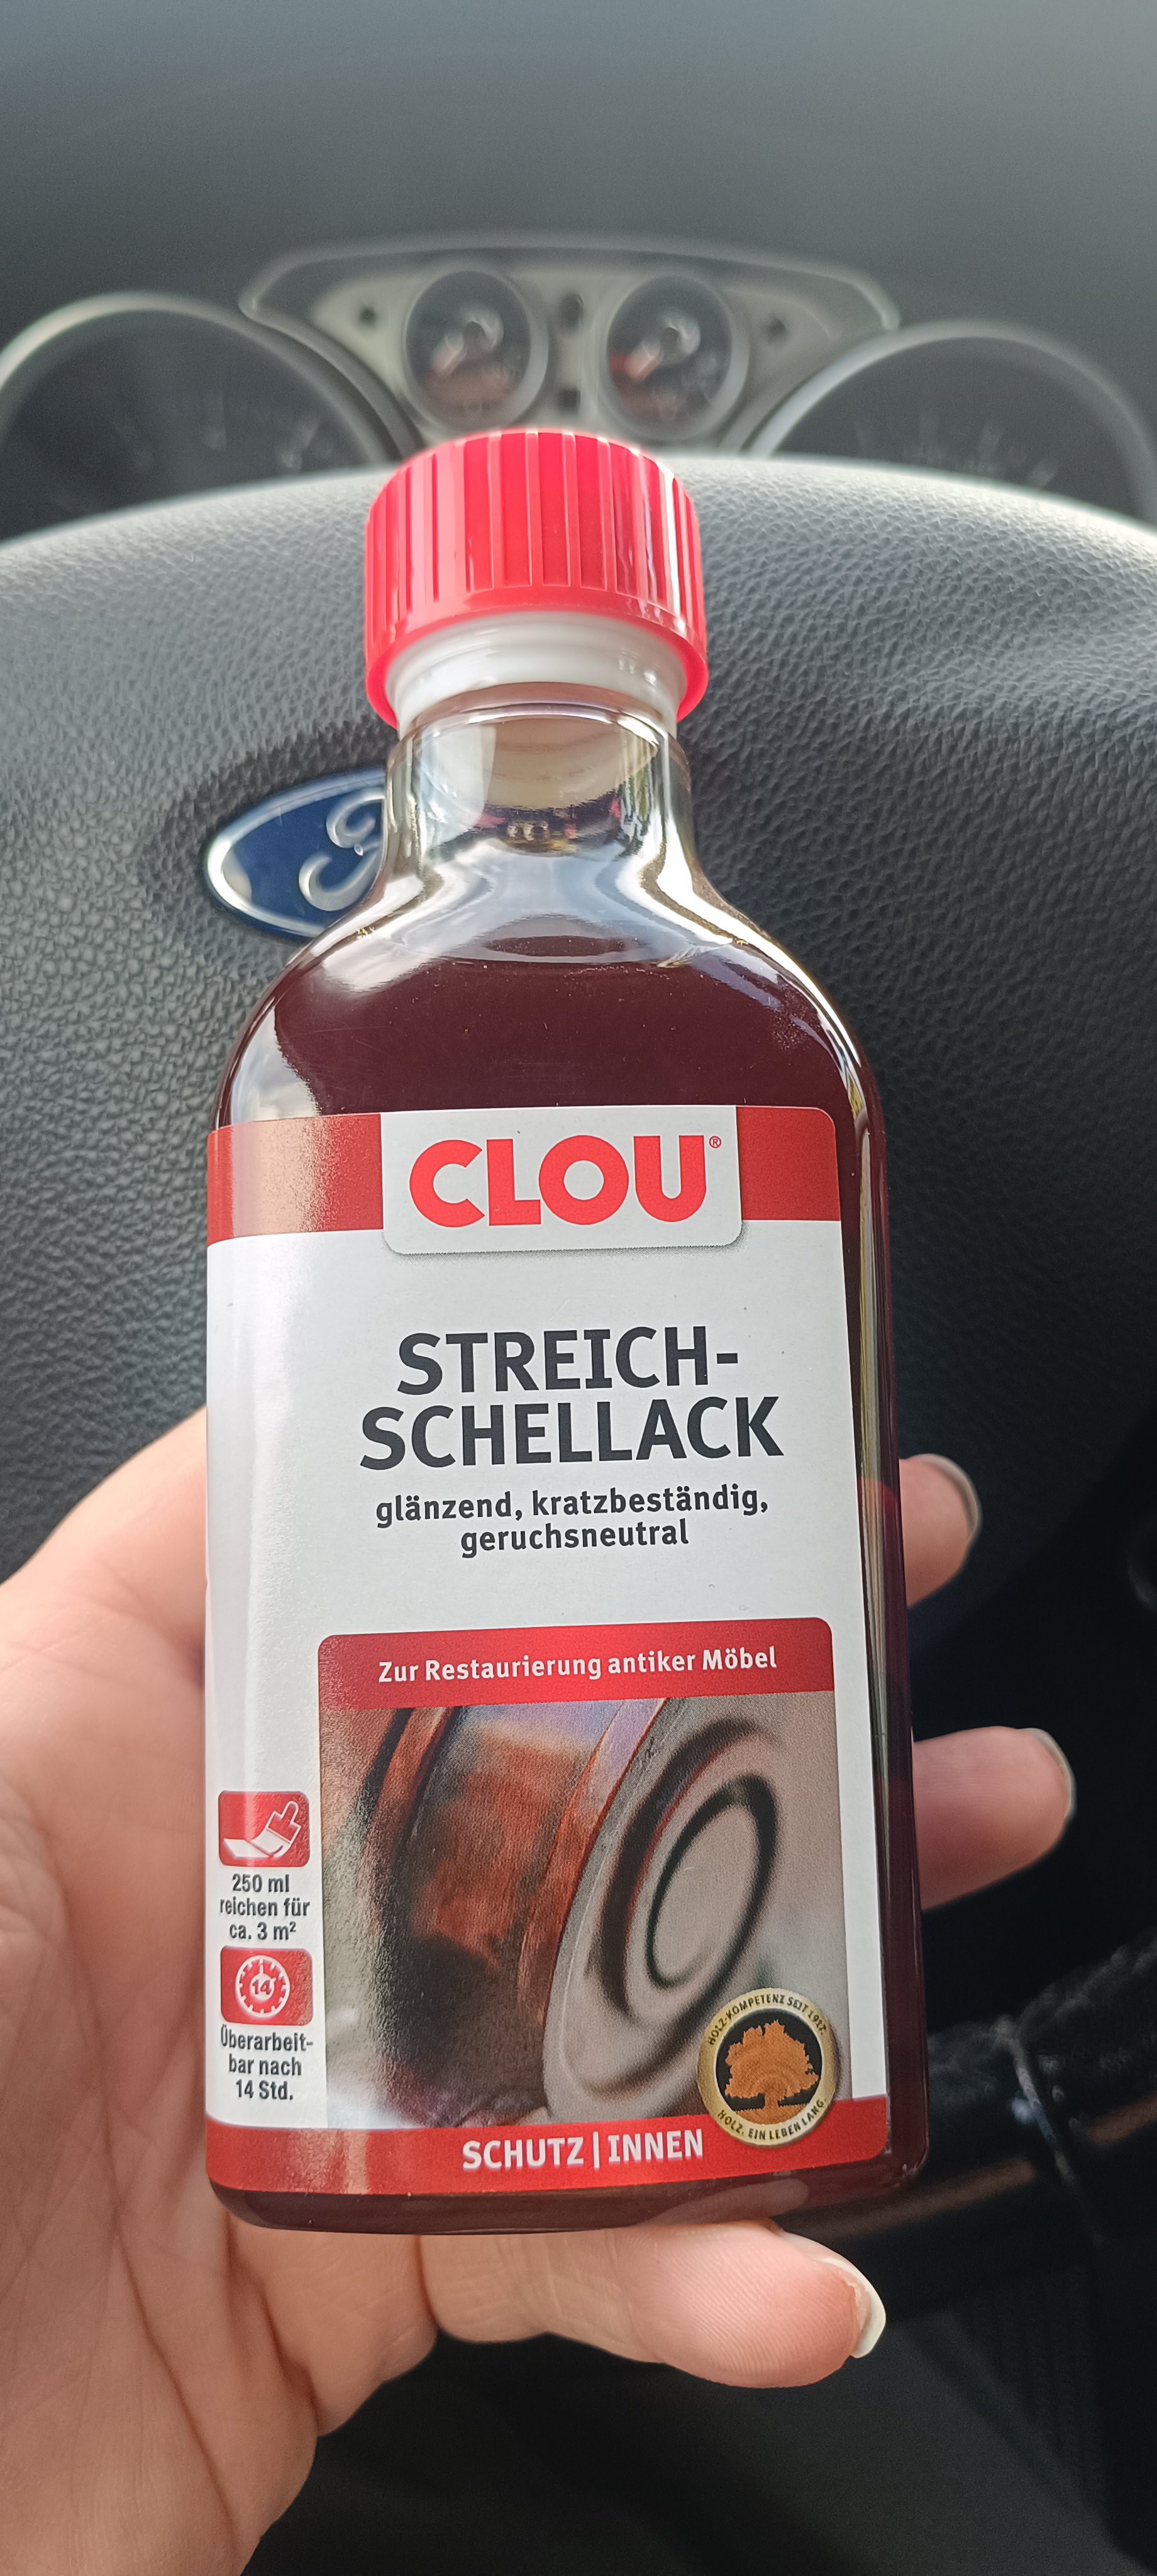
The first thing I found was shellac, which was often used as an alcohol-based furniture varnish in the past.
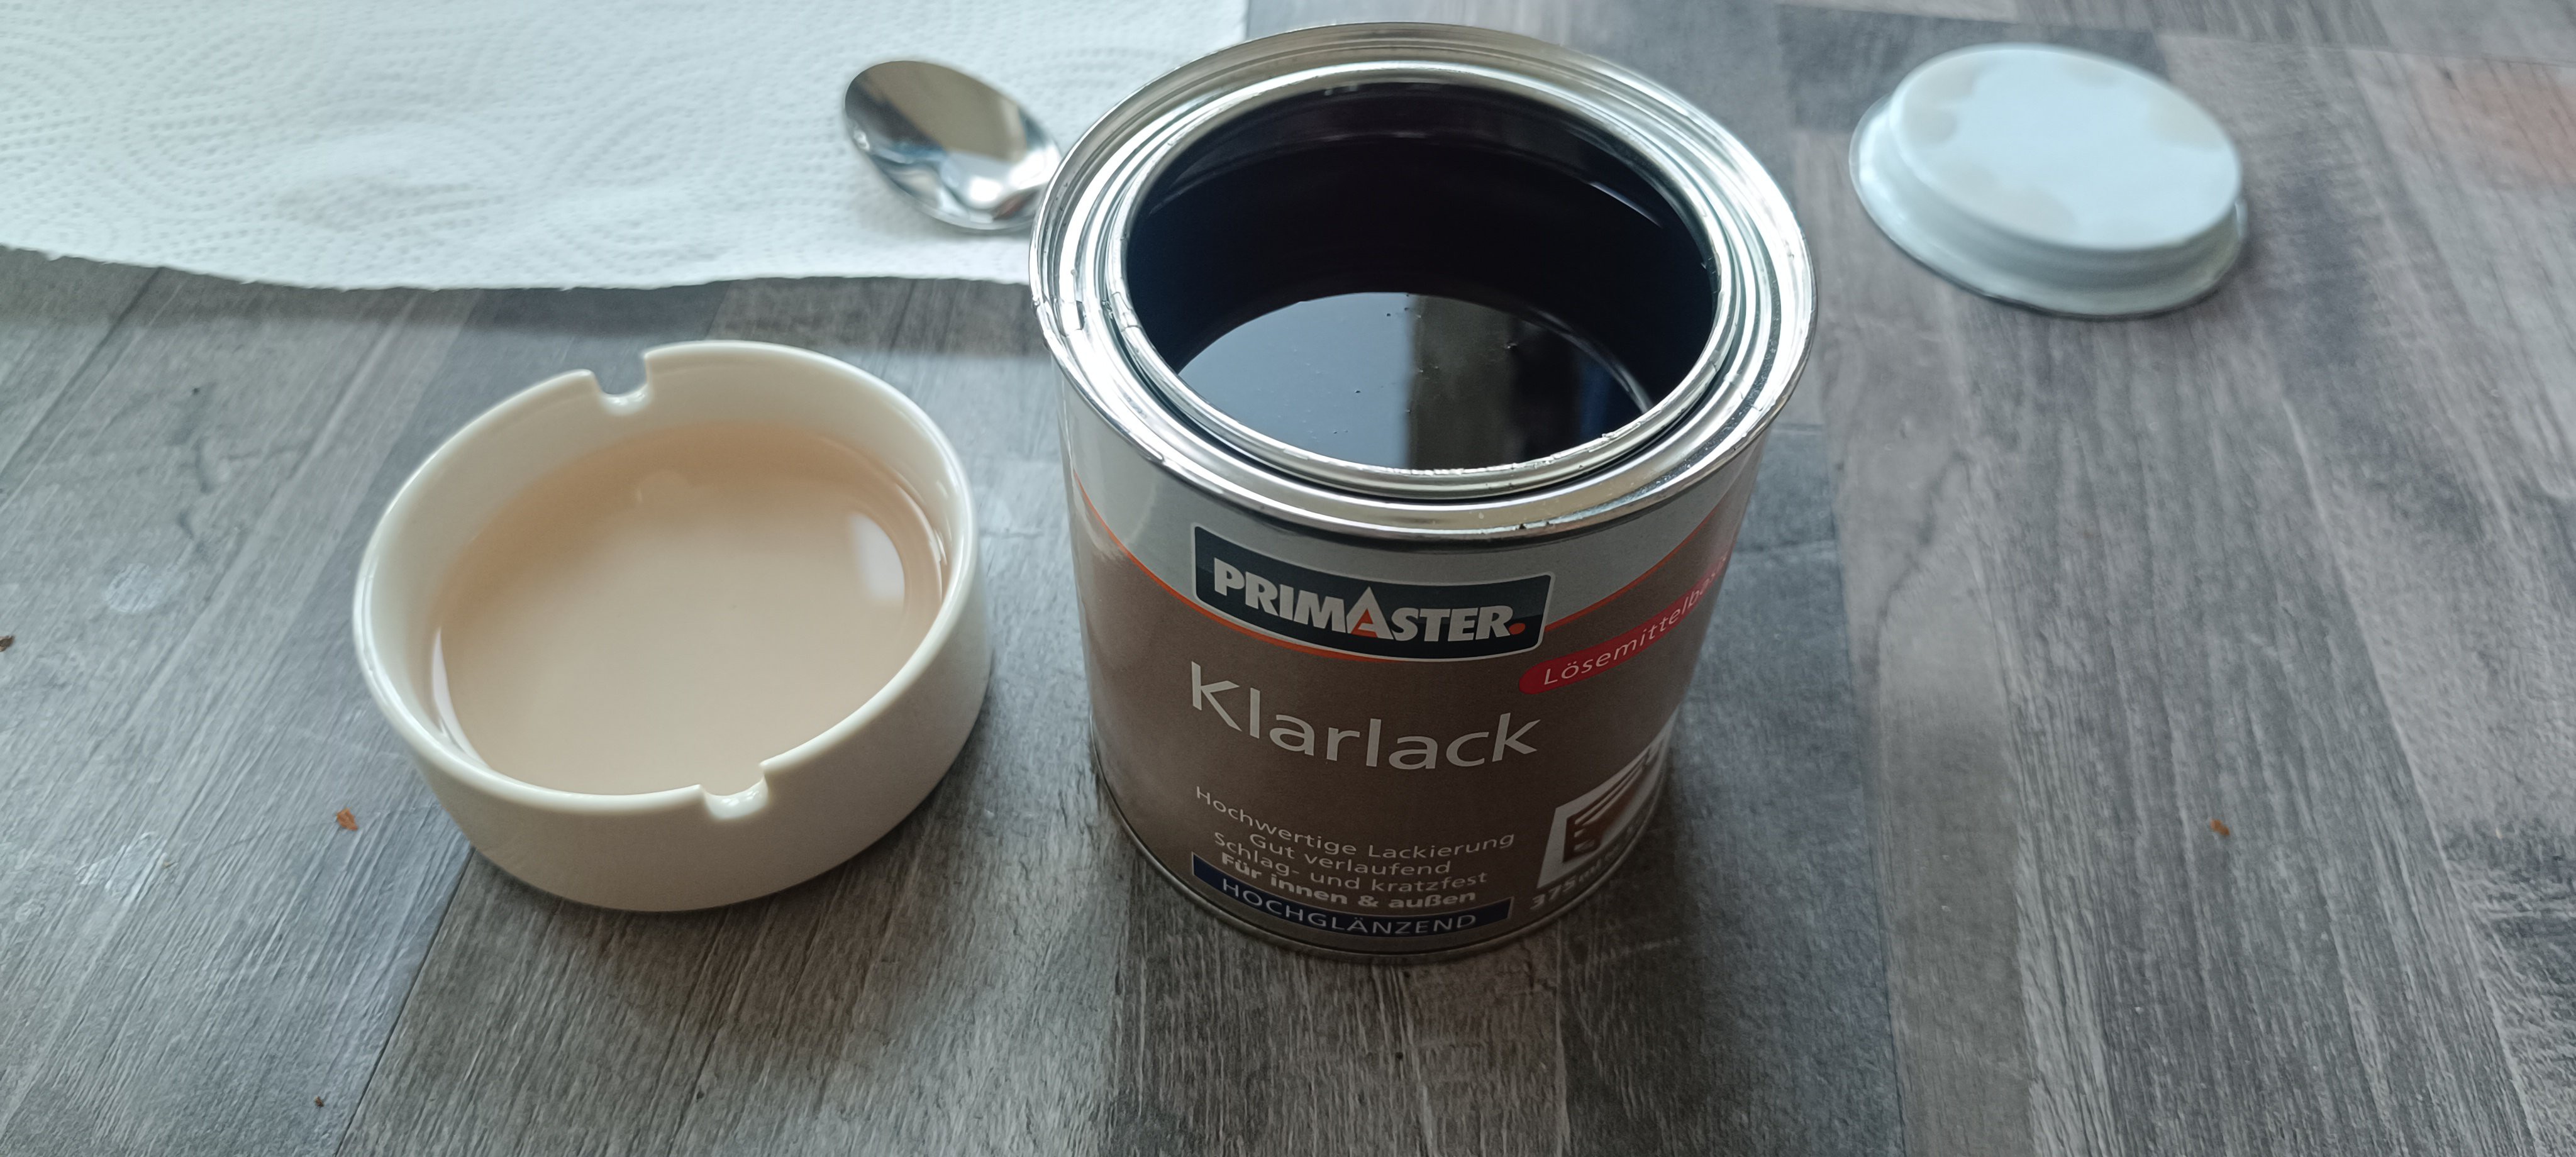
So, I went to the hardware store to get a small bottle of it for testing out the surface finish.
To test for the surface quality, I poured a small amount of it into the drip tray and let it dry.
After waiting some time, I checked the surface quality, and it looked very promising.
The shellac made a smooth, clear, shiny, and nonsticky surface with good adhesion to the stainless steel of the drip tray.
Since the varnish is alcohol-based, it was also possible to fill up the bottom of the tray with ethanol and let it dissolve the shellac, which makes cleaning it up very easy.
So, I ordered a bag of shellac for loading it into the printer.
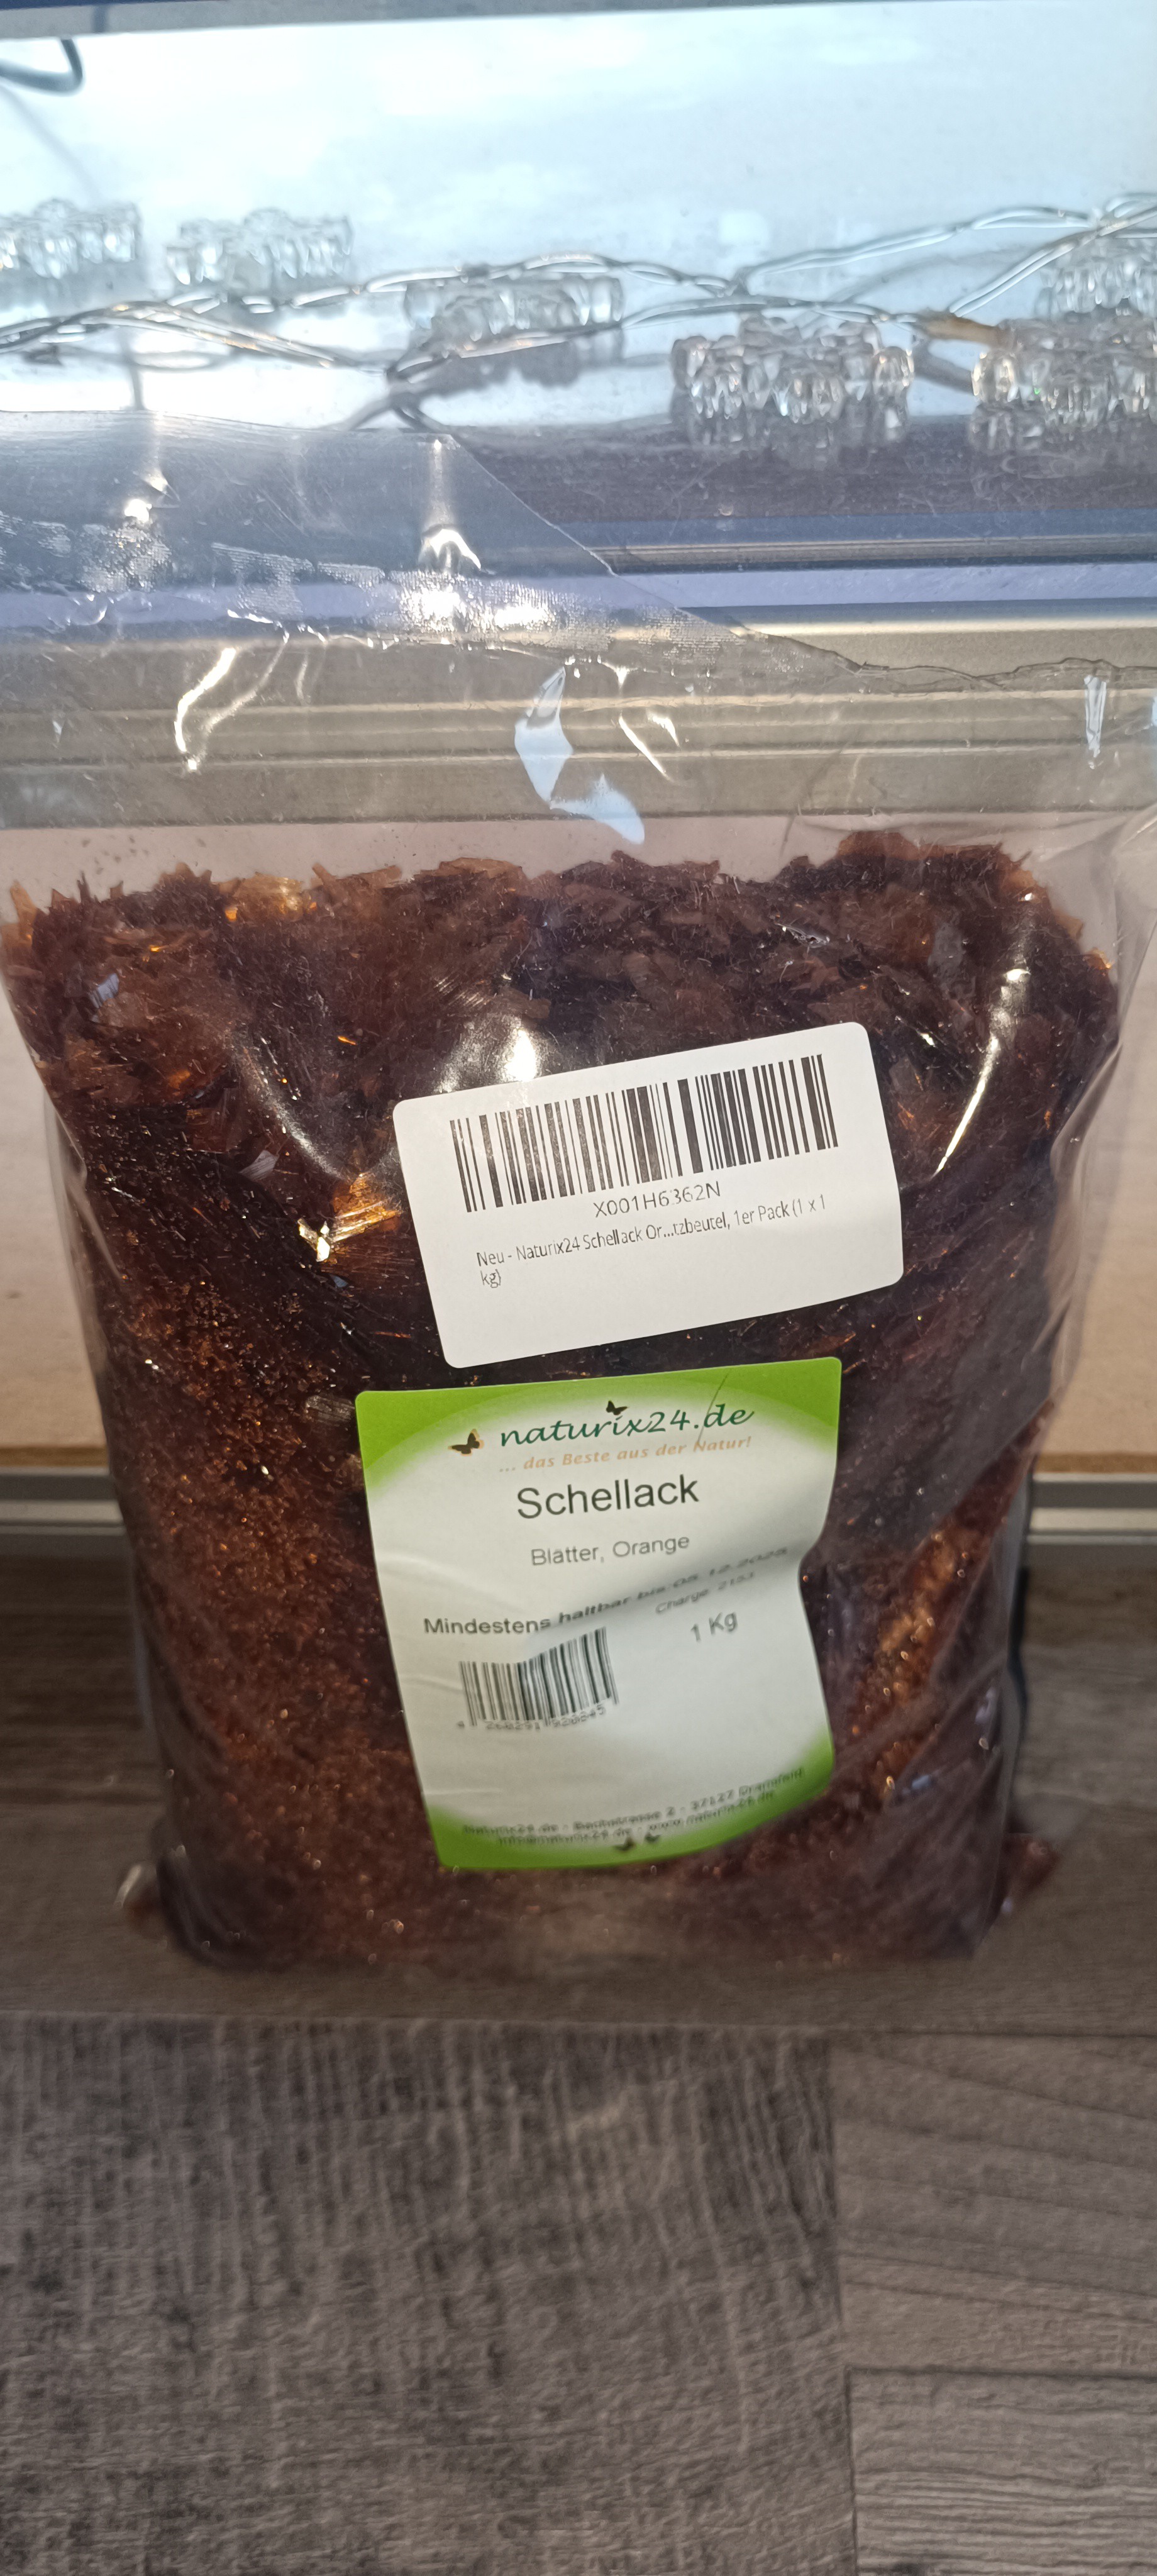
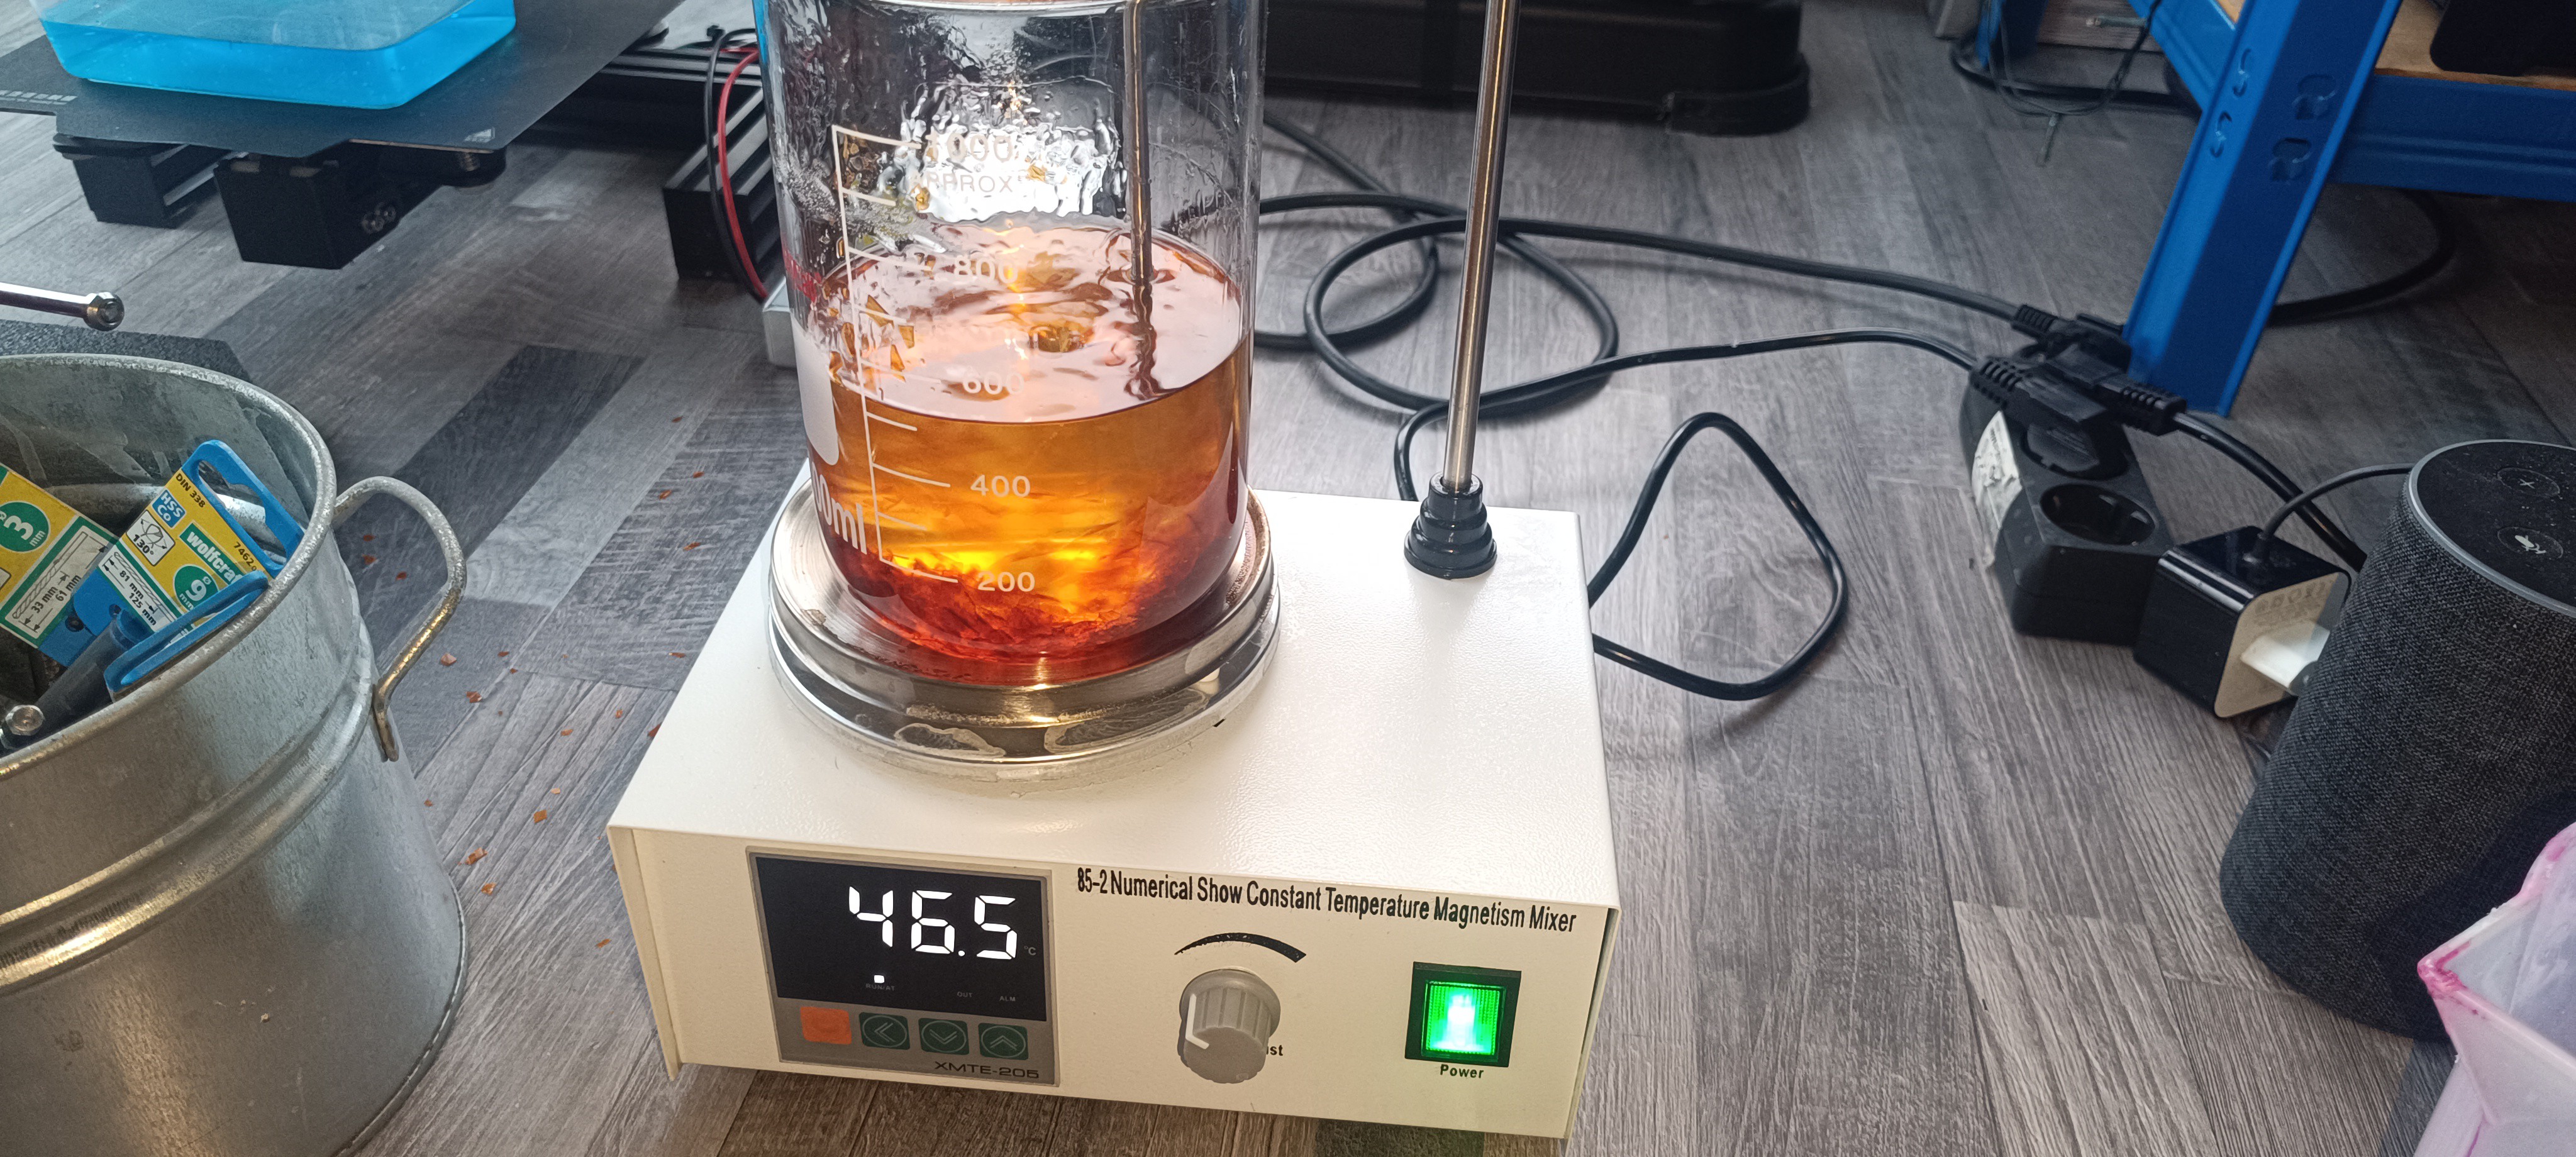
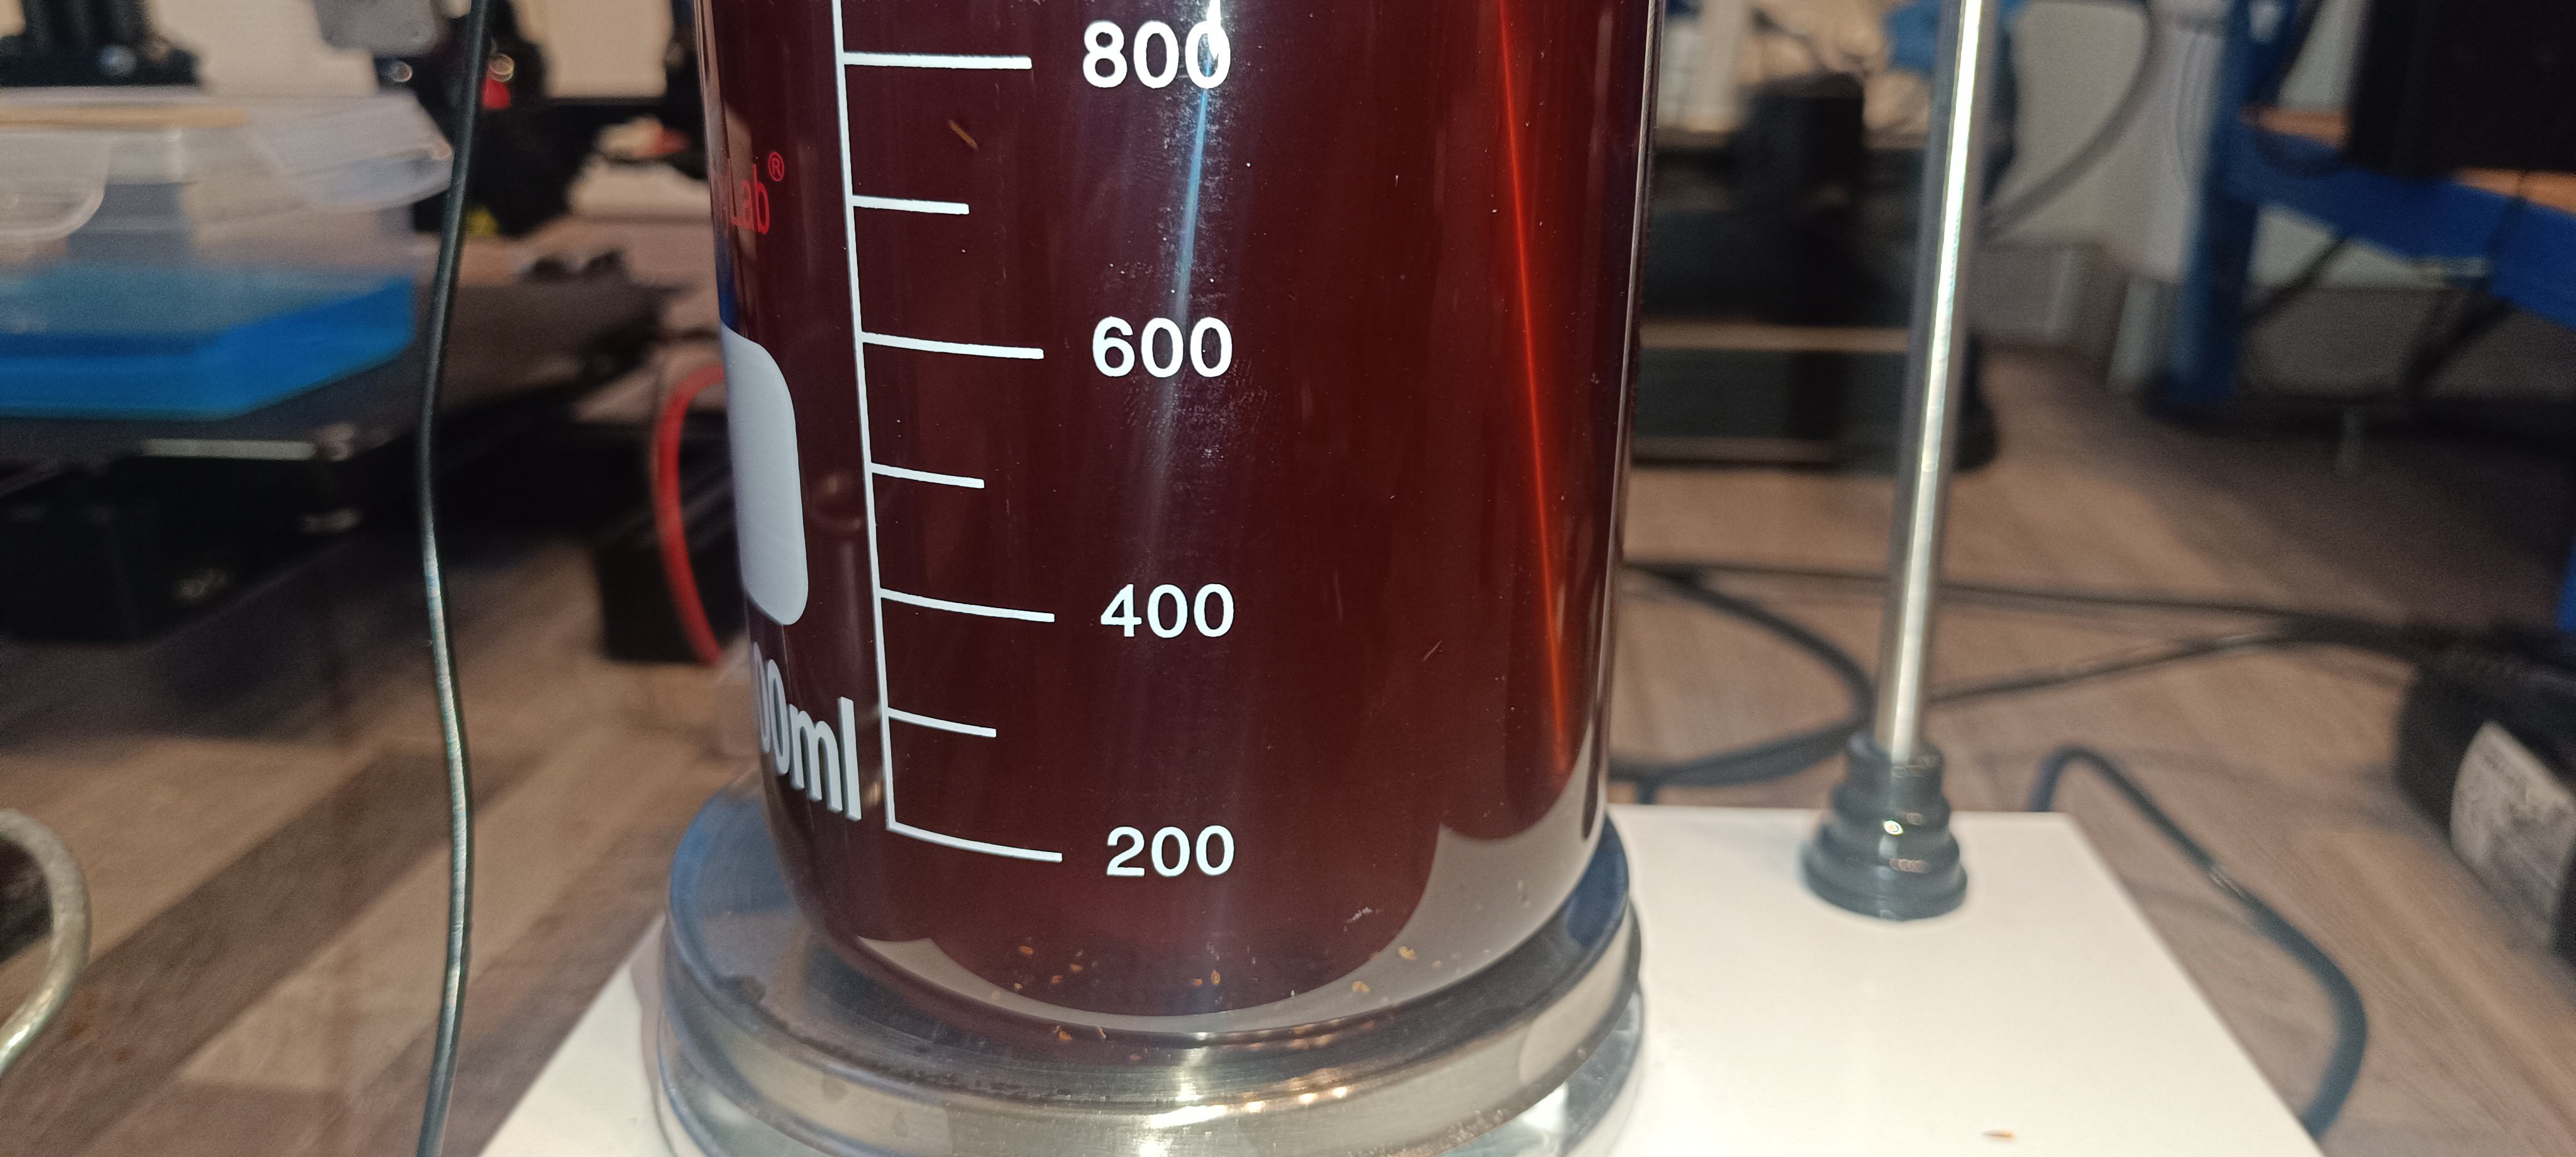

It turned out that the shellac flakes were easy to mix with ethanol, and depending on the concentration, the color reached from orange to dark brown. It also worked well to change the viscosity based on the concentration.
When testing the charge + feedback signal it also worked as well as before.
All in all, it can be said that shellac-based ink is superior to PVB ink with a nice surface finish and an easy preparation process.
The only drawback of it could be the brown color and the fact that shellac is made by shellac lice, which could maybe raise ethical concerns.
For this reason, I continued testing out other inks.
Plant-based Varnish
The next thing I tried was colophony/pine rosin.


The good thing with colophony was that it dissolved very well when mixed with ethanol and the color was much more clear compared to the shellac.
But when I then tested out the surface finish in the drip tray as with the shellac before, I quickly realized that this mixture would not be suitable for using it in the printer.
While the surface finish looked ok at first glance, it turned out that it was rather glue than a varnish since it remained very sticky even when fully dried.
For fast printing of text or binder jetting and also to prevent a sticky mess when working with it, it would be better to select an ink that fully dries as fast as possible while forming a smooth nonsticky surface. So, the search continued...
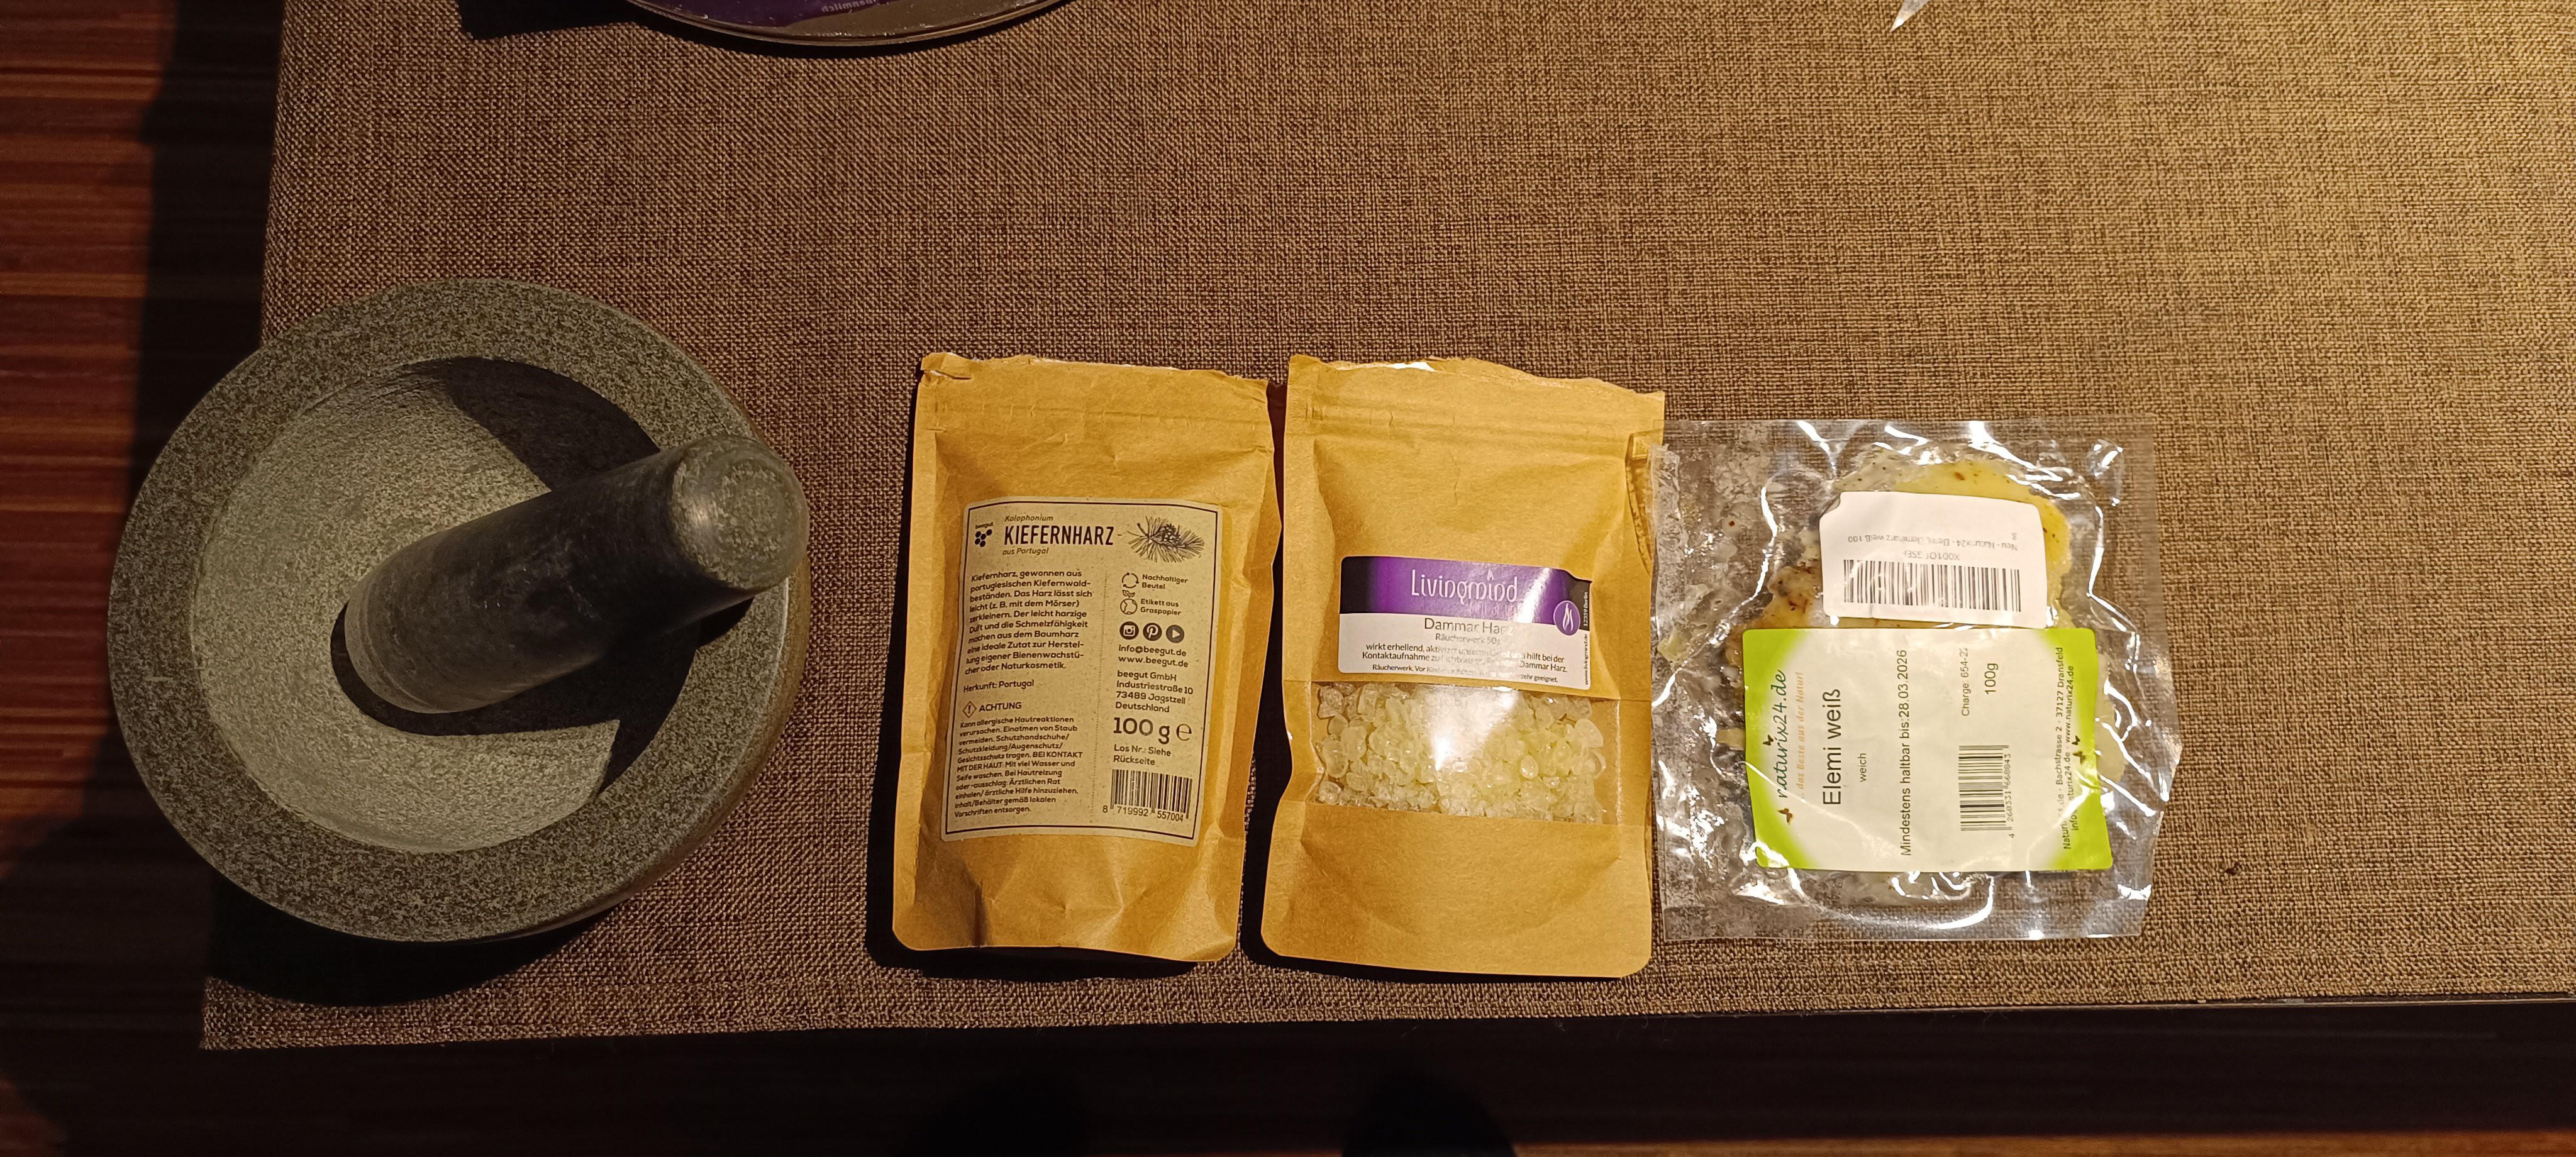
Just to mention it, I also tried out gum dammar, which turned out not to dissolve in ethanol, and elemi, which dissolved, but the surface was more like wax than varnish or ink.
Trying out solvent-based Varnish
To leave nothing untested, I also tried out solvent-based varnish from the hardware store, which I think was important for gaining the experience, but I wouldn't recommend it or try it again, especially not in winter when opening a window brings the temperature down to frosty levels.
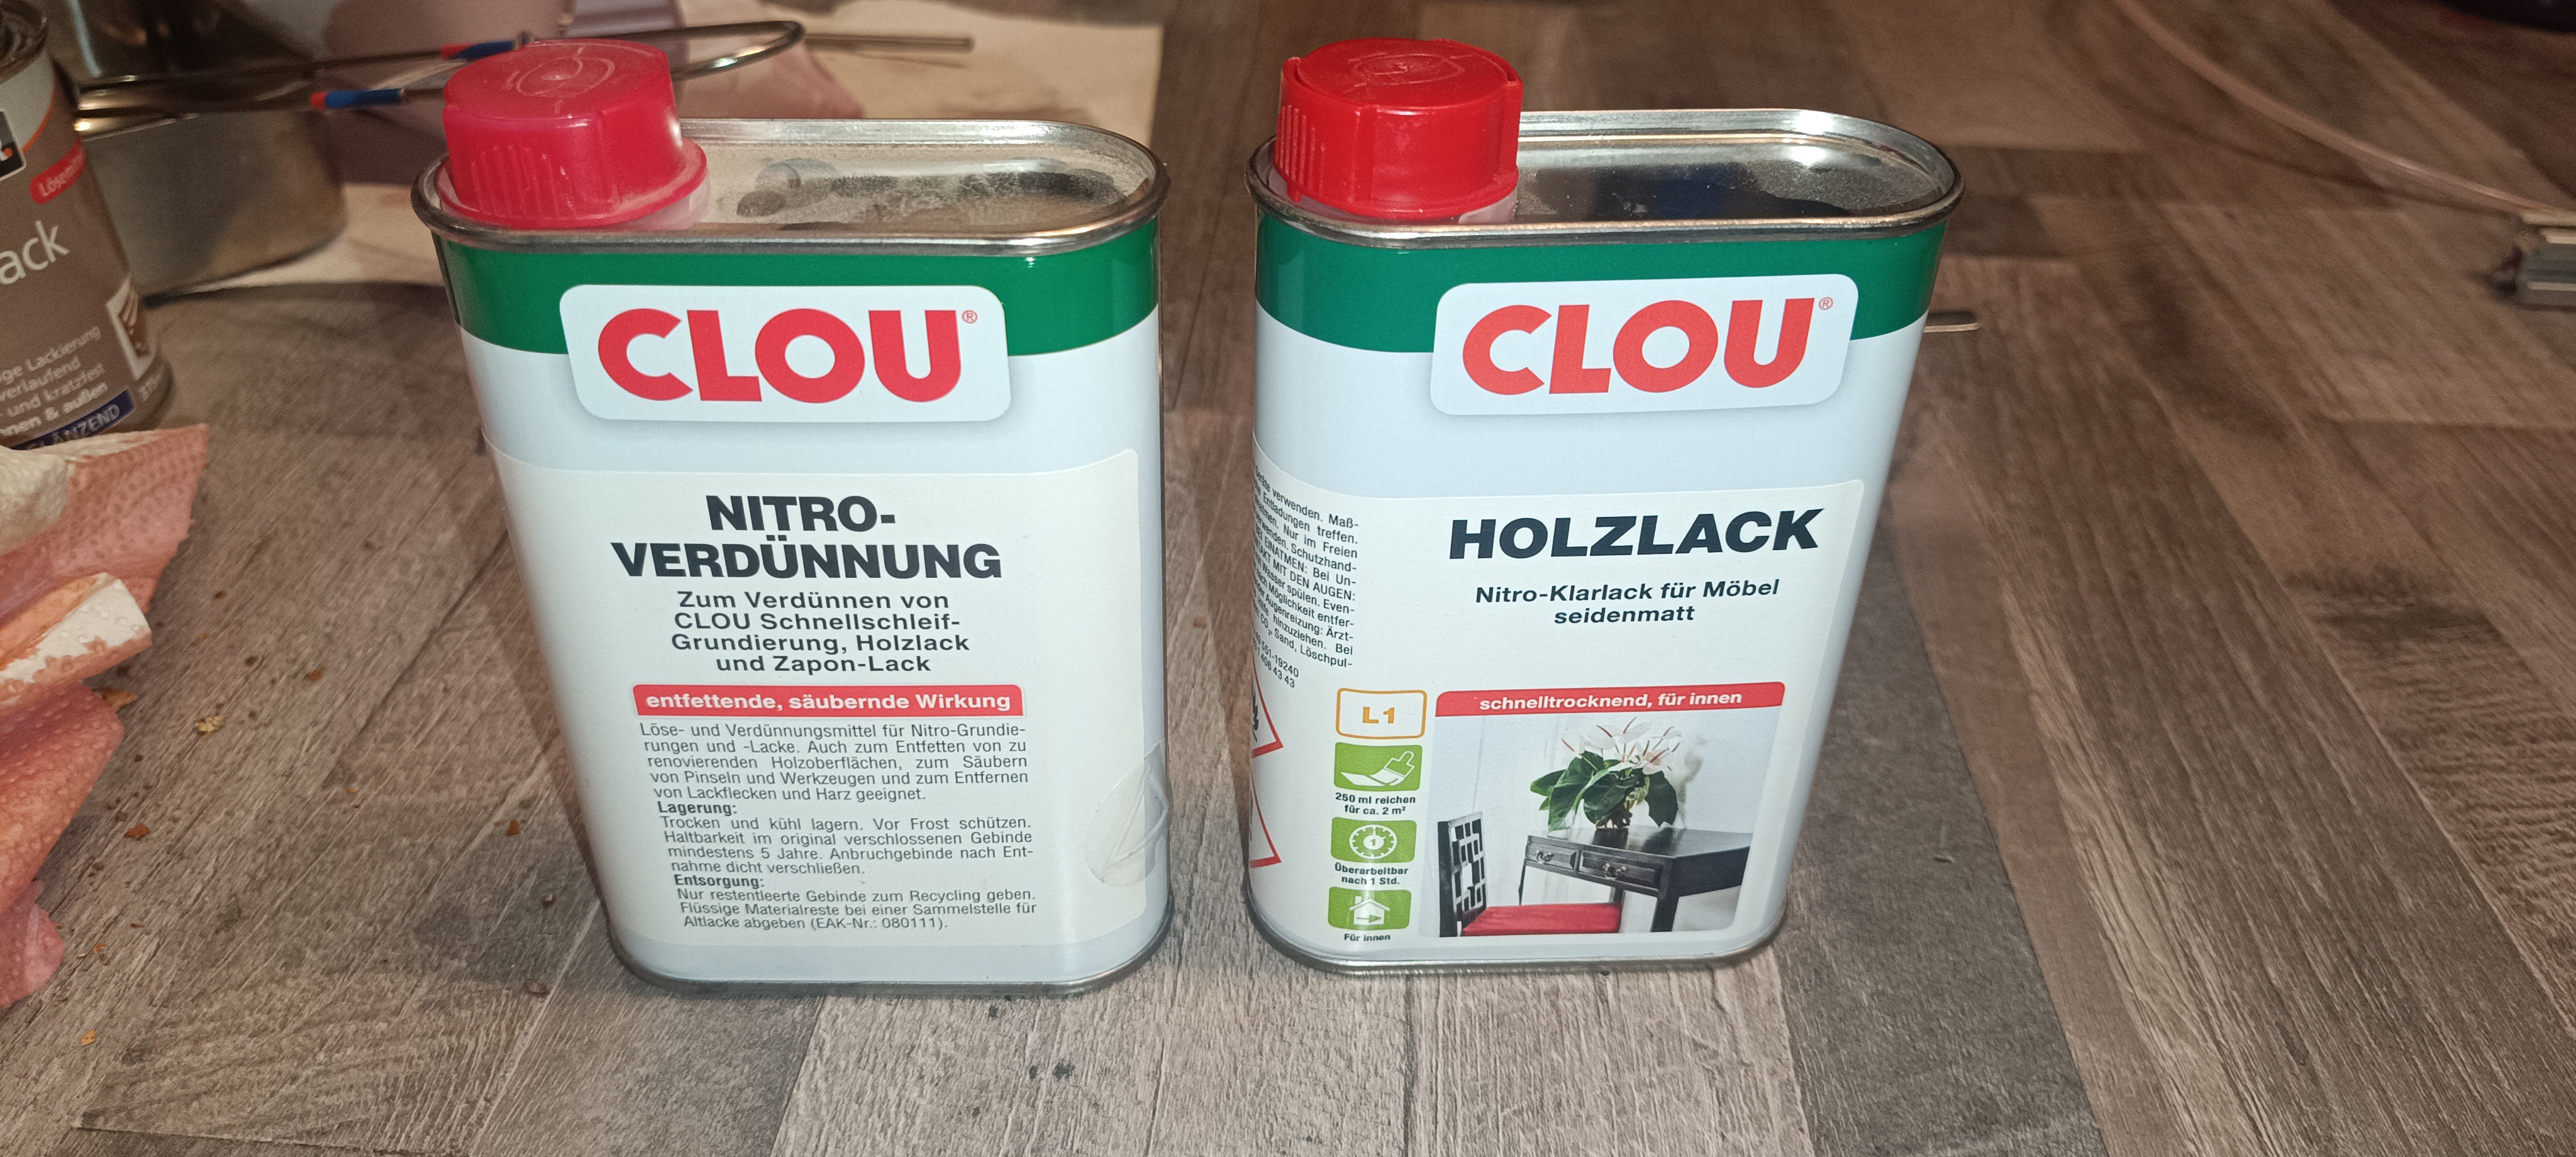
I started with mixing 1l nitrocellulose-based varnish and checking how the mixture ratio influenced its viscosity.
It turned out as expected - the varnish-to-solvent ratio influenced its viscosity.
After working for some time with it, the smell got so horrible that I decided not to continue testing with it, since I'm planning to use the printer inside the same space where I live, like any other 3D or desktop printer.
The next thing I tried was using alkyd resin-based varnish, which I mixed with white spirit "Reinigungsbenzin".
It turned out that the alkyd resin-based varnish from the hardware store dissolved well in white spirit "Reinigungsbenzin".
While the varnish and white spirit also had an unpleasant smell to it, it was by far not as bad as the smell from nitrocellulose-based varnish.
So, I prepared 2l of it, checked its viscosity, and loaded it into the printer after draining the shellac from it and flushing it with pure ethanol.
This turned out to be not the smartest idea I ever had since, after loading around half a liter of it, the peristaltic pump suddenly stalled, which made me realize that the white spirit caused the silicone tube to expand.
After thinking for a while about replacing the peristaltic pump and silicon tube with something else to continue testing with the white spirit based ink, I reconsidered my decision and started working on a way of getting the varnish out of the printer again.
Normally, the peristaltic pump is used for loading and unloading ink into the printer, but with it being not functional, I had to find another way.
So, I used a gear pump to draw the white spirit varnish out of the printer and started flushing all lines with multiple liters of ethanol.
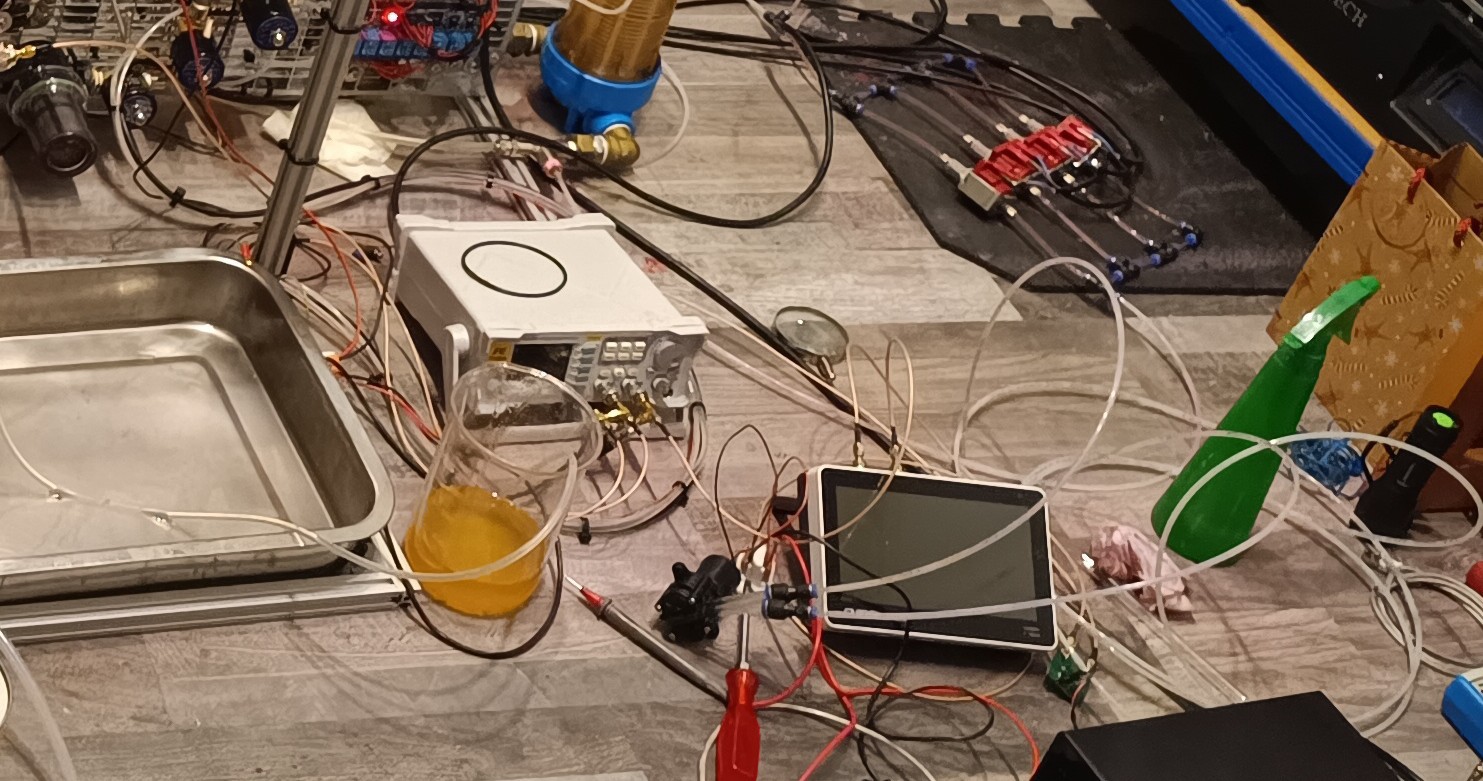
Fortunately, flushing the silicone tube with ethanol reversed the expansion of the tubes, and the peristaltic pump was operational again, which made the flushing much easier.
After flushing the printer I realized that the not ethanol soluble parts of the alkyd resin varnish had formed some sort of sticky sludge inside some of the lines.
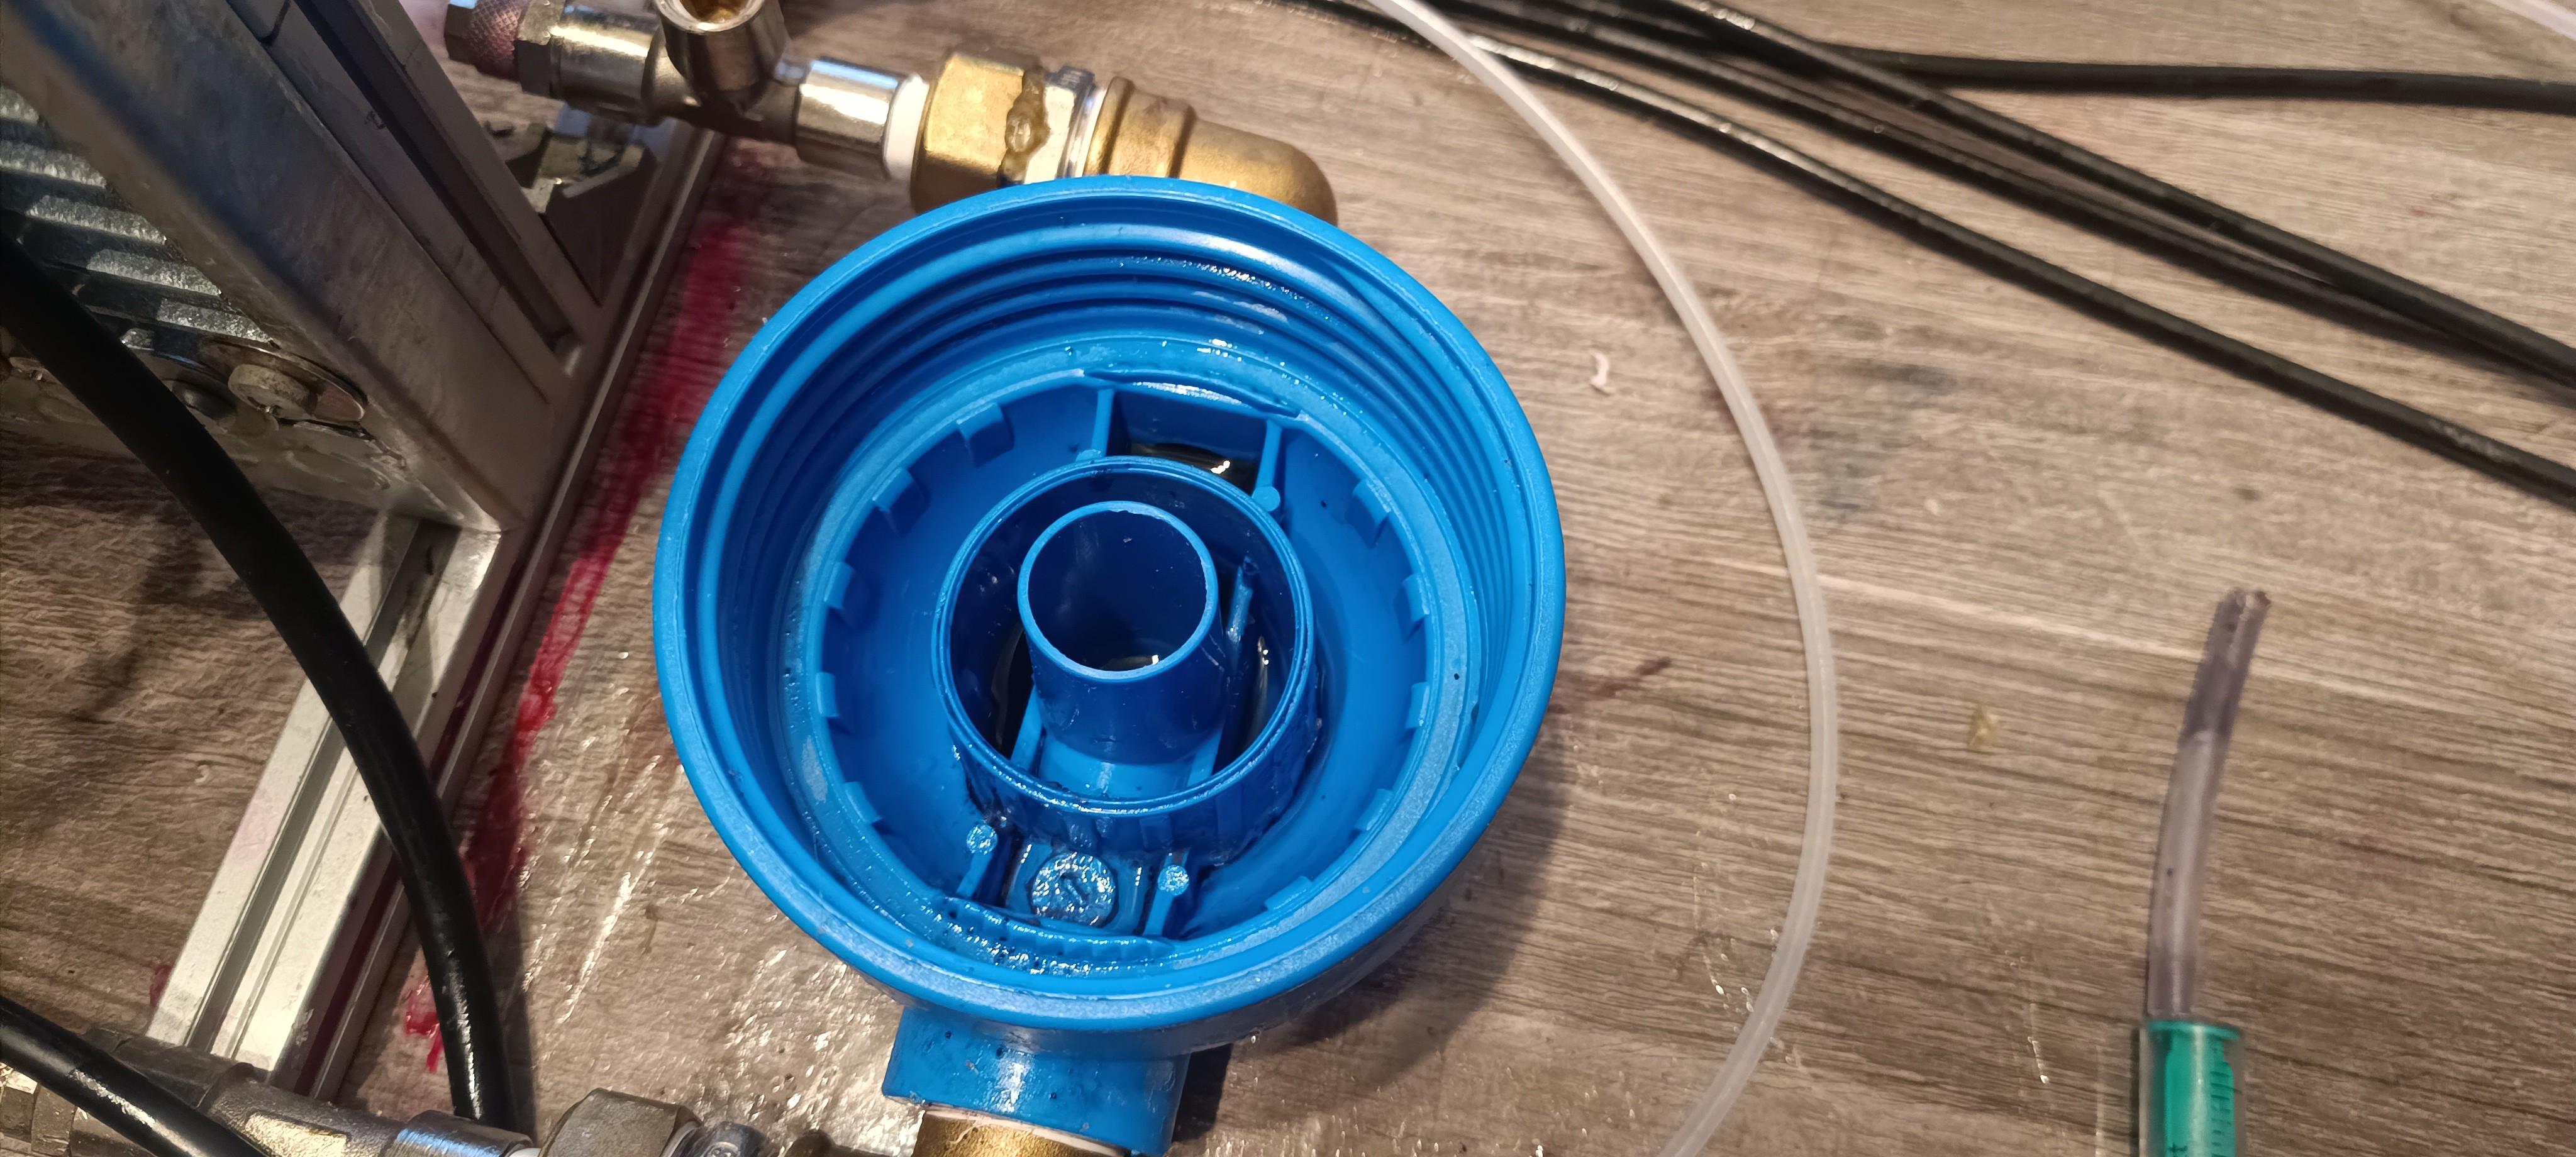
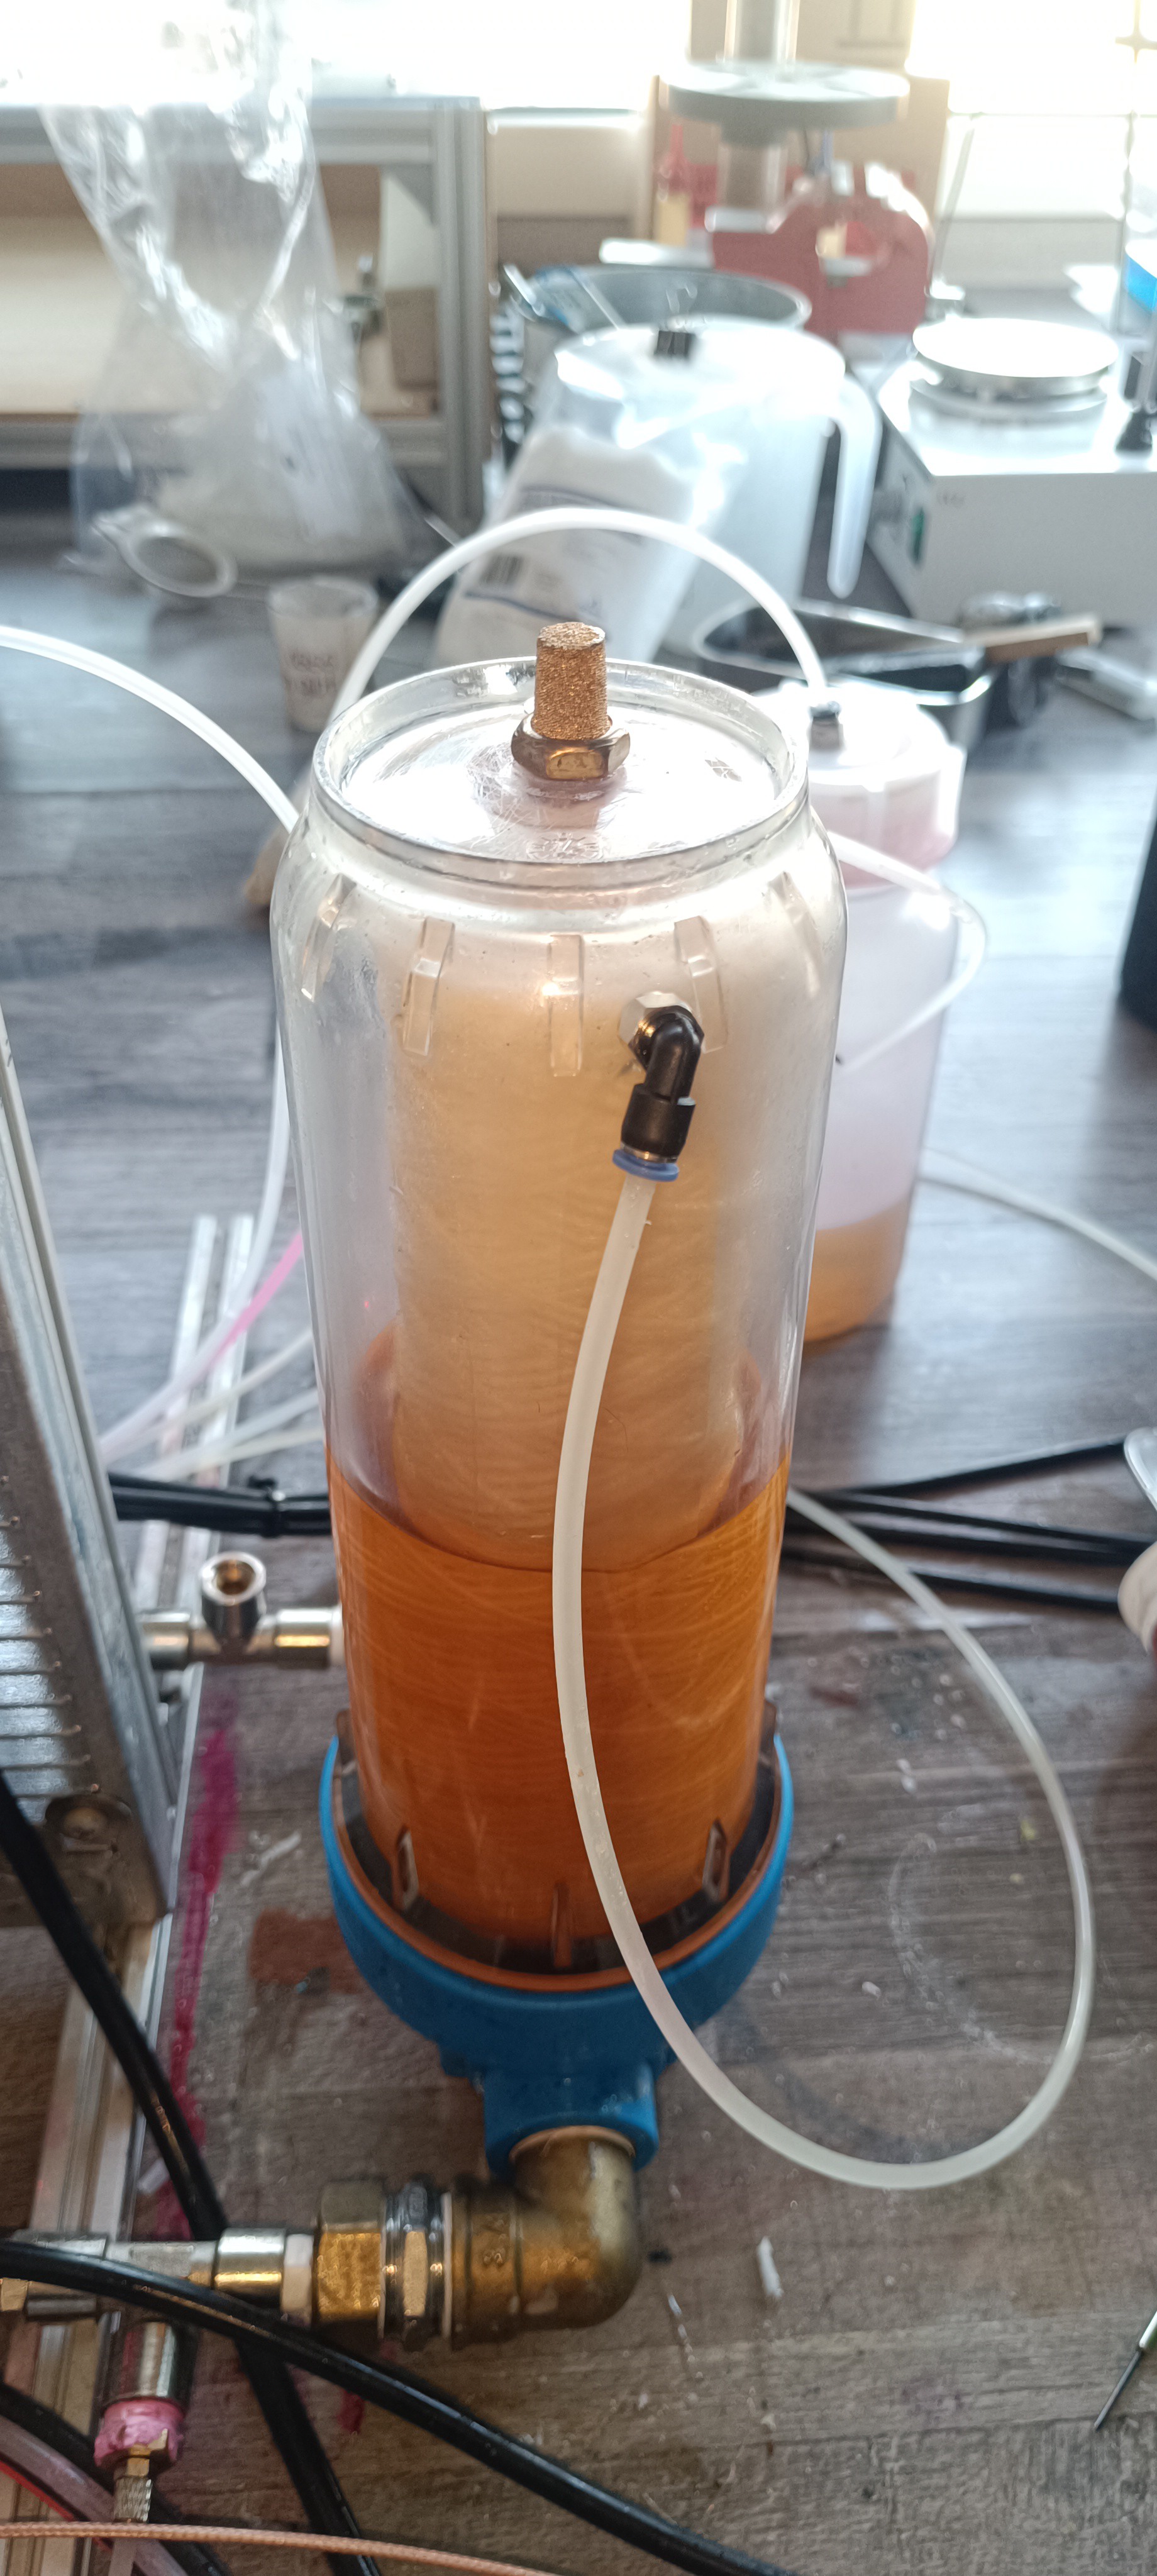
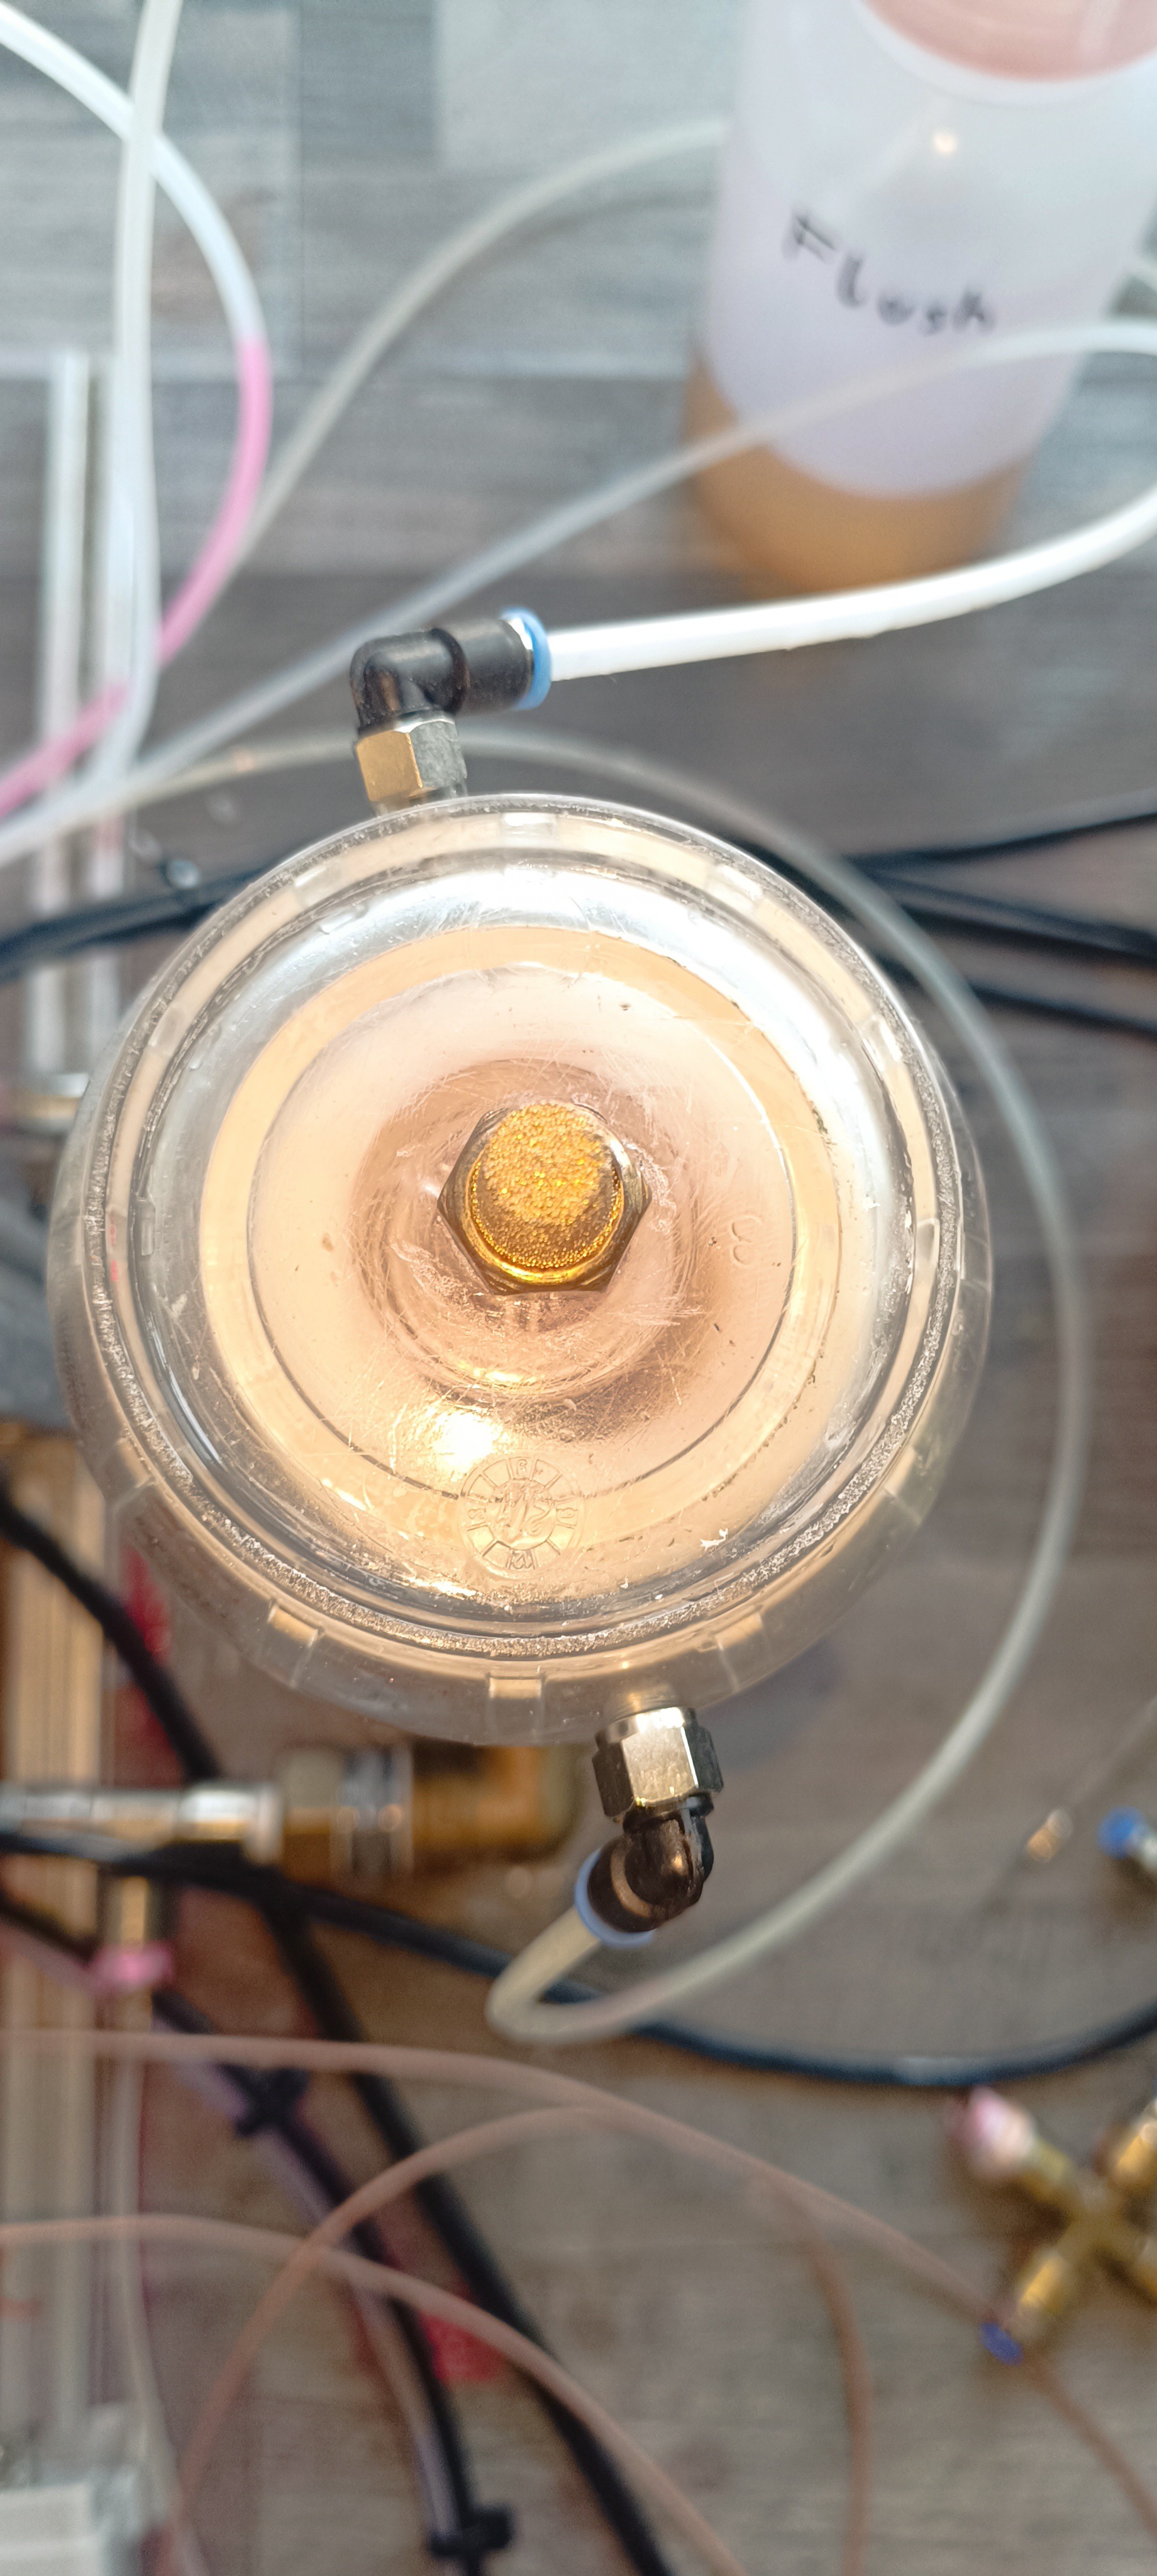
After some more flushing and cleaning of the viscosimeter pipe and steel ball to get it functional again, most of this sludge settled inside the bottom and filter of the ink tank.
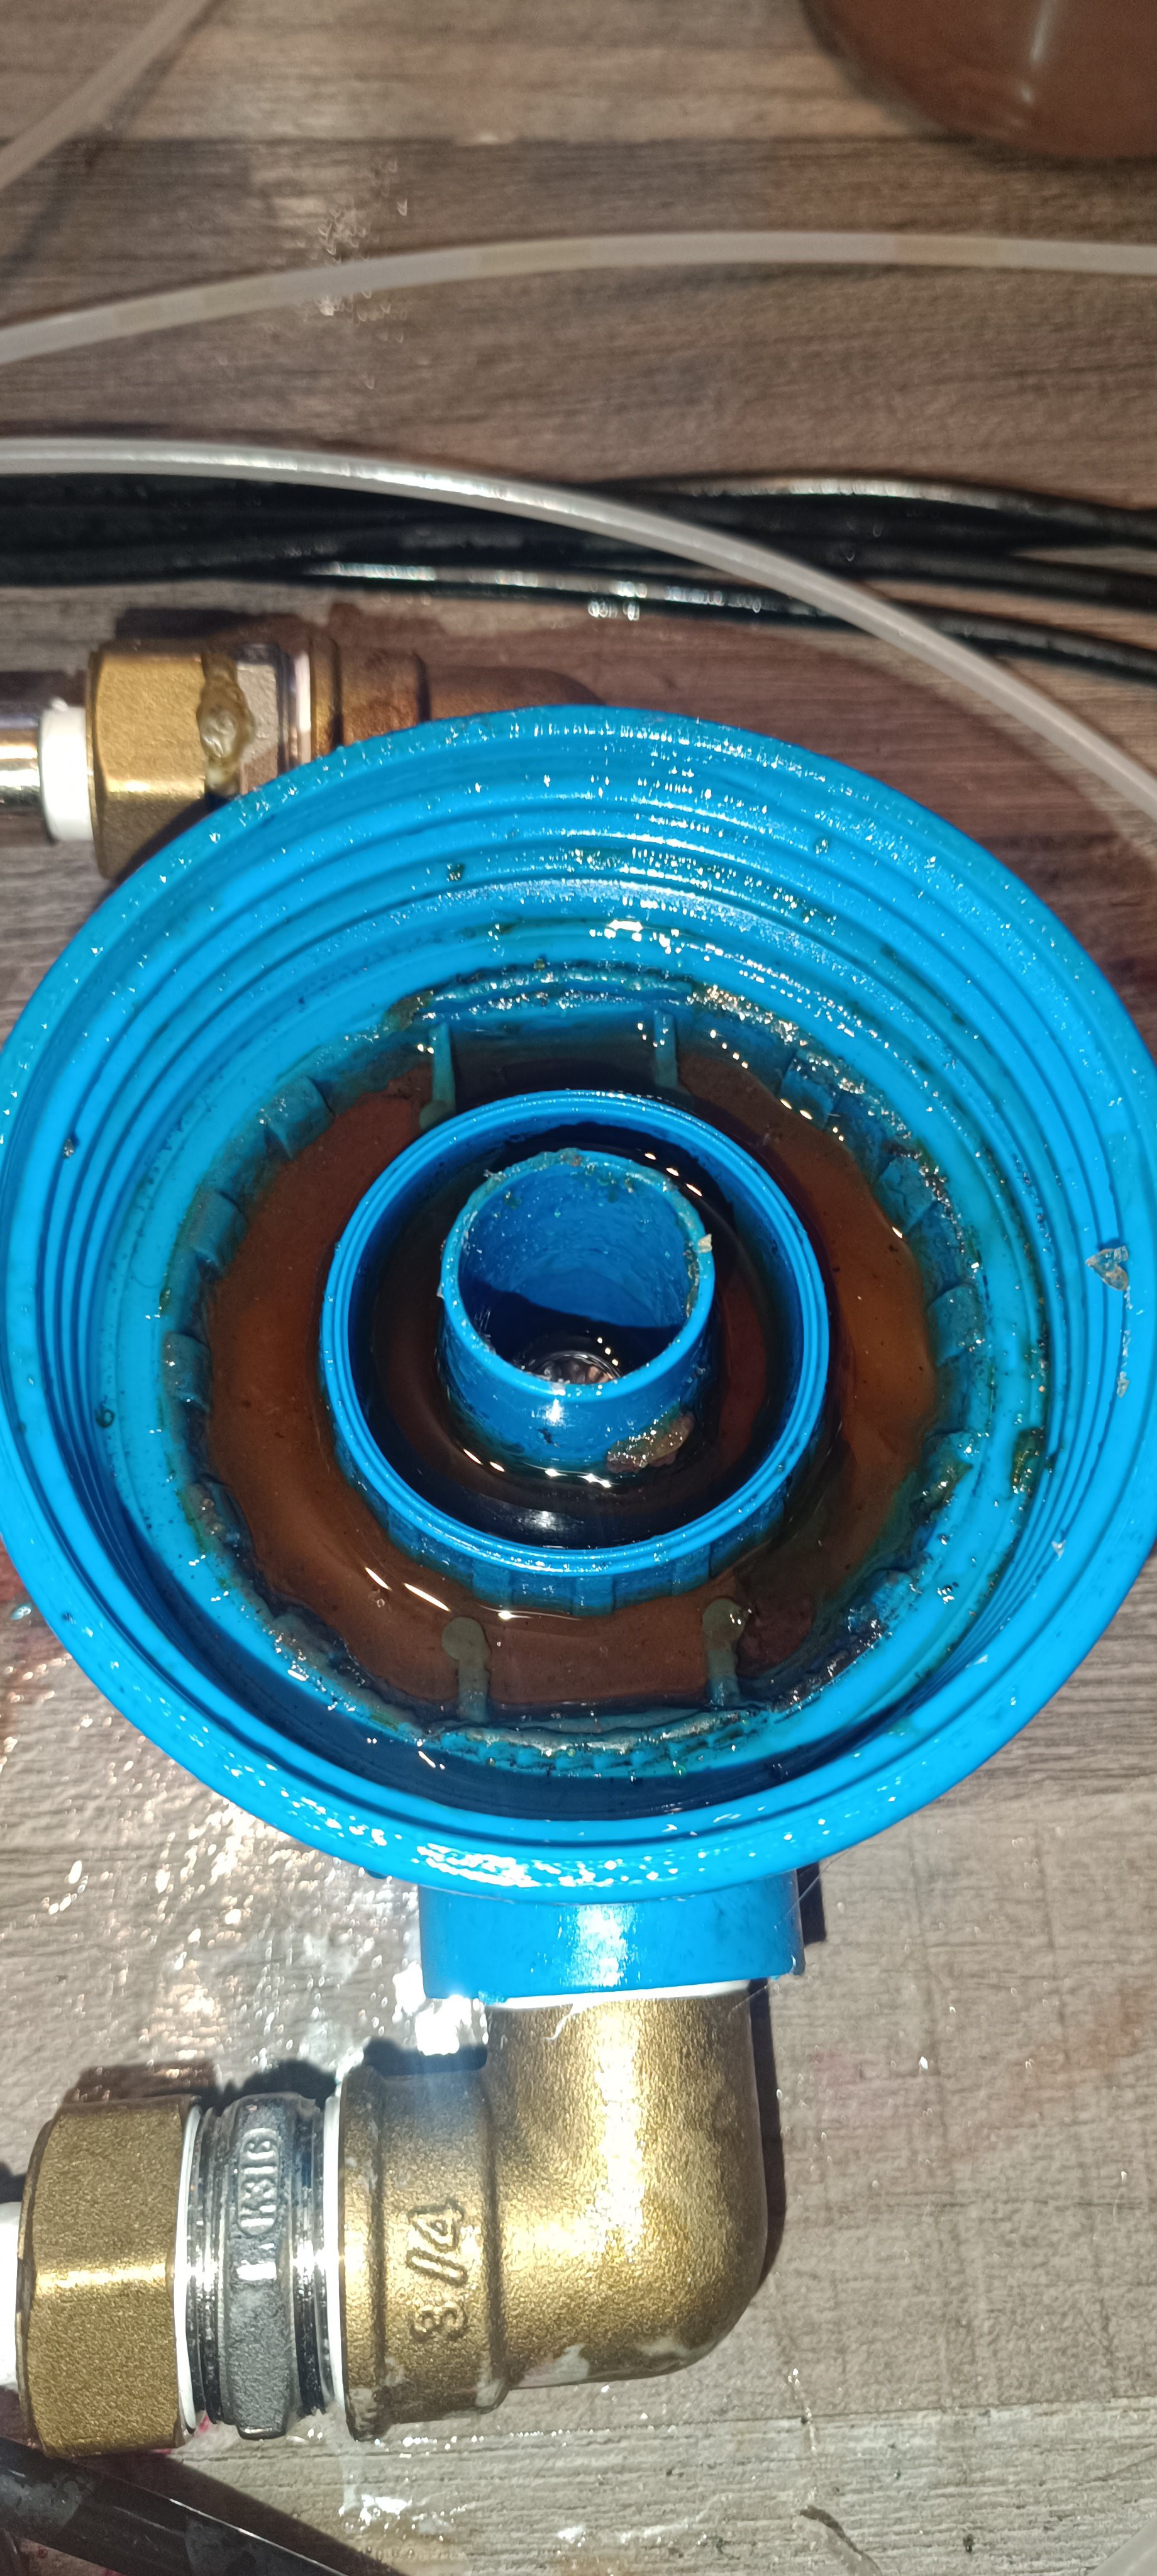
So, I cleaned the tank and ordered some new filters. Since I was already working on the tank, I decided to improve the design by using 10-micron string-wrapped filters and changing the placement of the inlets so that the return line and the solvent line get filtered as well.
This should prevent particles larger than 10 microns from entering the 100-micron nozzle.
To add even more clog protection to the nozzle, I placed a fuel filter close to the printhead.
My initial plan was to not use a filter inside the ink line going to the printhead and keep it clean by applying a vacuum to this line for reverse flushing the nozzle with ethanol to get all large particles out. Unfortunately, this didn't work well, and the nozzle got constantly clogged, which required unscrewing and cleaning the nozzle before every test.
It later turned out that adding the filter as close as possible to the nozzle was a real game changer because after adding it and thoroughly flushing out all particles by starting with a 0.3mm nozzle first, then a 0.2mm nozzle, and finally the 0.1mm nozzle, the nozzle never got clogged again.
With the filter added it still was possible to reverse flush the nozzle with ethanol after printing to prevent the nozzle from getting clogged by hardened ink.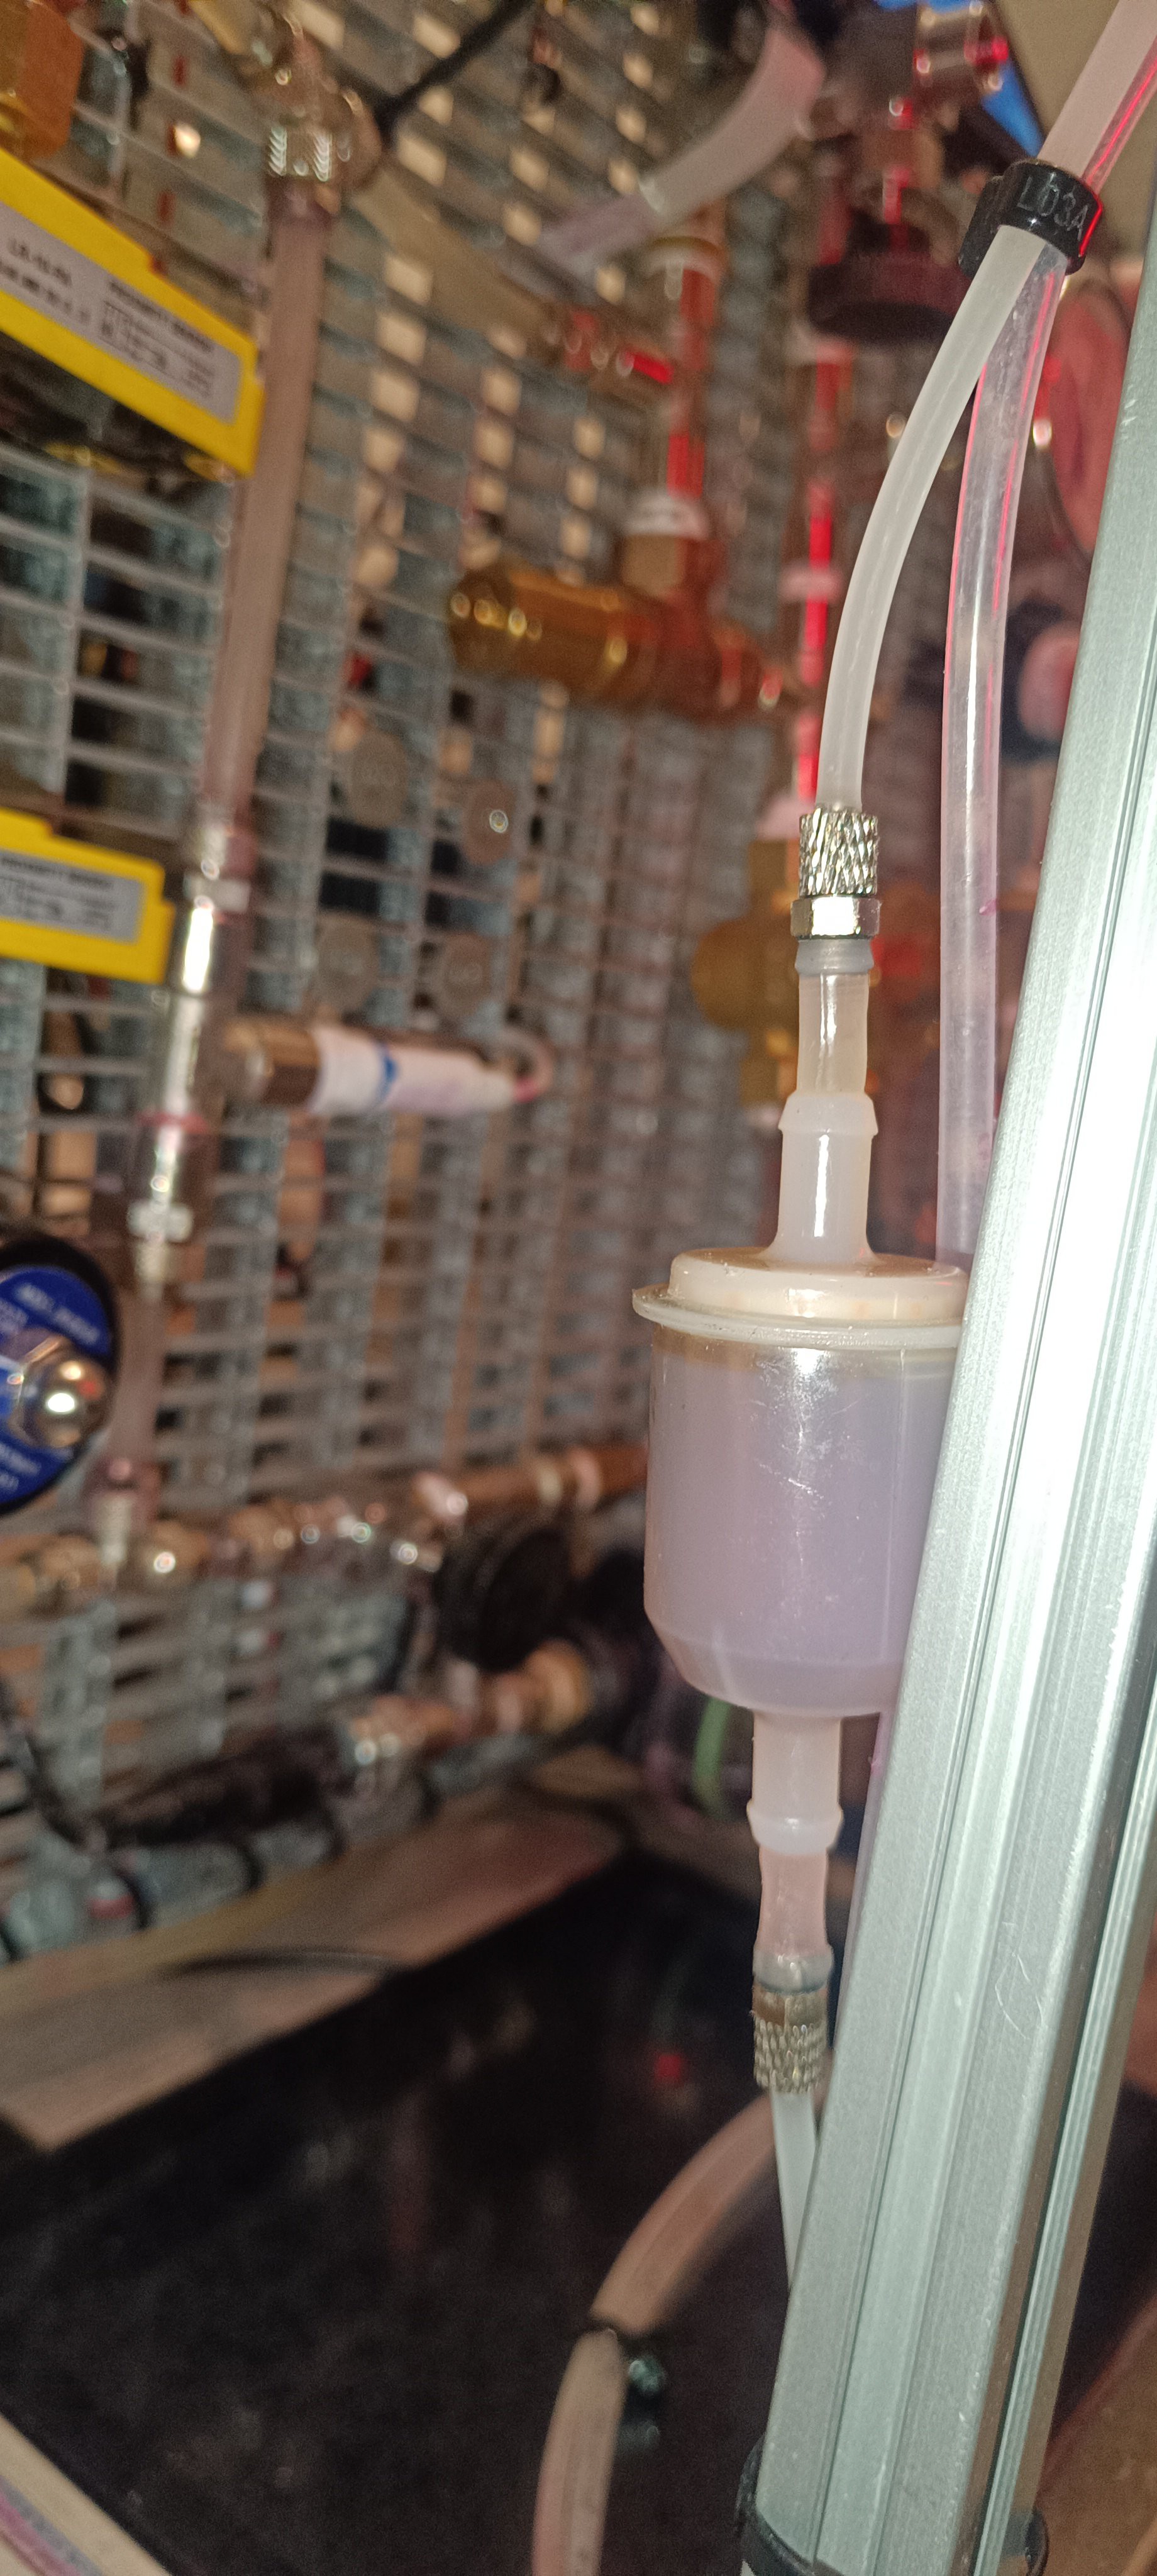
Gum Sandarac
After testing the alkyd resin varnish and deciding against it because of the incompatibility with the silicone tube and also because I was worried about getting health issues from long-time exposure (the printer prototype is standing in my living room), I continued searching for ethanol-based varnishes and found gum sandarac based varnish.
So, I ordered a bag of it for testing.


When grinding it down to a powder, I noticed the nice smell of the resin, which is an advantage.
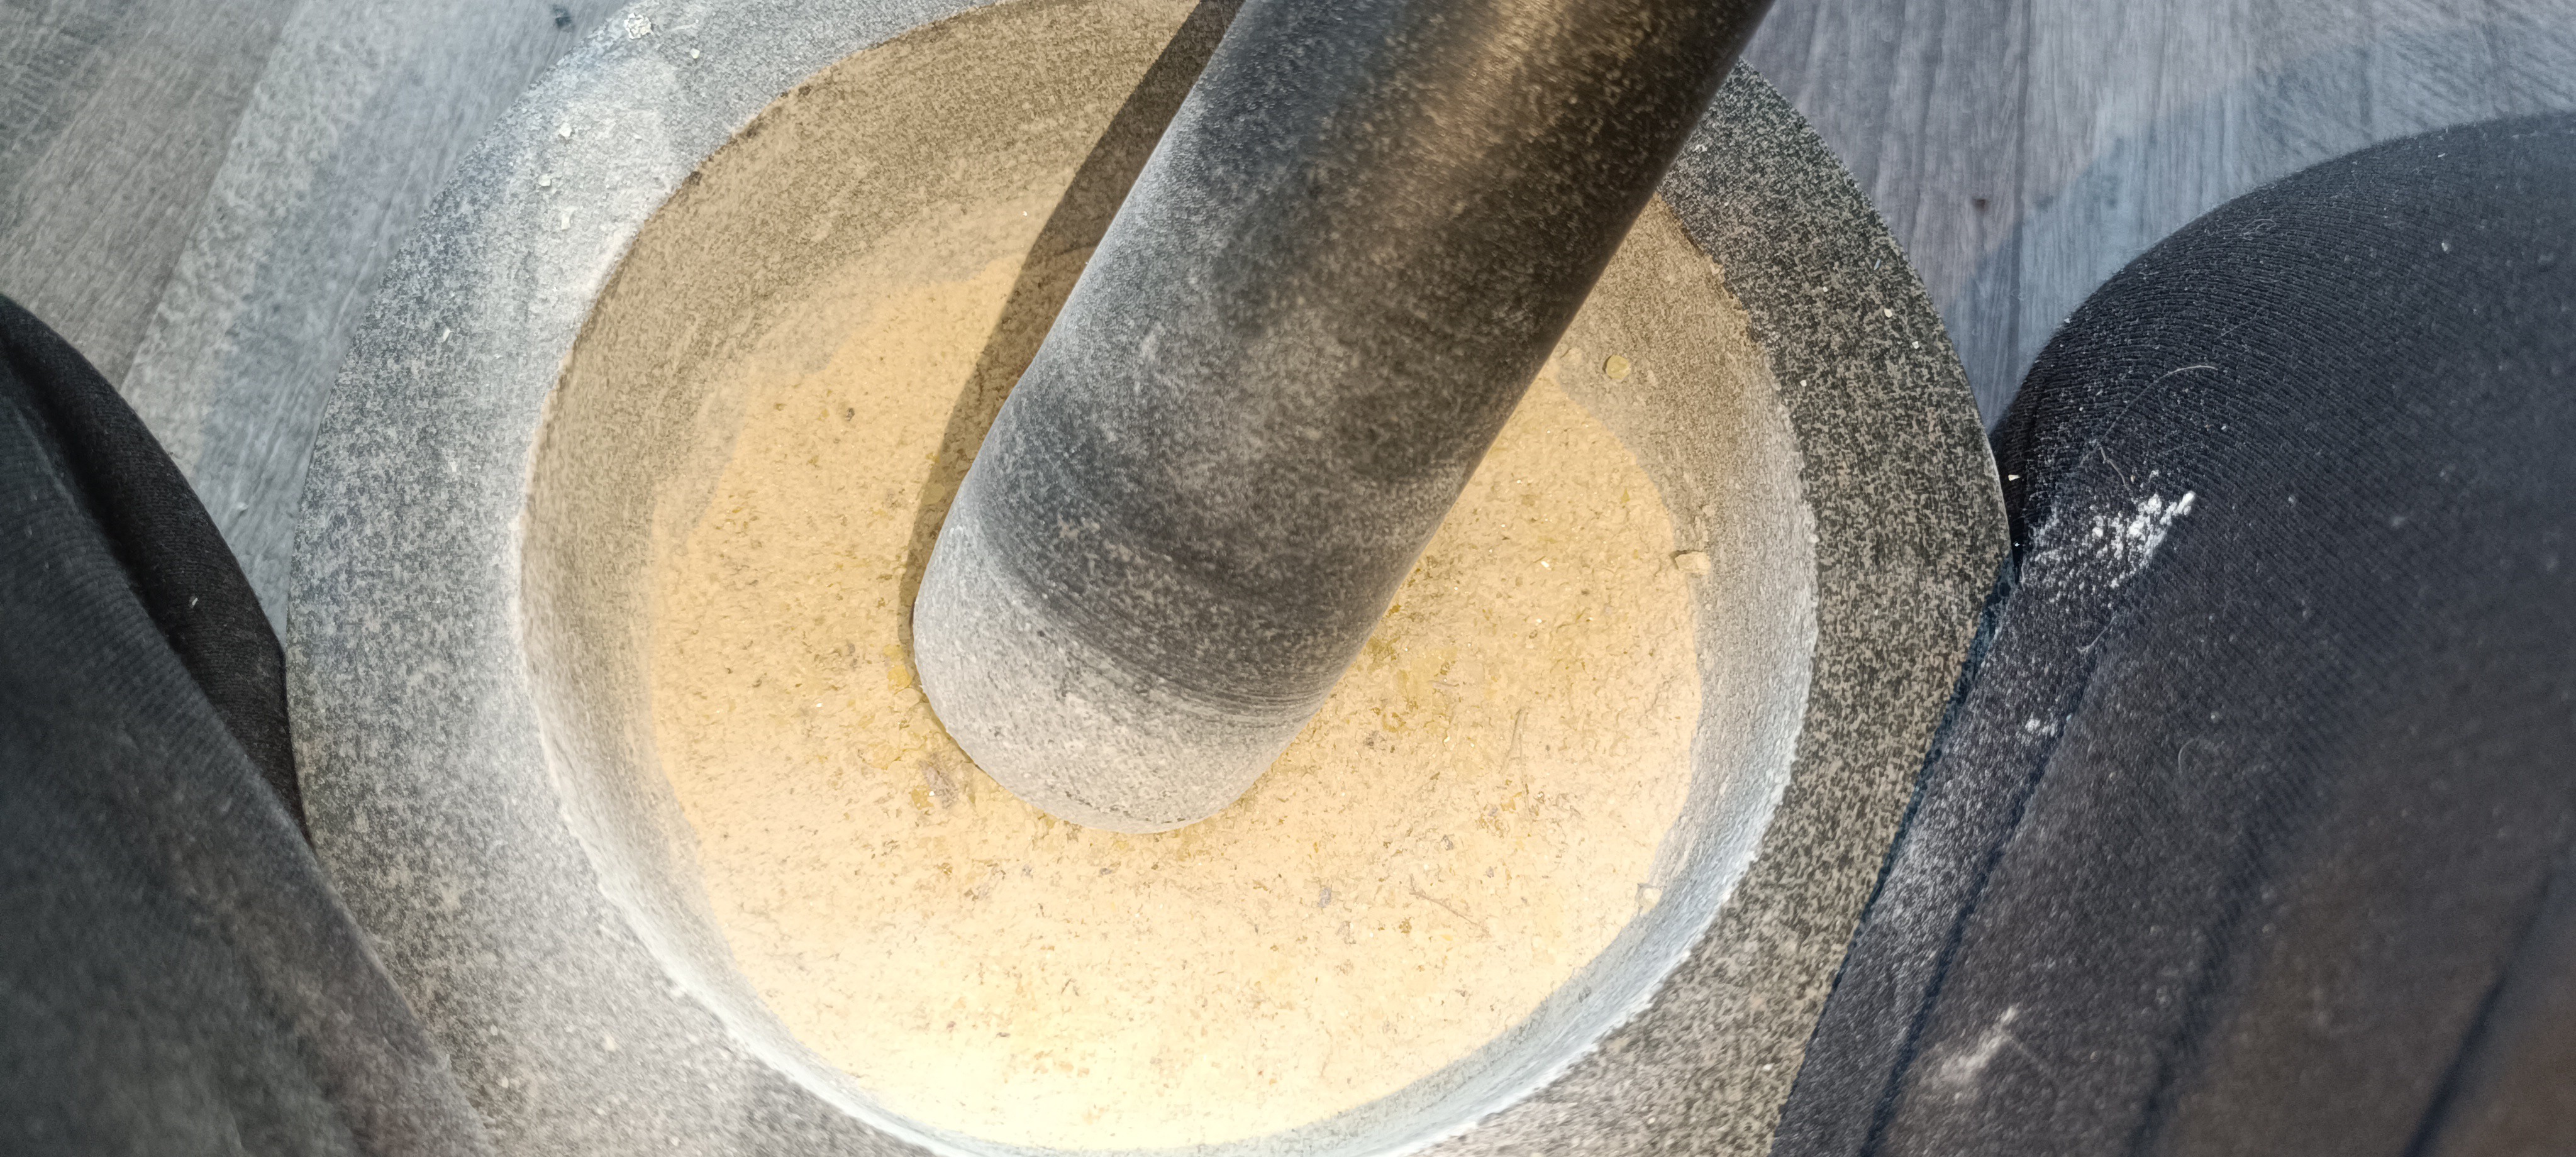
While mixing it with ethanol, I noticed that it contains a lot of dirt, small sticks, and stones, which makes it necessary to filter it thoroughly.

So, I used a bunch of coffee filters to filter out all the dirt.

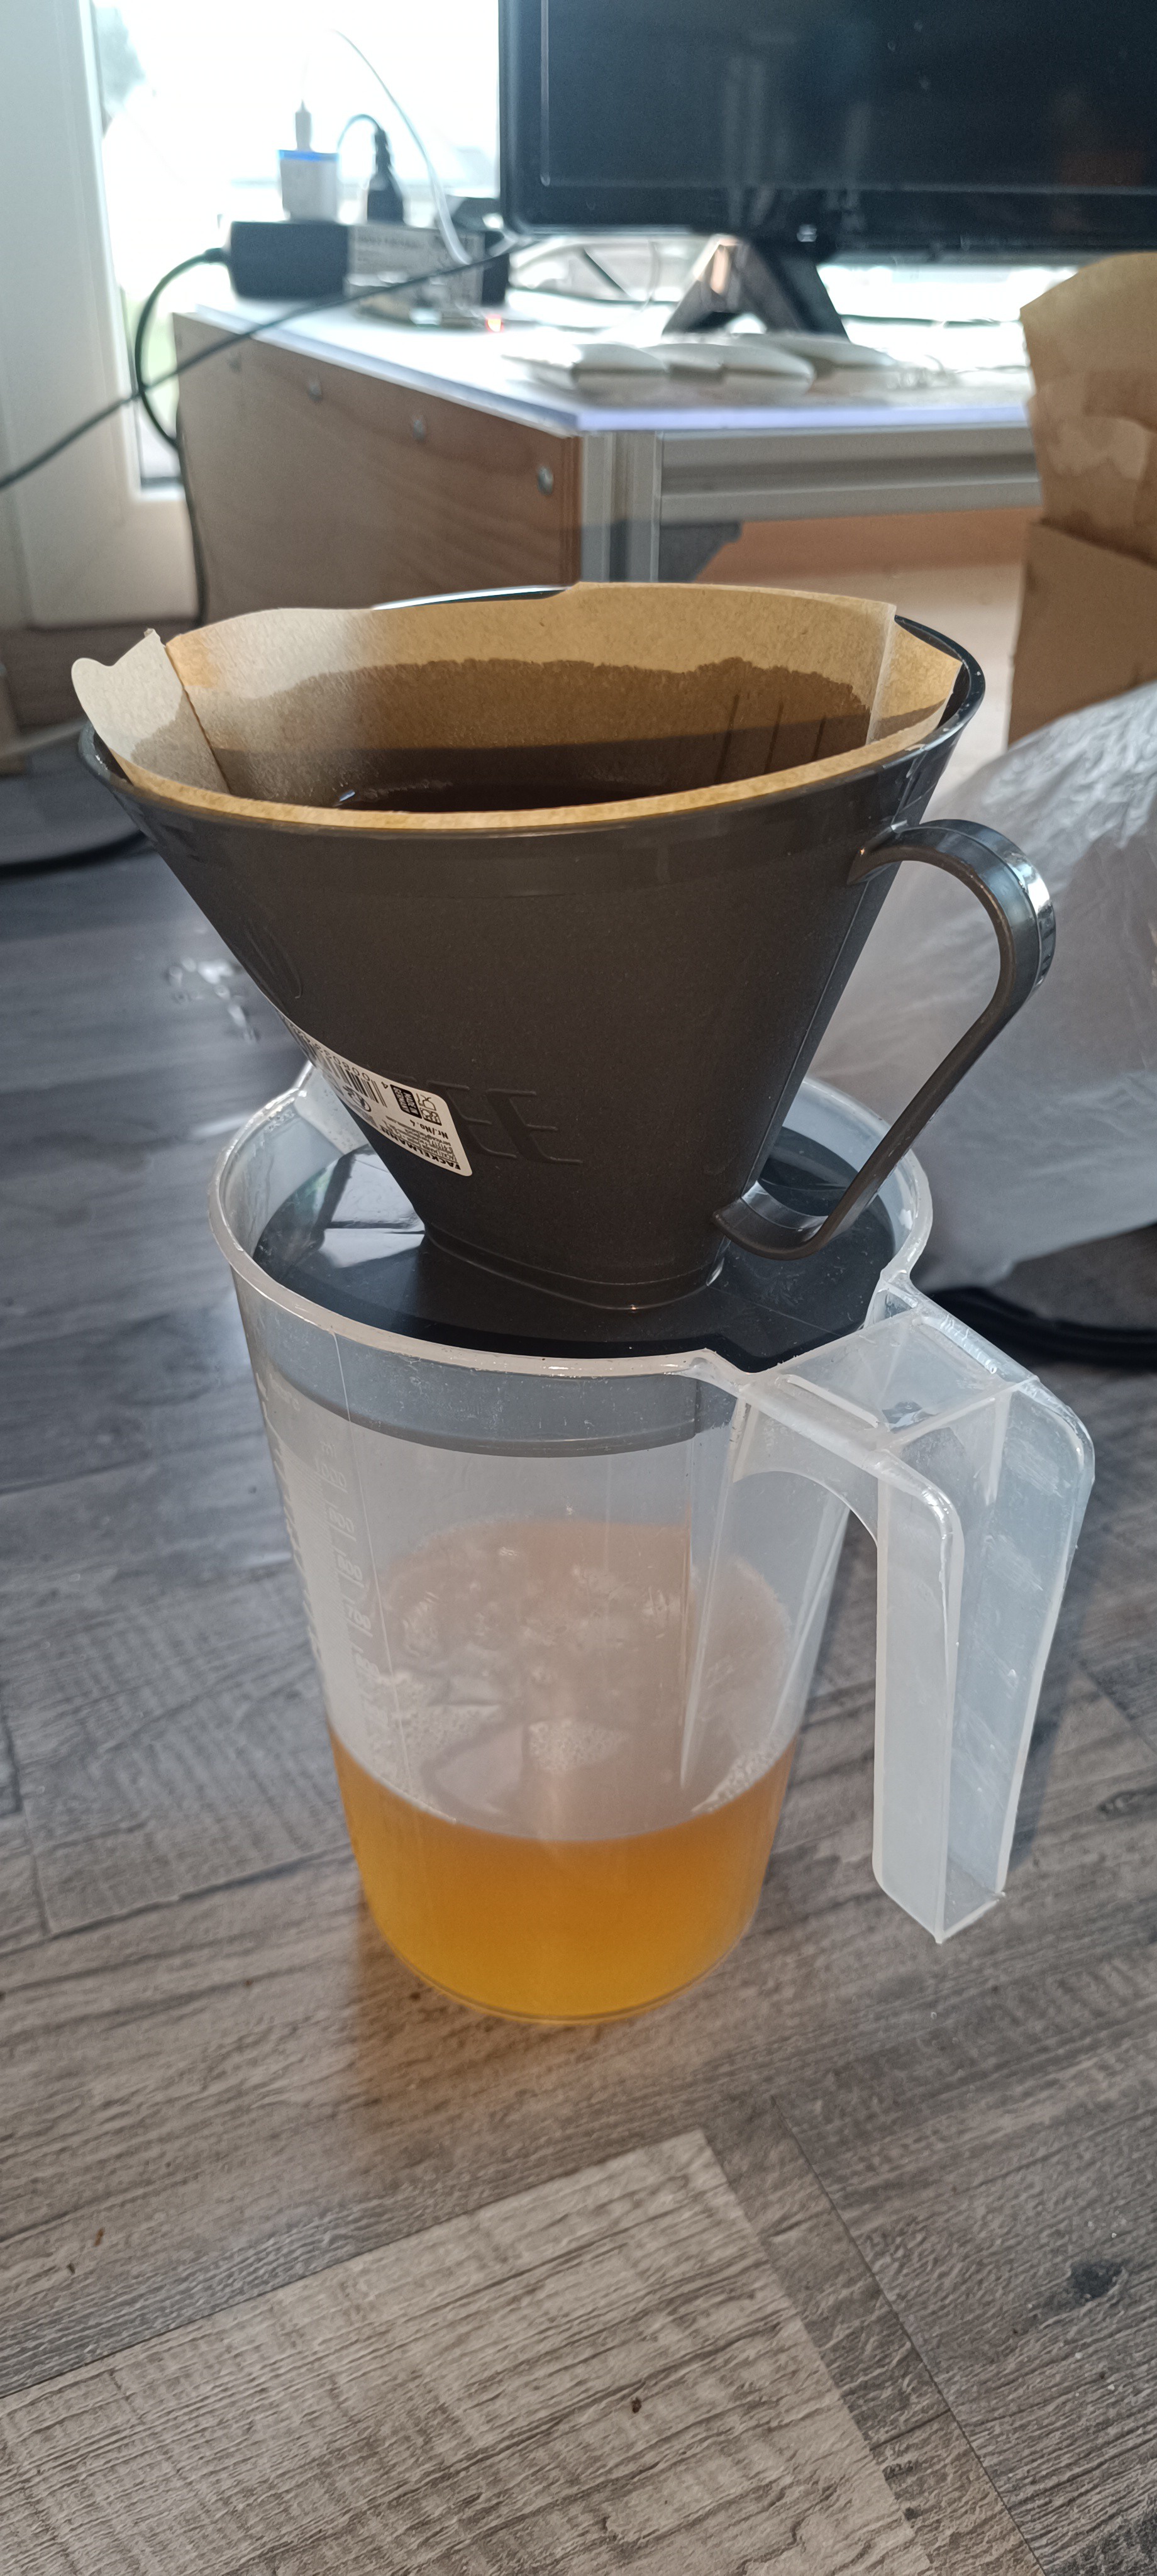
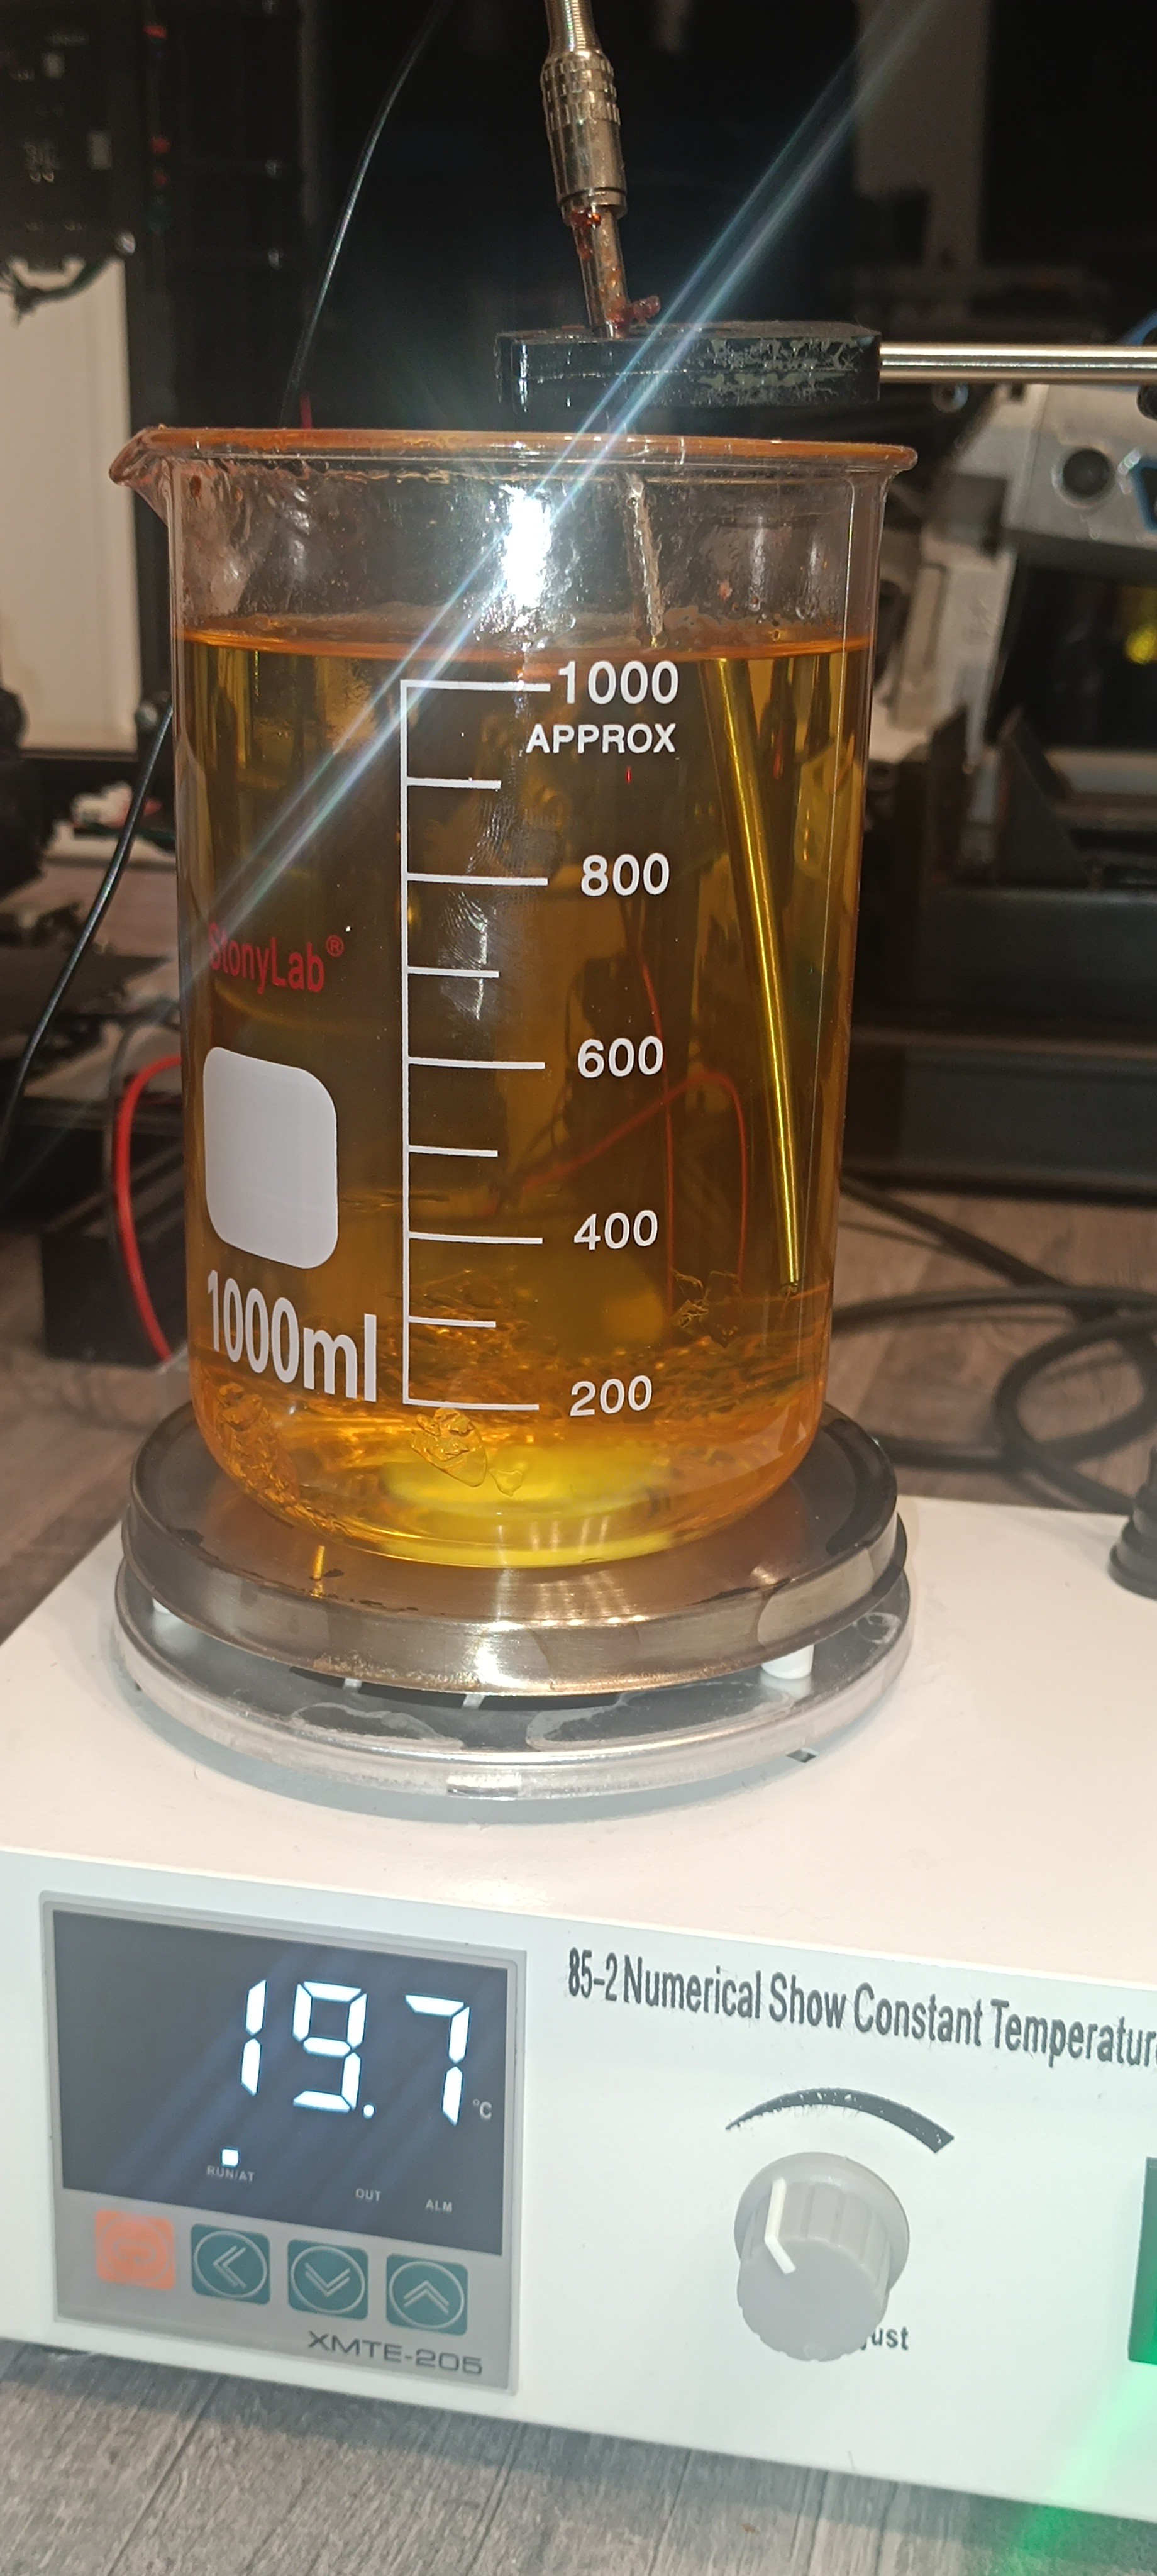
With all dirt filtered out the mixture had a clear yellow color.

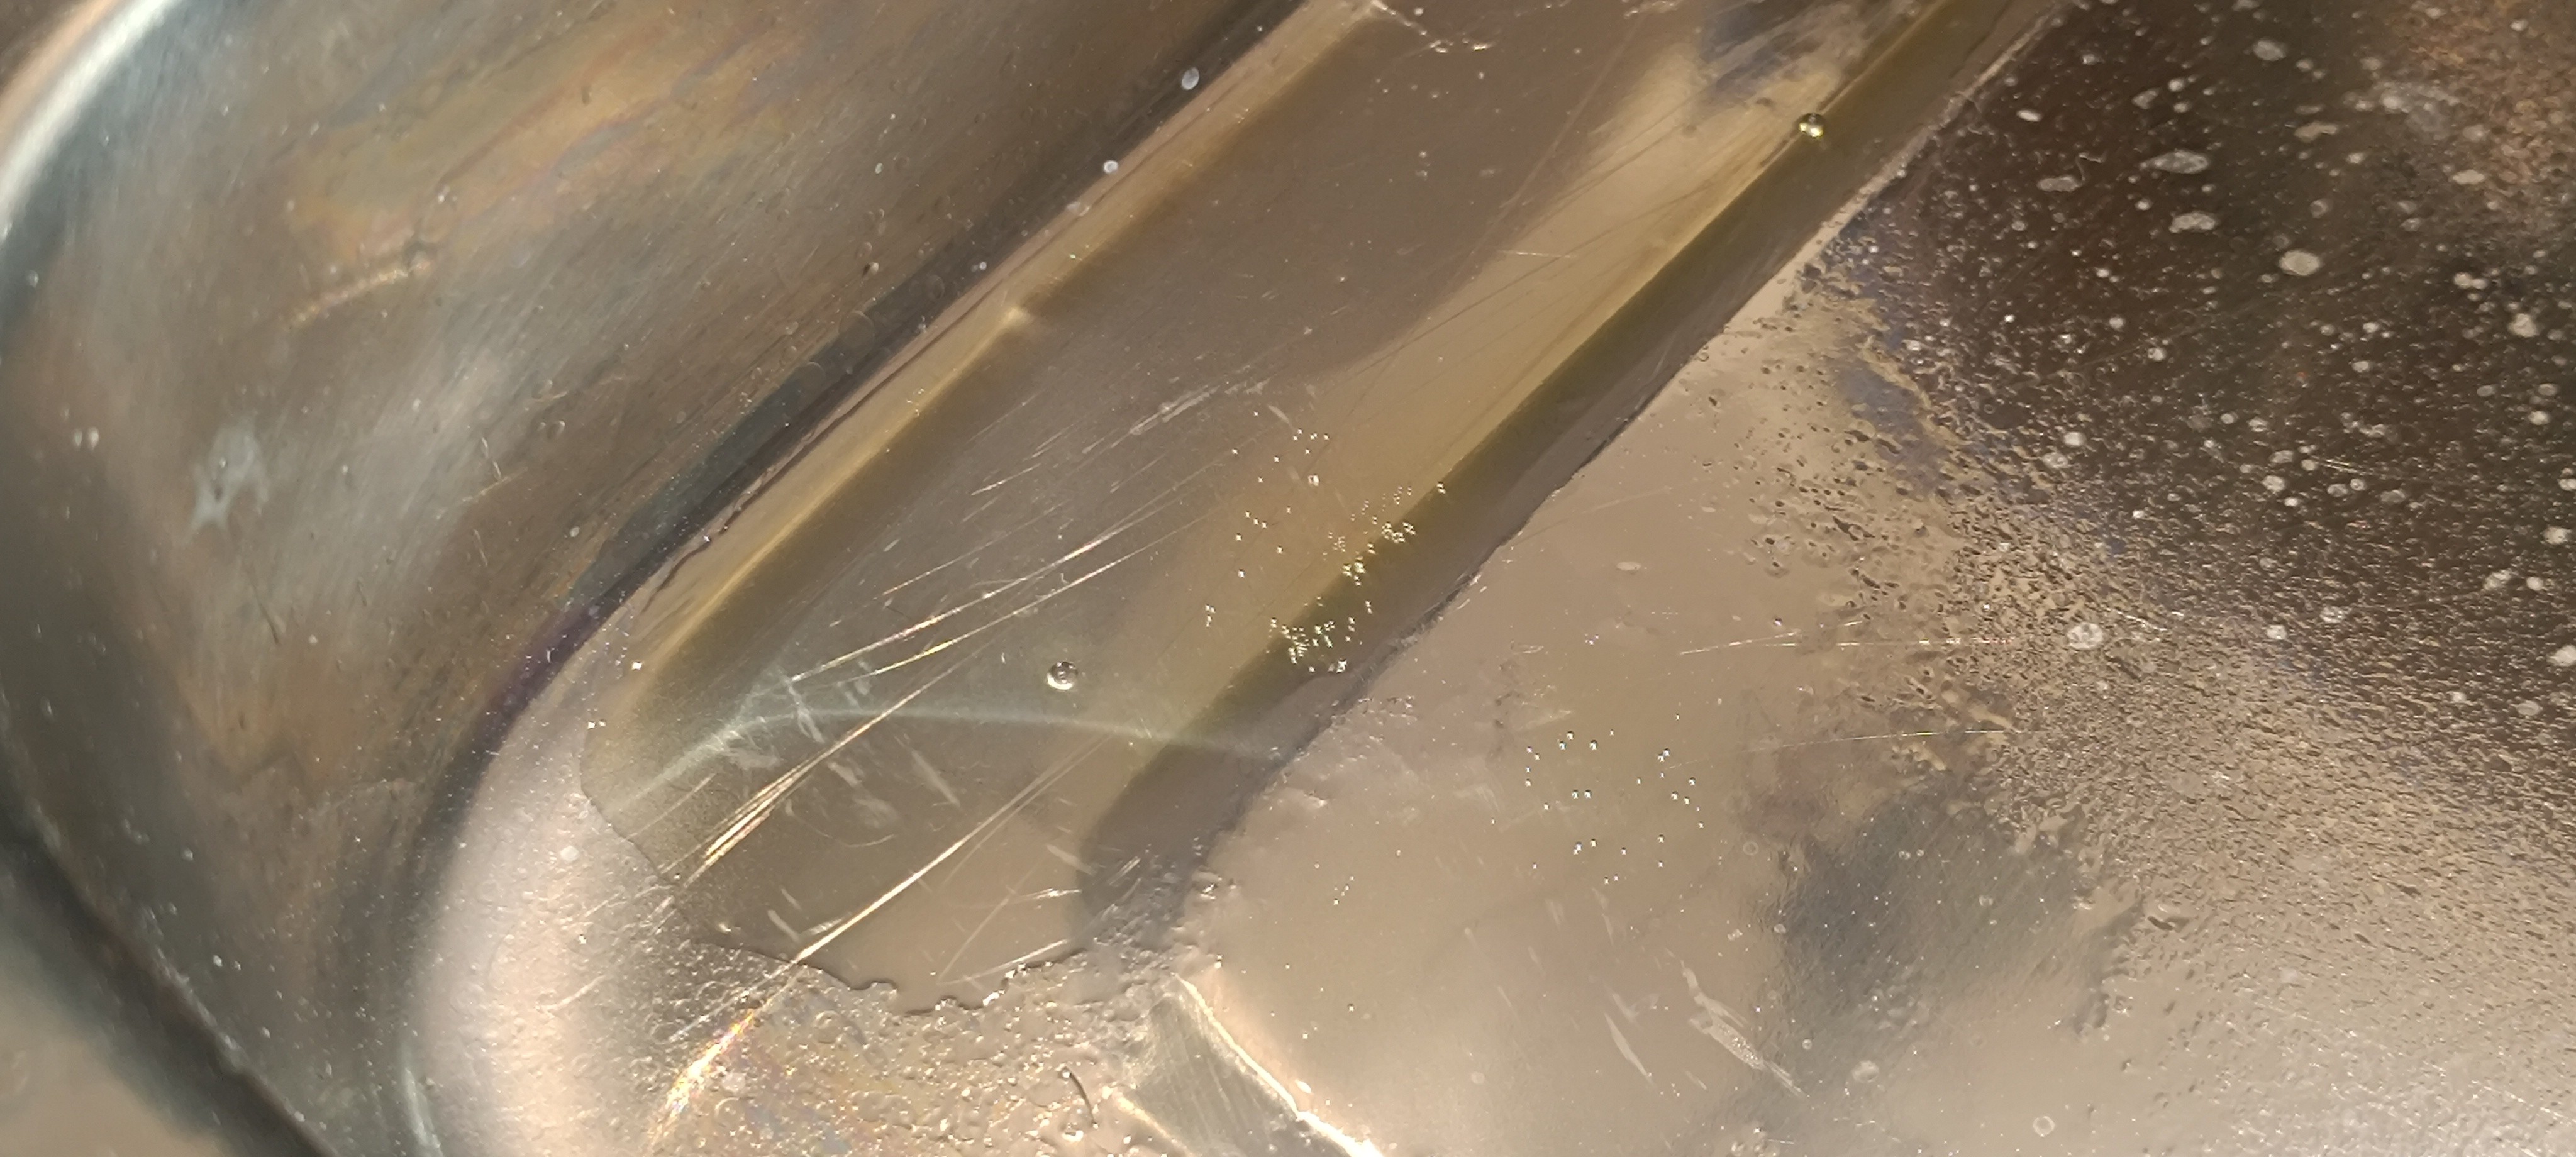
After filtering the ink, it was time to pour some of it into the drip tray and let it dry.
When the ink had completely dried, it formed a nice shiny, clear, and nonsticky surface with good adhesion. The dried ink was so shiny that it wasn't even possible to tell from just the look of it if it was dry or still liquid.
The test turned out very positive, and the ink was ready to be loaded into the printer. So, I connected a silicone tube to the gutter and loaded the ink into the printer via the return line.


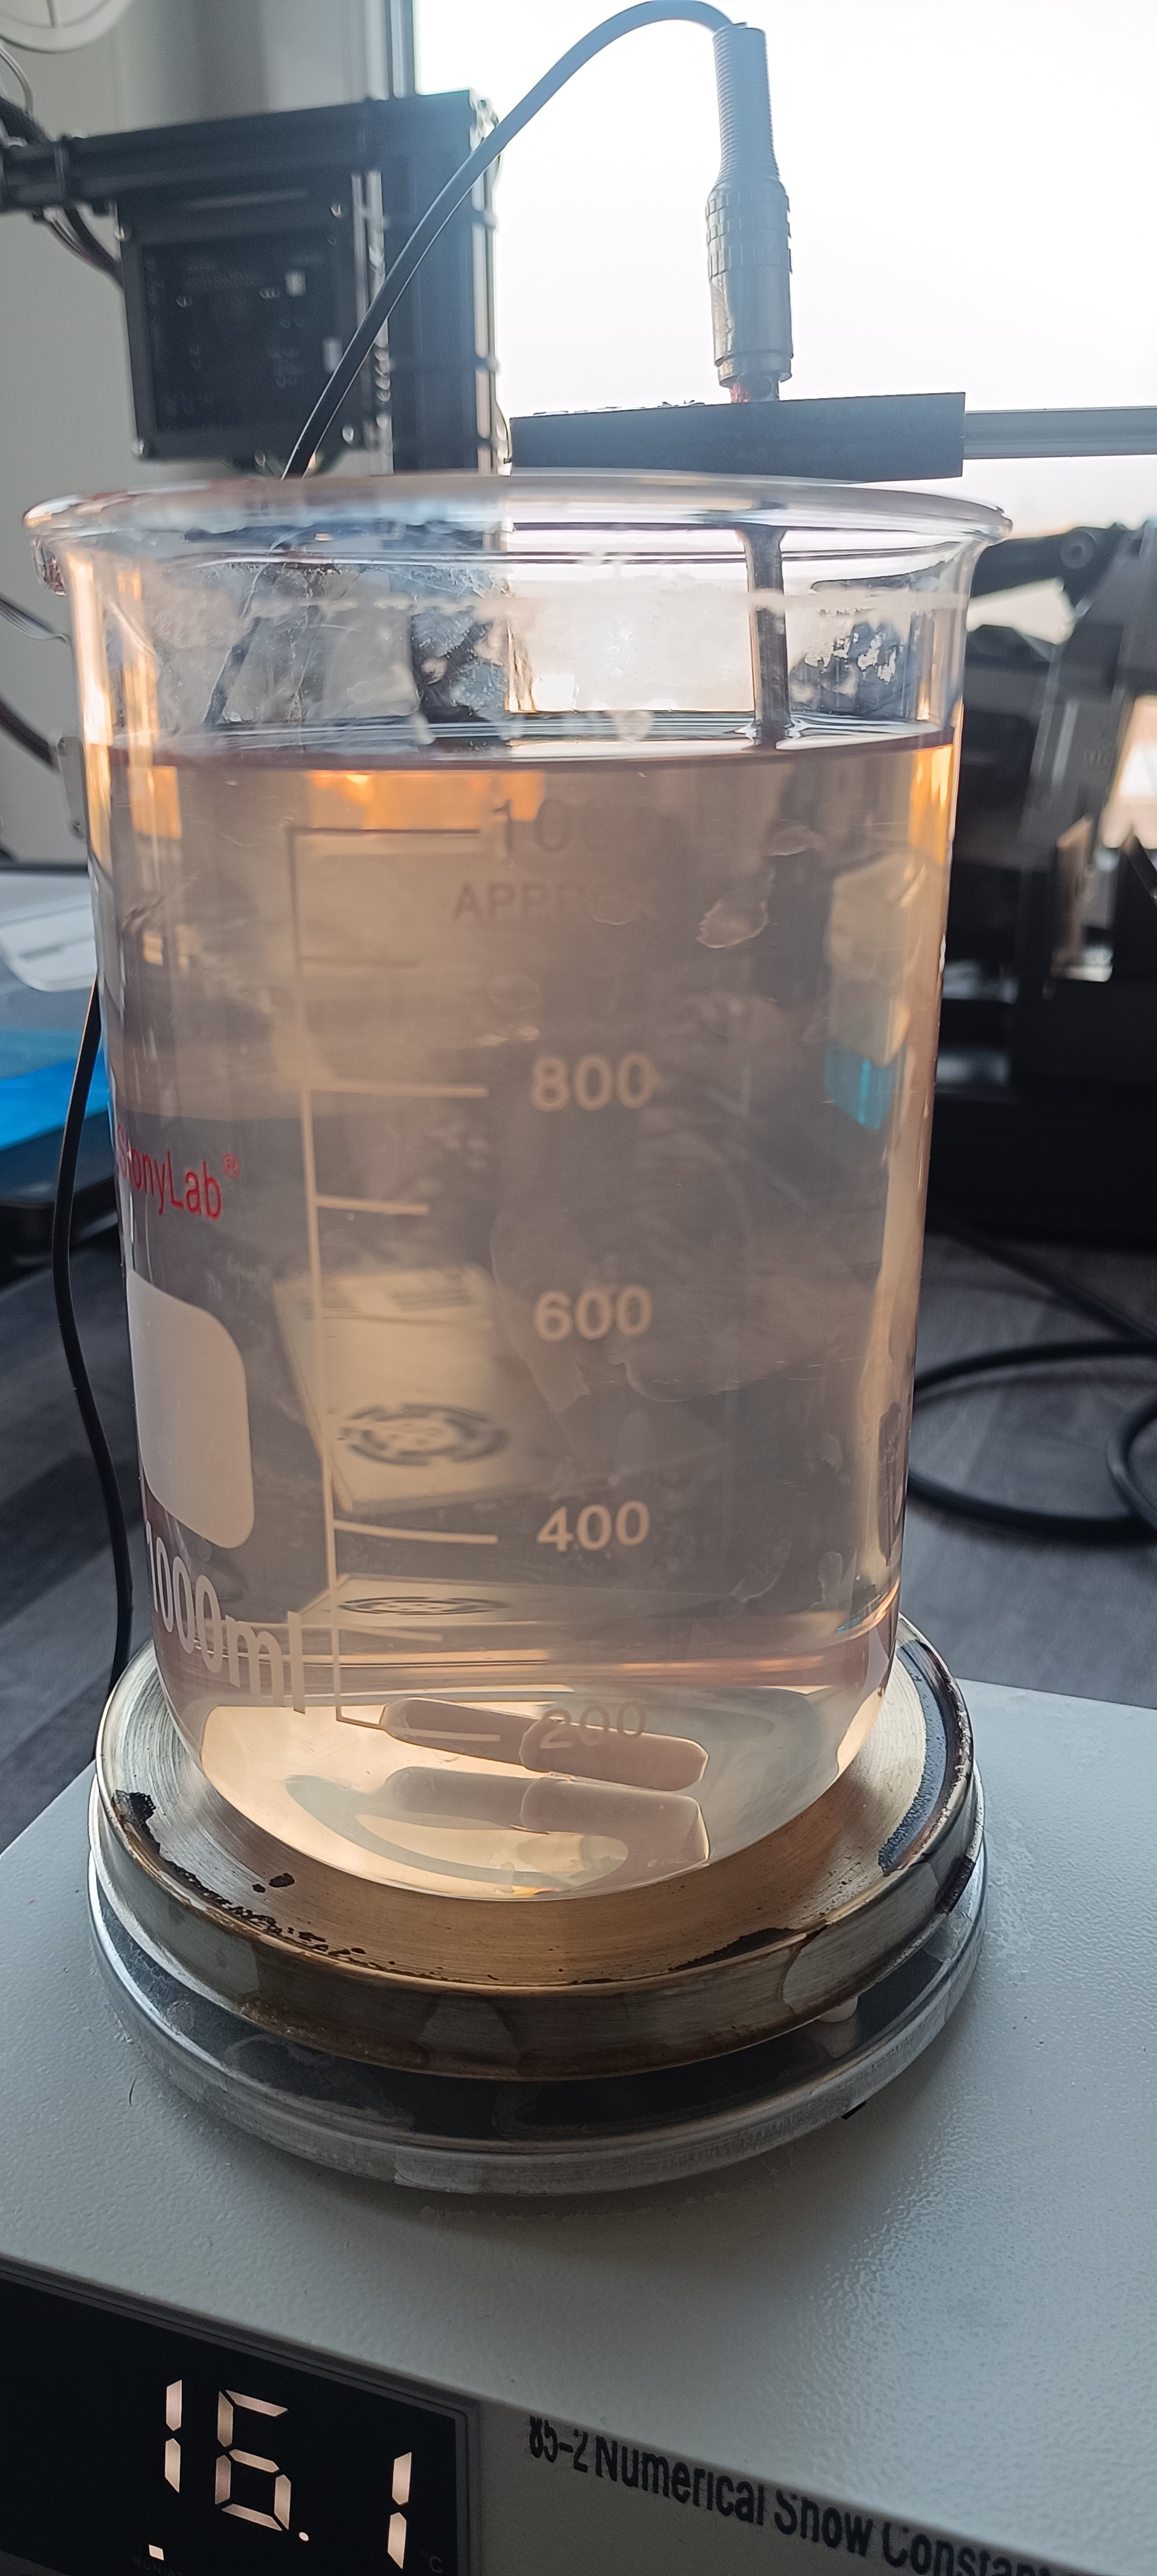
With the sandarac ink loaded into the printer, I powered the printer up, started the circulation pump, and heated the ink inside the printer to 25⁰C before checking the viscosimeter. It seems like the sandarac doesn't increase the viscosity of the ink as much as the other resins I tried so far did, but even with a lower viscosity, the ink formed a nice surface.
The sandarac ink's viscosity was around that of spray paint, and I think this lower viscosity would be even more suitable for printing because the higher viscosity of the PVB ink would have required a higher pressure for the same jet velocity and a higher power setting for the return pump to draw it through the return line.
So, I will keep it at this lower viscosity - at least for now.
After testing the viscosity, I started the return pump, pressure pump, and ink stream.
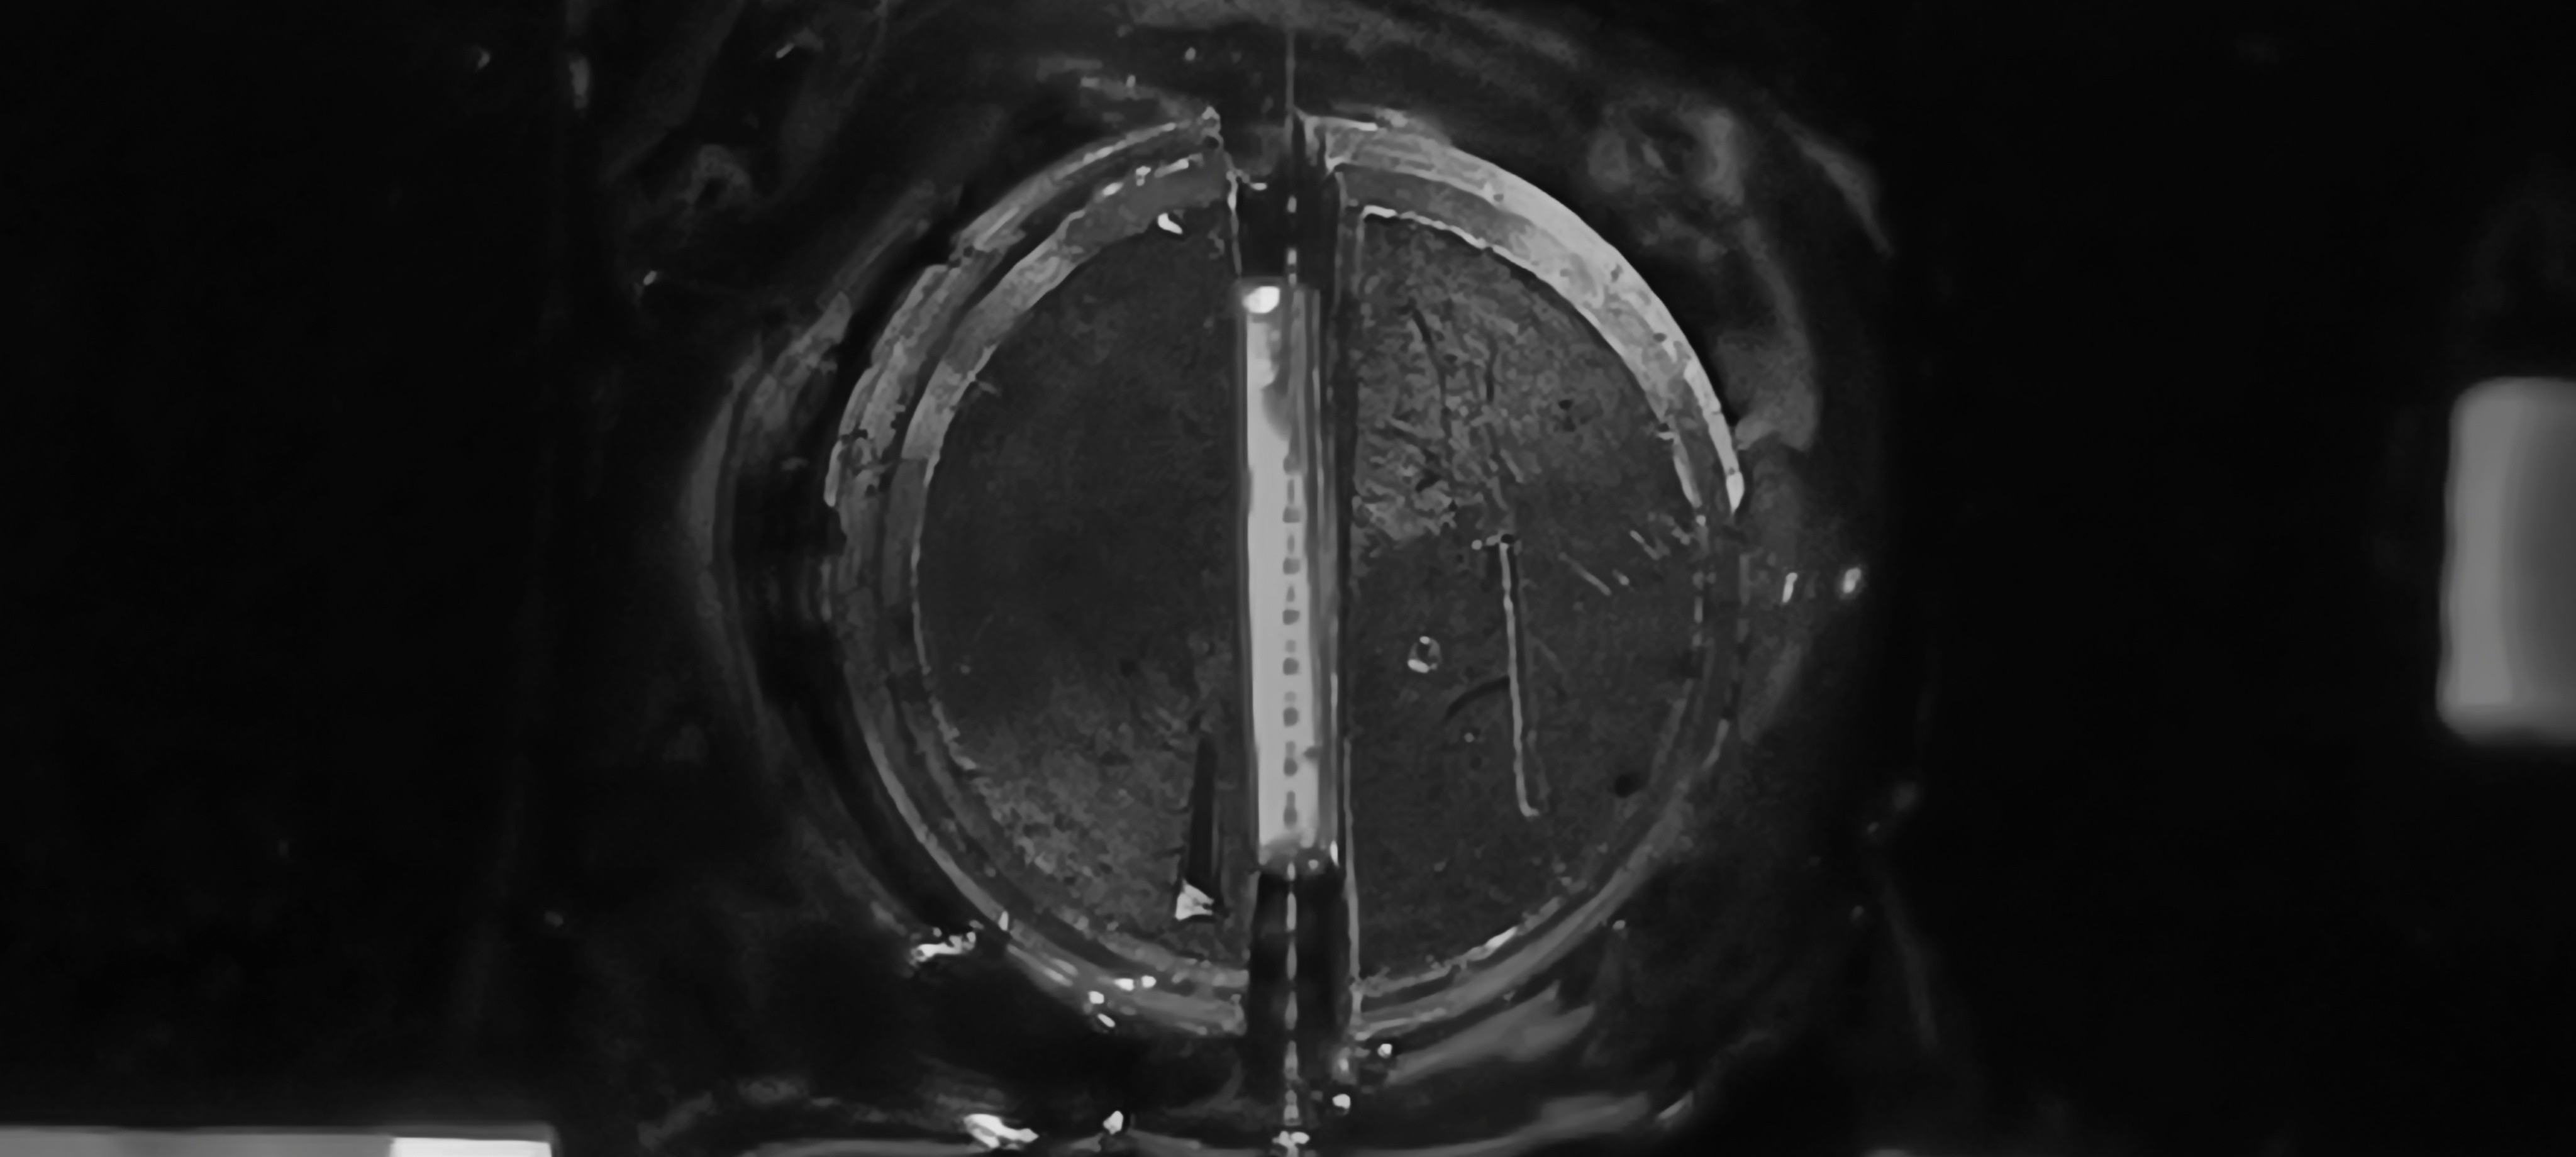
When the jet had formed I took a few black and white photos of it:

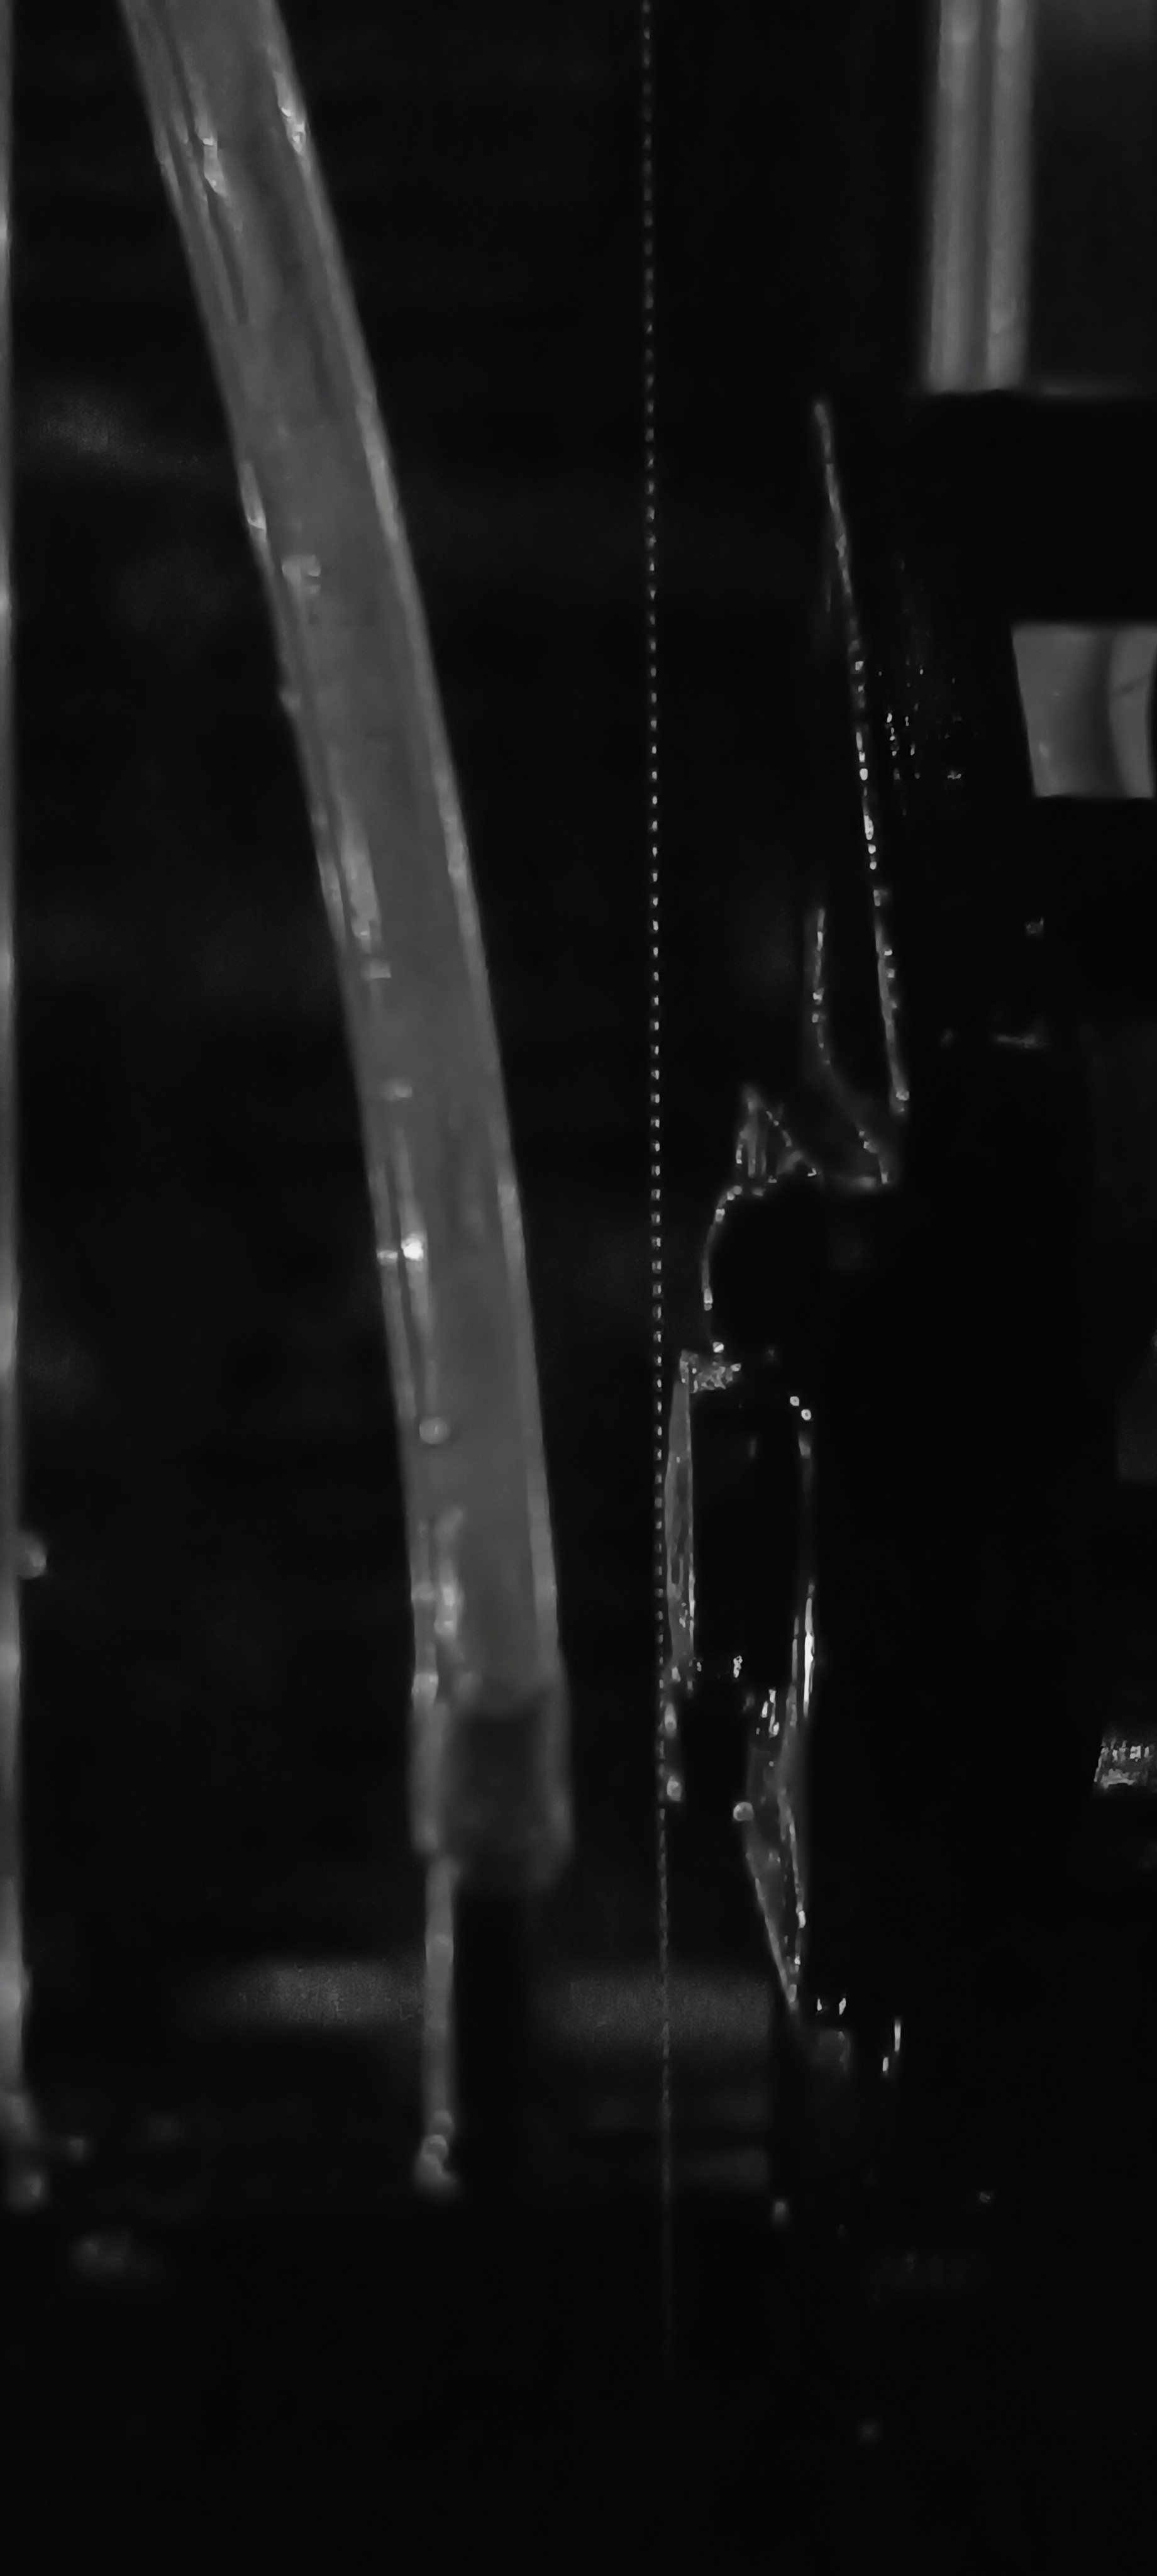
More photos with different pressure settings:
 ,
,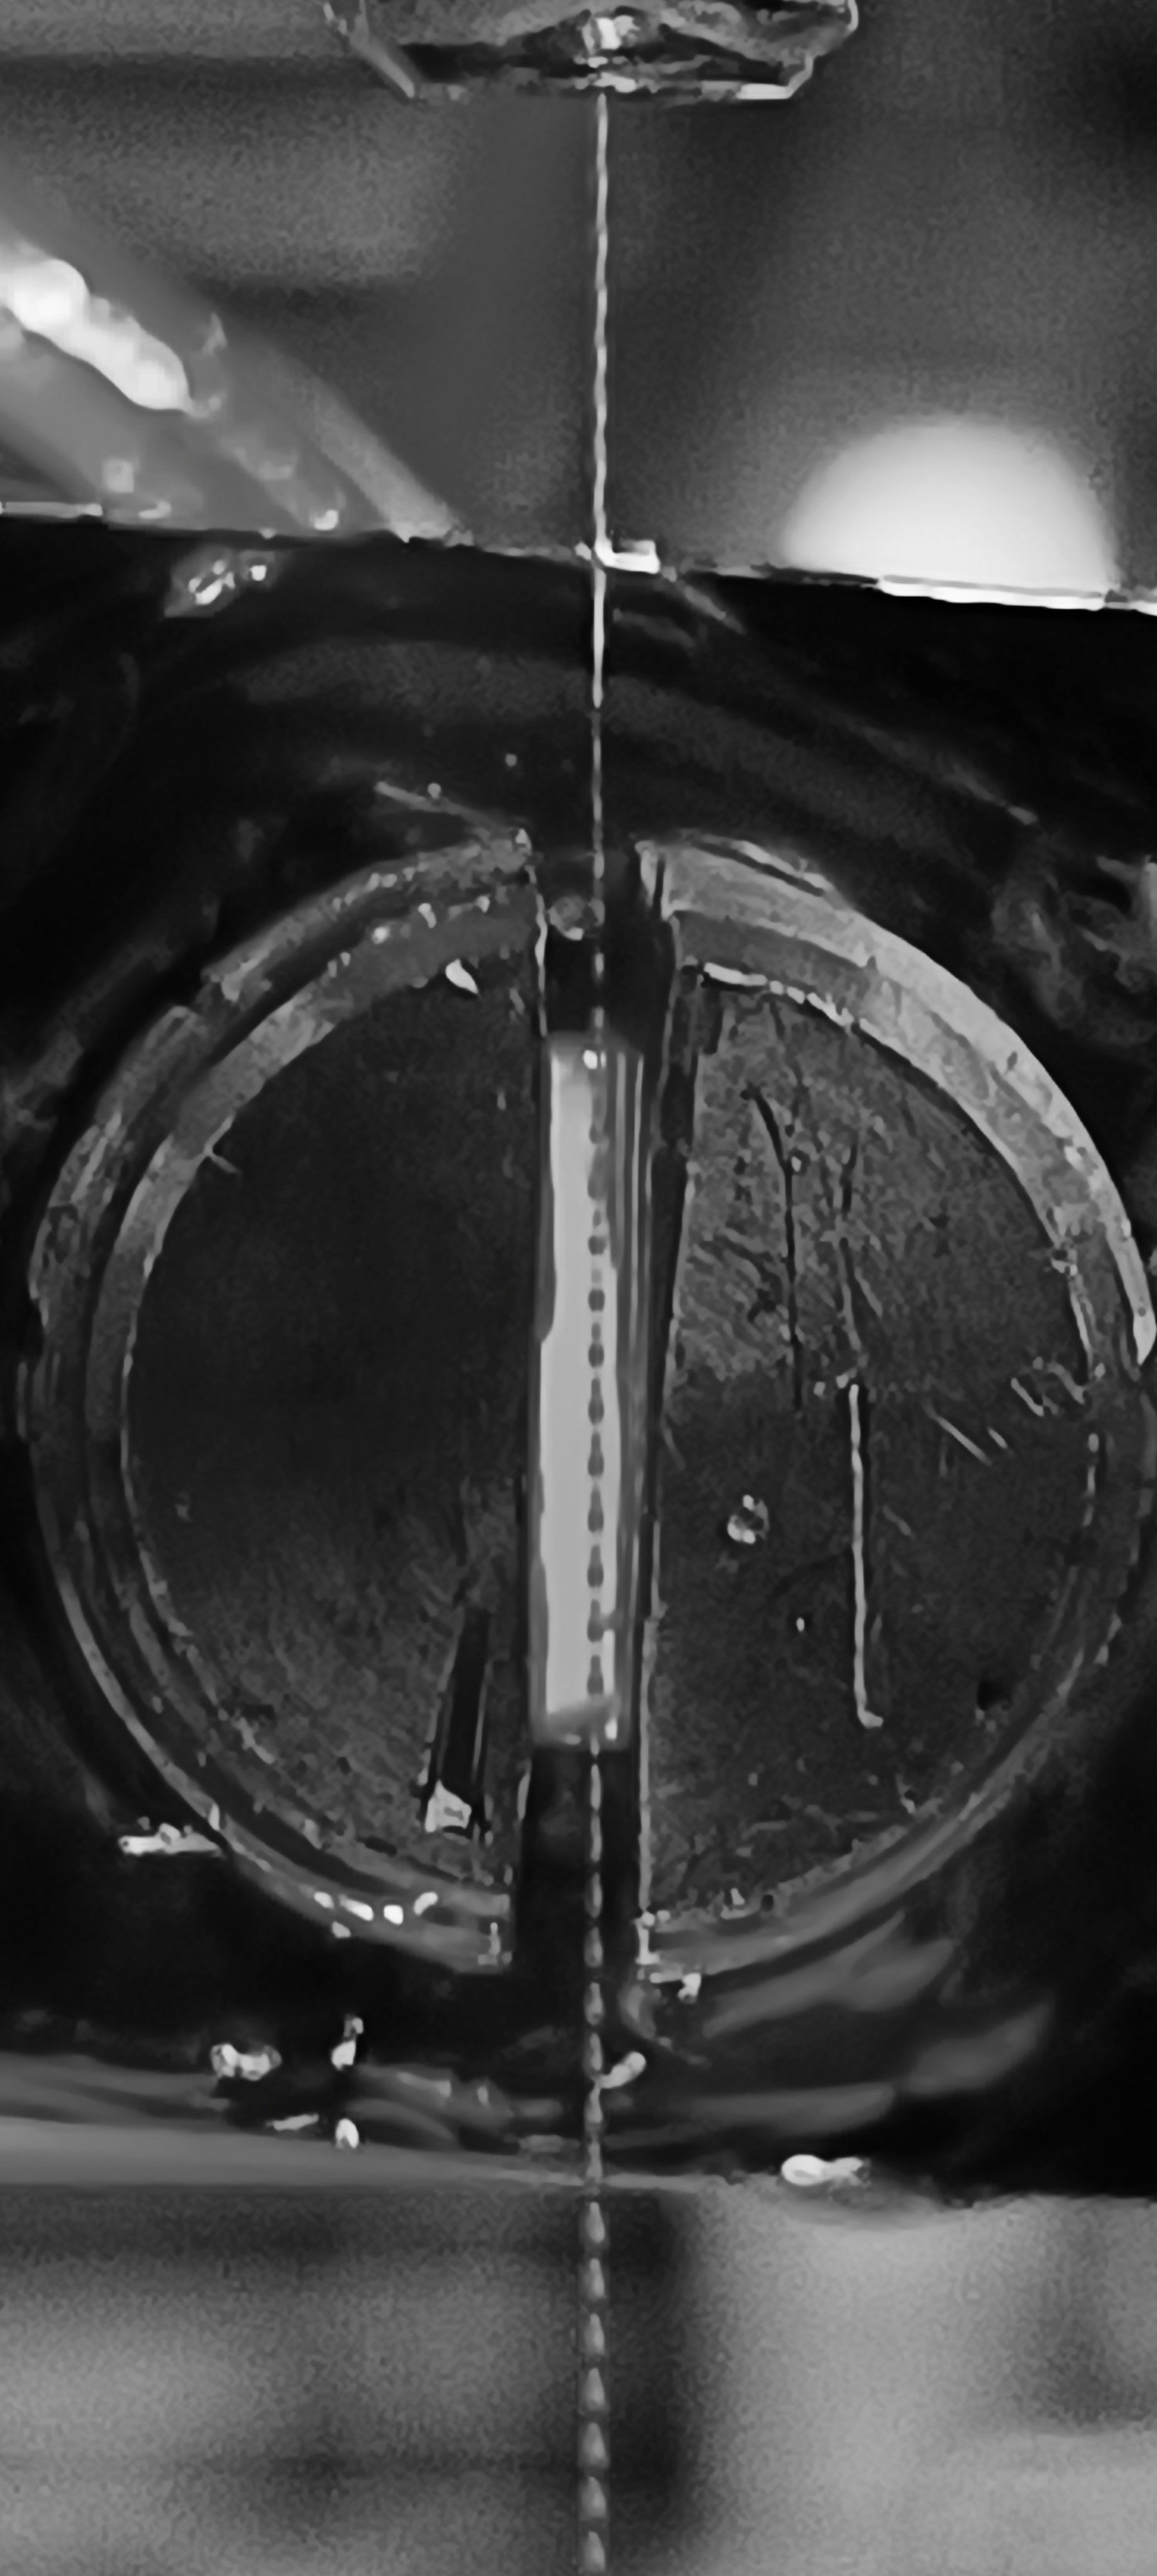
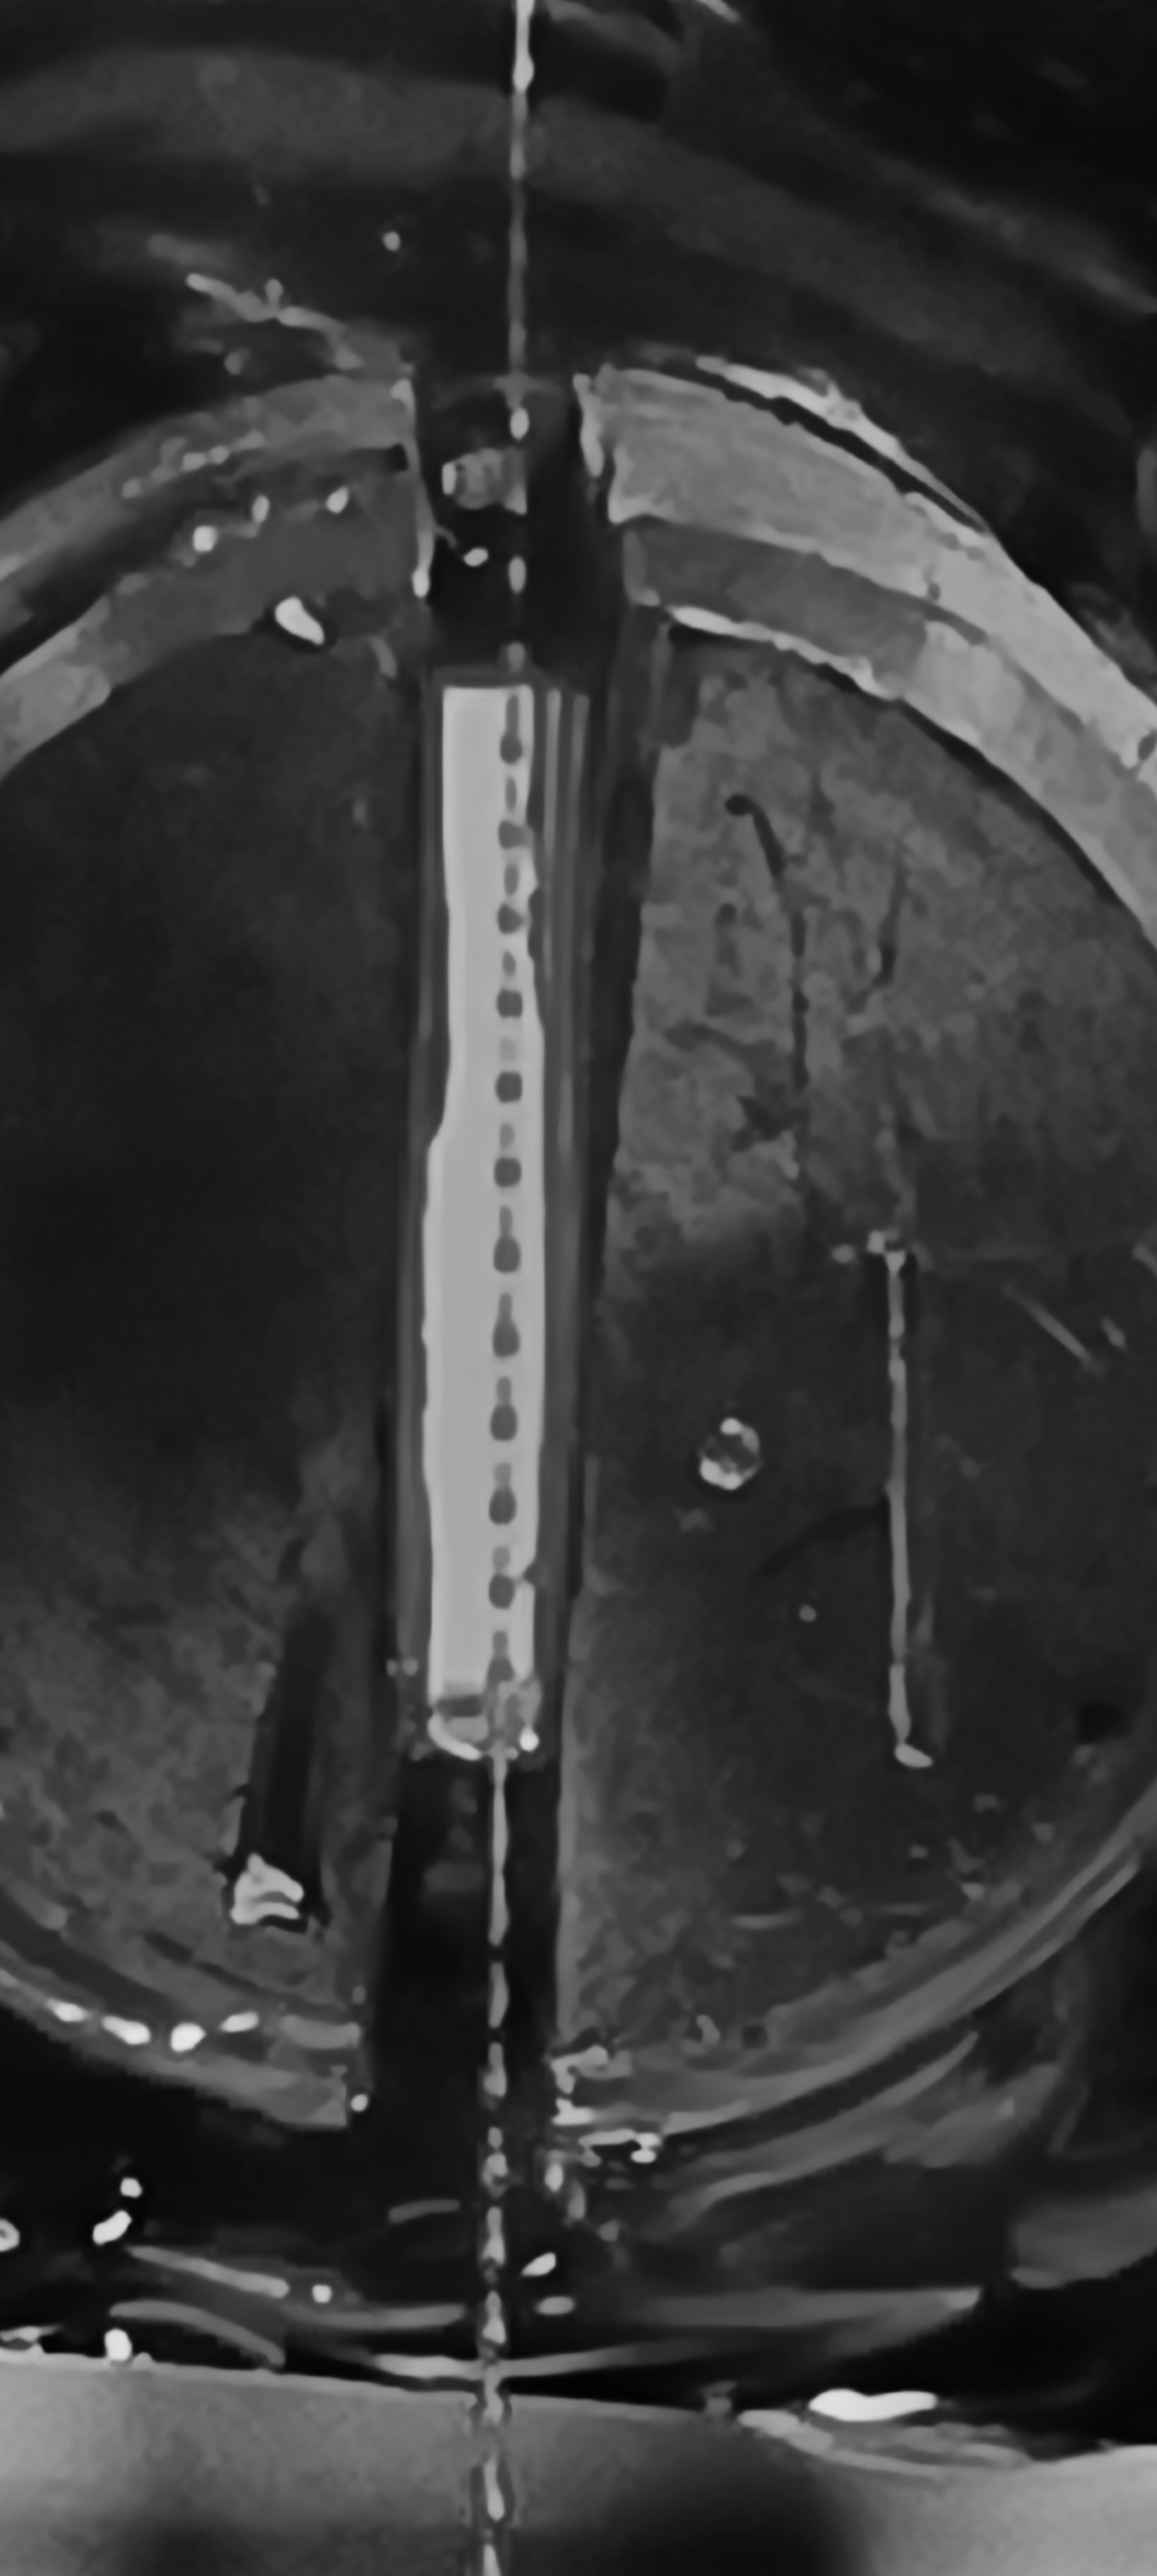
 Depending on the pressure, the jet velocity changed and, with it, the position of the breakup point and also if there were satellite droplets.
Changing the piezo drive amplitude also changed the breakup point's position and satellite droplets.
Frequency and piezo drive amplitude will later have a fixed setting while the pressure will be regulated for keeping the jet velocity constant.
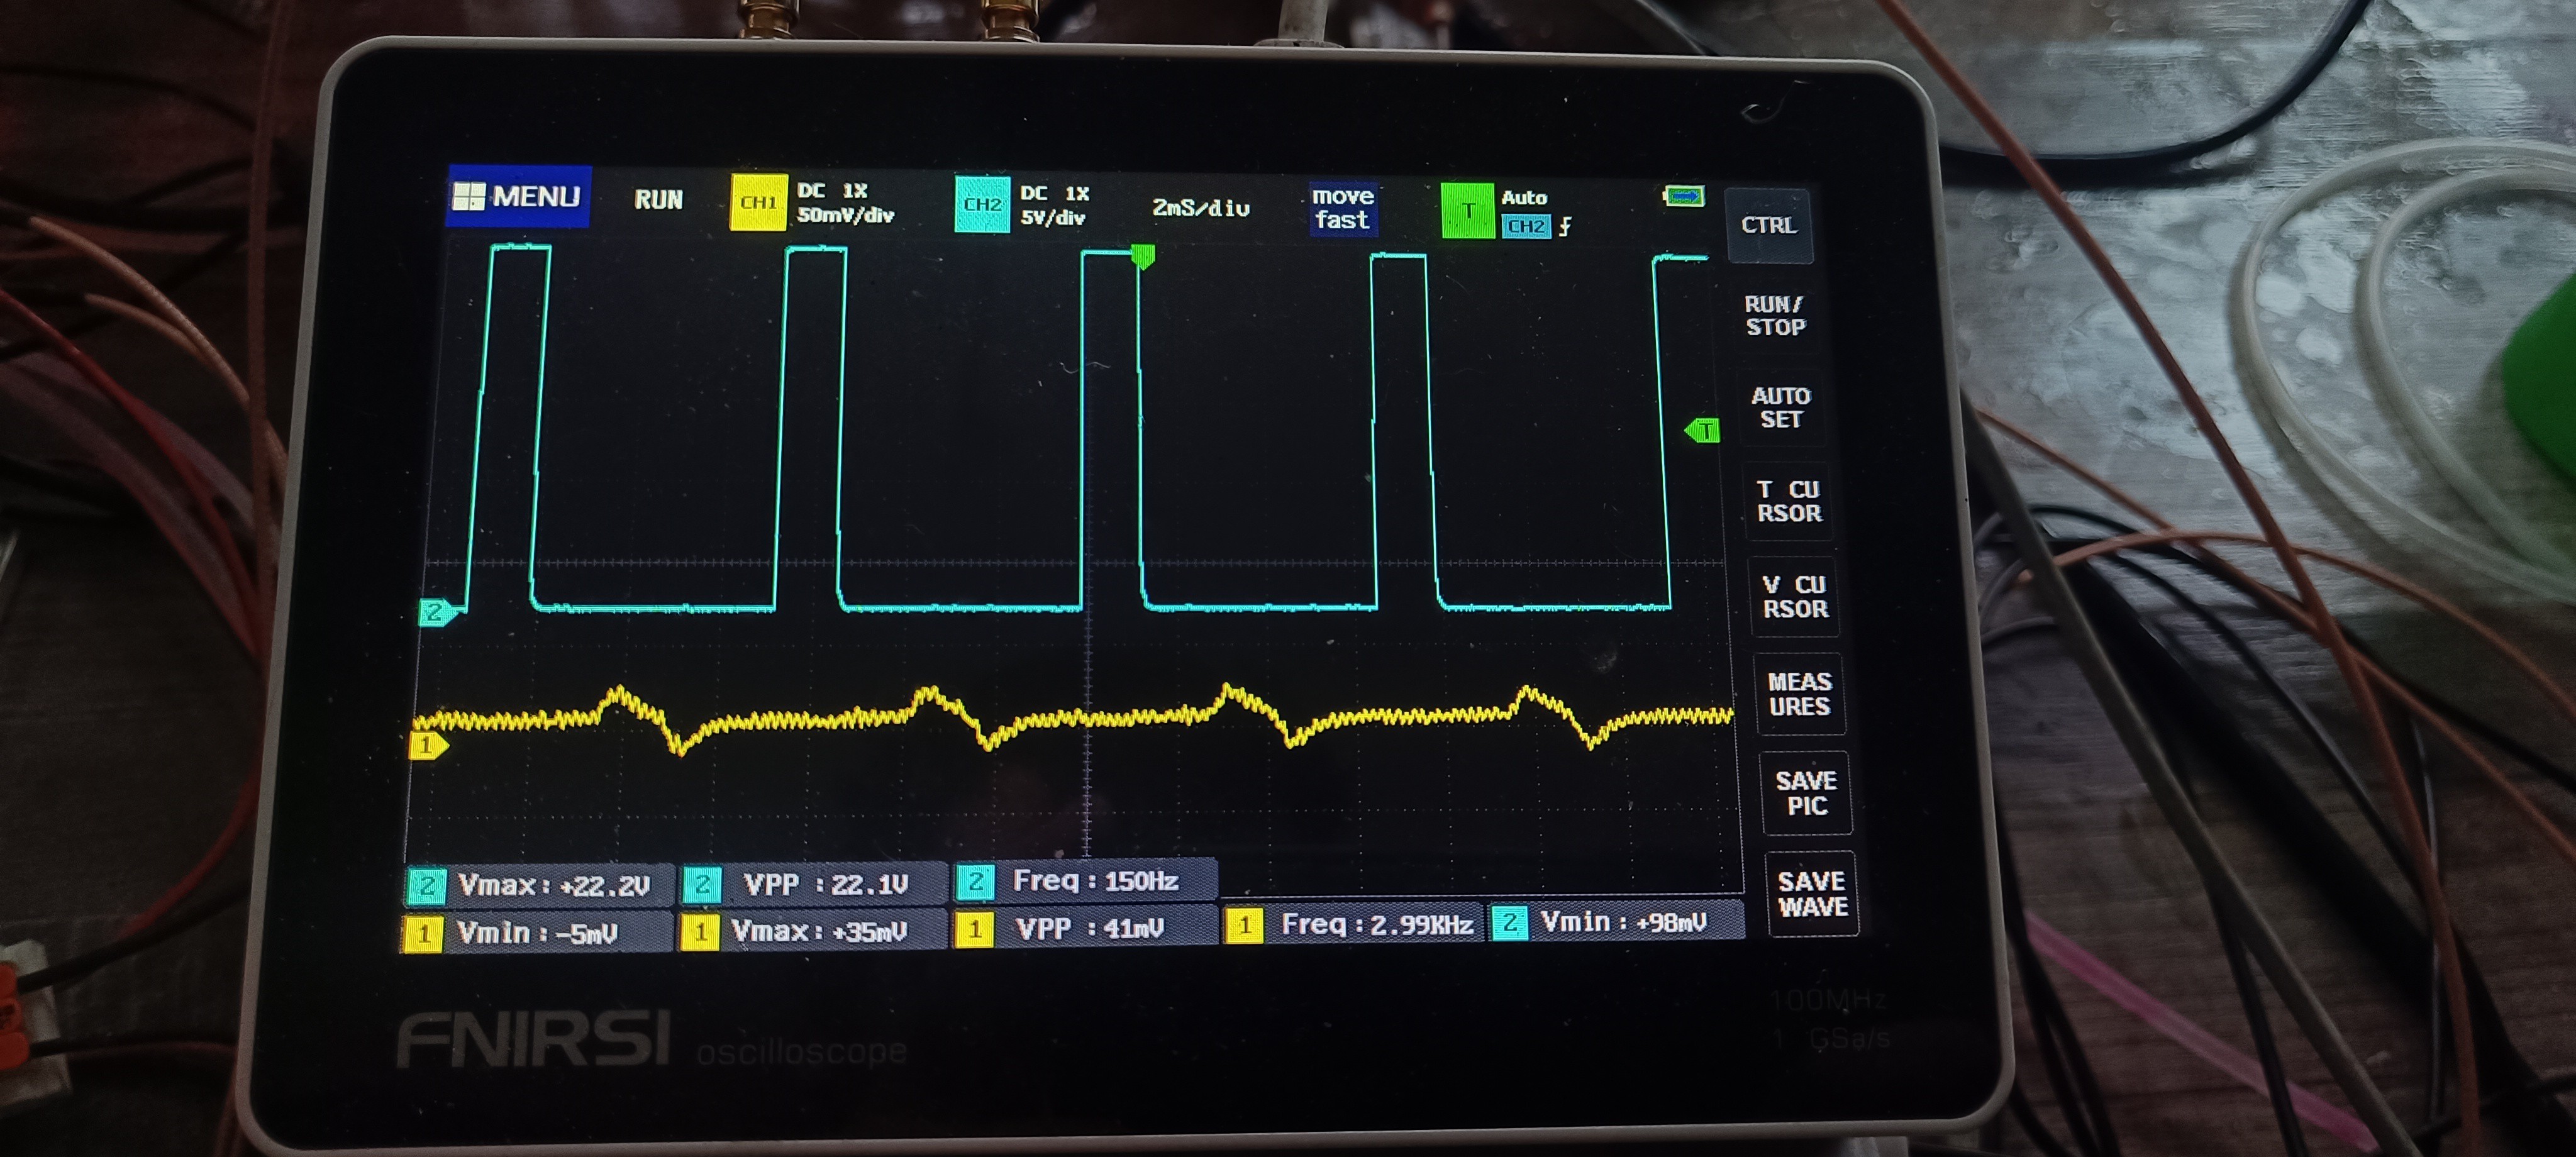
The test and feedback signal did also work well with the sandarac ink.
Conclusion
I think testing different ink mixtures gave me some insights into the topic and led to some nice improvements that made the design more reliable.
When ranking the tested ink mixtures I would put sandarac at the first place and shellac on the second place.
Alkyd resin based ink and nitrocellulose based resin could be used, but I wouldn't recommend it and it would require changing out some parts of the printer like the silicone tube and plastic parts that would be dissolved by the more agressive solvent.
For now, I will continue using the sandarac ink since it's plant-based, not poisonous, forms a nice surface, works well with the CIJ process, and smells nice.
Thank you for your interest in my project :)
Discussions
Become a Hackaday.io Member
Create an account to leave a comment. Already have an account? Log In.