 Dominik Meffert
Latest Video of the Printer:
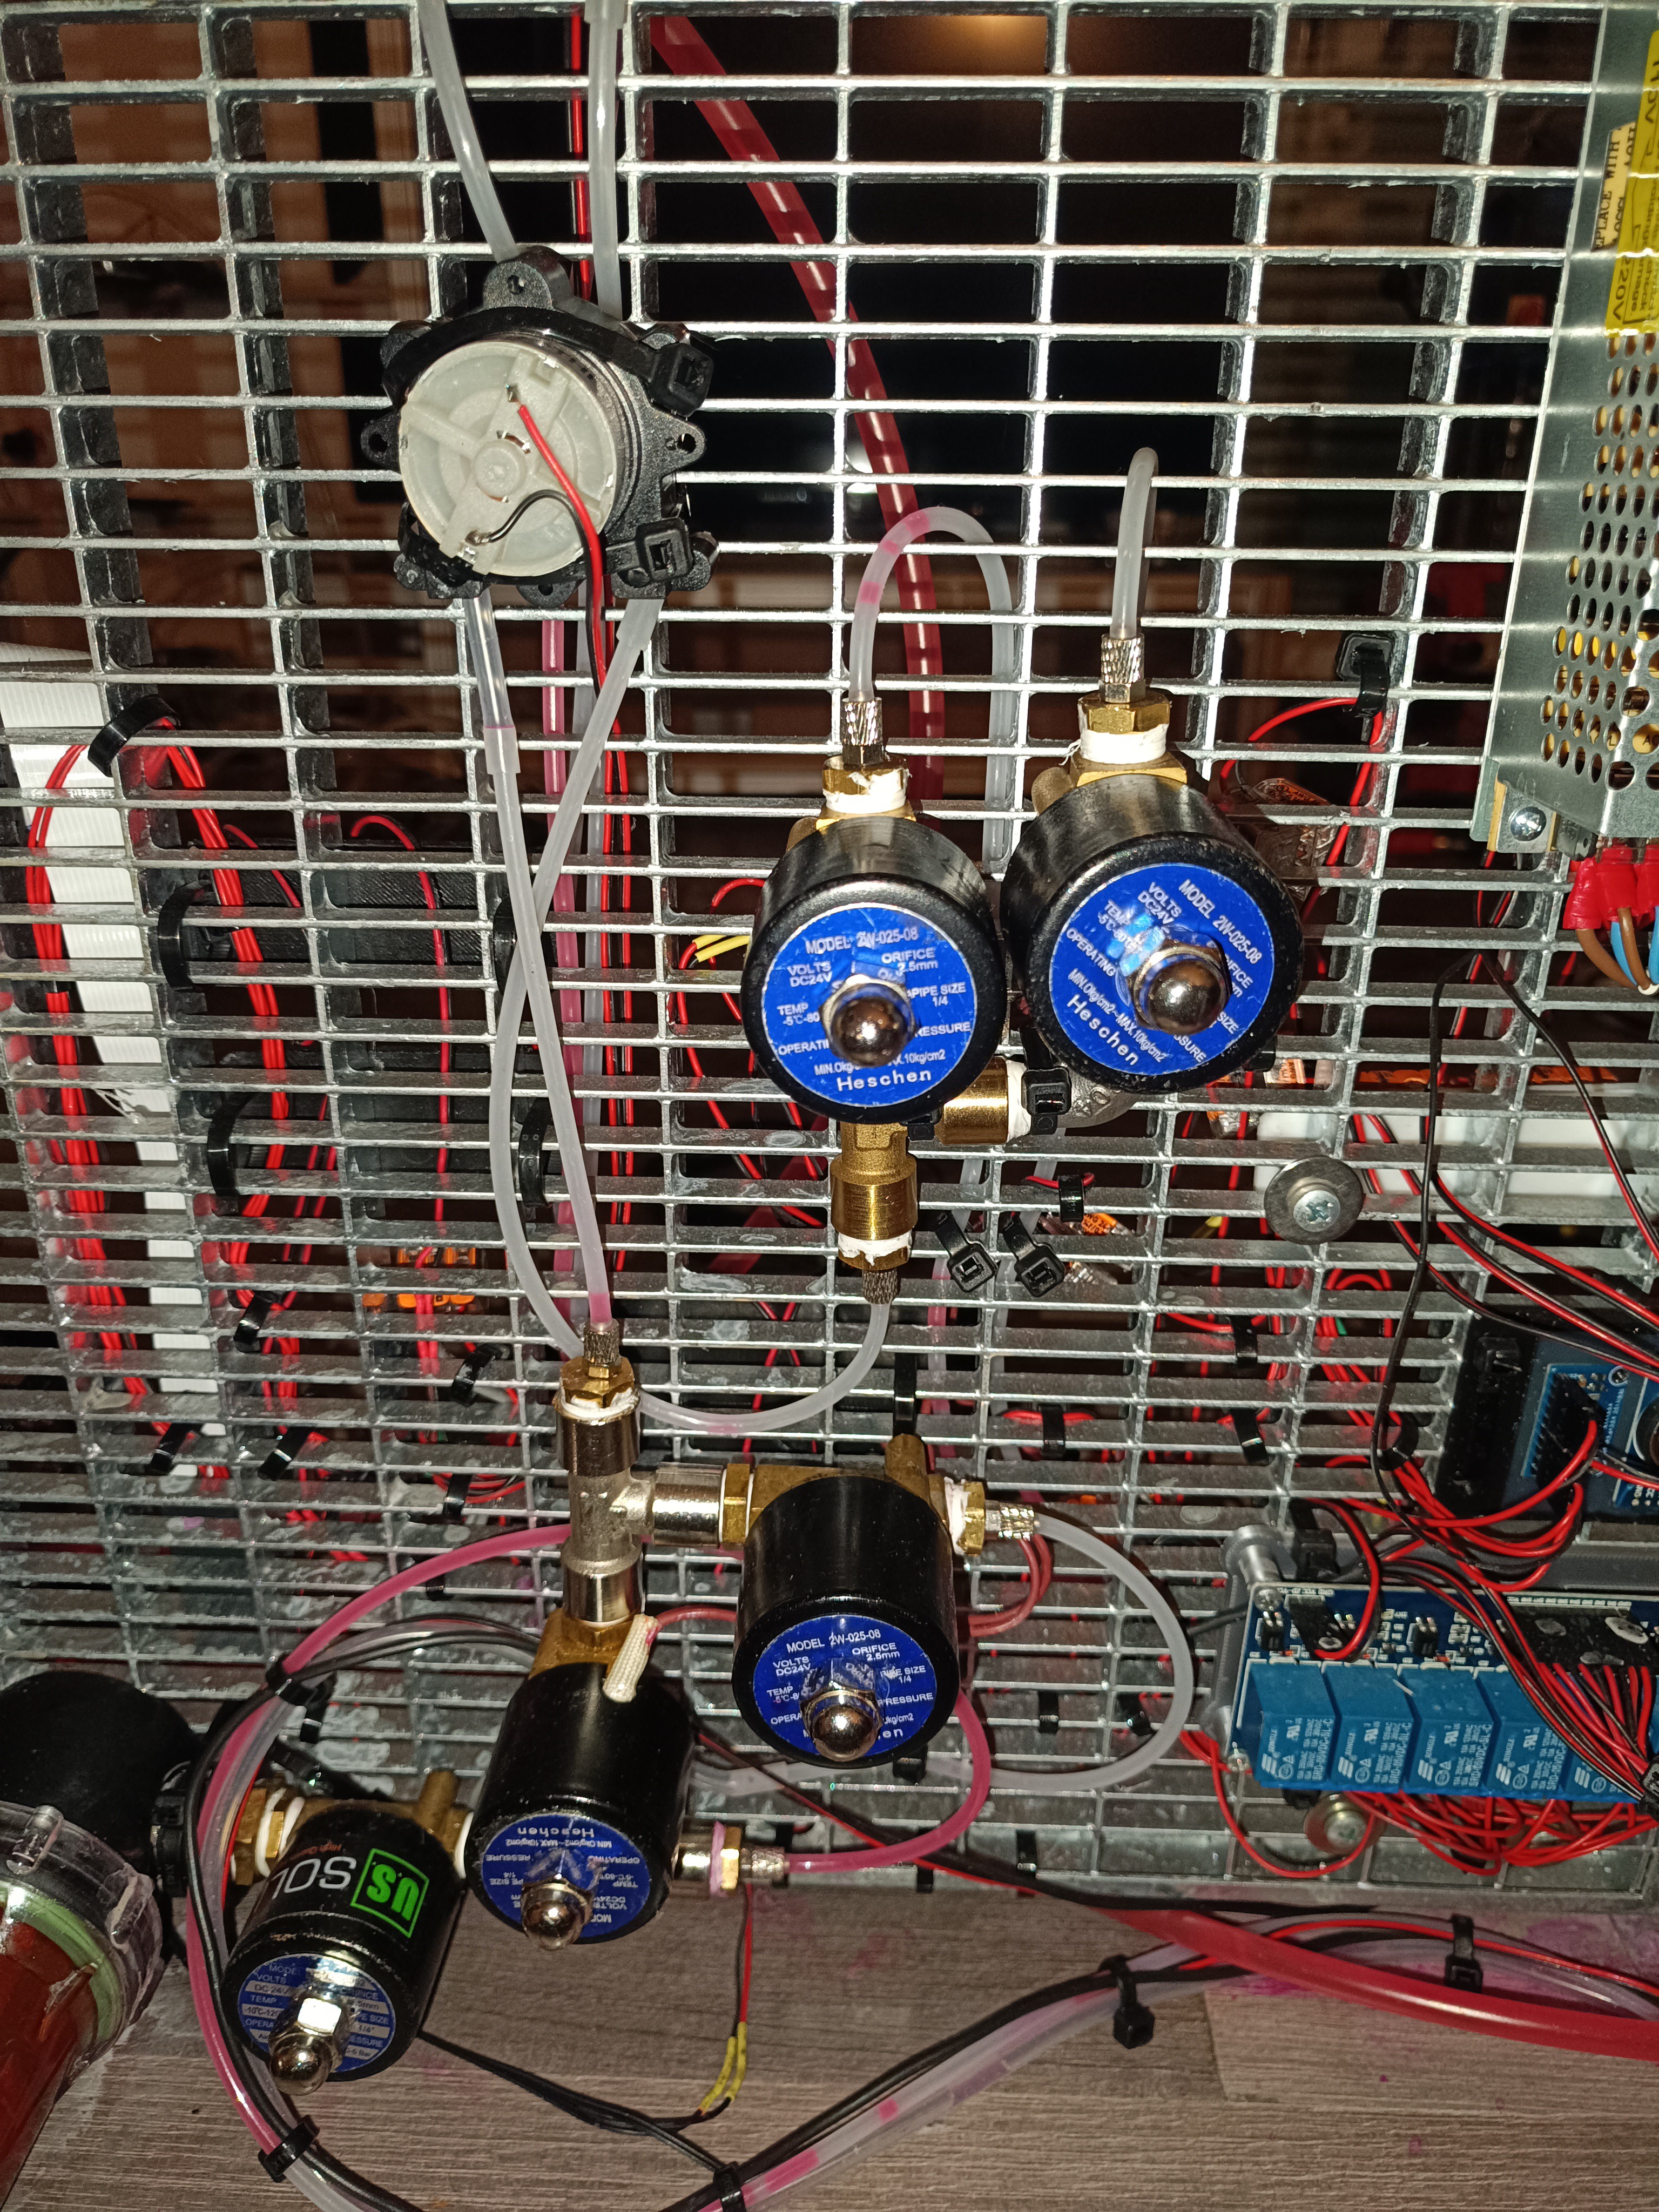
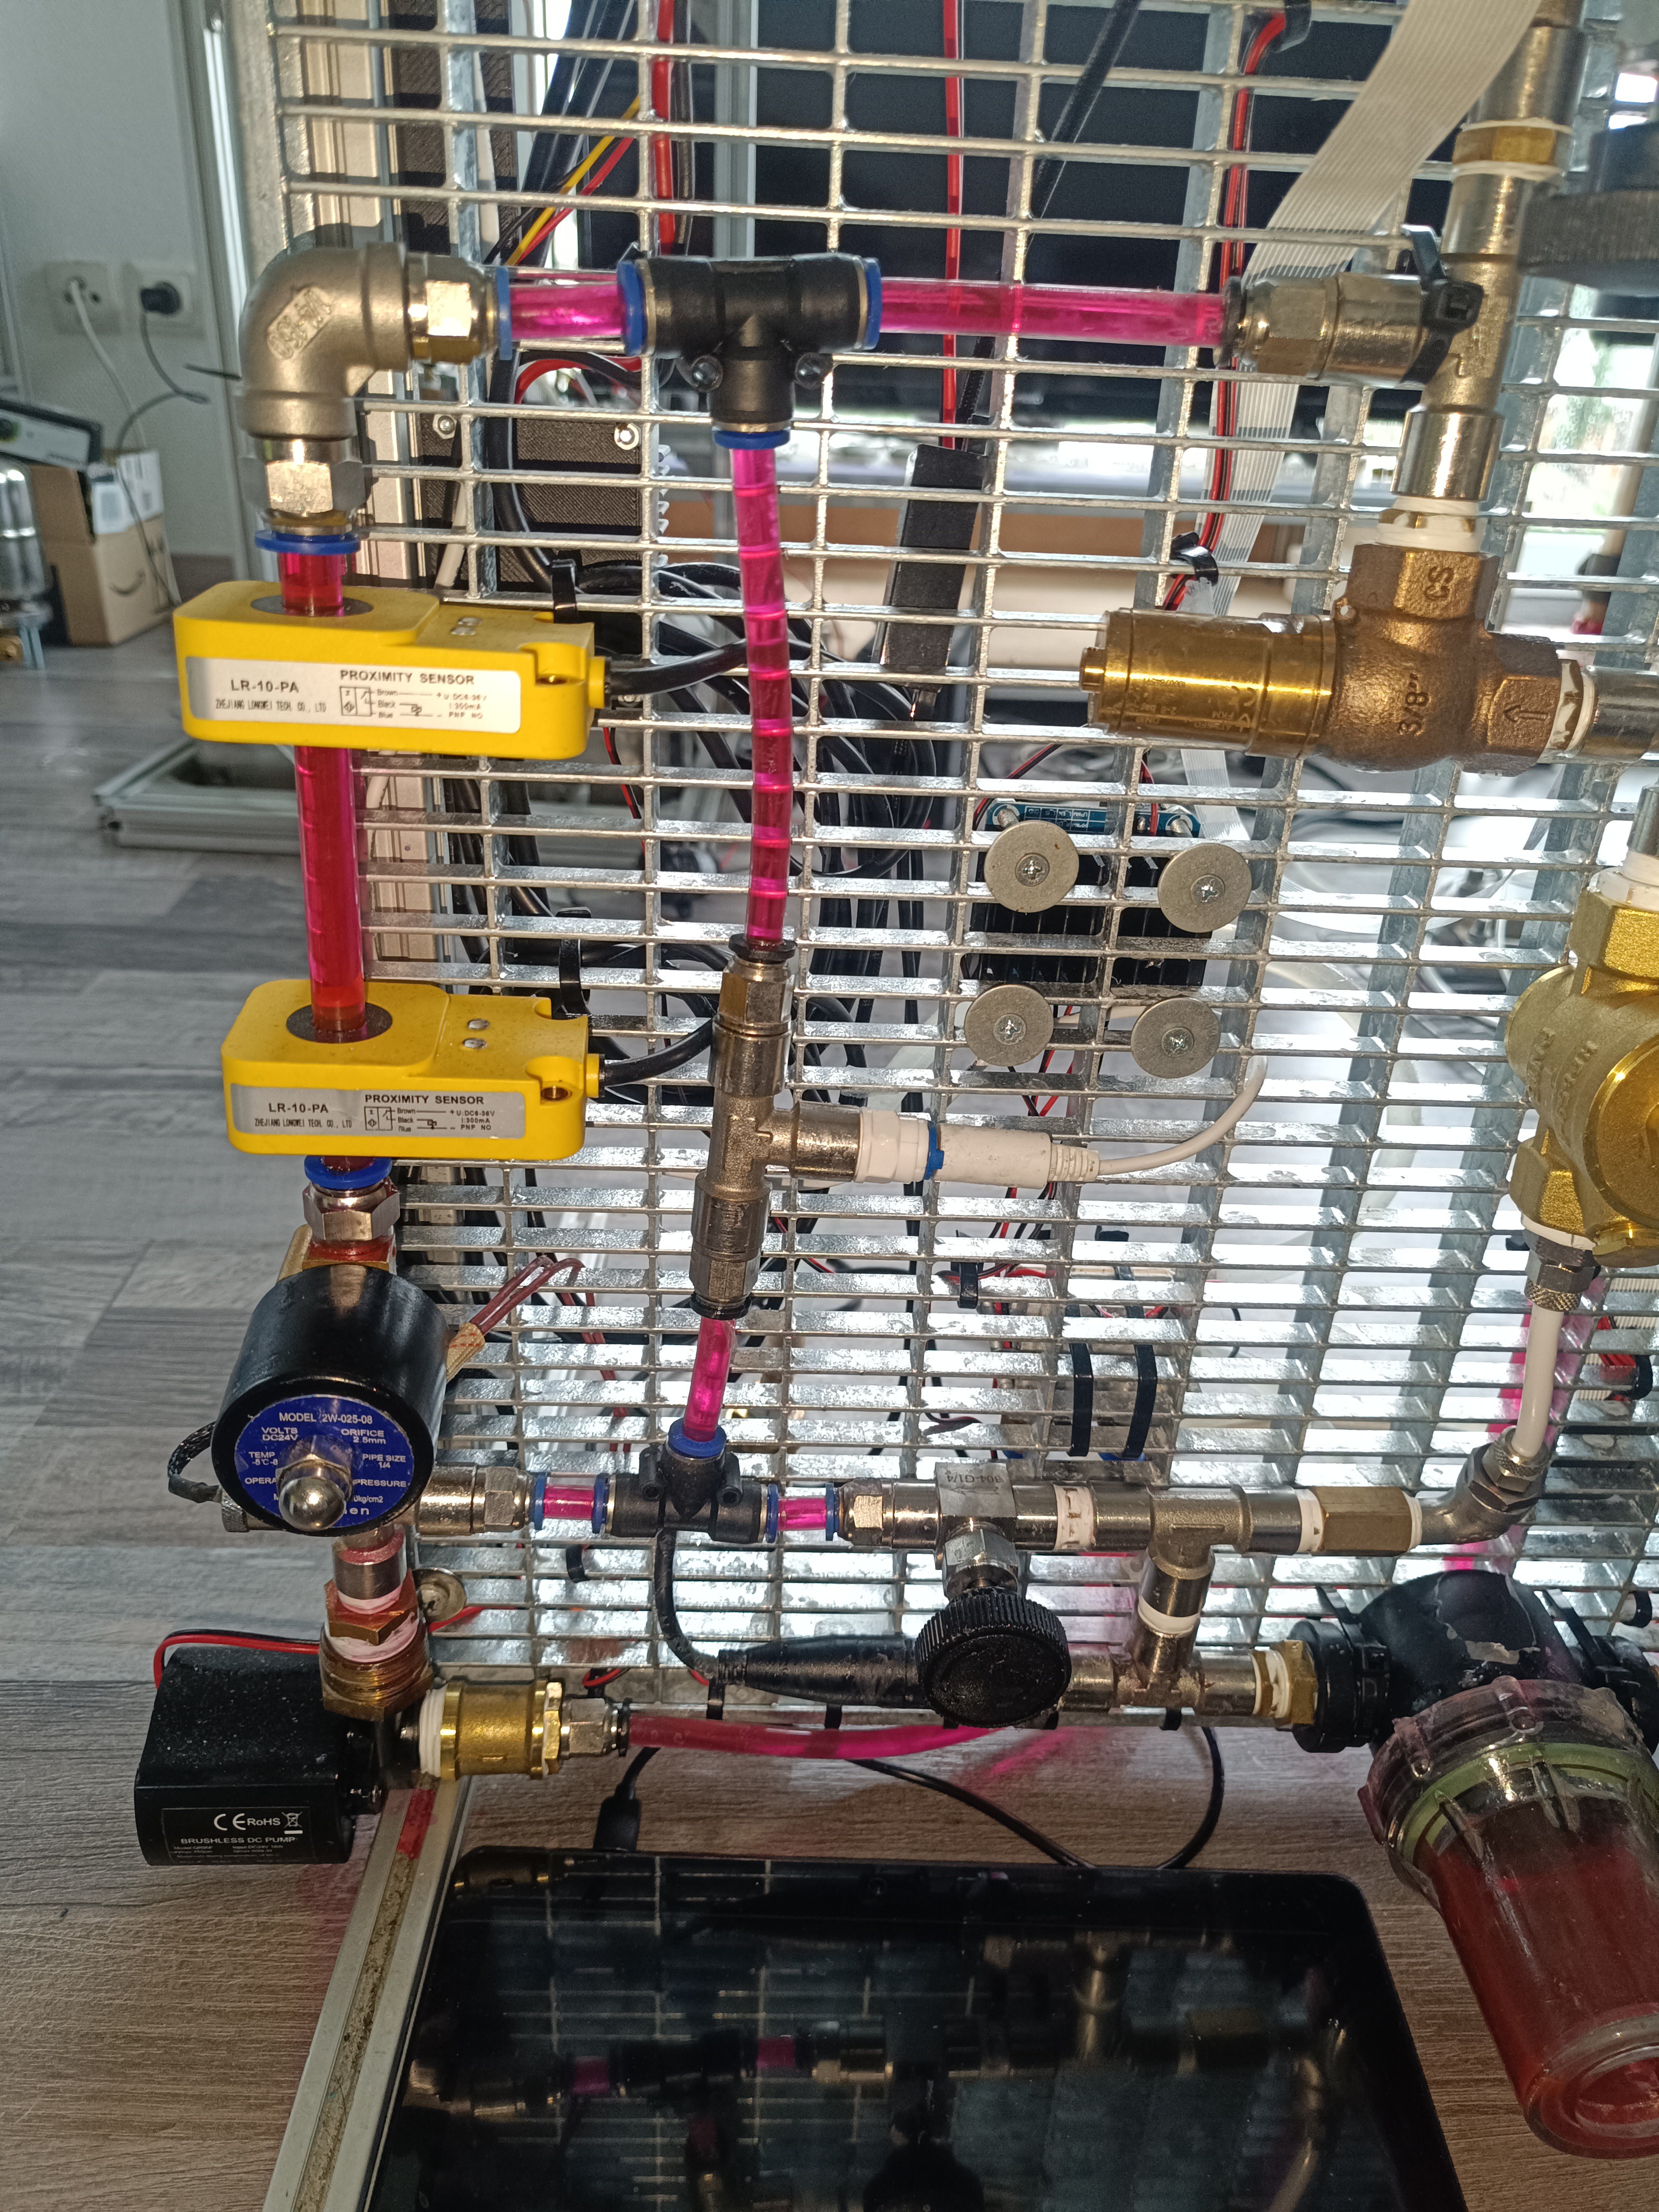
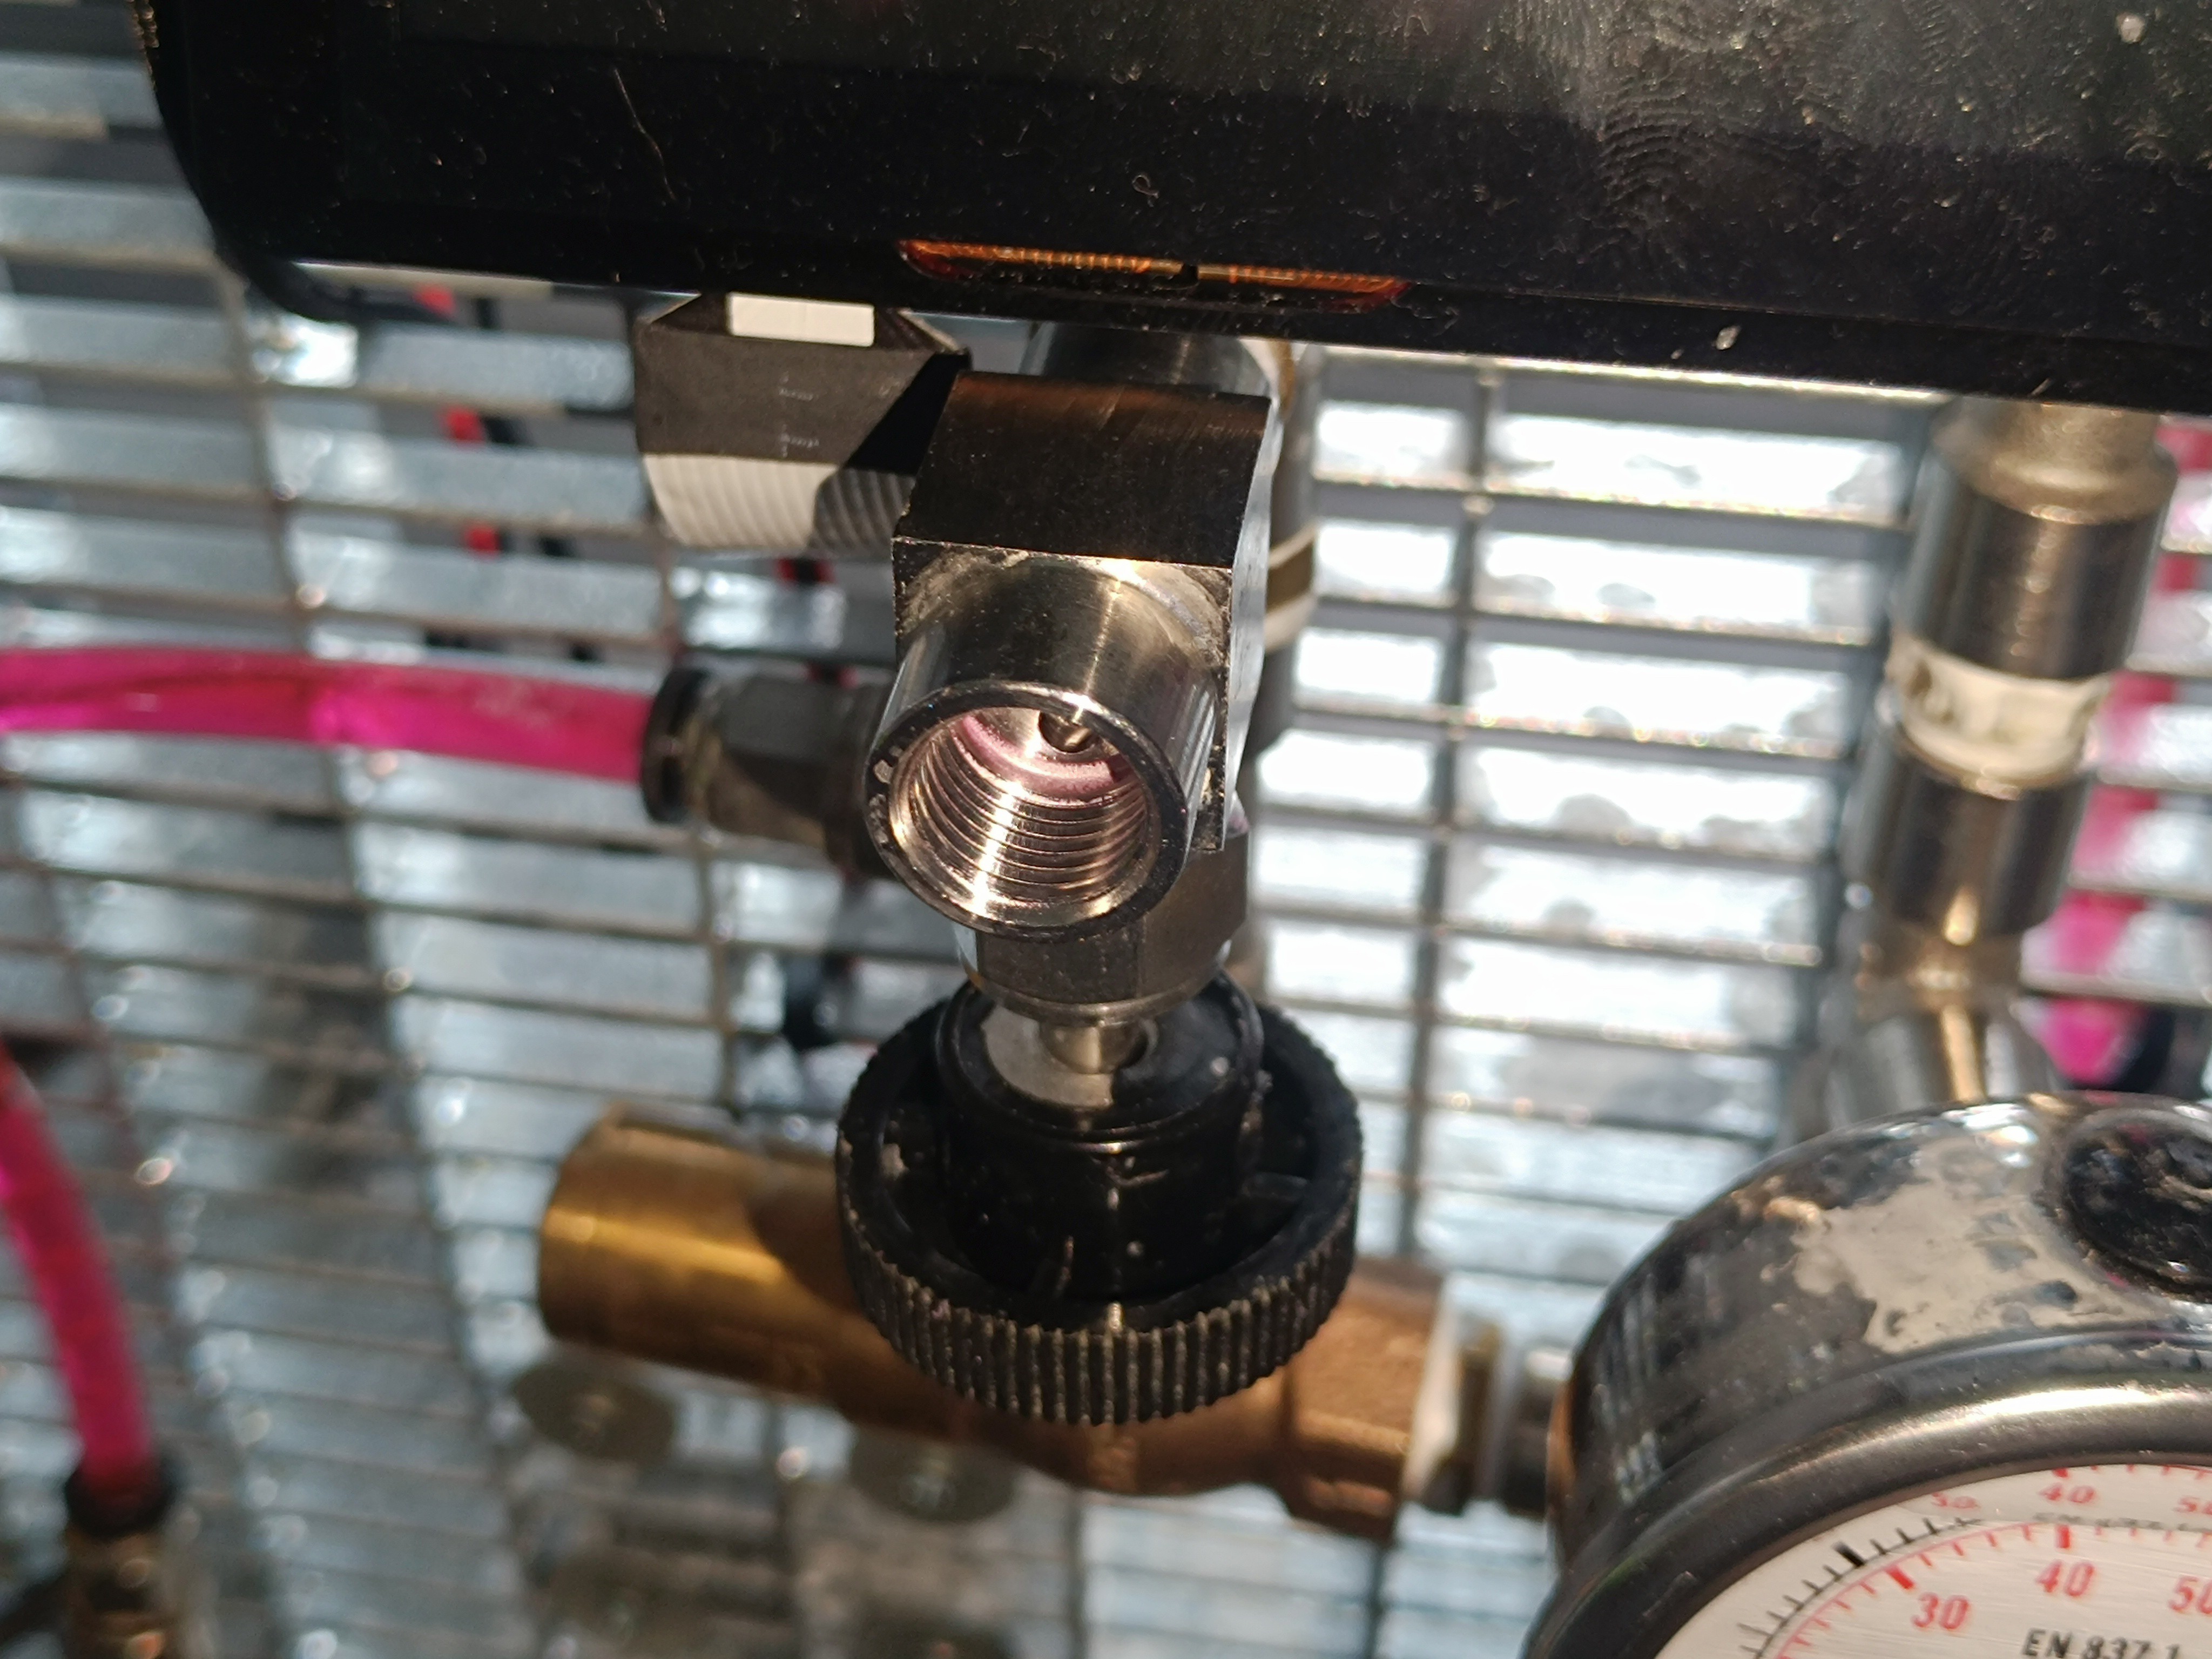
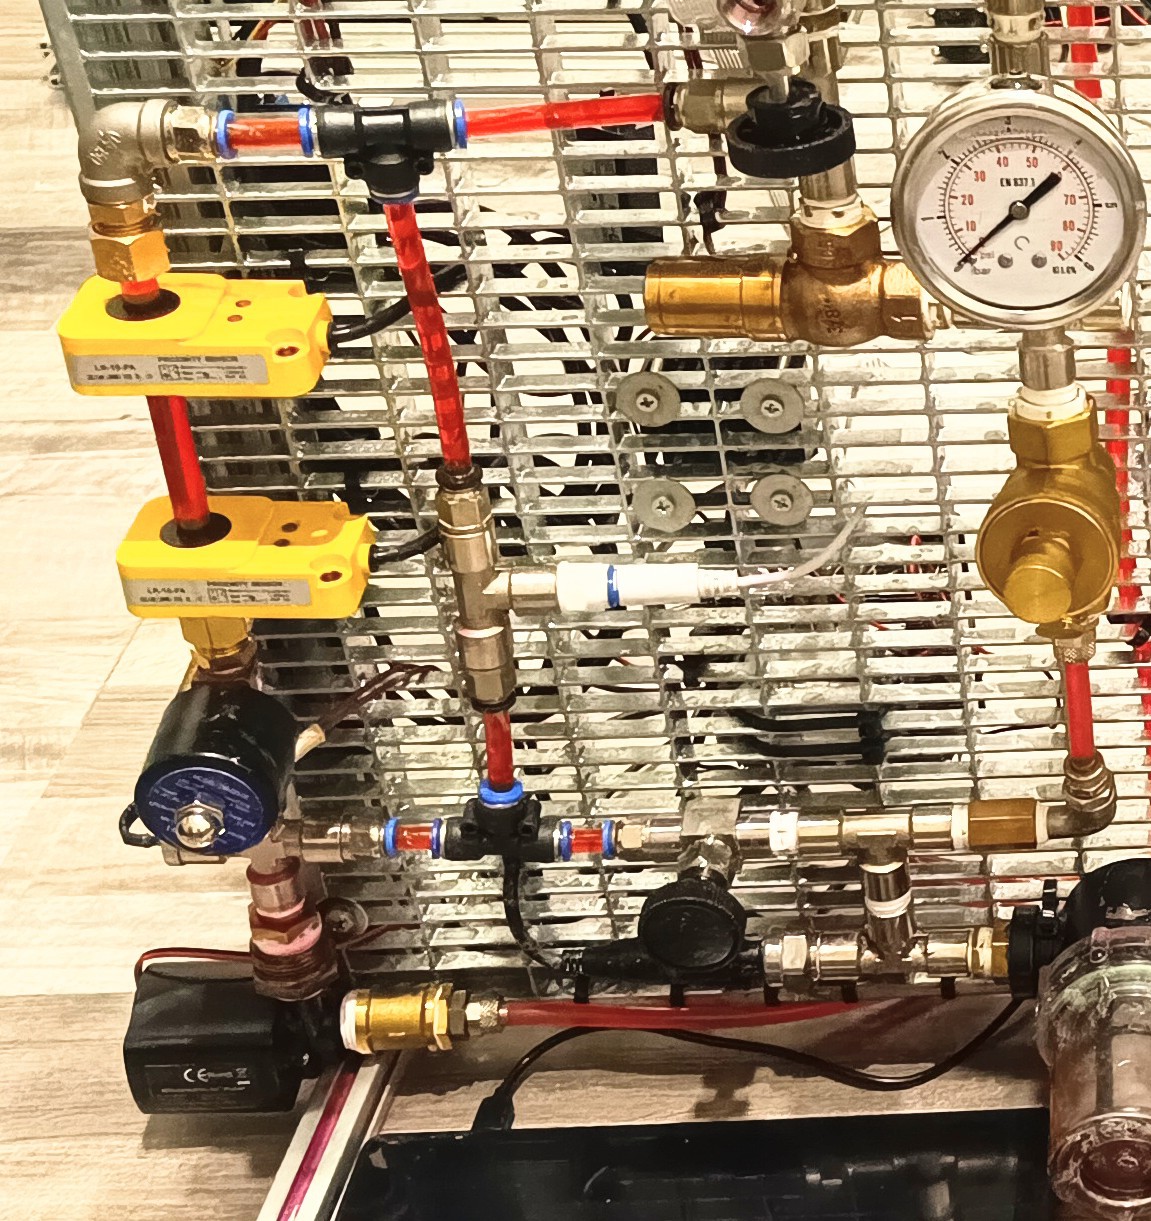
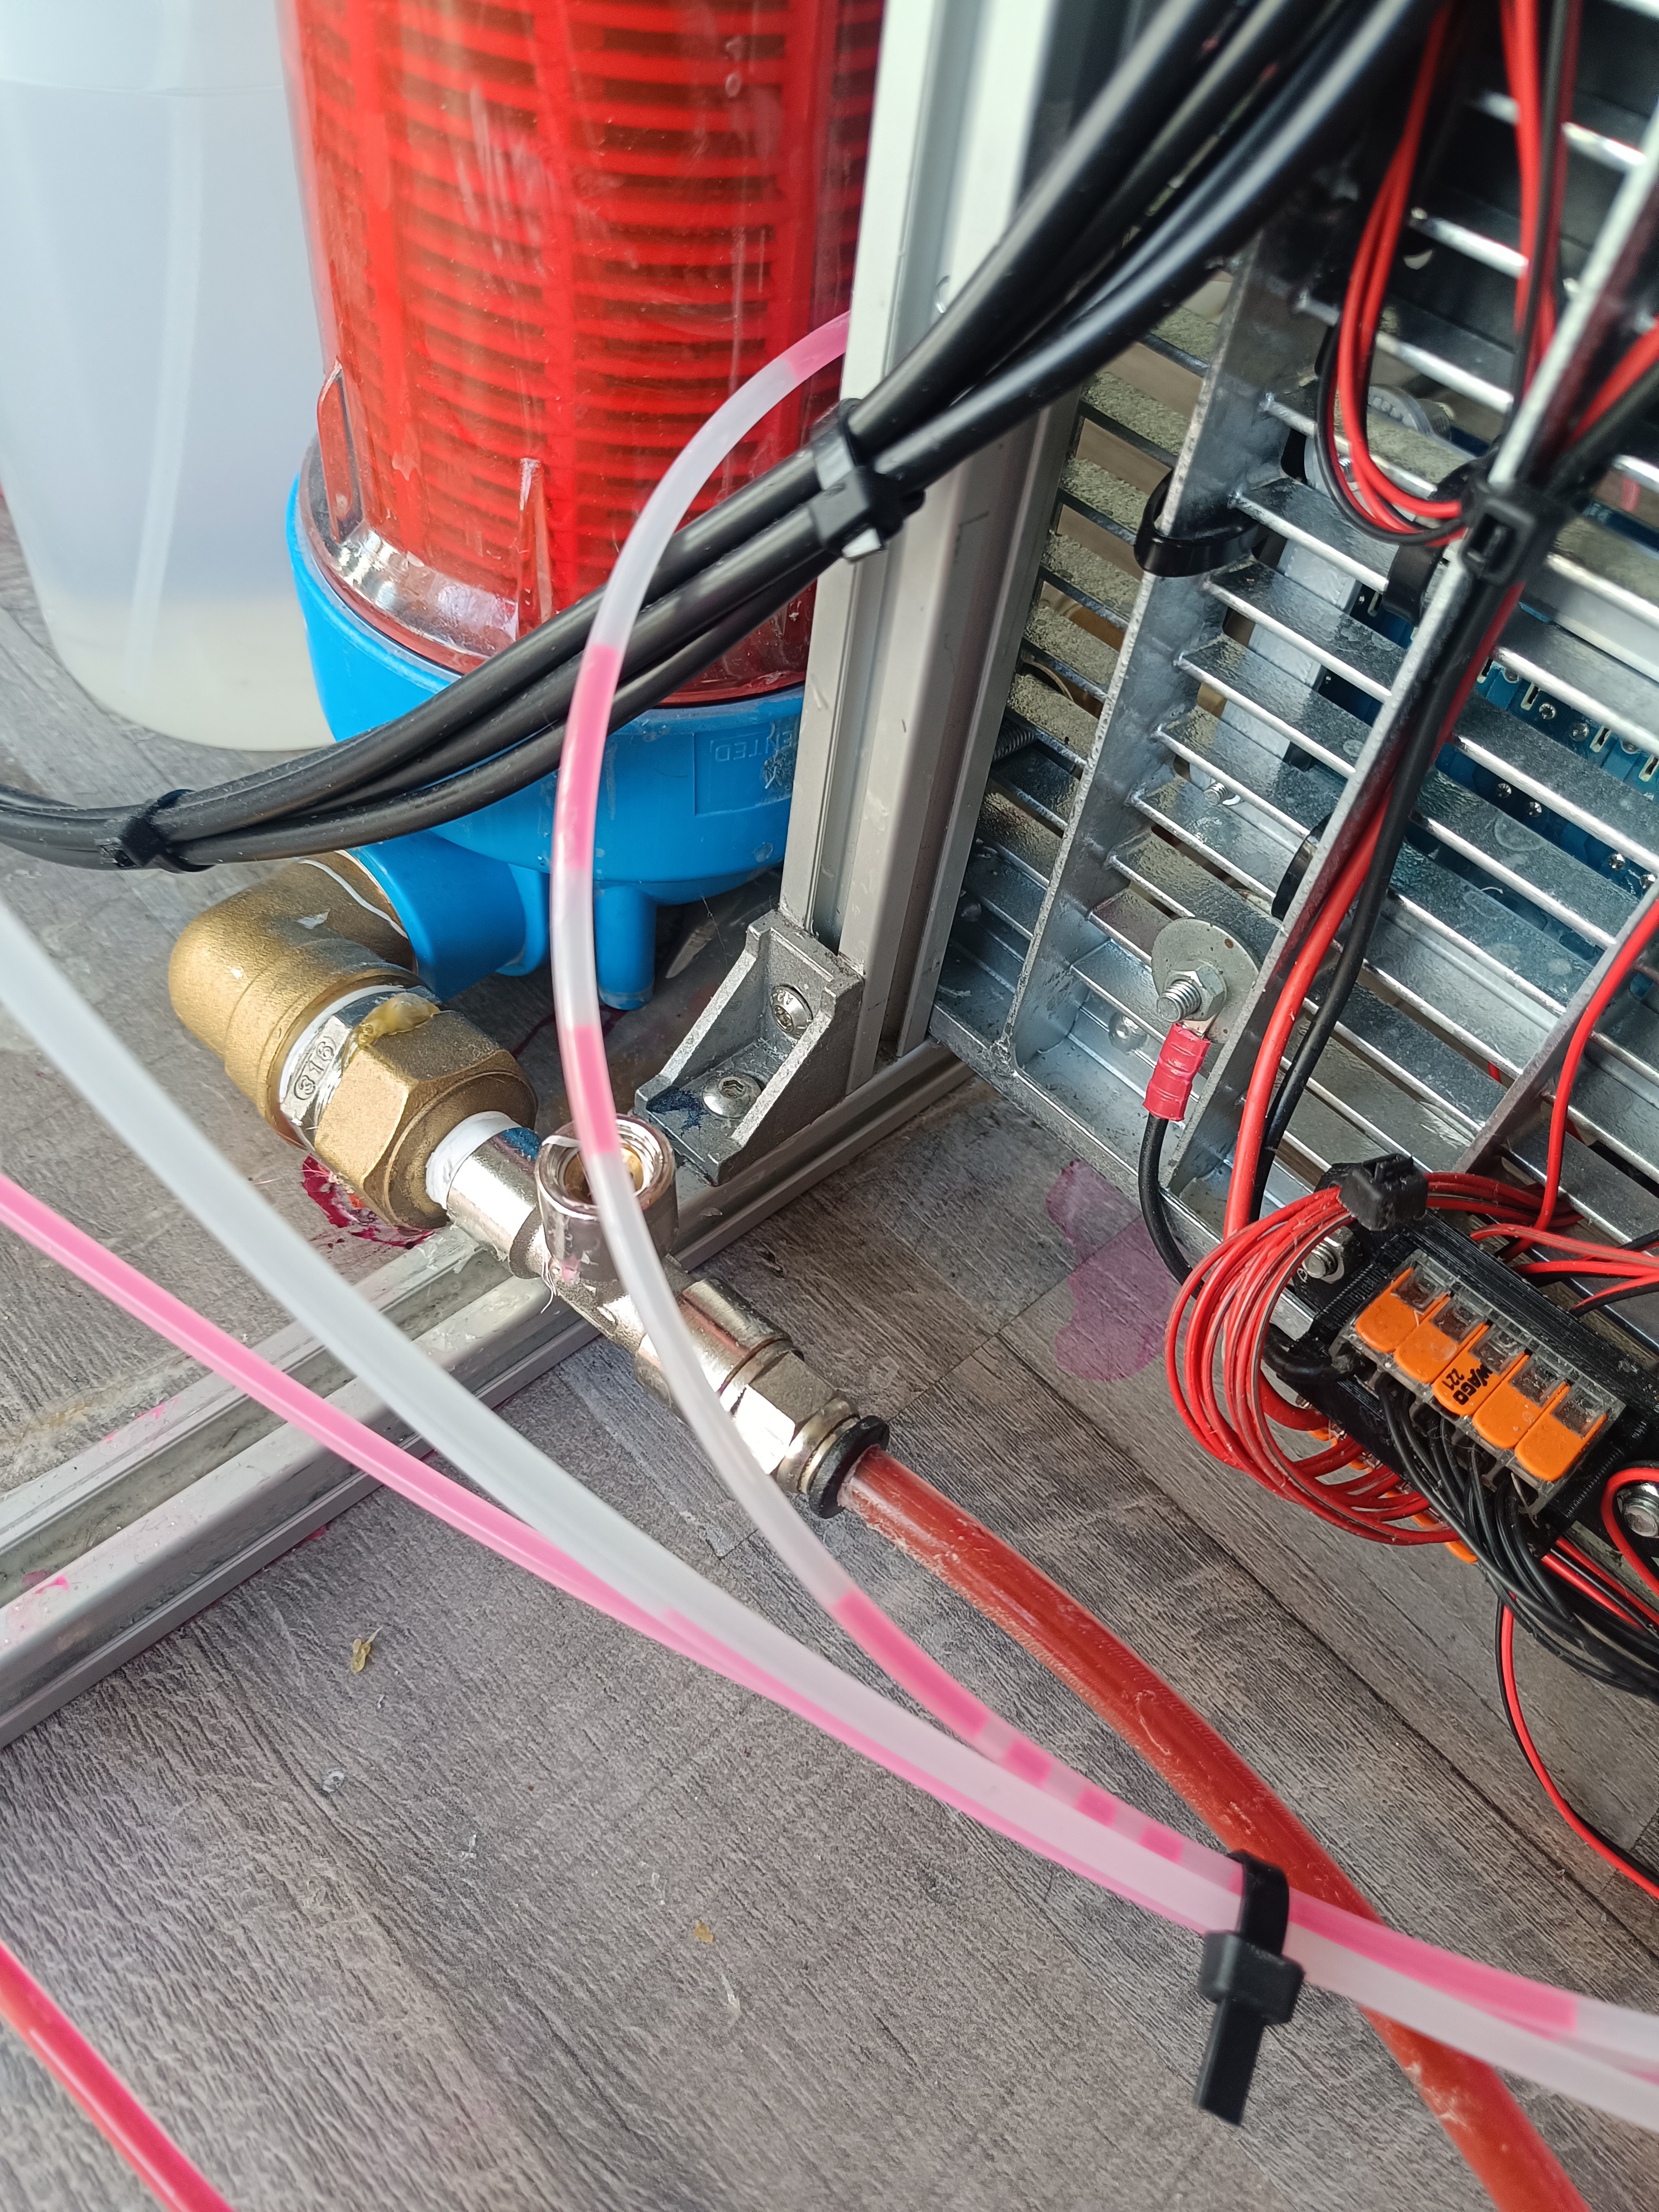
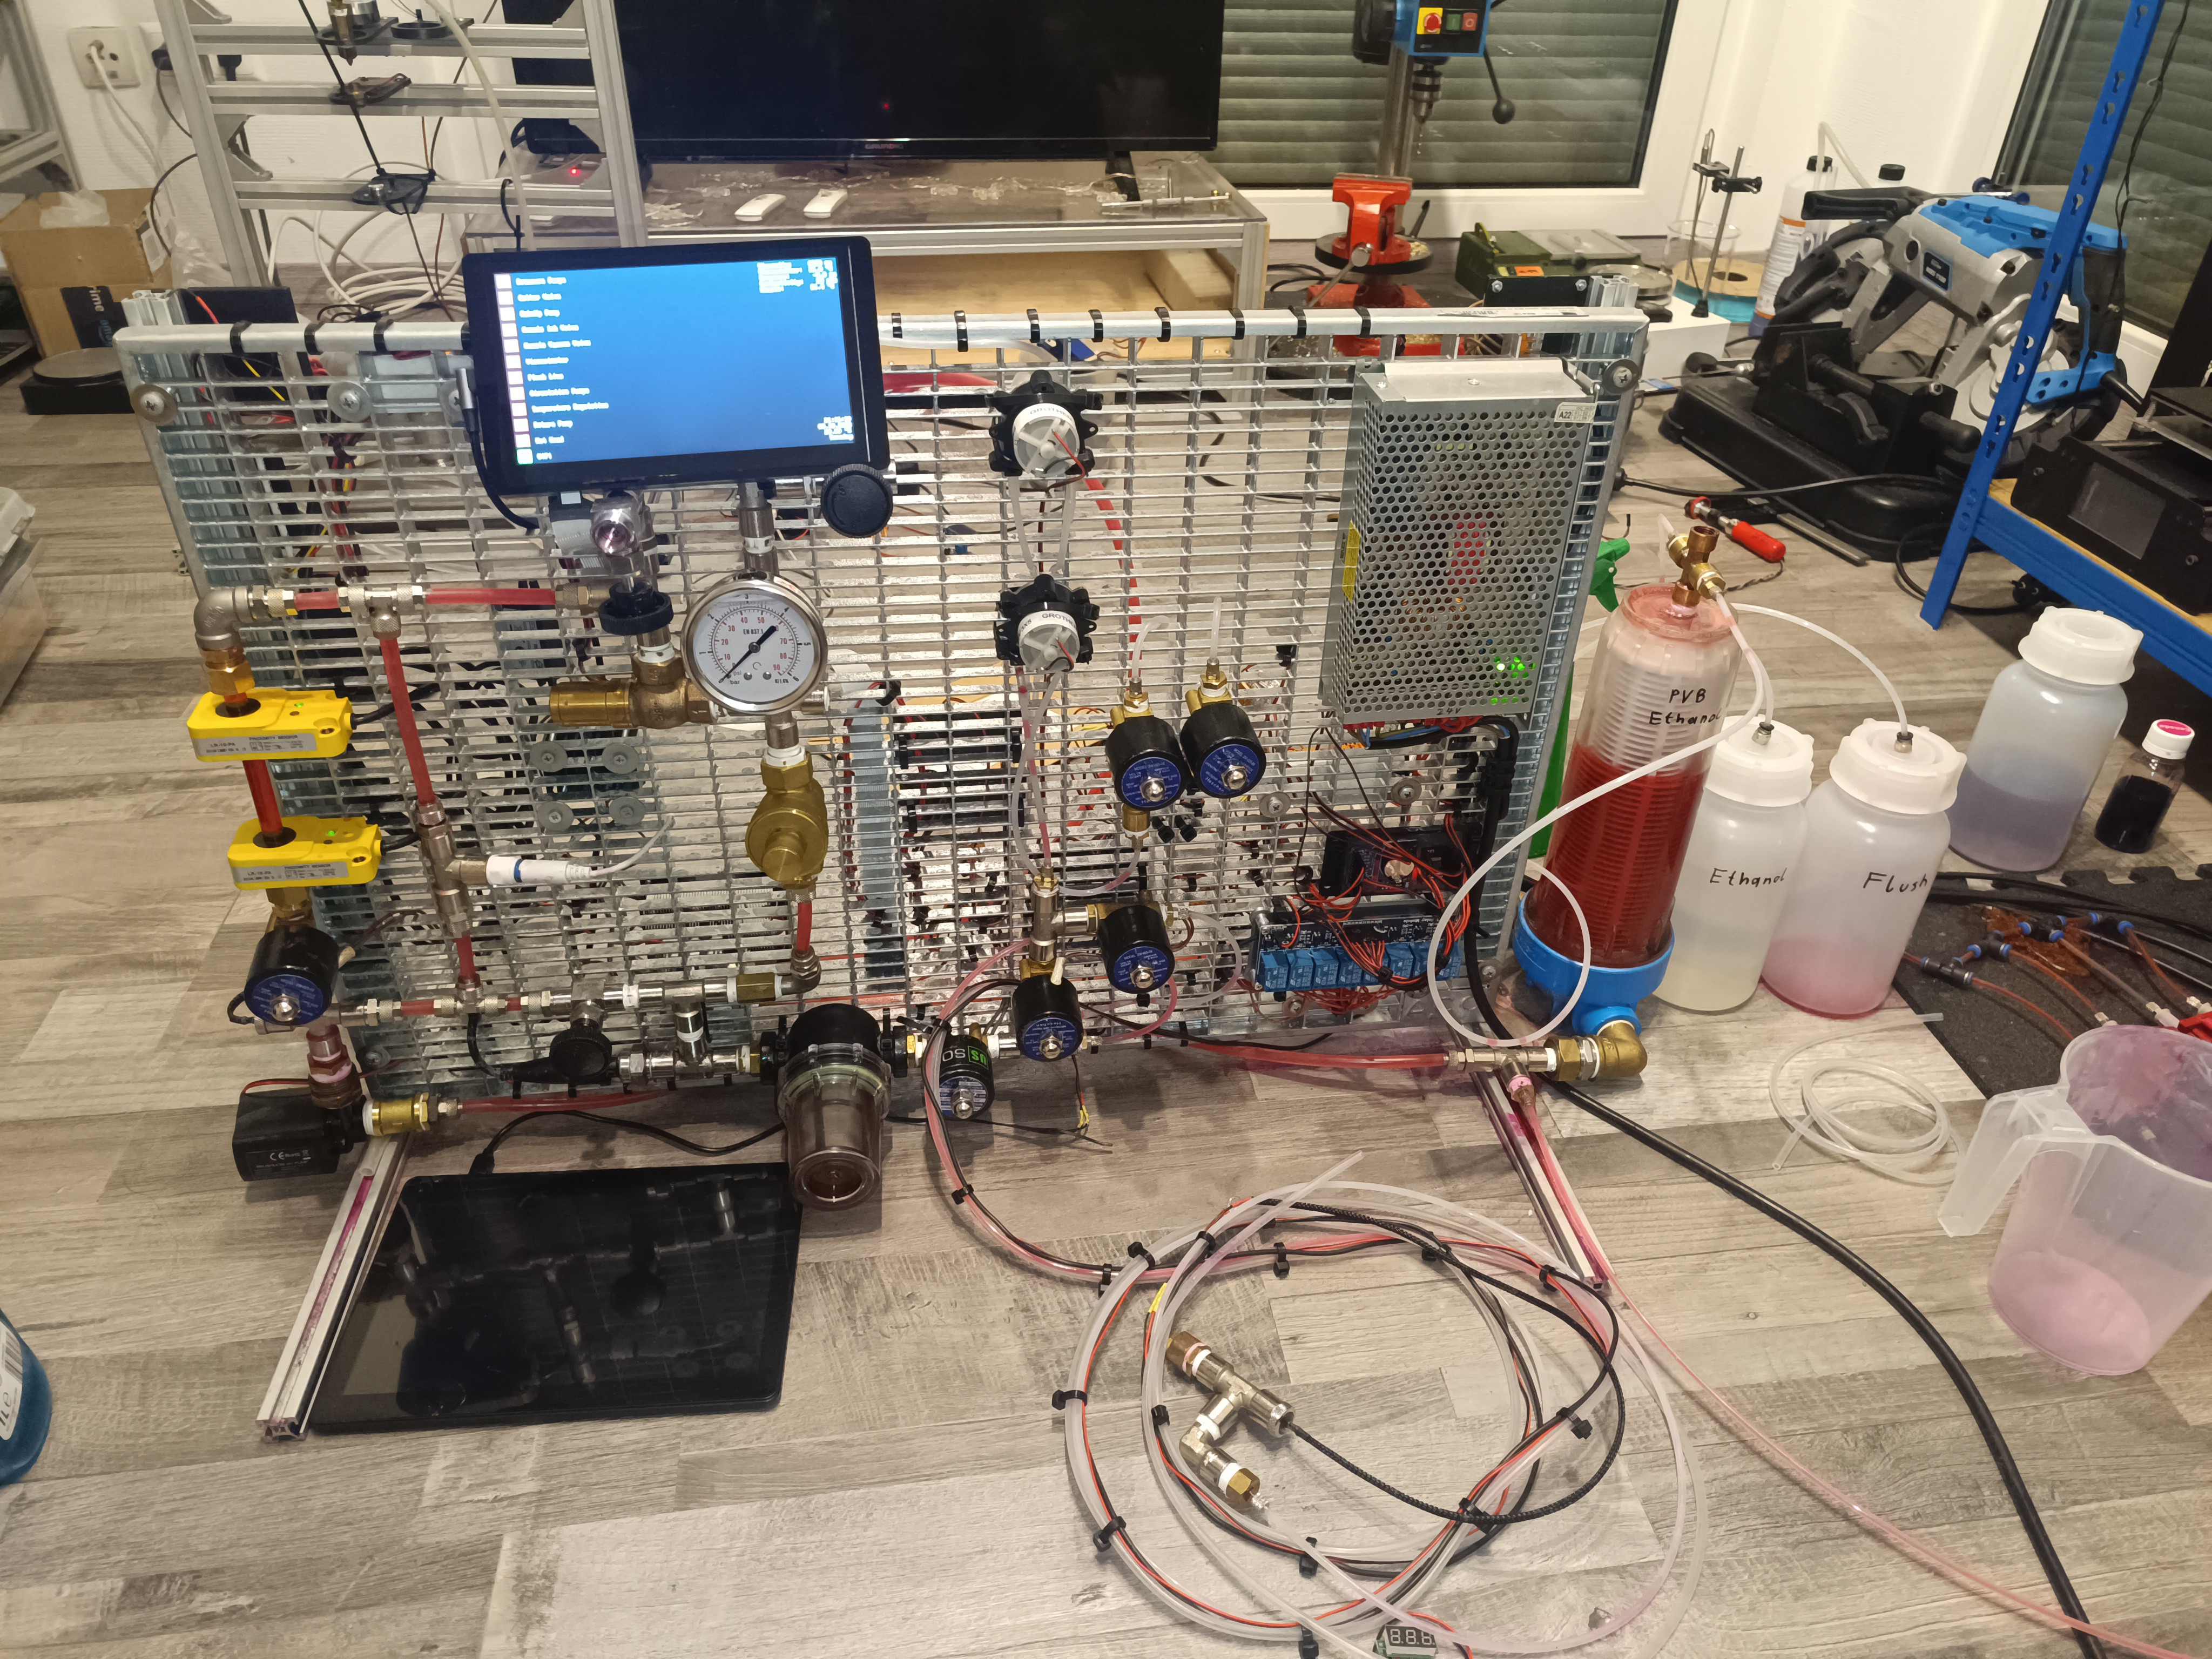
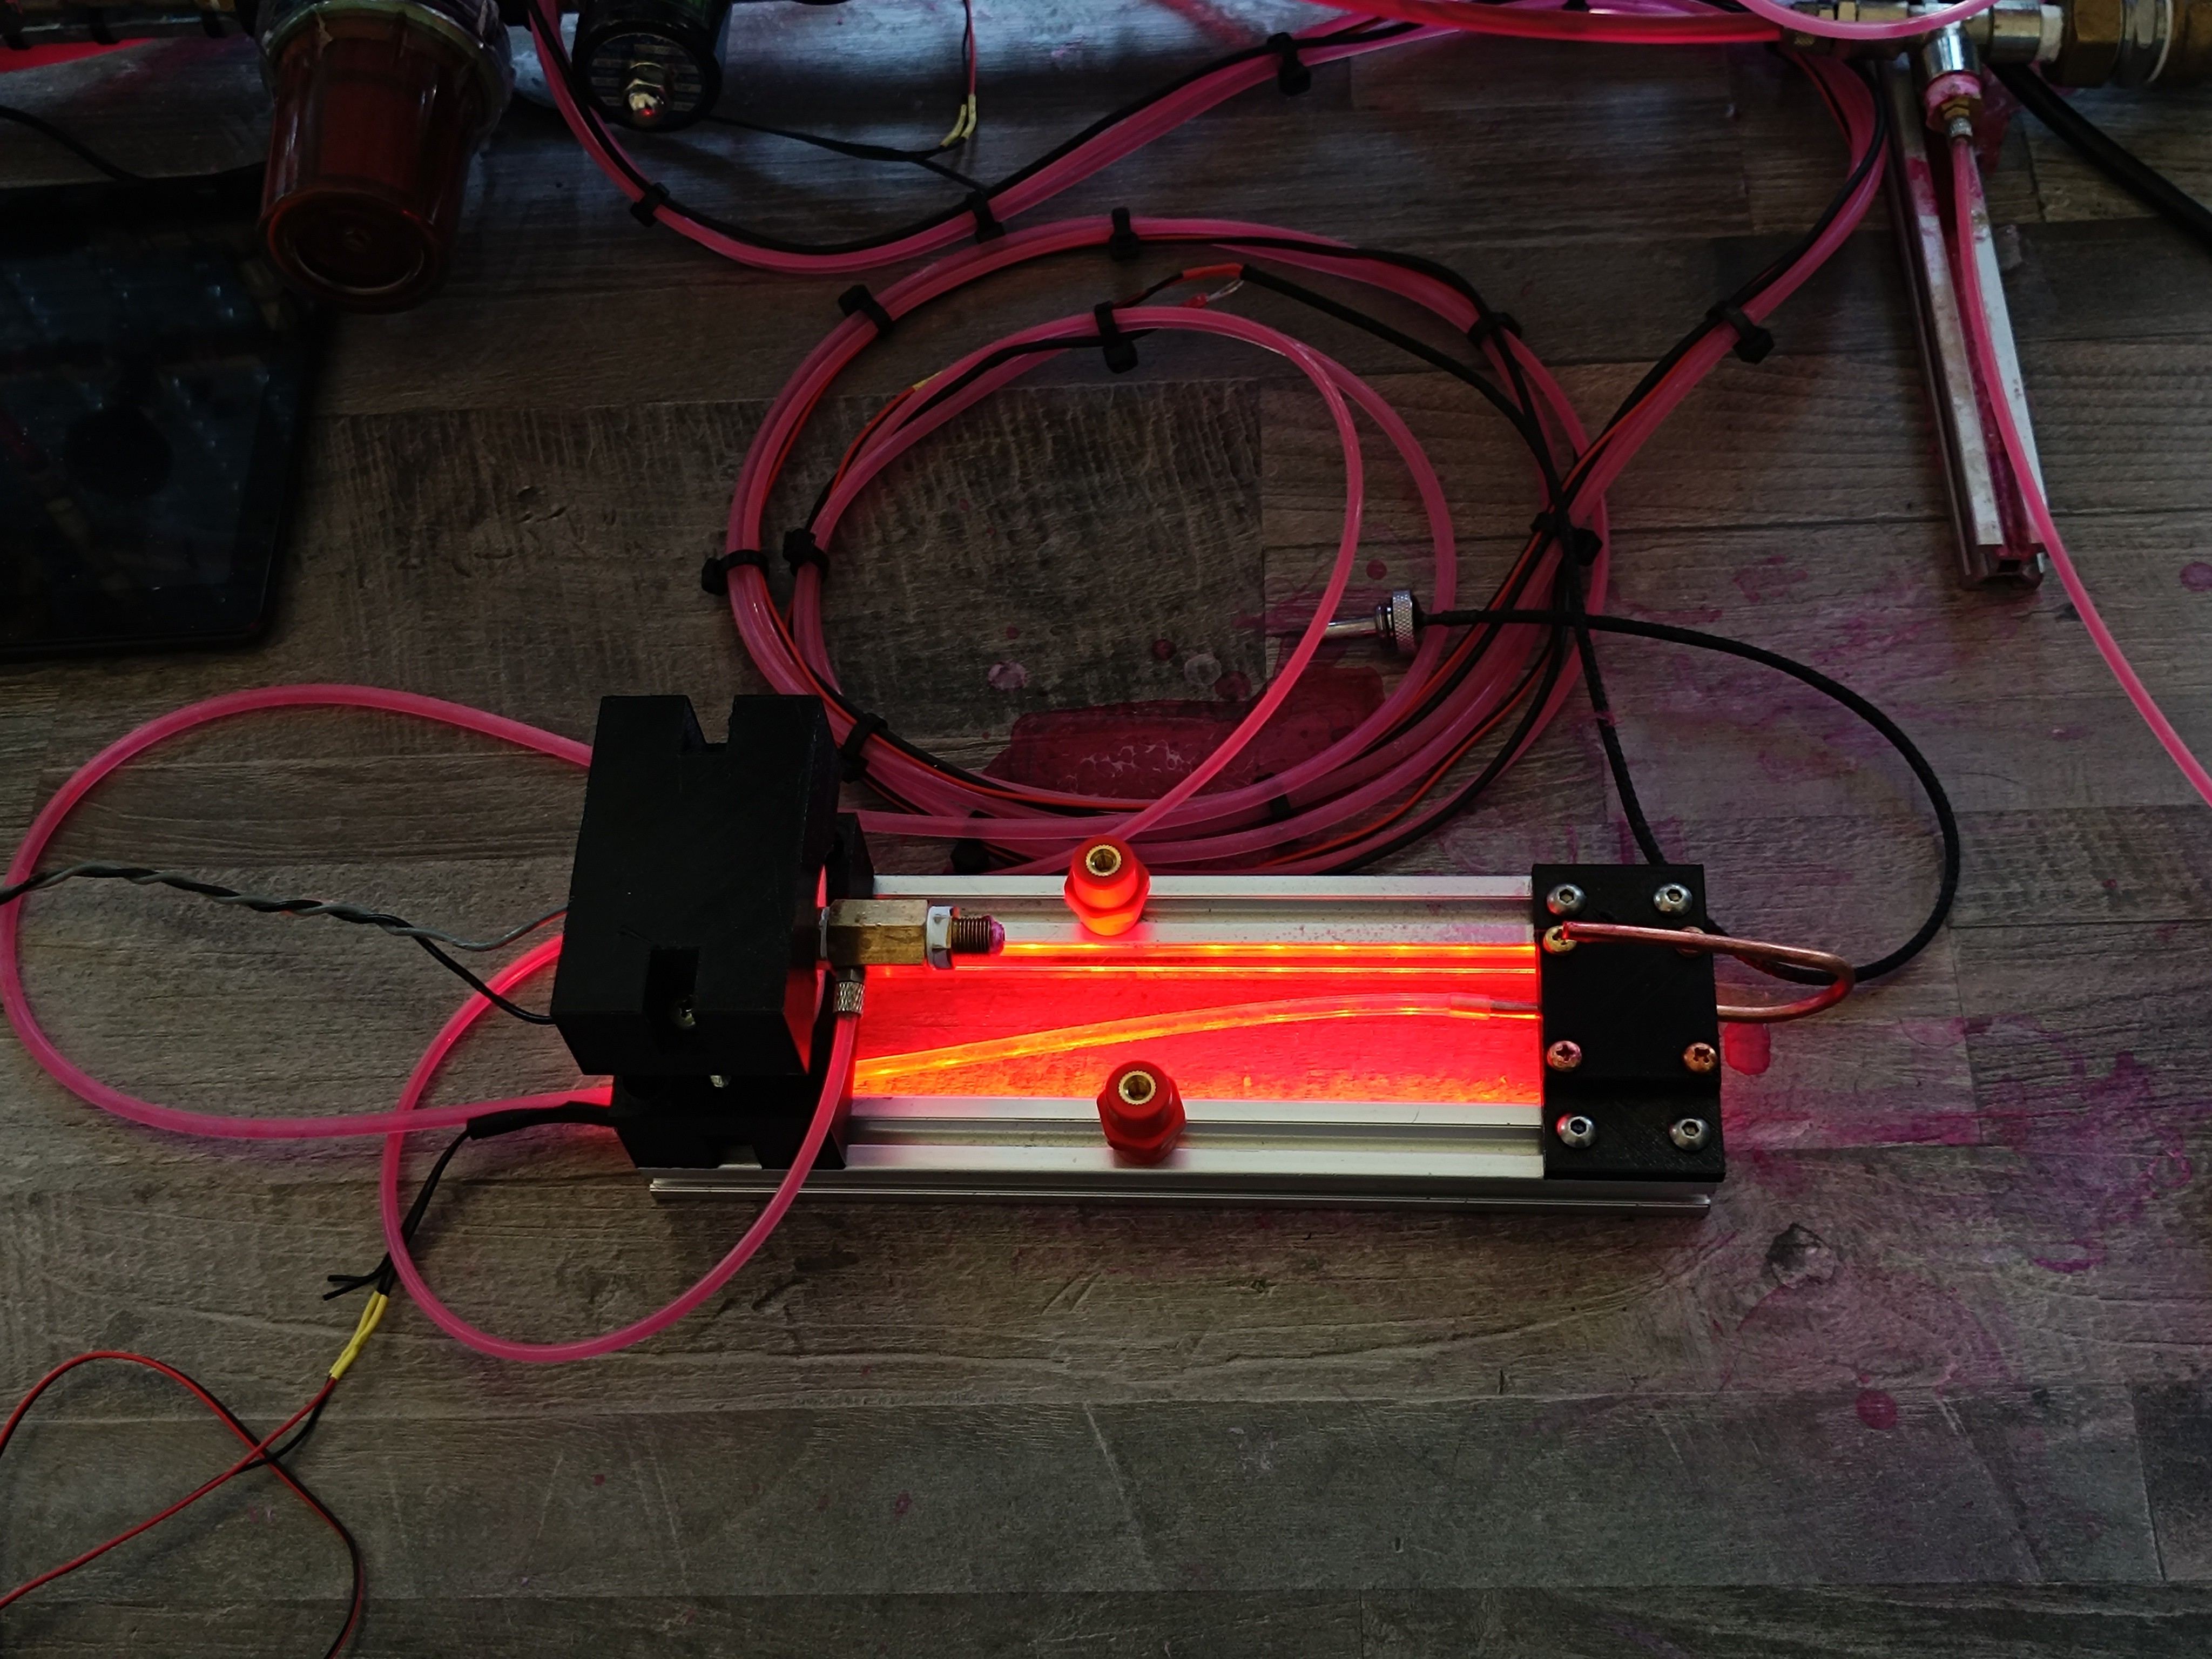
New Tubes and Fittings
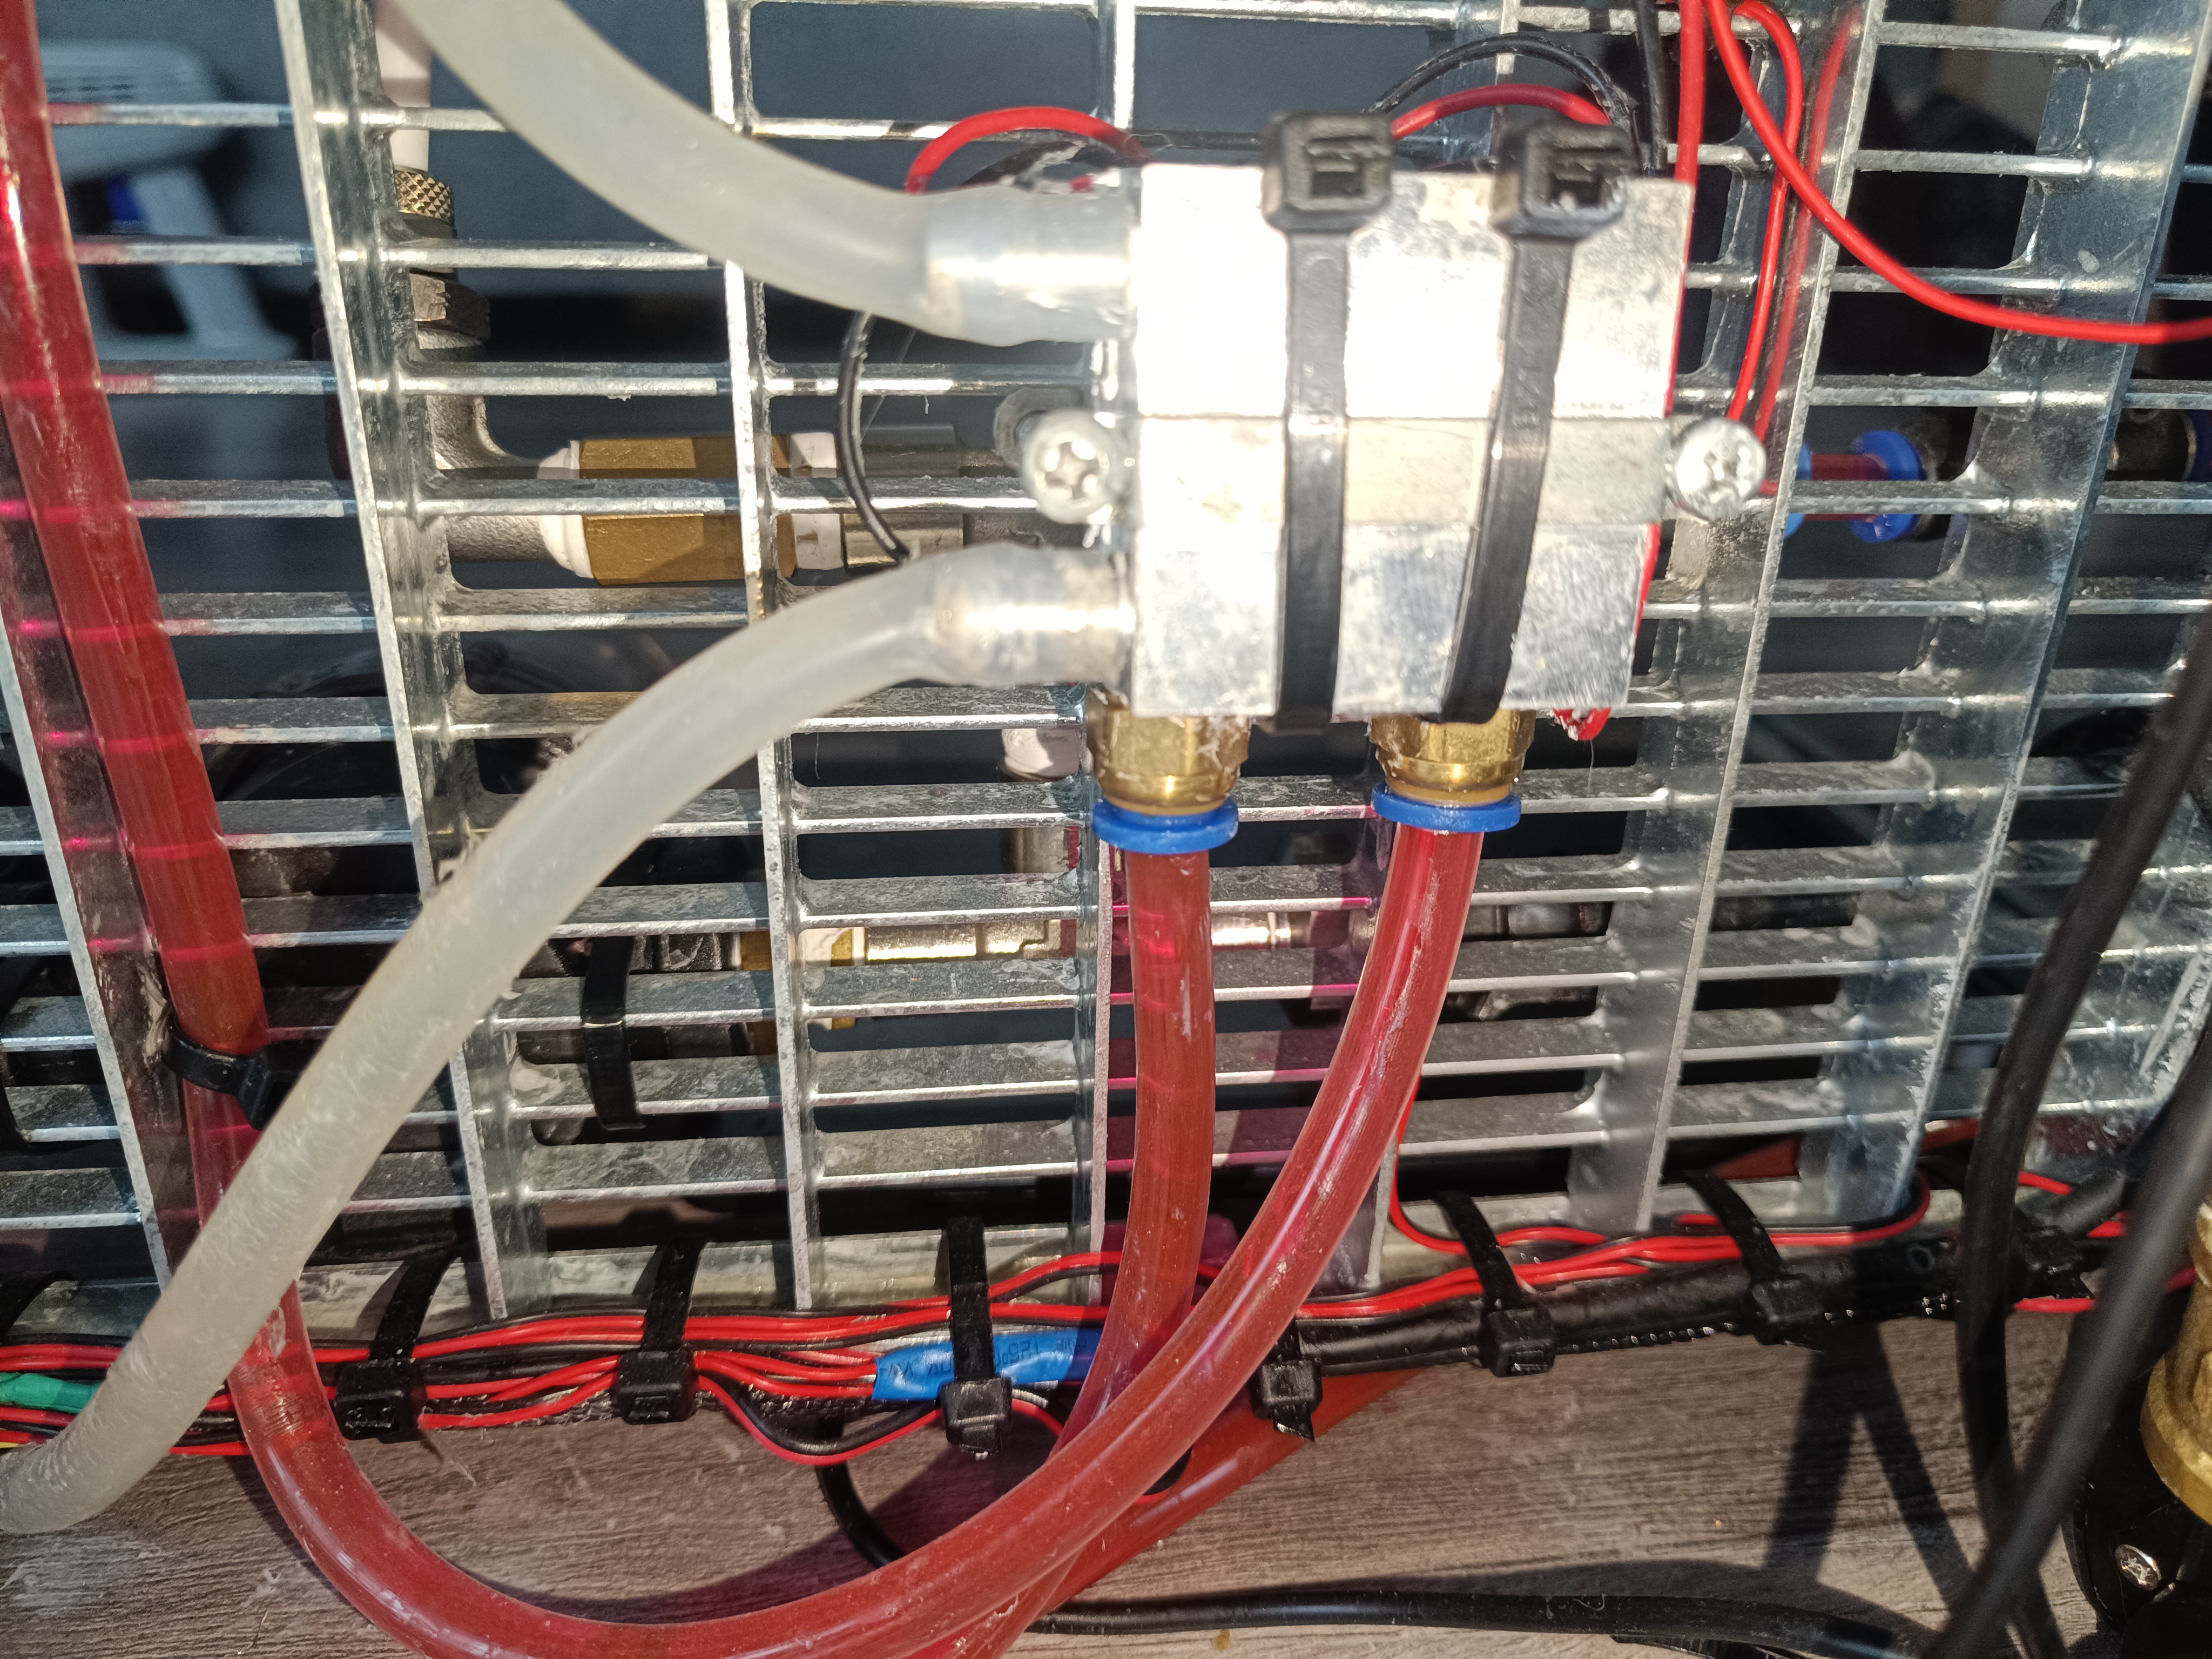
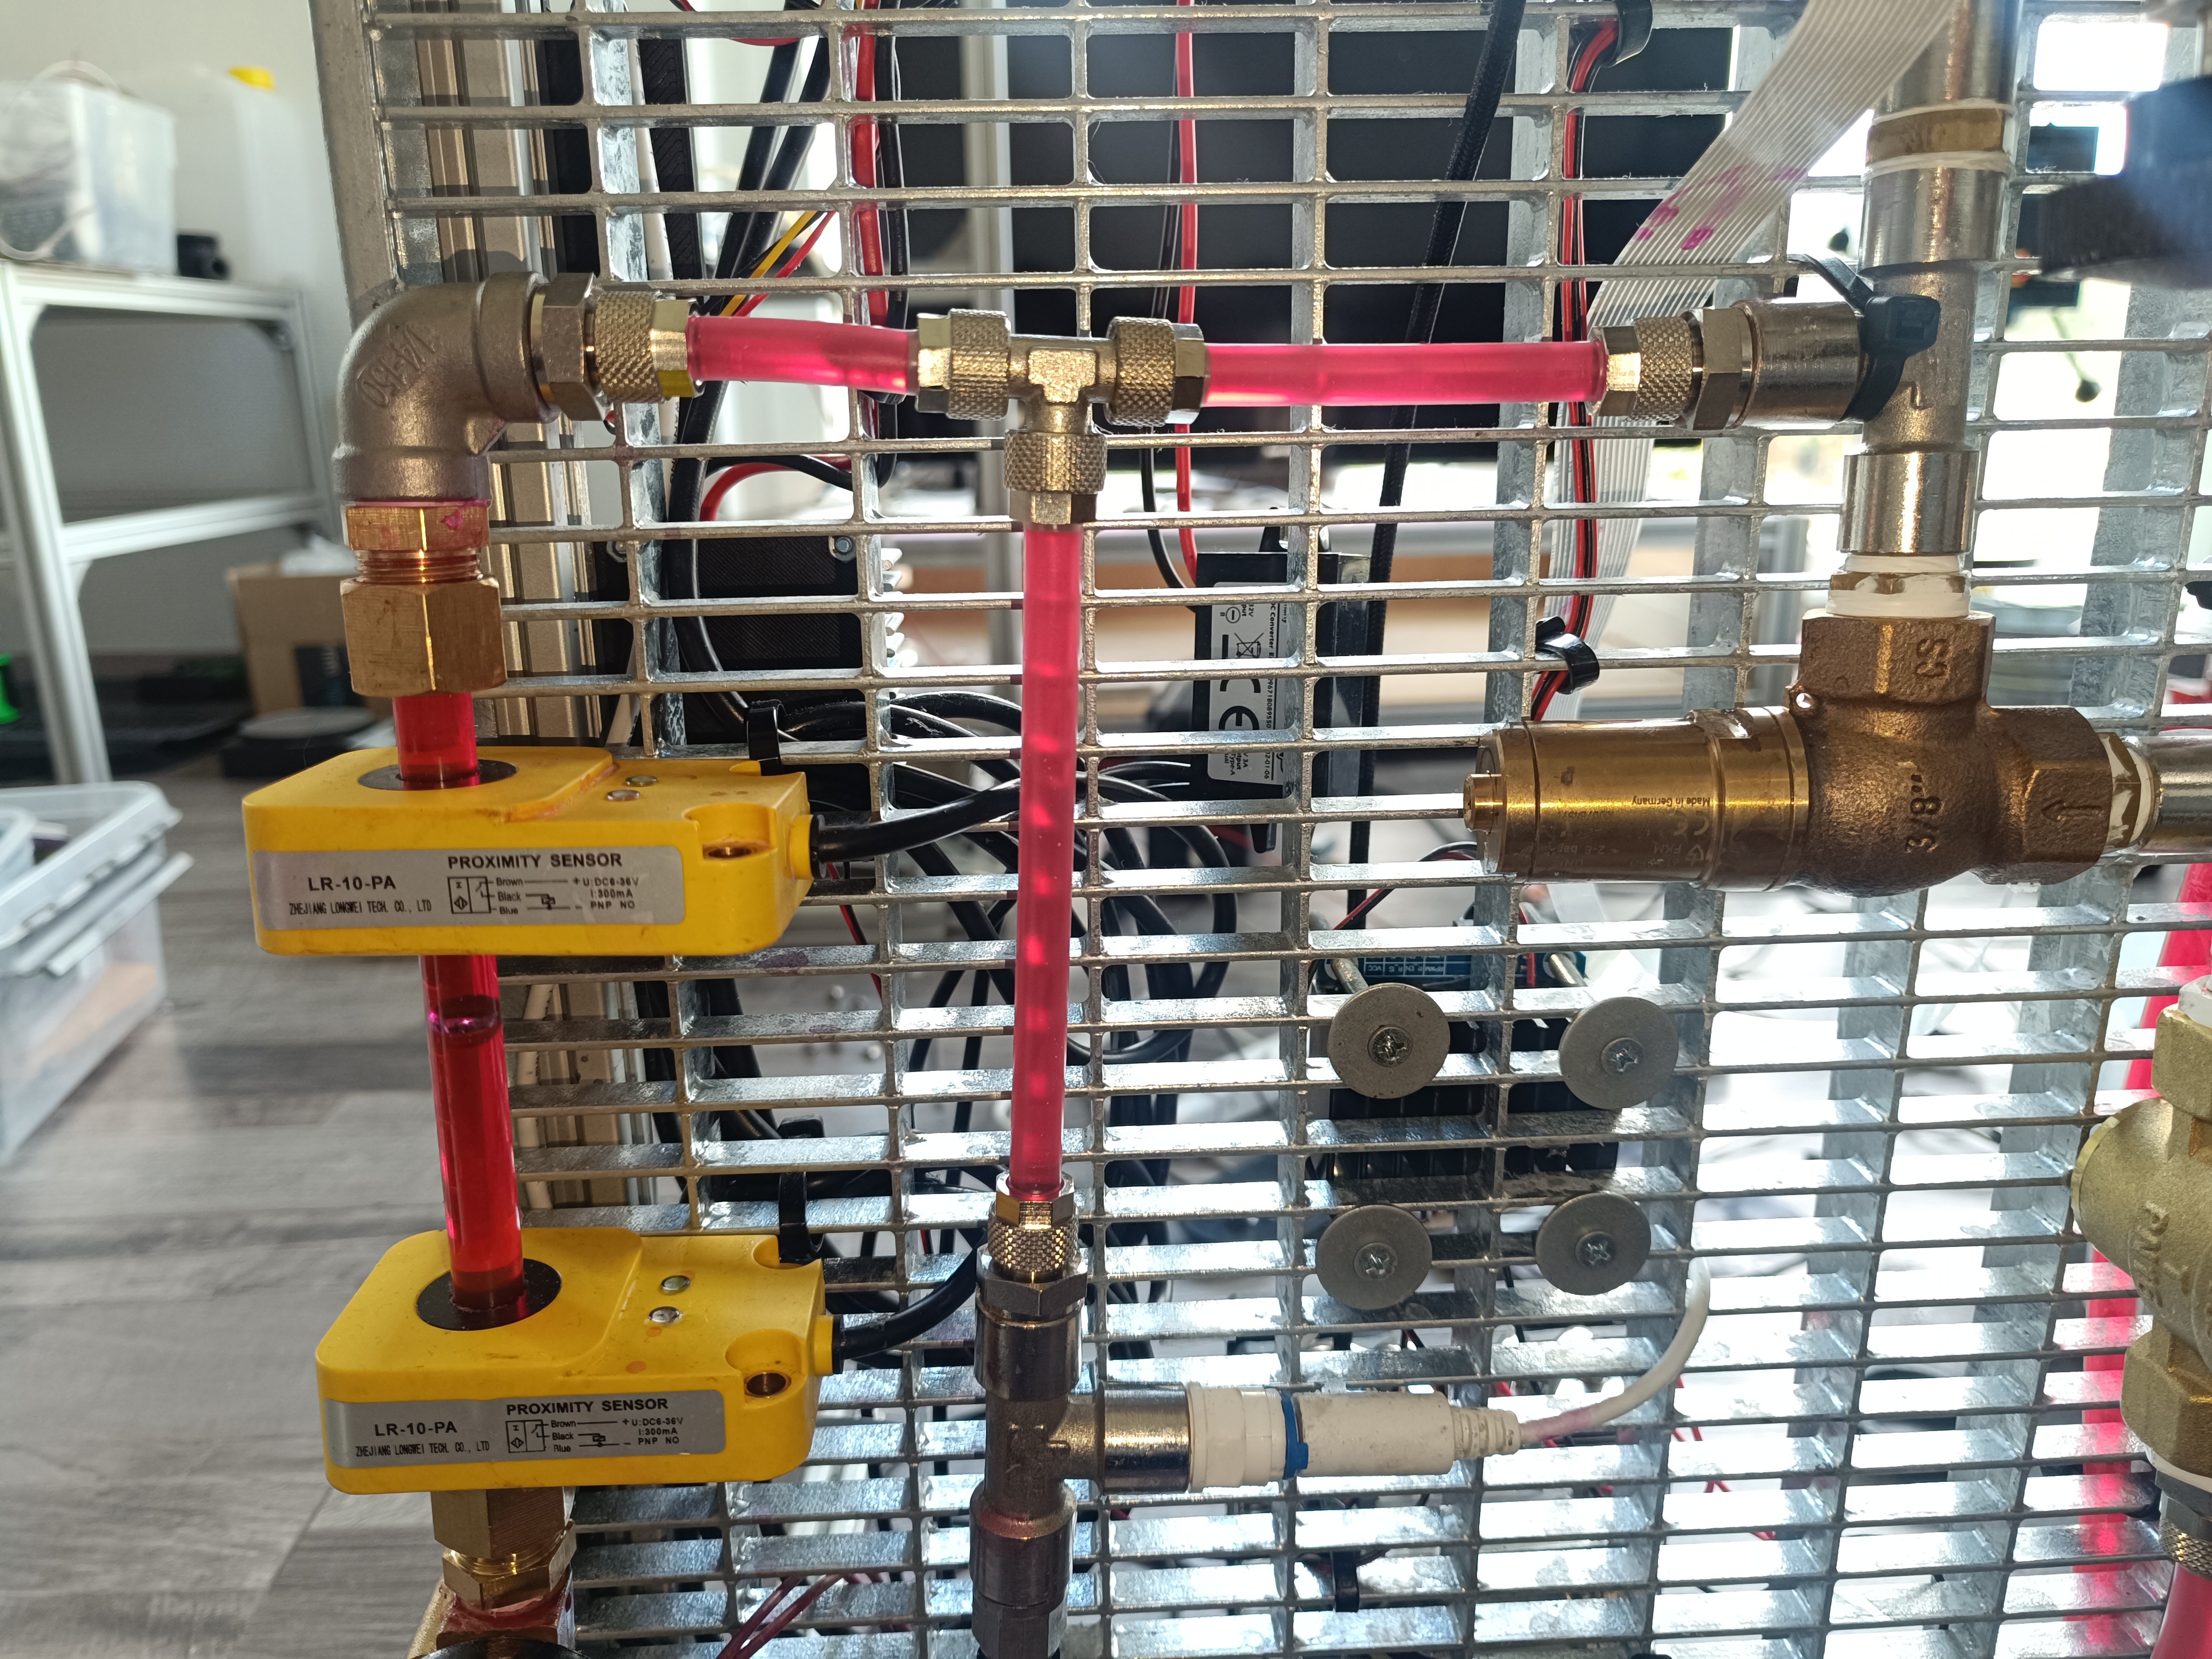
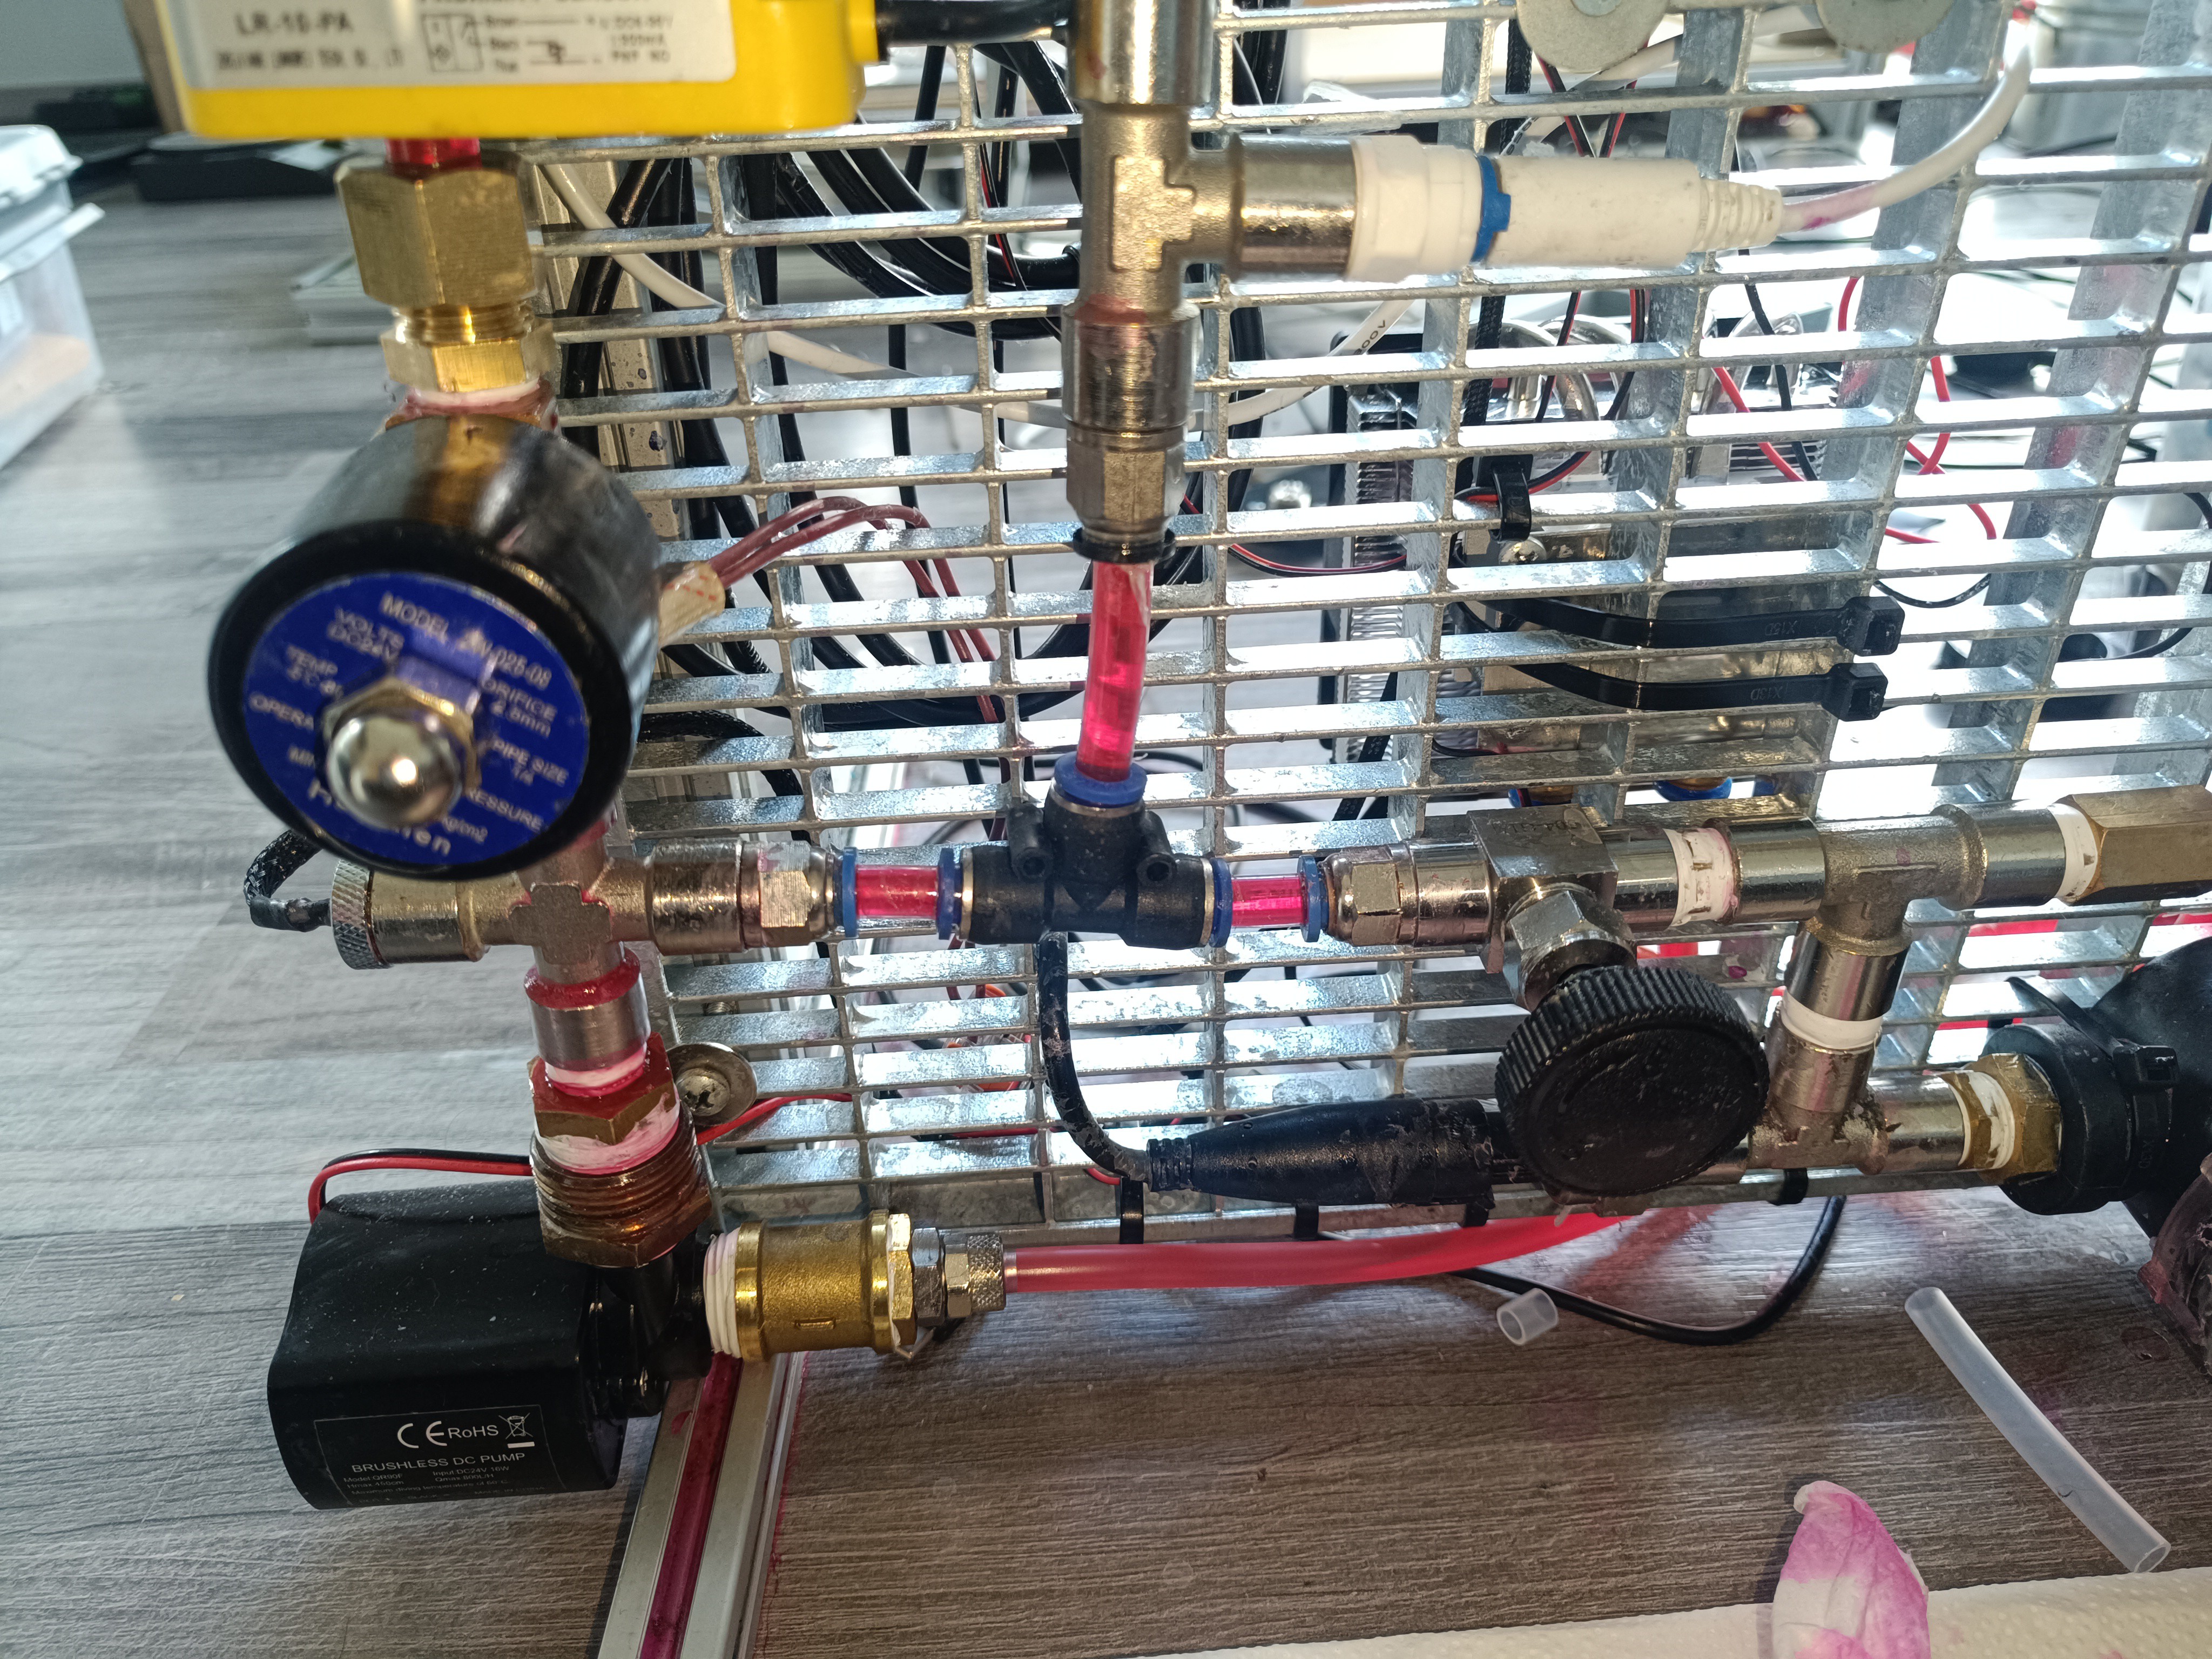
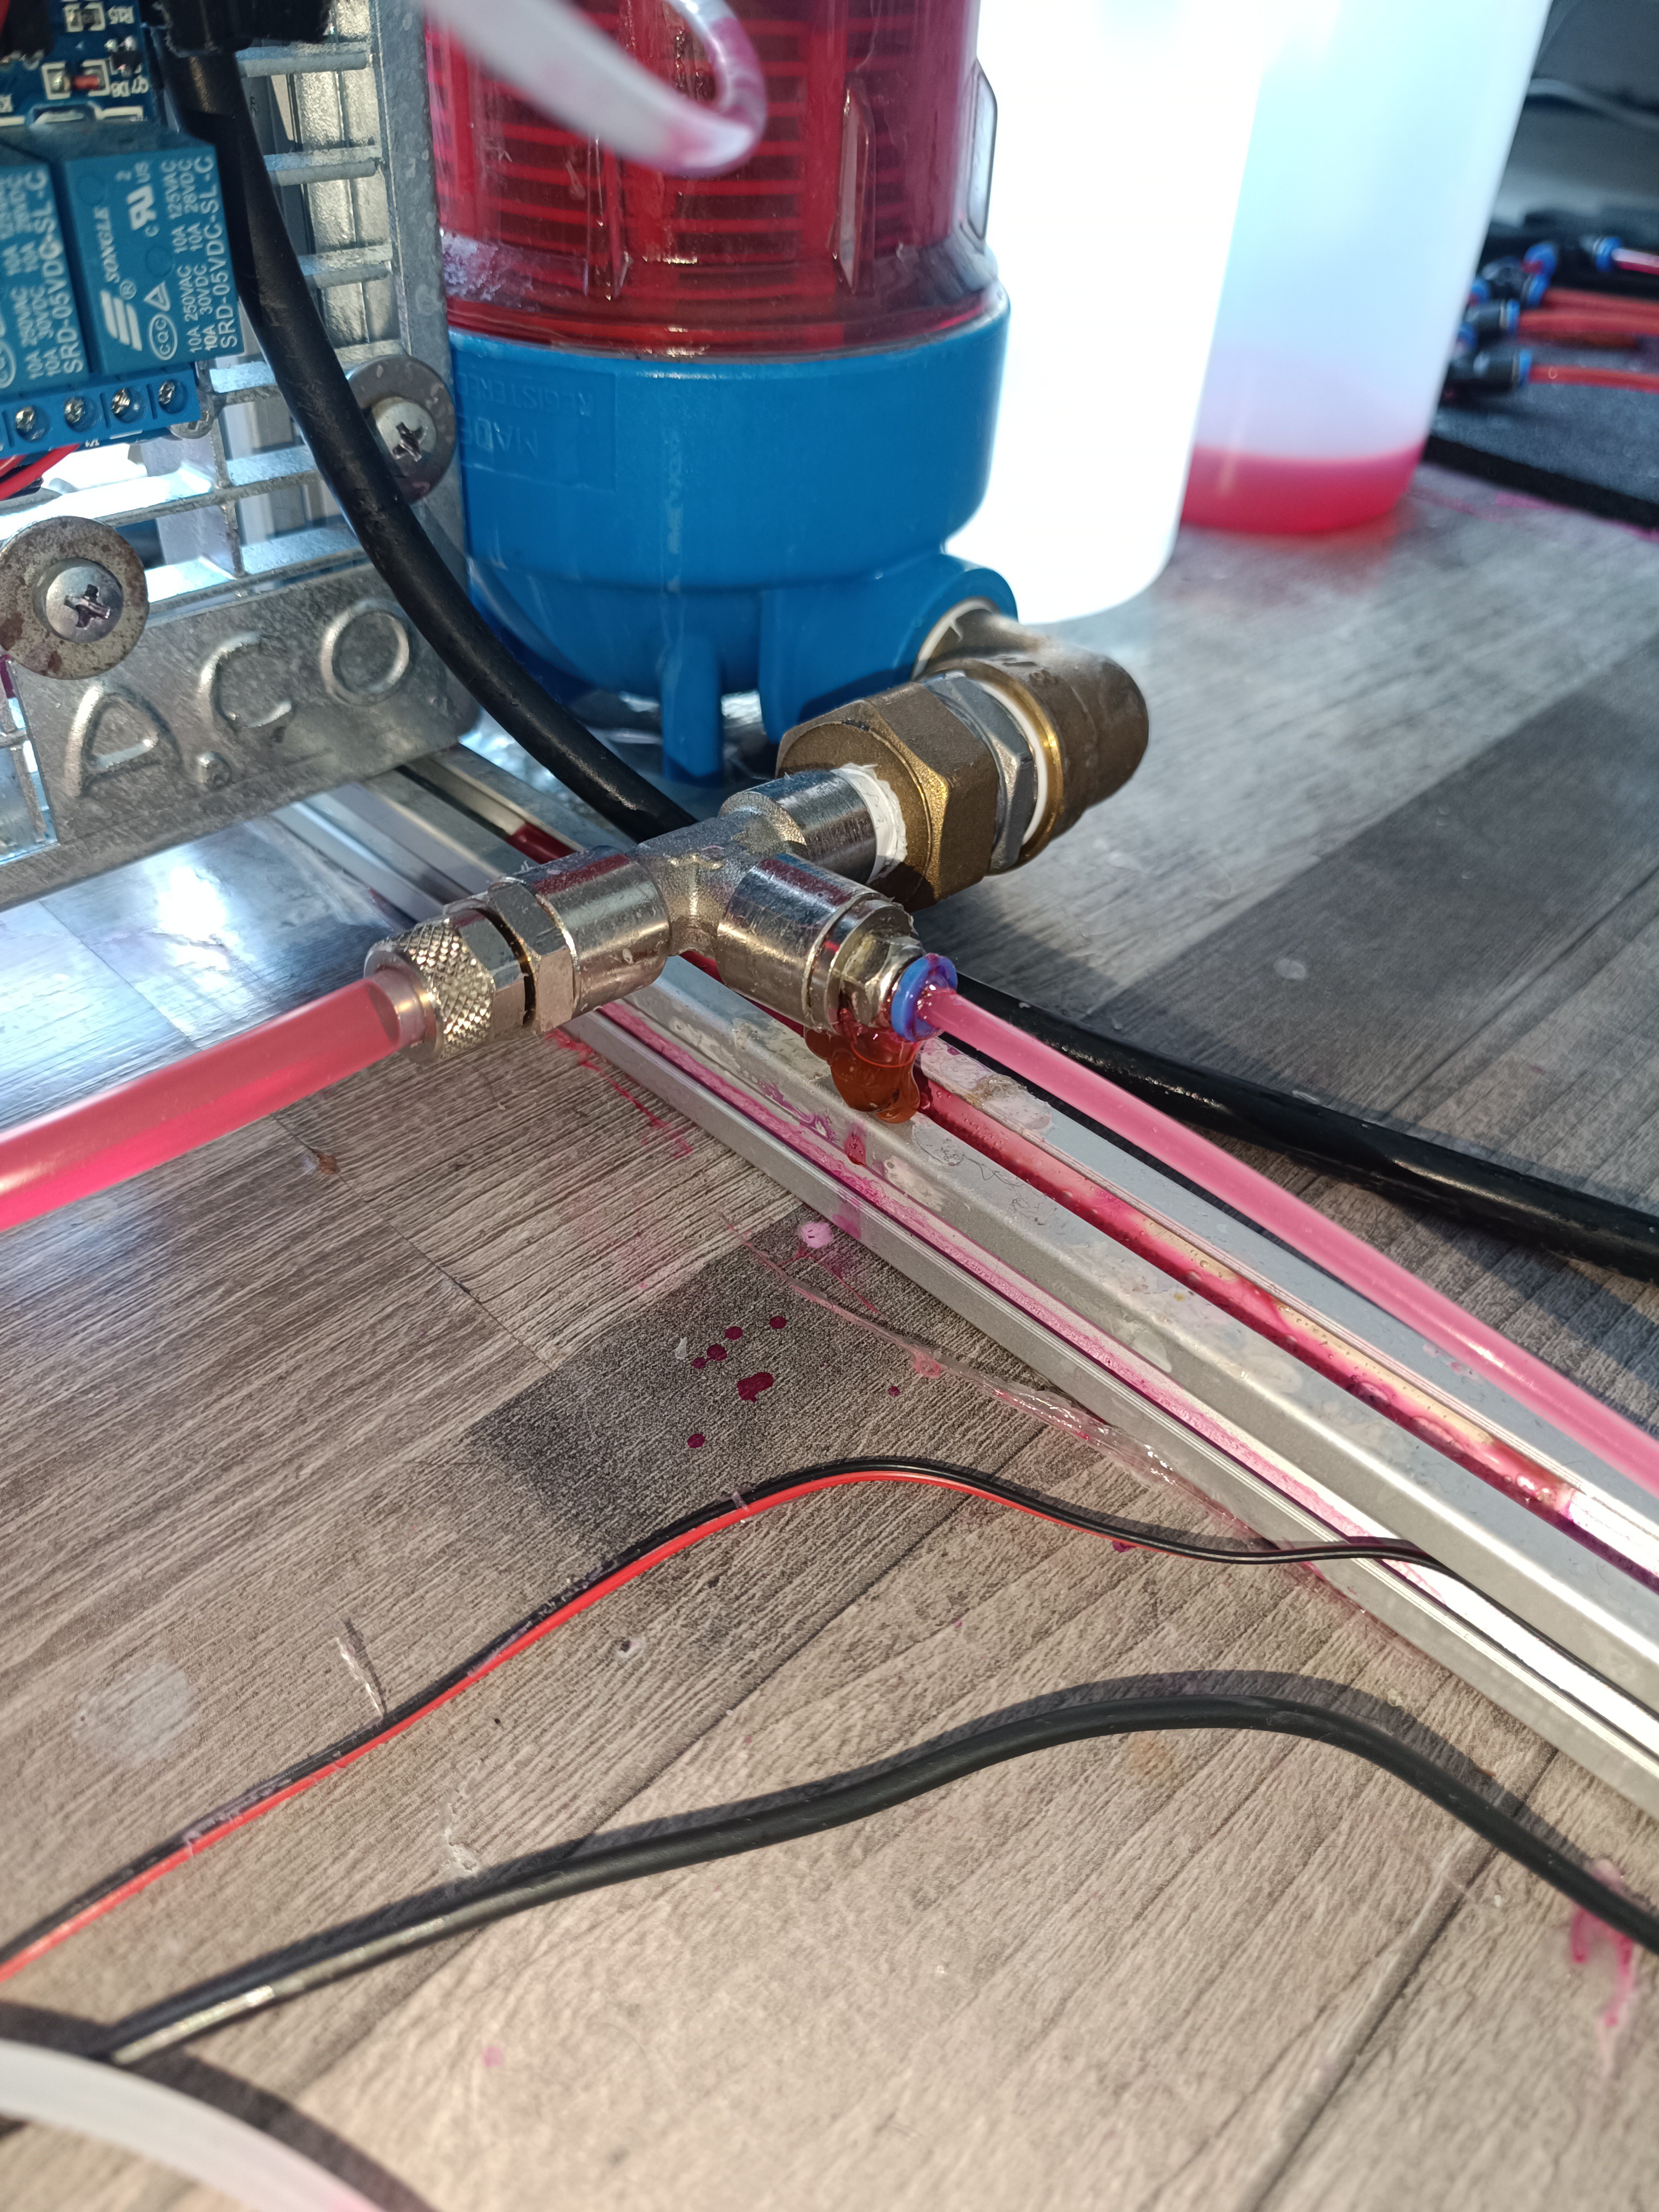
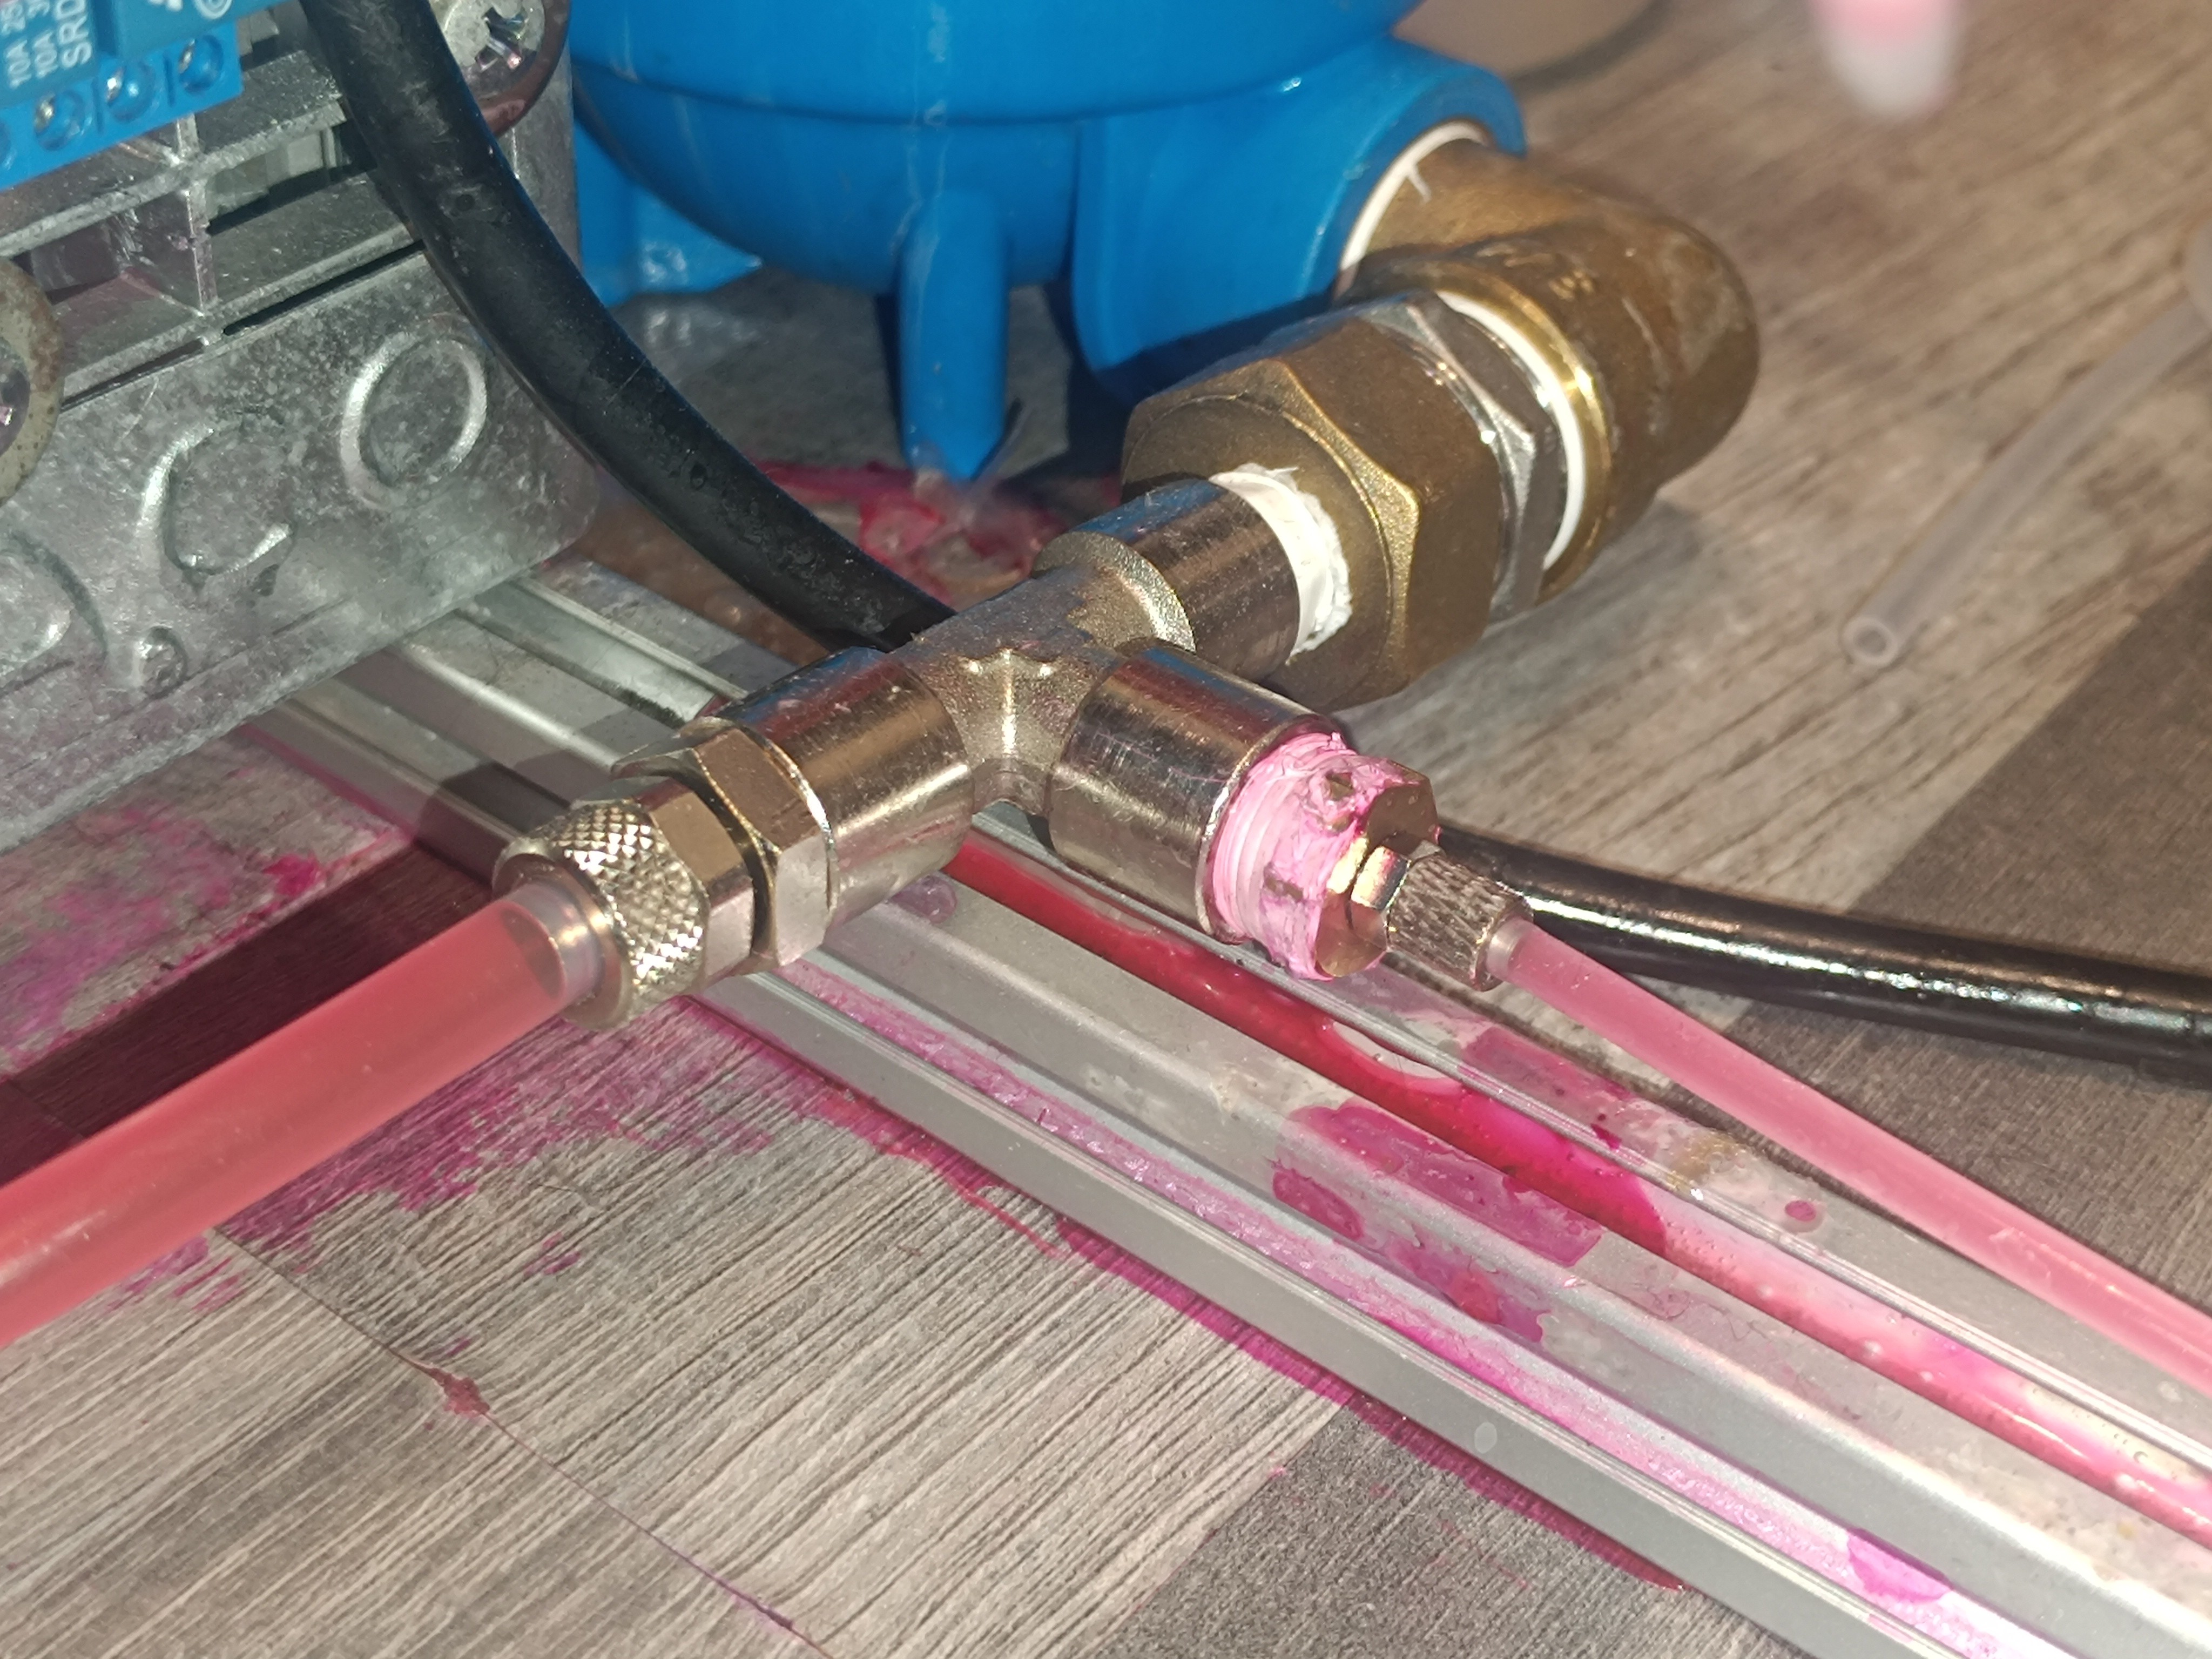
For the past months while working on the test stand and code for the ESP32, I did not use the printer prototype, and while it was standing there, some of the fittings got leaky.
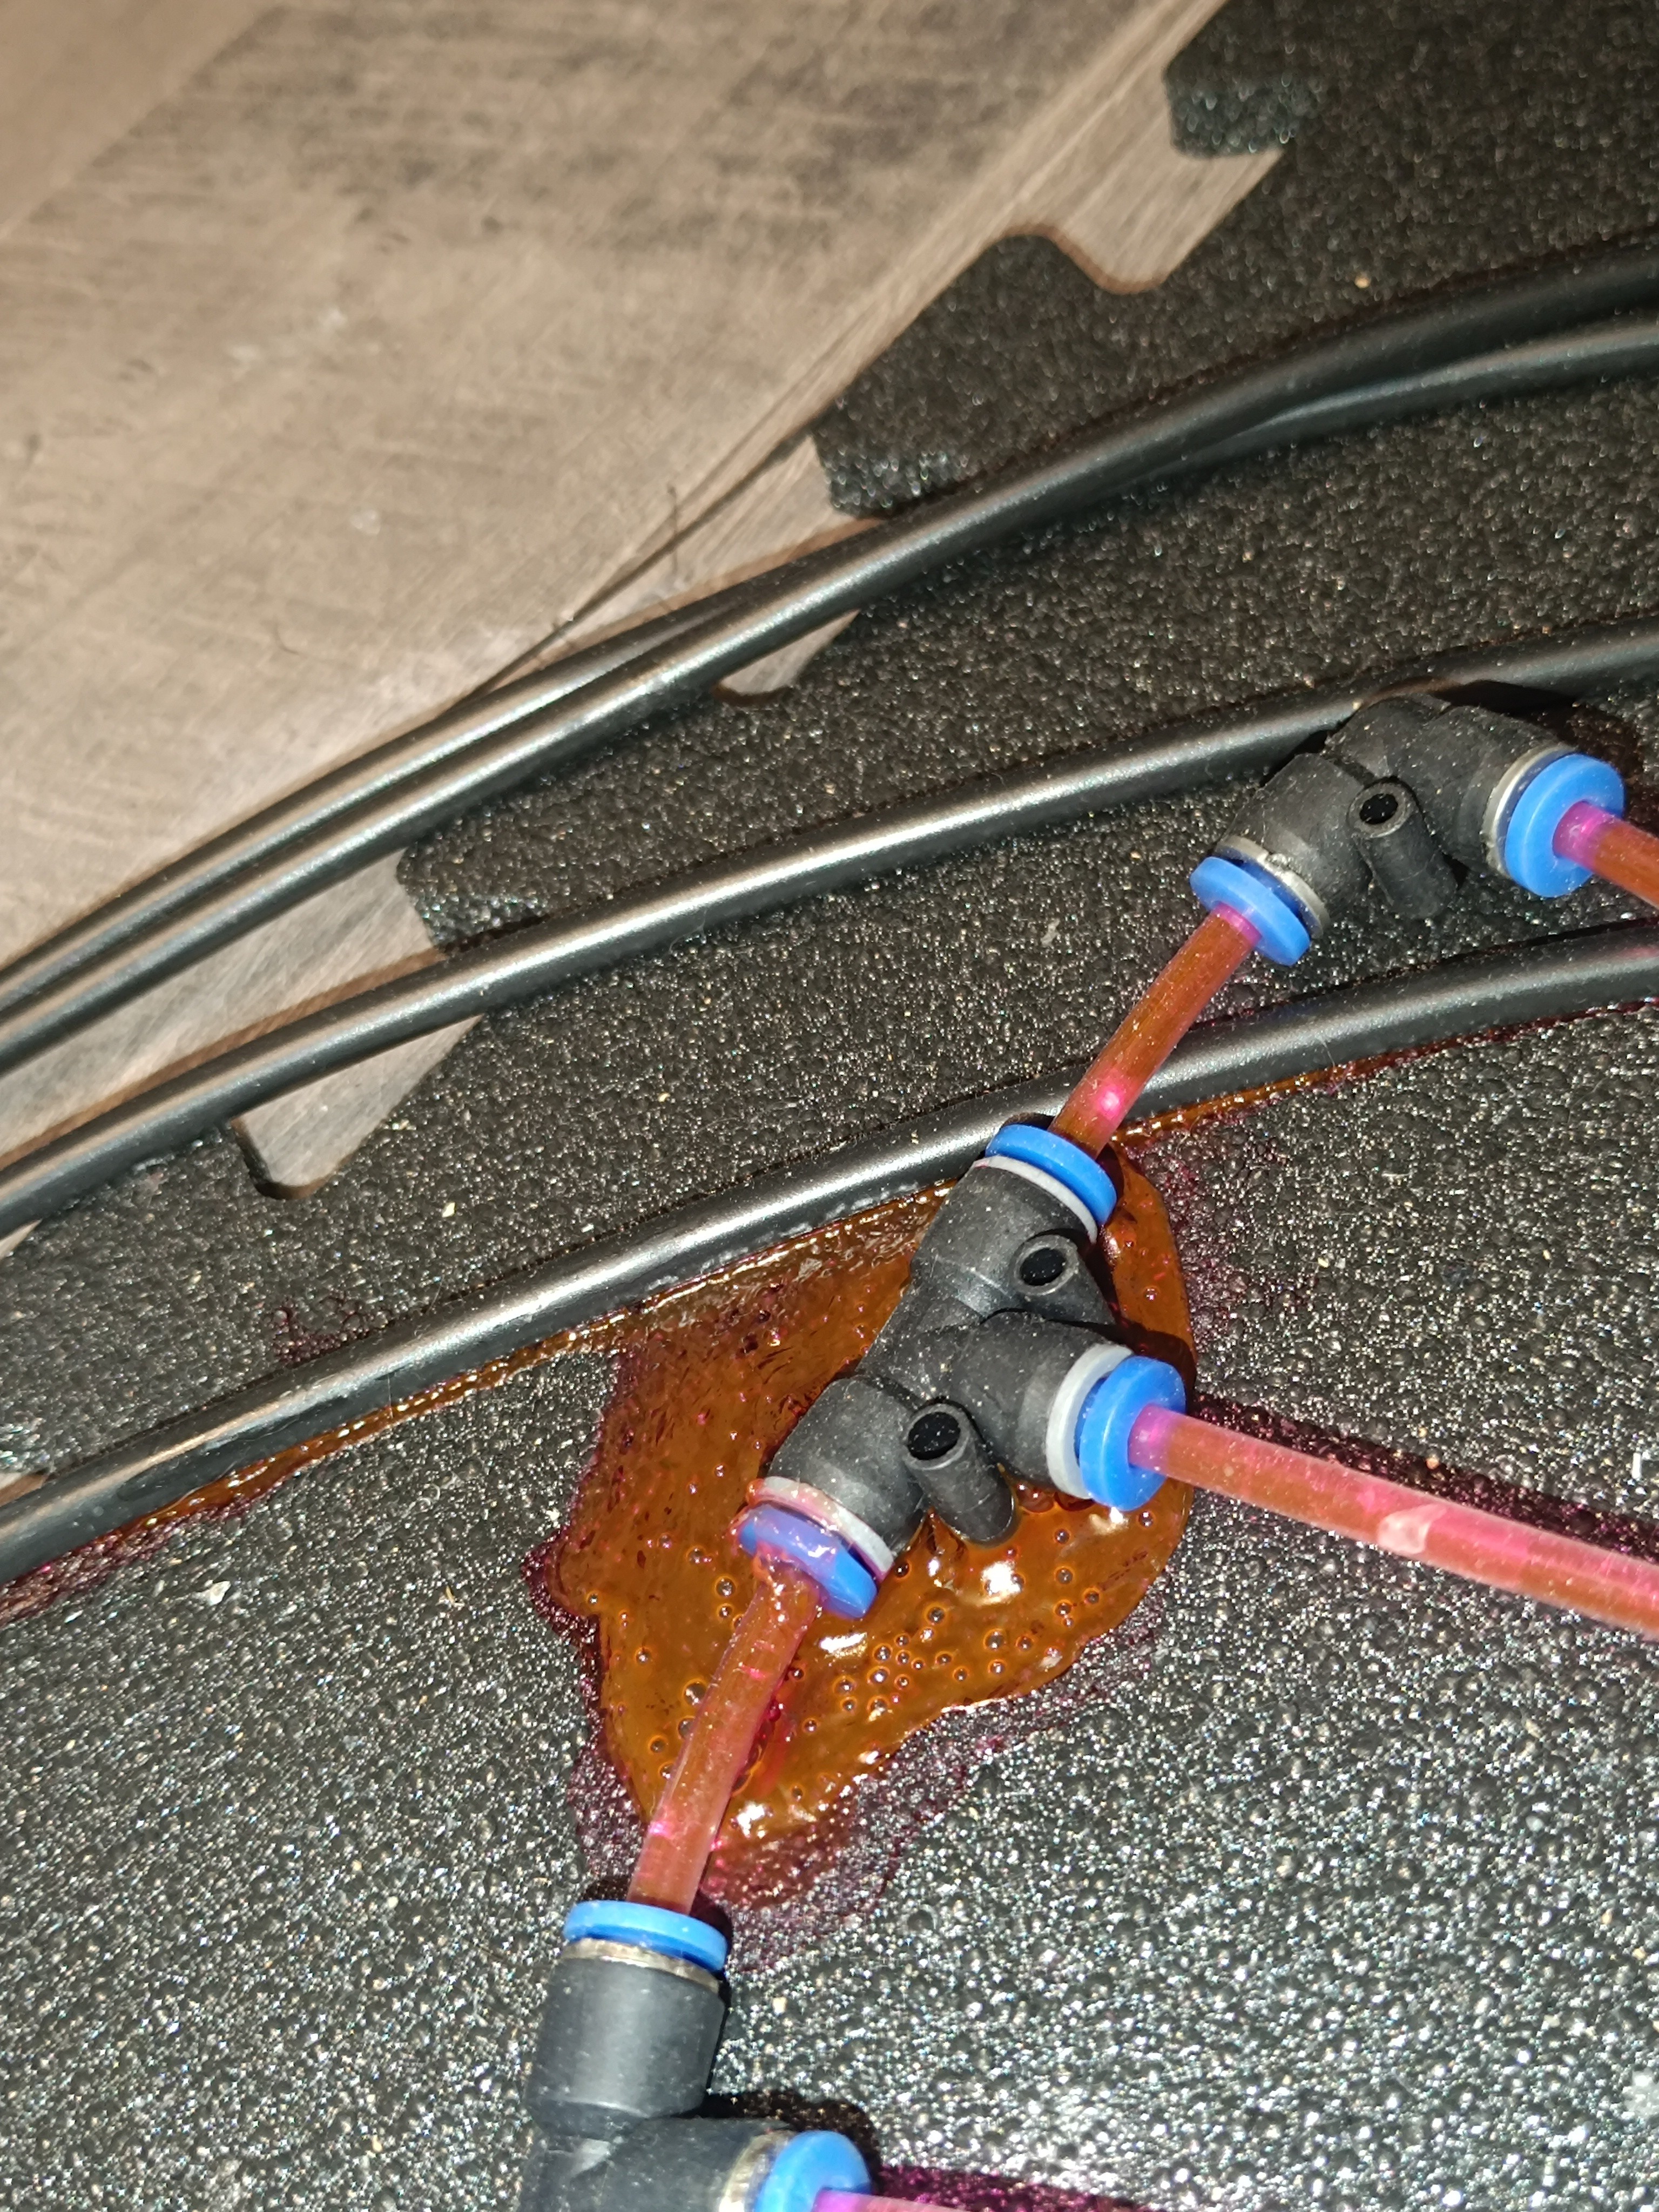
Until now, it wasn't that big of a deal that the fitting's NBR seals got dissolved by the ethanol over time, because I changed the prototype's design over and over again, and with it the fittings, but after a lot of testing I thought that most parts of the current design were working reliable enough to keep them this way so that it was finally worth it to replace the push-in fittings with a more suitable type of fitting.
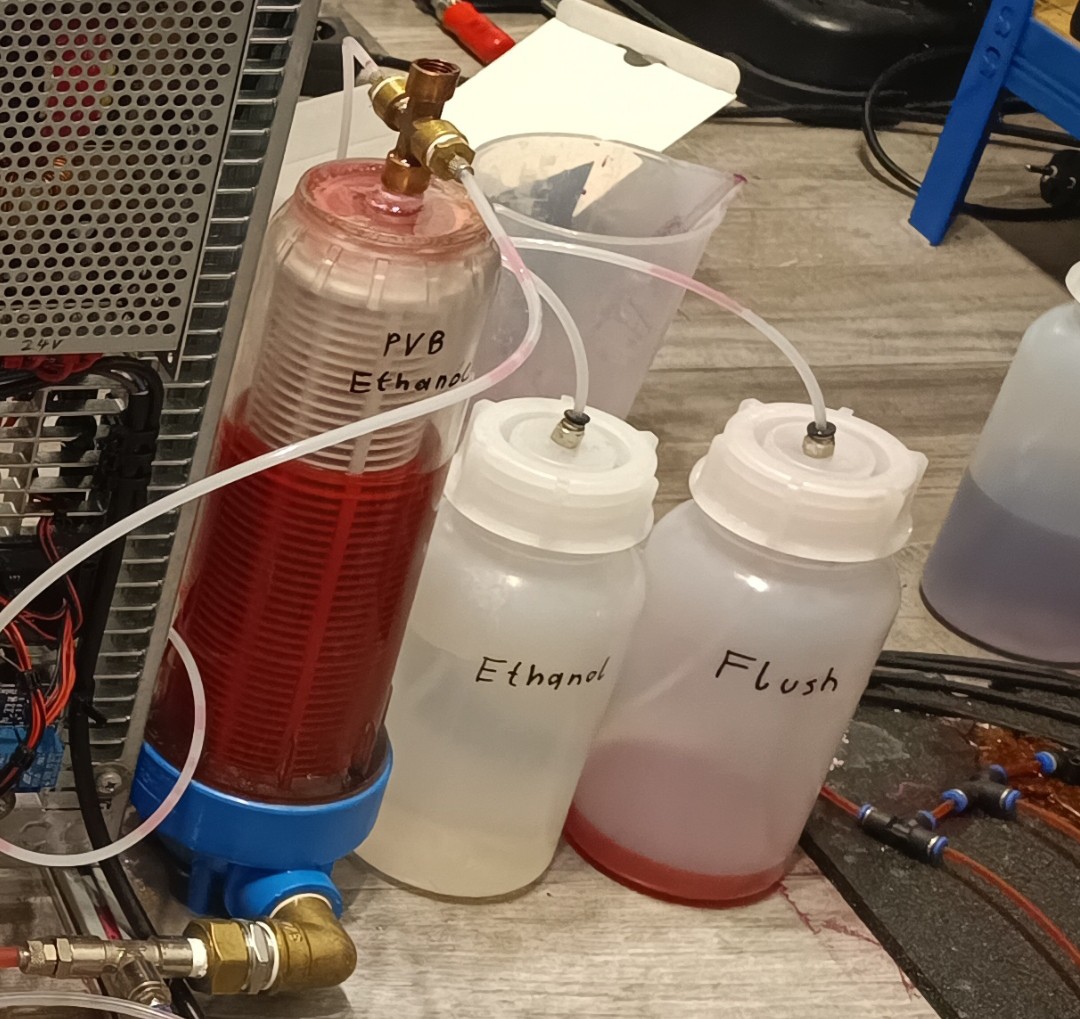
A better option than the pneumatic push-in fittings are CK fittings (sometimes also called rapid screw fittings), which don't have a seal that can get leaky but instead use the tube itself as the seal by clamping it between the two halves of the fitting.
Since I had to replace every fitting connection on the printer, I also wanted to replace the currently used PU tubes with PE tubes, which in contrast to the PU tubes, are suitable for long-time exposure to ethanol because of their better chemical resistance.
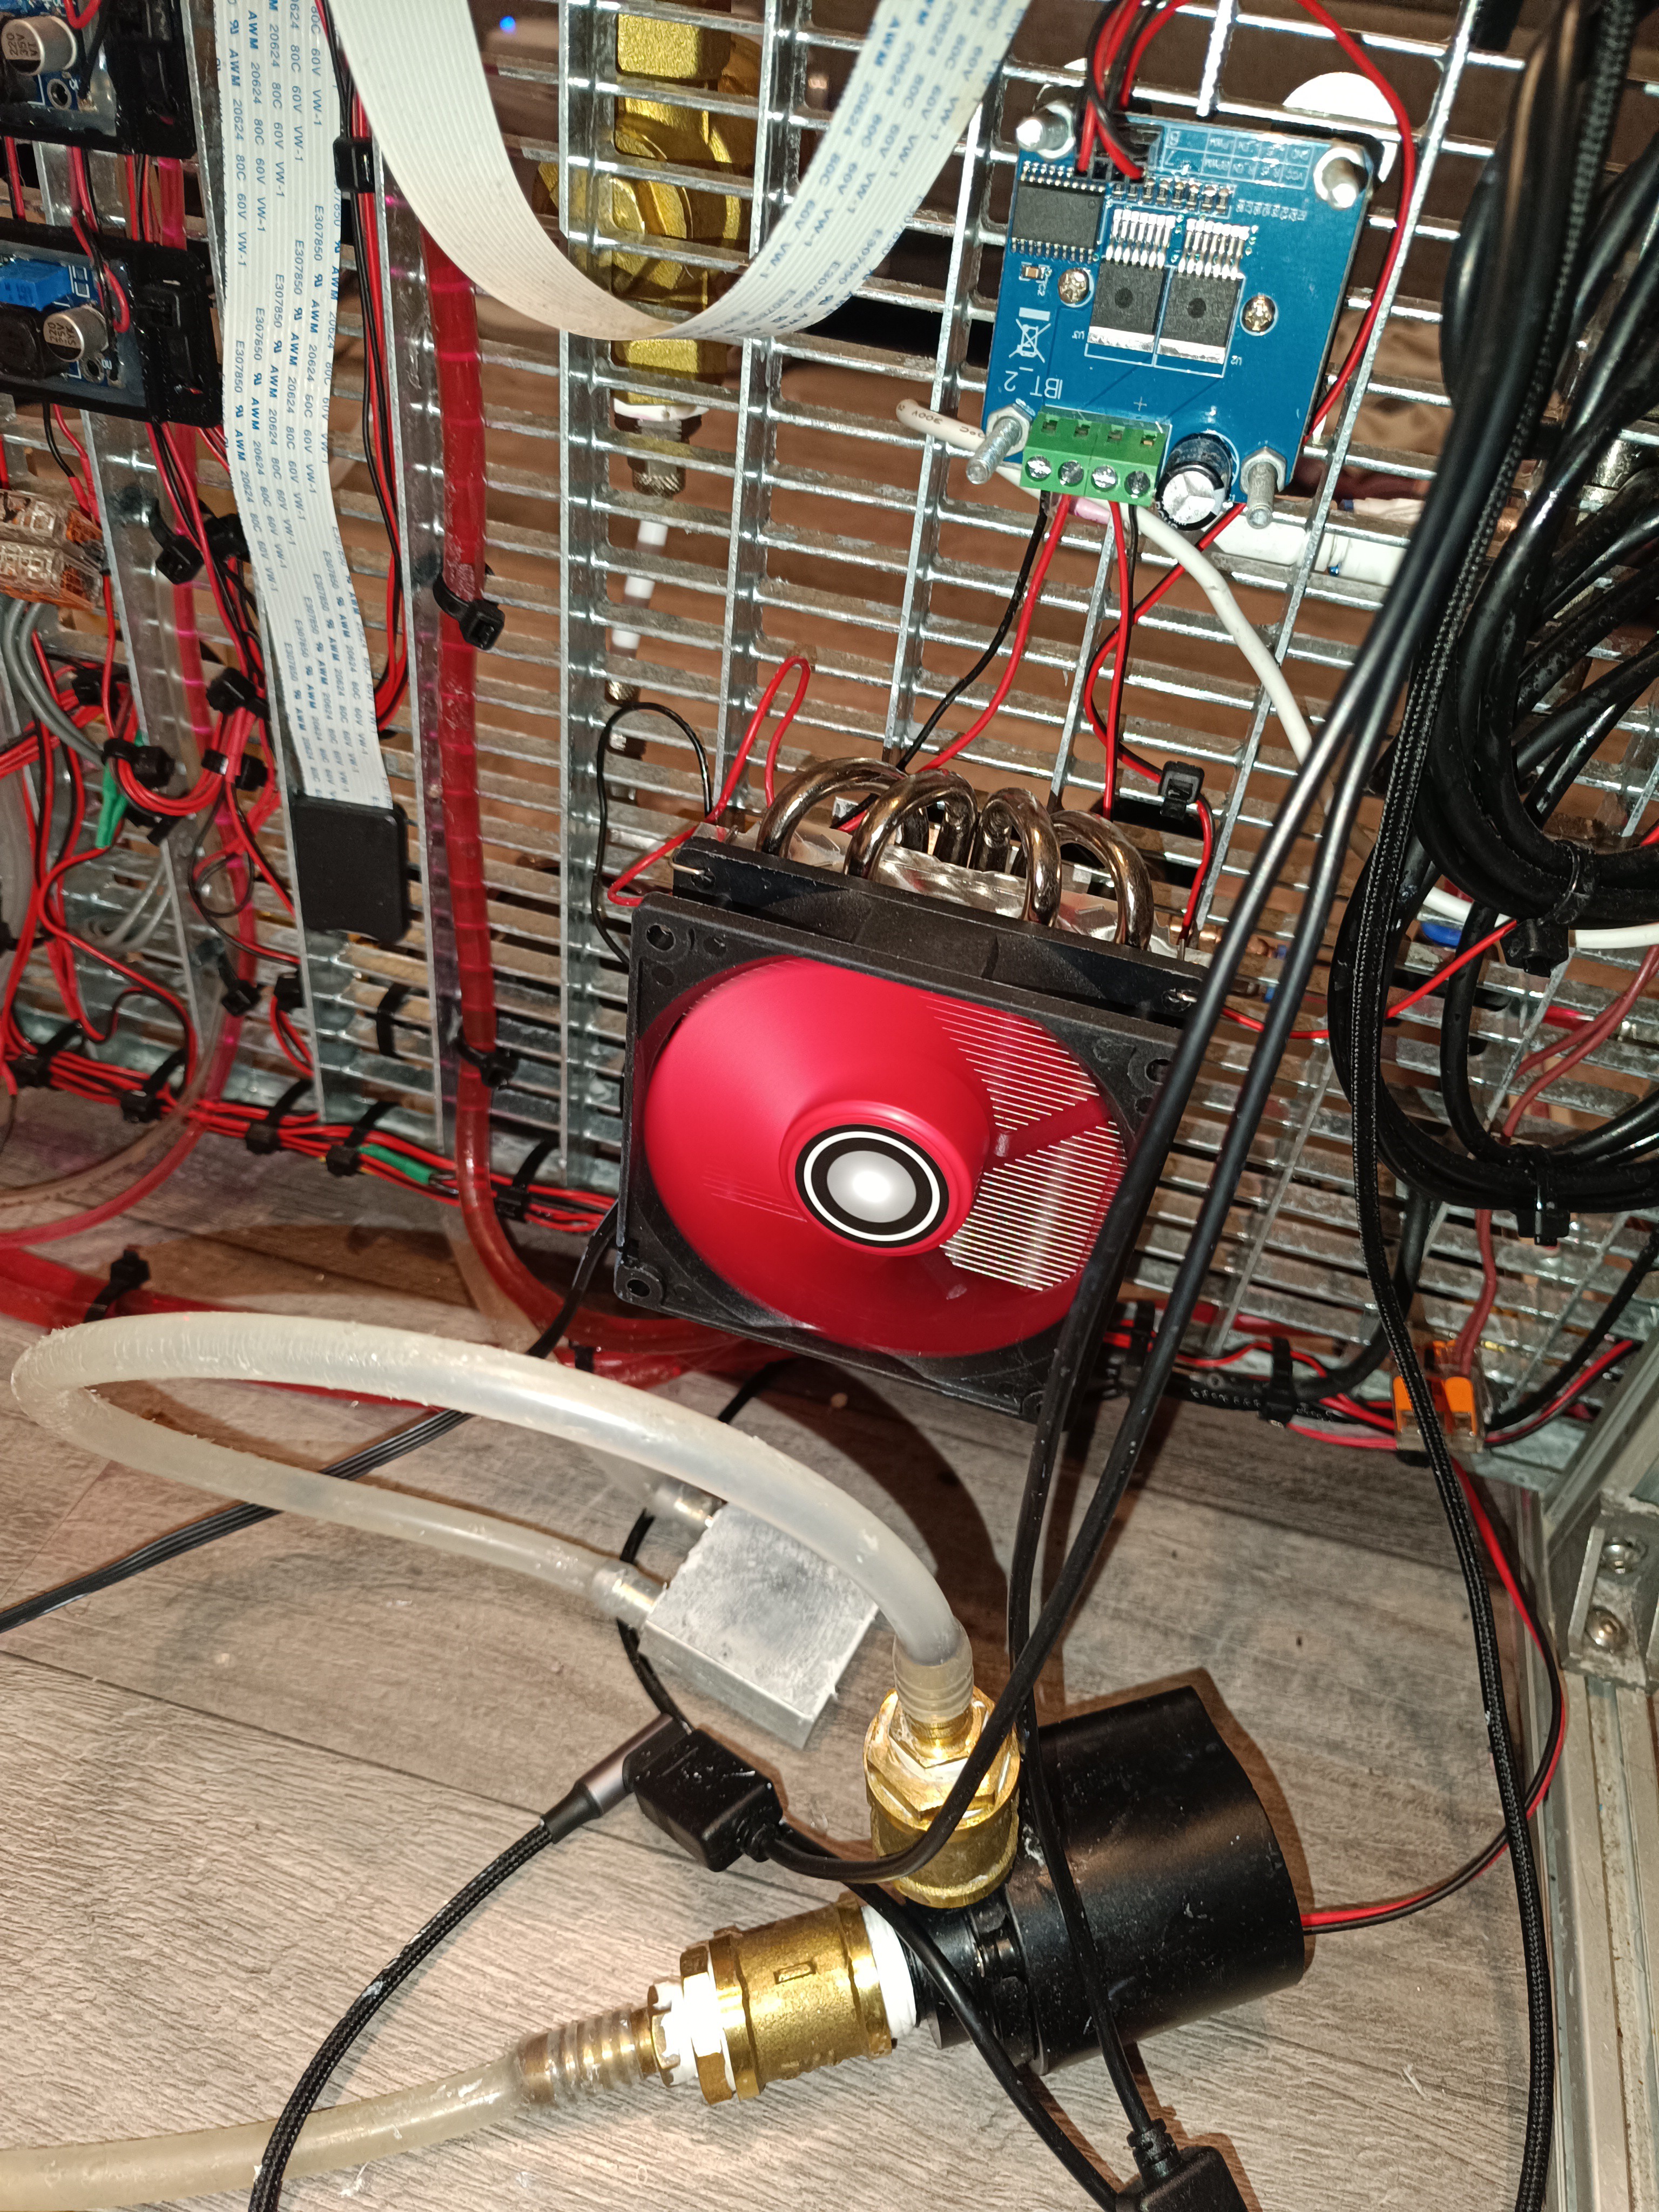
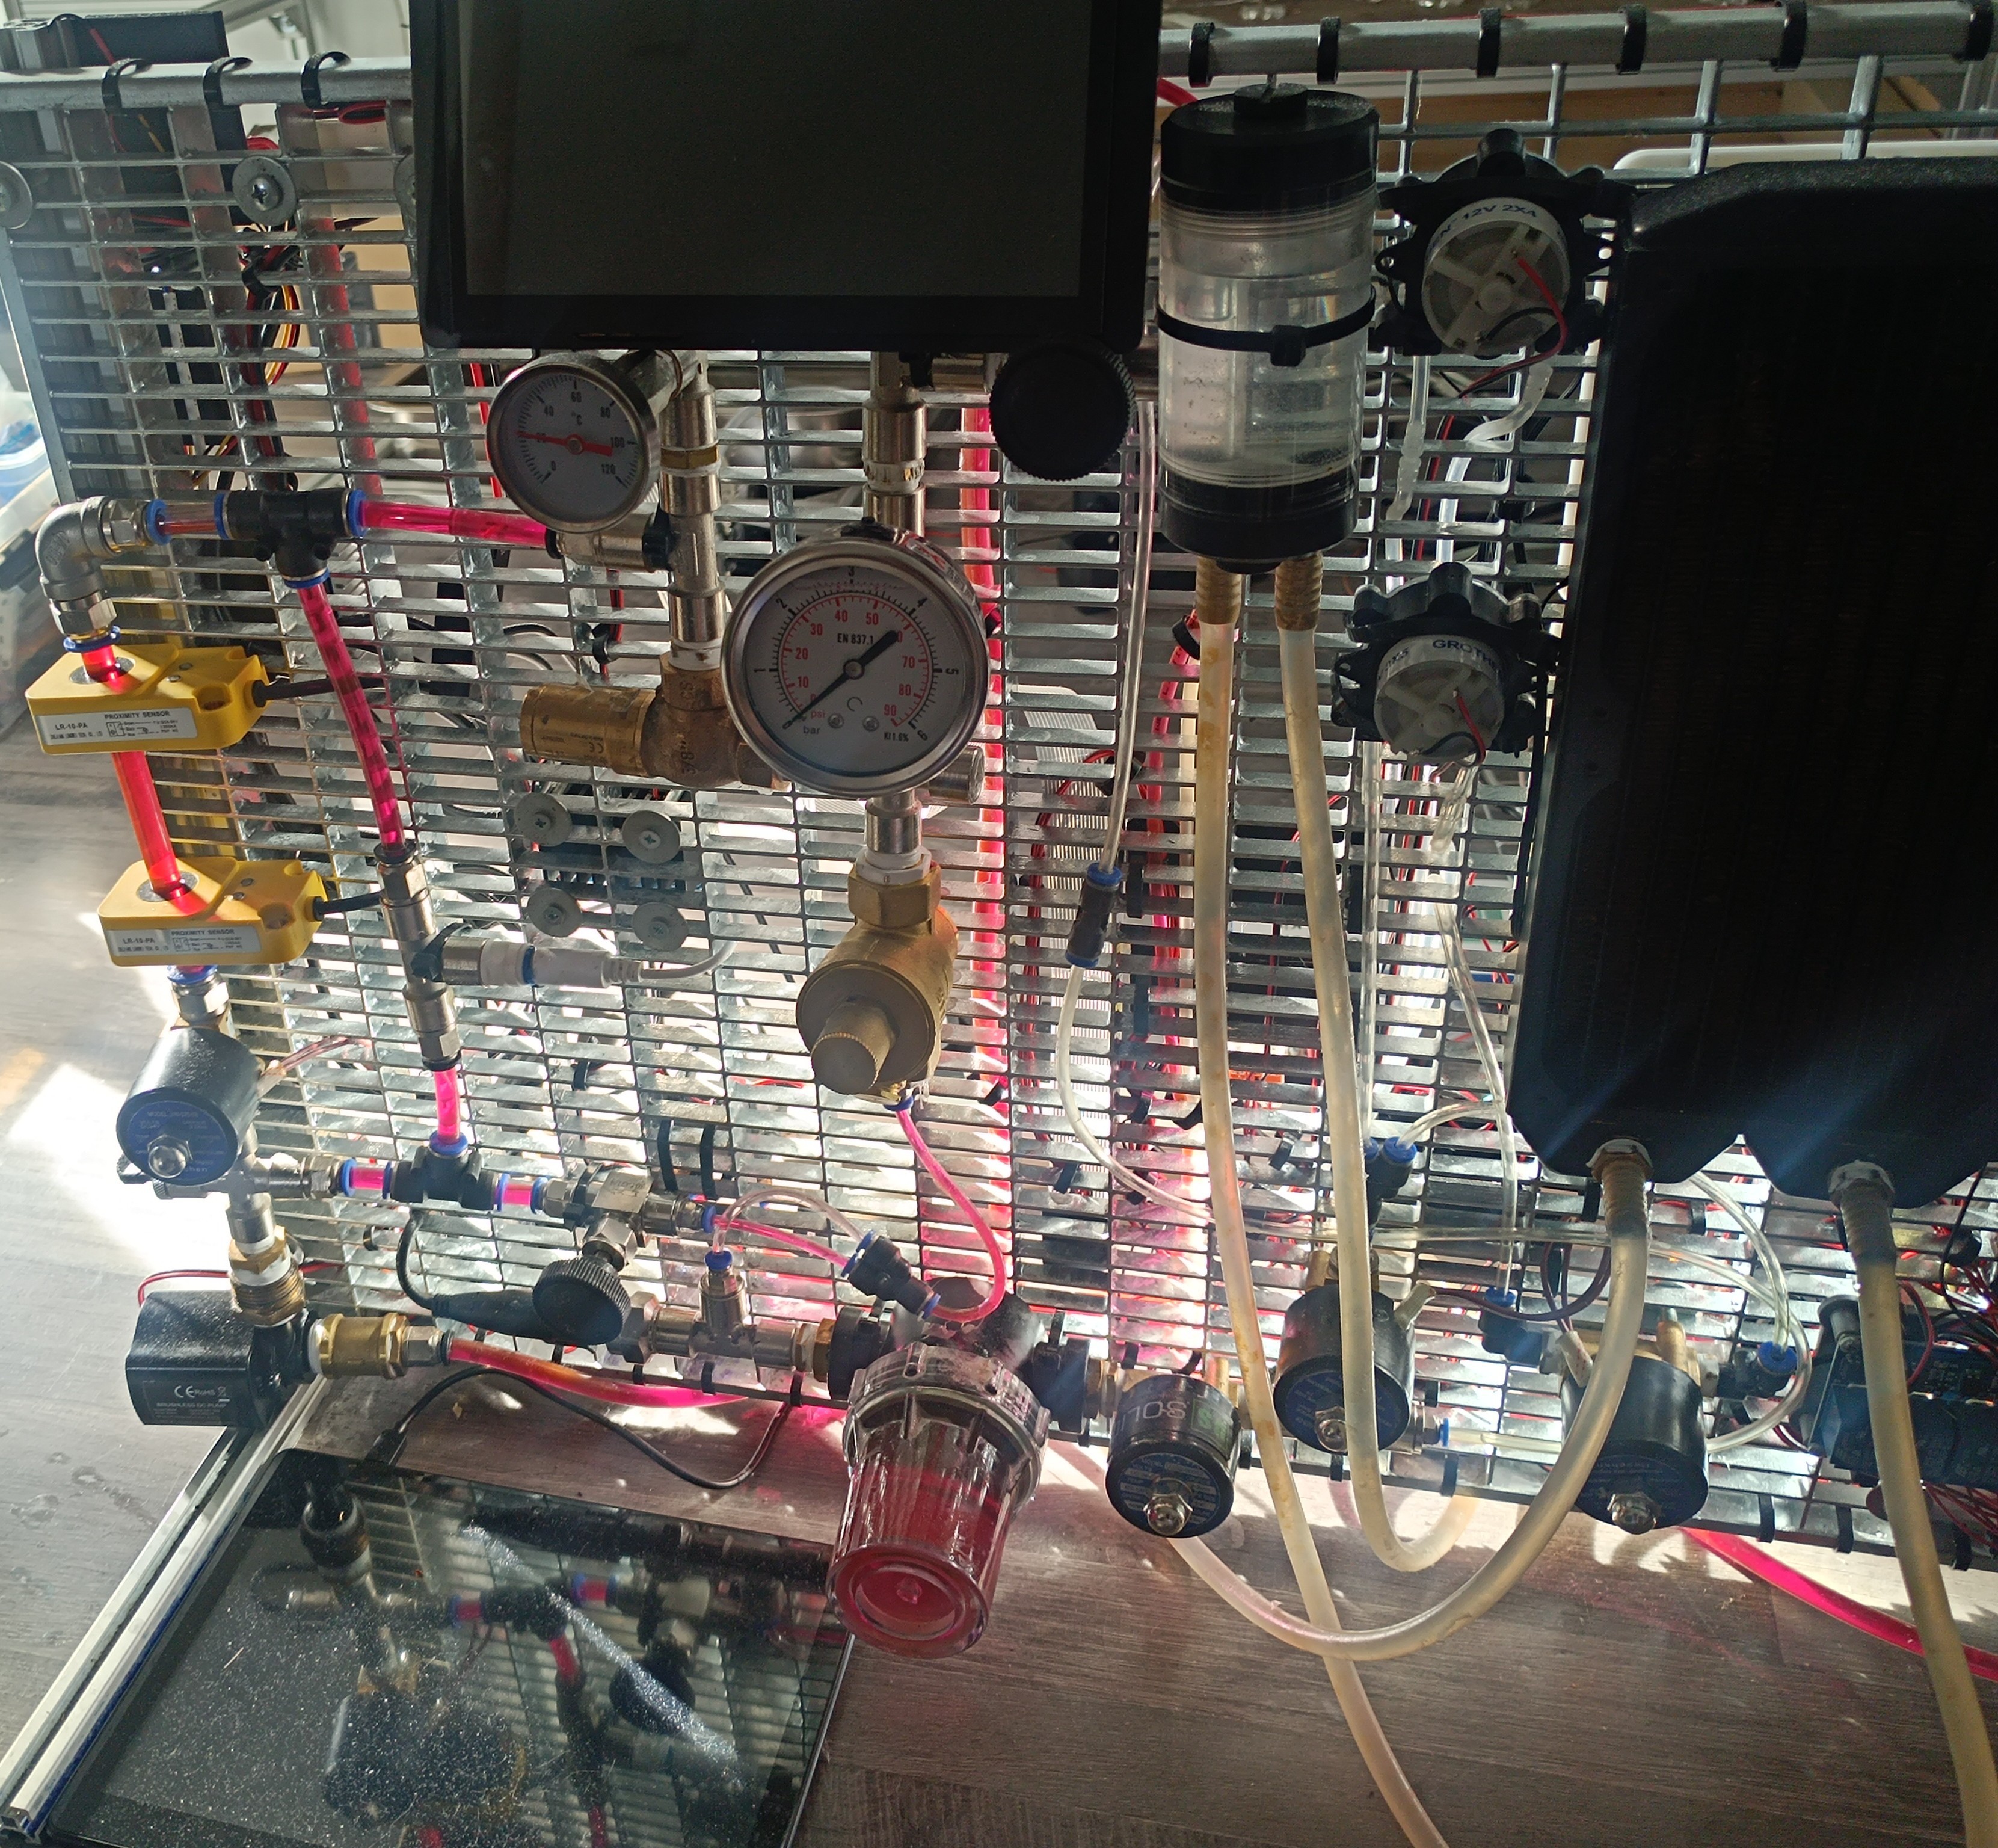
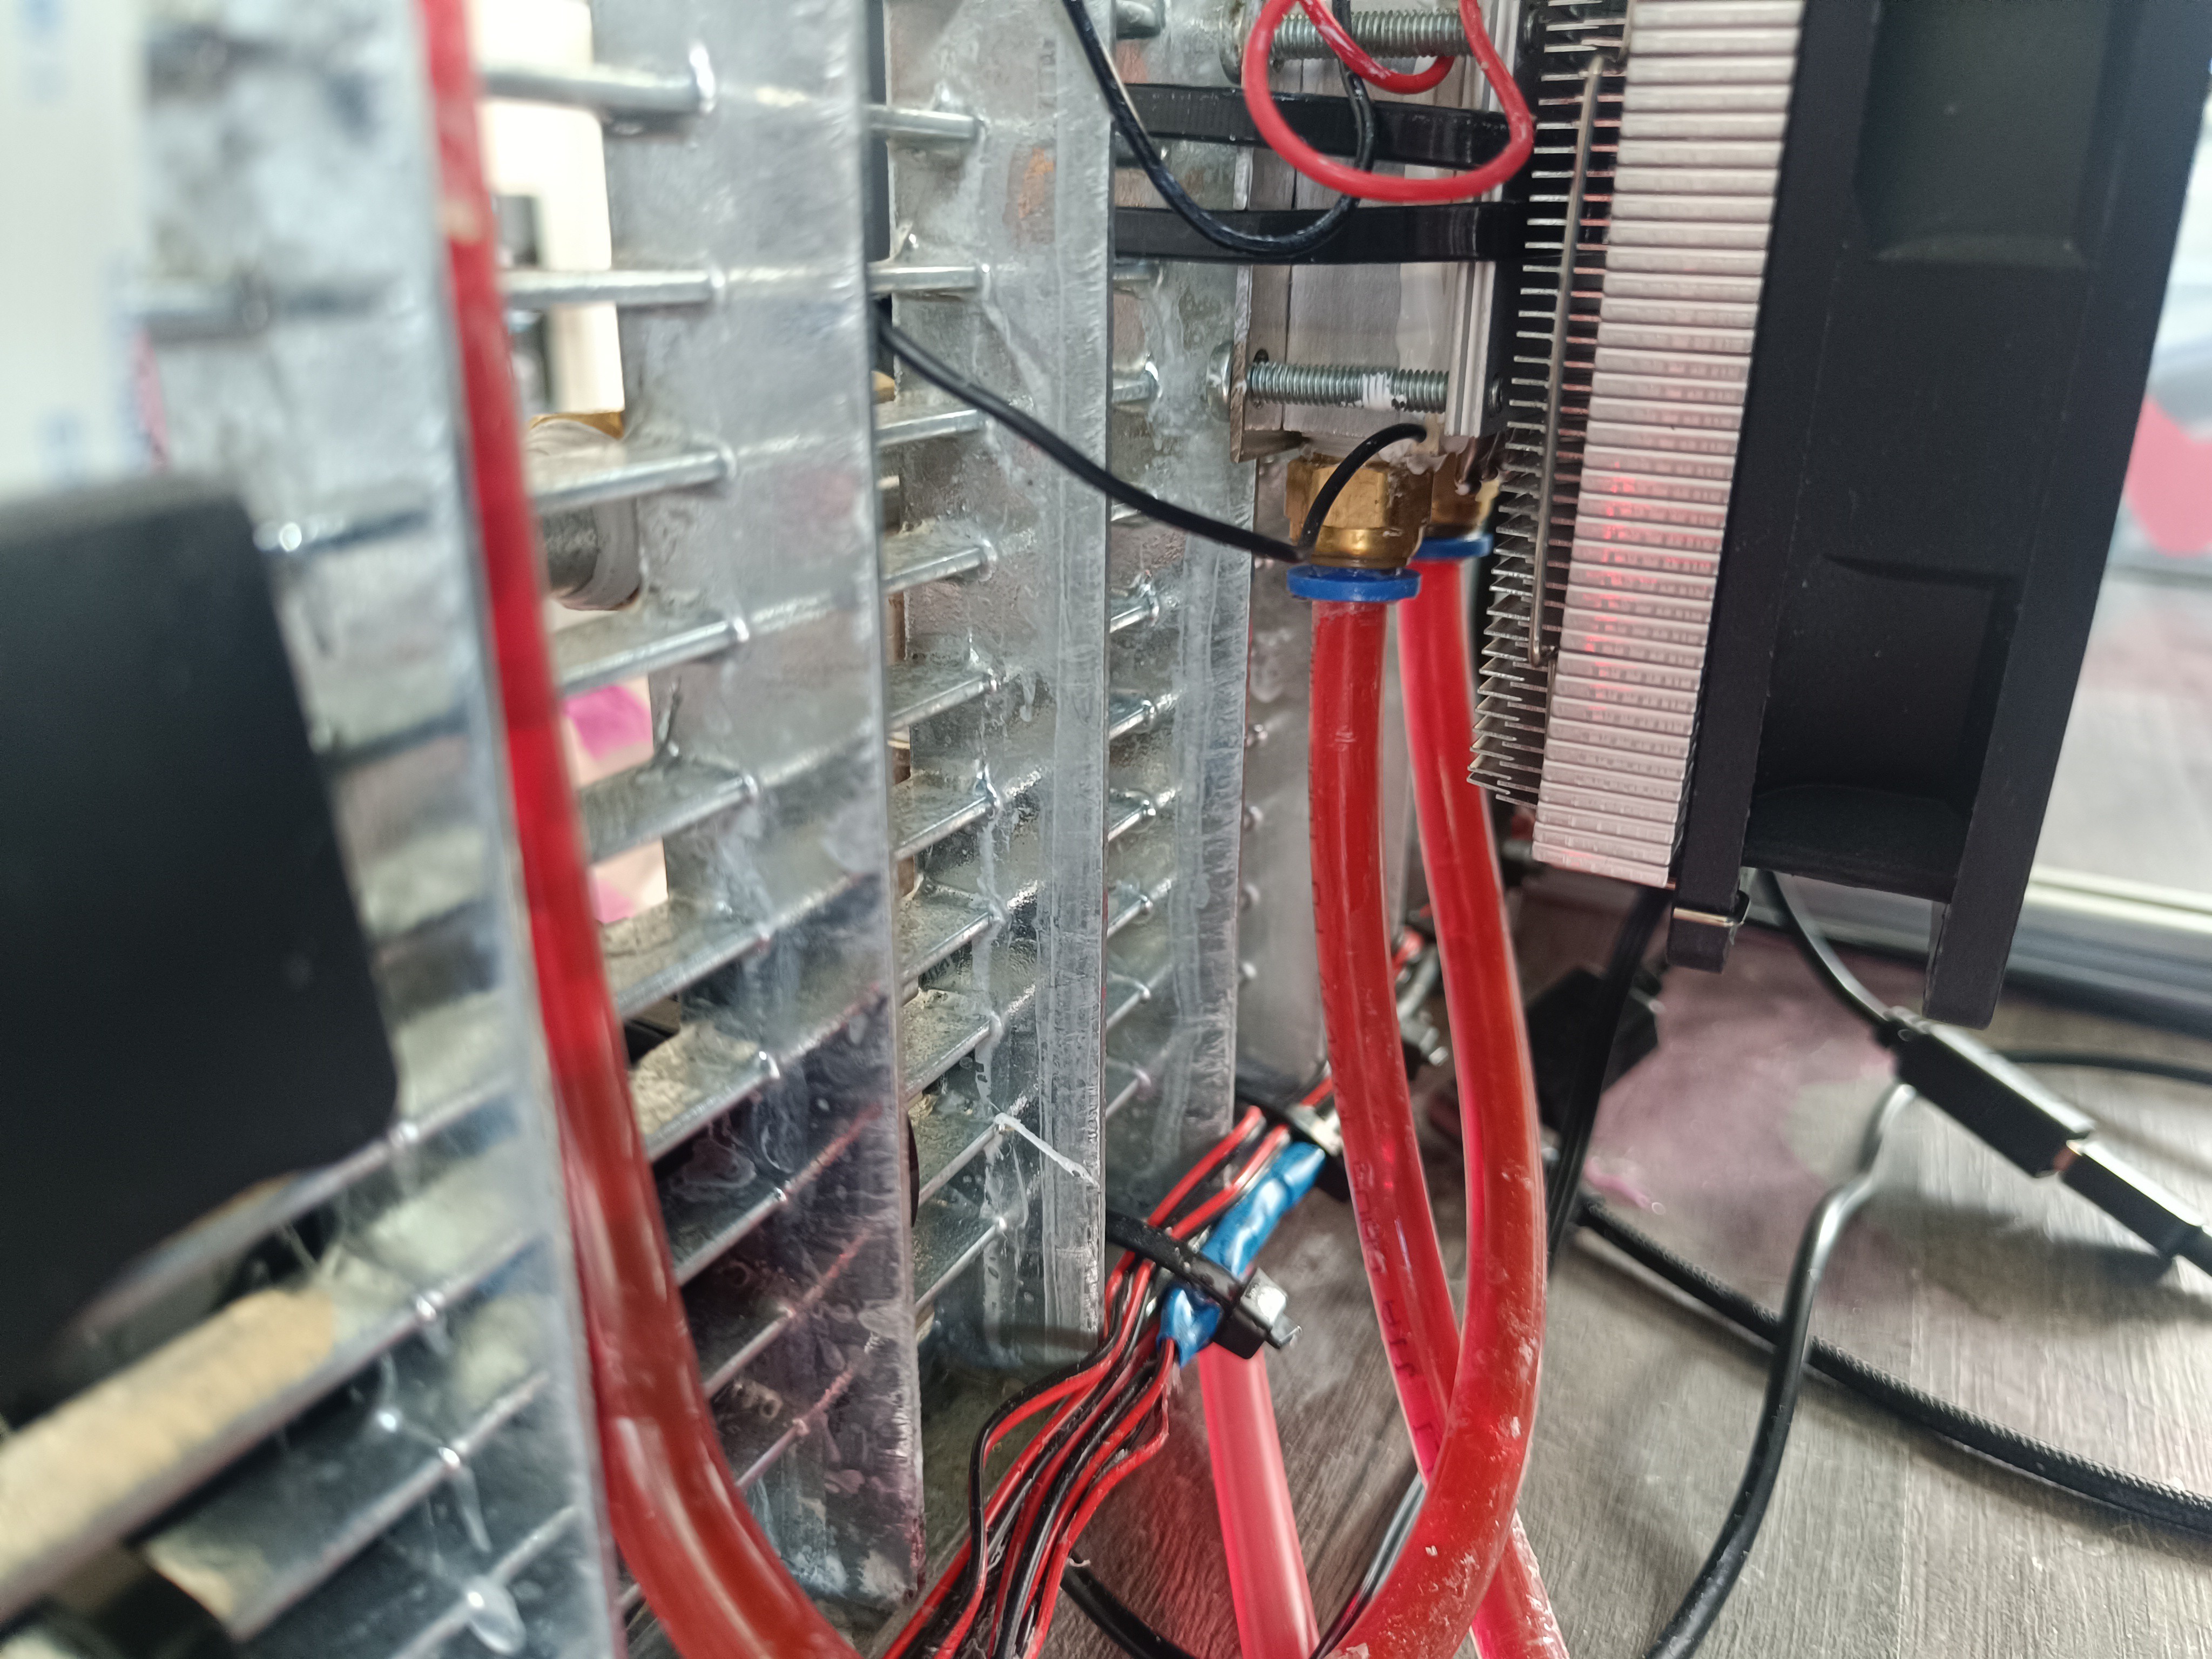
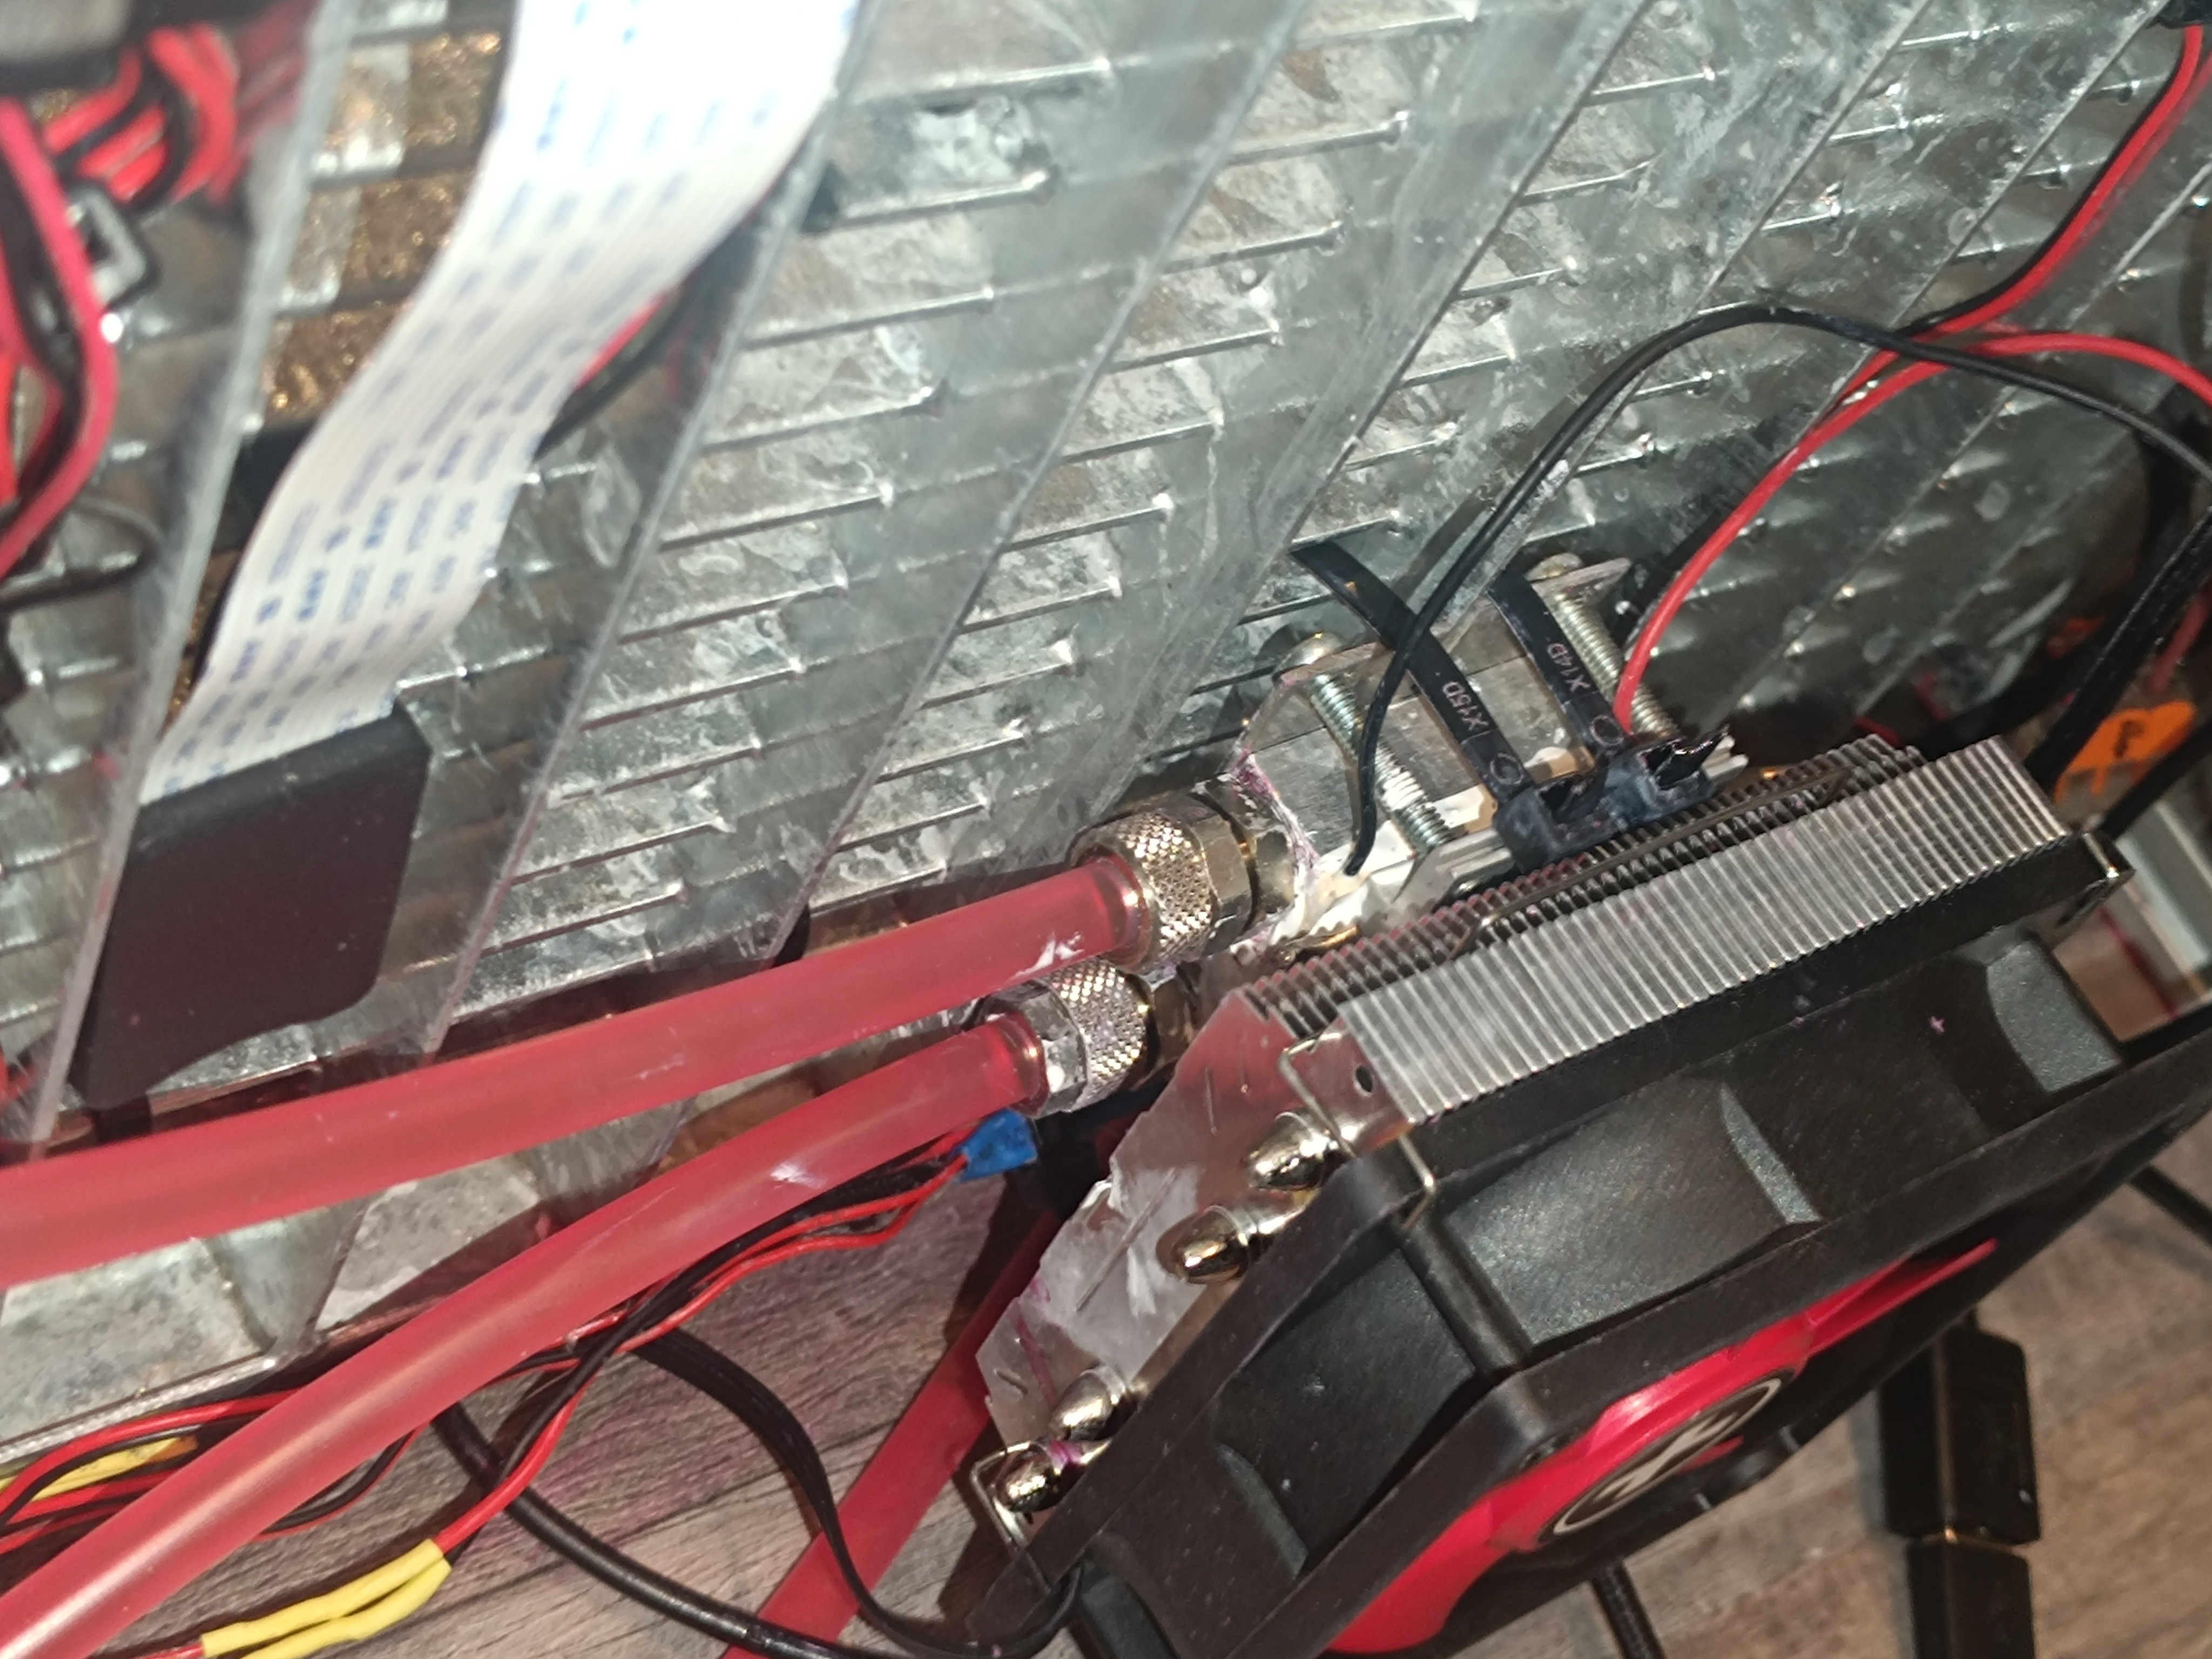
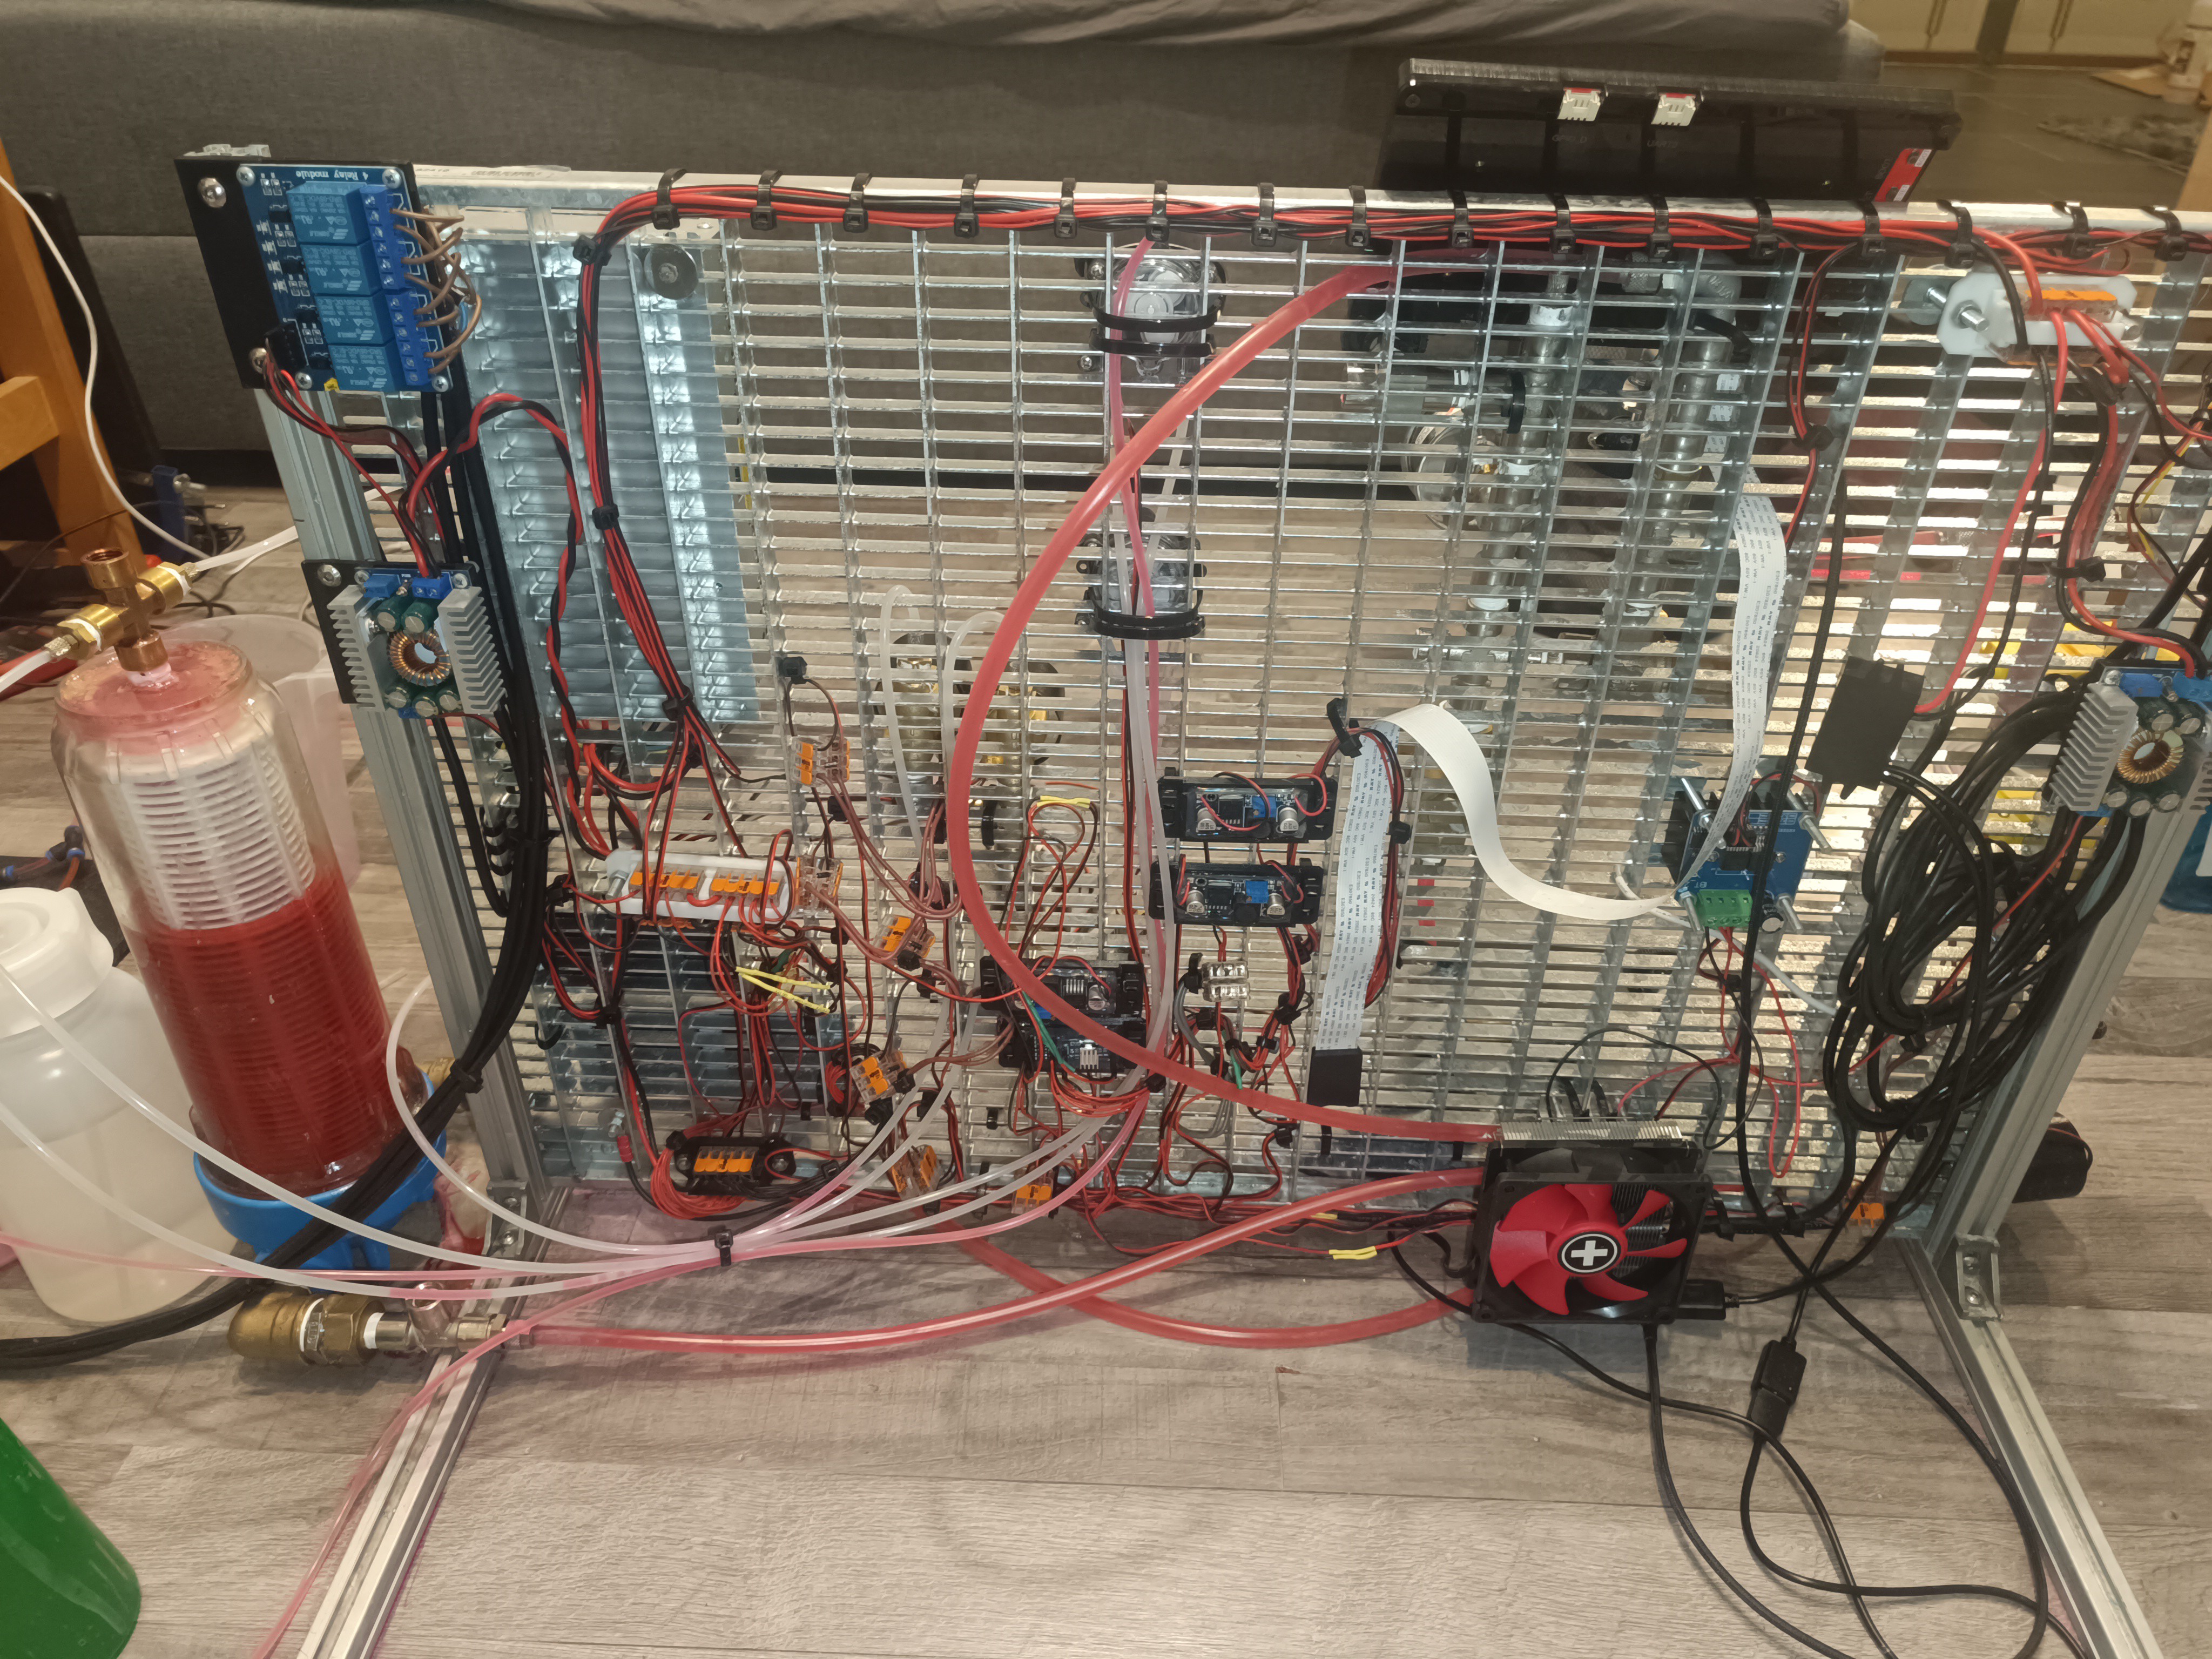
No more Watercooling
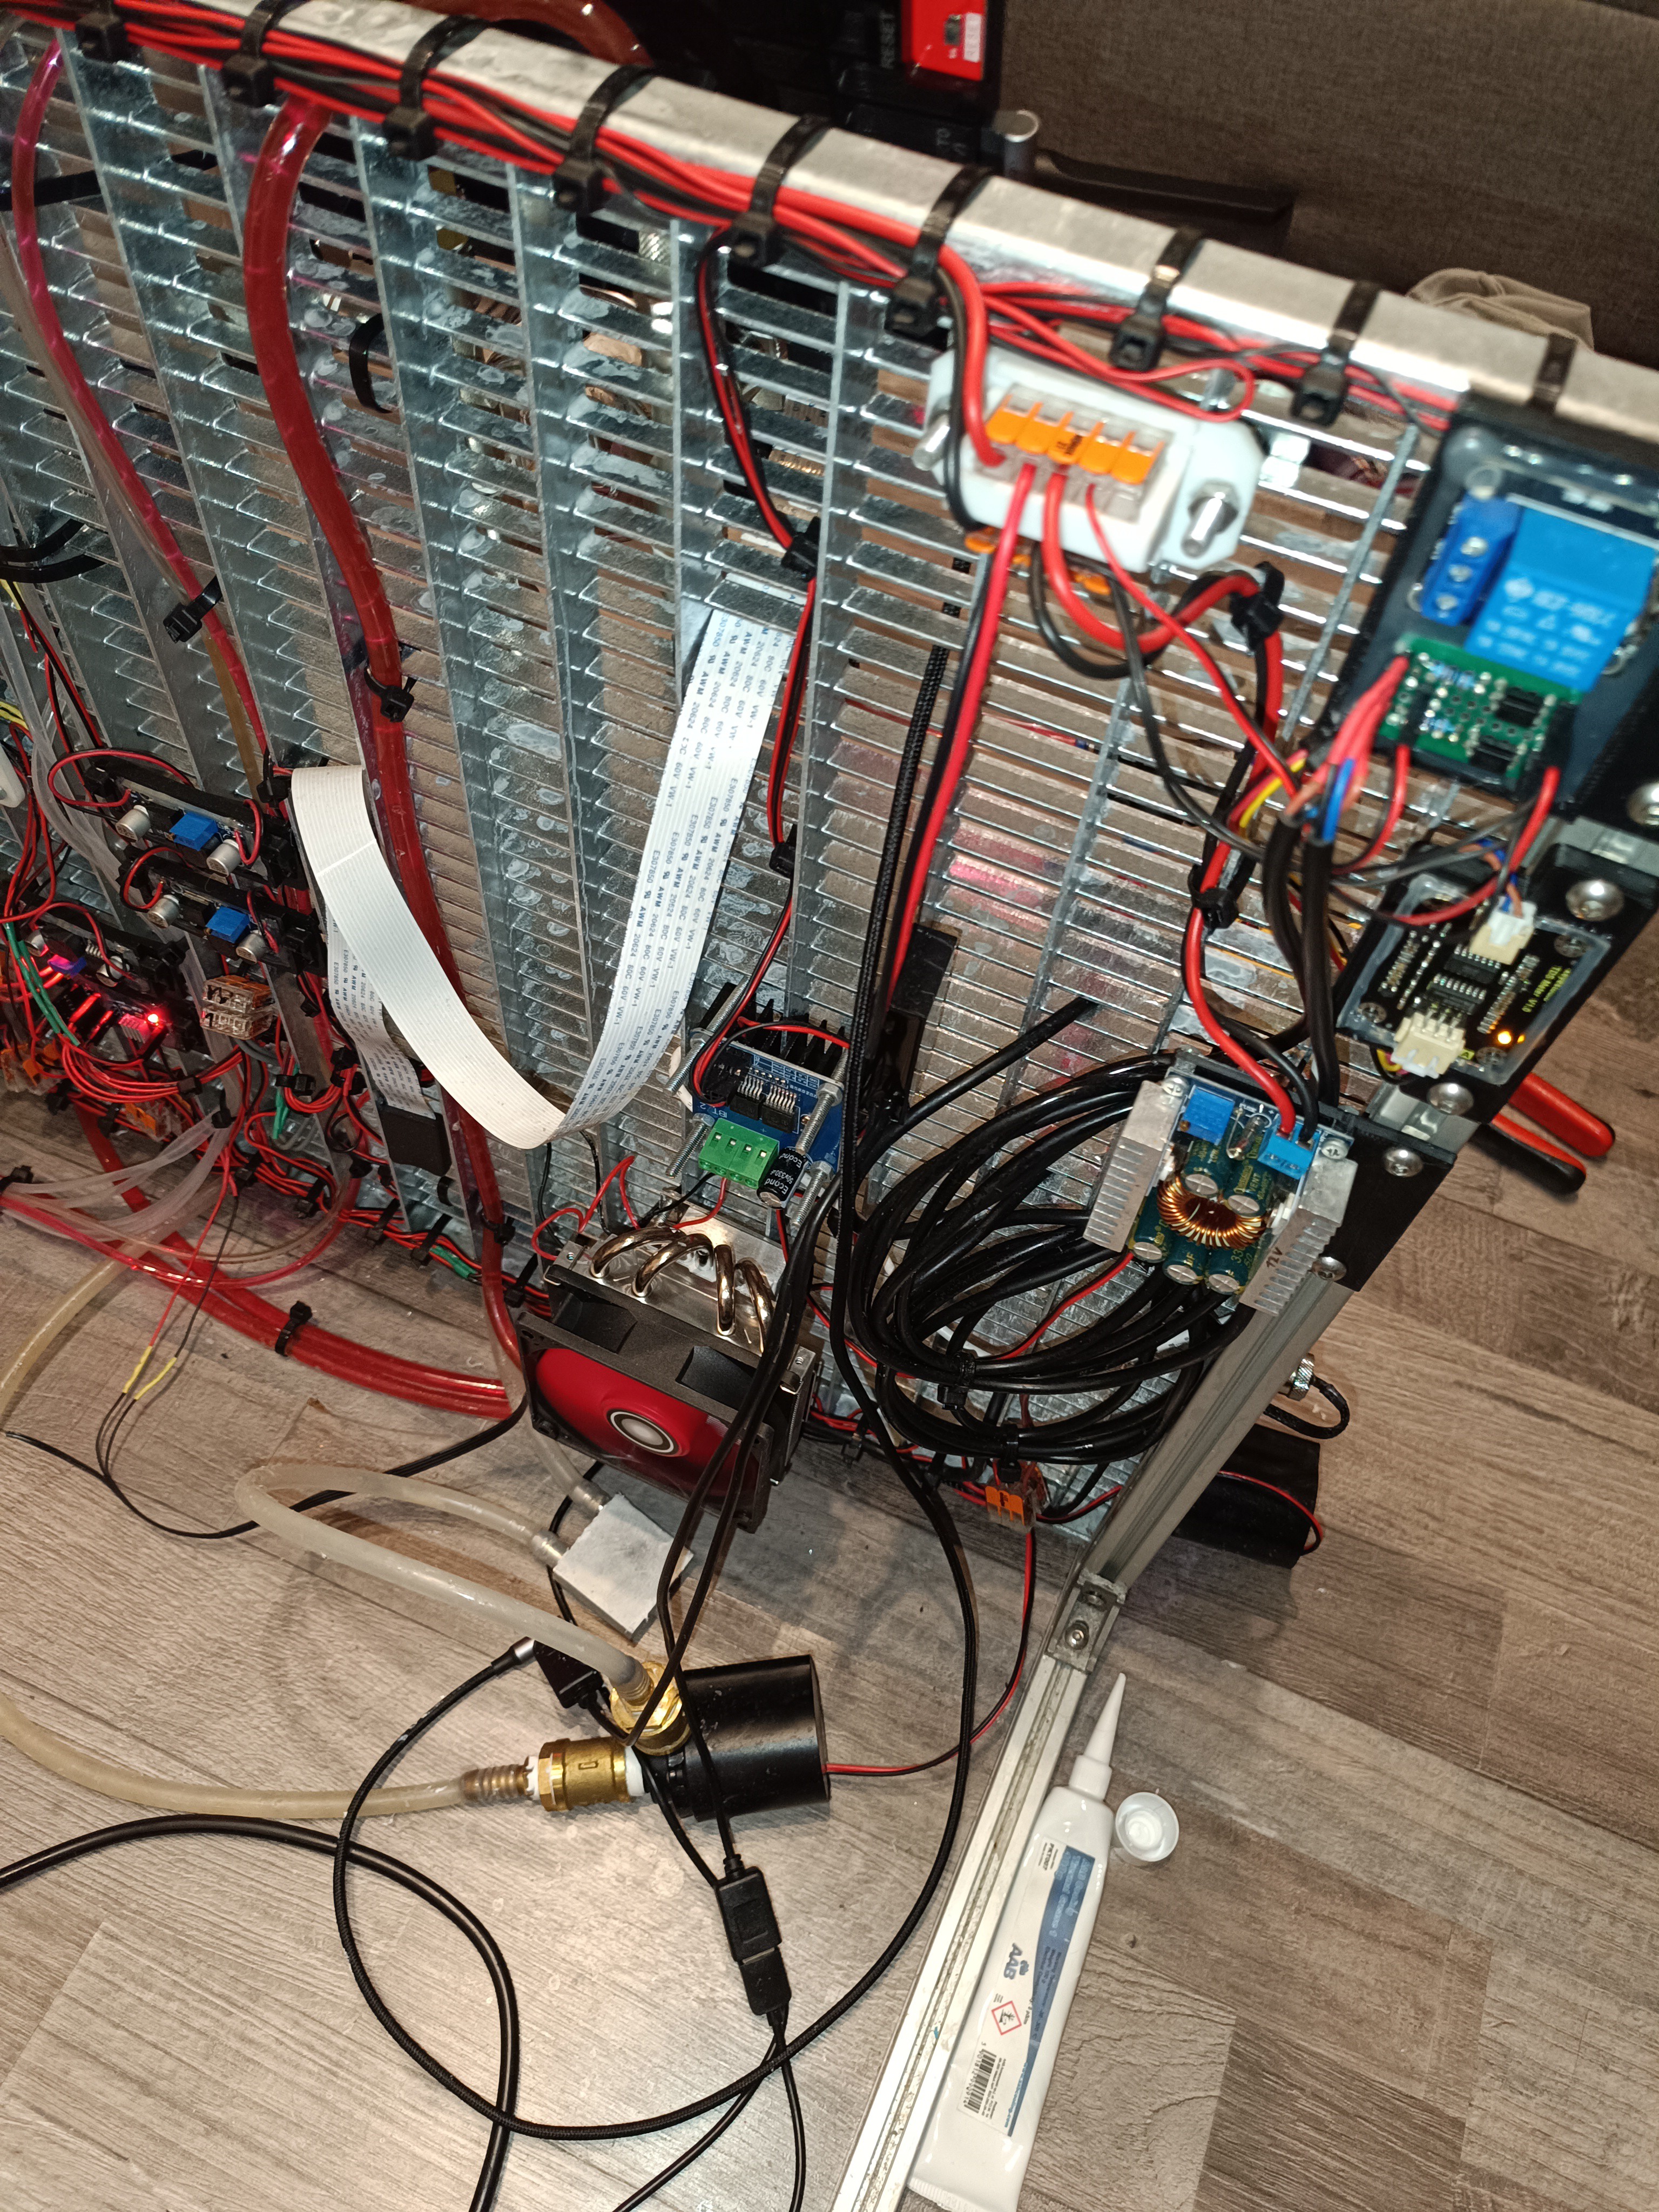
While I was replacing the fittings and tubes, I also thought about replacing the water cooler with an air cooler, so I could get rid of the water cooling pump, radiator, reservoir bottle, and tubes to end up with more space for other parts and less cost and complexity.
Until now, the water cooler was used to get rid of the heat of the Peltier module when it's used for cooling the ink.
The Peltier module can be used for heating or cooling the ink depending on the room temperature to always keep the ink on a reference temperature of around 25⁰C for viscosity measurement.
The ink's viscosity changes with temperature even if the ink mixture stays the same, so it's necessary to always measure the viscosity at the same temperature to be certain that changes in the viscosity reading also represent changes in the ink mixture.
To keep the viscosity constant during printing, the printer can add more ethanol to the mix to compensate for the evaporation of ethanol, which would otherwise lead to an increase in the ink's viscosity.
As long as the room temperature doesn't exceed 25⁰C by a lot there wouldn't be much heat to dissipate, so I think the cooling can be handled by an air cooler as well for the most time of the year.
So, I replaced the water cooler with an air cooler.
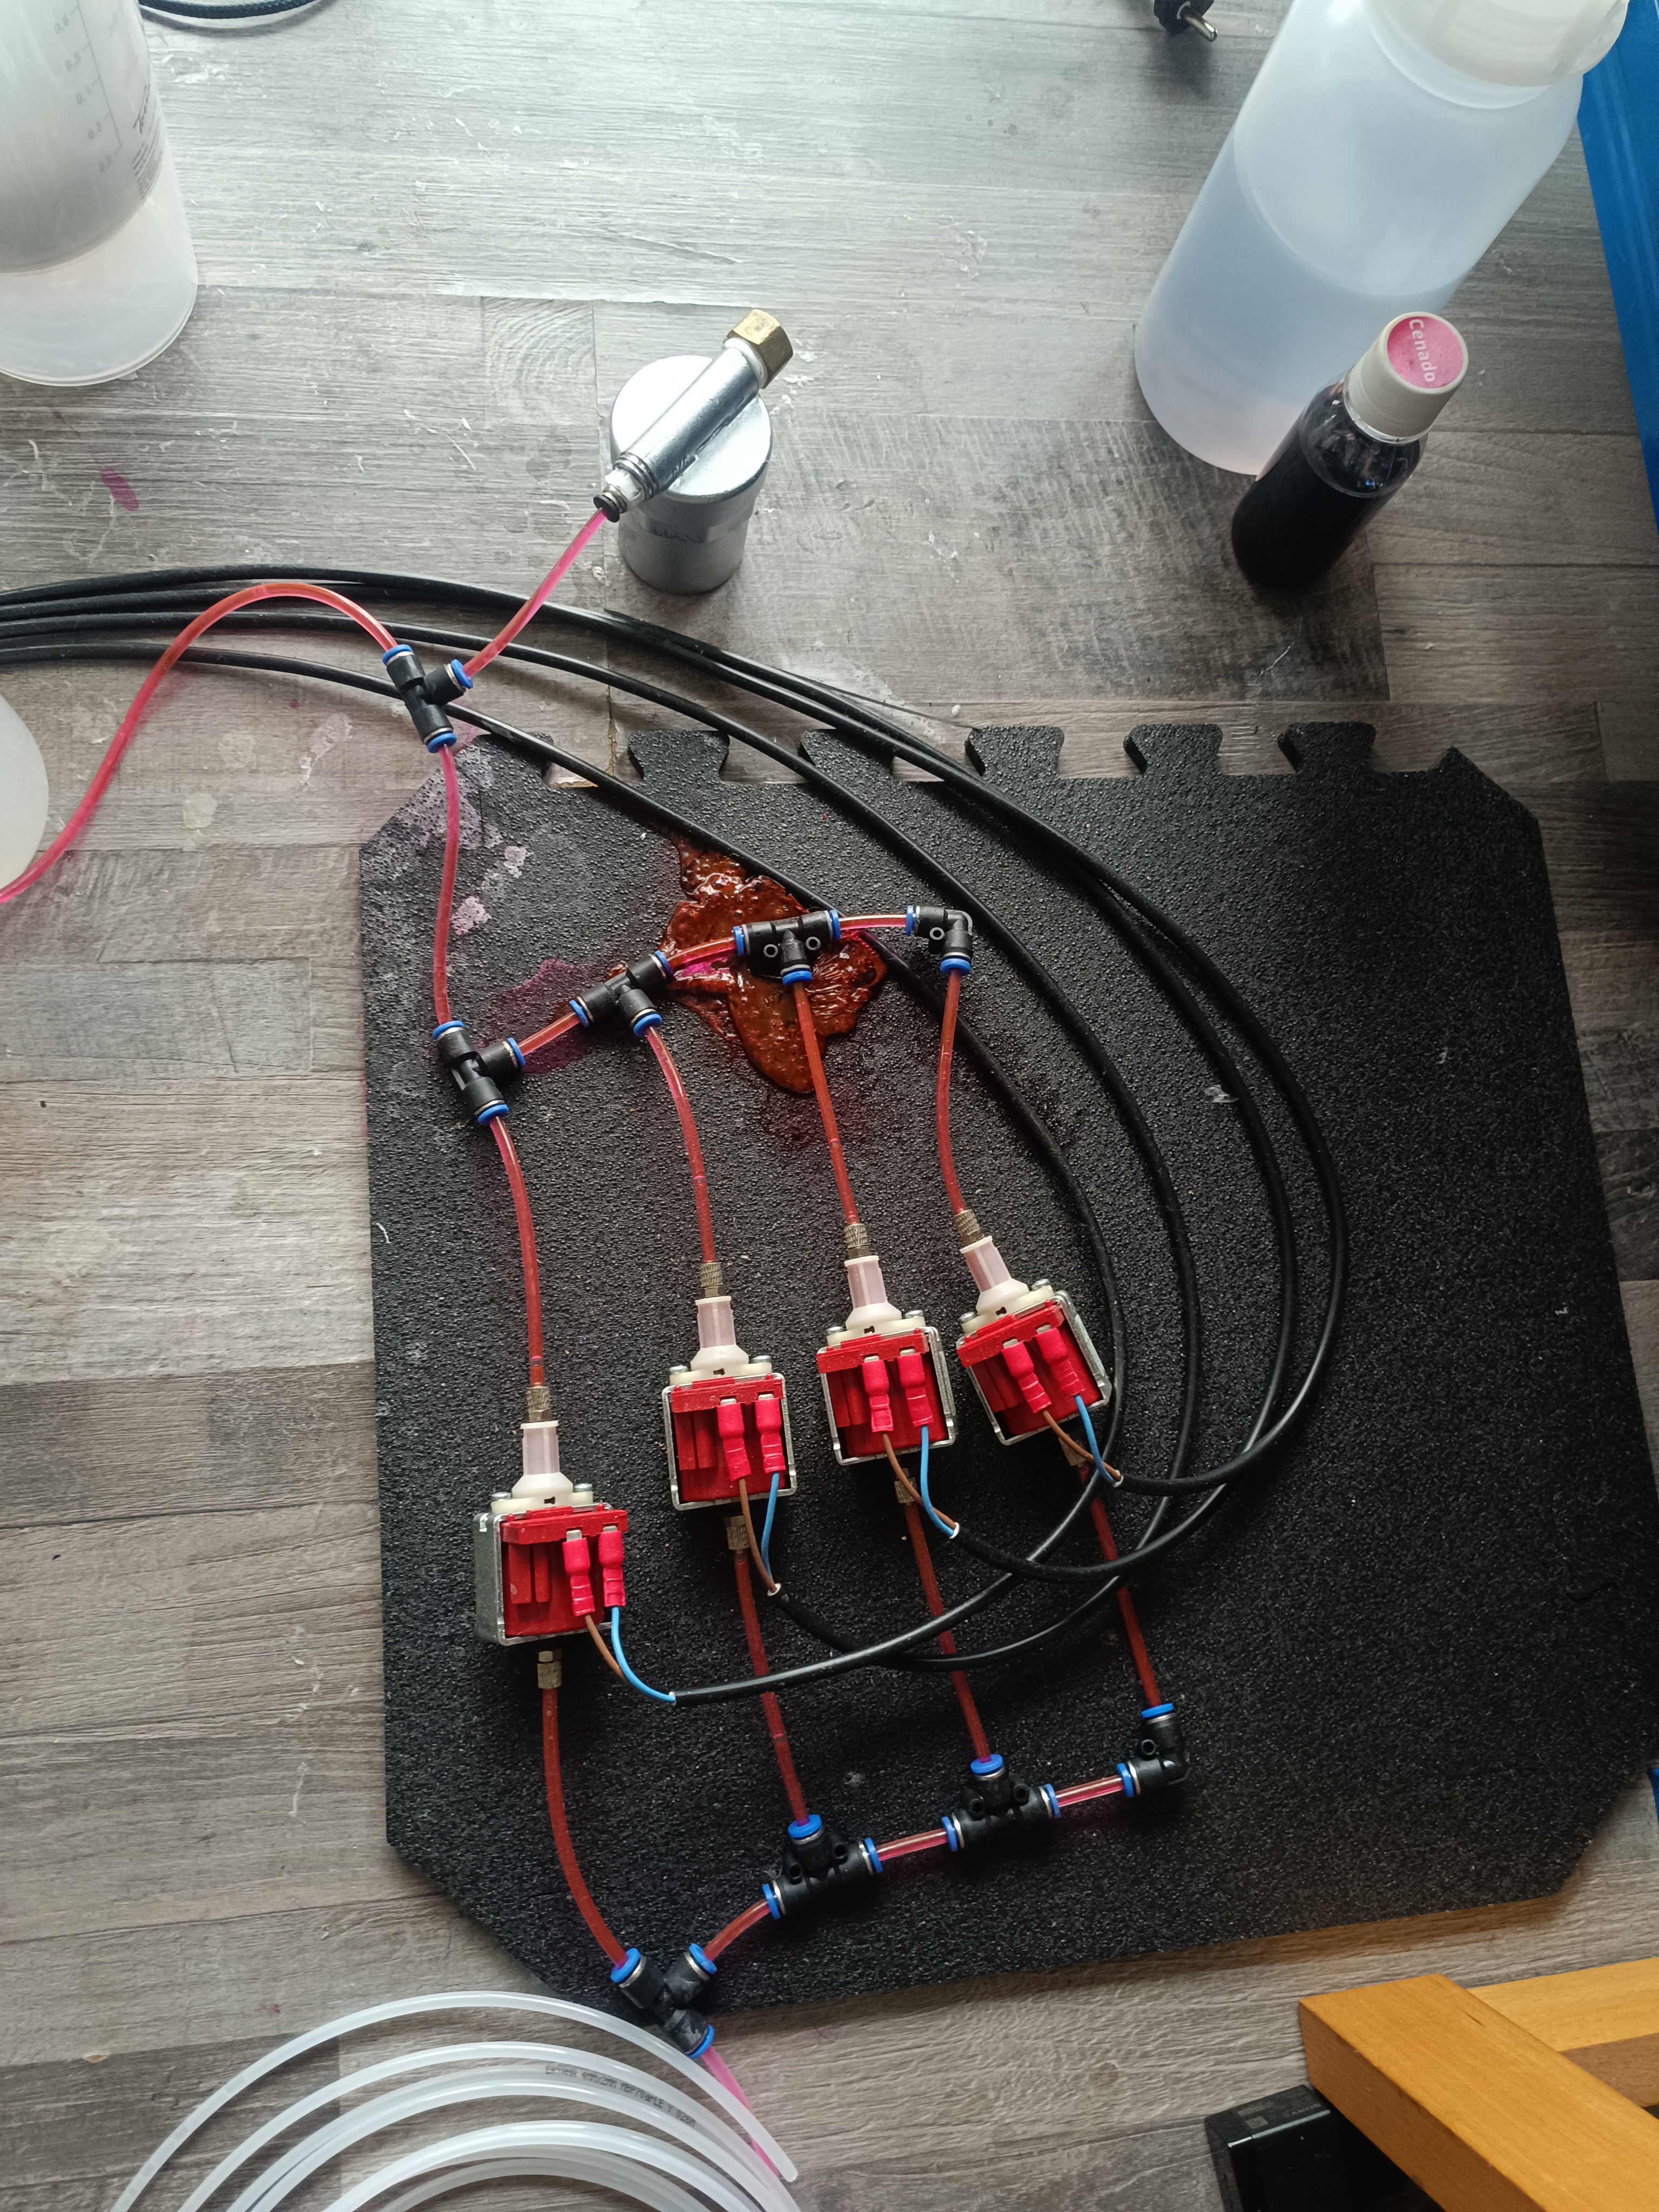
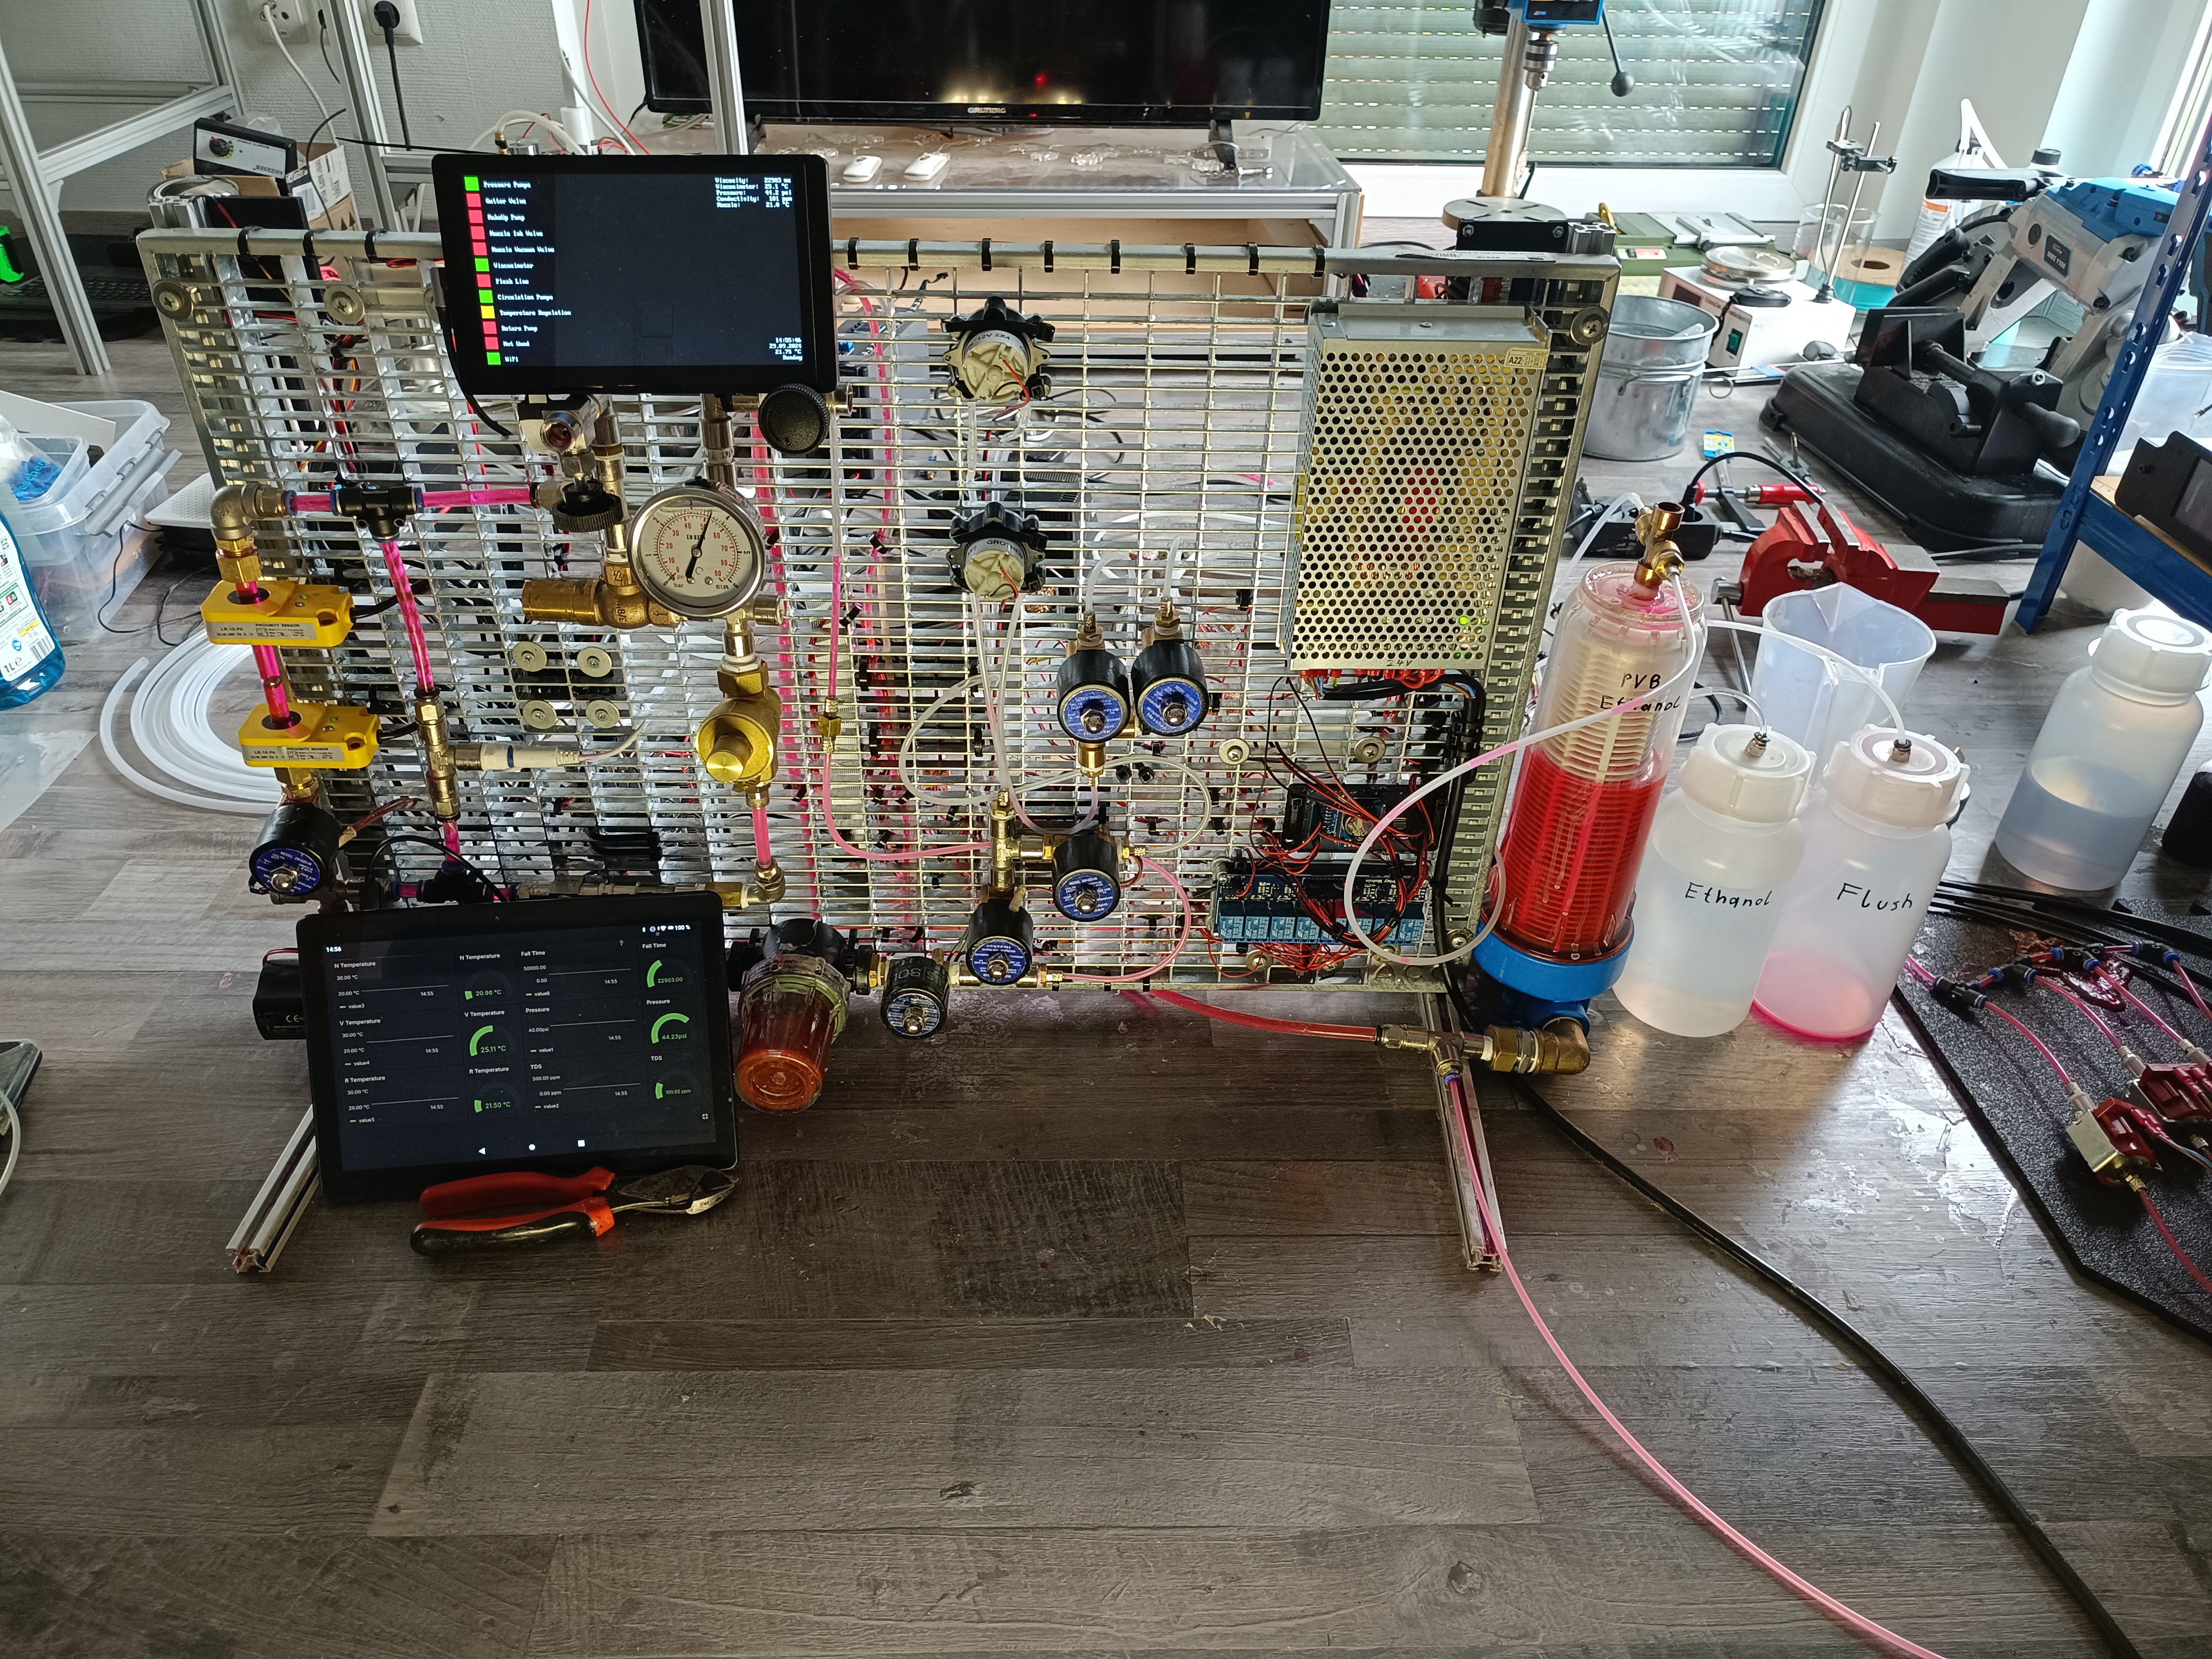
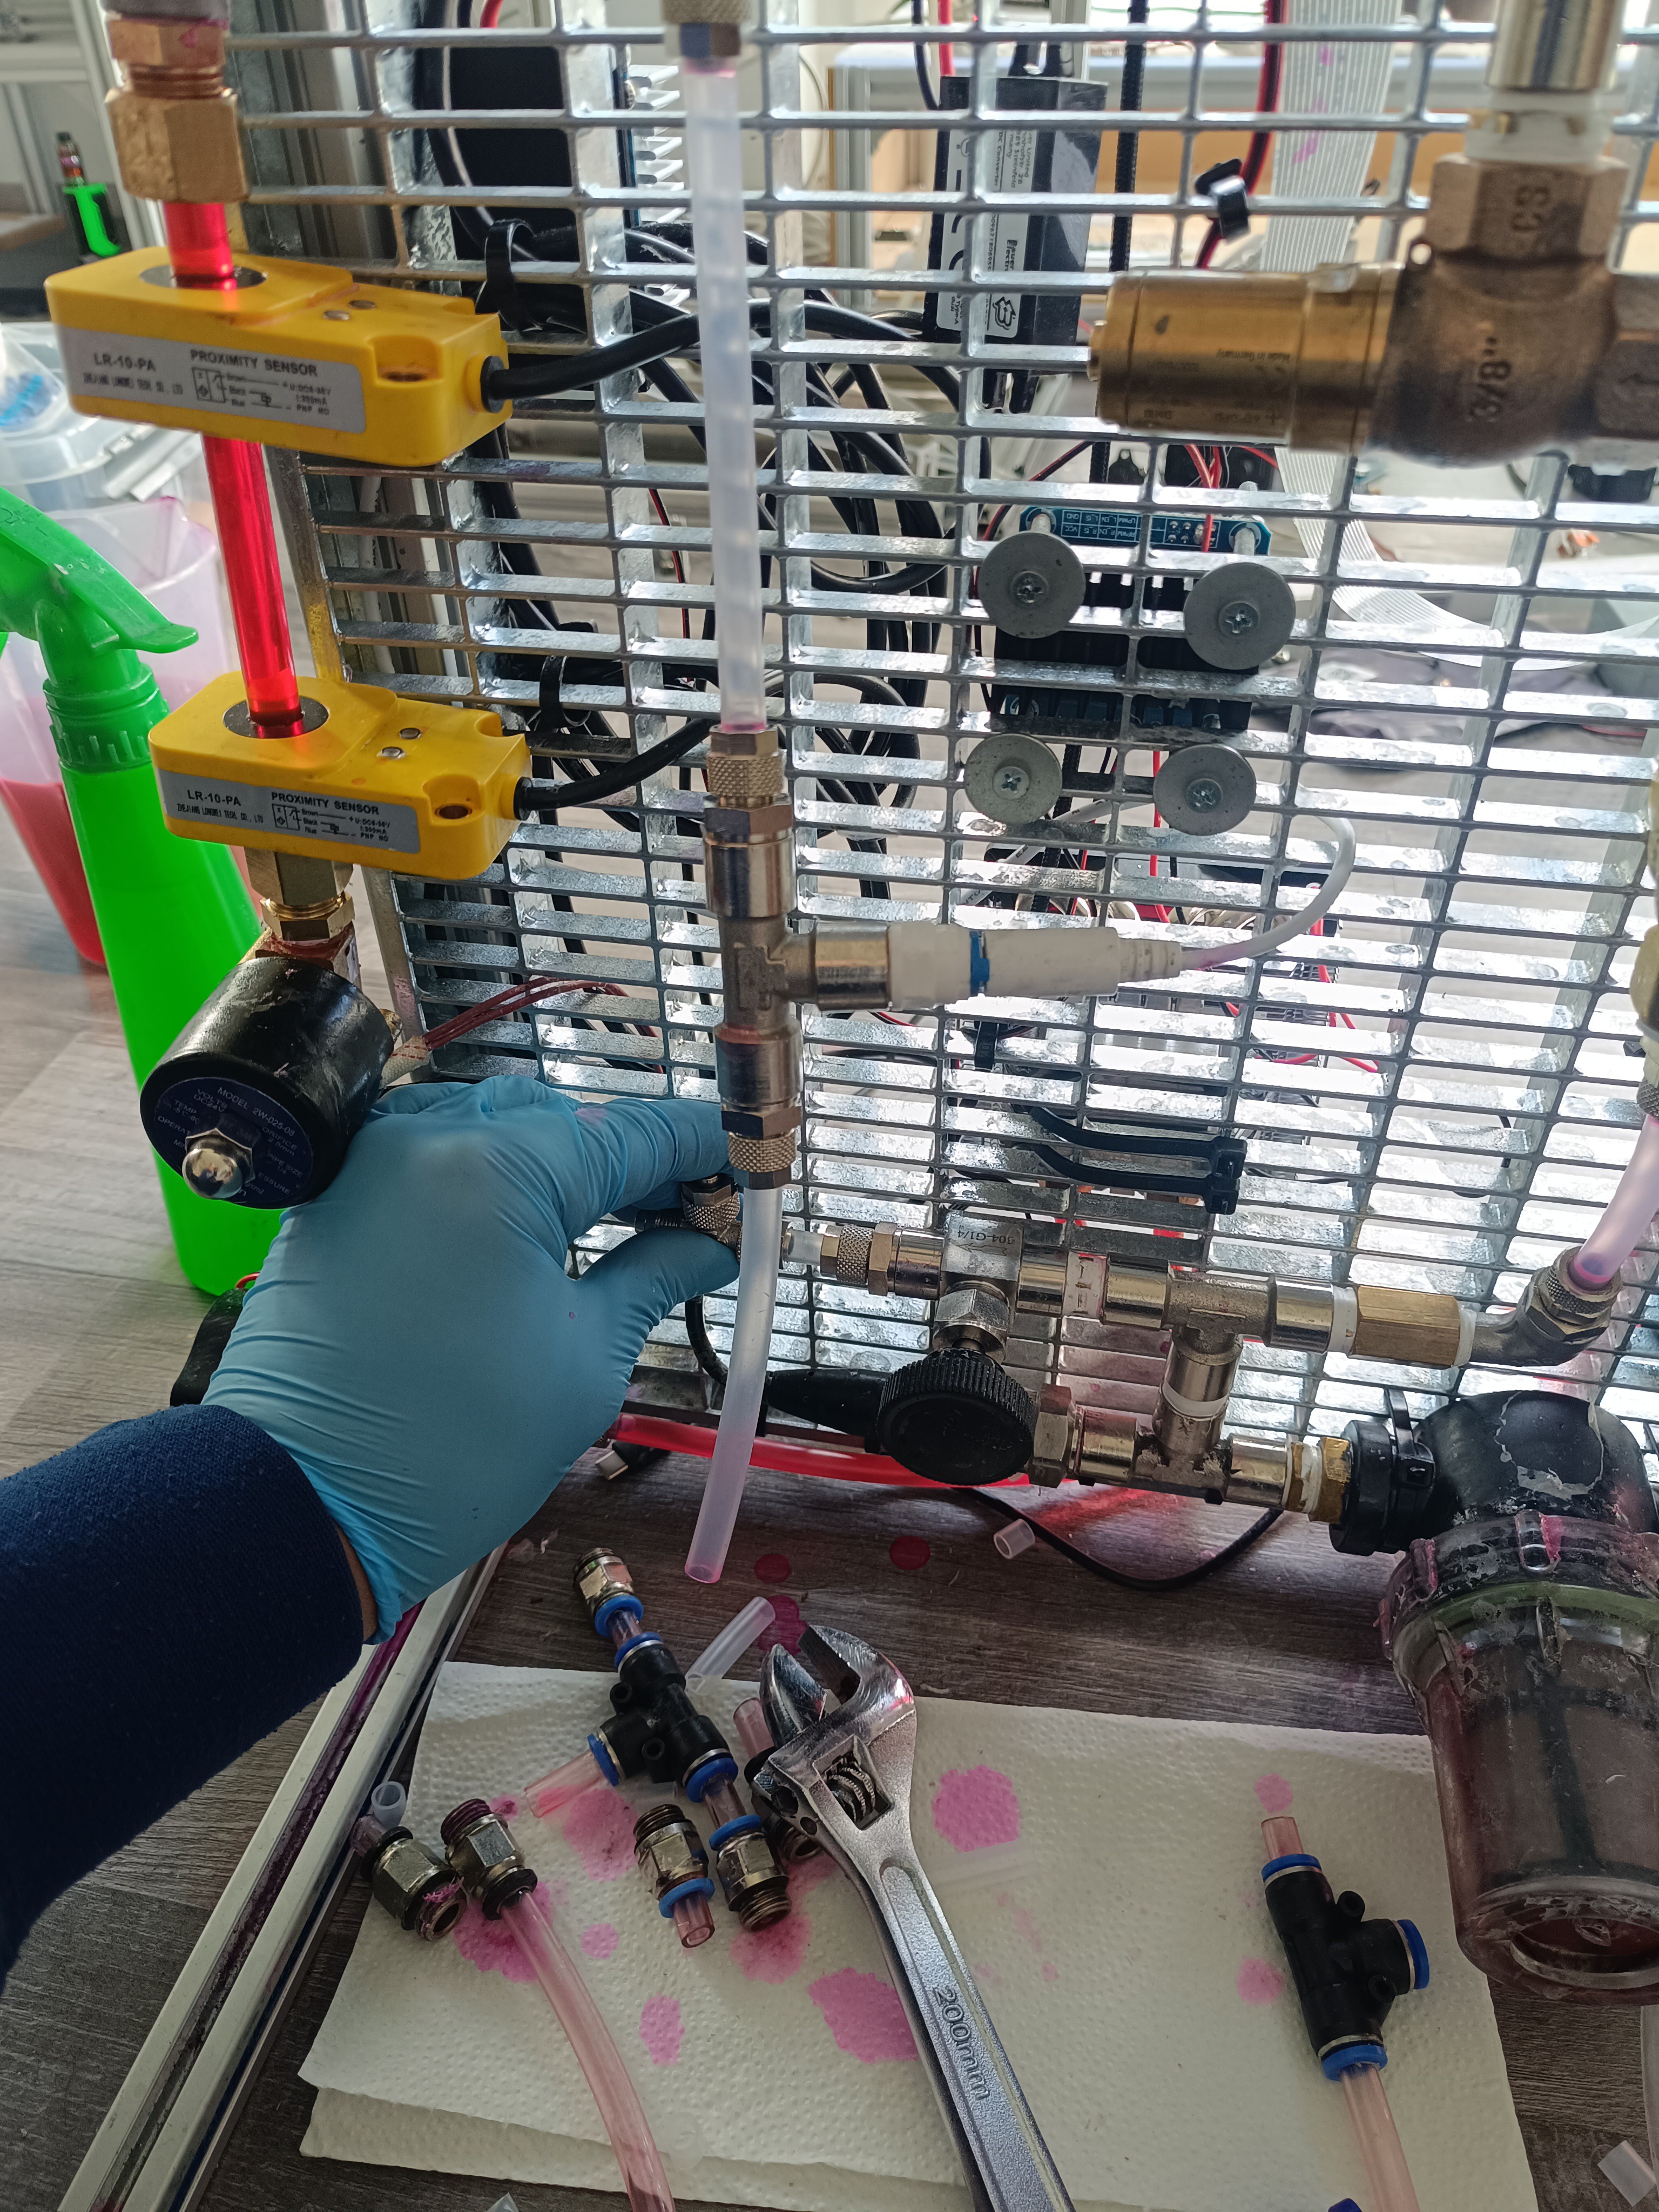
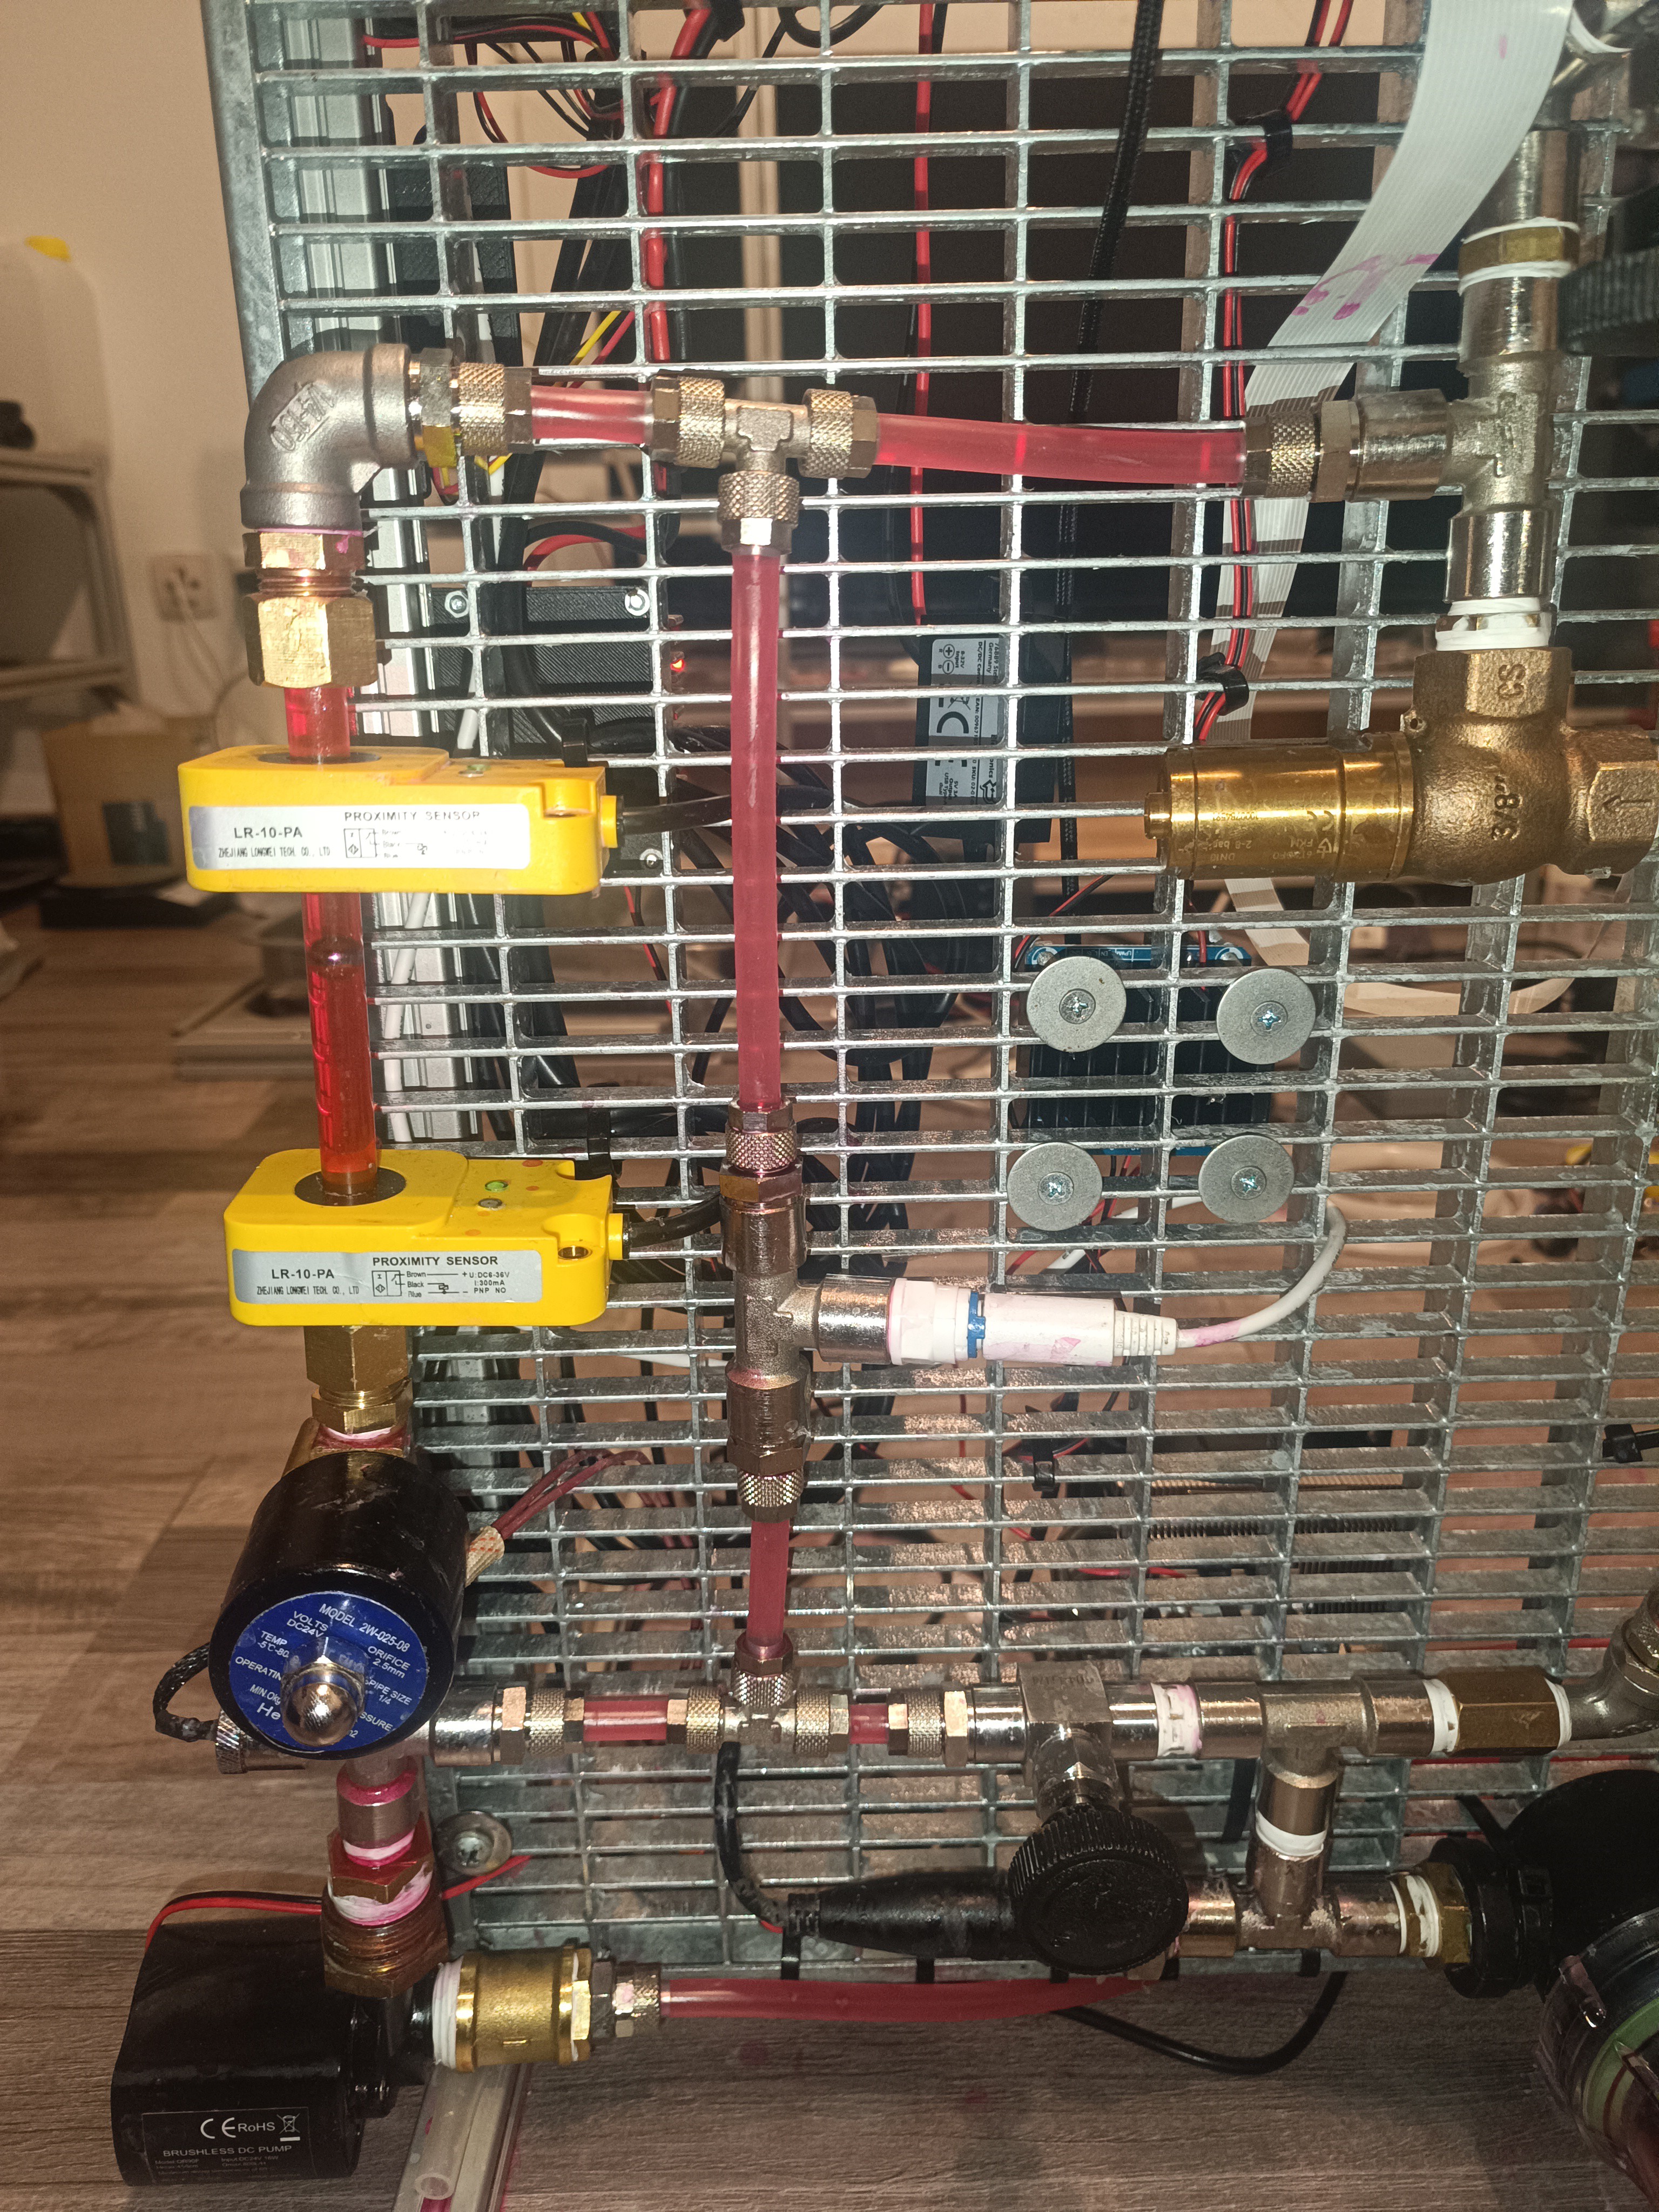
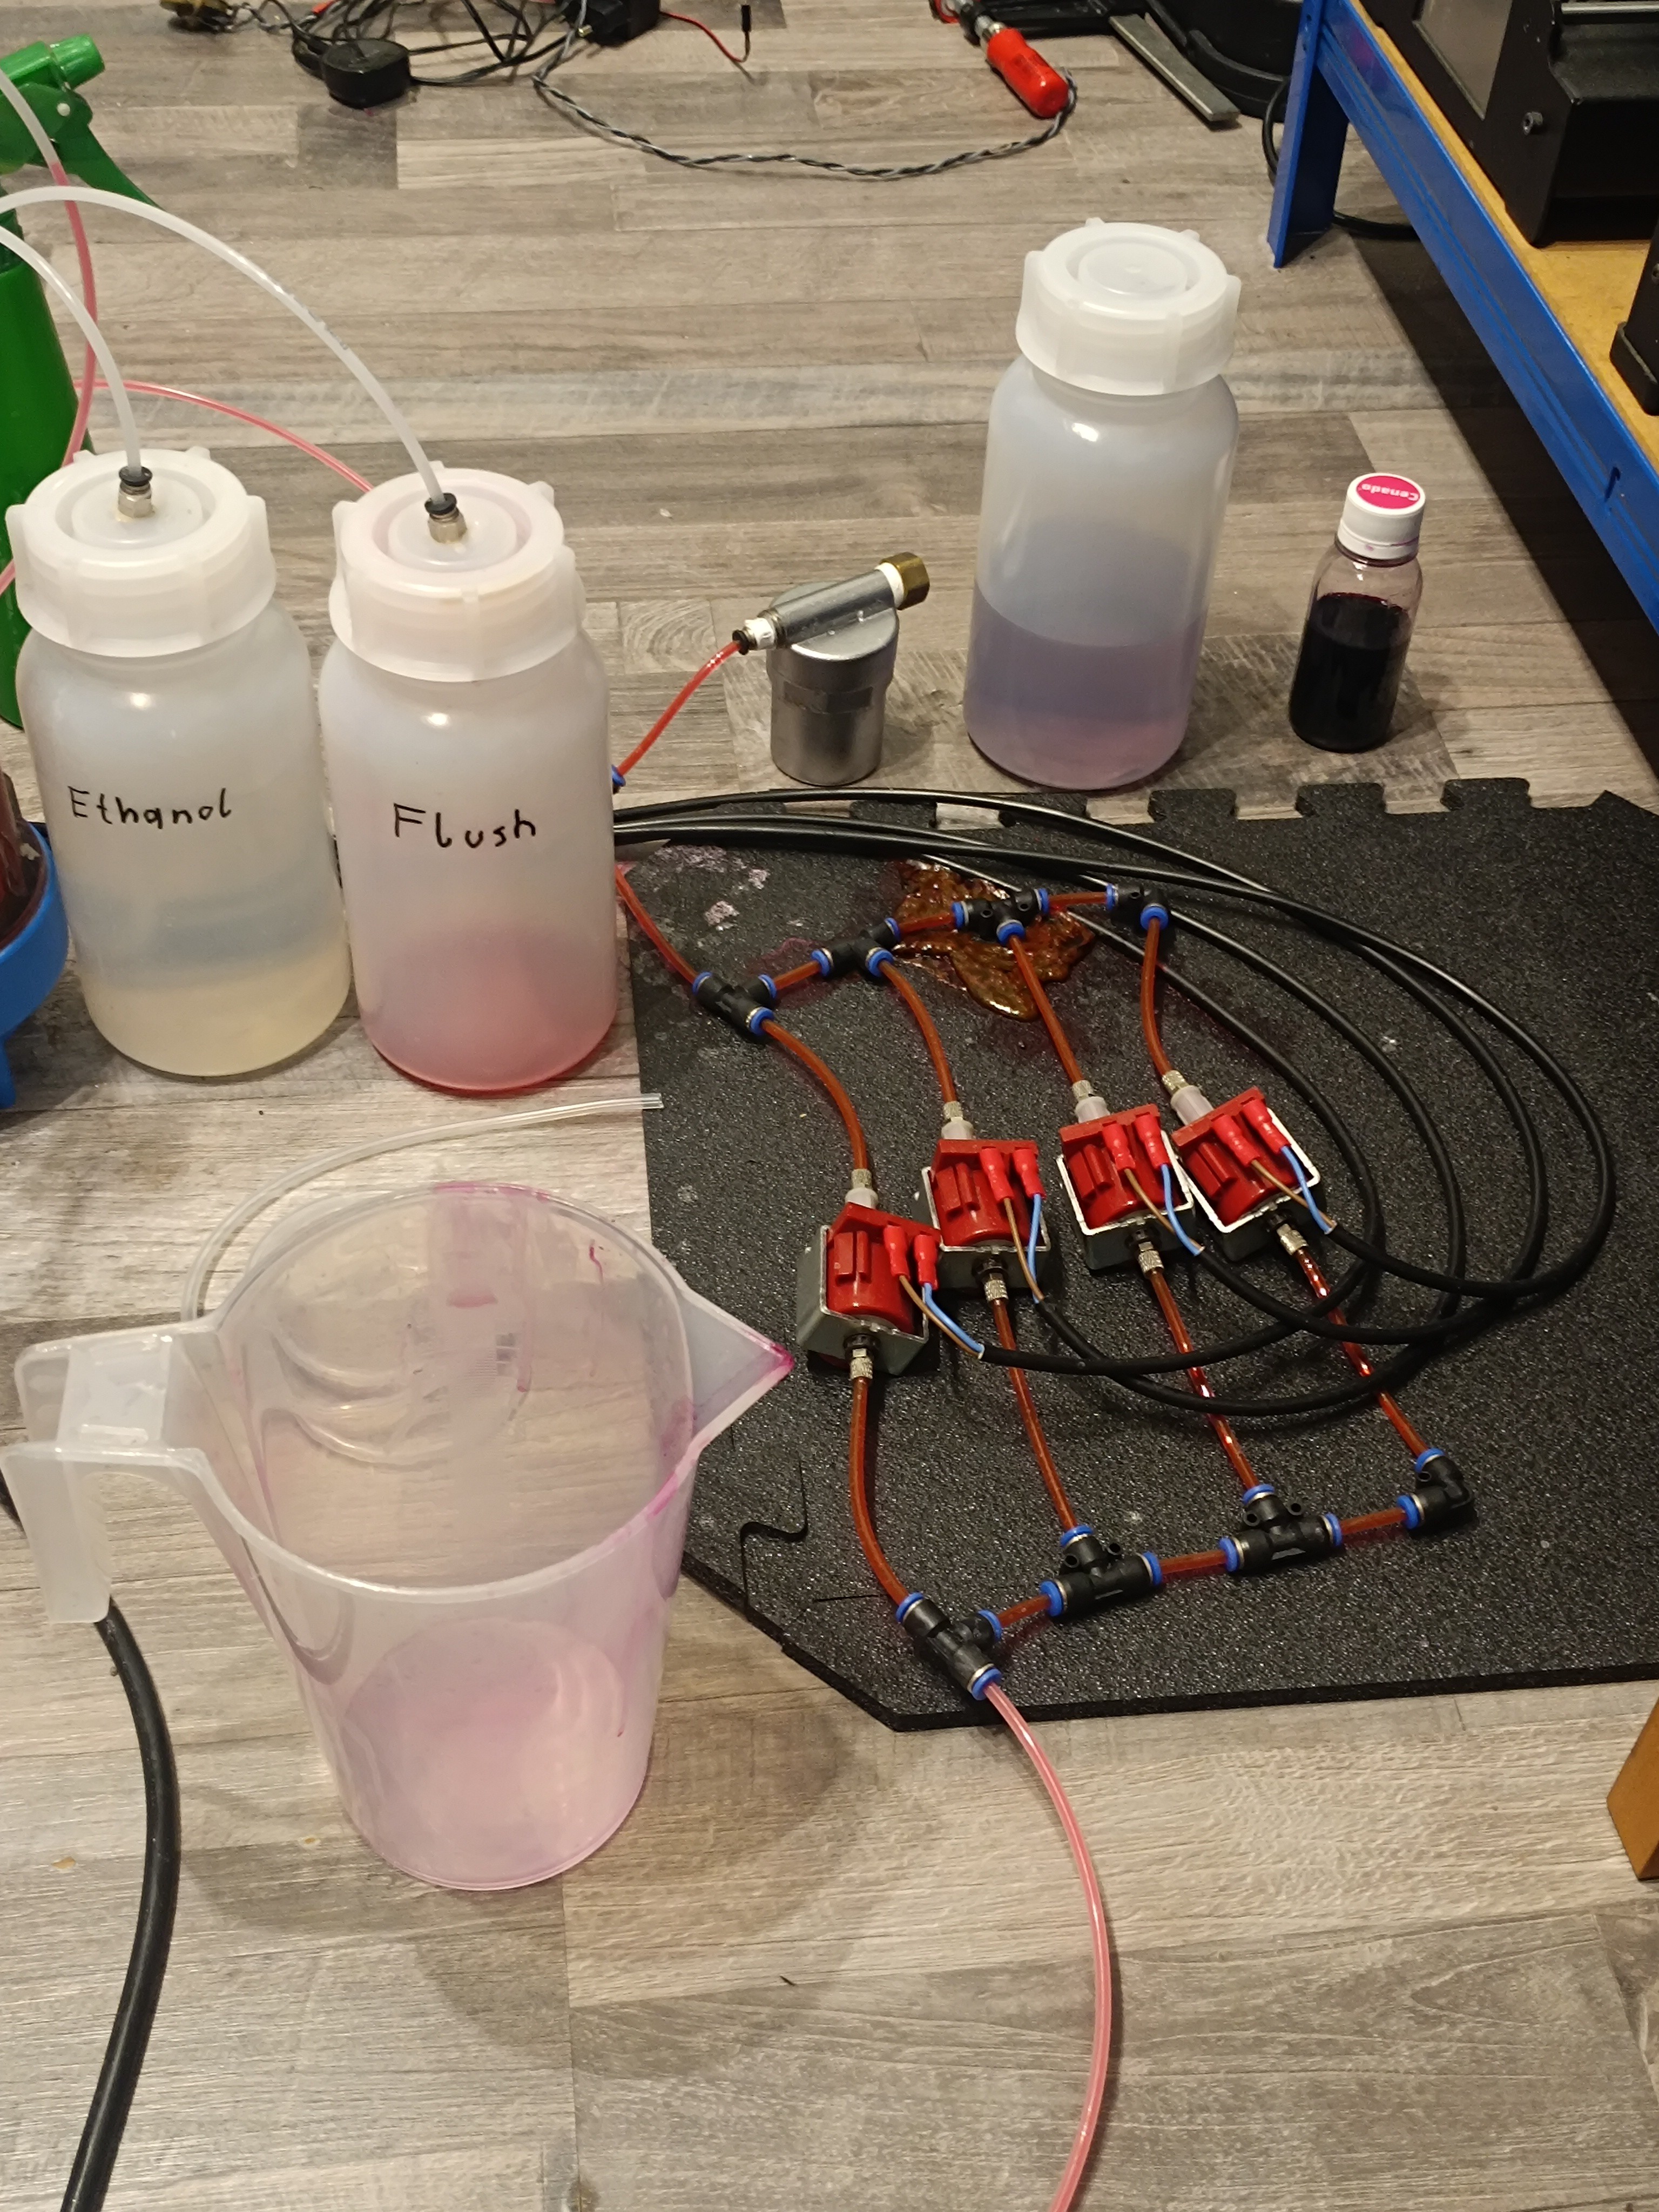
New Flushing Concept
A while ago I added a flush valve and flush line to the printhead that could be used for flushing the nozzle and gutter line with ink for cleaning.
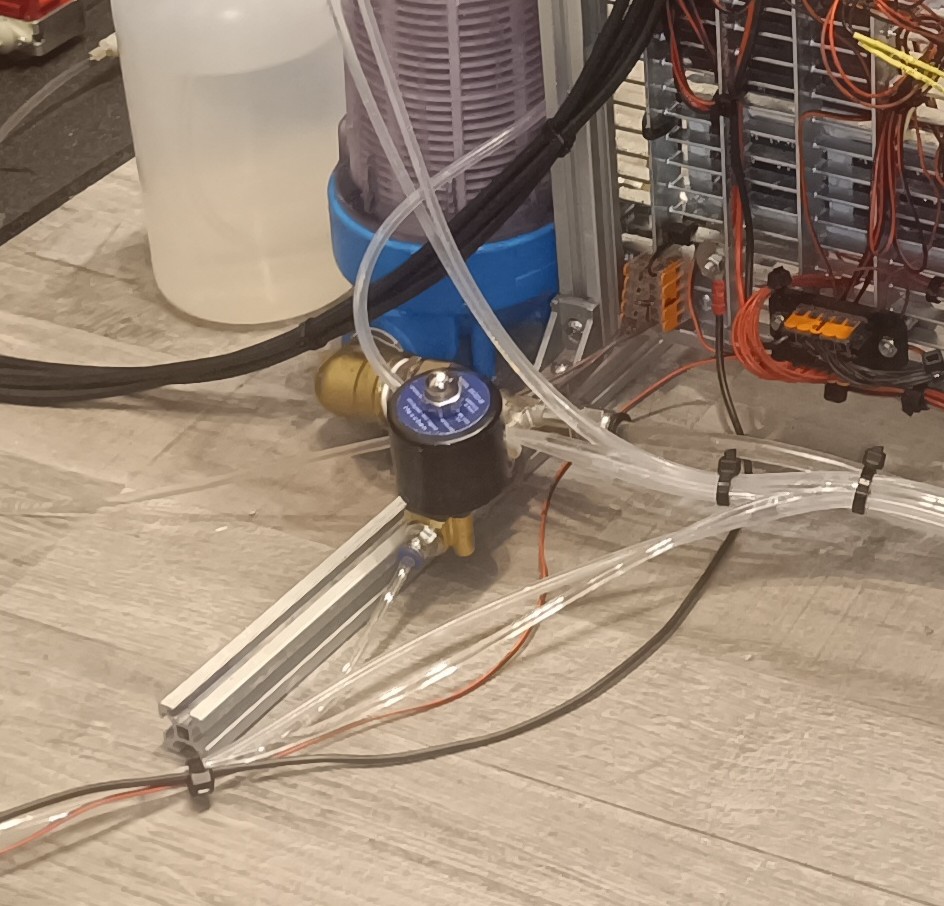
It turned out that this wasn't the best idea because the ink would harden inside the tubes when the printer is not used for some time and when I recently ended up with clogged lines that I had to replace, I decided to change the printer design in a way that makes it possible to draw all ink from the nozzle and gutter line via vacuum and then flush these lines with ethanol without adding unwanted ethanol to the ink tank.
To do so, I added two valves to the output of the return pump, which are both switched with the same relay. The valve that leads to the ink tank is connected to the normally closed pin and the valve that leads to the flush bottle is connected to the normally open pin so that the ink flows into the ink tank until the flush line function is activated which switches the relay so that the ink tank valve closes and the flush bottle valve opens.
With this change, it's possible to flush the gutter and nozzle line into the flush bottle to prevent clogged lines and too diluted ink in the future.

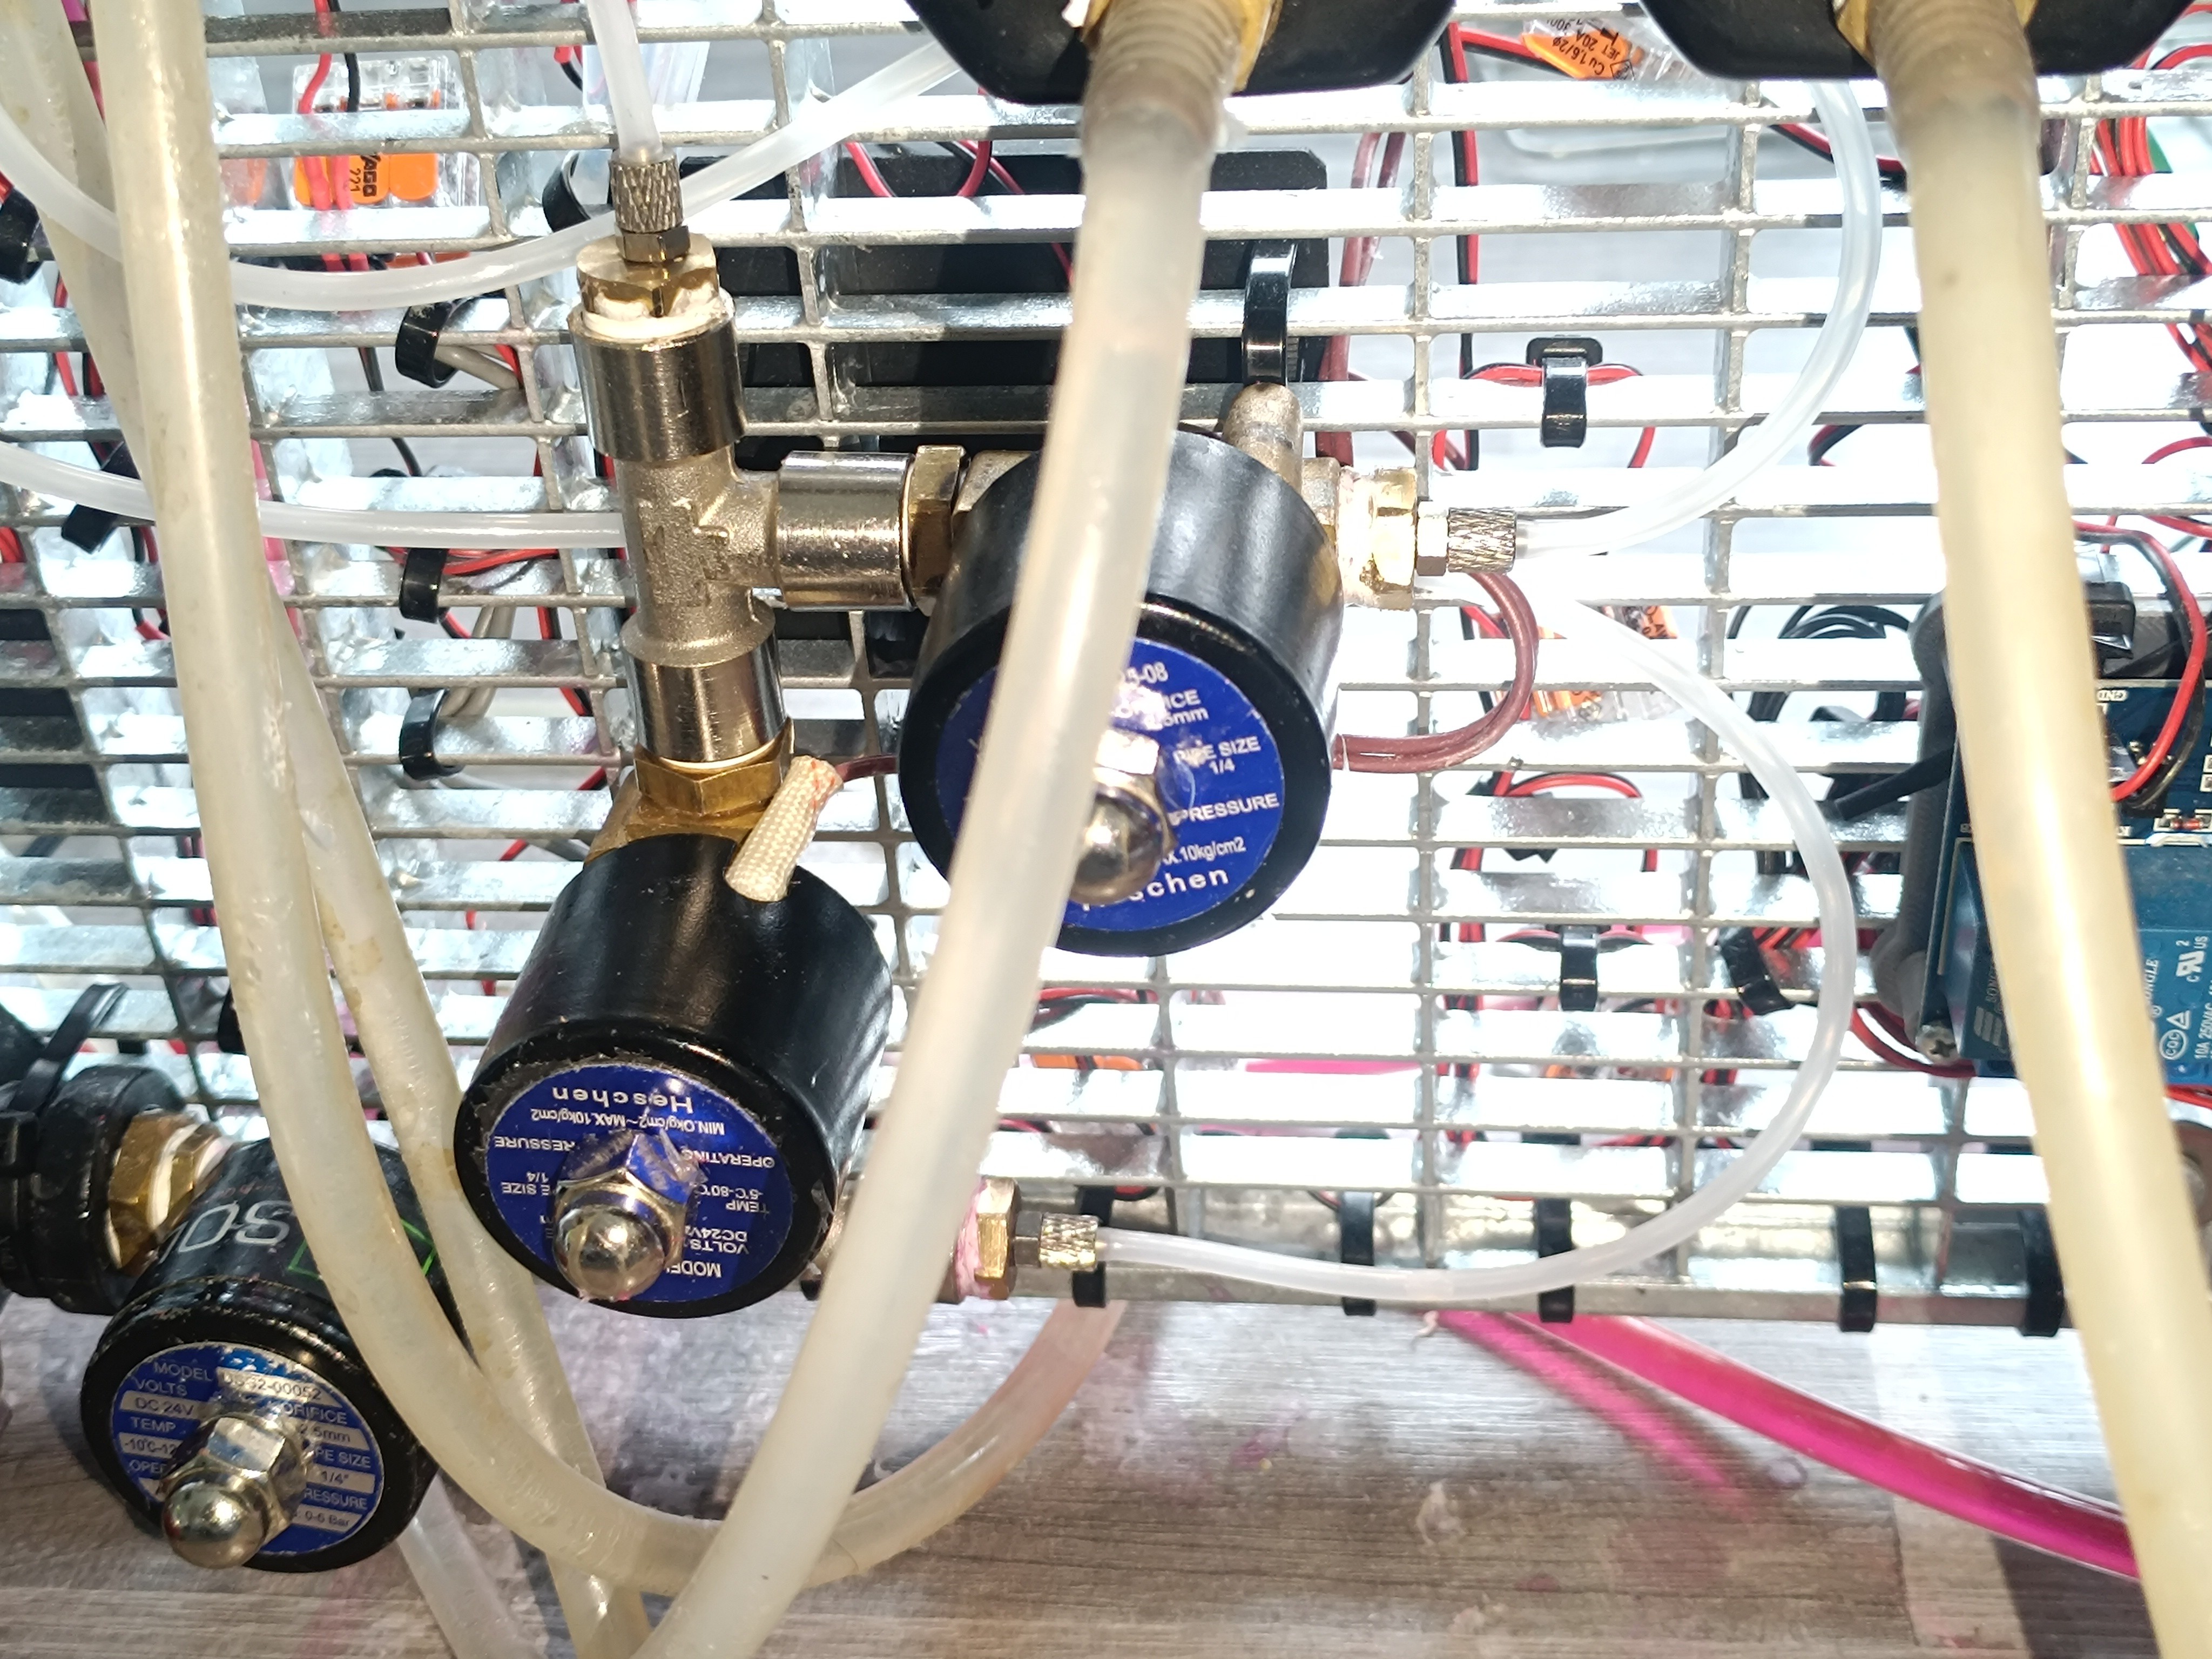
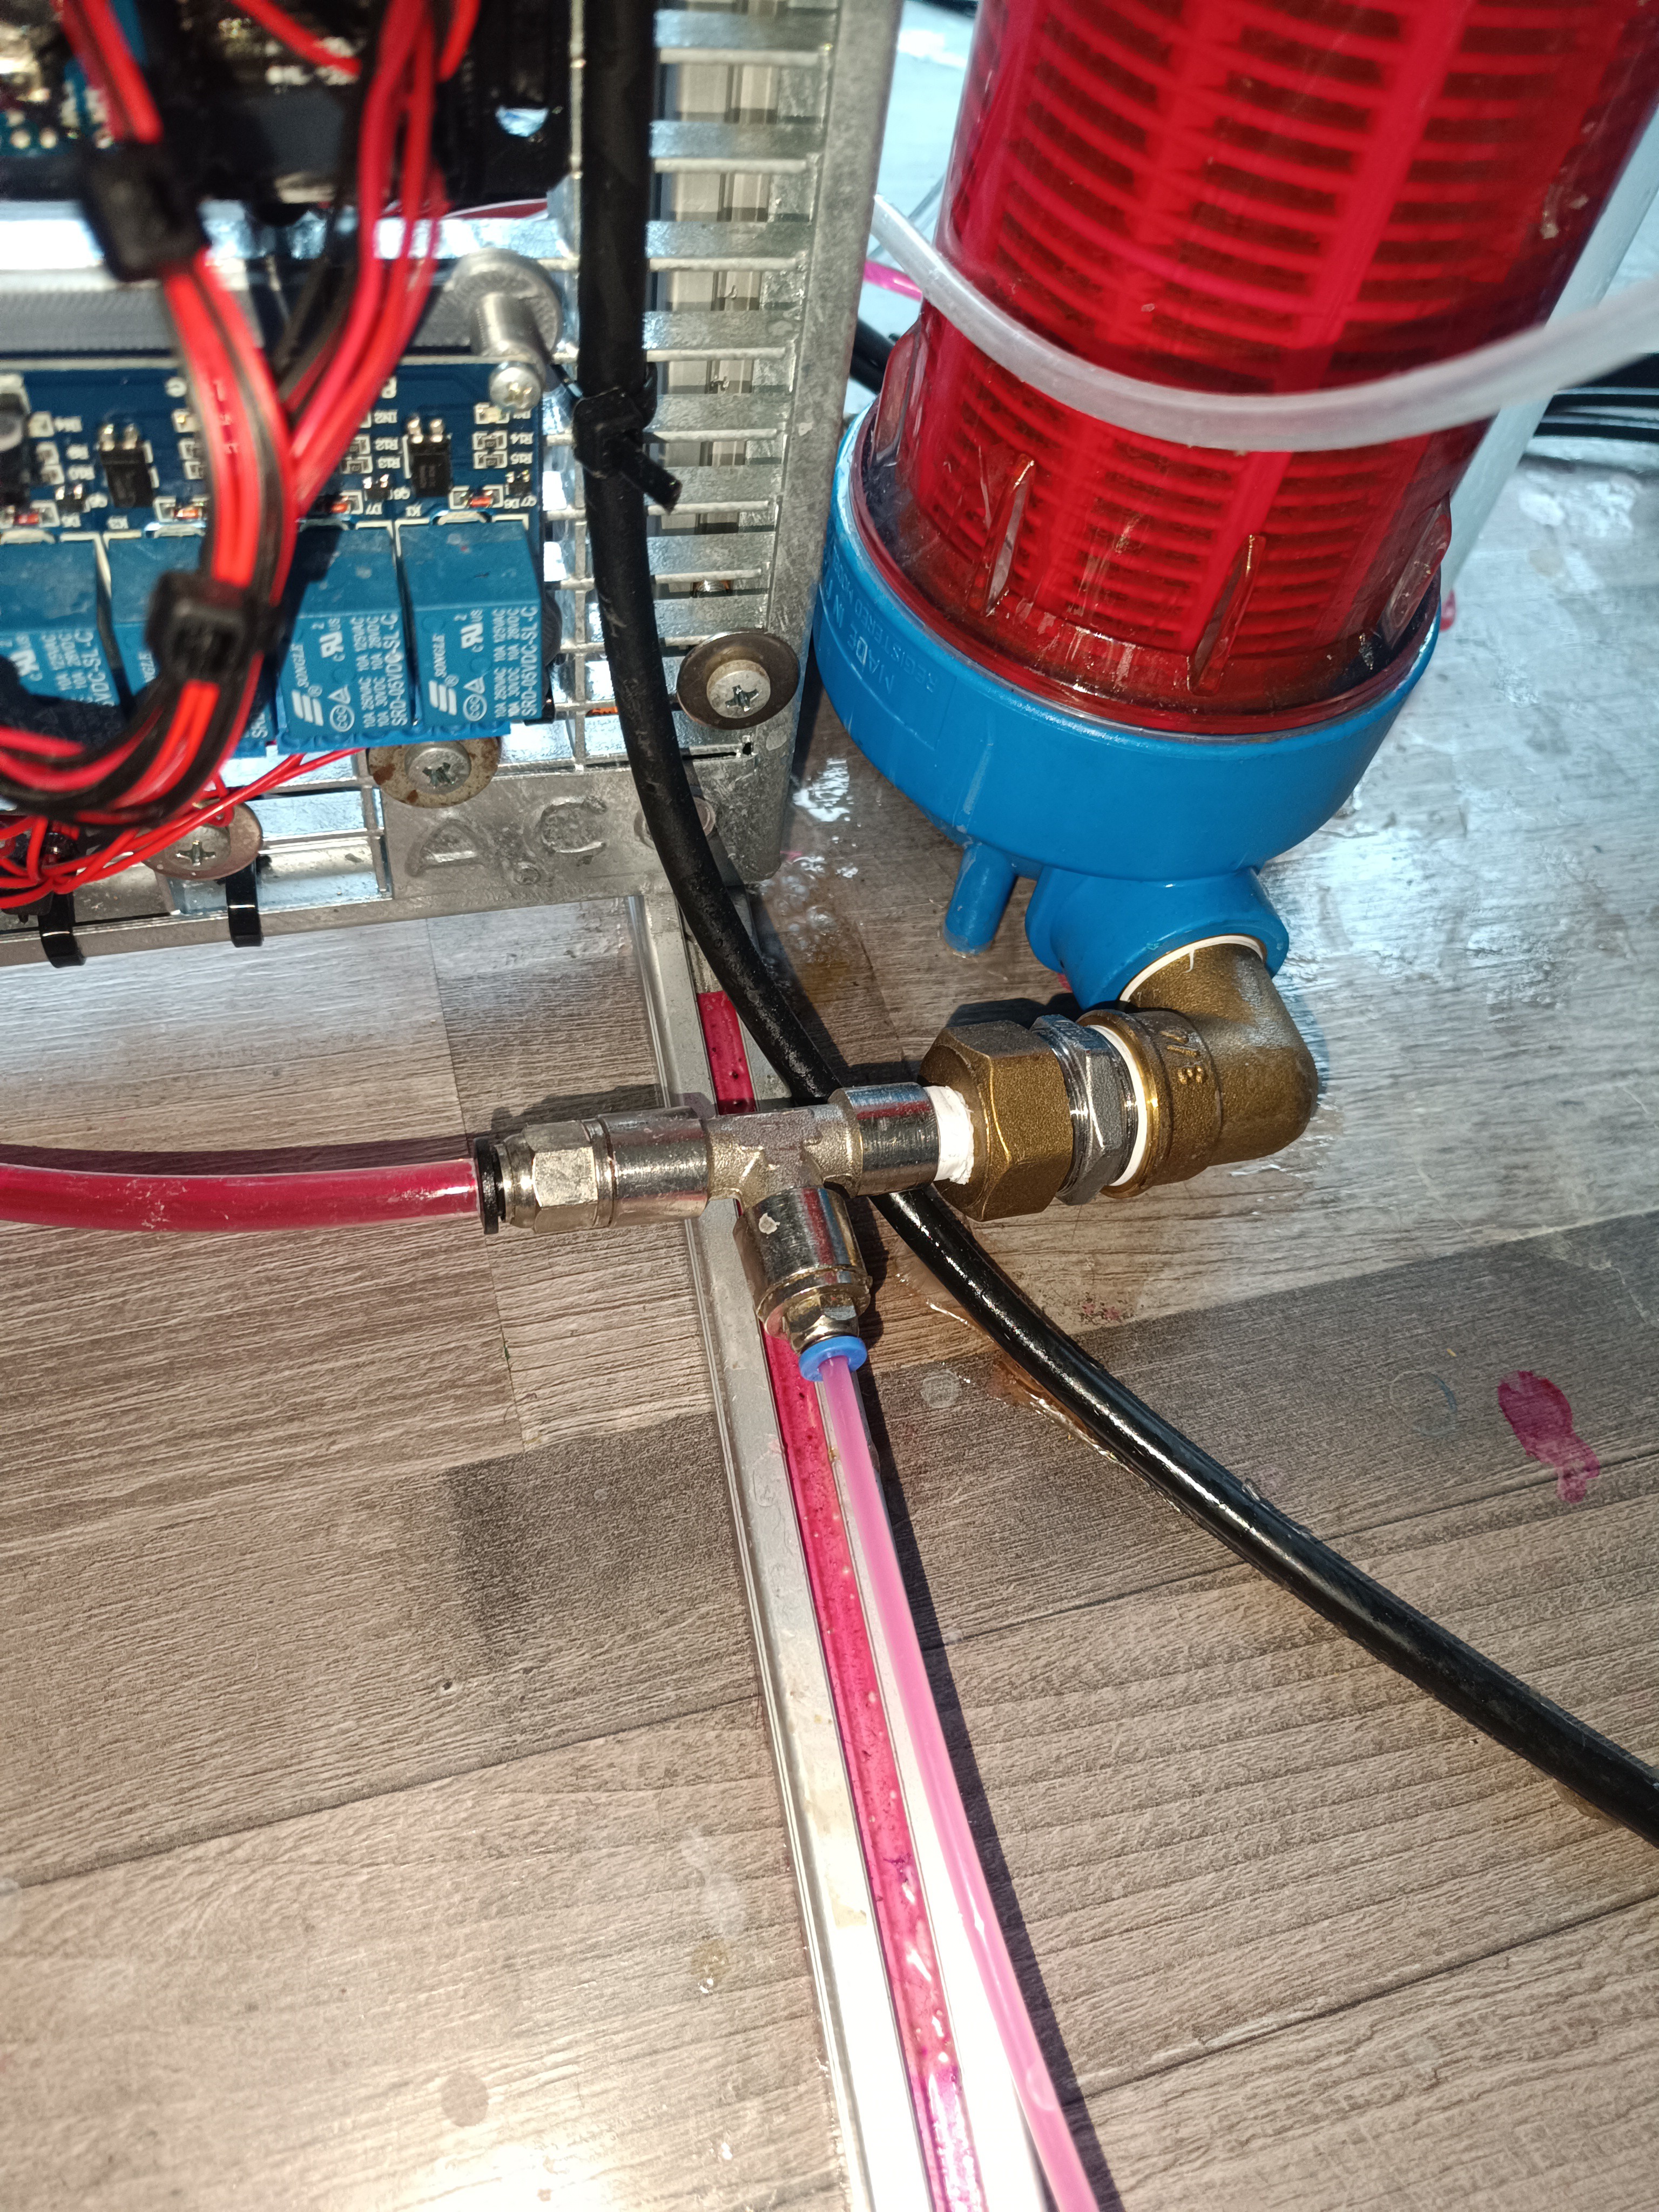
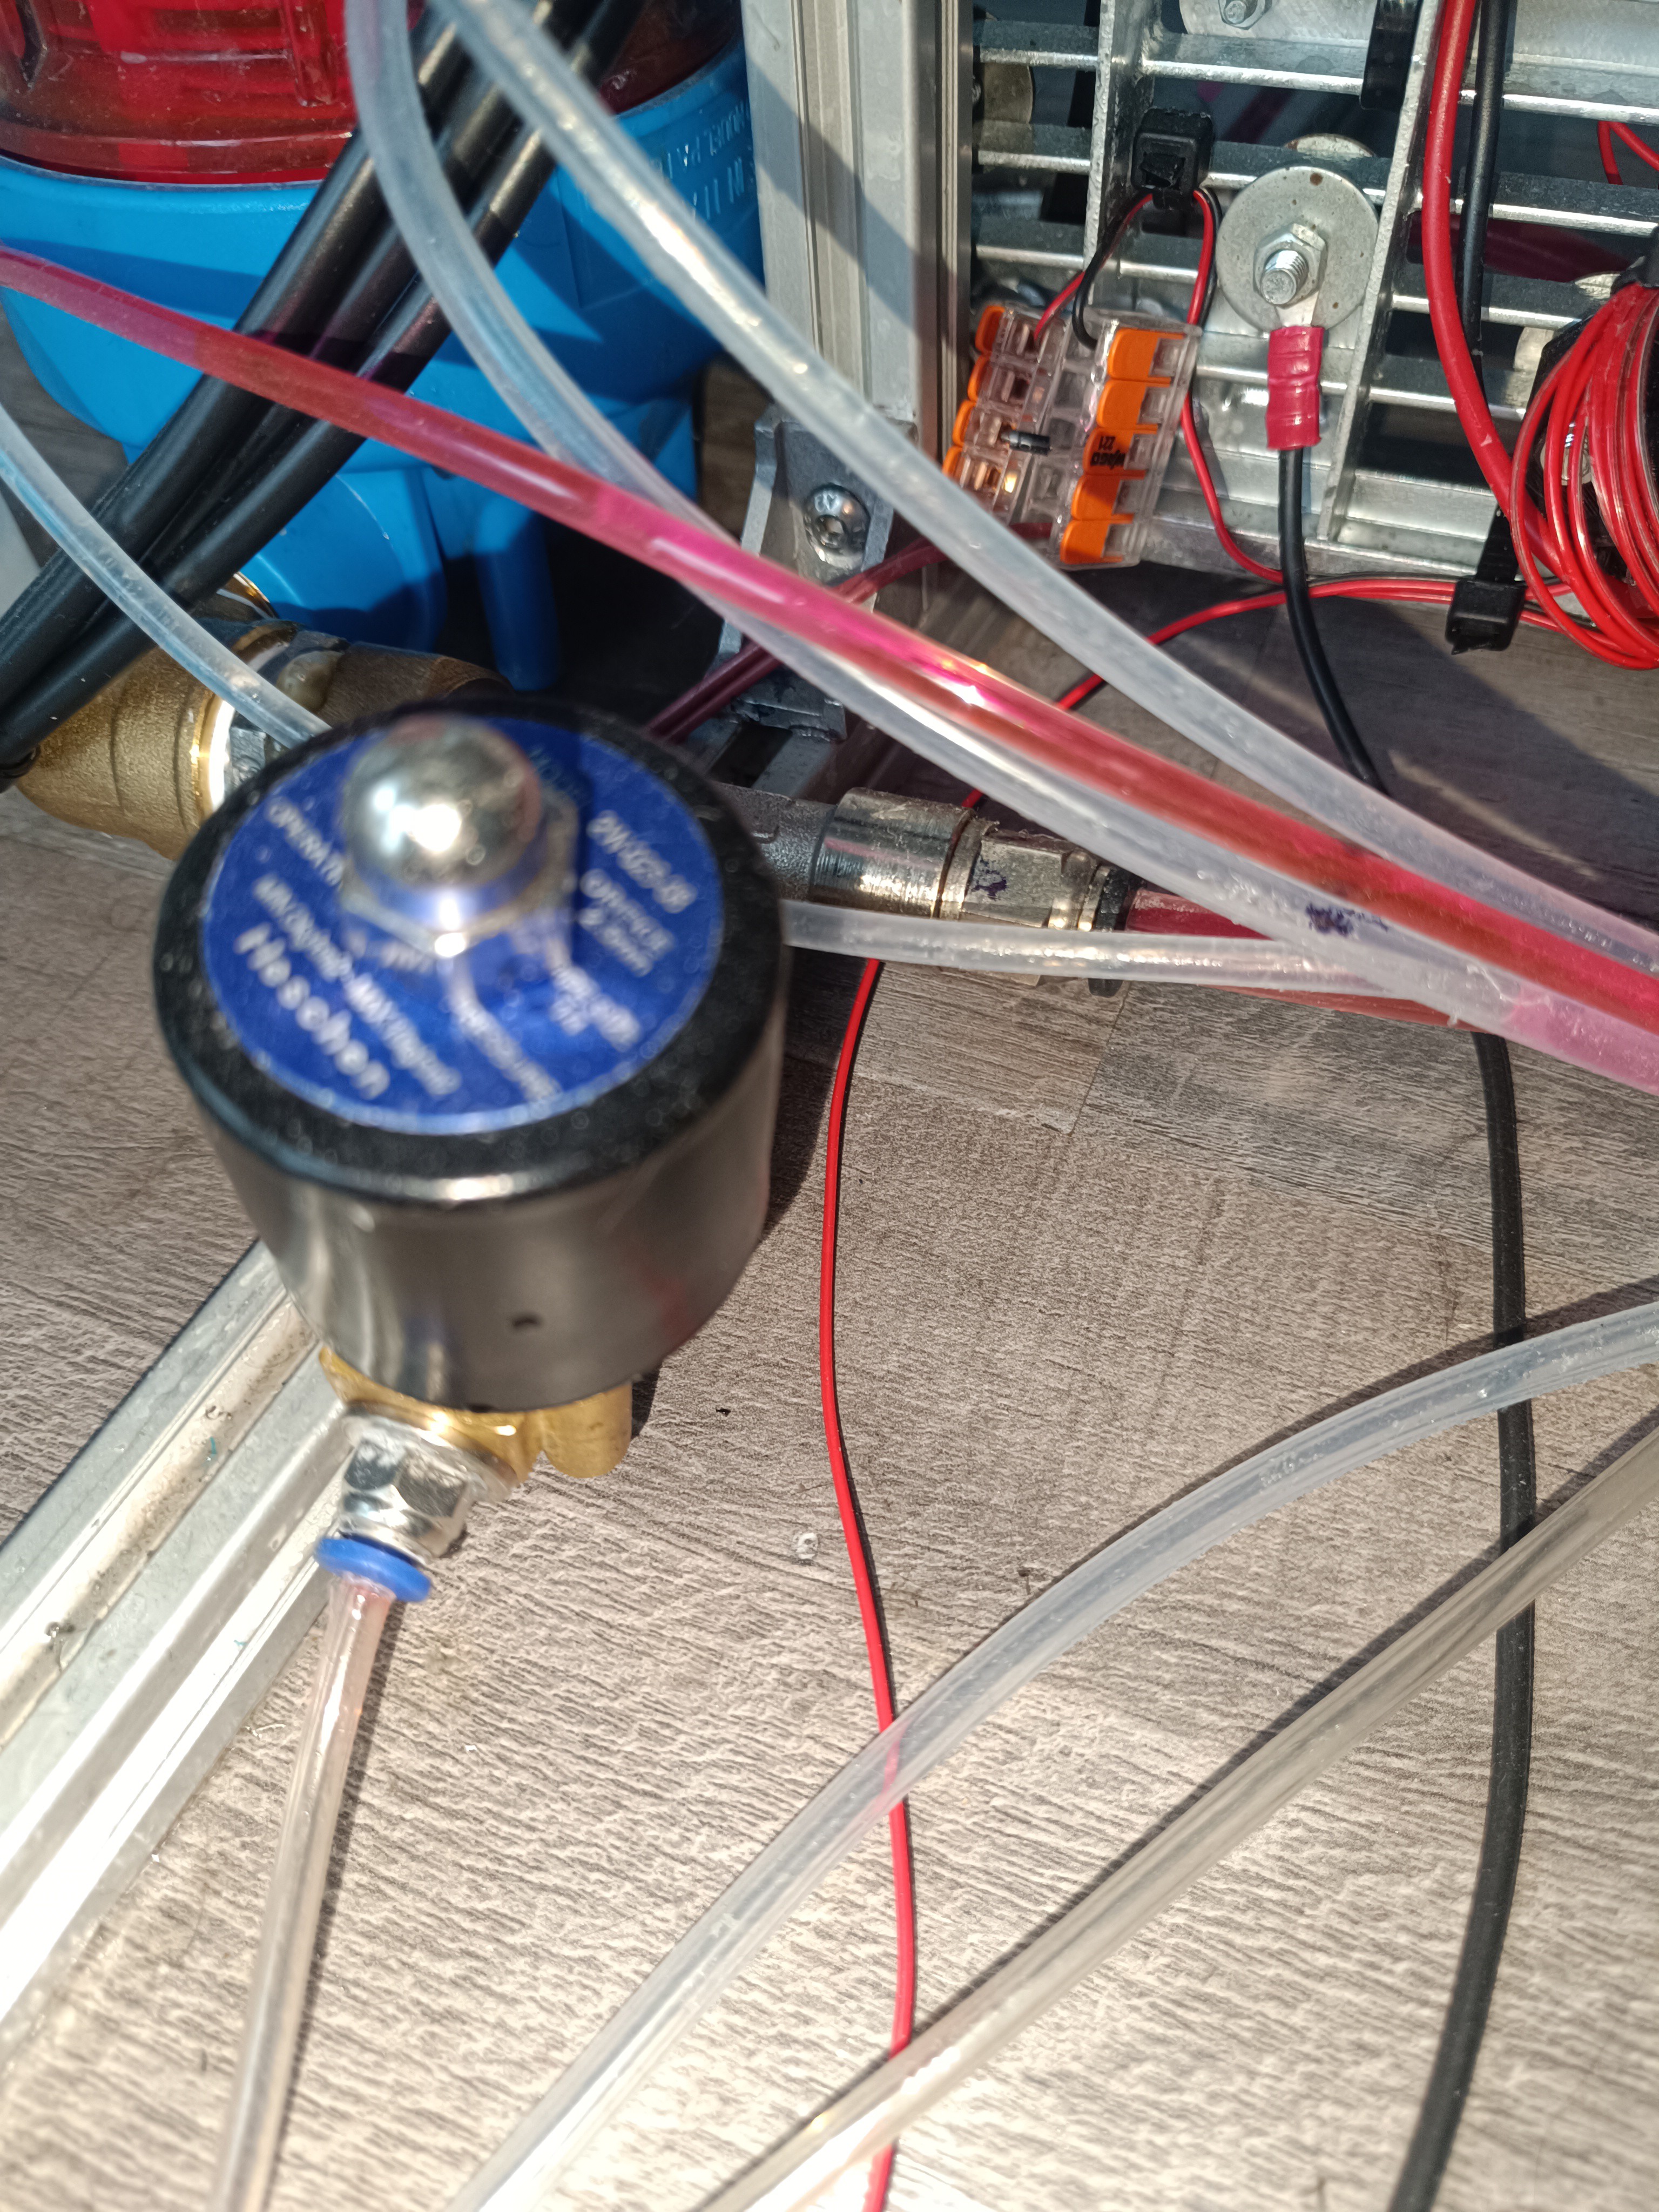
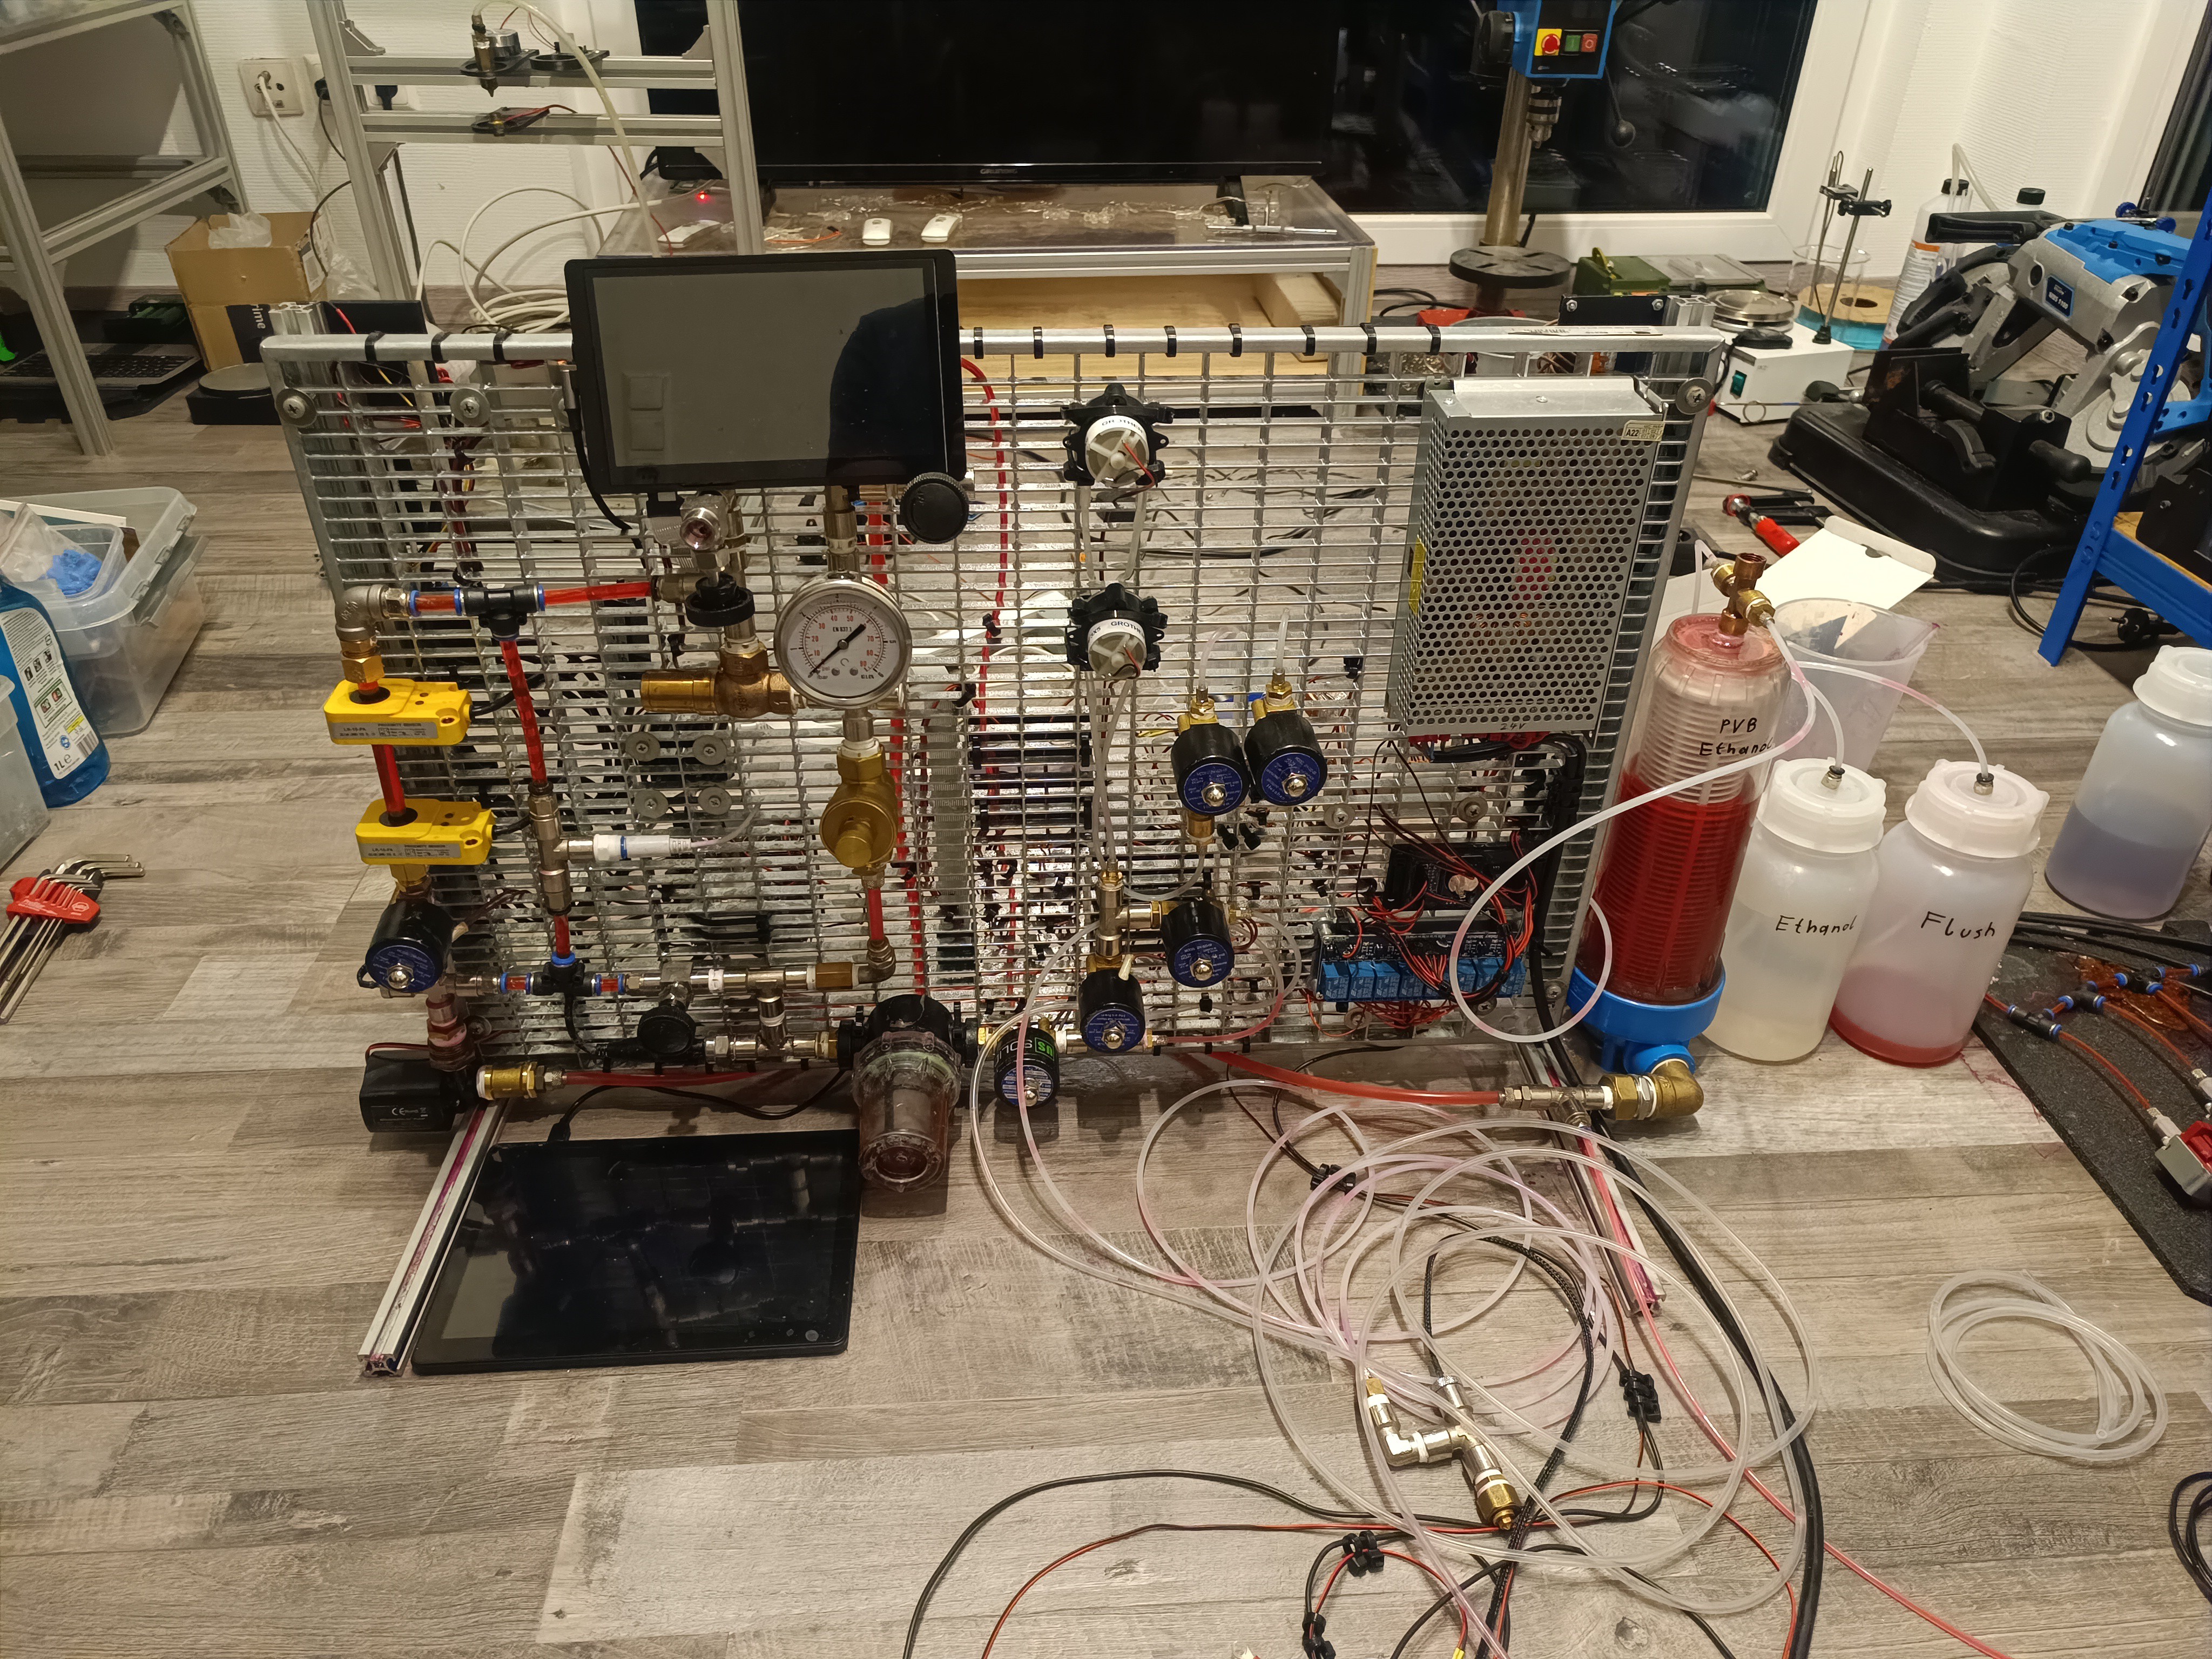
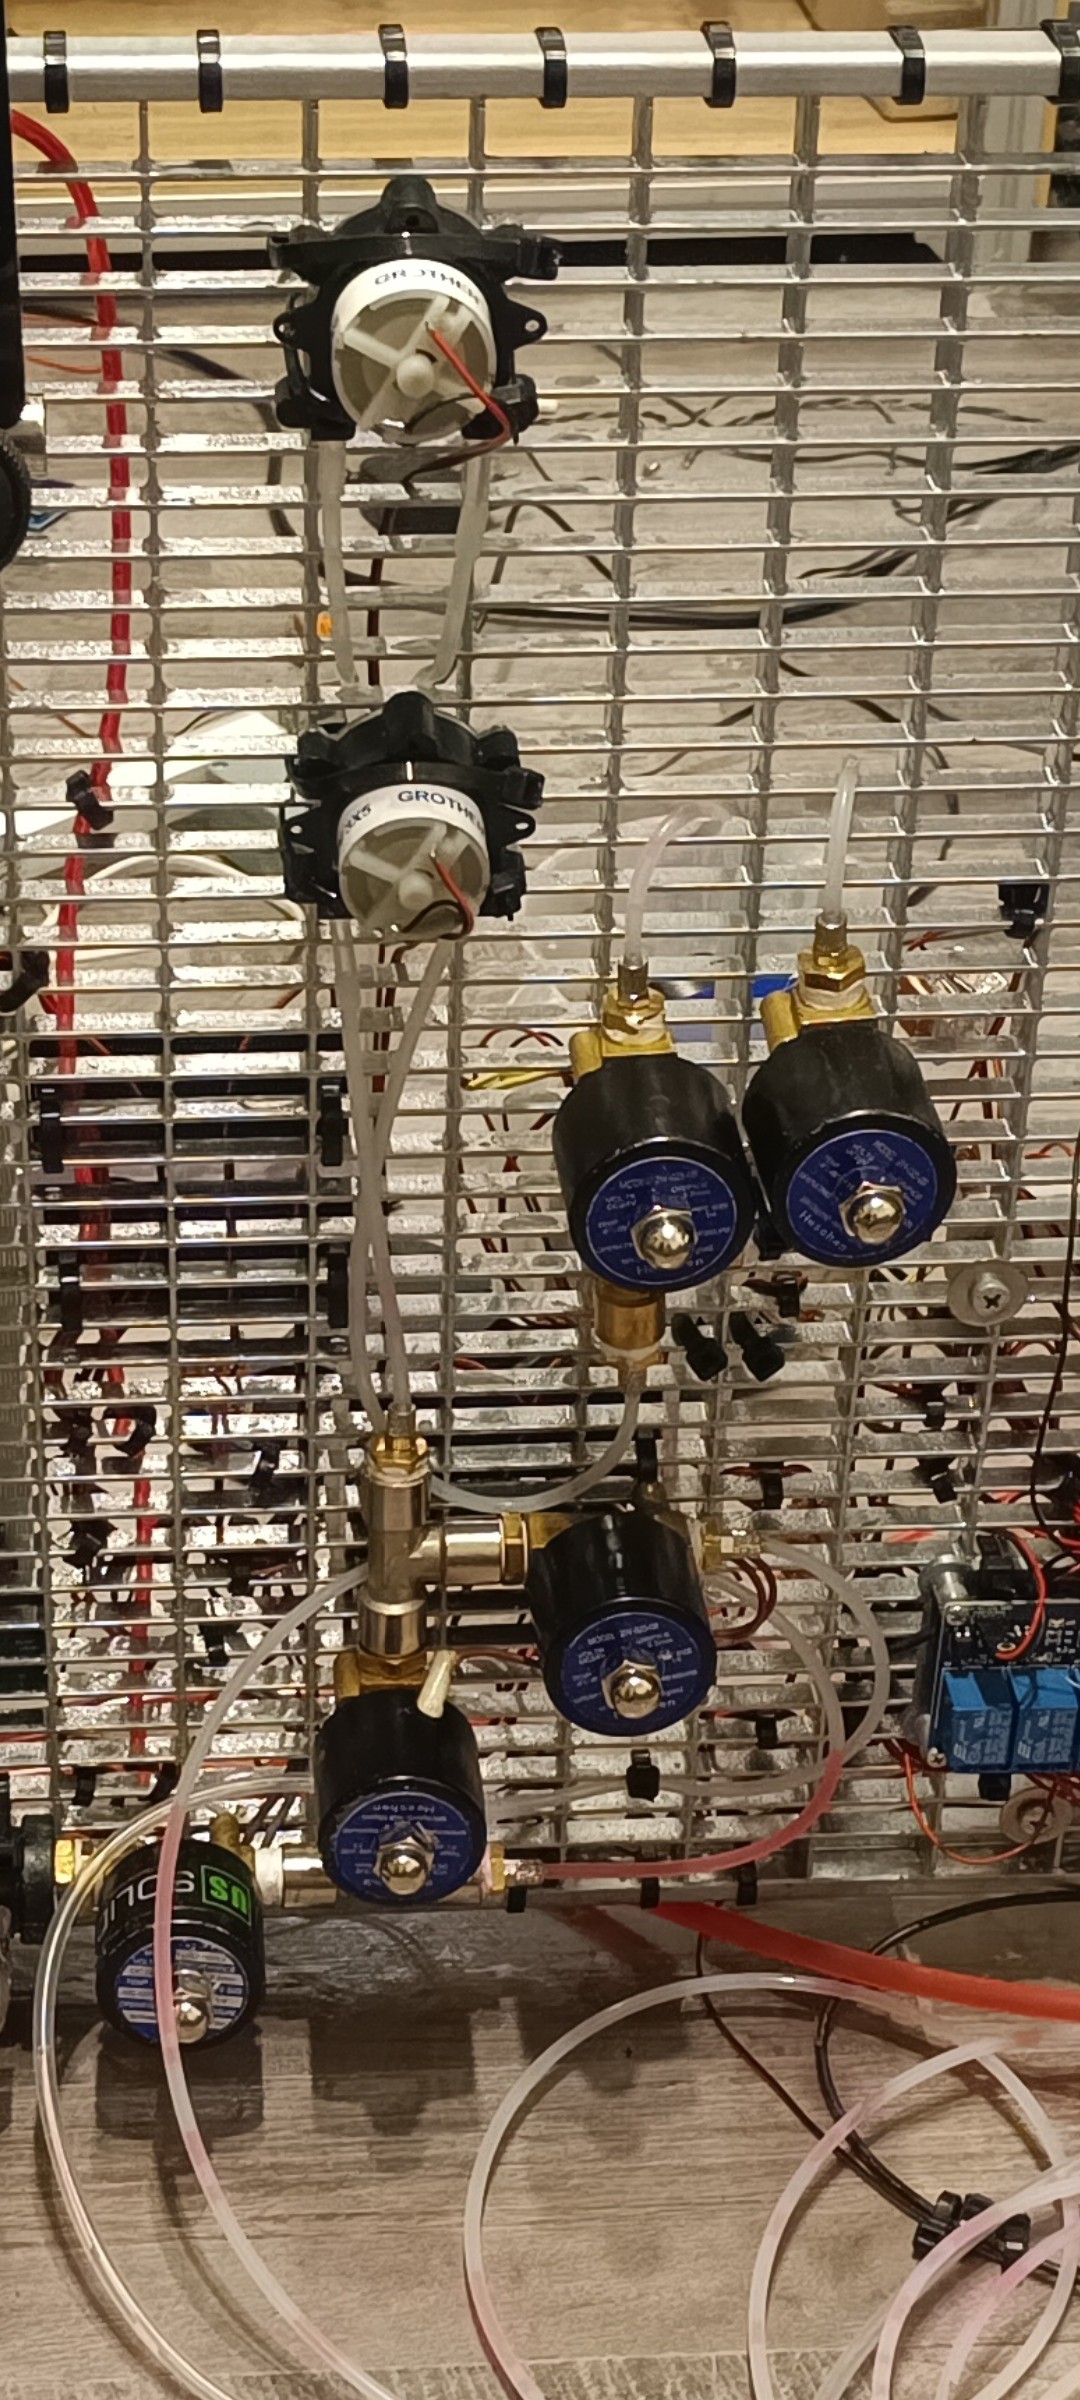
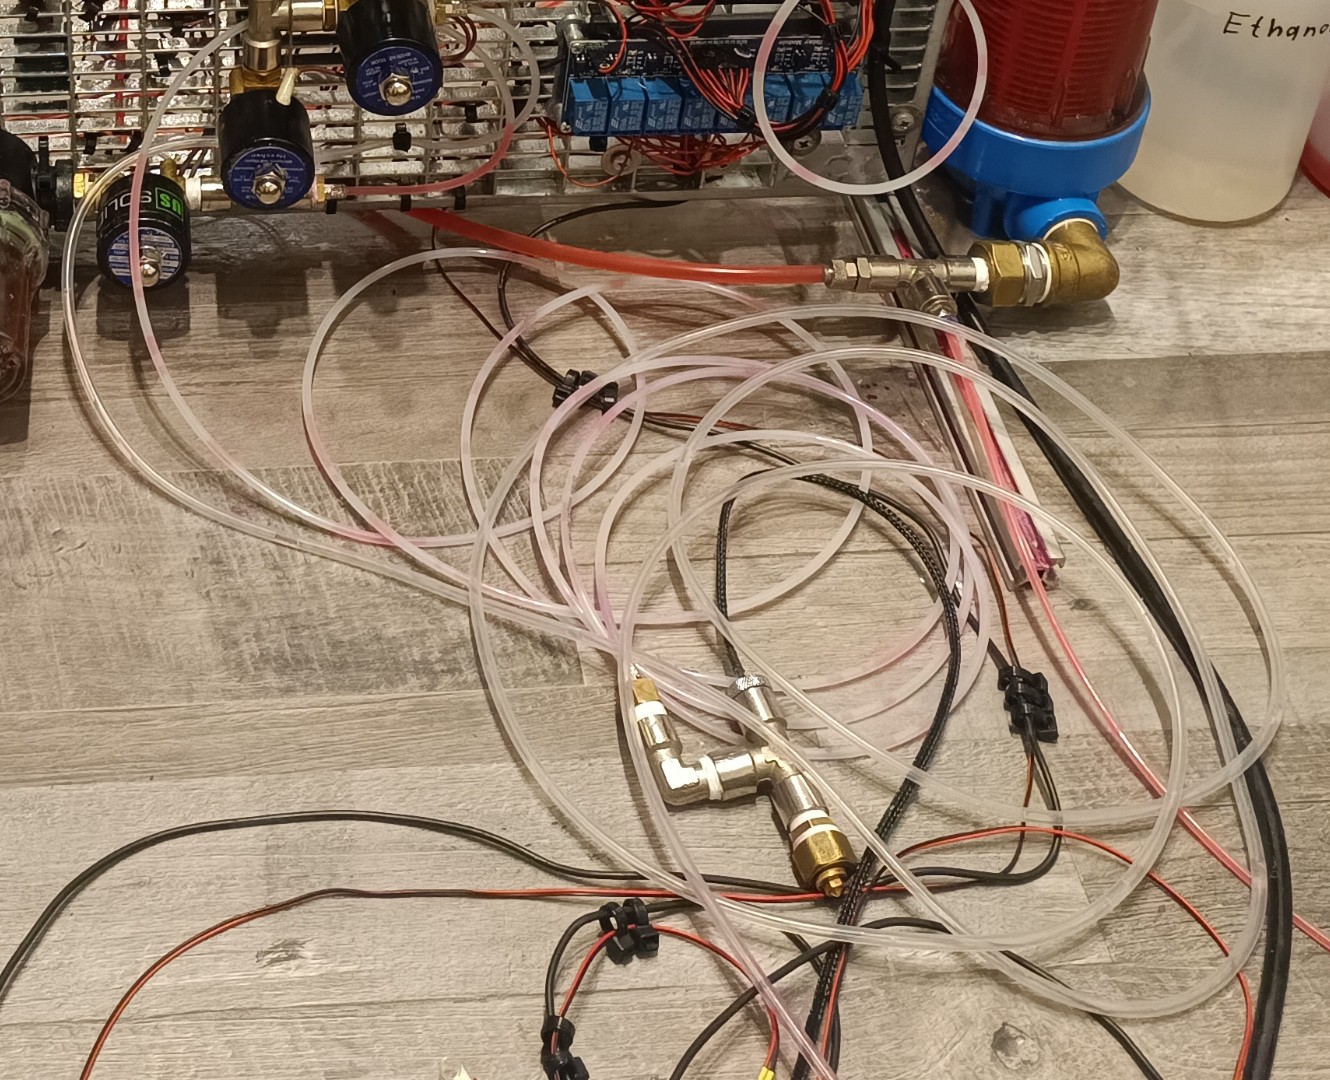
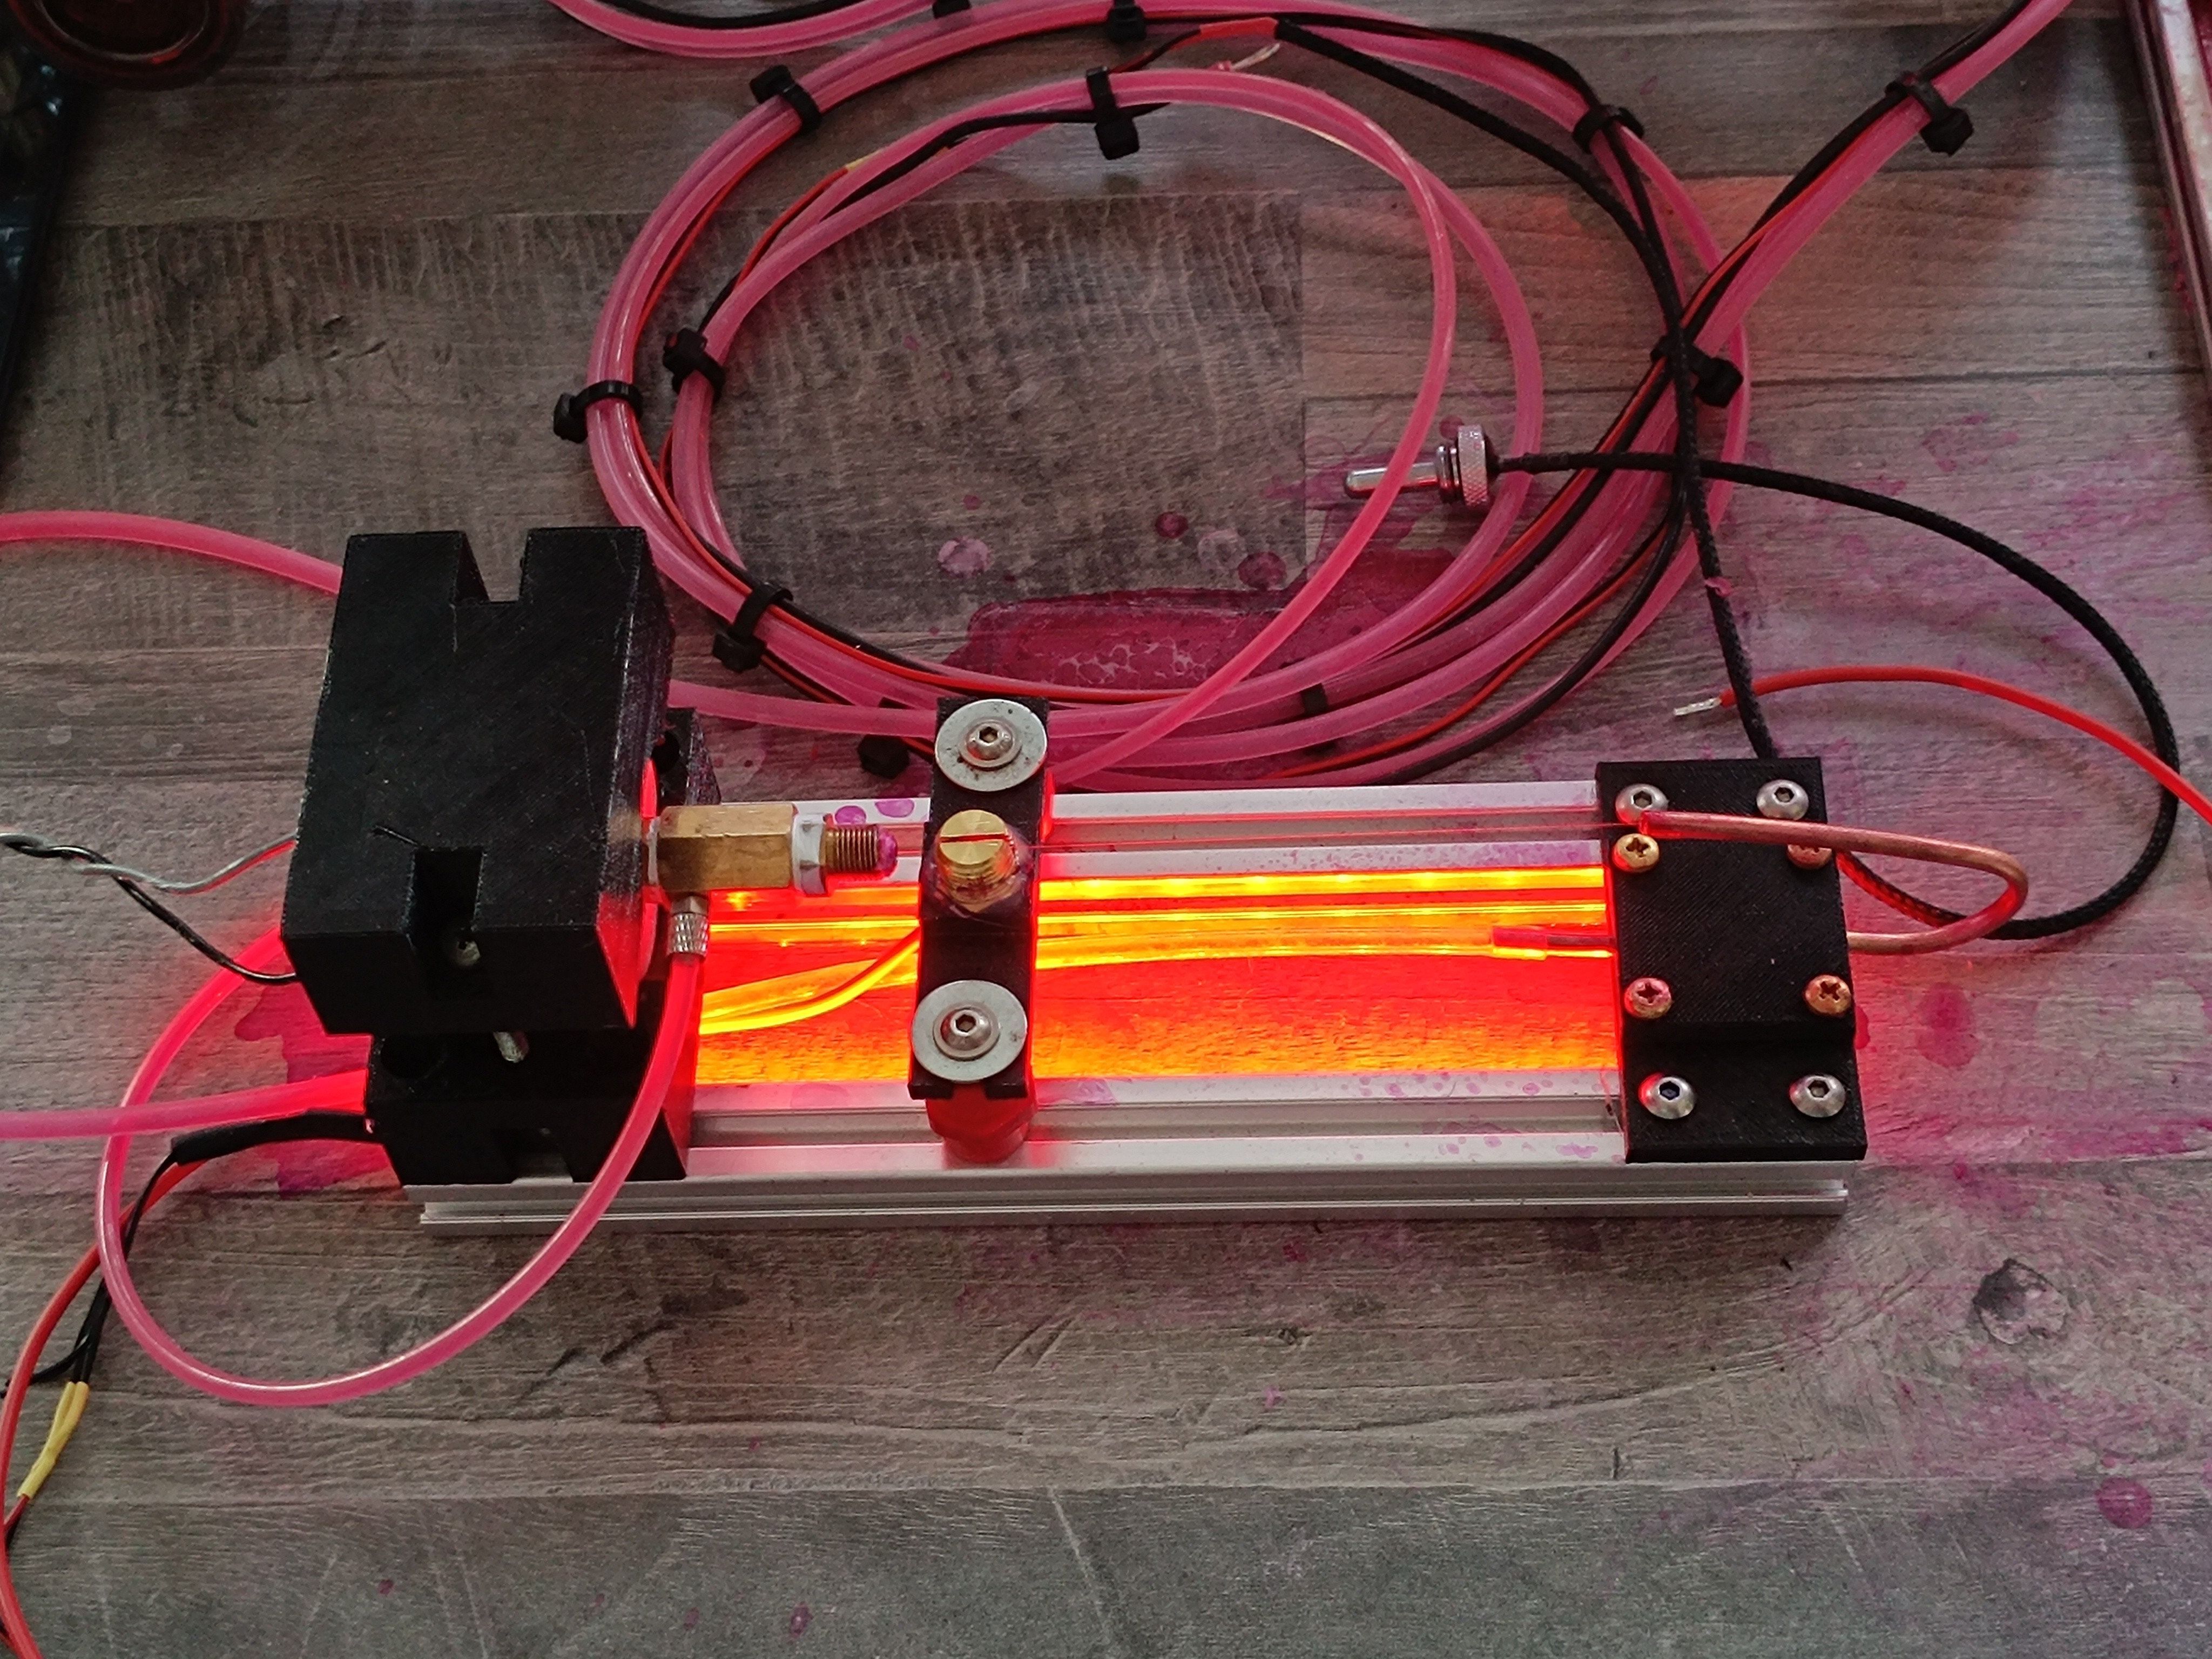
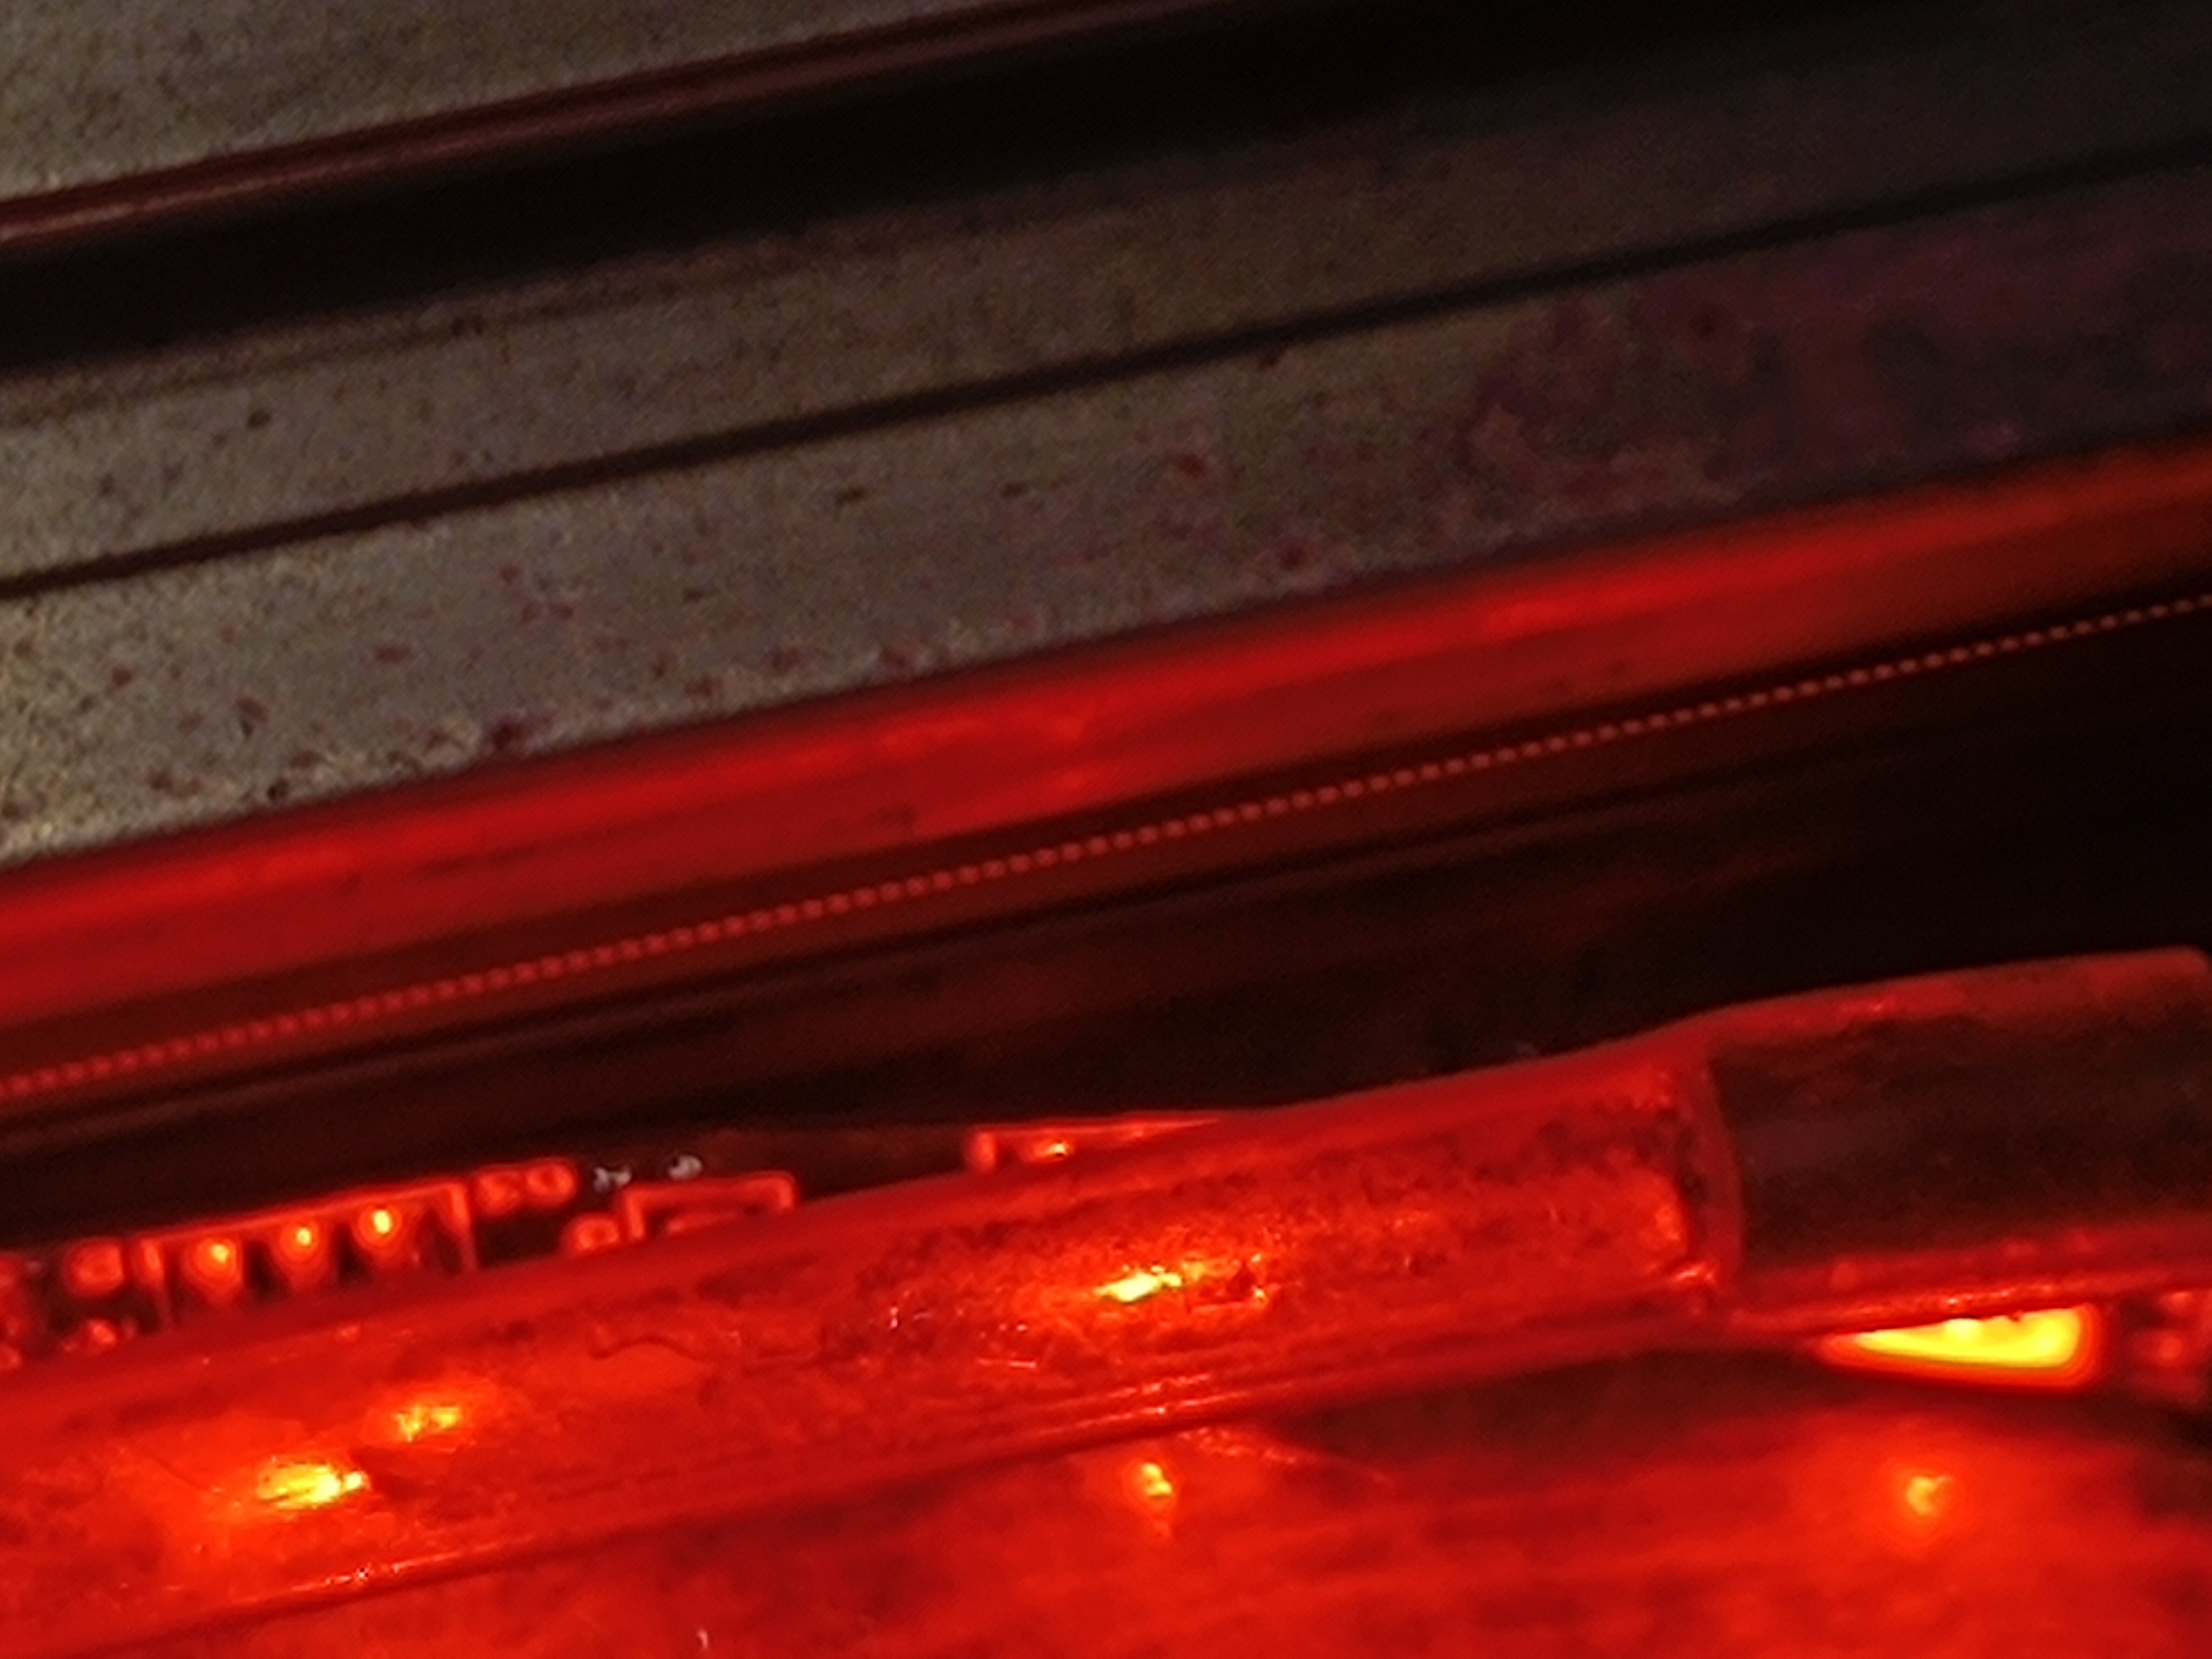
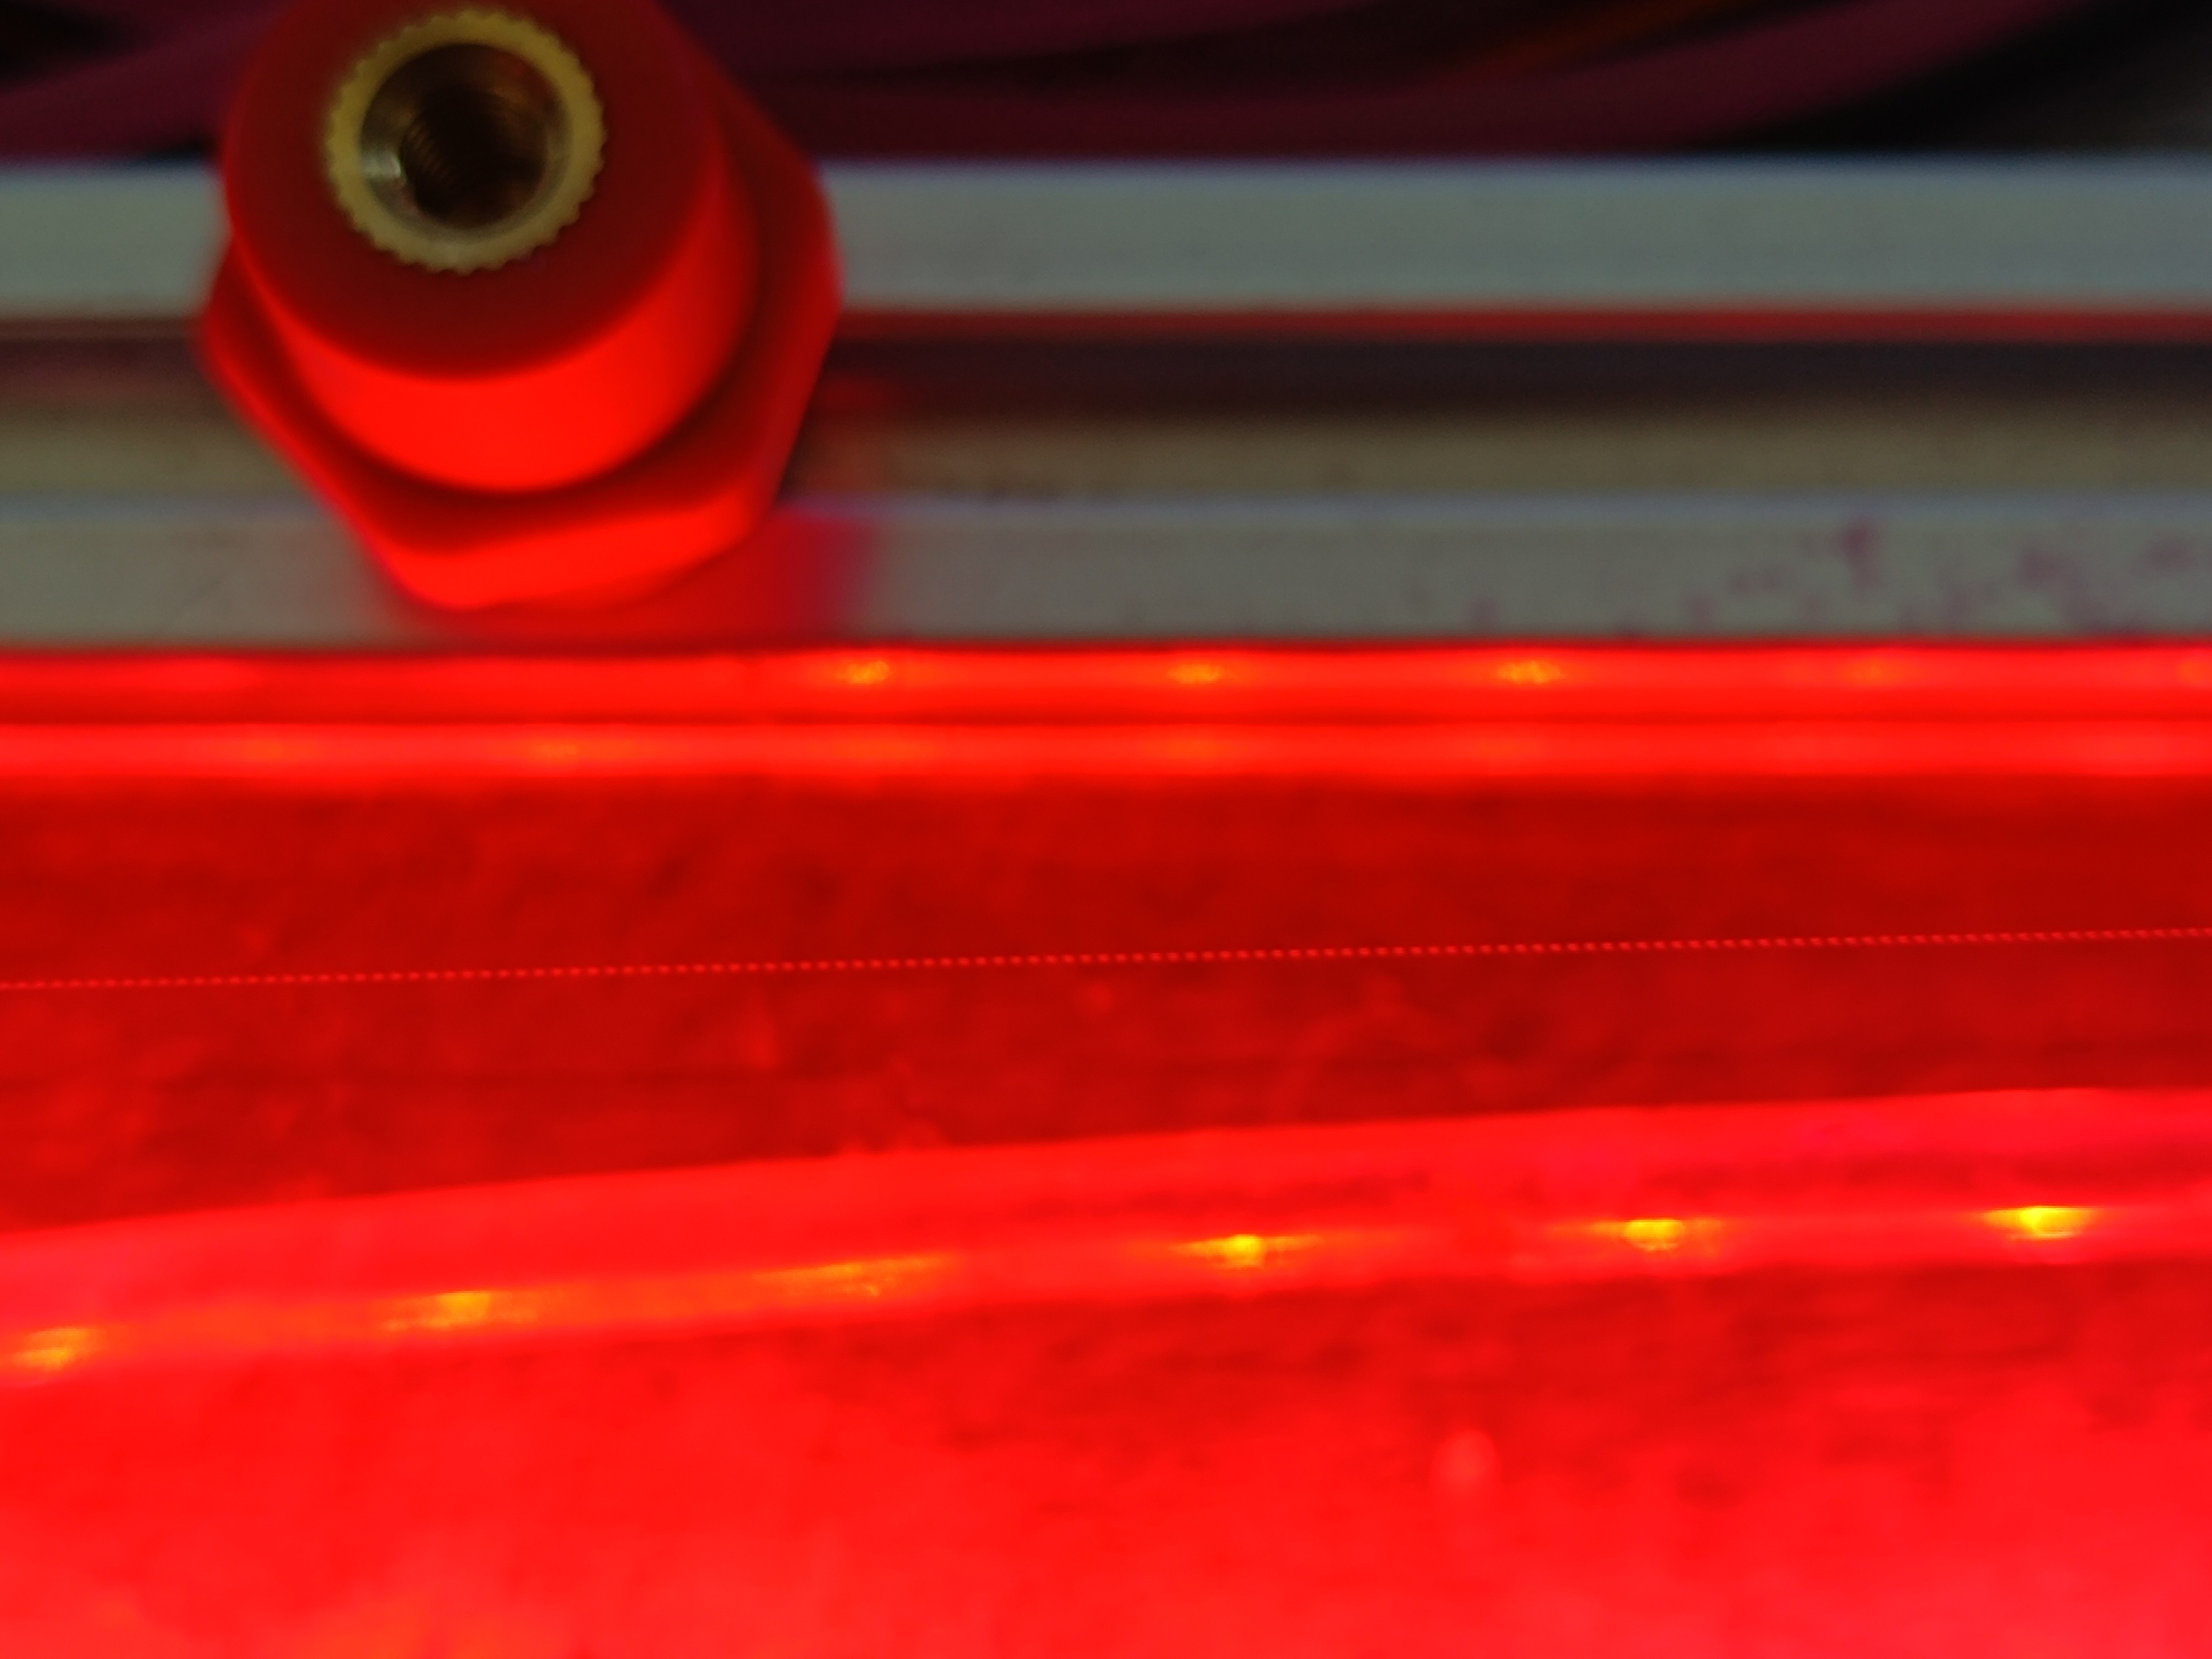
Some Footage
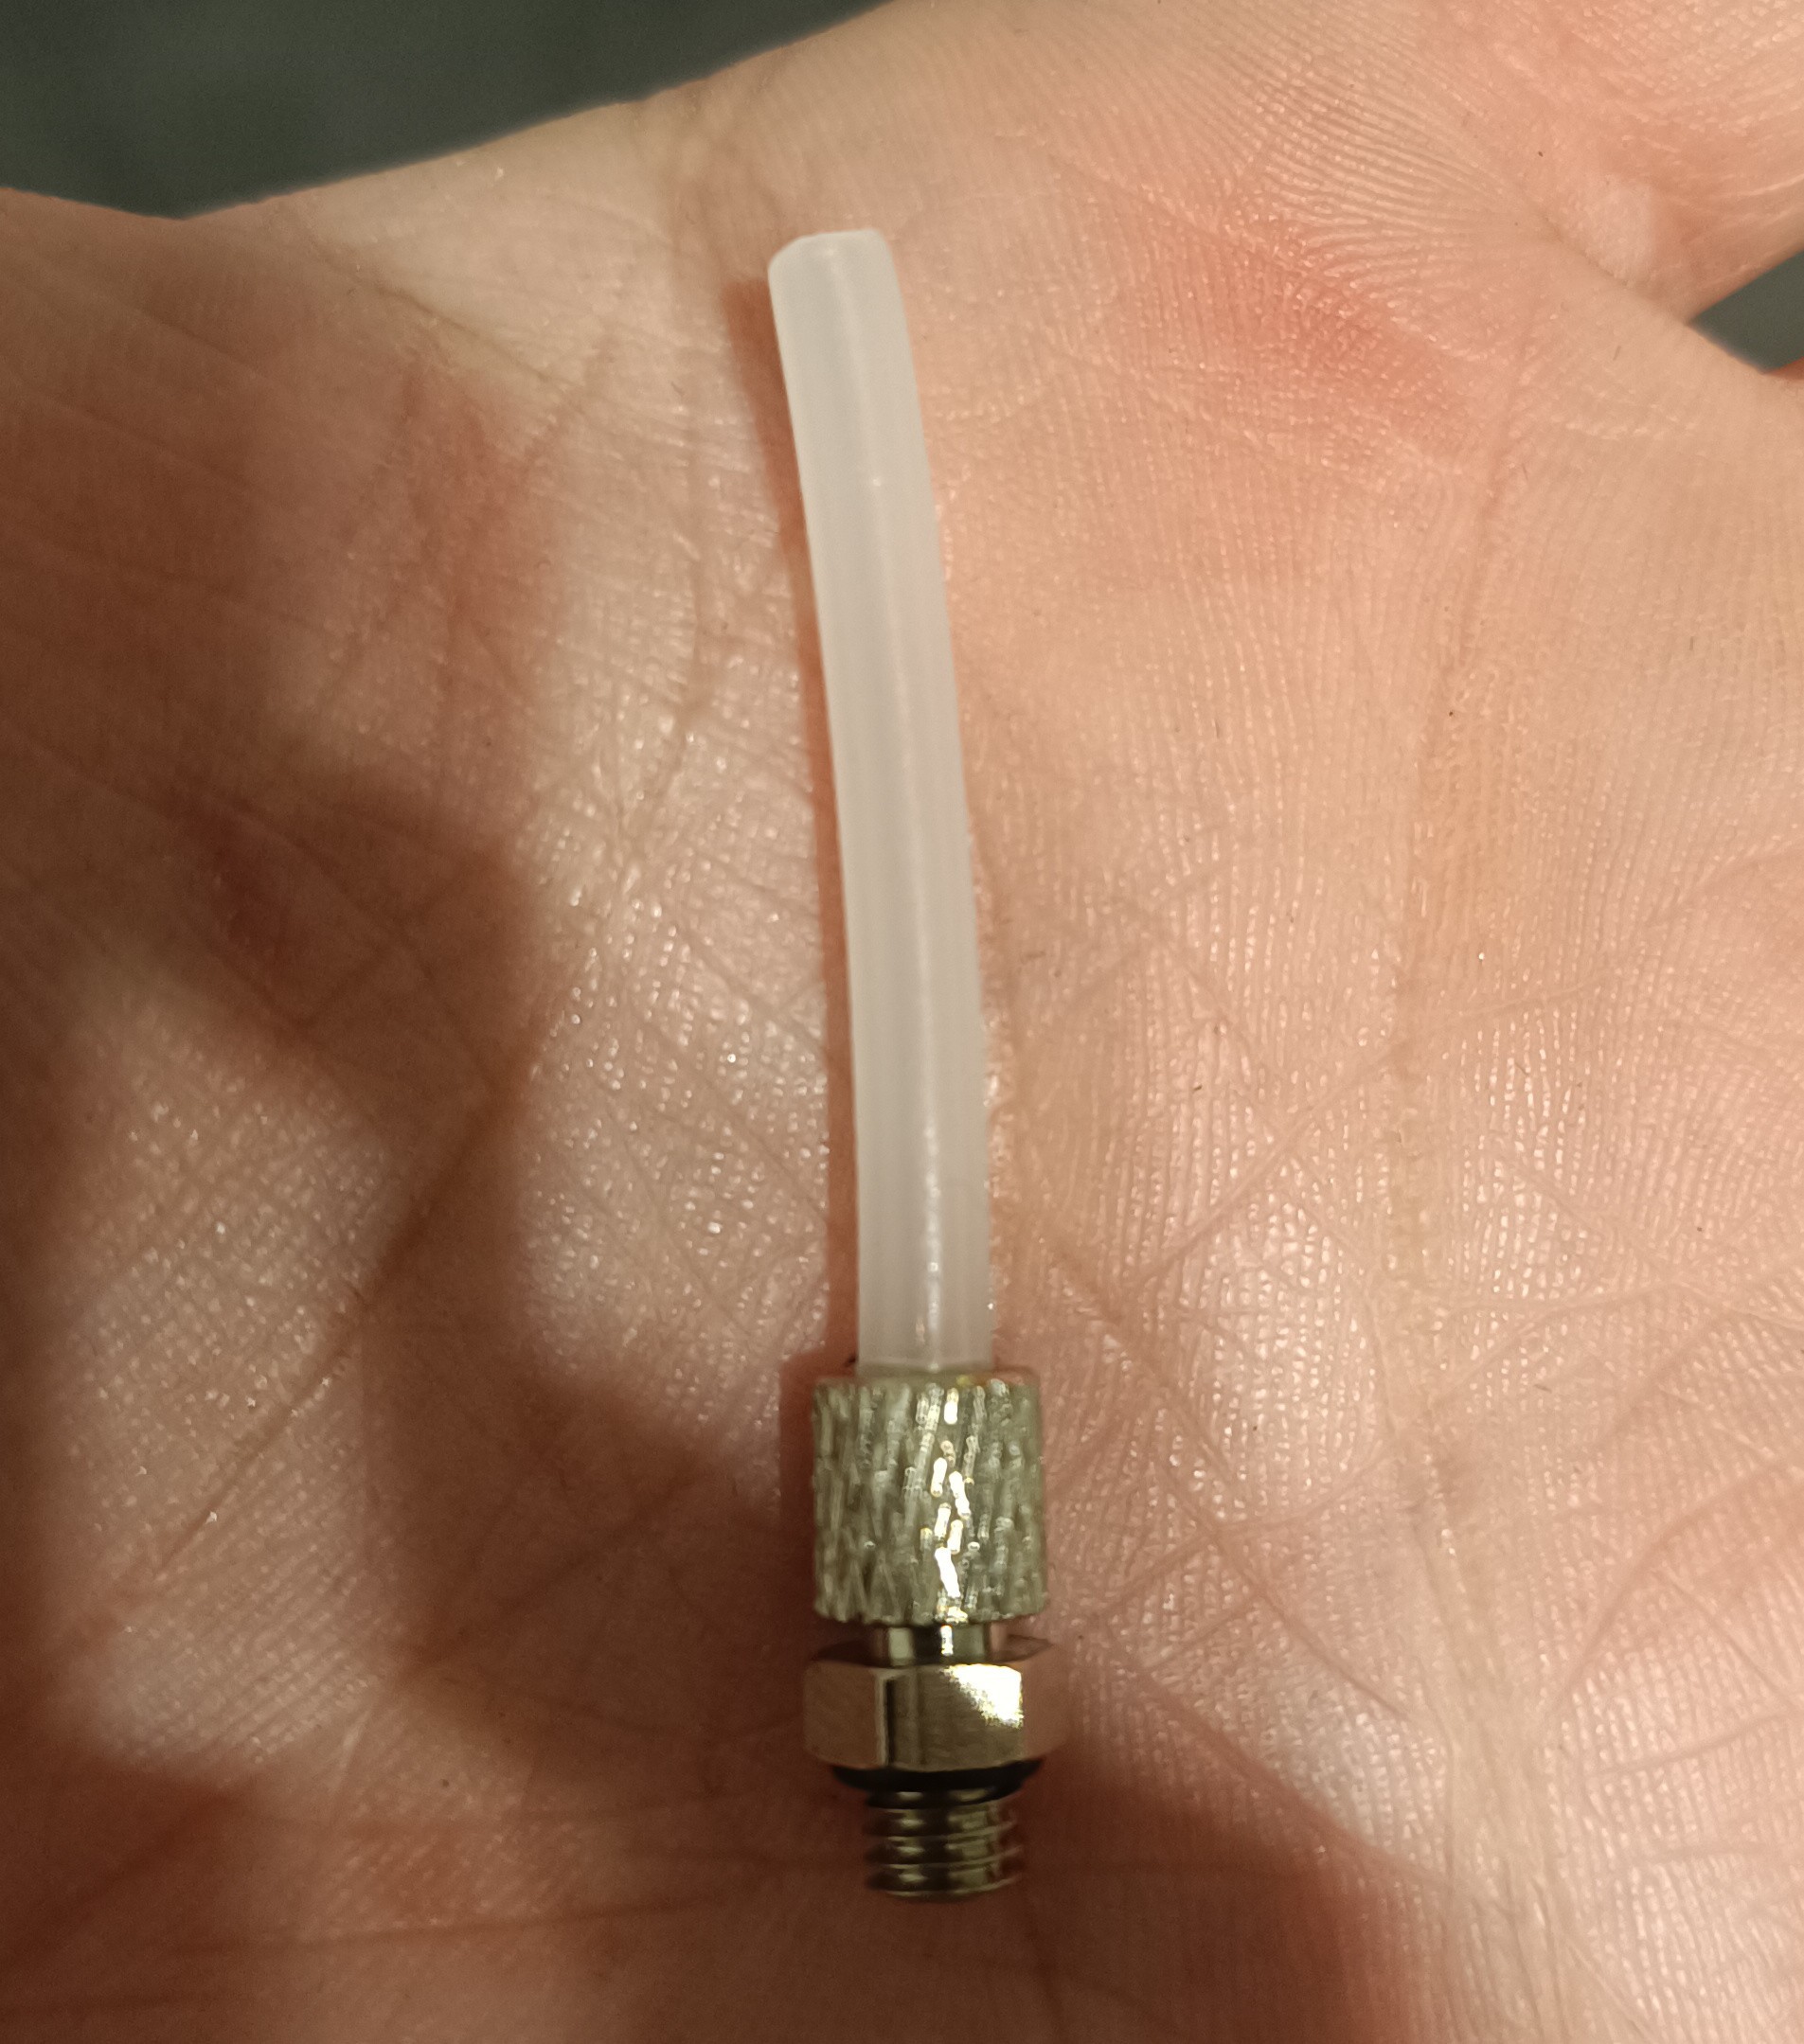
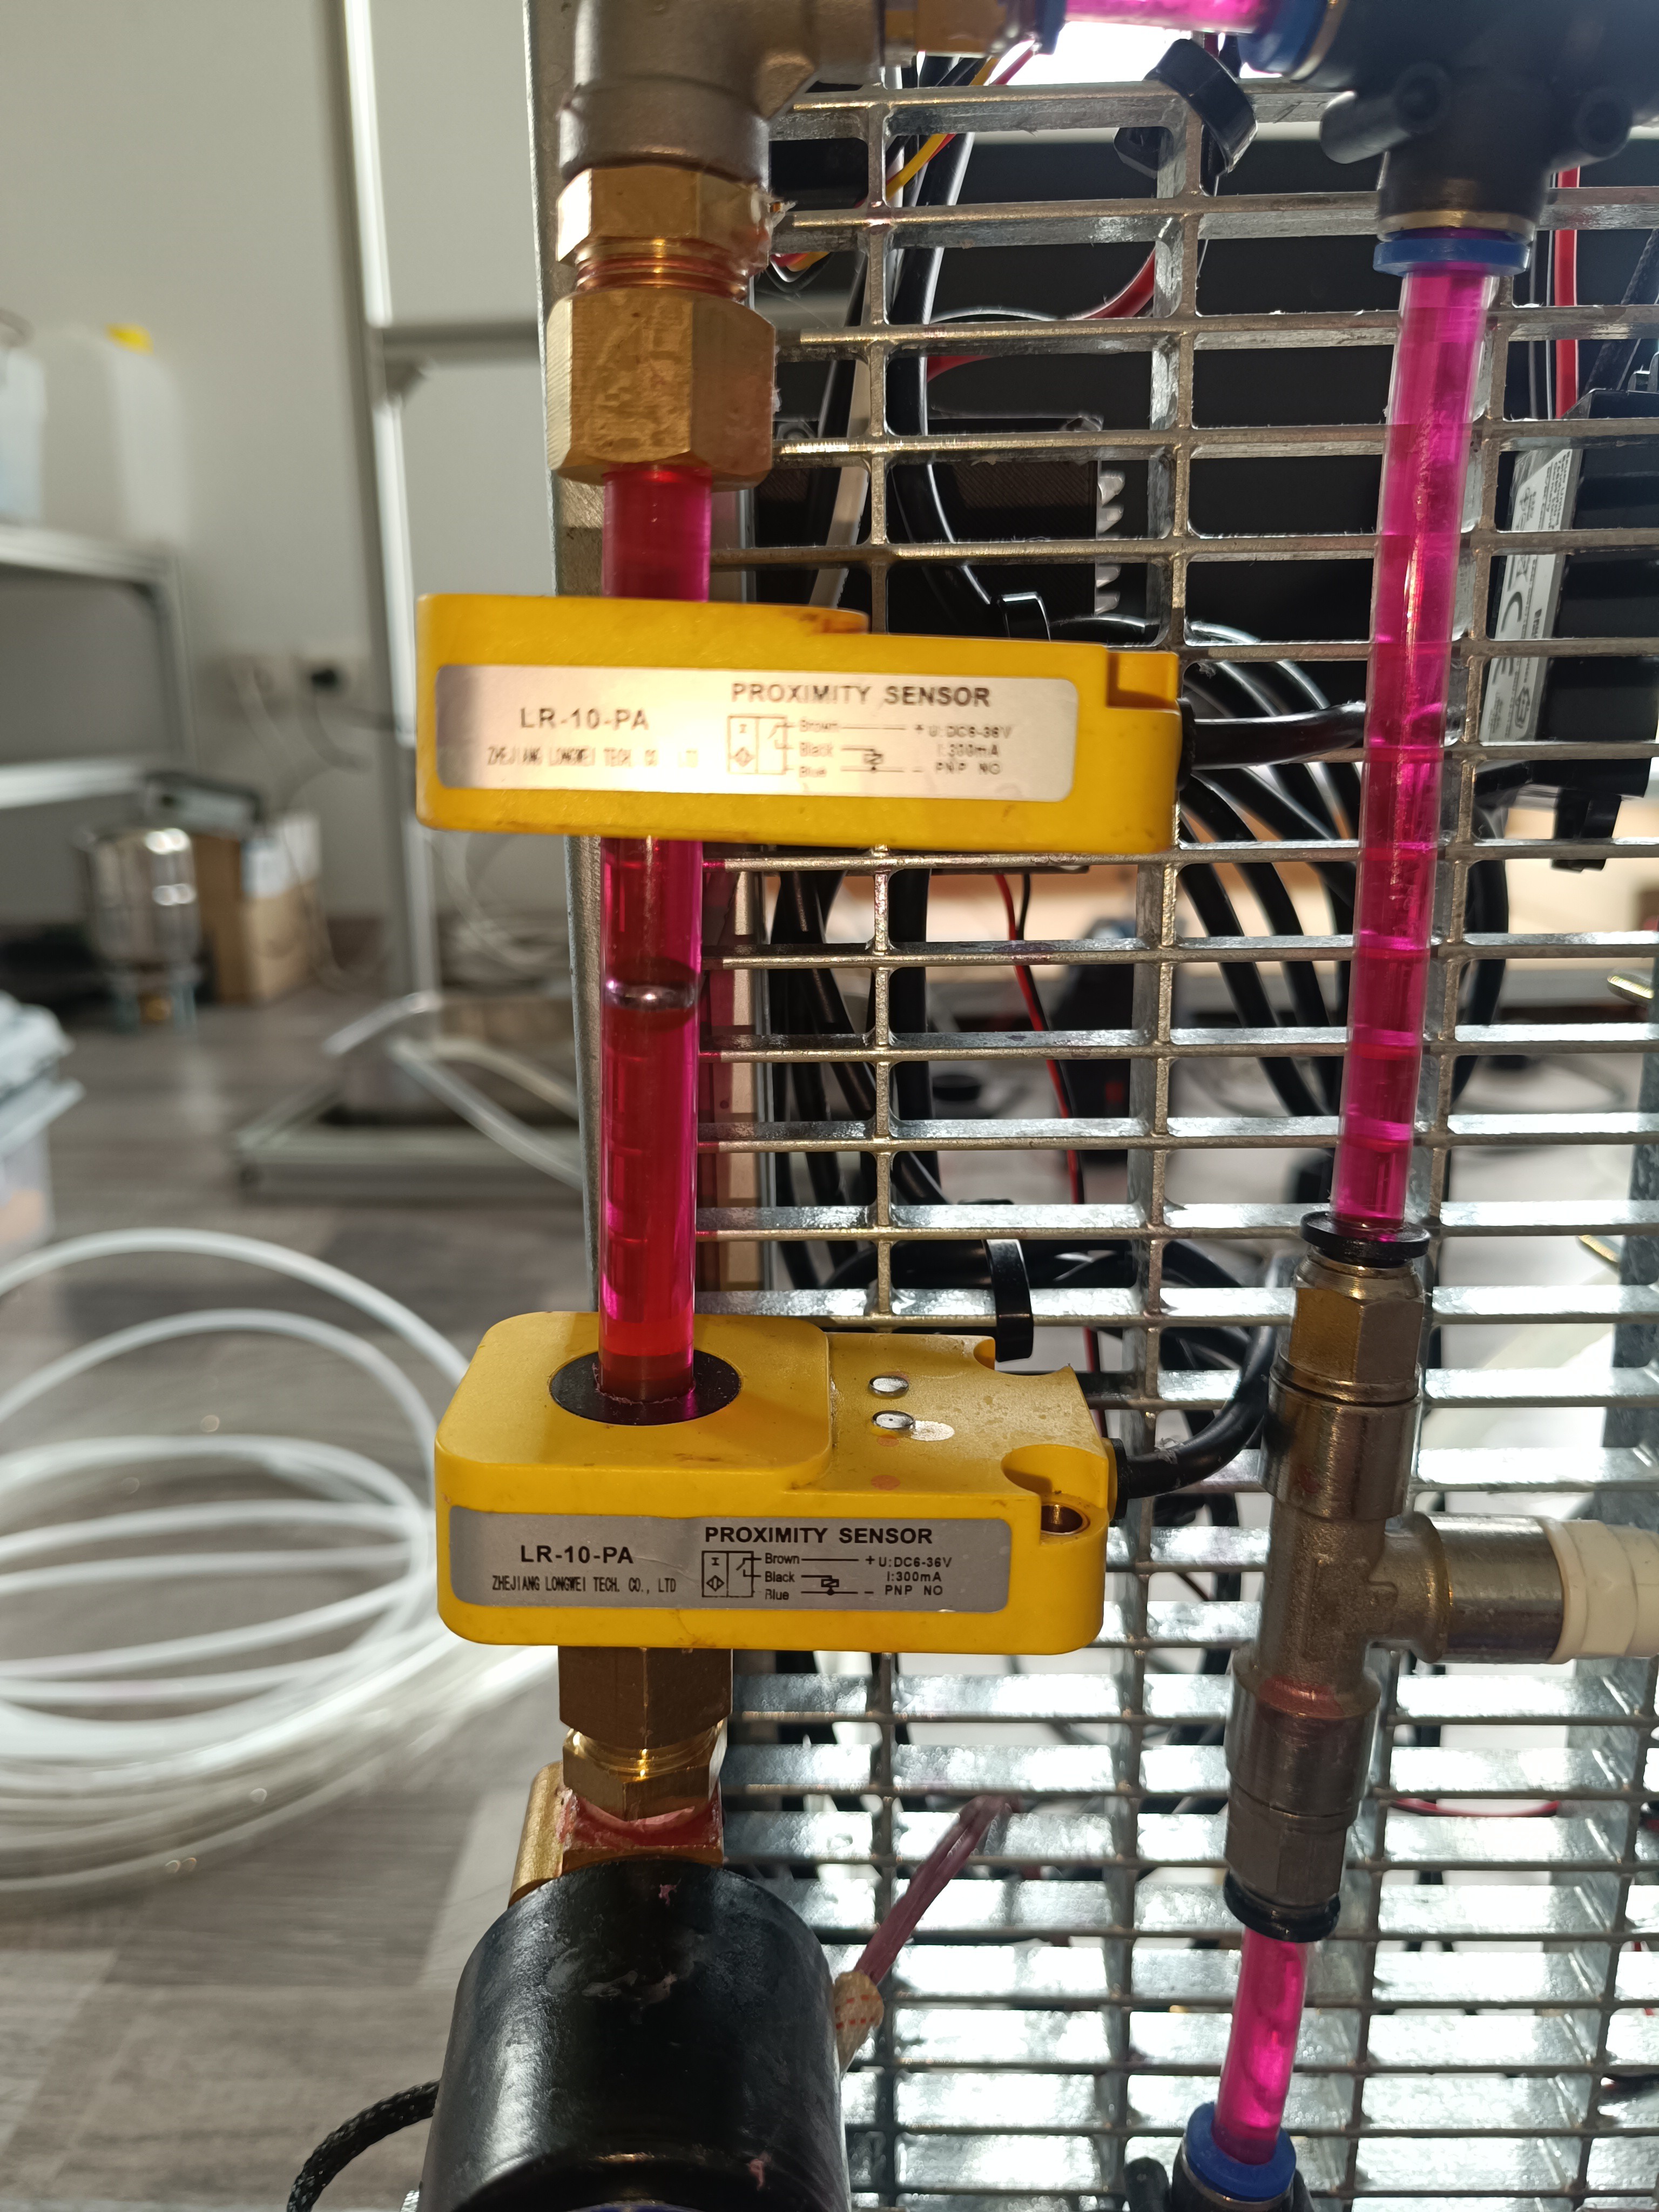
Here are some photos I took while replacing the fittings and tubes:
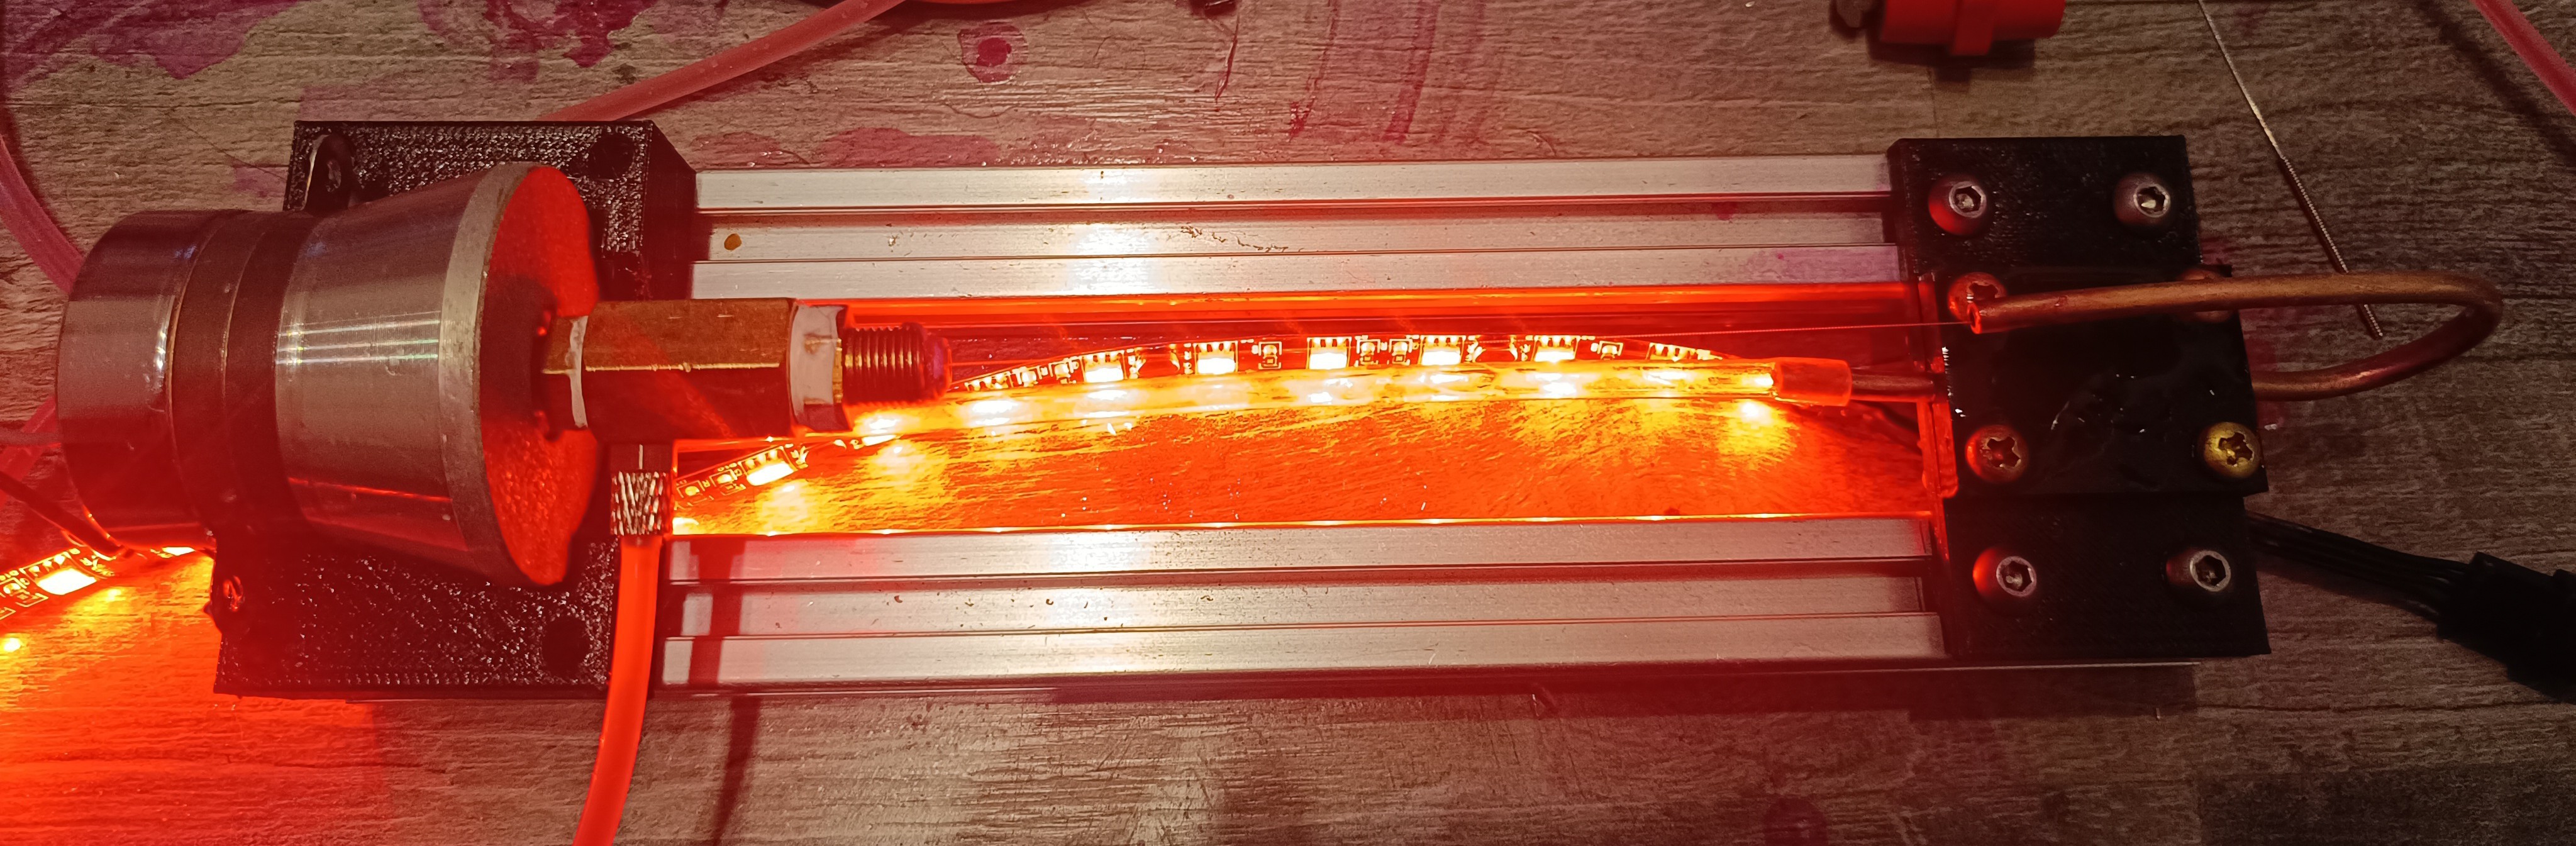
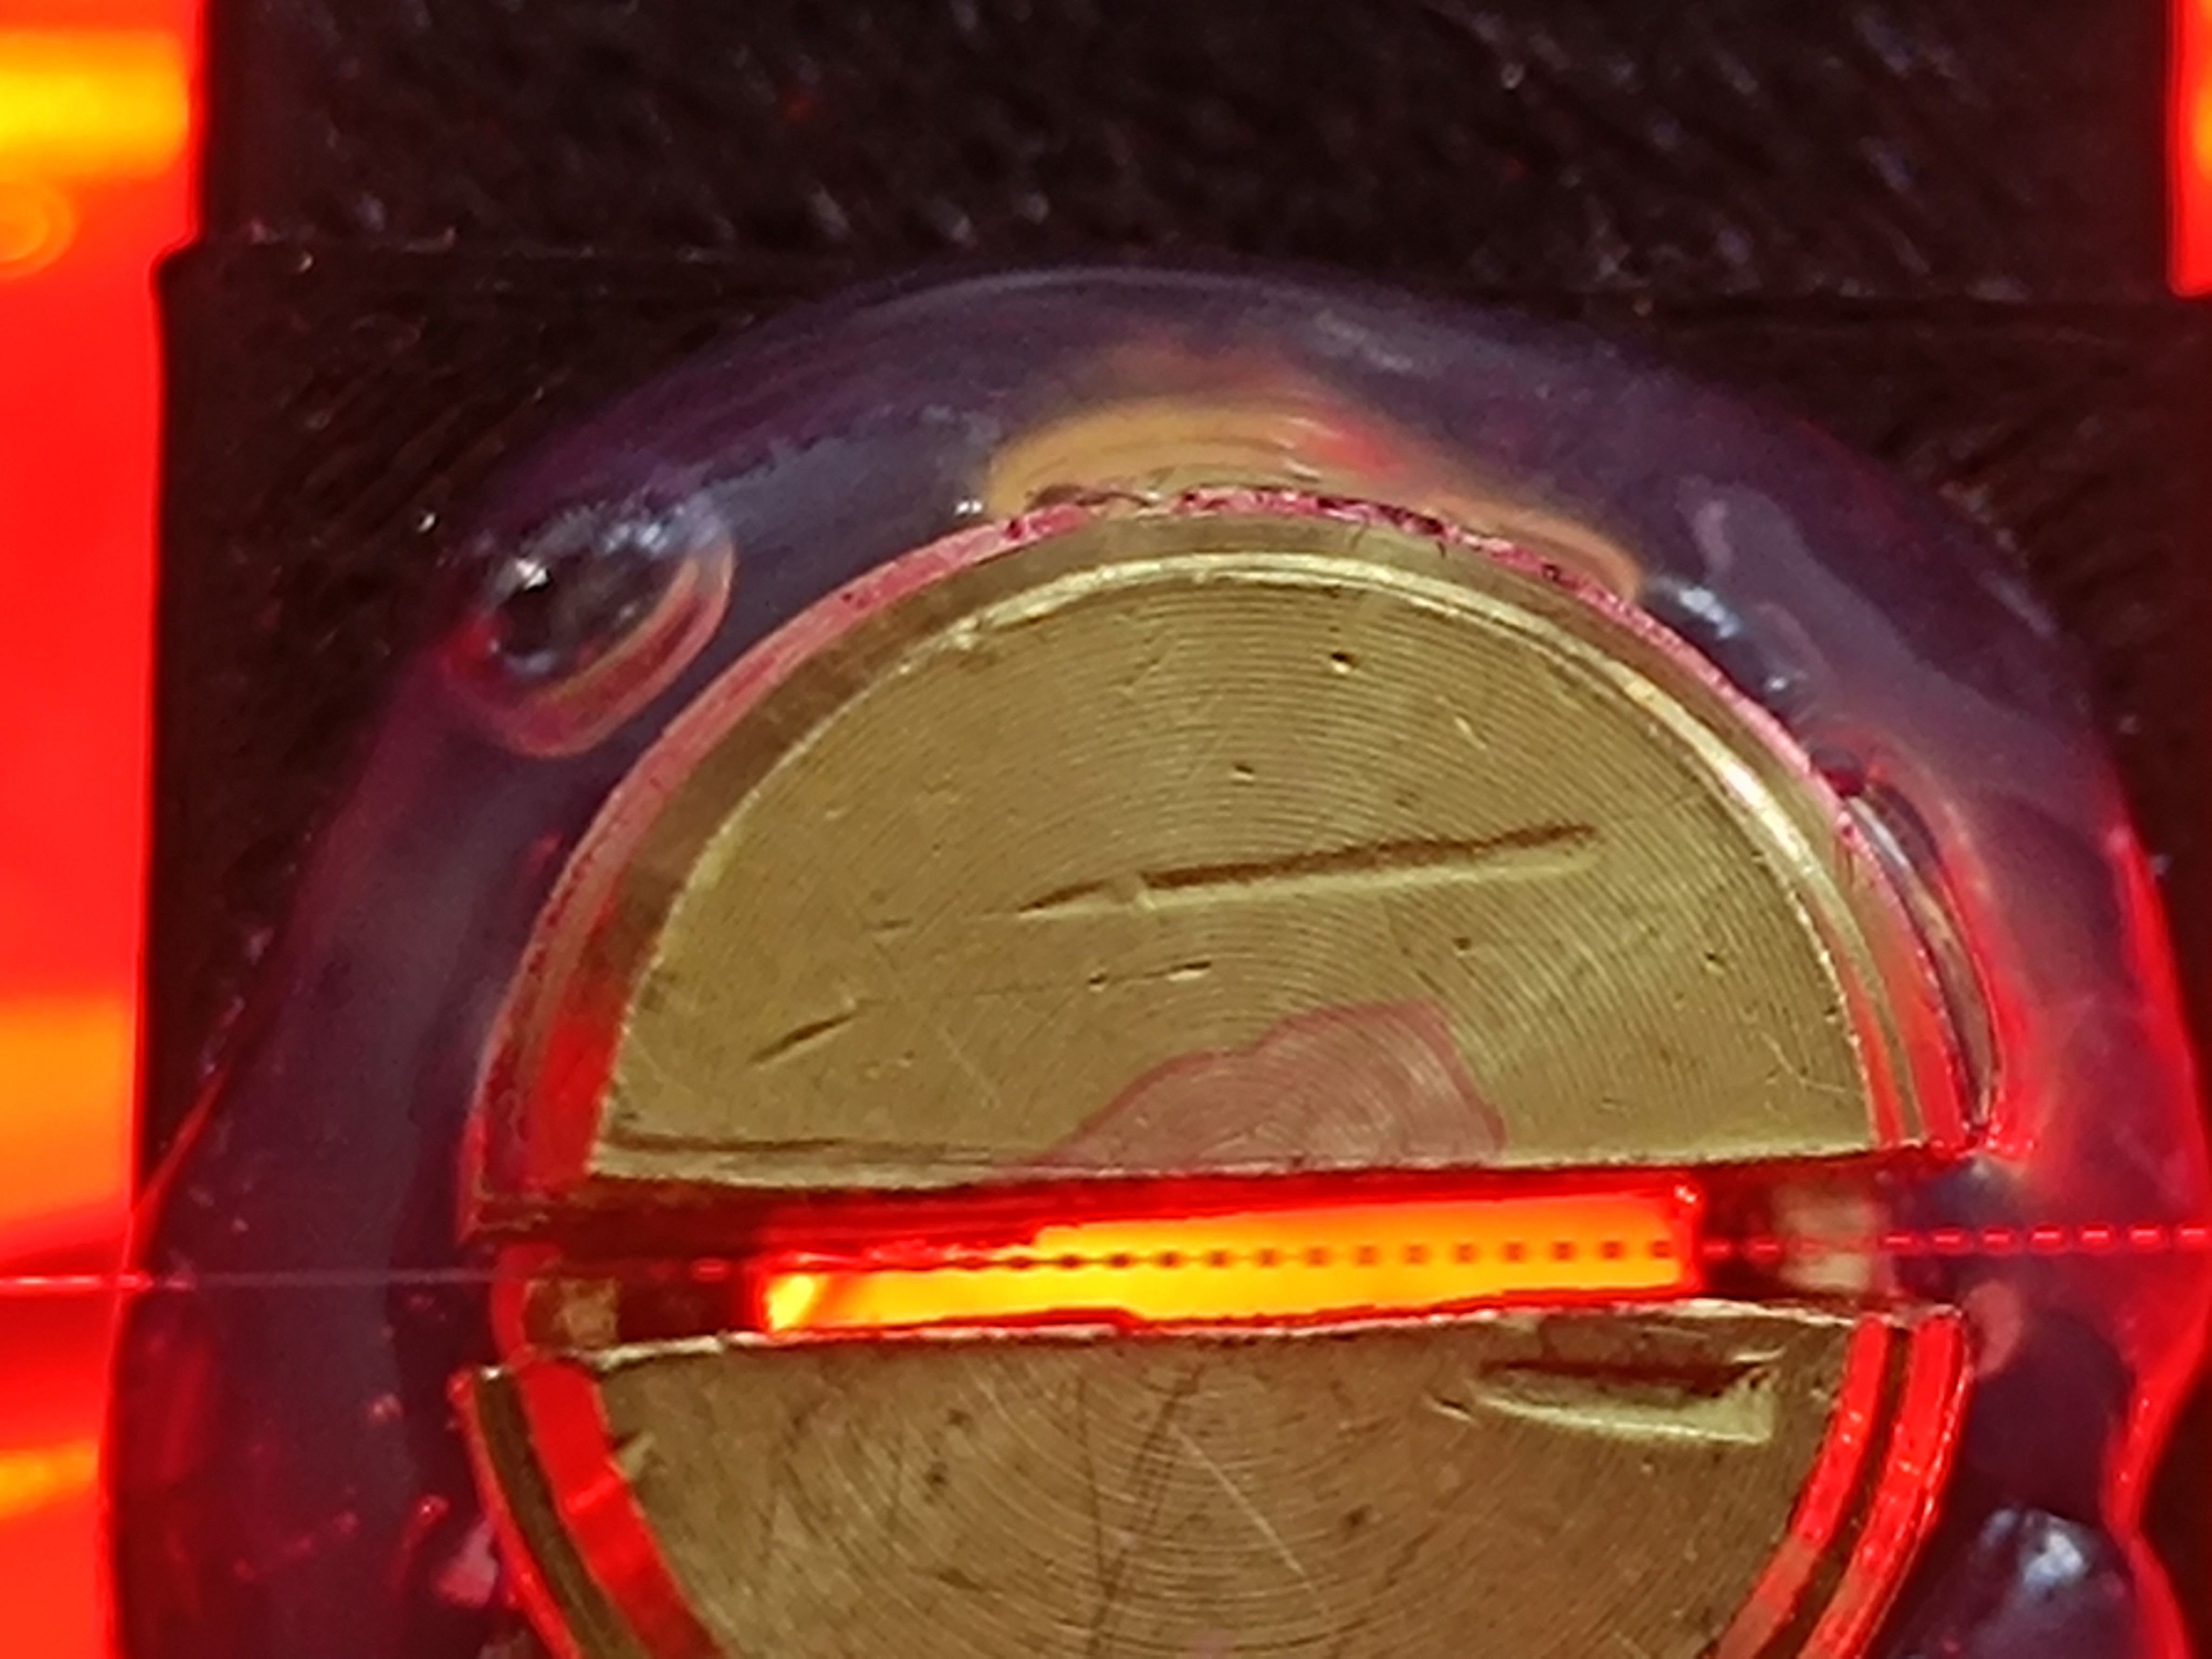
Working on a new Printhead
With the improved printer, it is now possible to focus on the printhead and charging component without the constant need to repair parts of the ink management component before every test.
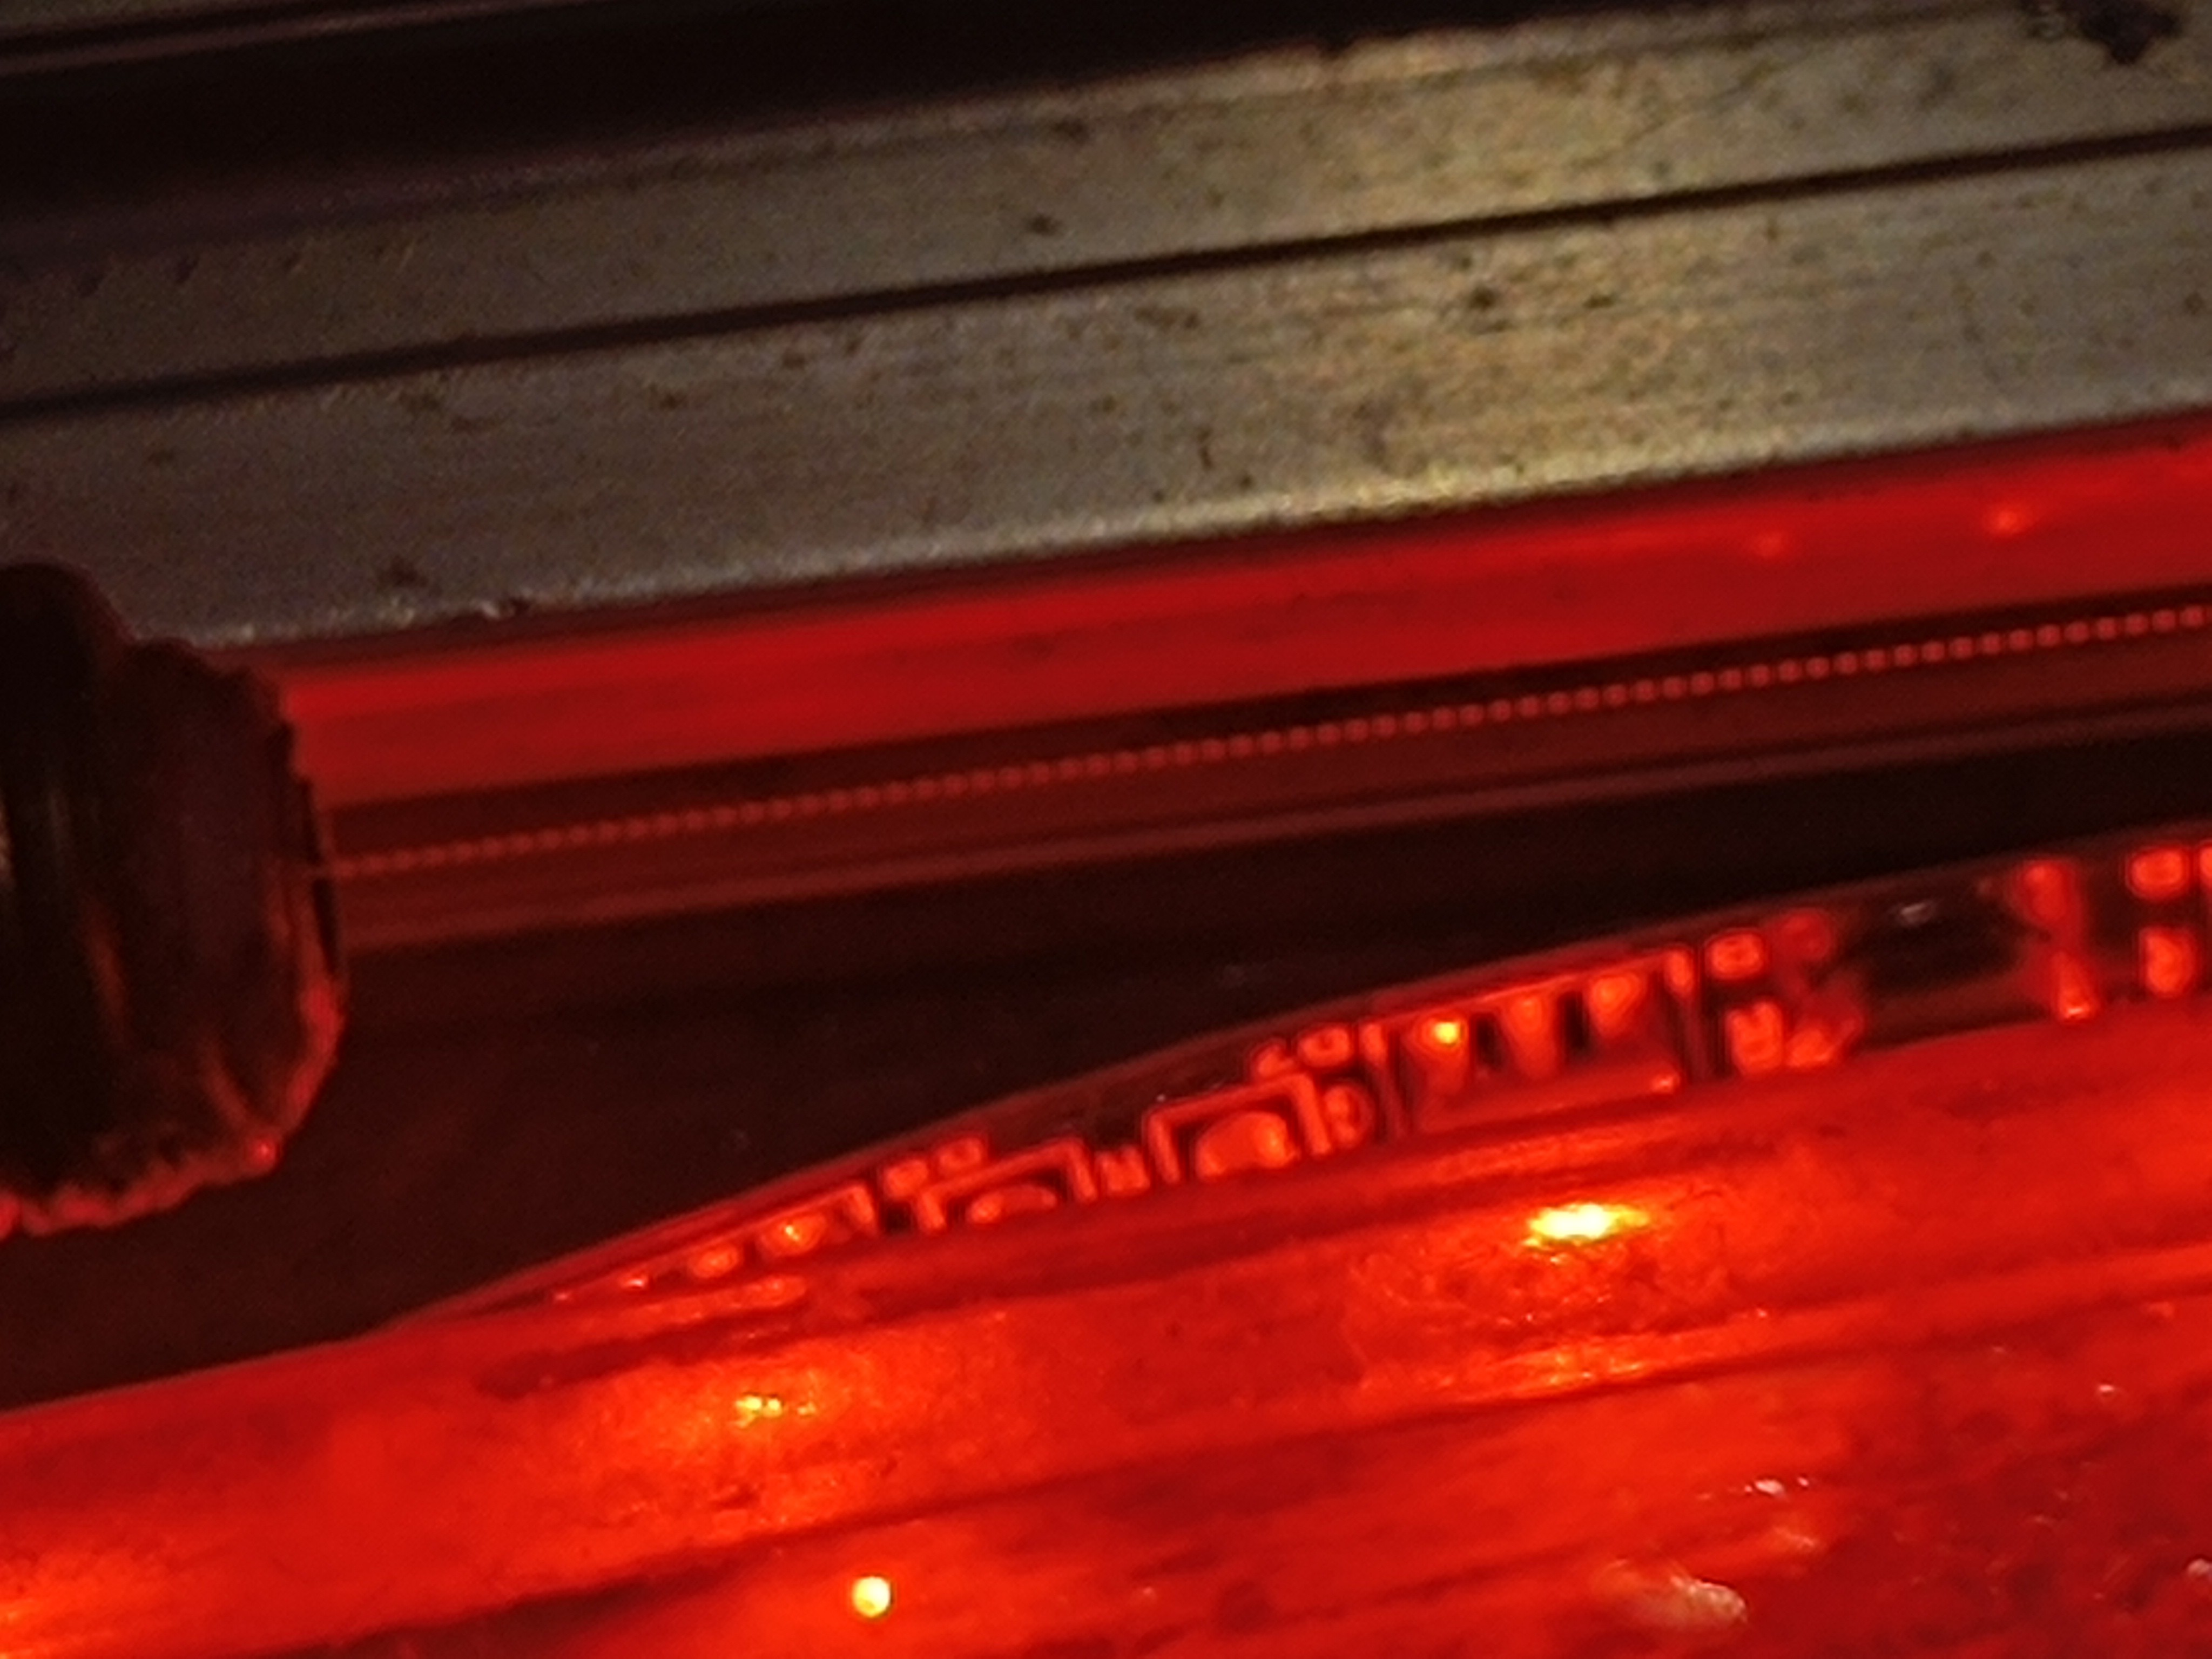
I started building a new printhead, this time leaving the piezo transducer in one piece for using the piezo ring stack as it is intended to be used. My idea is that it could transfer the vibration better to the ink stream with the two piezo rings and the metal body. I think that with the last design, a lot of the vibration got dampened because of the more flexible plastic body. The new design will likely be more efficient, so it should be able to break the ink stream into drops even with a lower voltage since the piezo transducer is quite oversized for the task (Normally, the piezo rings used for that are much smaller, while using a higher voltage).
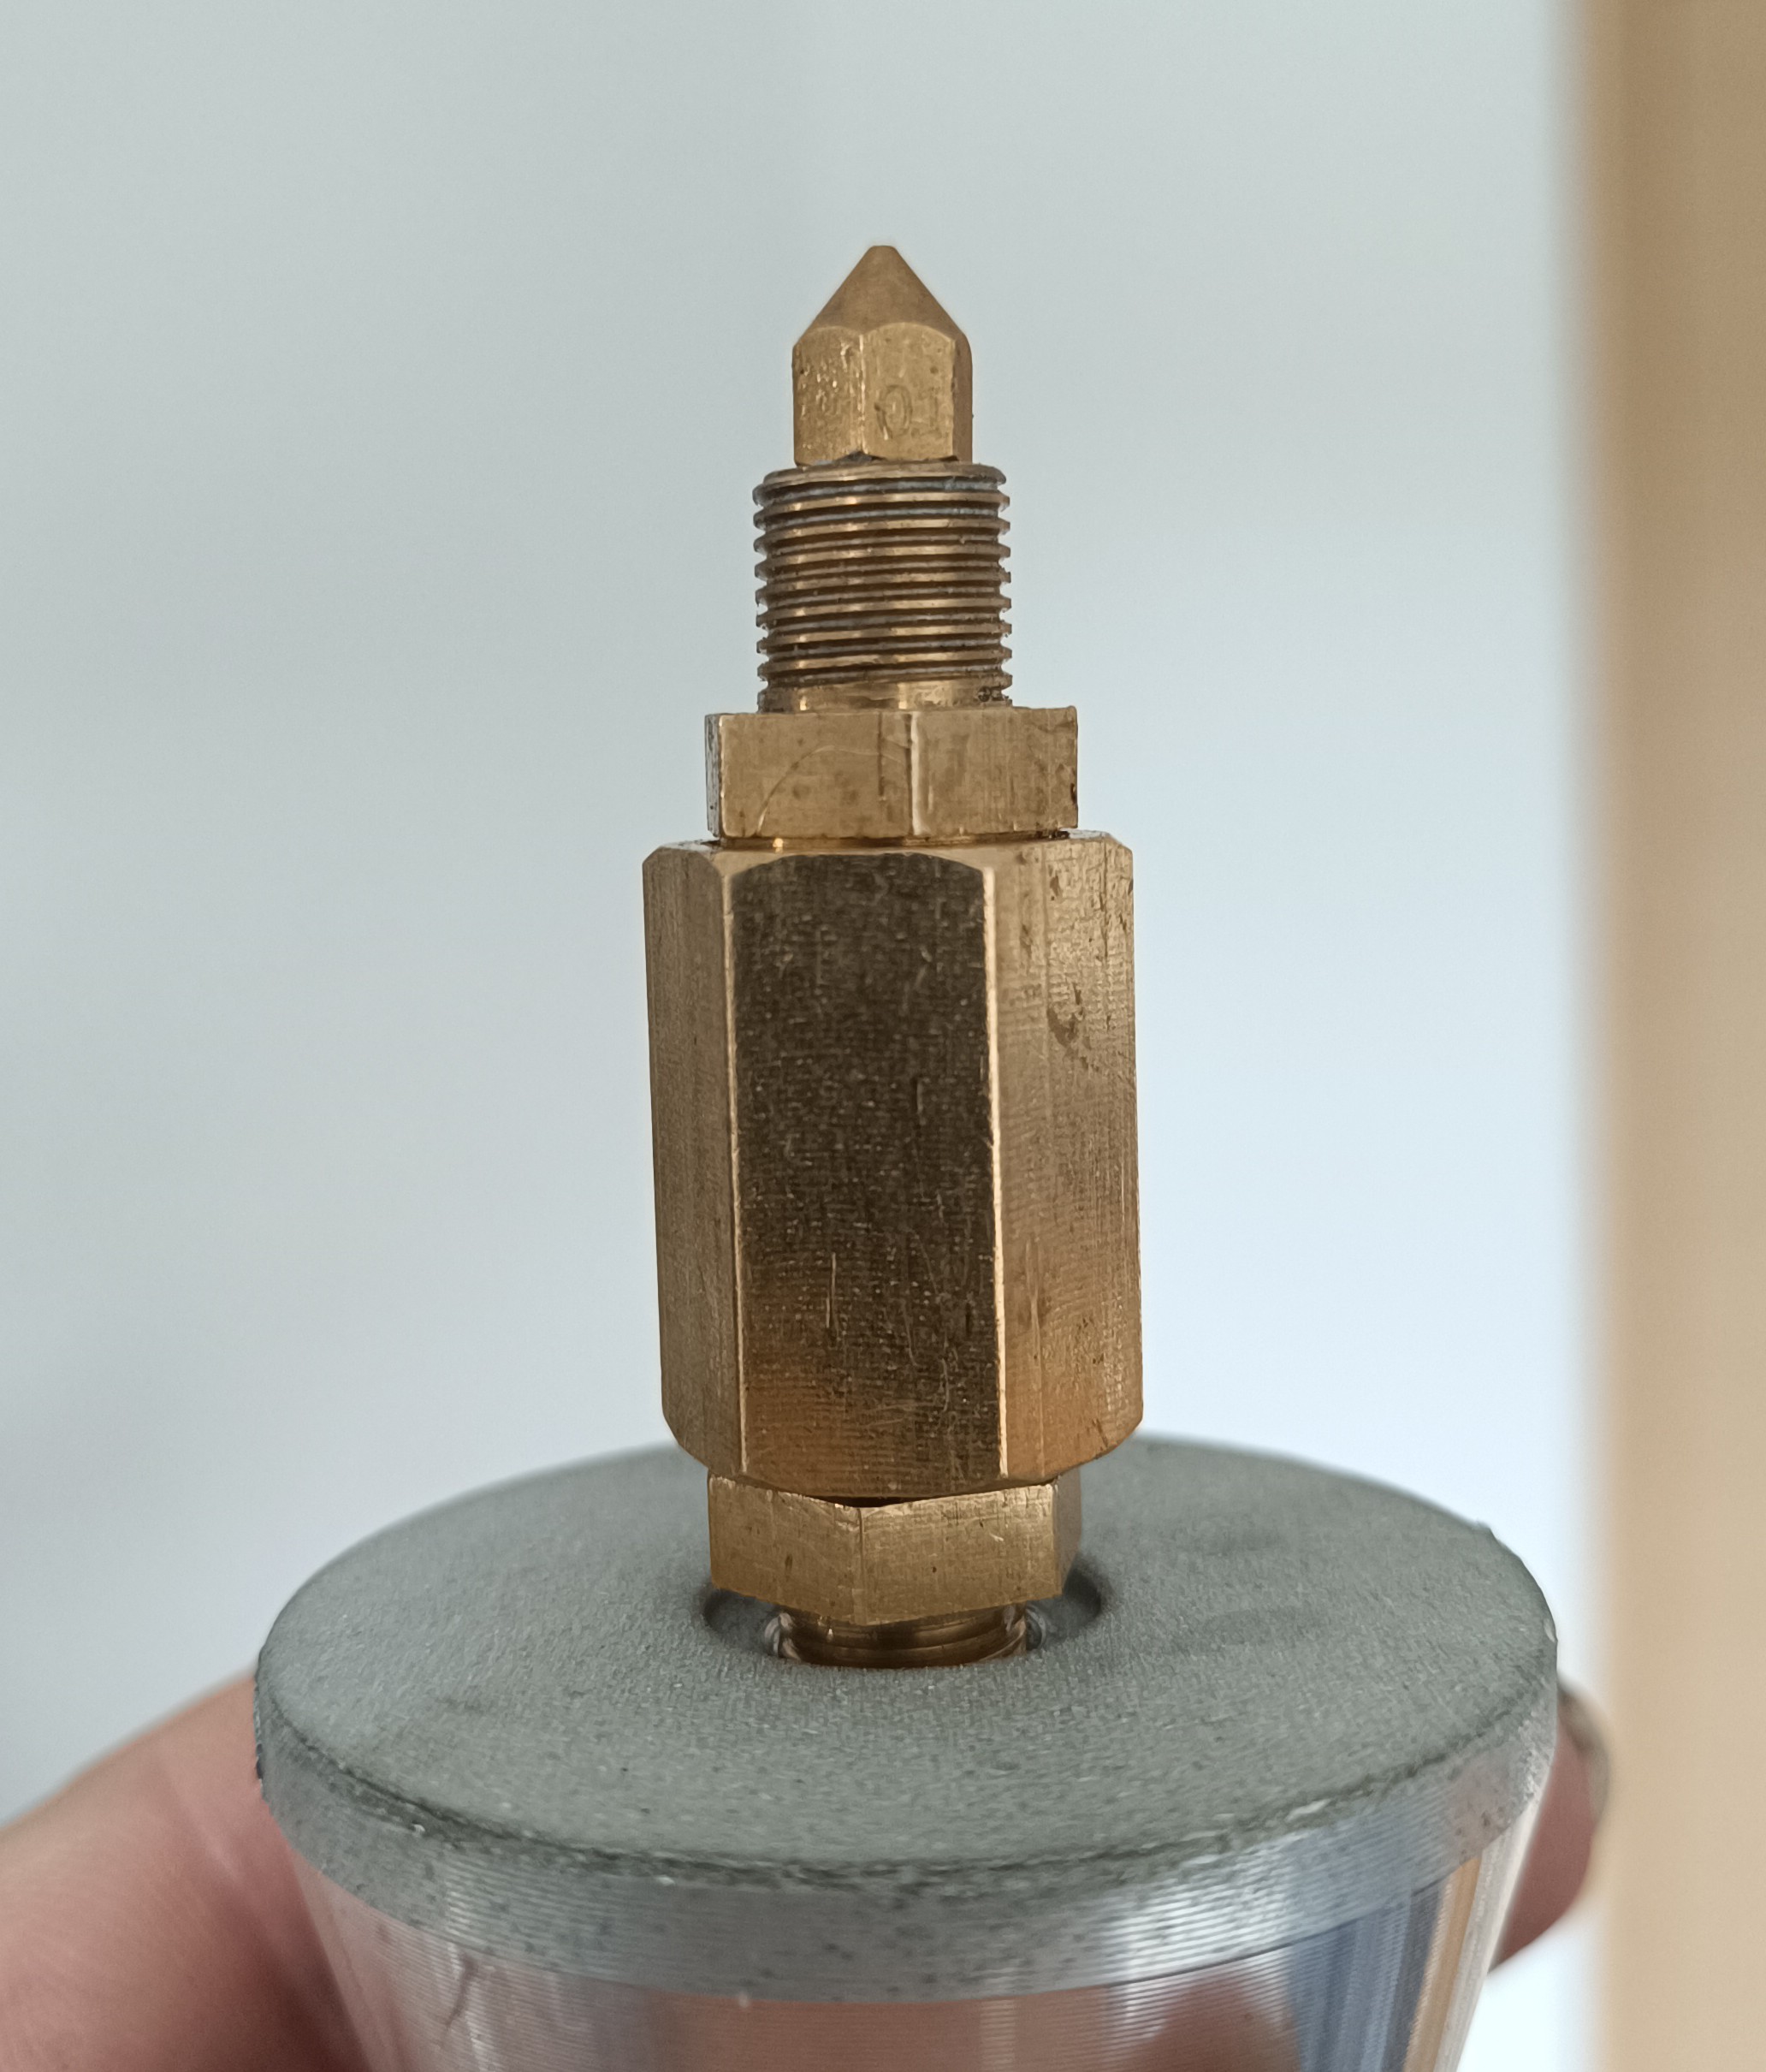
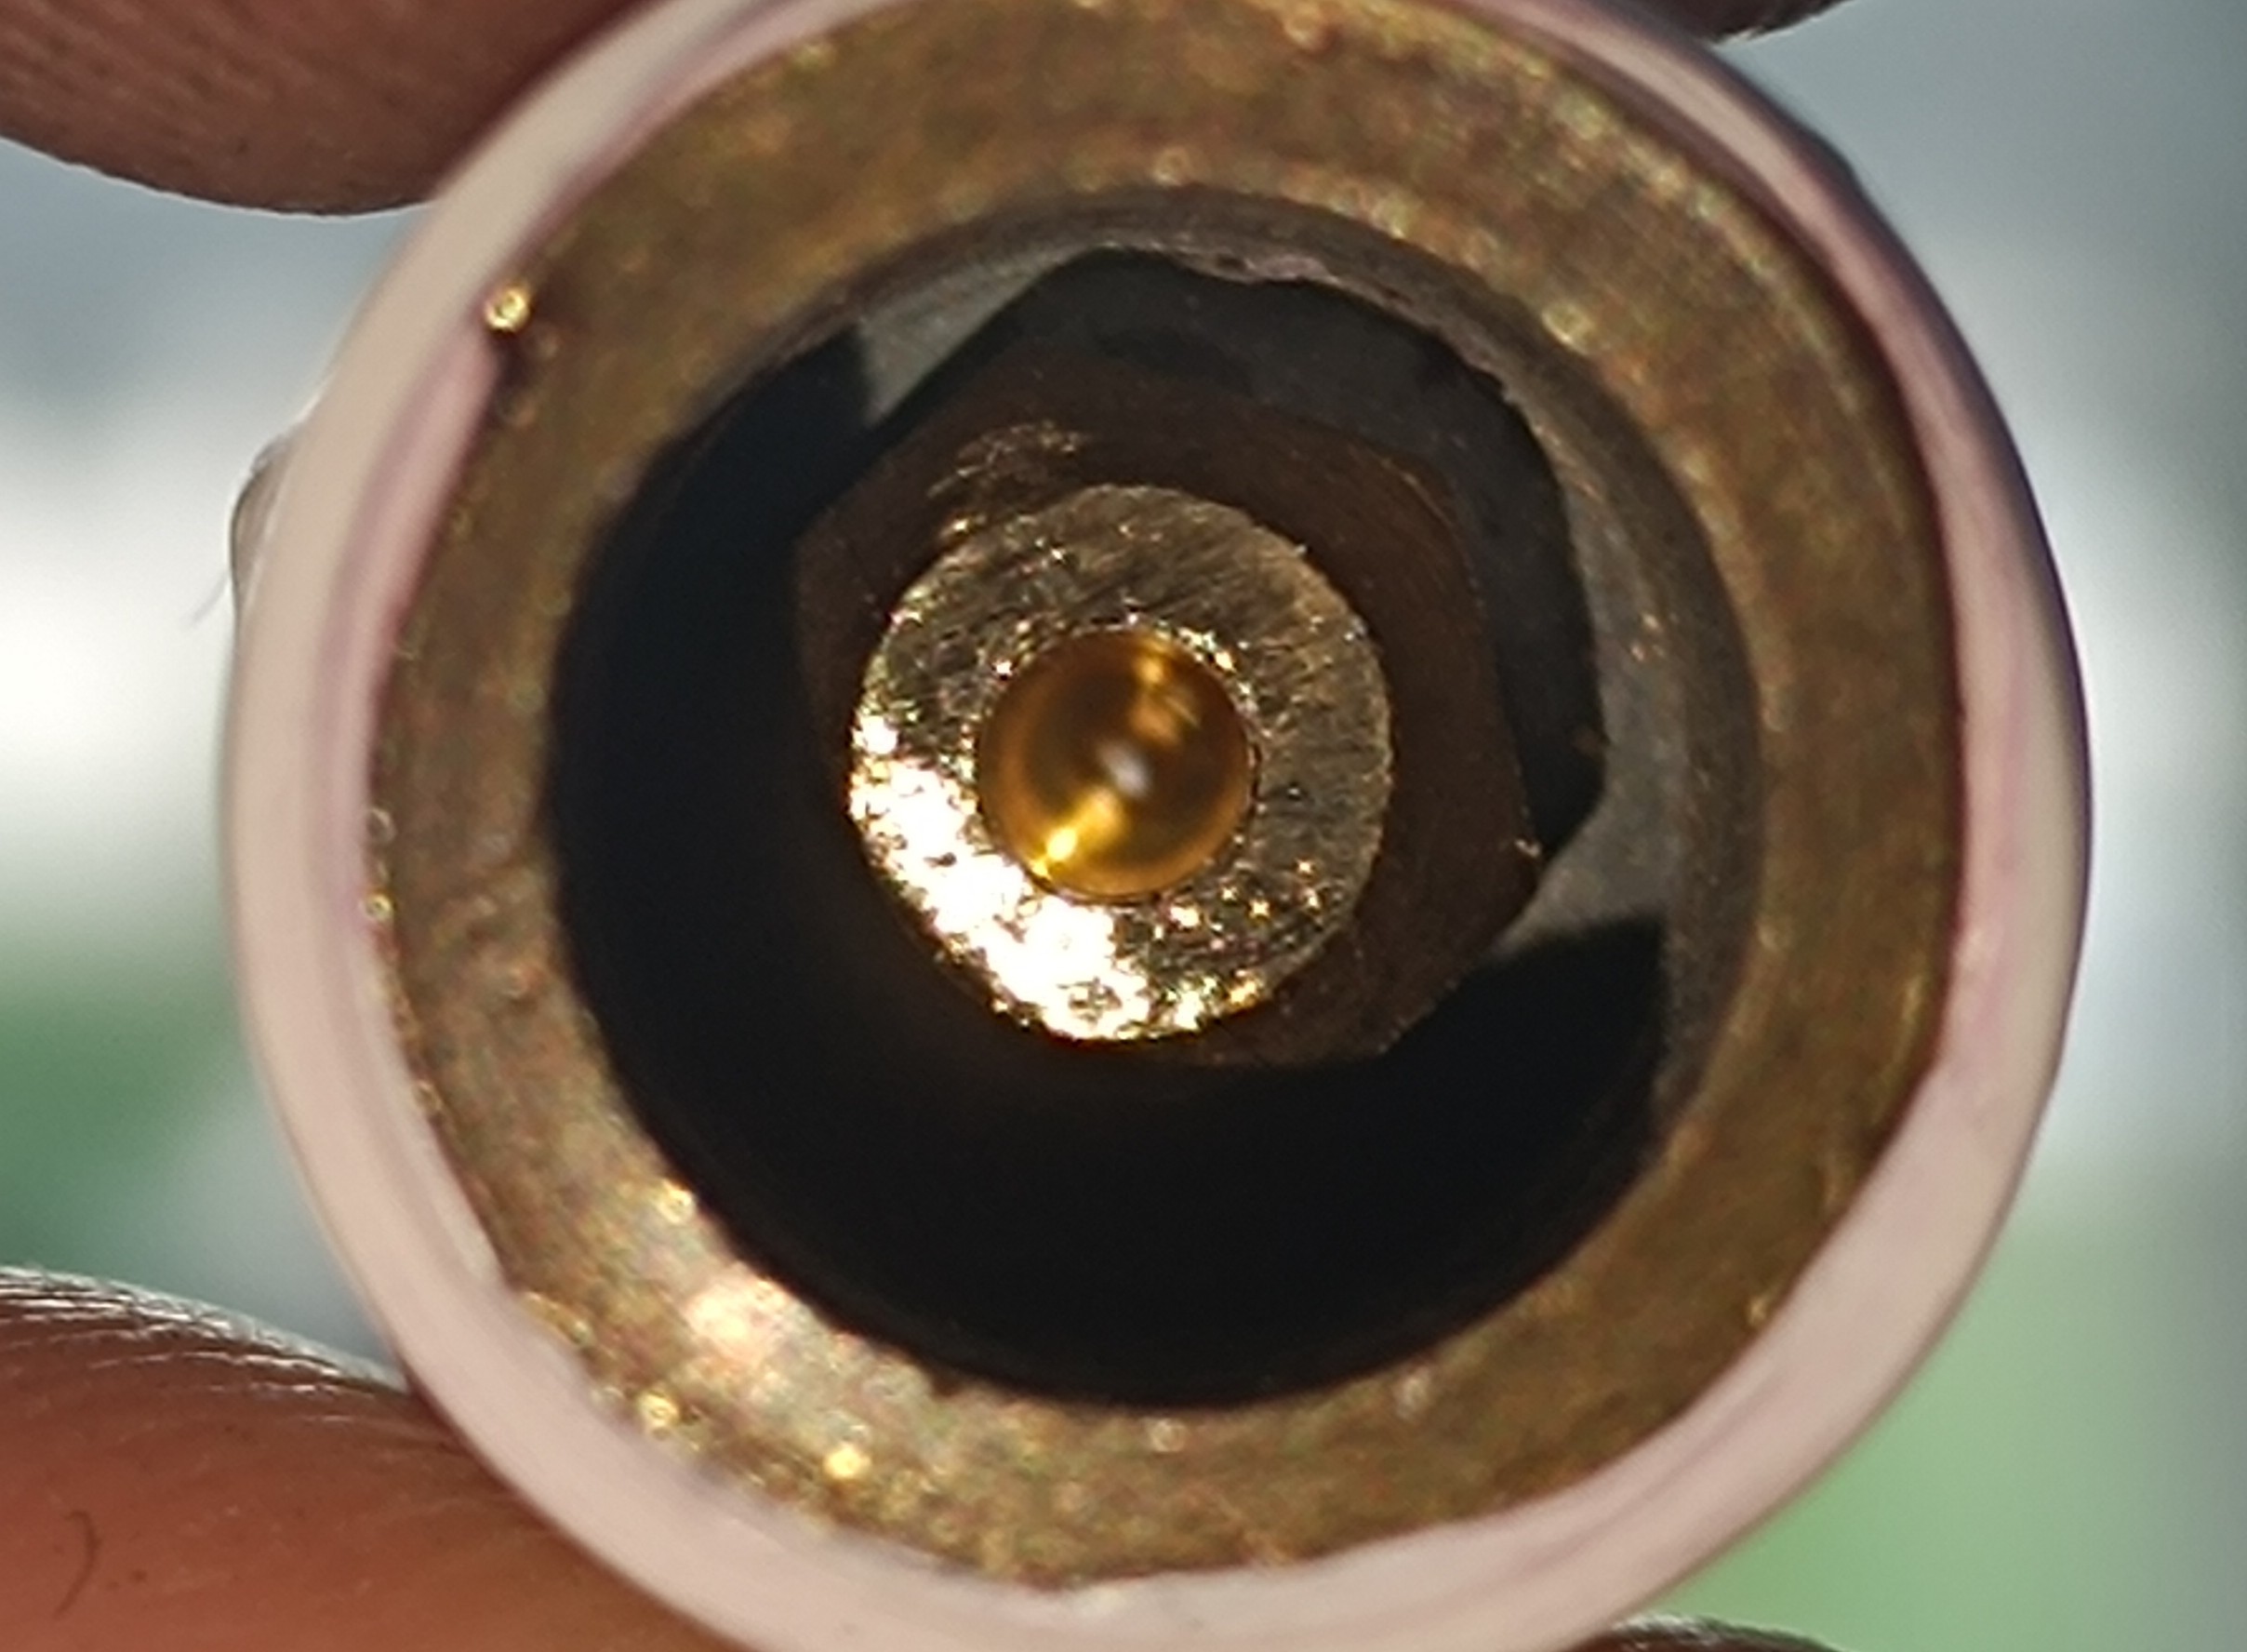
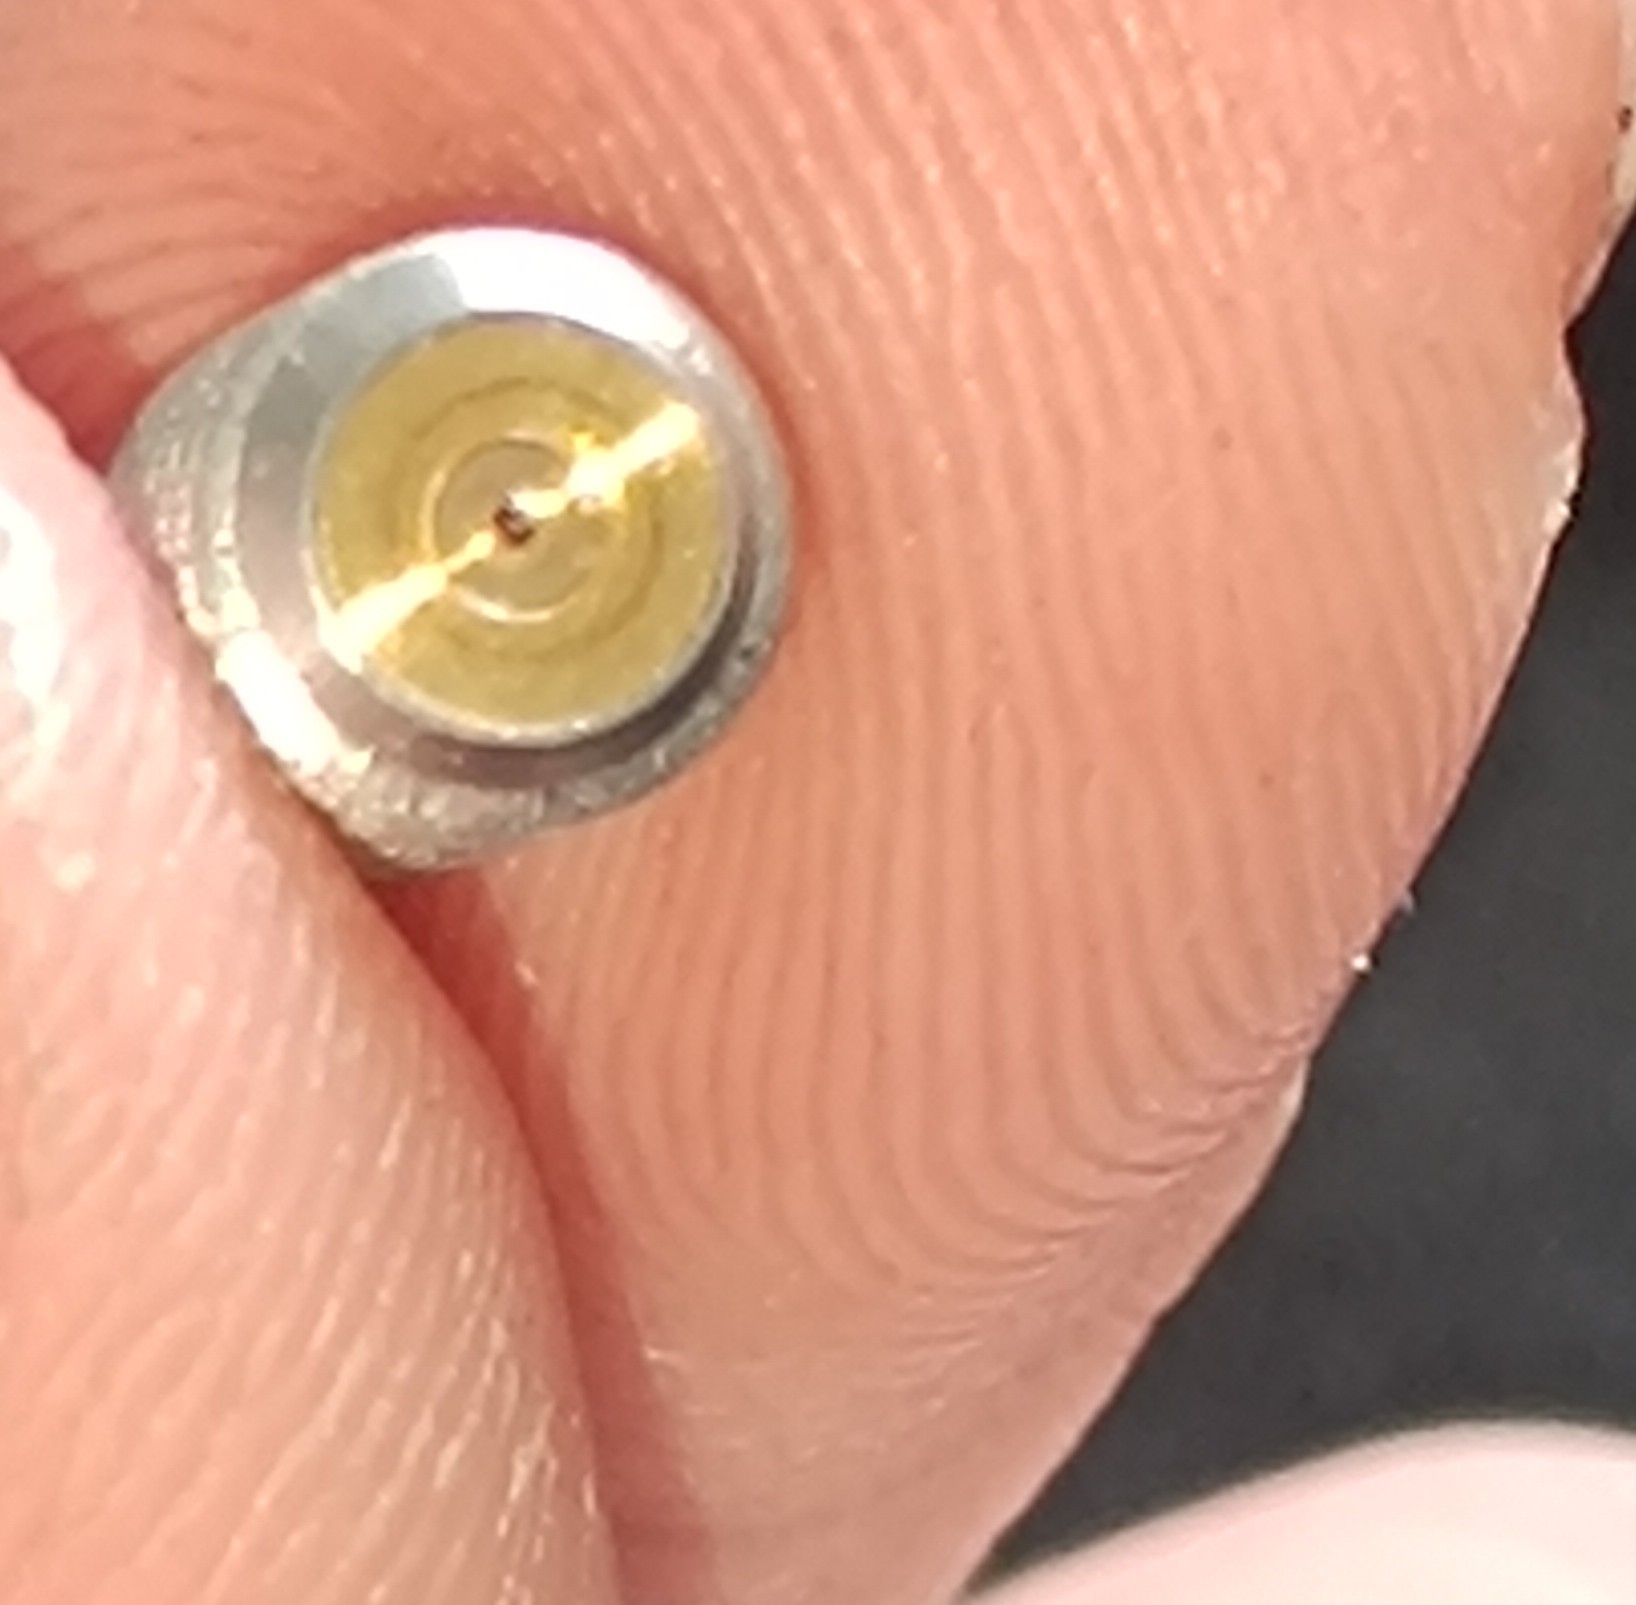
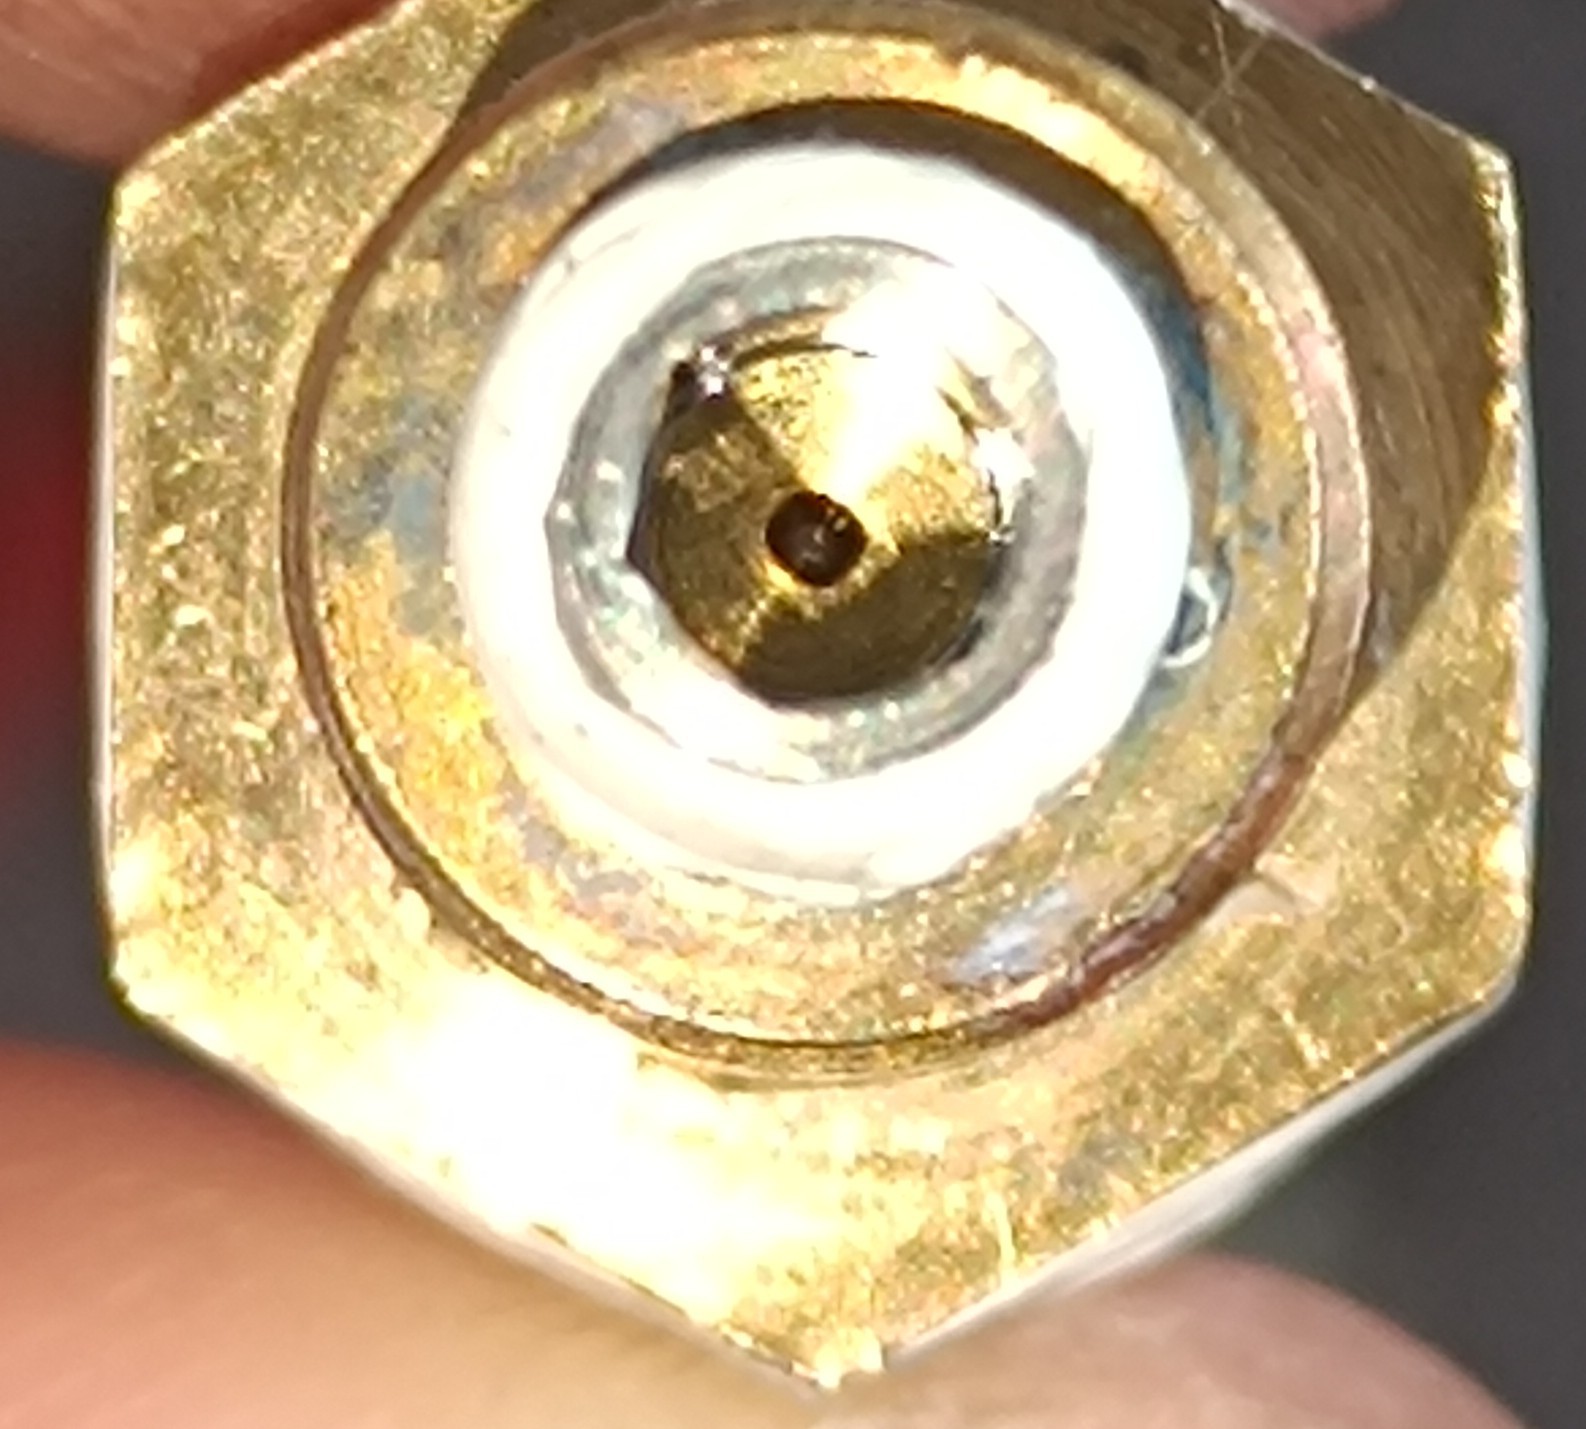
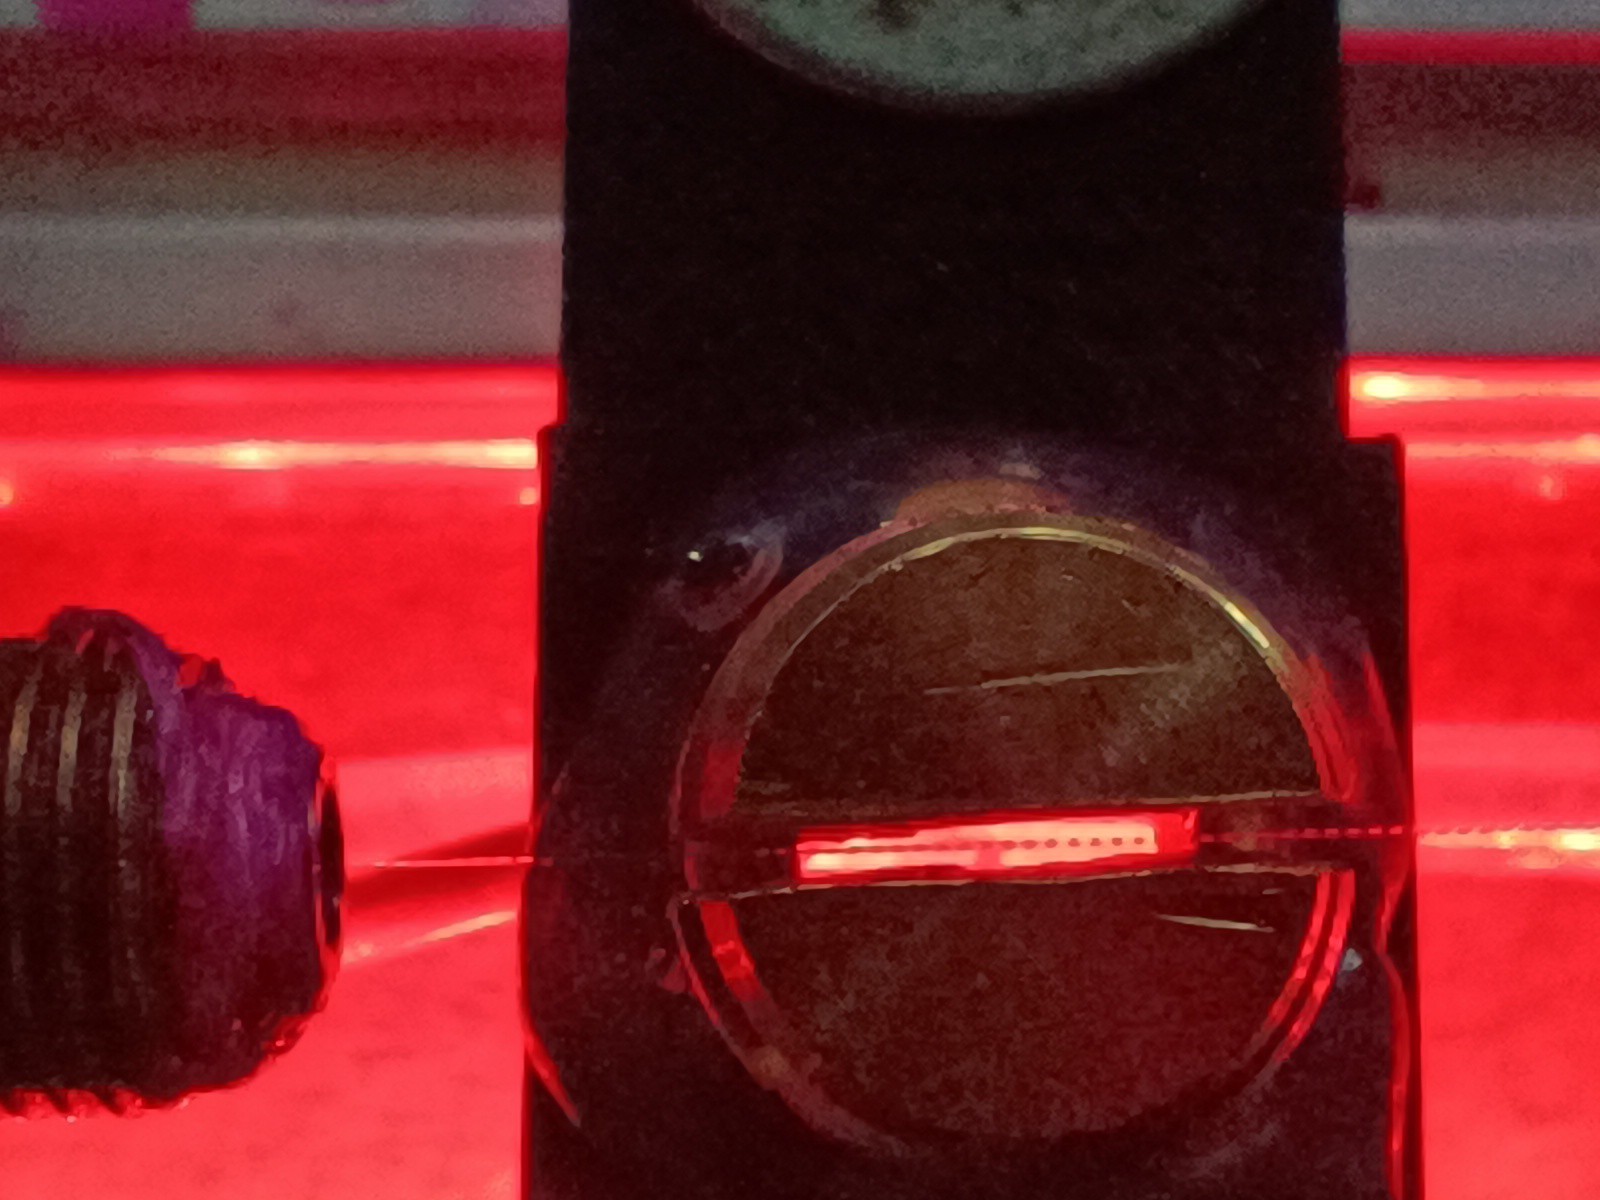
The rear Fitting is sealed with a M6 Grub Screw and the front Fitting holds a 0.1mm M6 Sapphire Nozzle.


While testing to drive the piezo with a 40kHz sine wave at 12V with a small audio amplifier, I noticed that I had to reduce the amplification quite a lot to shift the breakup point away from the nozzle towards the charge electrode, so it seems like at least this part is working better, now.
With a way to make finer adjustments on the amplification and a way to control the amplification via software, it would be possible to move the breakup point back and forth over the distance between the nozzle and the gutter. This could be used to auto-tune the amplification to get the best charging result.
Currently, I'm doing this manually by changing the amplification while looking at the charge electrode to move the breakup point into the charge electrode.
After testing out how adjusting the piezo vibration strength changes the breakup distance, the next thing I want to test is how changing the piezo frequency changes the look of the stream breakup.
Ultimately, I want to find out how I can do a reliable Time of Flight test for measuring the ink stream velocity, which would be very useful since it depends on pressure, viscosity, and nozzle diameter and has to fit the used piezo frequency.
Thanks for reading :)
Discussions
Become a Hackaday.io Member
Create an account to leave a comment. Already have an account? Log In.