 Dominik Meffert
For the goal of a more compact design, I spent the week modifying some 3V1-06 valves.
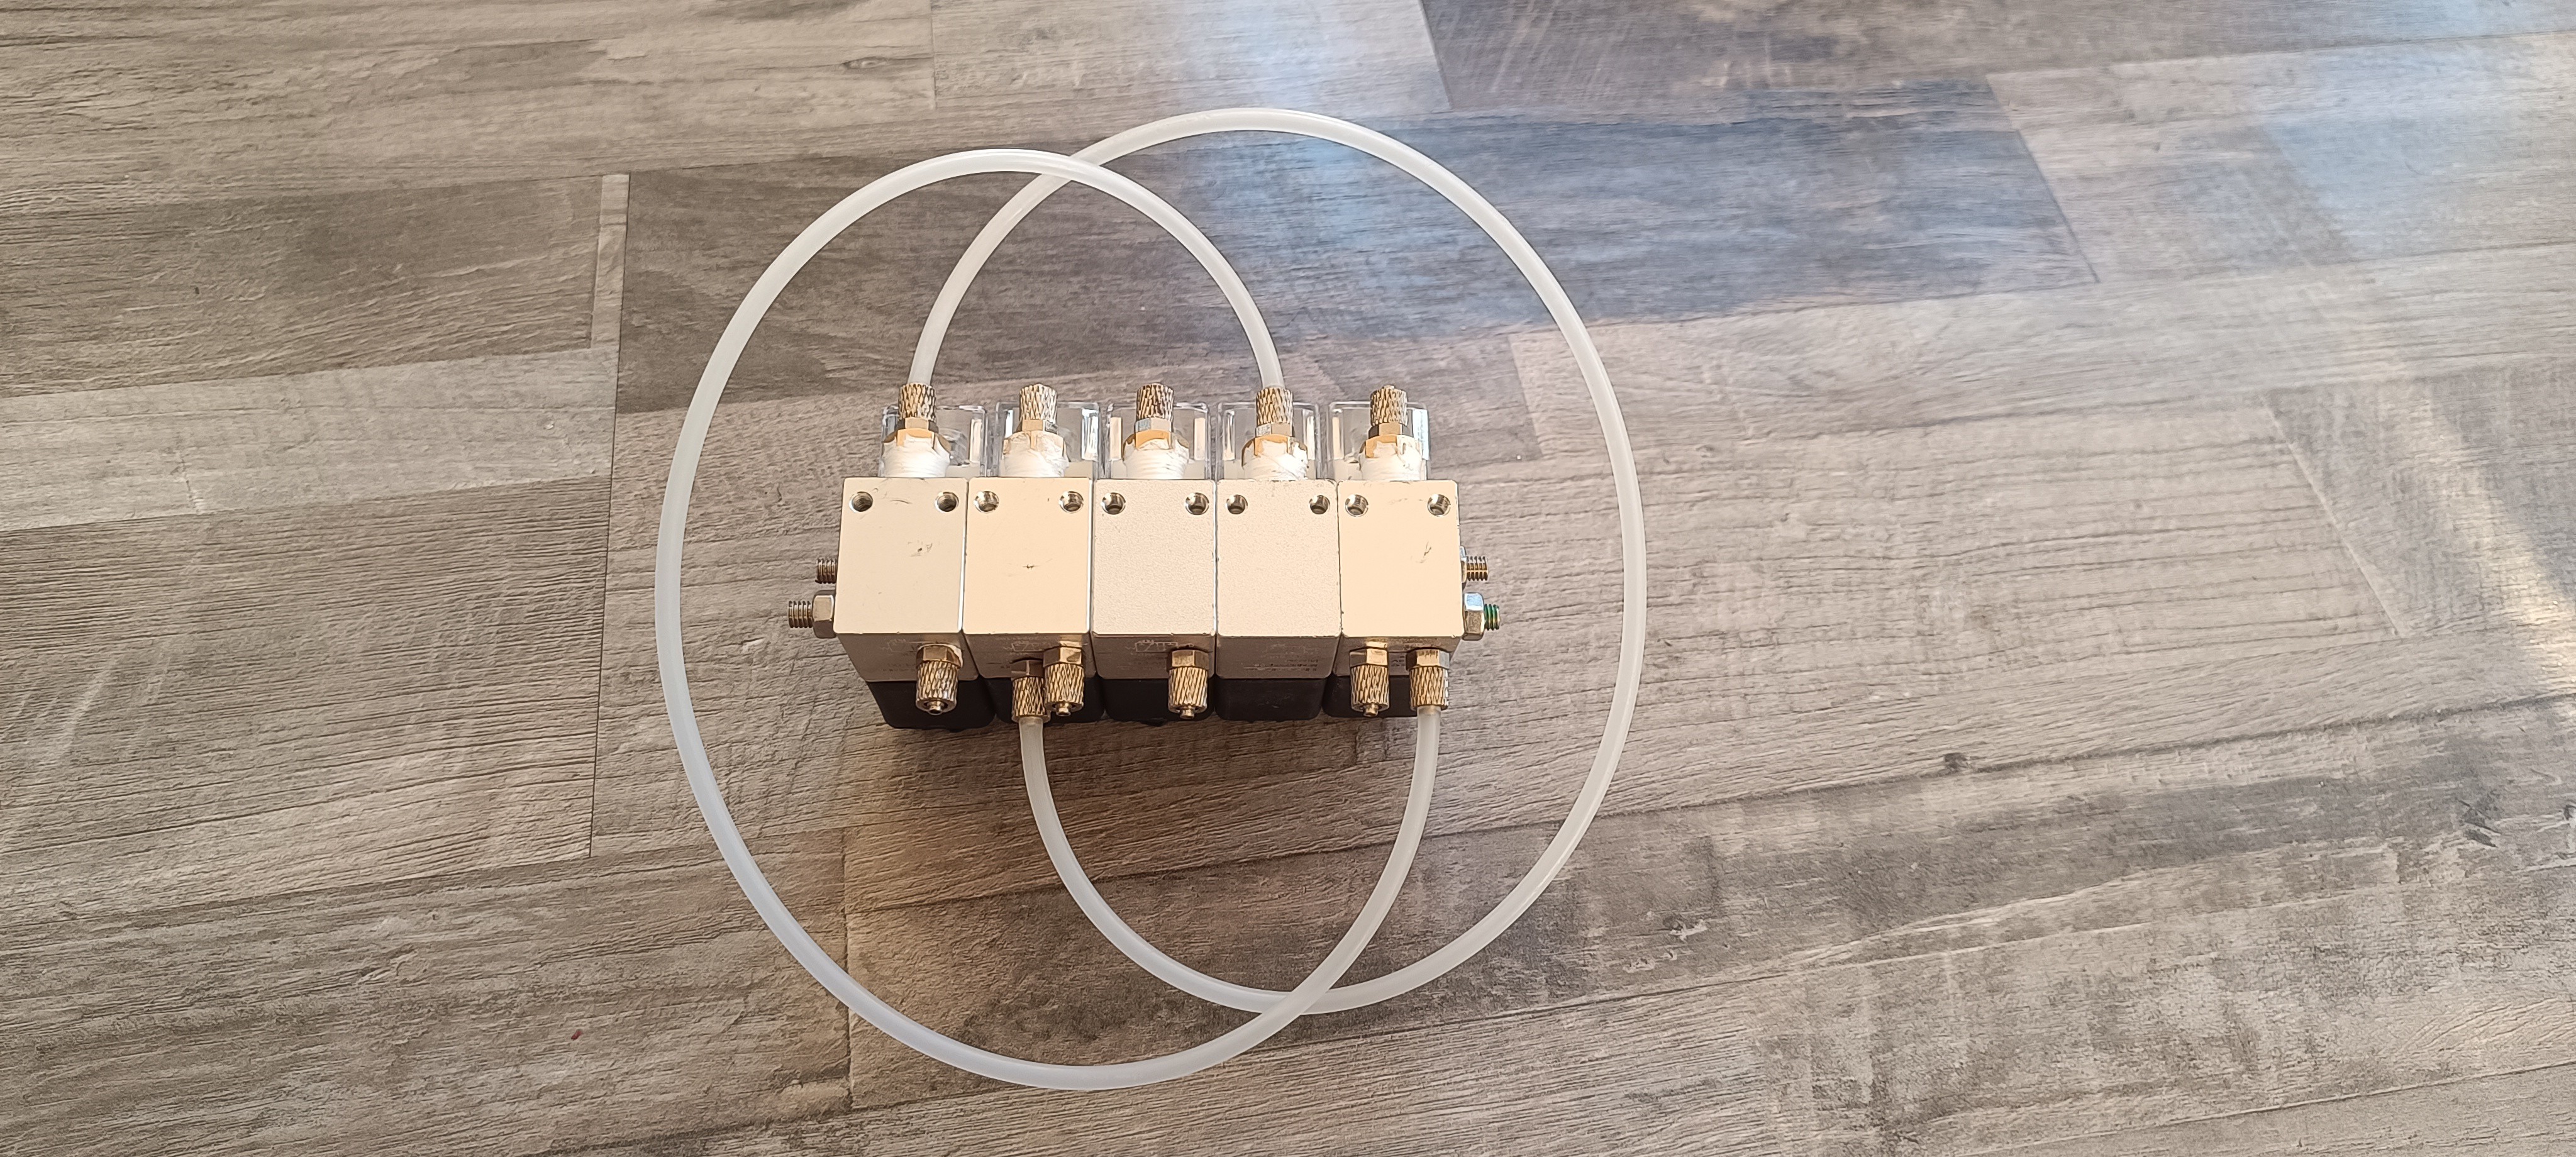
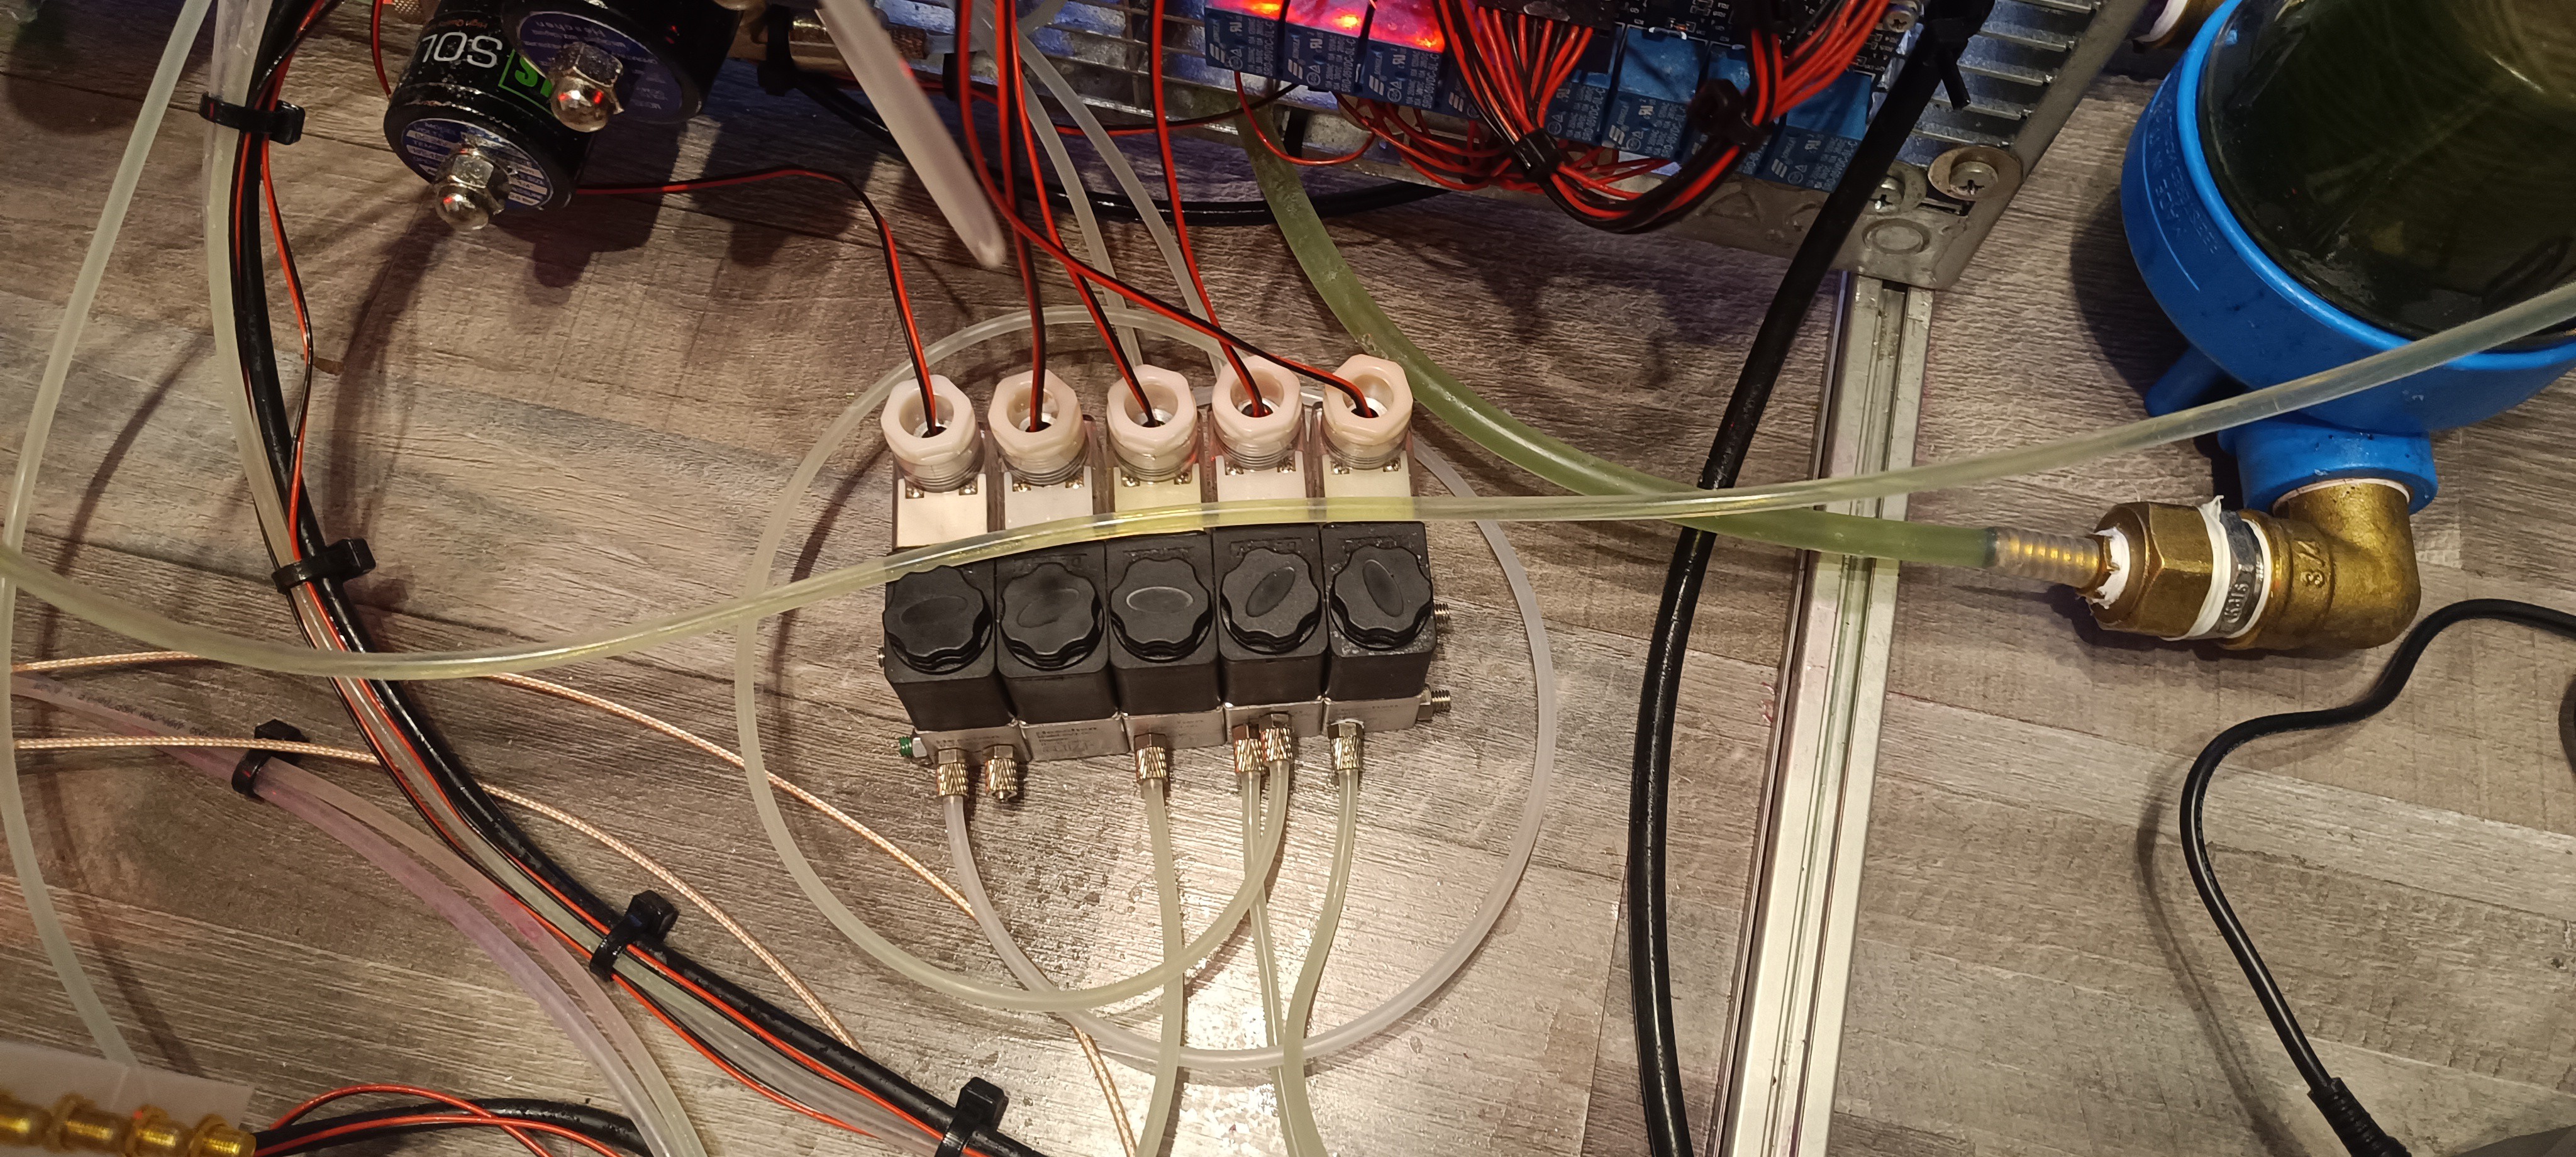
For that, I drilled 5mm holes through the two mounting holes which are usually meant to be used with special screws, to be able to stack five valves and connect them with two M5 threaded rods.
Far accessing either the inlet or outlet side I cut M5 threads either close to the edge for accessing the outlet side or in the middle of the valve's front side for accessing the inlet side.
I then connected M5 fittings to them for the tube connections.
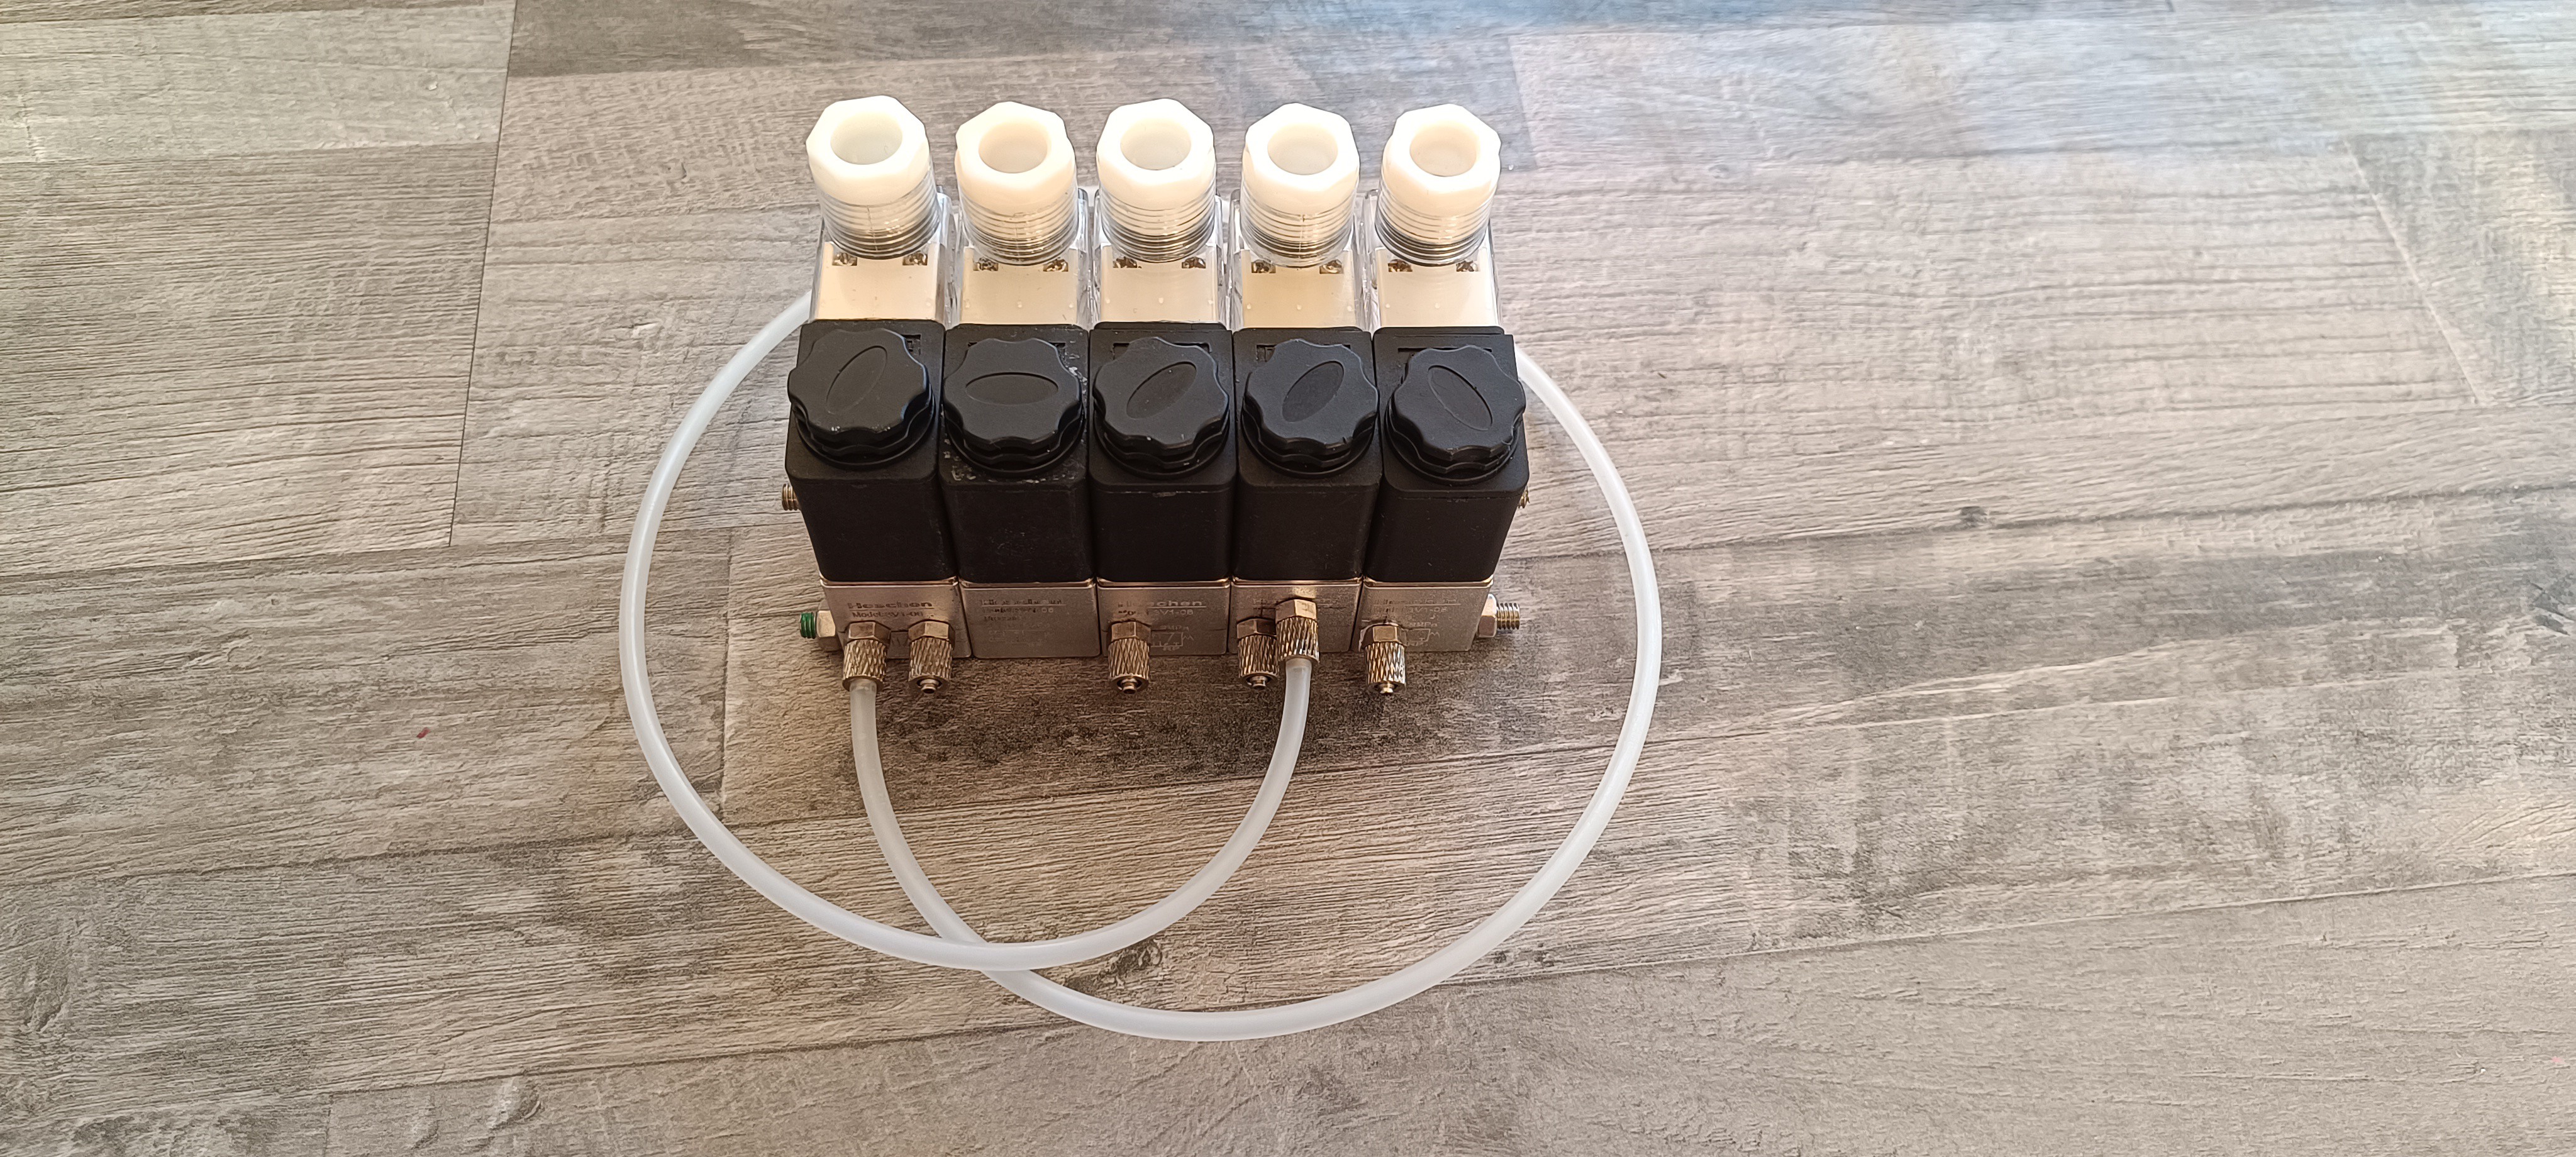
The ink, tank, and flush valve are closed with 1/8-inch plugs, which are sealed with PTFE tape.
To not block the new connection on these valves I placed a cut-in-two washer at the bottom of the thread so that the plug stops far enough from the bottom to keep the new connection open while sealing the 1/8 inch side connection.
The vacuum and gutter valve are connected via the 1/8 inch side connection which is sealed by a 12*3mm O ring.
Two tubes are used for connecting the ink valve's outlet to the vacuum valve's inlet and for connecting the flush valve's inlet to the tank valve's inlet.
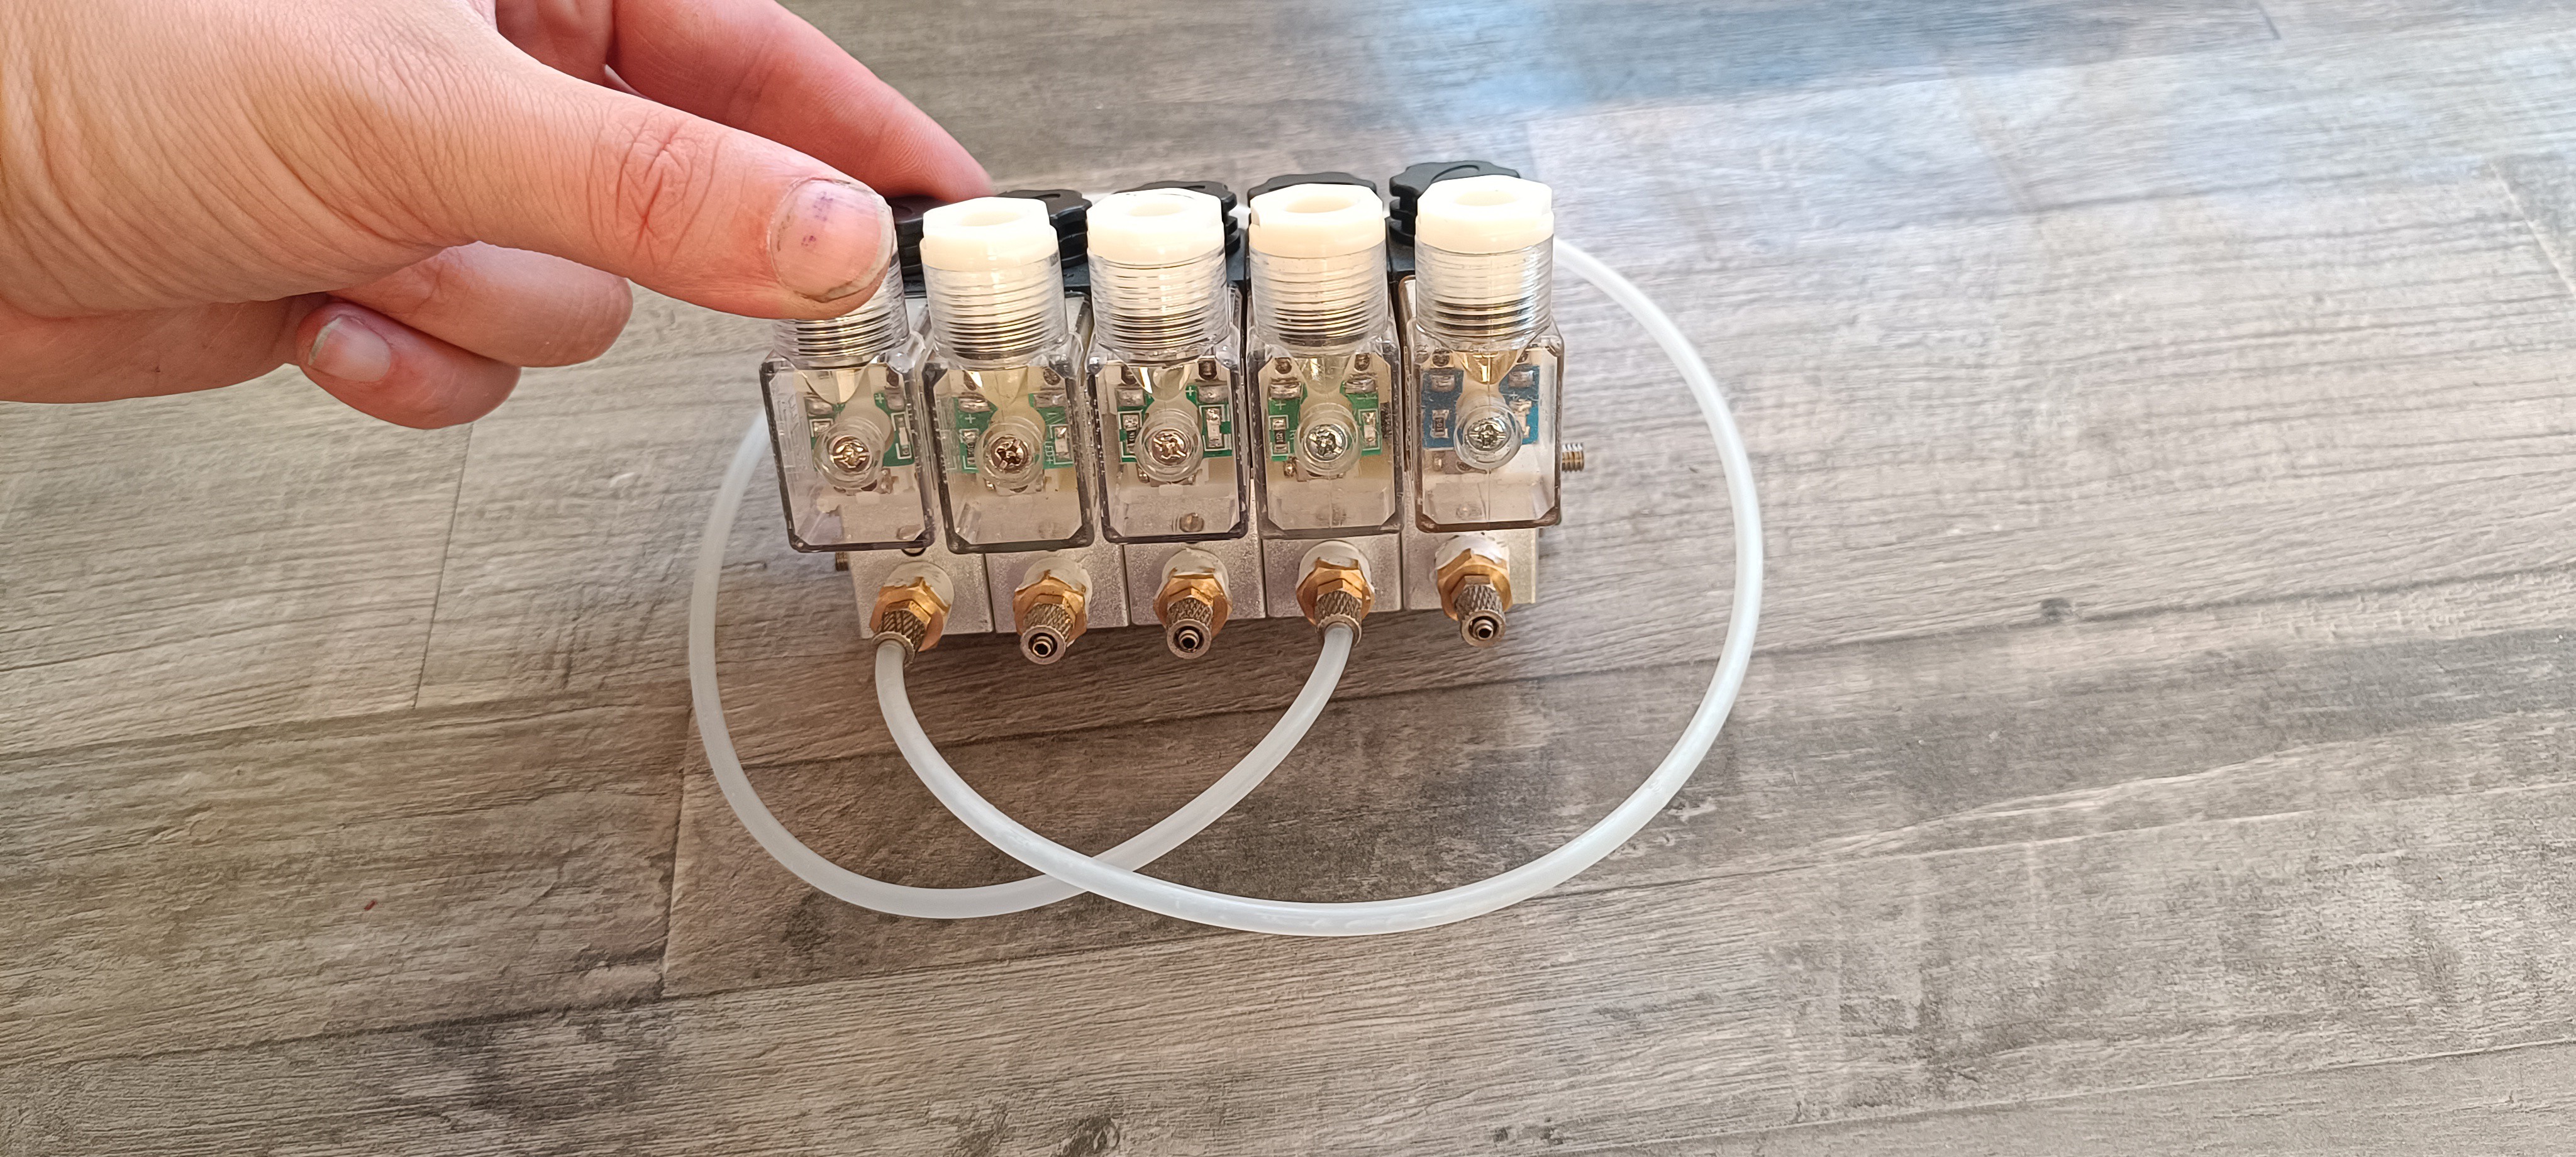
On the inlet side, I used 1/8-inch plugs with M5 threads cut into them as adapters.
To suppress the voltage spike that occurs when the valves are turned off, I added an IN4007 diode to each valve's terminal connection.
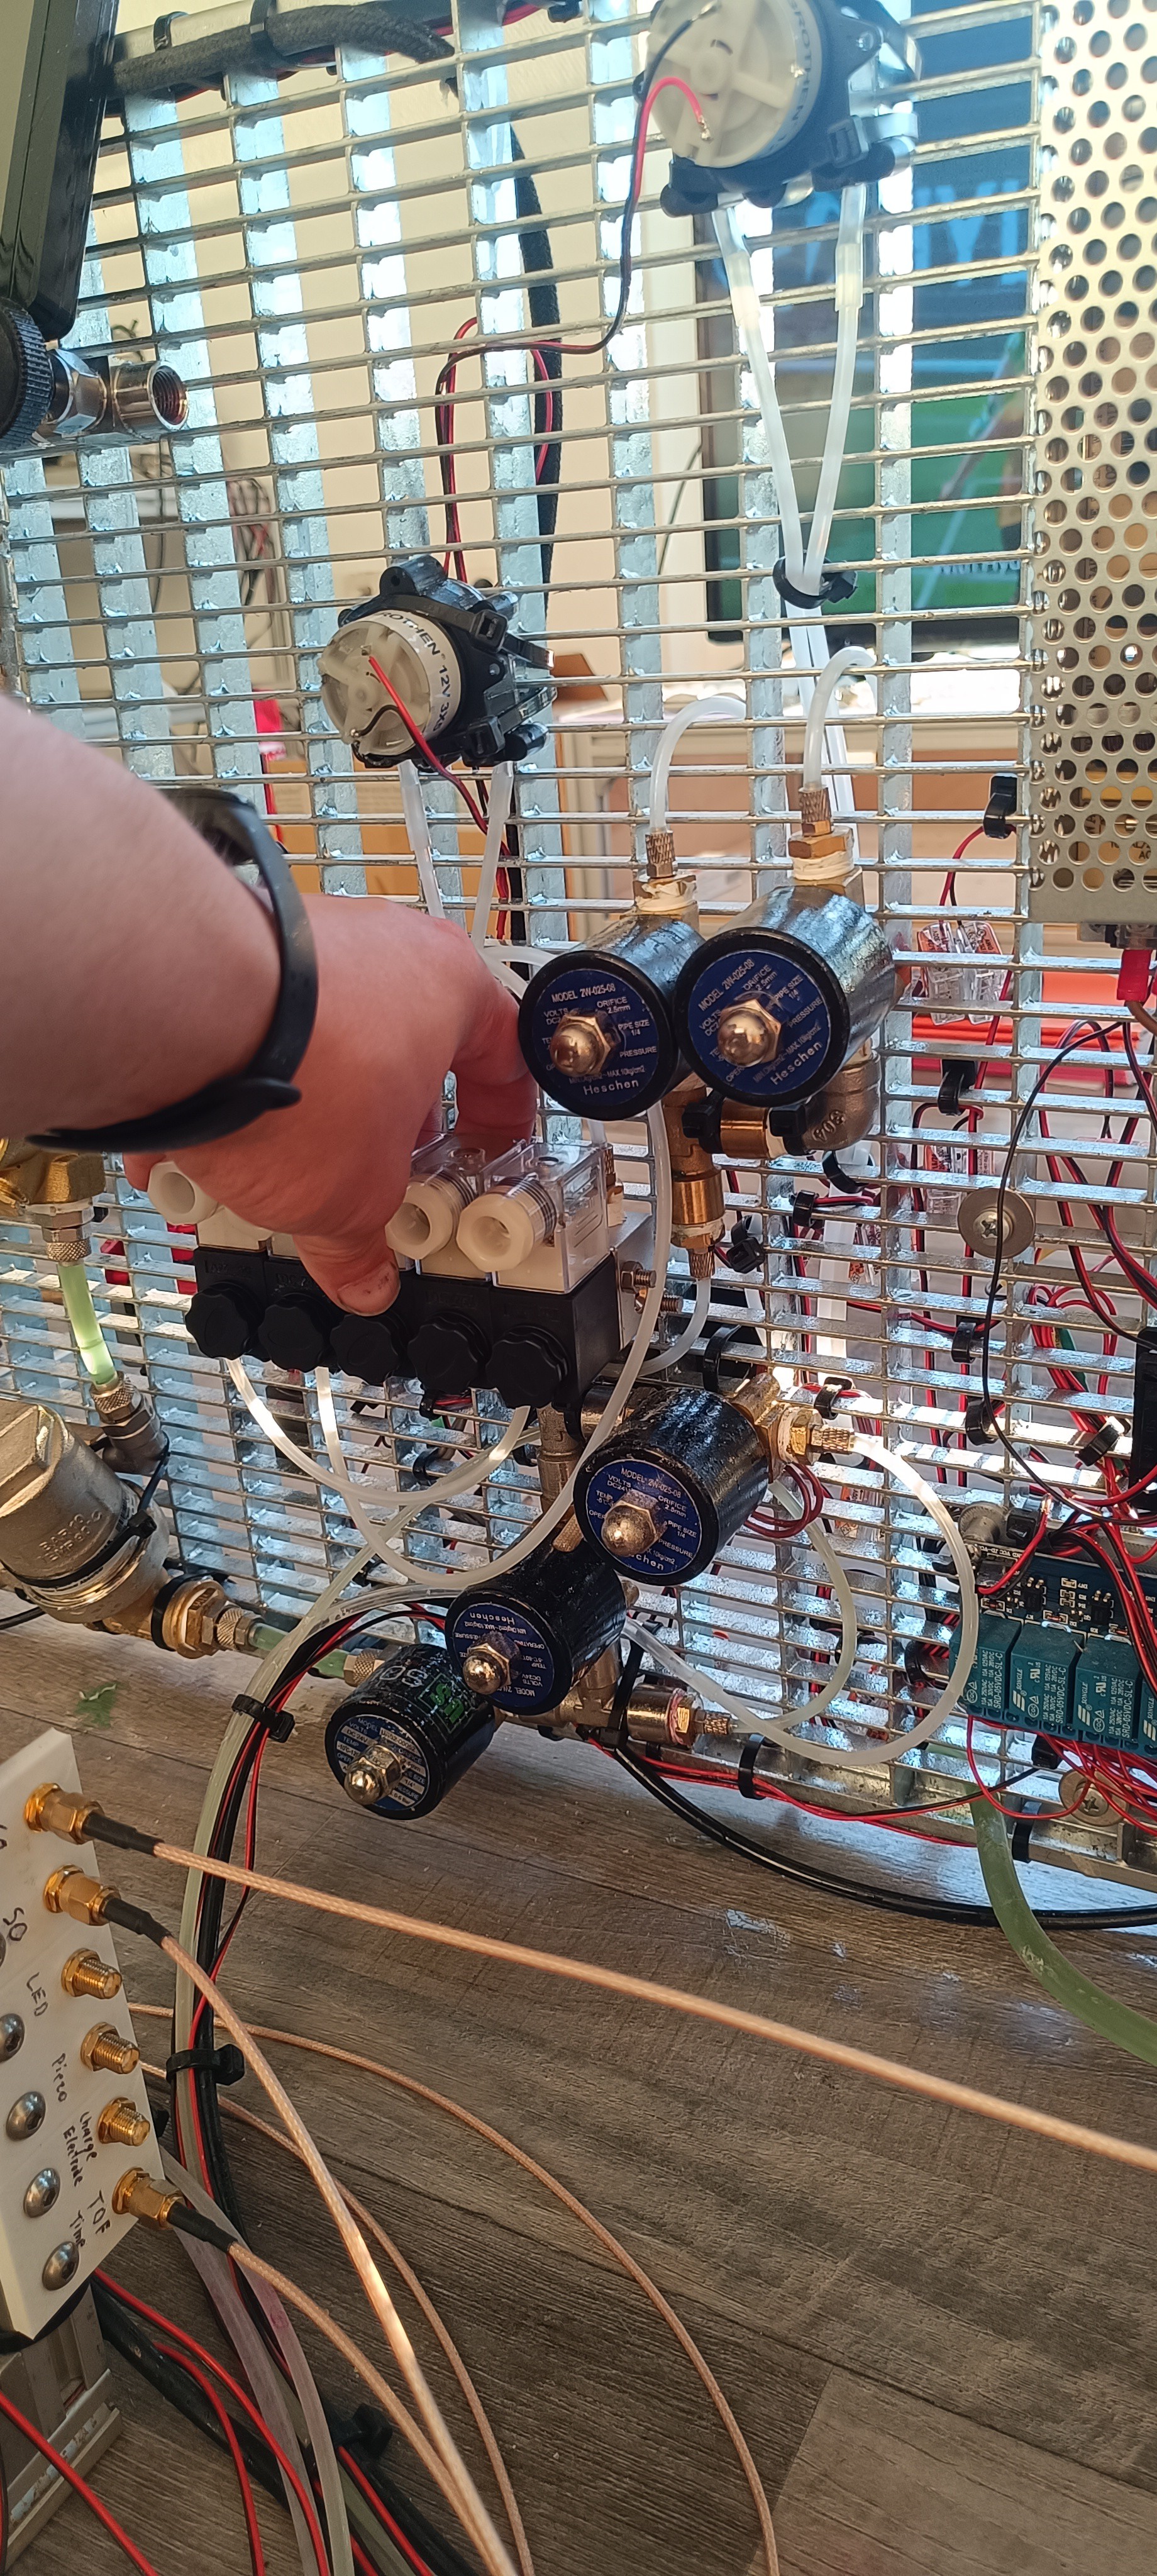
After assembly, I connected everything and checked for leaks.
For that I let the machine run while tidying up the room.
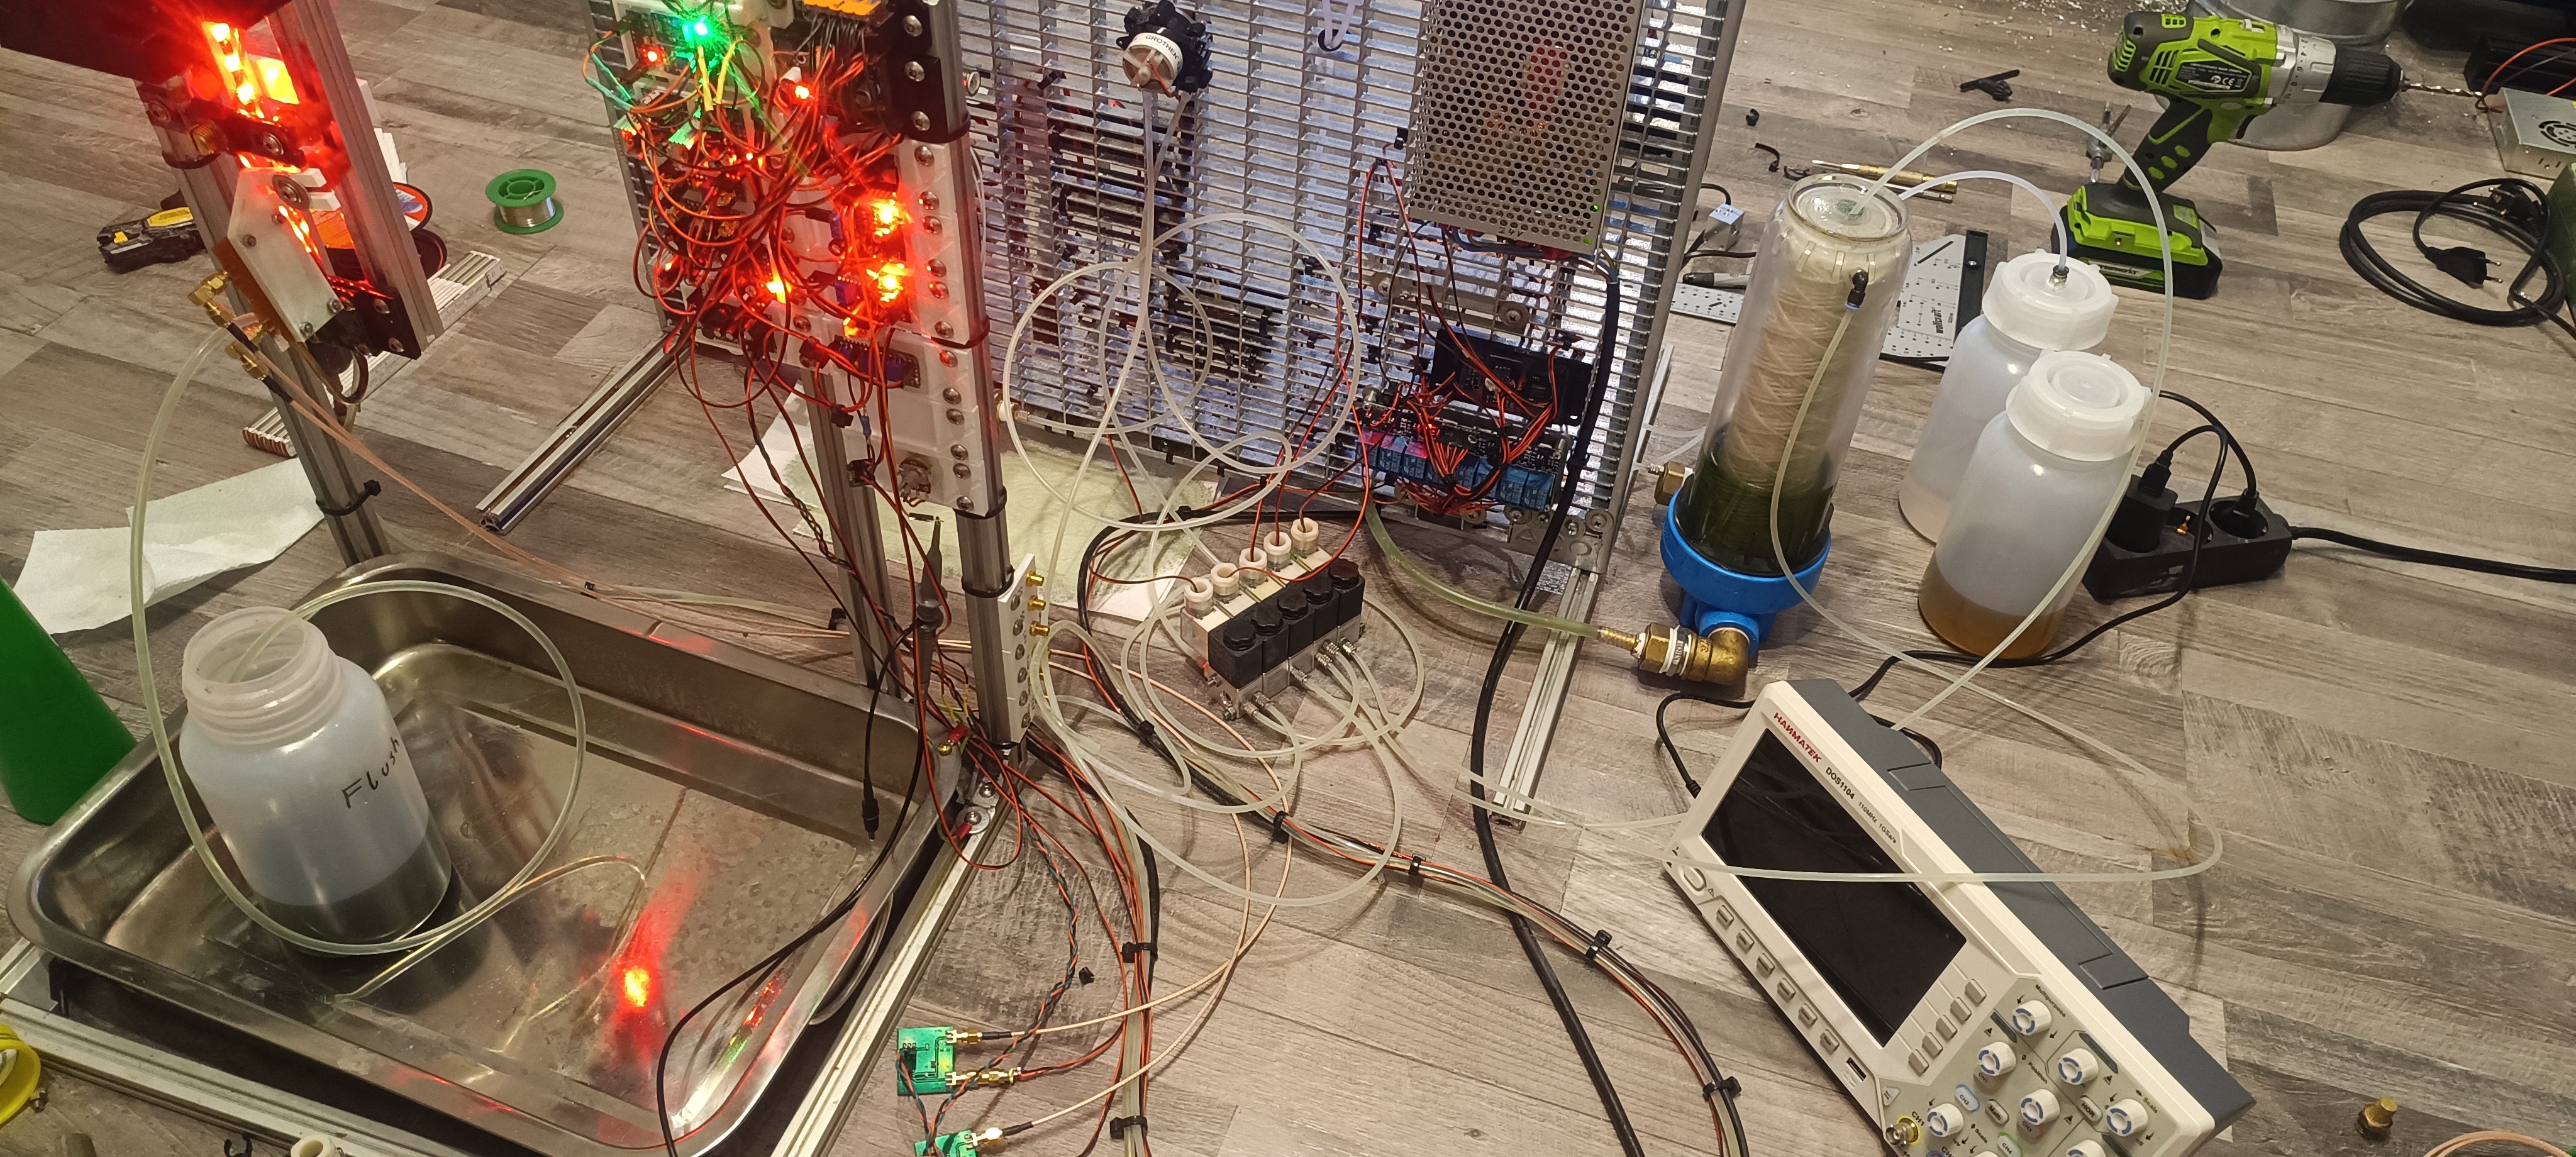
After sealing one leak, new valves seem to work just as well as the old ones while looking much more organized and compact.
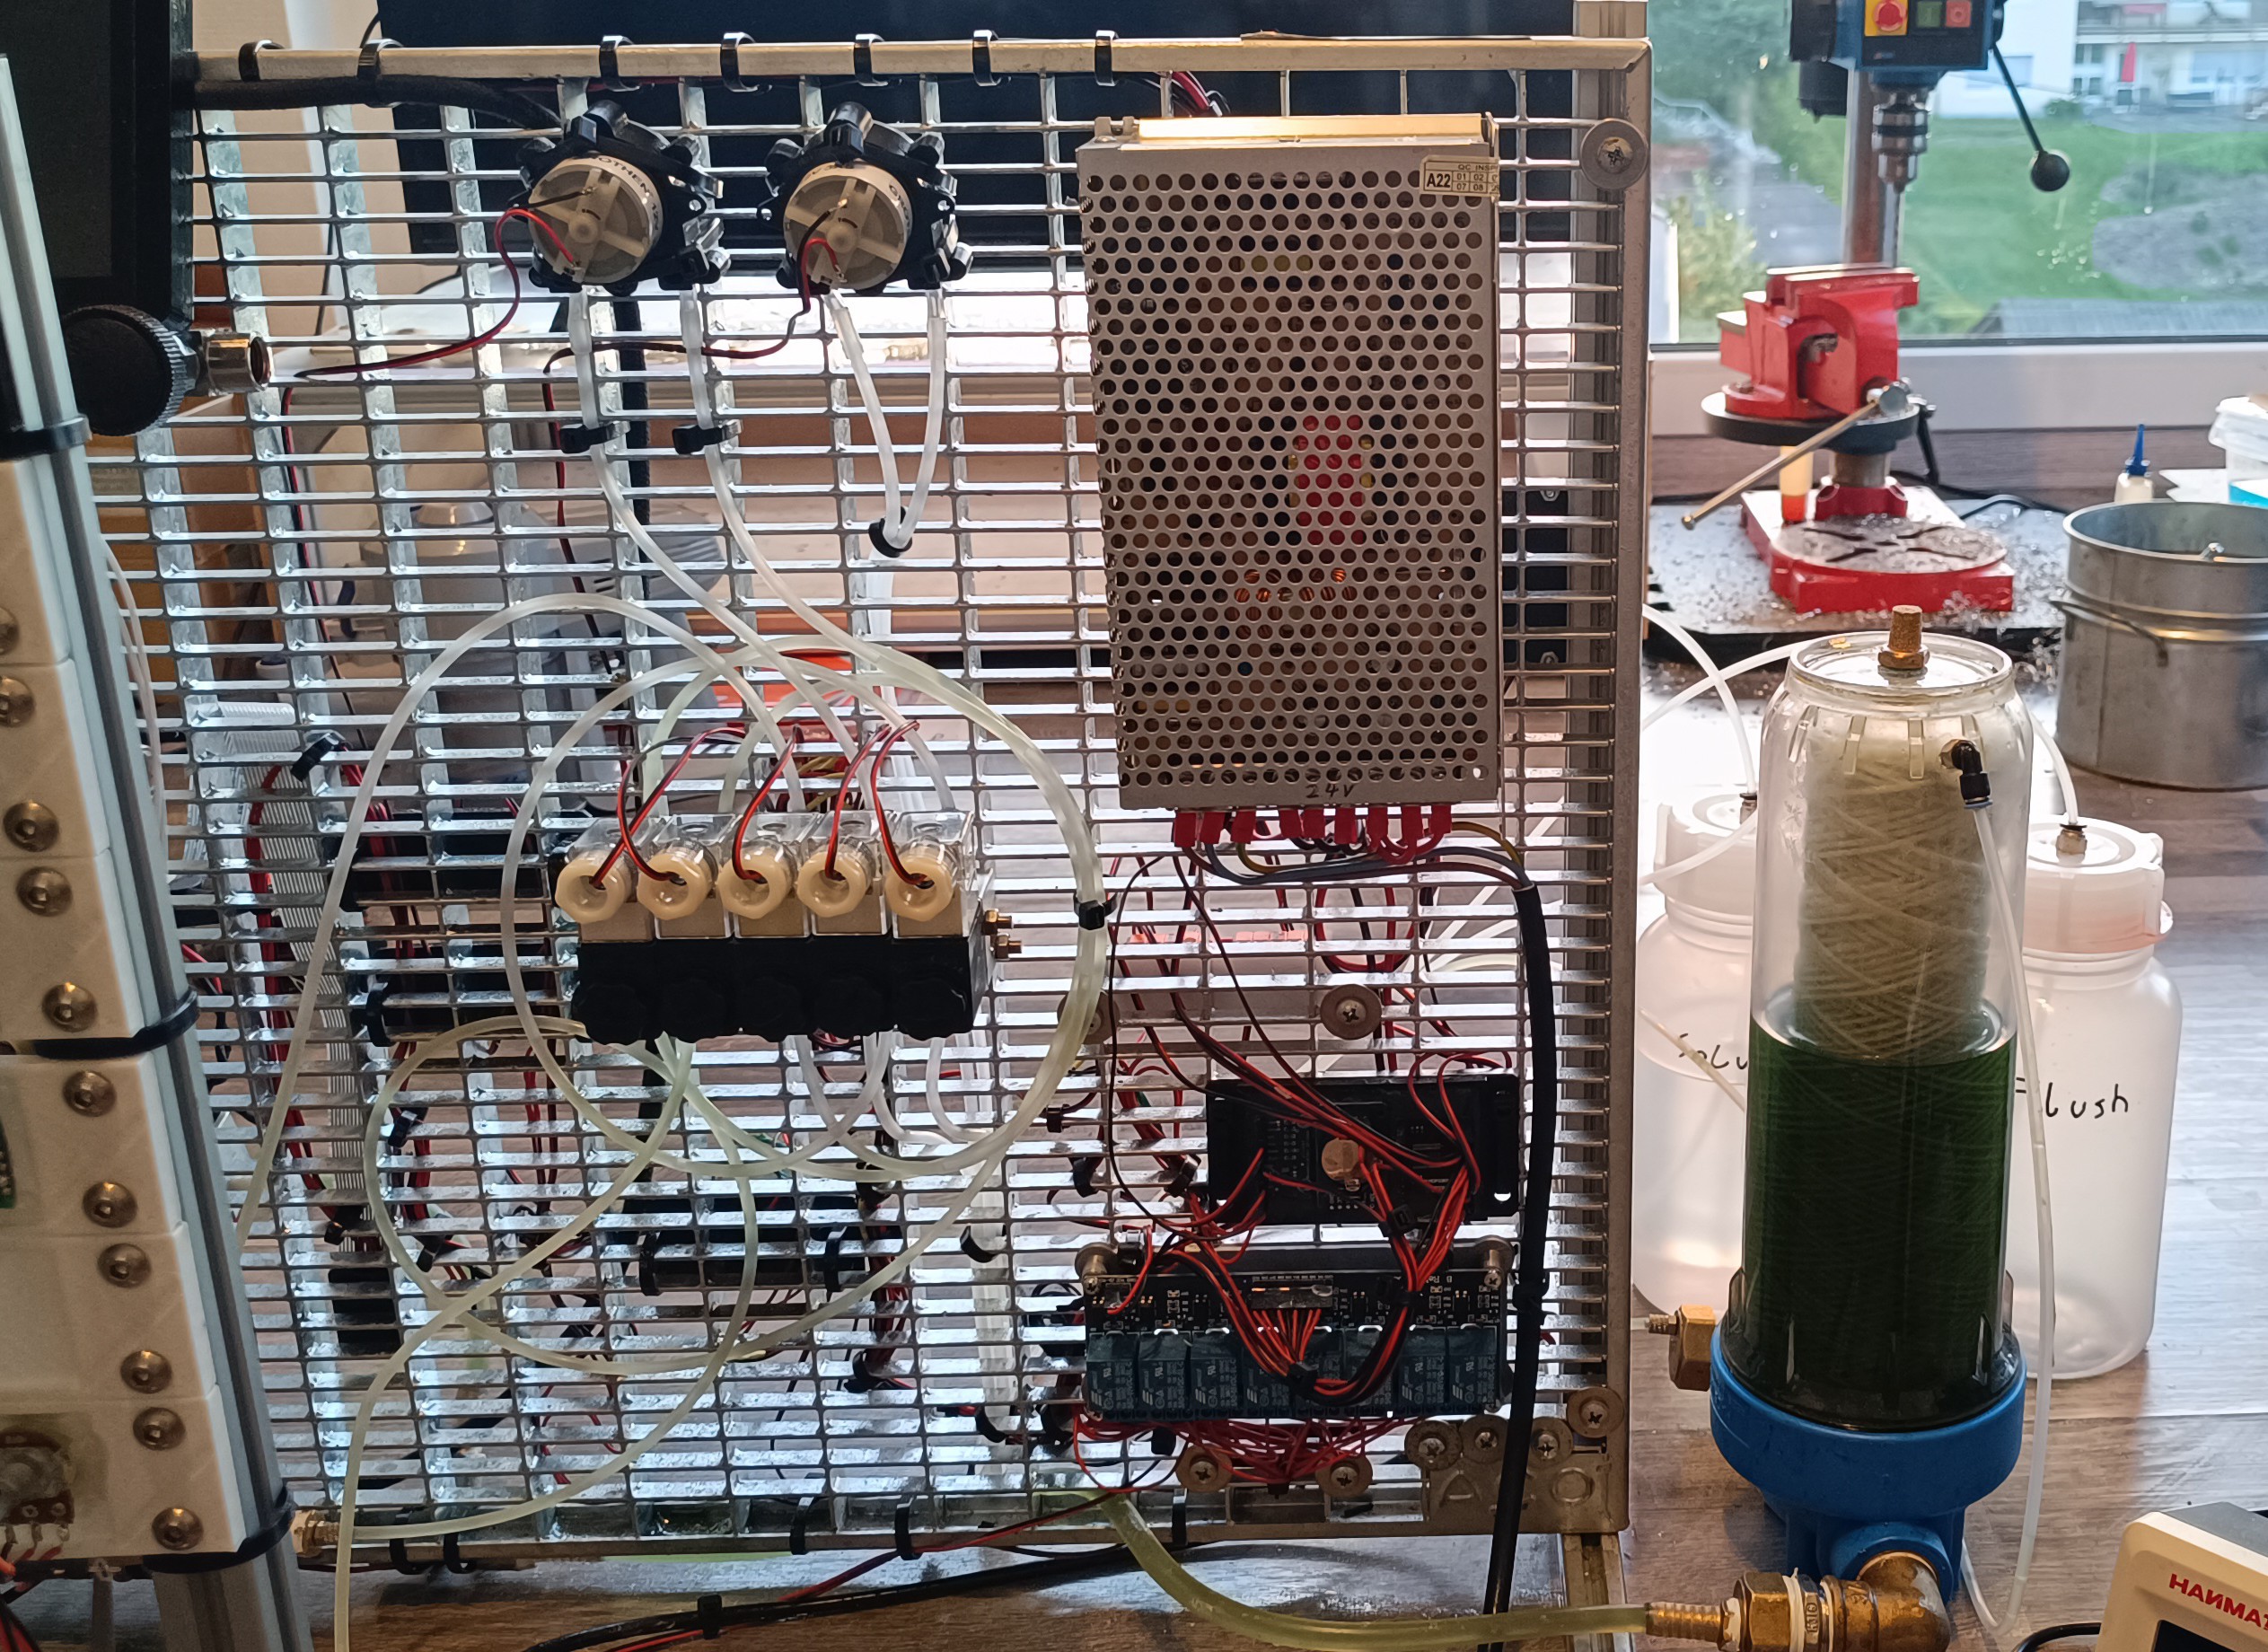
While connecting the new valves I also cleaned up the wiring a bit.
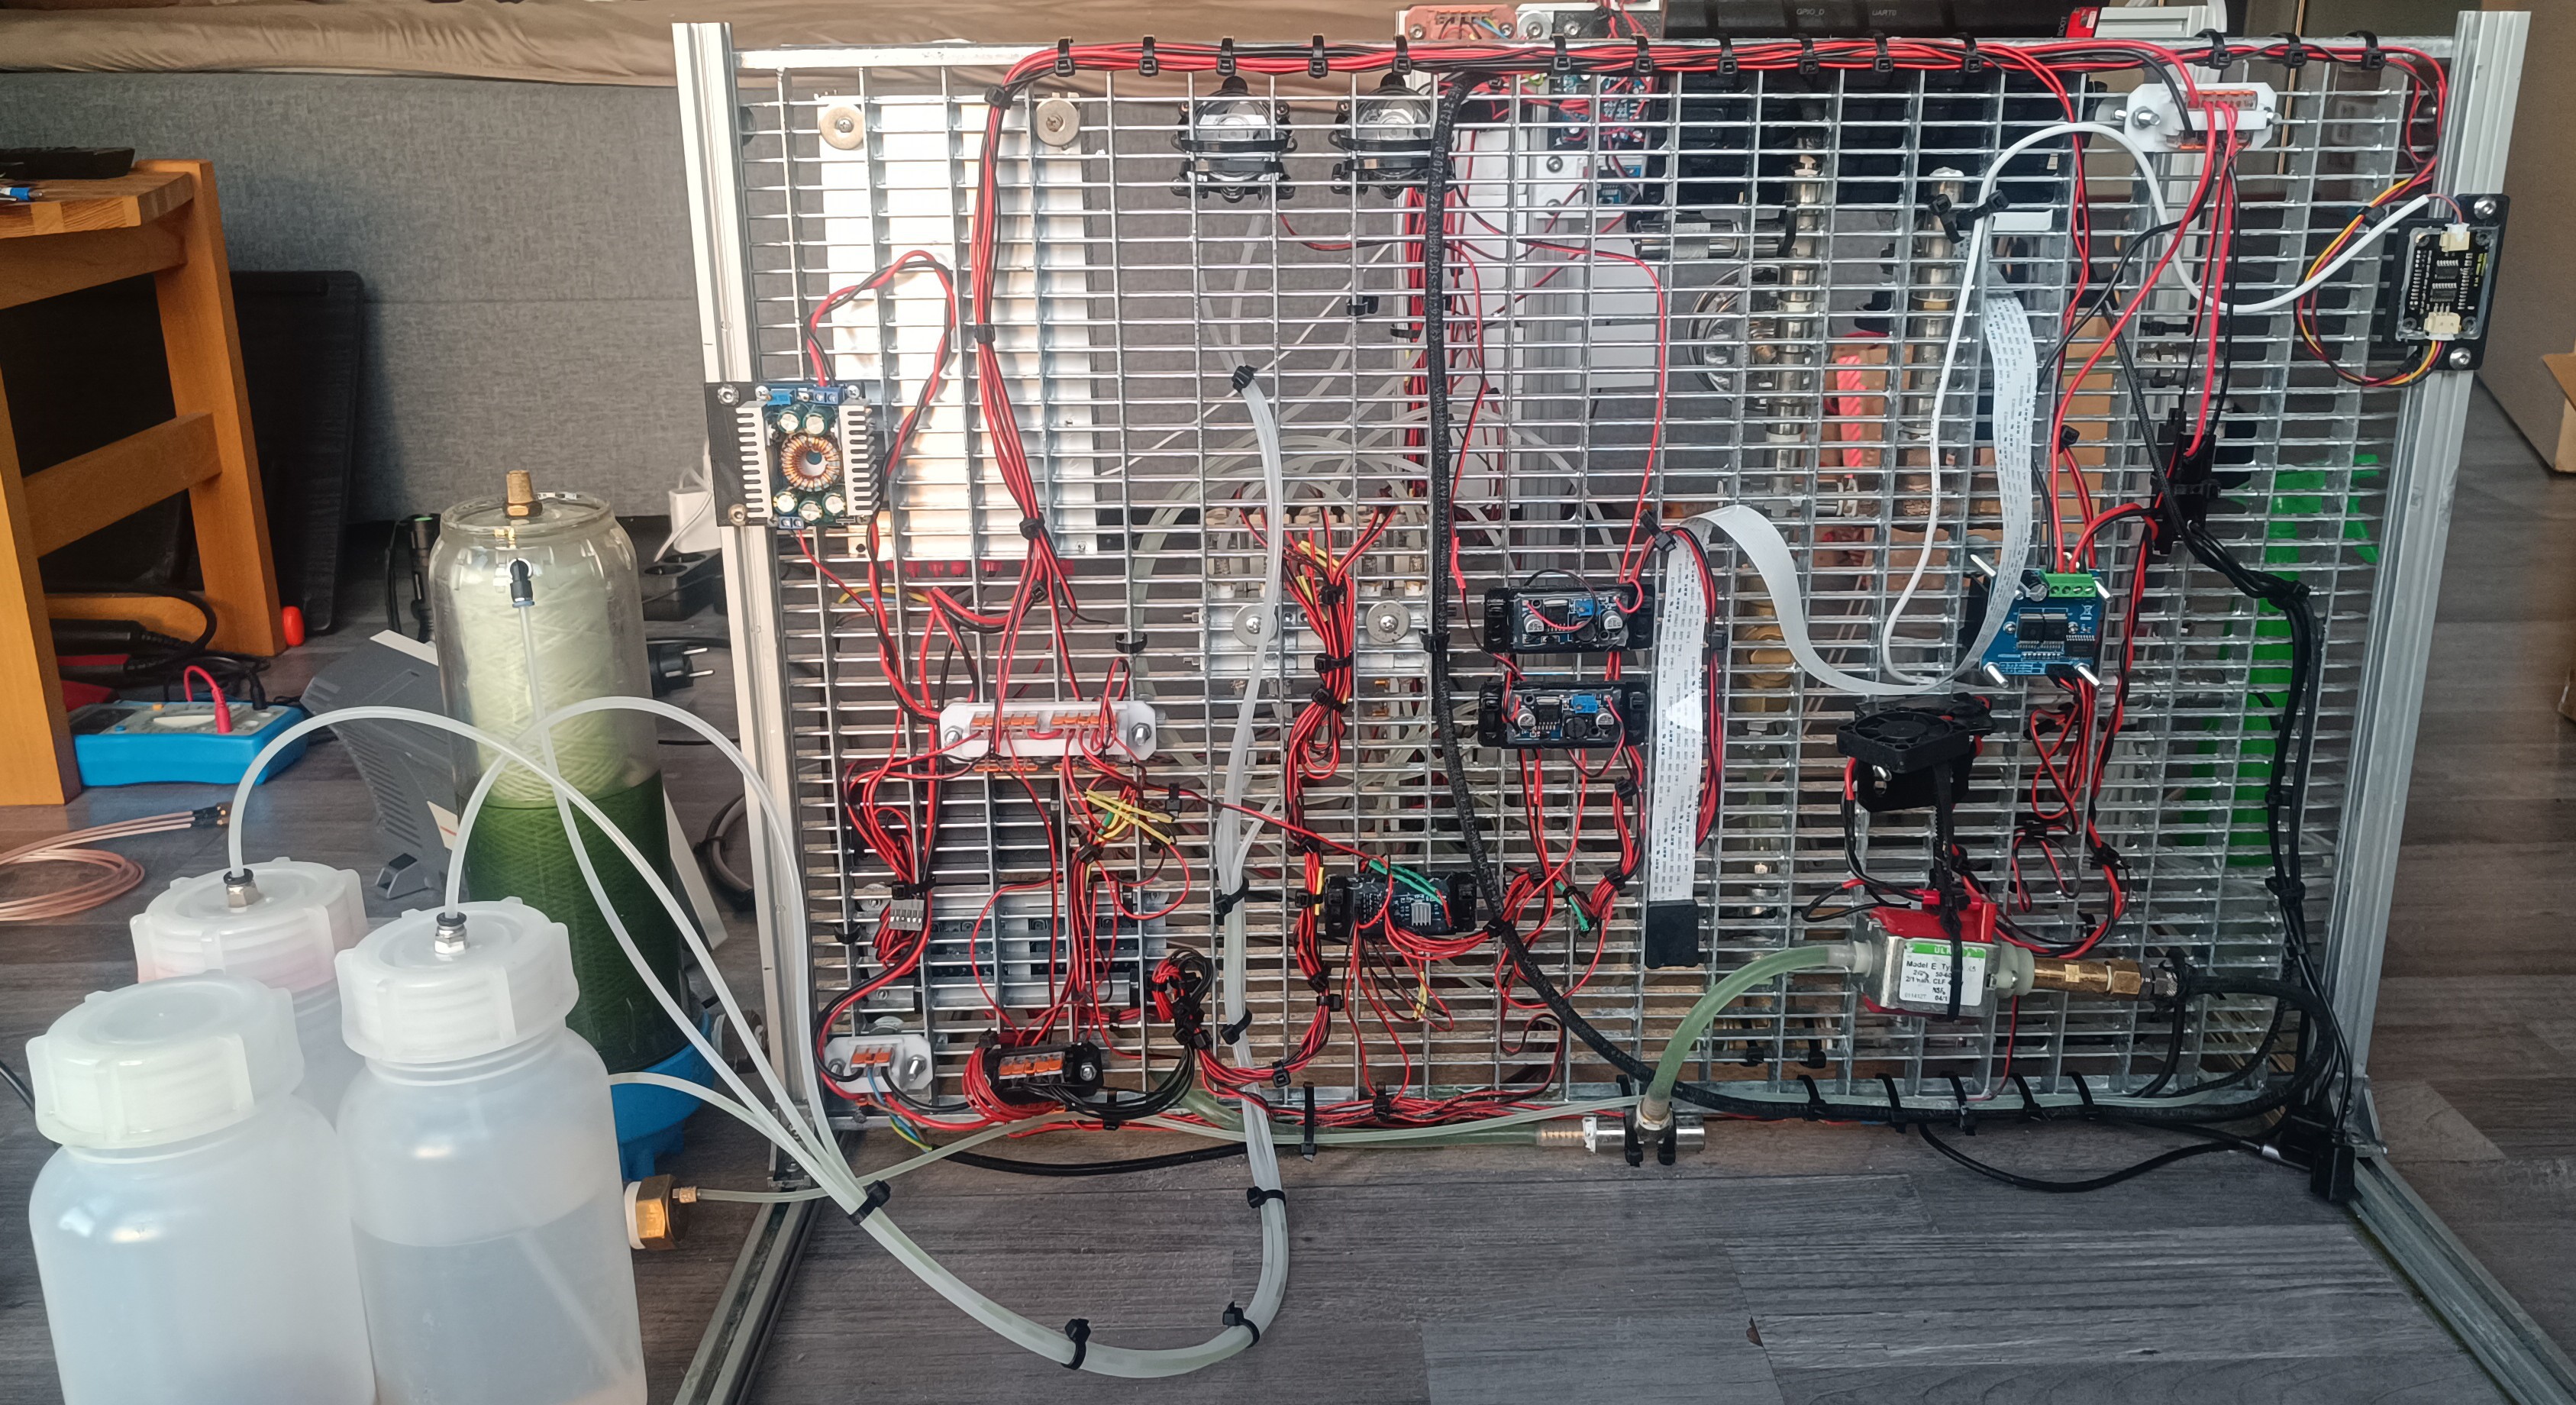
I think this update is another step towards a compacter design.
Discussions
Become a Hackaday.io Member
Create an account to leave a comment. Already have an account? Log In.
Looks good and hopefully that will help make ongoing work easier
Are you sure? yes | no
Thank you :)
Are you sure? yes | no