One of the essential elements to achieving the motion of the pieces is the magnet arm. Initially, we started by following SO steps using an electromagnet to hold the pieces.
After some testing, I learned that it is mandatory to have the magnet the closest possible to the surface at all times as the magnetic field strength decreases when the distance from the source increases.
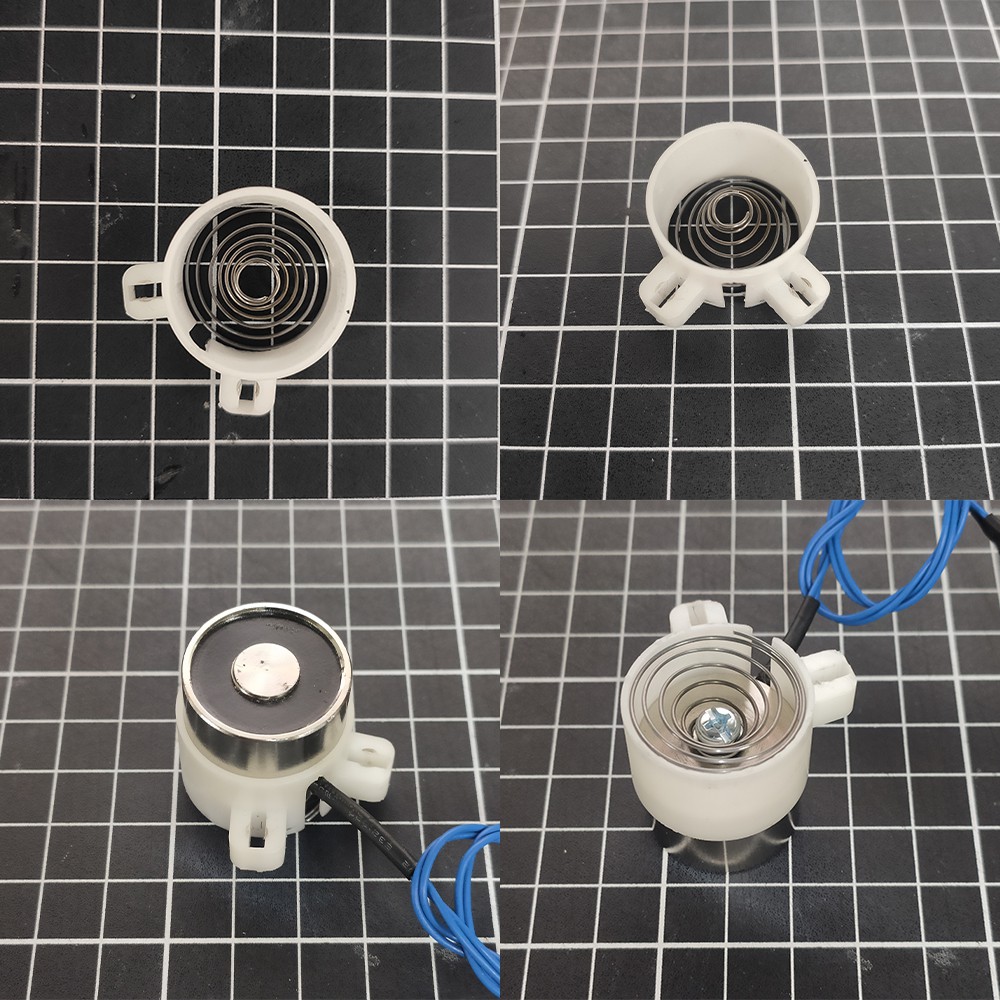
I designed a super simple mechanism that ensures the electromagnet is always the closest to the surface. It is composed of a plastic case that holds a spring below the electromagnet. A straightforward solution is yet useful.

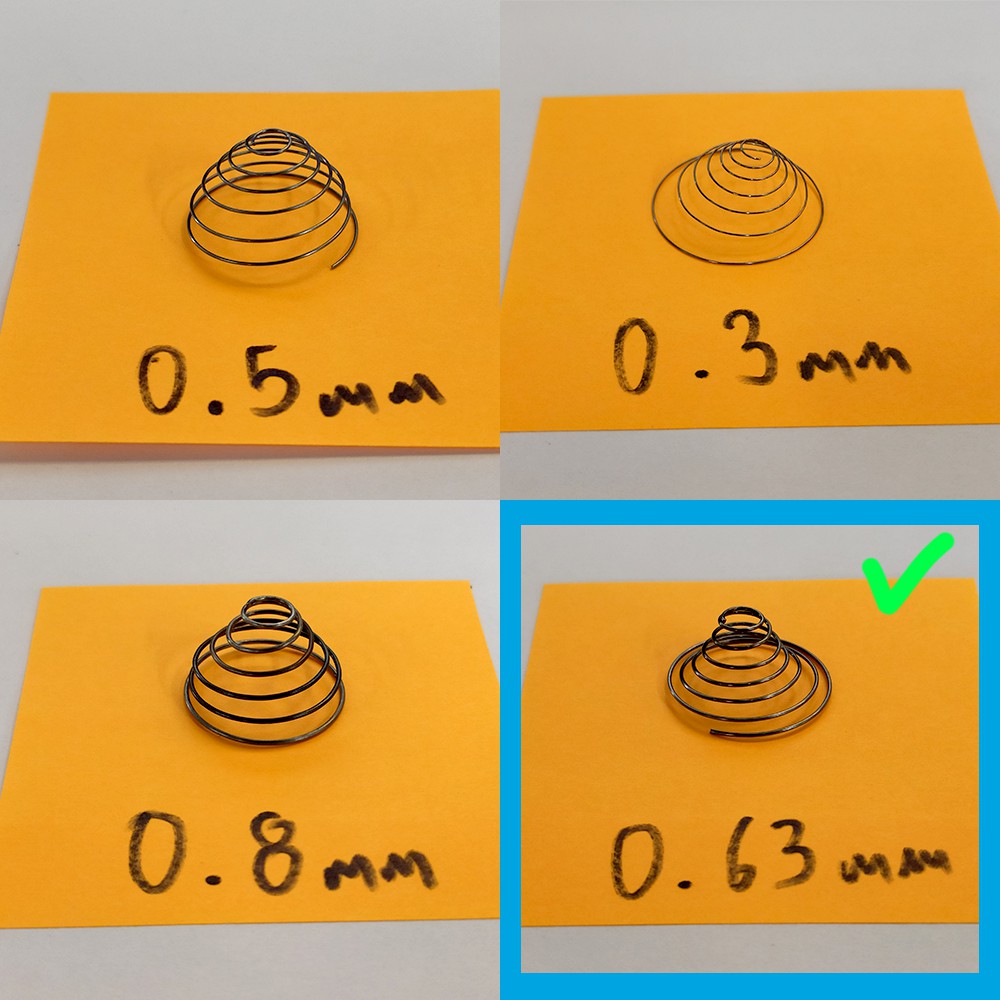
The not so simple thing to solve about this solution is to find the right spring to do the job. We want a Finite Element Analysis to decide the characteristics of the springs to be tested.


After prototype production, we ran some tests to select the final design. This conical spring is the chosen one!


You may remember my guess about the SO pieces being small and light to help the electromagnet move them around. I assumed that the lighter the pieces, the less strength is required from the electromagnet to move a piece. It turns out I was right :):
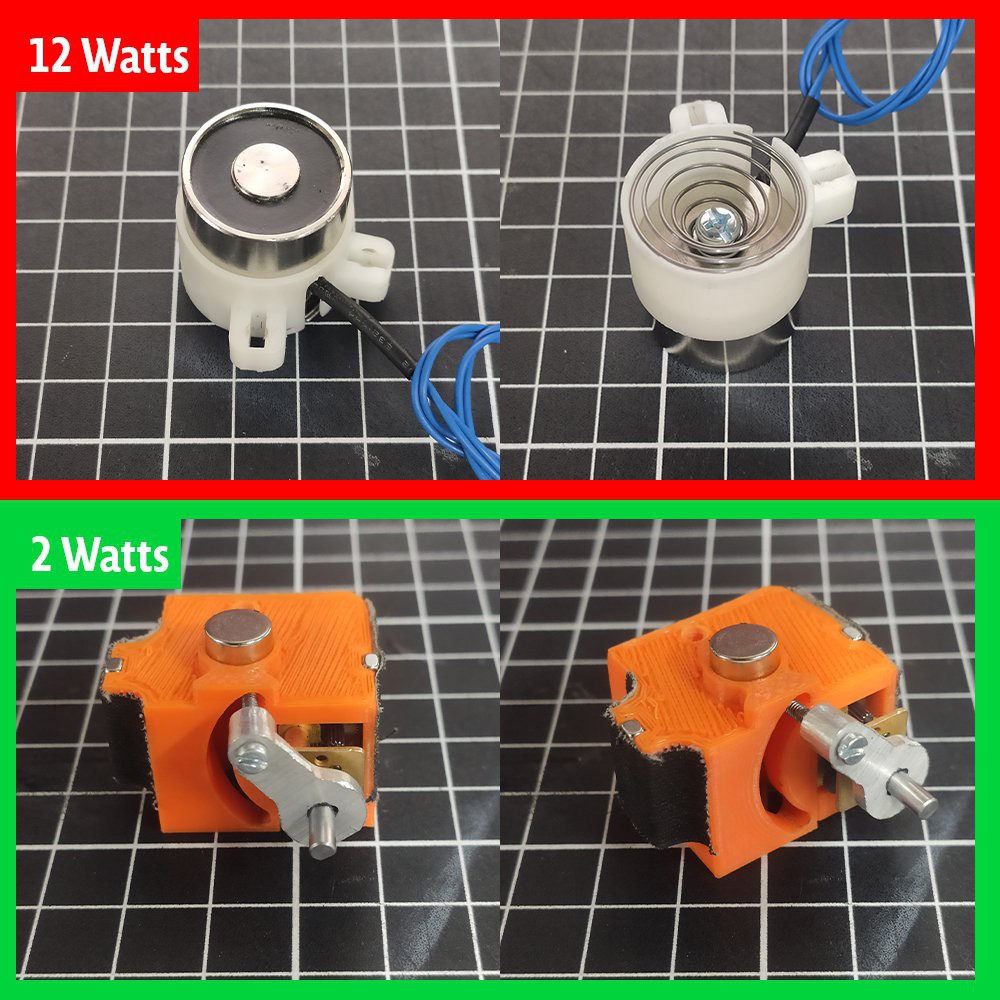
With the new design of the pieces, bigger and heavier, we shall increase the electromagnet strength to move them. This will increment the board’s current consumption making us think that maybe the electromagnet is not the best approach since we want to add a battery in the future, so a high current consumption is not the best path.
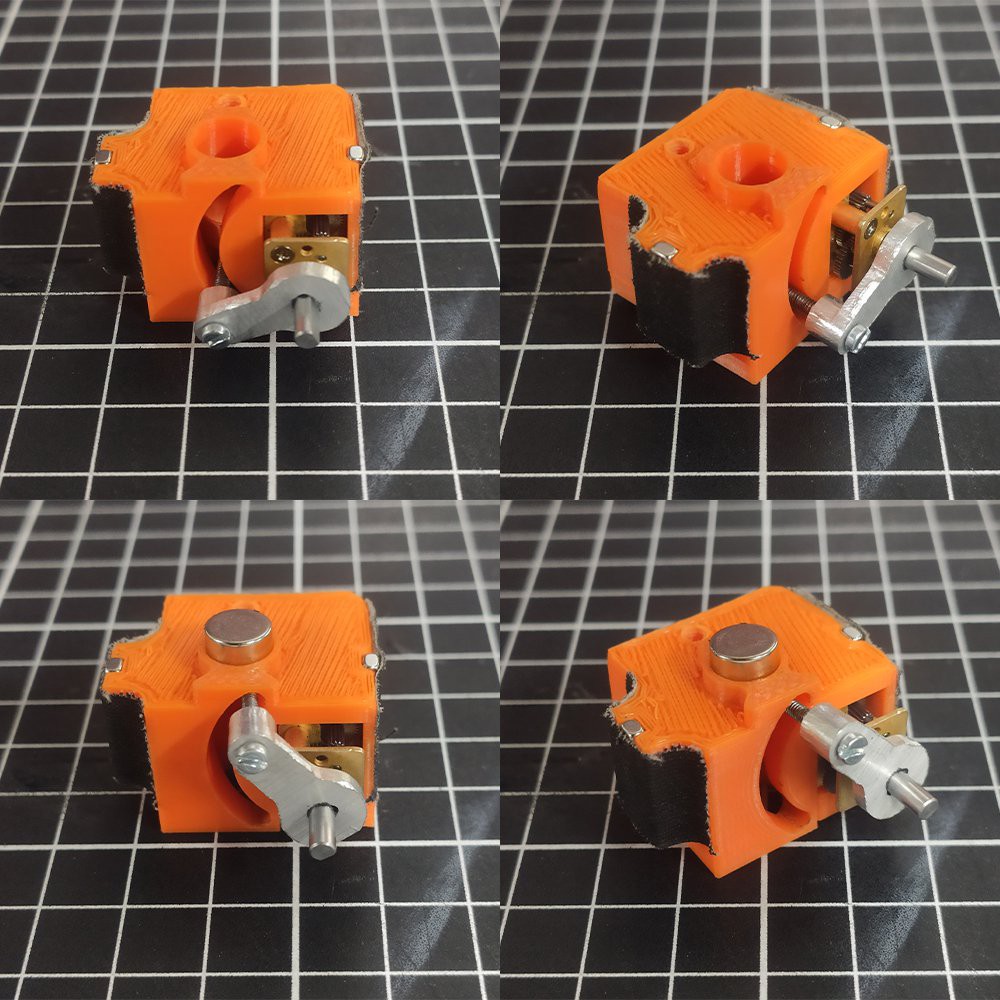
While looking at other ways to control the strength of the magnetic field on the board, we started to explore the option of having a mechanized neodymium magnet.
The idea is that instead of using an electromagnet, we control the strength of the neodymium magnetic field by moving it farther or closer from the surface. The mechanism is designed to be mounted on the magnet arm, like a mechanical elevator for the NM.
This mechanism is powered by a DC motor whose current consumption is lower compared with the electromagnet.


To ensure that the magnet reaches the upper surface every time a piece is moved, we used an encoder to help us know the magnet’s upper and downer position since the first time it’s turned on. This data is used each time the motor moves the magnet through a PID control. I add the code of this mechanism to the file; you can take a look at it.
Each time the board shall move a piece, the magnet arm goes to the piece’s location with the magnet at its lowest position; when it arrives, it gets the magnet up to the highest position to hold the piece, make a move, and when it ends, it takes the magnet down again to leave the piece and make the next move.
A cool side effect of this change is how smooth the pieces move. It is complicated to change the core diameter in an electromagnet so the pieces cannot align correctly. With the NM, we have full control of the core dimension; thus, every piece’s motion is seamless.

Adding an extra mechanism to the board could bring more complications, so we are currently testing to find the least complicated and most feasible one.
I made a YouTube channel in which I’ll be uploading videos about the progress, tests and improvements: https://www.youtube.com/channel/UCY3-zIxVveSF4OABvc1UgYw
I’ll keep you updated on our progress! Join our discord server if you would like to chat about this or chess overall: https://bit.ly/3emyBWy
 Phantom Chessboard
Discussions
Become a Hackaday.io Member
Create an account to leave a comment. Already have an account? Log In.