Close
0%
0%

Sonic Screwdriver

Yes, it has some acoustics. No, it isn't a screwdriver.

Public Chat
Similar projects worth following
As a Doctor Who fan, and a person who makes things, me making a sonic screwdriver just fits like water in a cup. What would it actually do since Deus Ex Machina is out of the question? No sure just yet. Hopefully something fun.

Soooo what makes a Sonic Screwdriver, a sonic screwdriver? In the show, it's kind of a does-whatever-the-doctor-needs-in-the-episode kinda tool. Something that multifunctional would be impossible to make of course, but I do like the random fun of it. 

A multitool, that has a bunch of input and sensors, and a bunch of outputs, and the fun is in figuring out cool, sometimes gimmicky, sometimes useful functions from the sets of inputs and outputs.

Setback Count: 8
ss_bot_rev3.stl

Standard Tesselated Geometry - 217.76 kB - 05/01/2021 at 12:50

Download

ss_top_rev3.stl

Standard Tesselated Geometry - 188.27 kB - 05/01/2021 at 12:50

Download

png2array.m

Matlab script for generating bitmap arrays from images.

m - 1.22 kB - 04/24/2021 at 08:43

Download

  • 1 × TinyZero Microcontroller
  • 1 × MicroOLED Display OLED Display
  • 1 × MLX90614 Electronic Components / Misc. Electronic Components
  • 1 × ESP8266 Wifi Module
  • 1 × 13-DOF Sensor Tinyshield Sensory array

View all 10 components

  • Shuffling Functions, Breaking

    TuesdaysWithMerlin06/11/2021 at 10:17 0 comments

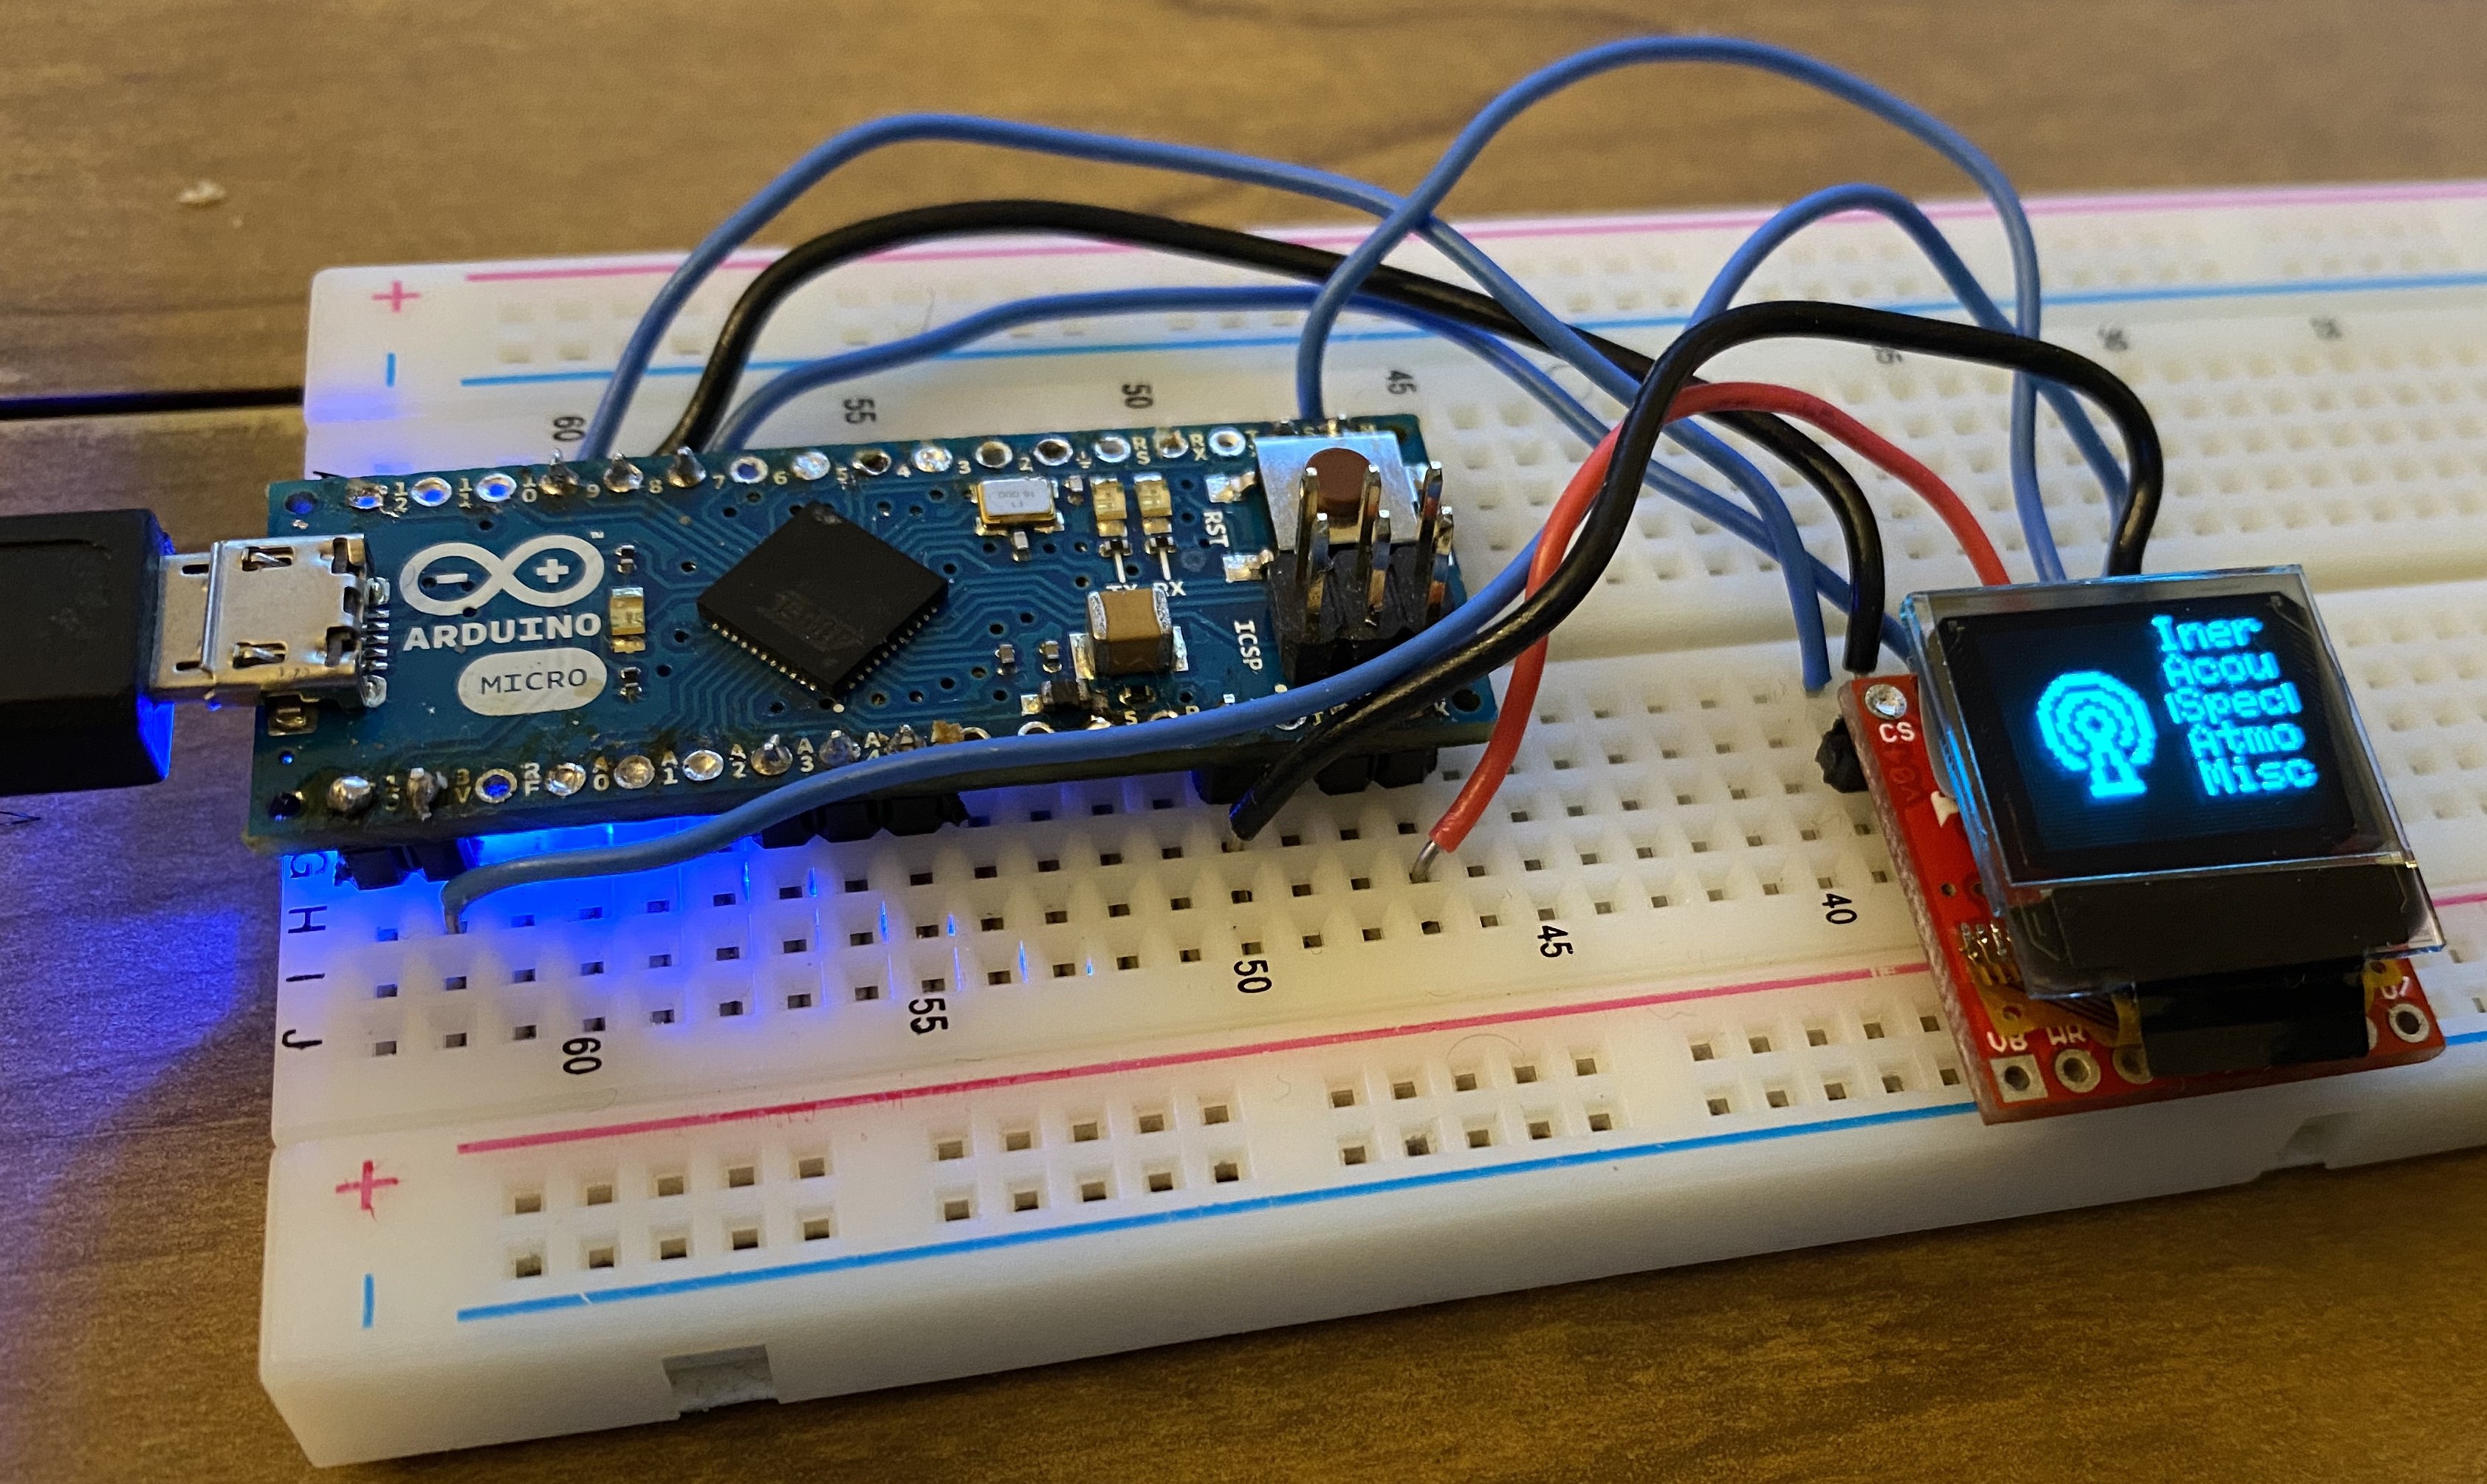
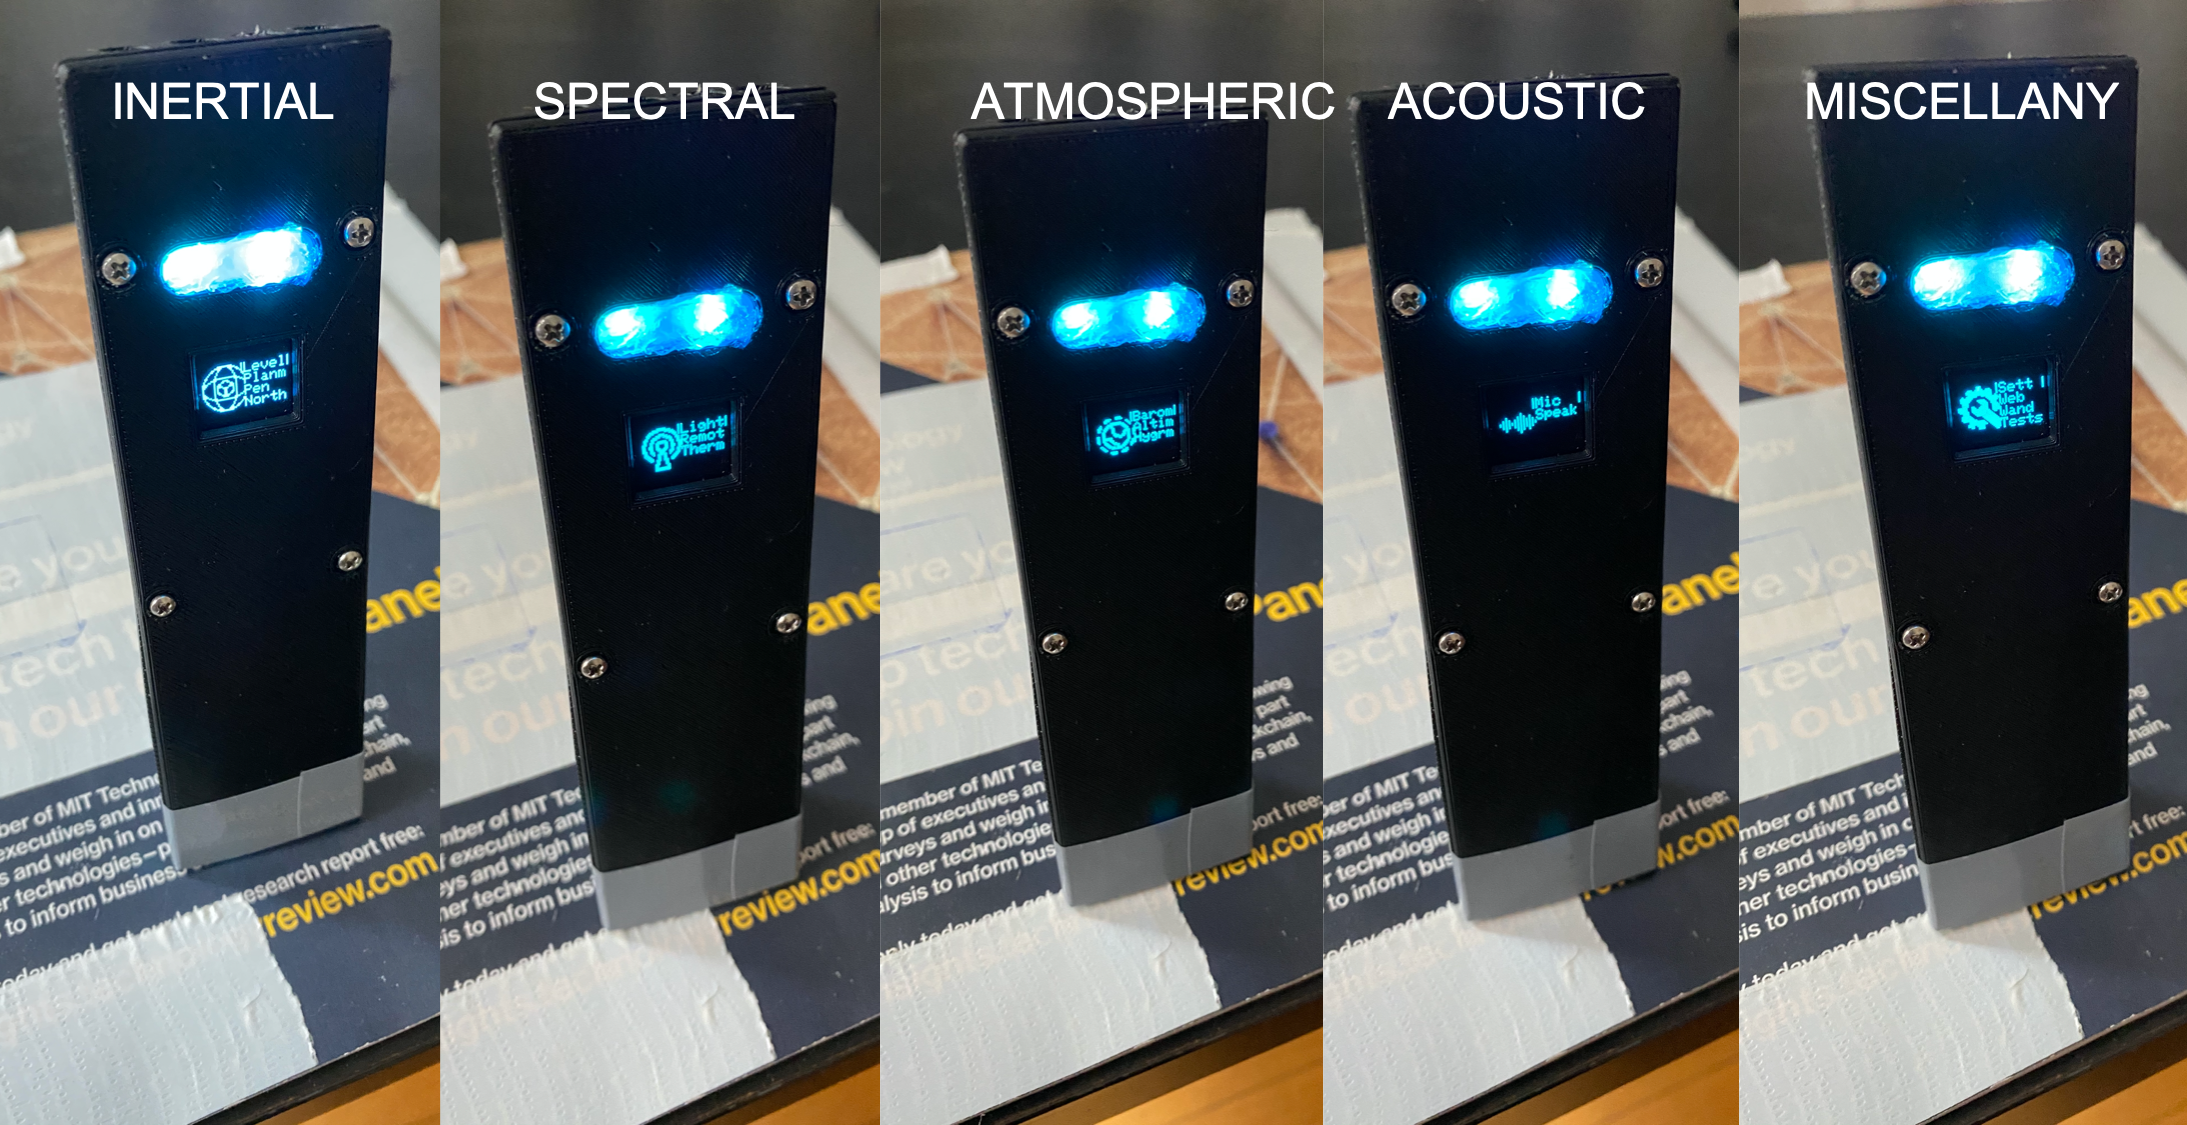
    I decided to shuffle the functions slightly. There are a lot of basic / measurement functions on the SS, that are useful, though not all the time. Some of the functions will need additional hardware not yet purchased (e.g. C12666MA Spectrometer, or a GPS module), but I've included them for completeness sake. Here's the current break down of functions I've added:

    Scientific (16)Inertial (2)Spectral (2)Acoustic (1)
    Ruler, Inclinometer,
    Planimeter, Magnetometer,
    Pyrometer, Barometer,
    Altimeter, Hygrometer,
    Microphone, Multimeter,
    Emfmeter, Scope,
    Ceilometer, Tachometer,
    Gravimeter, Spectrometer
    Pedometer,
    Computer Peripheral 
    TV Remote, GPSStenograph

    Functions to be added soon:

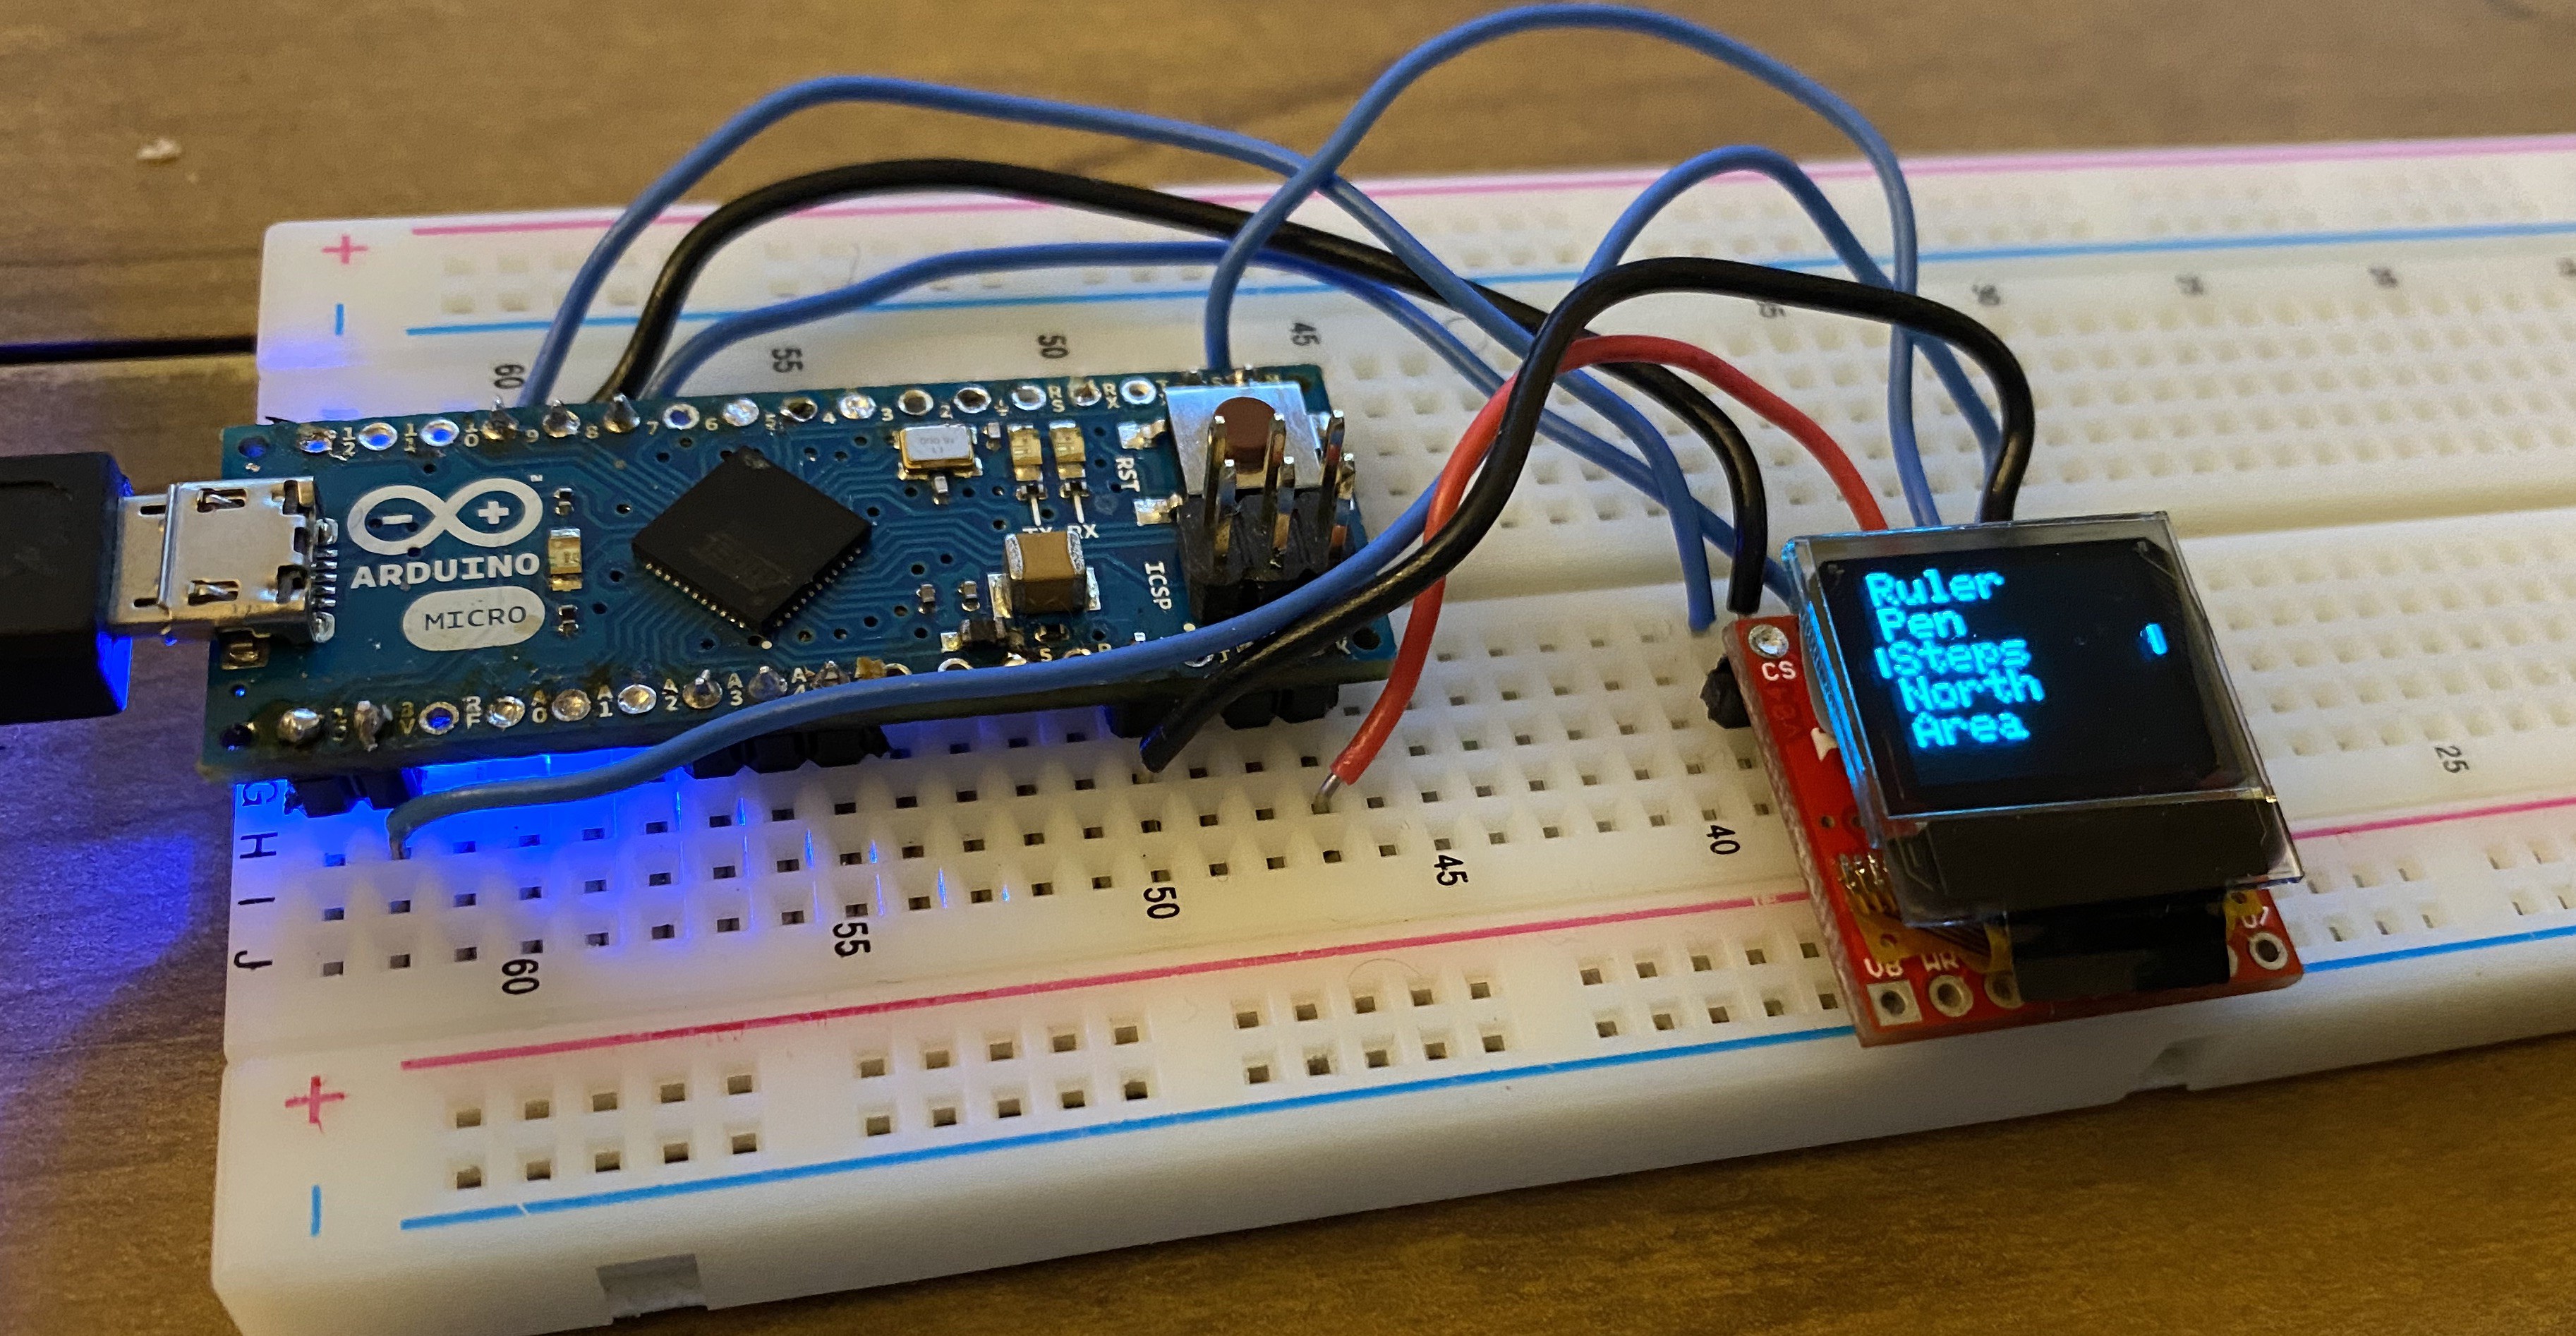
    1. Pen. Still not sure what the best approach is in this case. ML models aren't supported a ATSAMD21. Other ideas like Hopfield Networks could work be implemented, though they are significantly limited in terms of memory. I could also offload the identification / classification to a server, and just have the SS record the pen strokes, but this is less fun.

    2. Analog Broadcast. I saw a video where an ESP8266 was used to broadcast analog tv. Might try something like that.  

    3. Smart Home. Connecting the SS to other appliances at home, possibly using wifi router signals as positioning beacons. 

    Other things to do:

    1. Enclosure. Redesign case to look less pedestrian, and more sci-fi.

    I like where the project is at the moment, though there's a lot more I'd like to add and change. For now though, I'm putting it on a bit of a hold. I'll work on things more slowly and apart, but will pick it up again in a few weeks.

  • Putting in Functions

    TuesdaysWithMerlin05/21/2021 at 18:28 0 comments

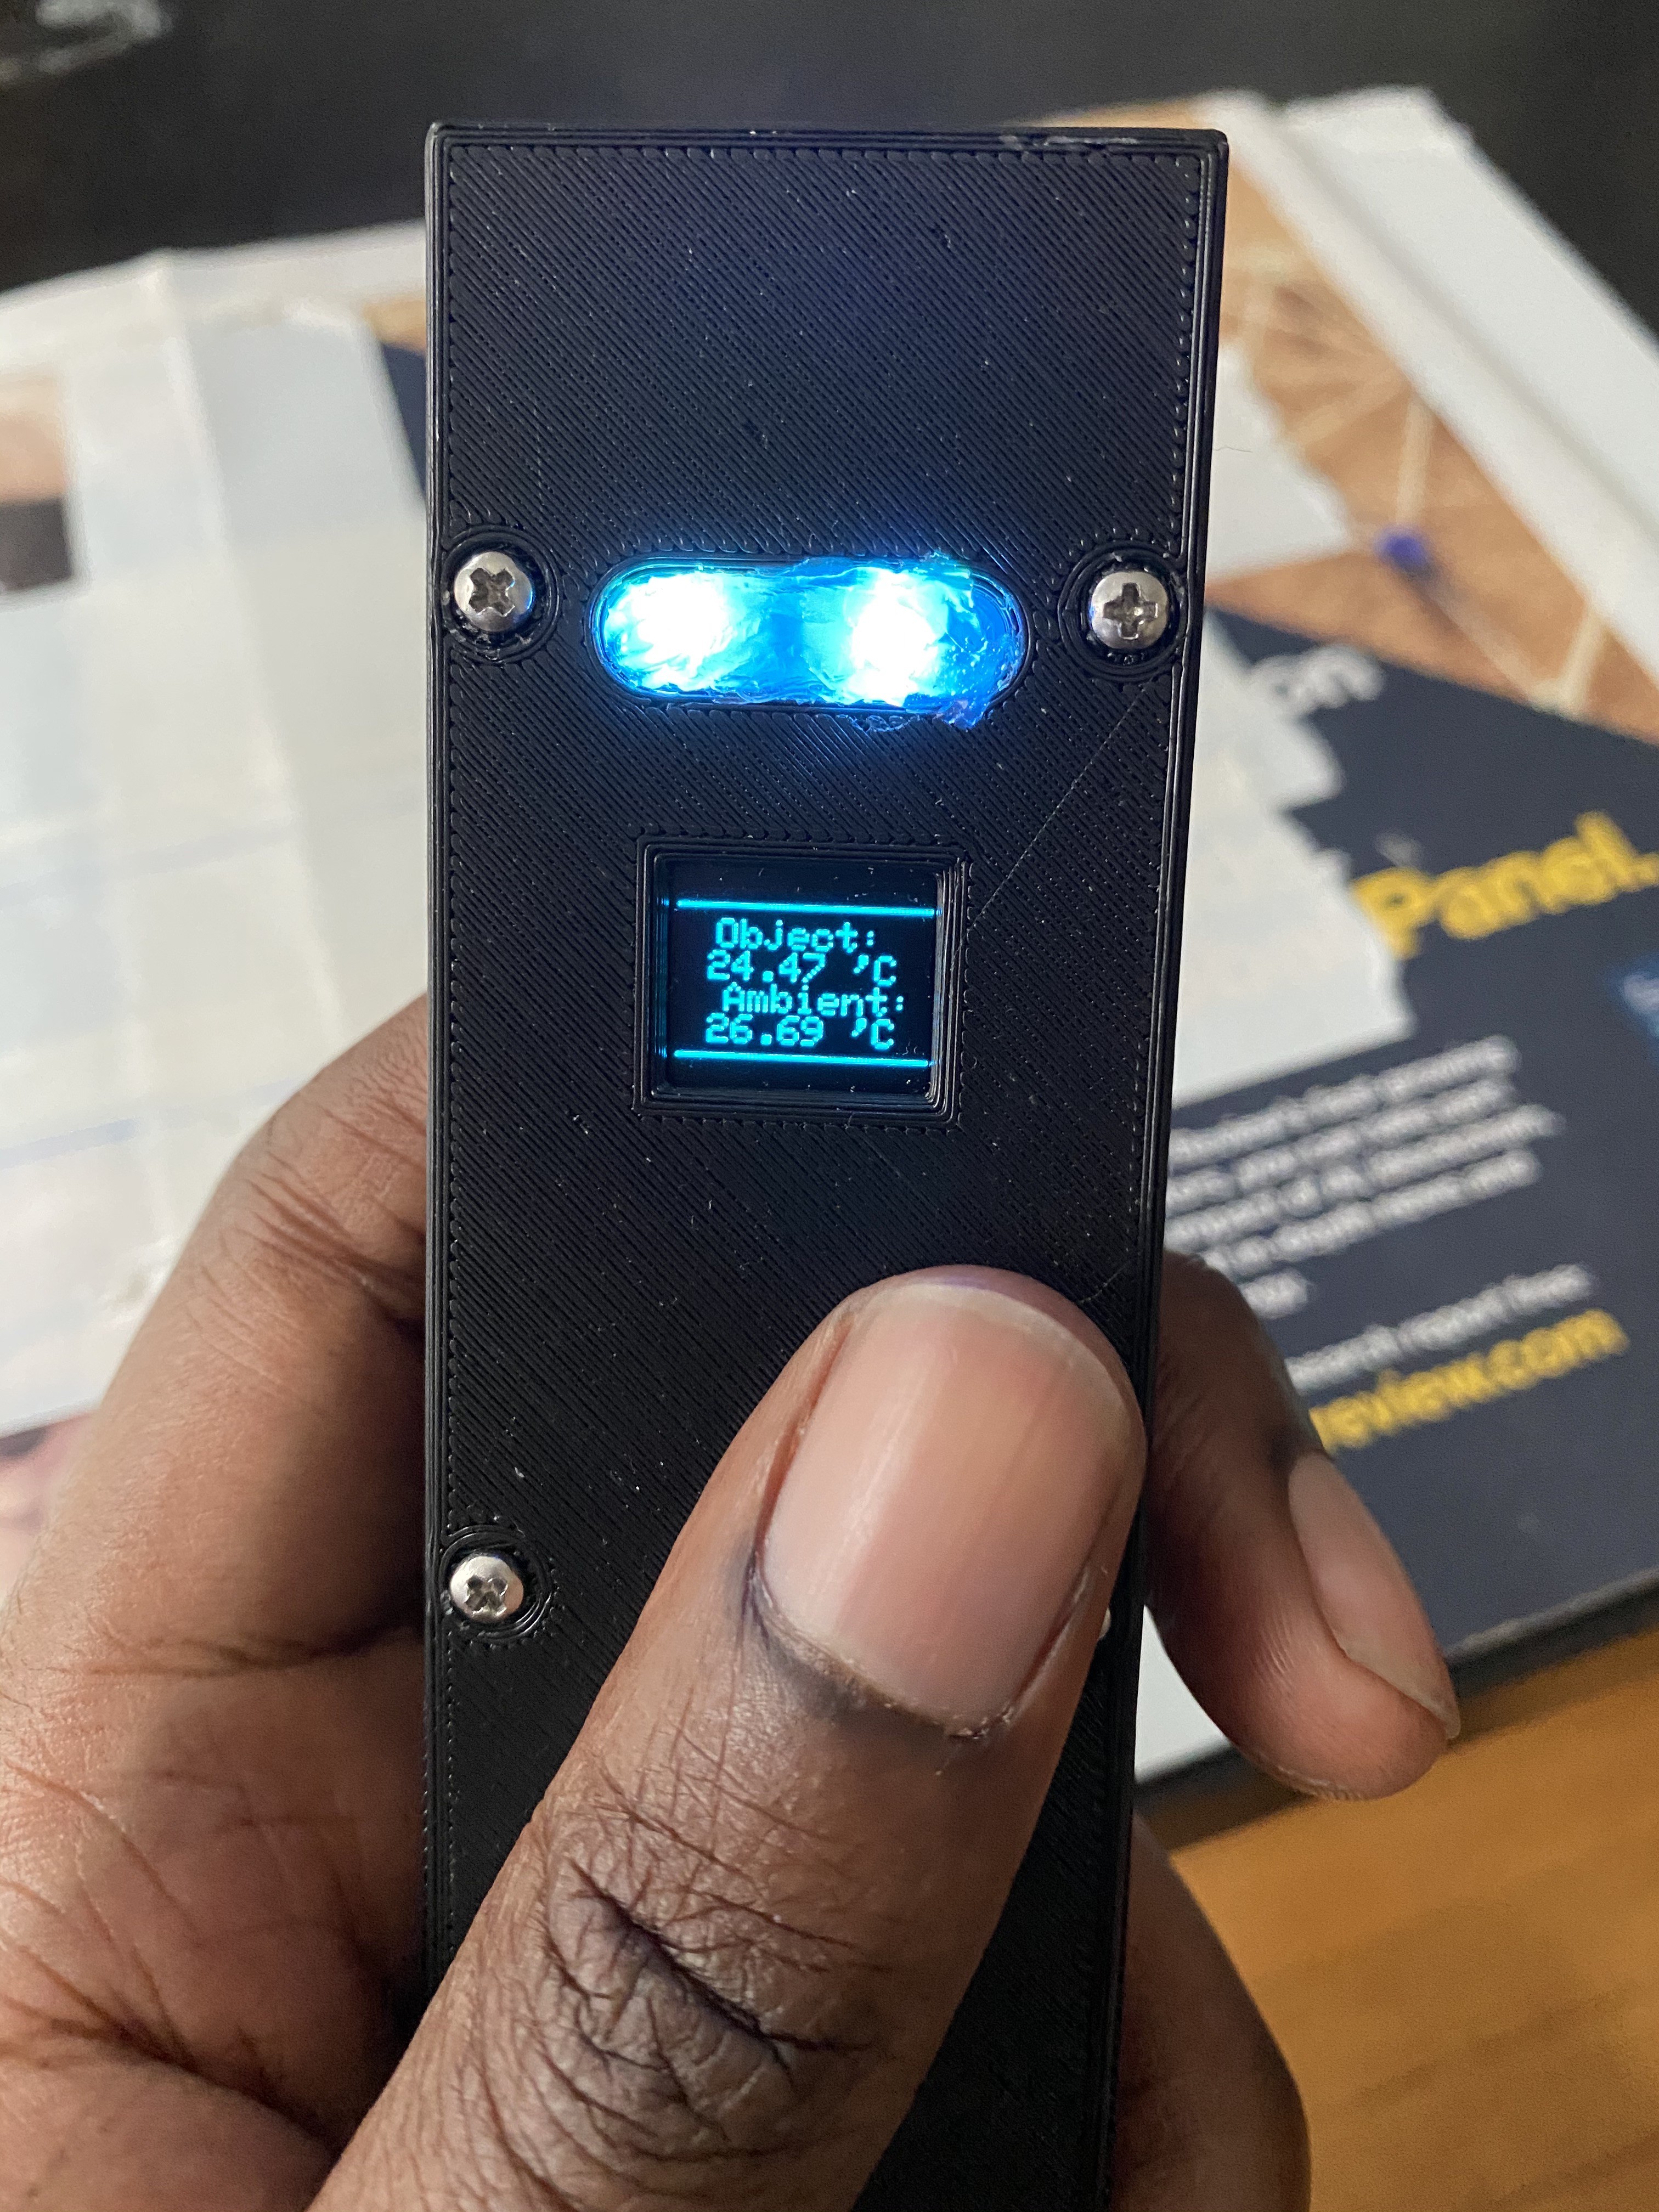
    Tested the "tier-1" functions of the SS, which largely comprises of scientific modules. Here's a list of modules tested, and their basic functions added:

    • IMU (accelerometer, gyroscope, magnetometer)
    • Hygrometer
    • Barometer (and altimeter)
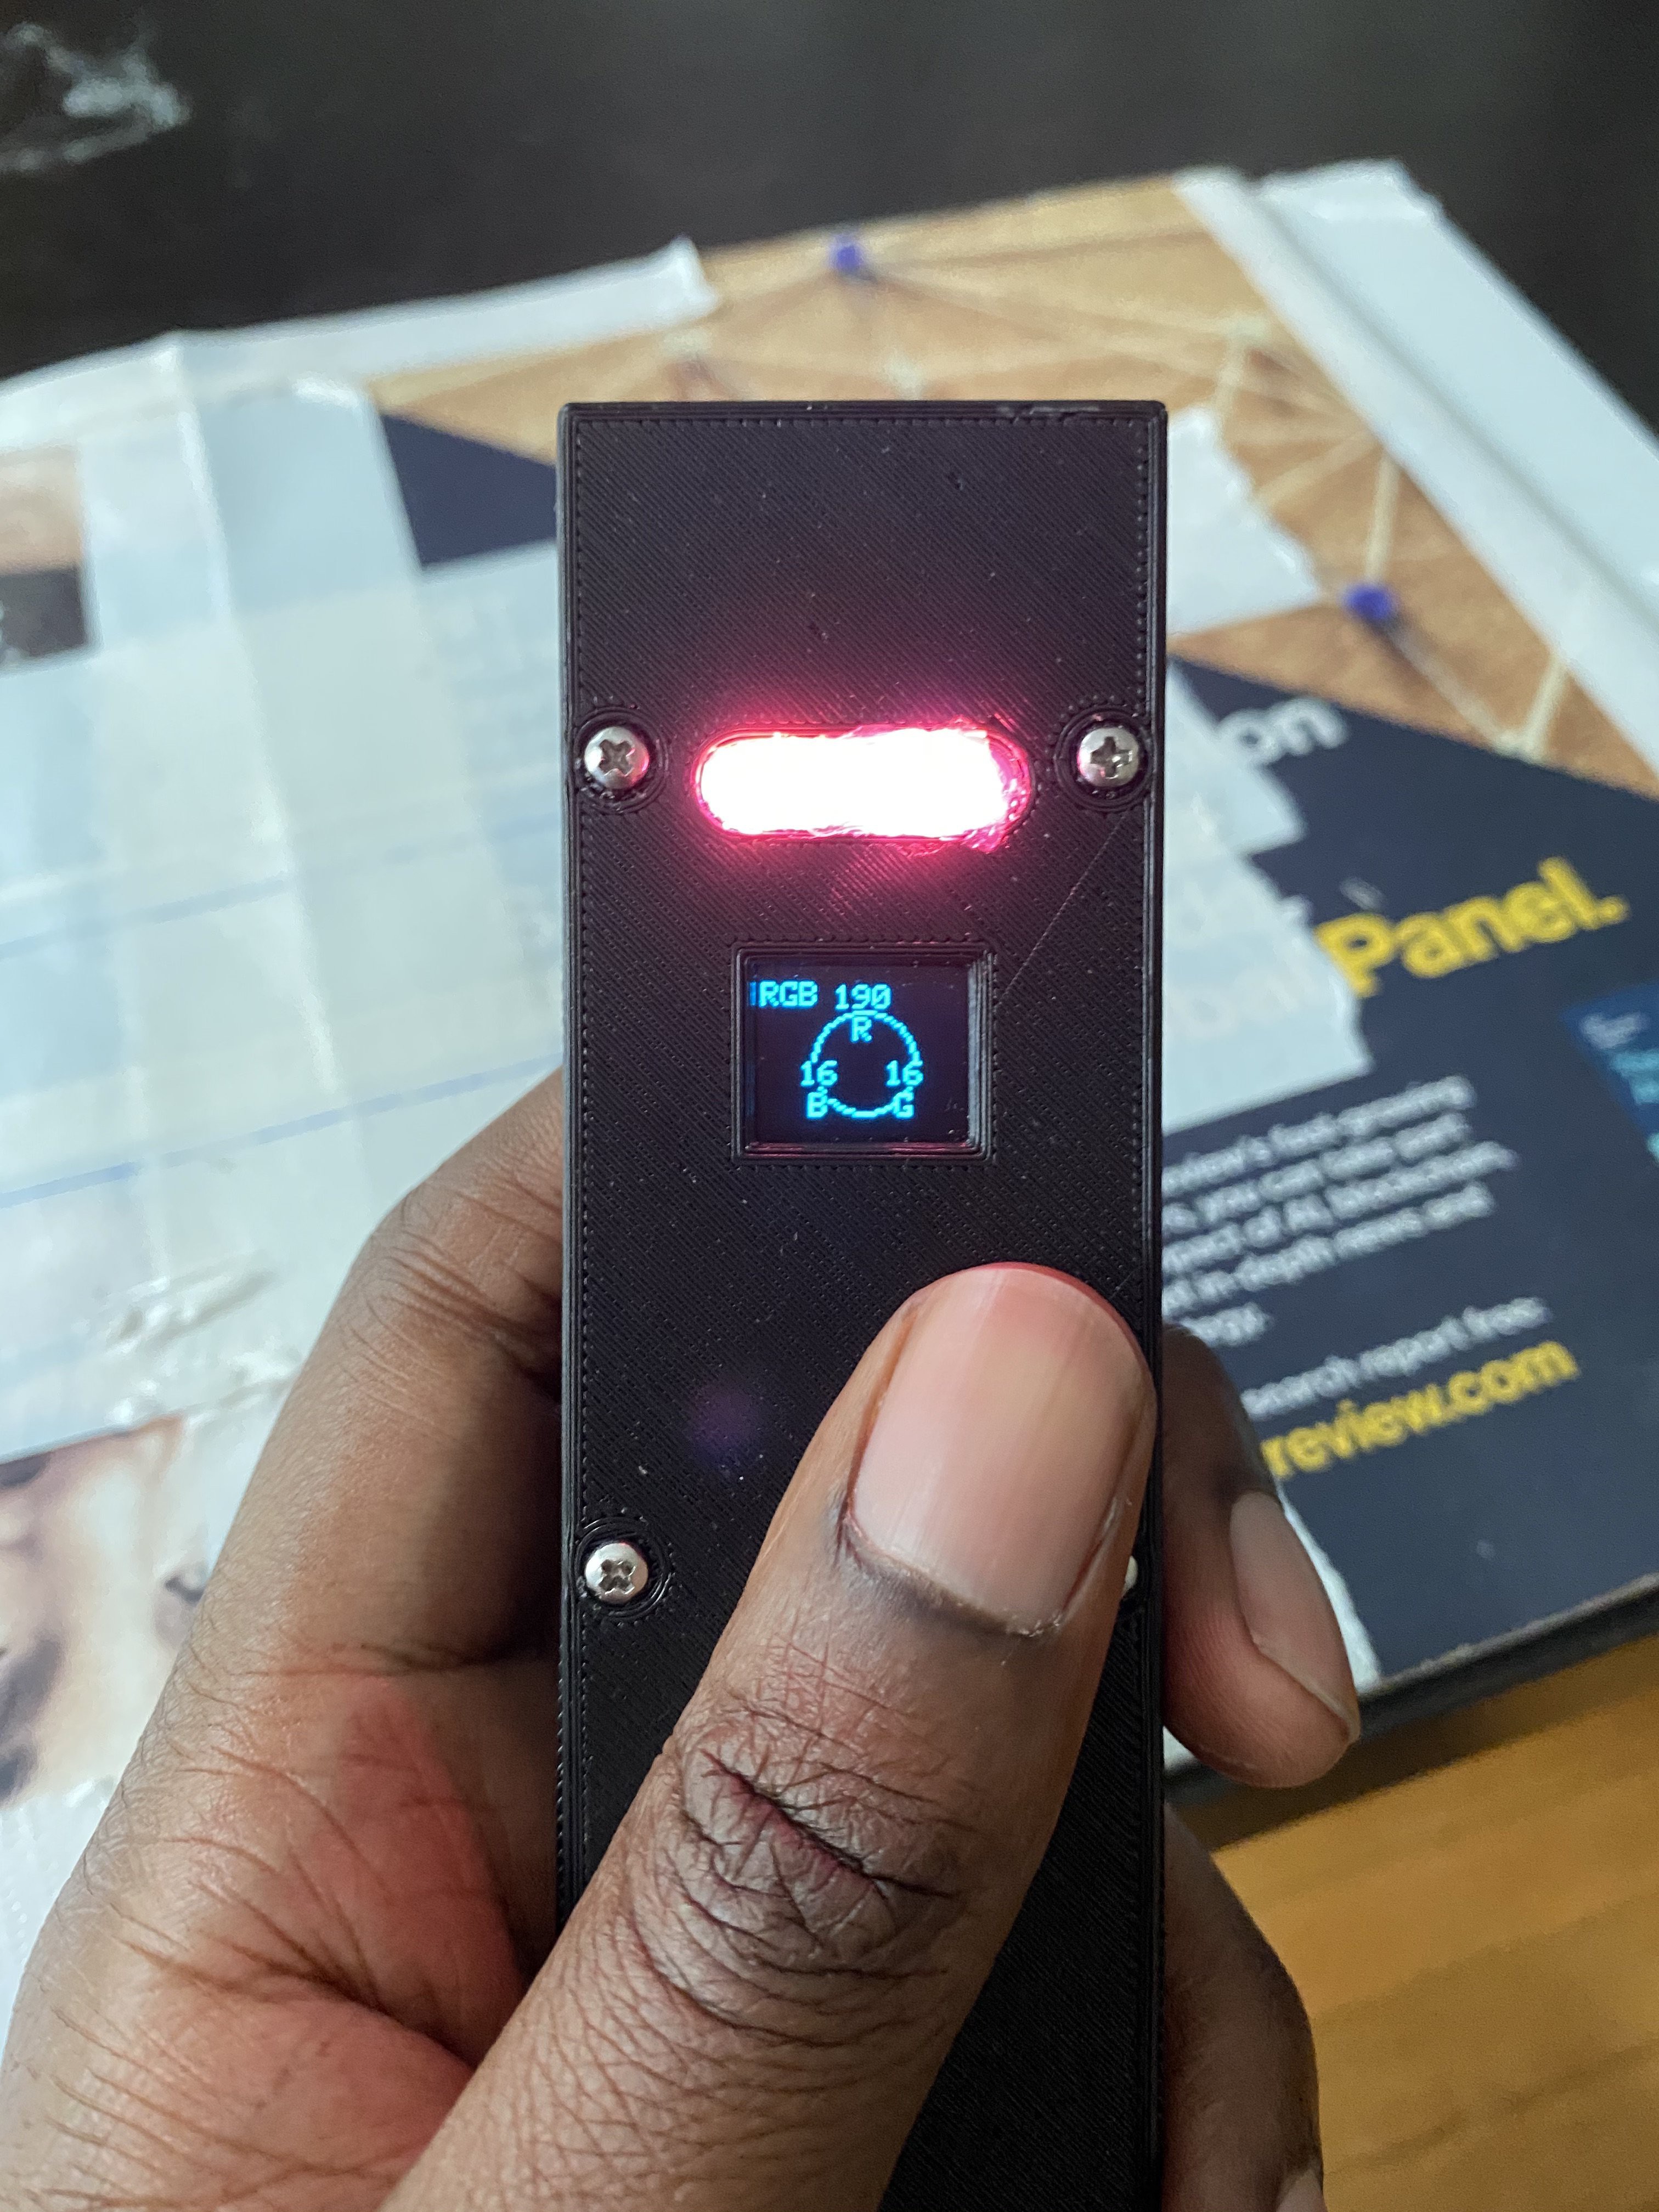
    • Thermometer (IR and ambient)
    • RGB Led
    • IR Led (and receiver)
    • Radio Module
    • Wifi Module

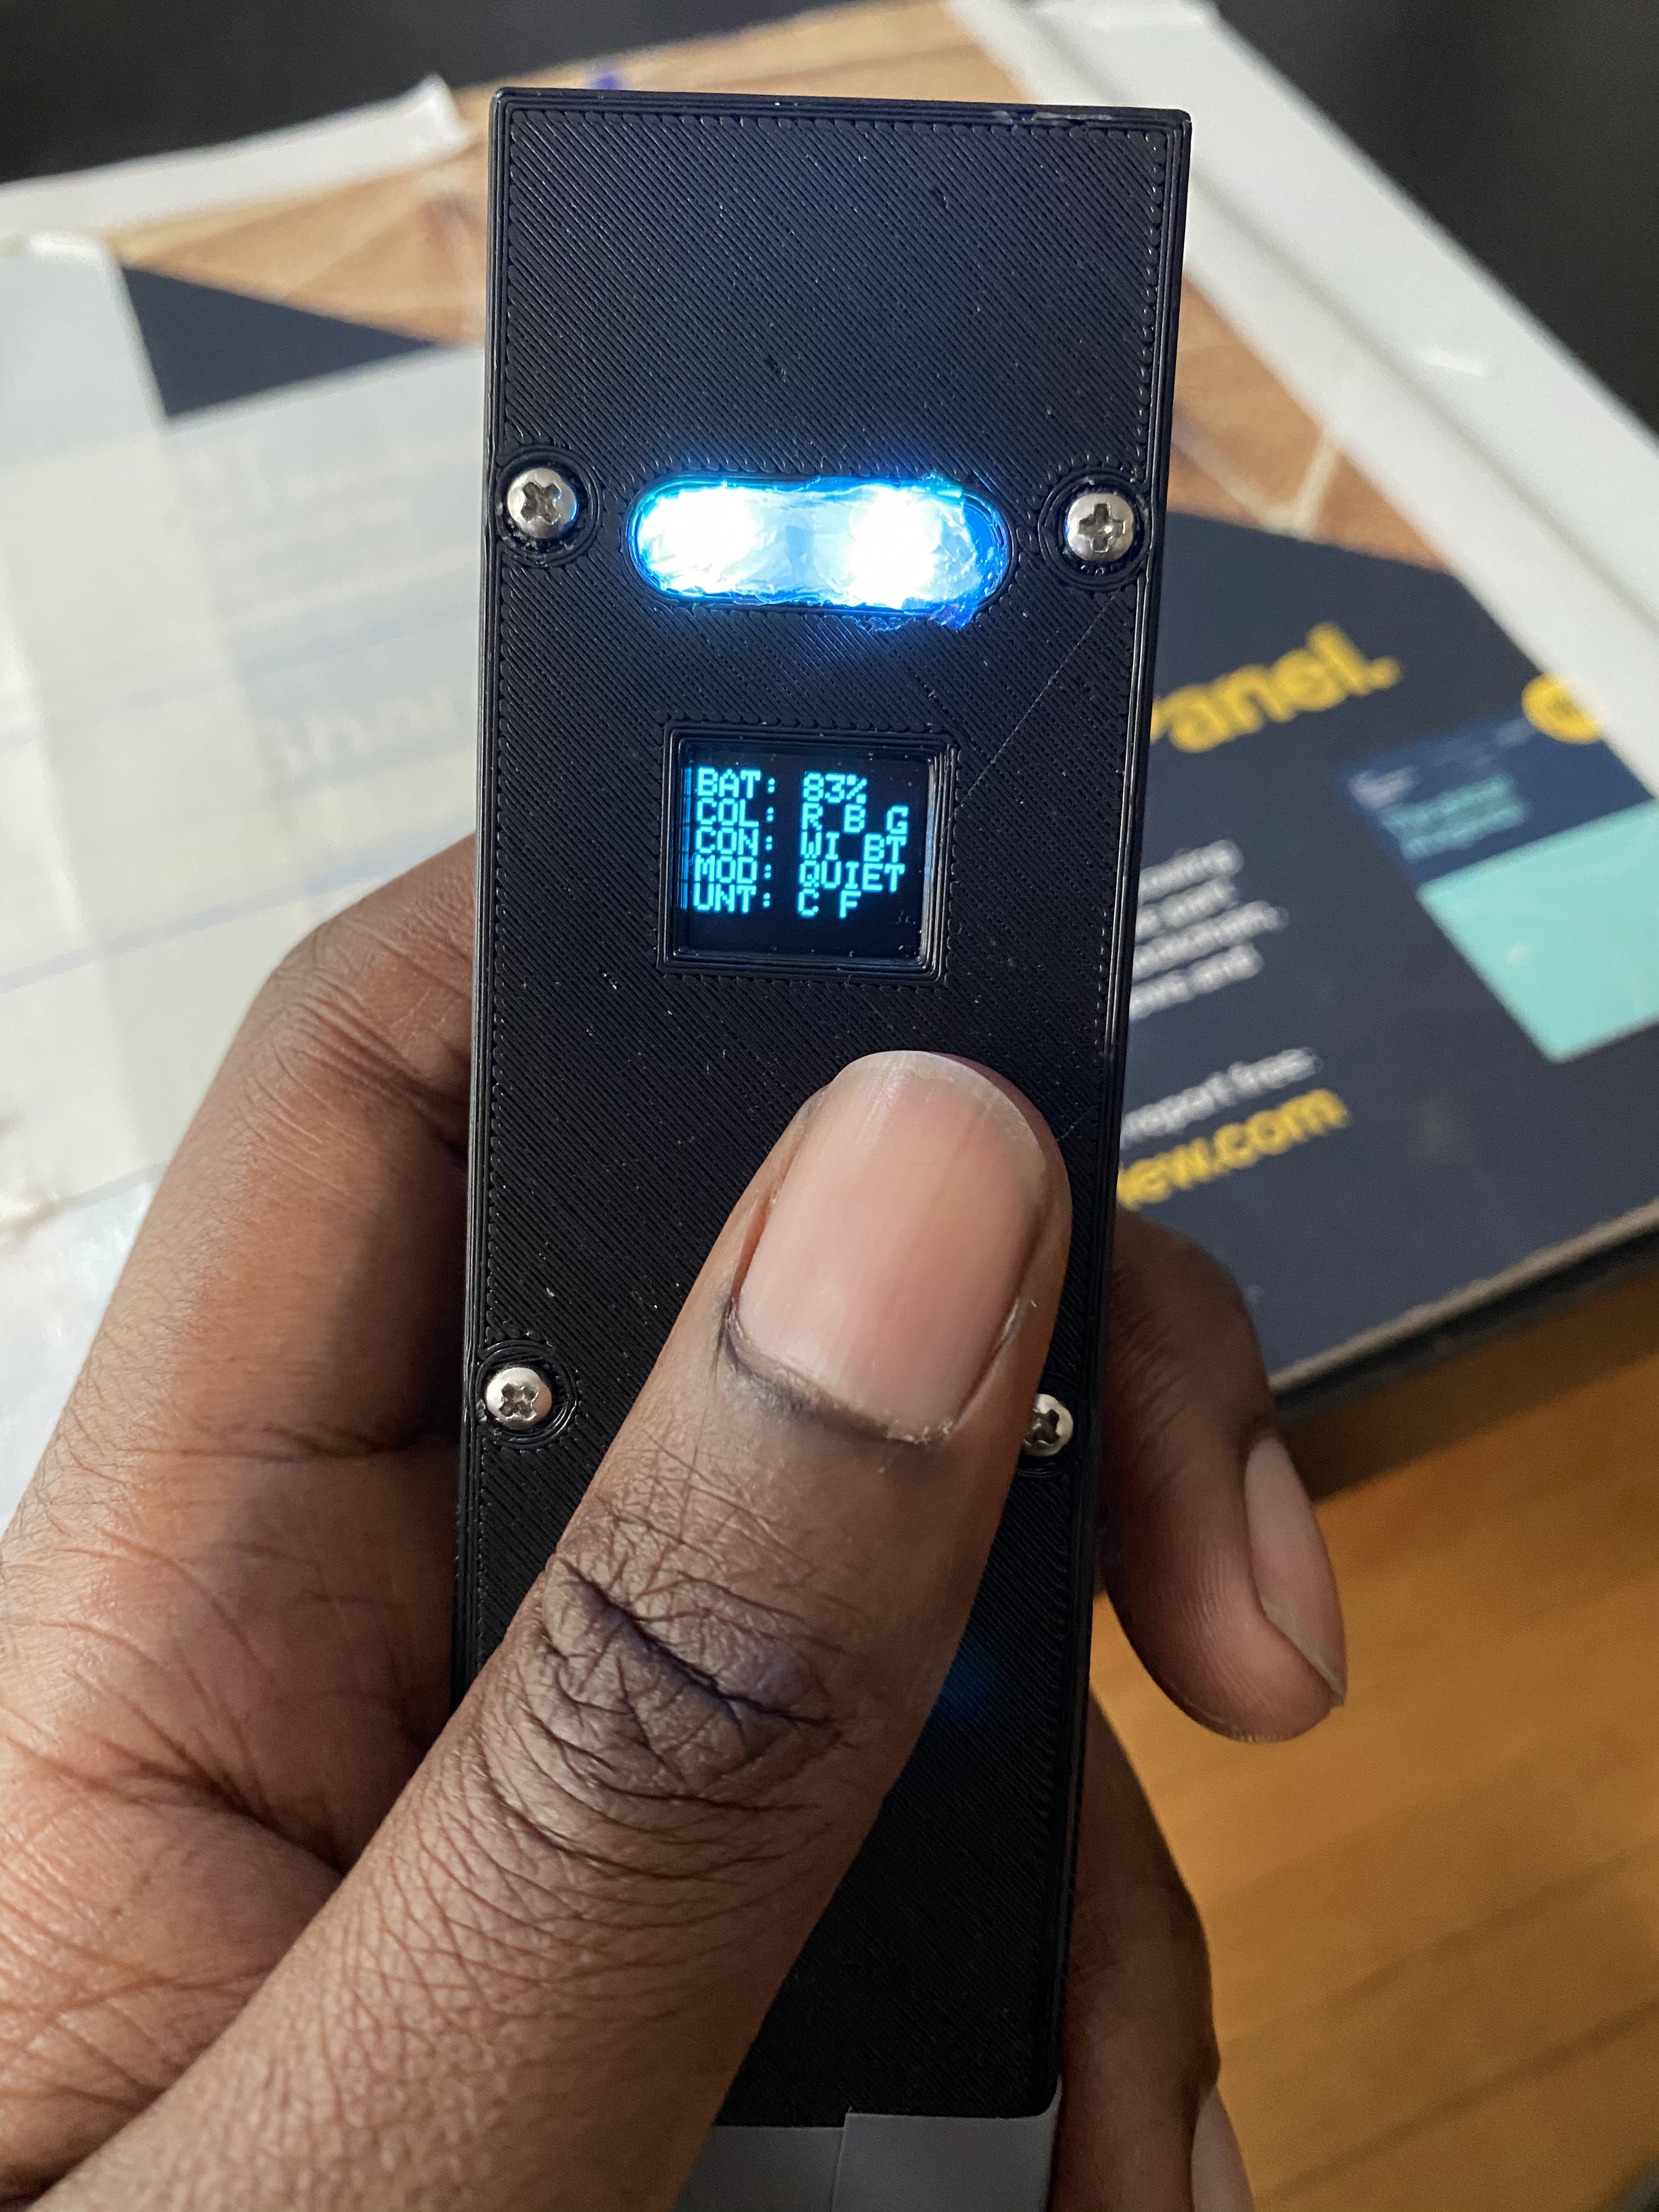
    Also, I decided not to go with the Battery Gauge module. Instead, I'm using some builtin features of the microcontroller, and interpolation to estimate the battery state. Should be fine enough I think. 

    The "tier-2" functions are those that require more than just reading from a module. I'm currently testing the IR Remote module, that should be able to figure out ir protocols, and then control devices. 

  • Putting Everything Together

    TuesdaysWithMerlin05/12/2021 at 22:21 0 comments

    Putting Everything Together

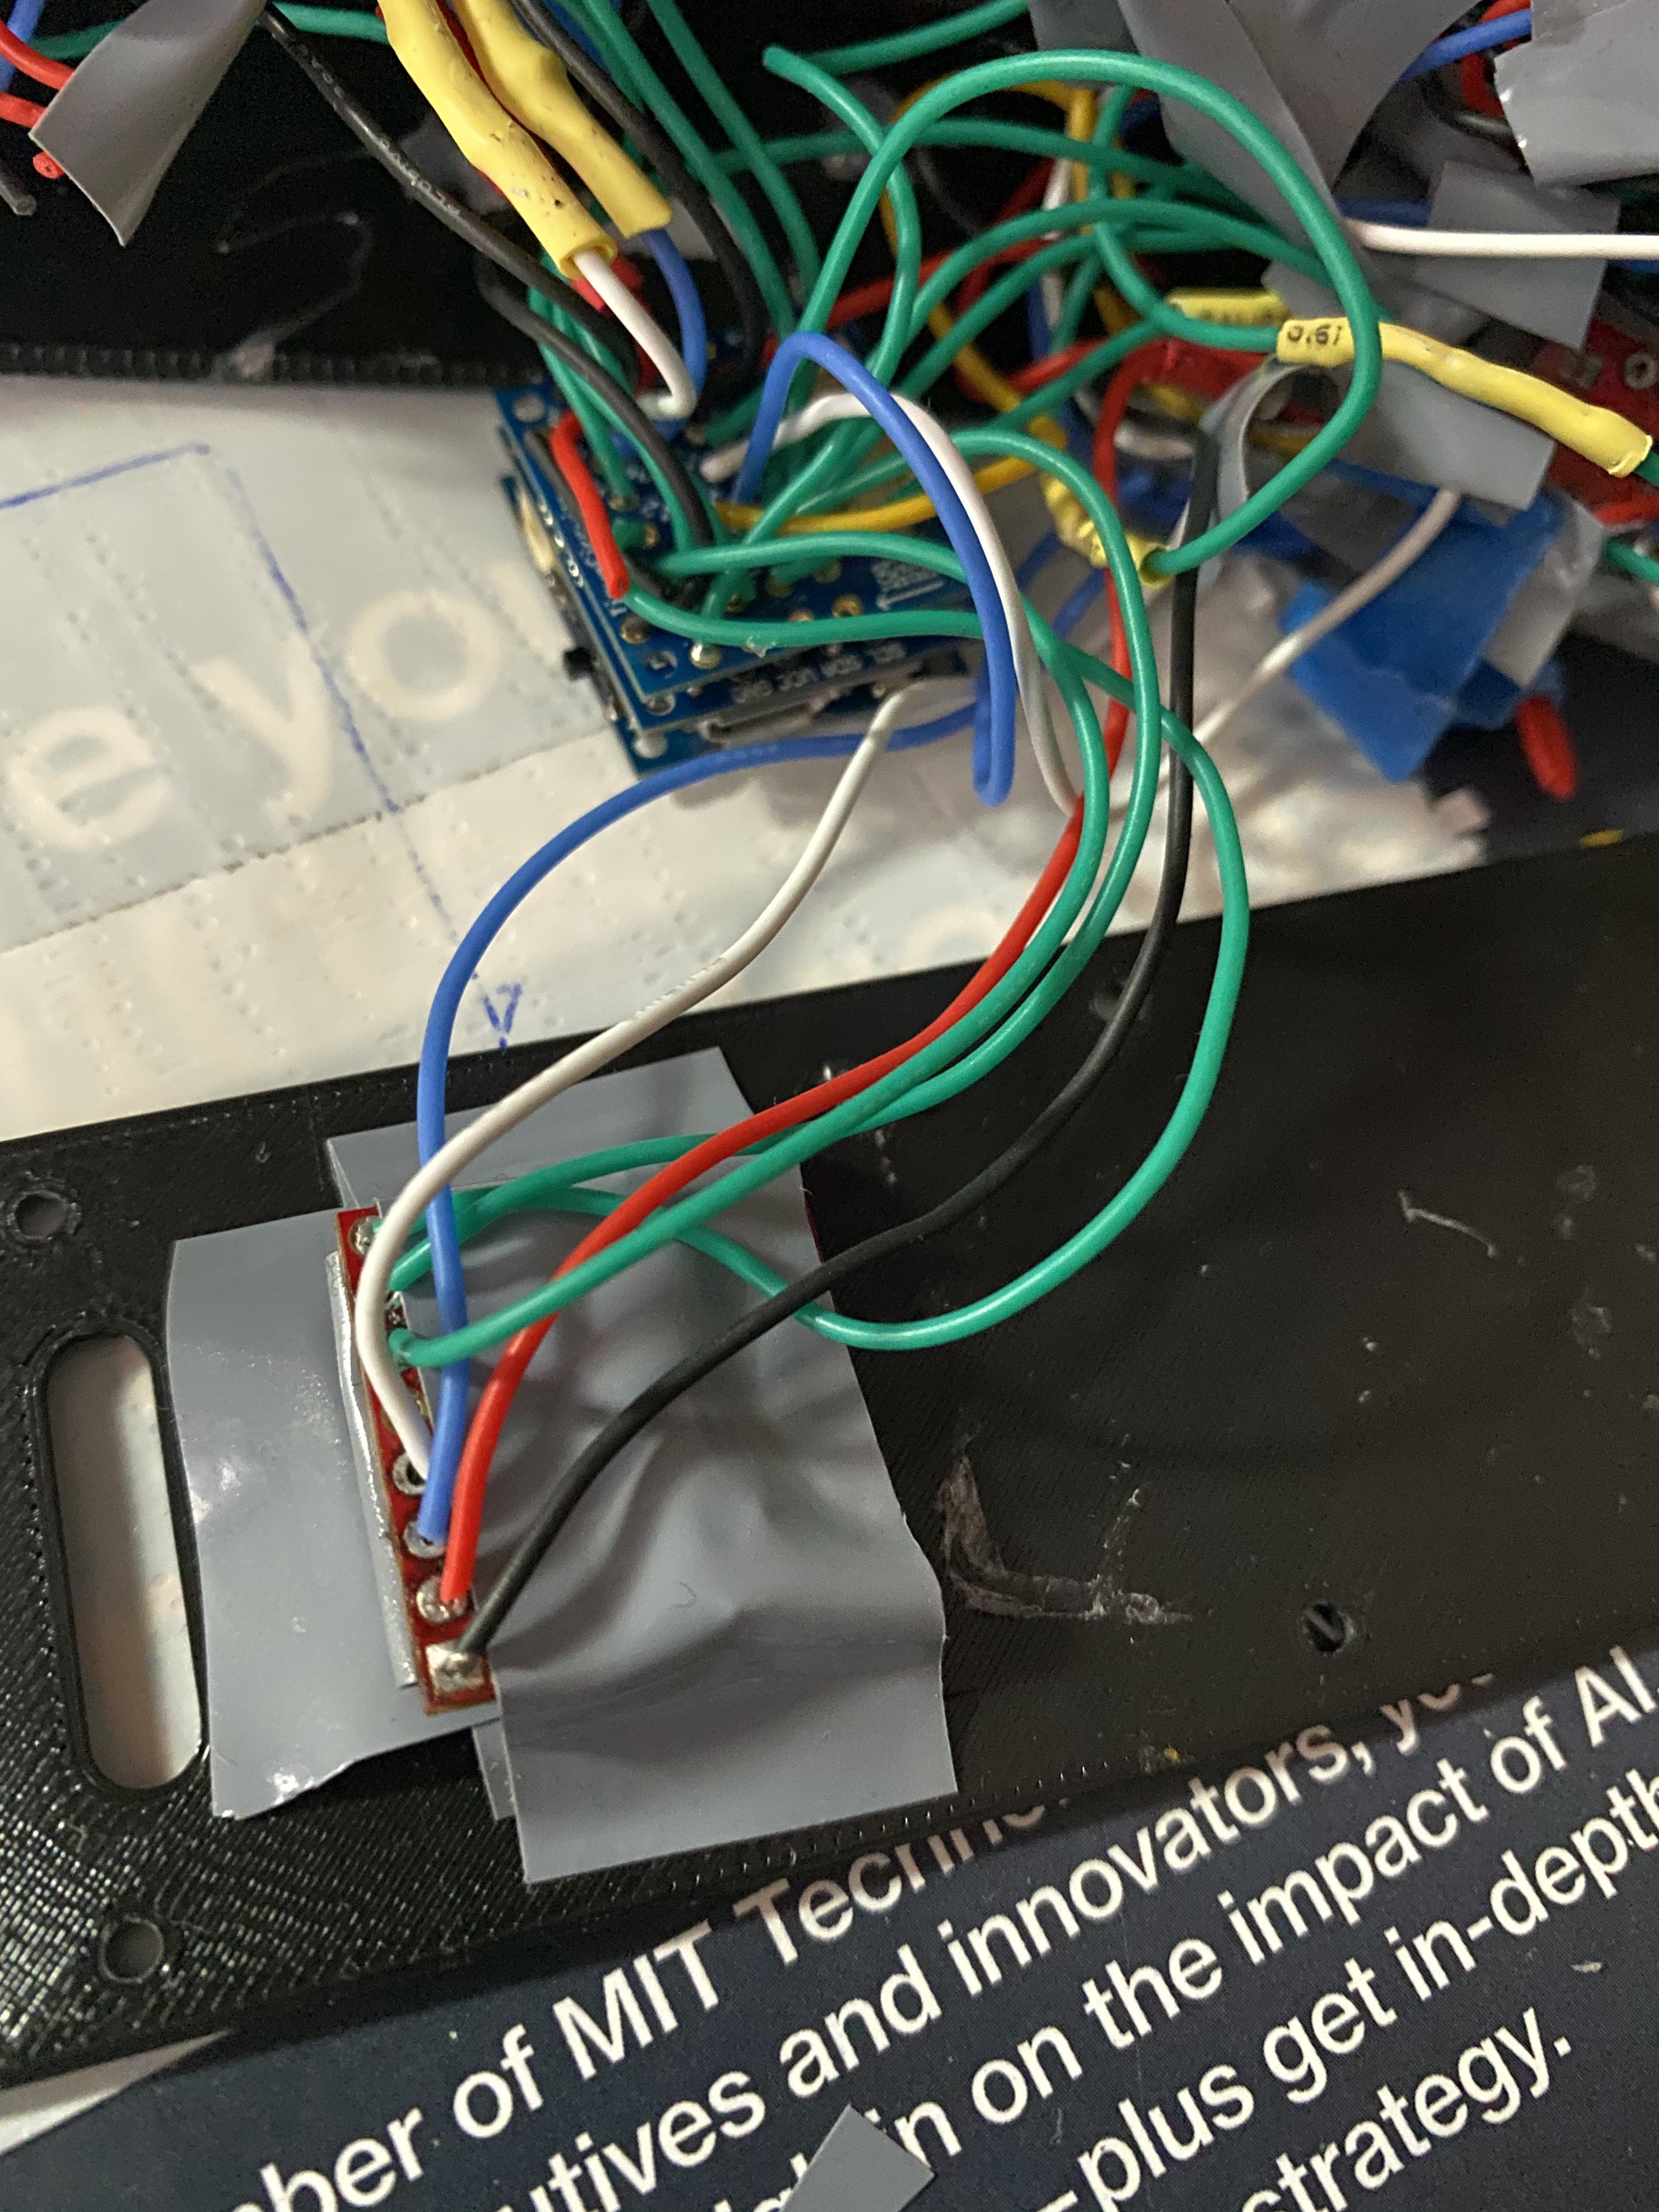
    Modules finally arrived and I got to testing and connecting. I realized that life would be much easier if I used a smaller microcontroller (with as it came with some perks e.g. lipo charger and connector head), so I order the TinyZero and the accompanying perf board.

    While I waited, I tested each module separately. I made sure the firmware could communicate with each module. It took the better part of a day to cut, trim, solder, connect and test each wired connection to the perf board, and I am loathed to say the interior looks like a mess, but that's a problem for another day.  So far, that's been main con of not designing a single PCB to hold everything.

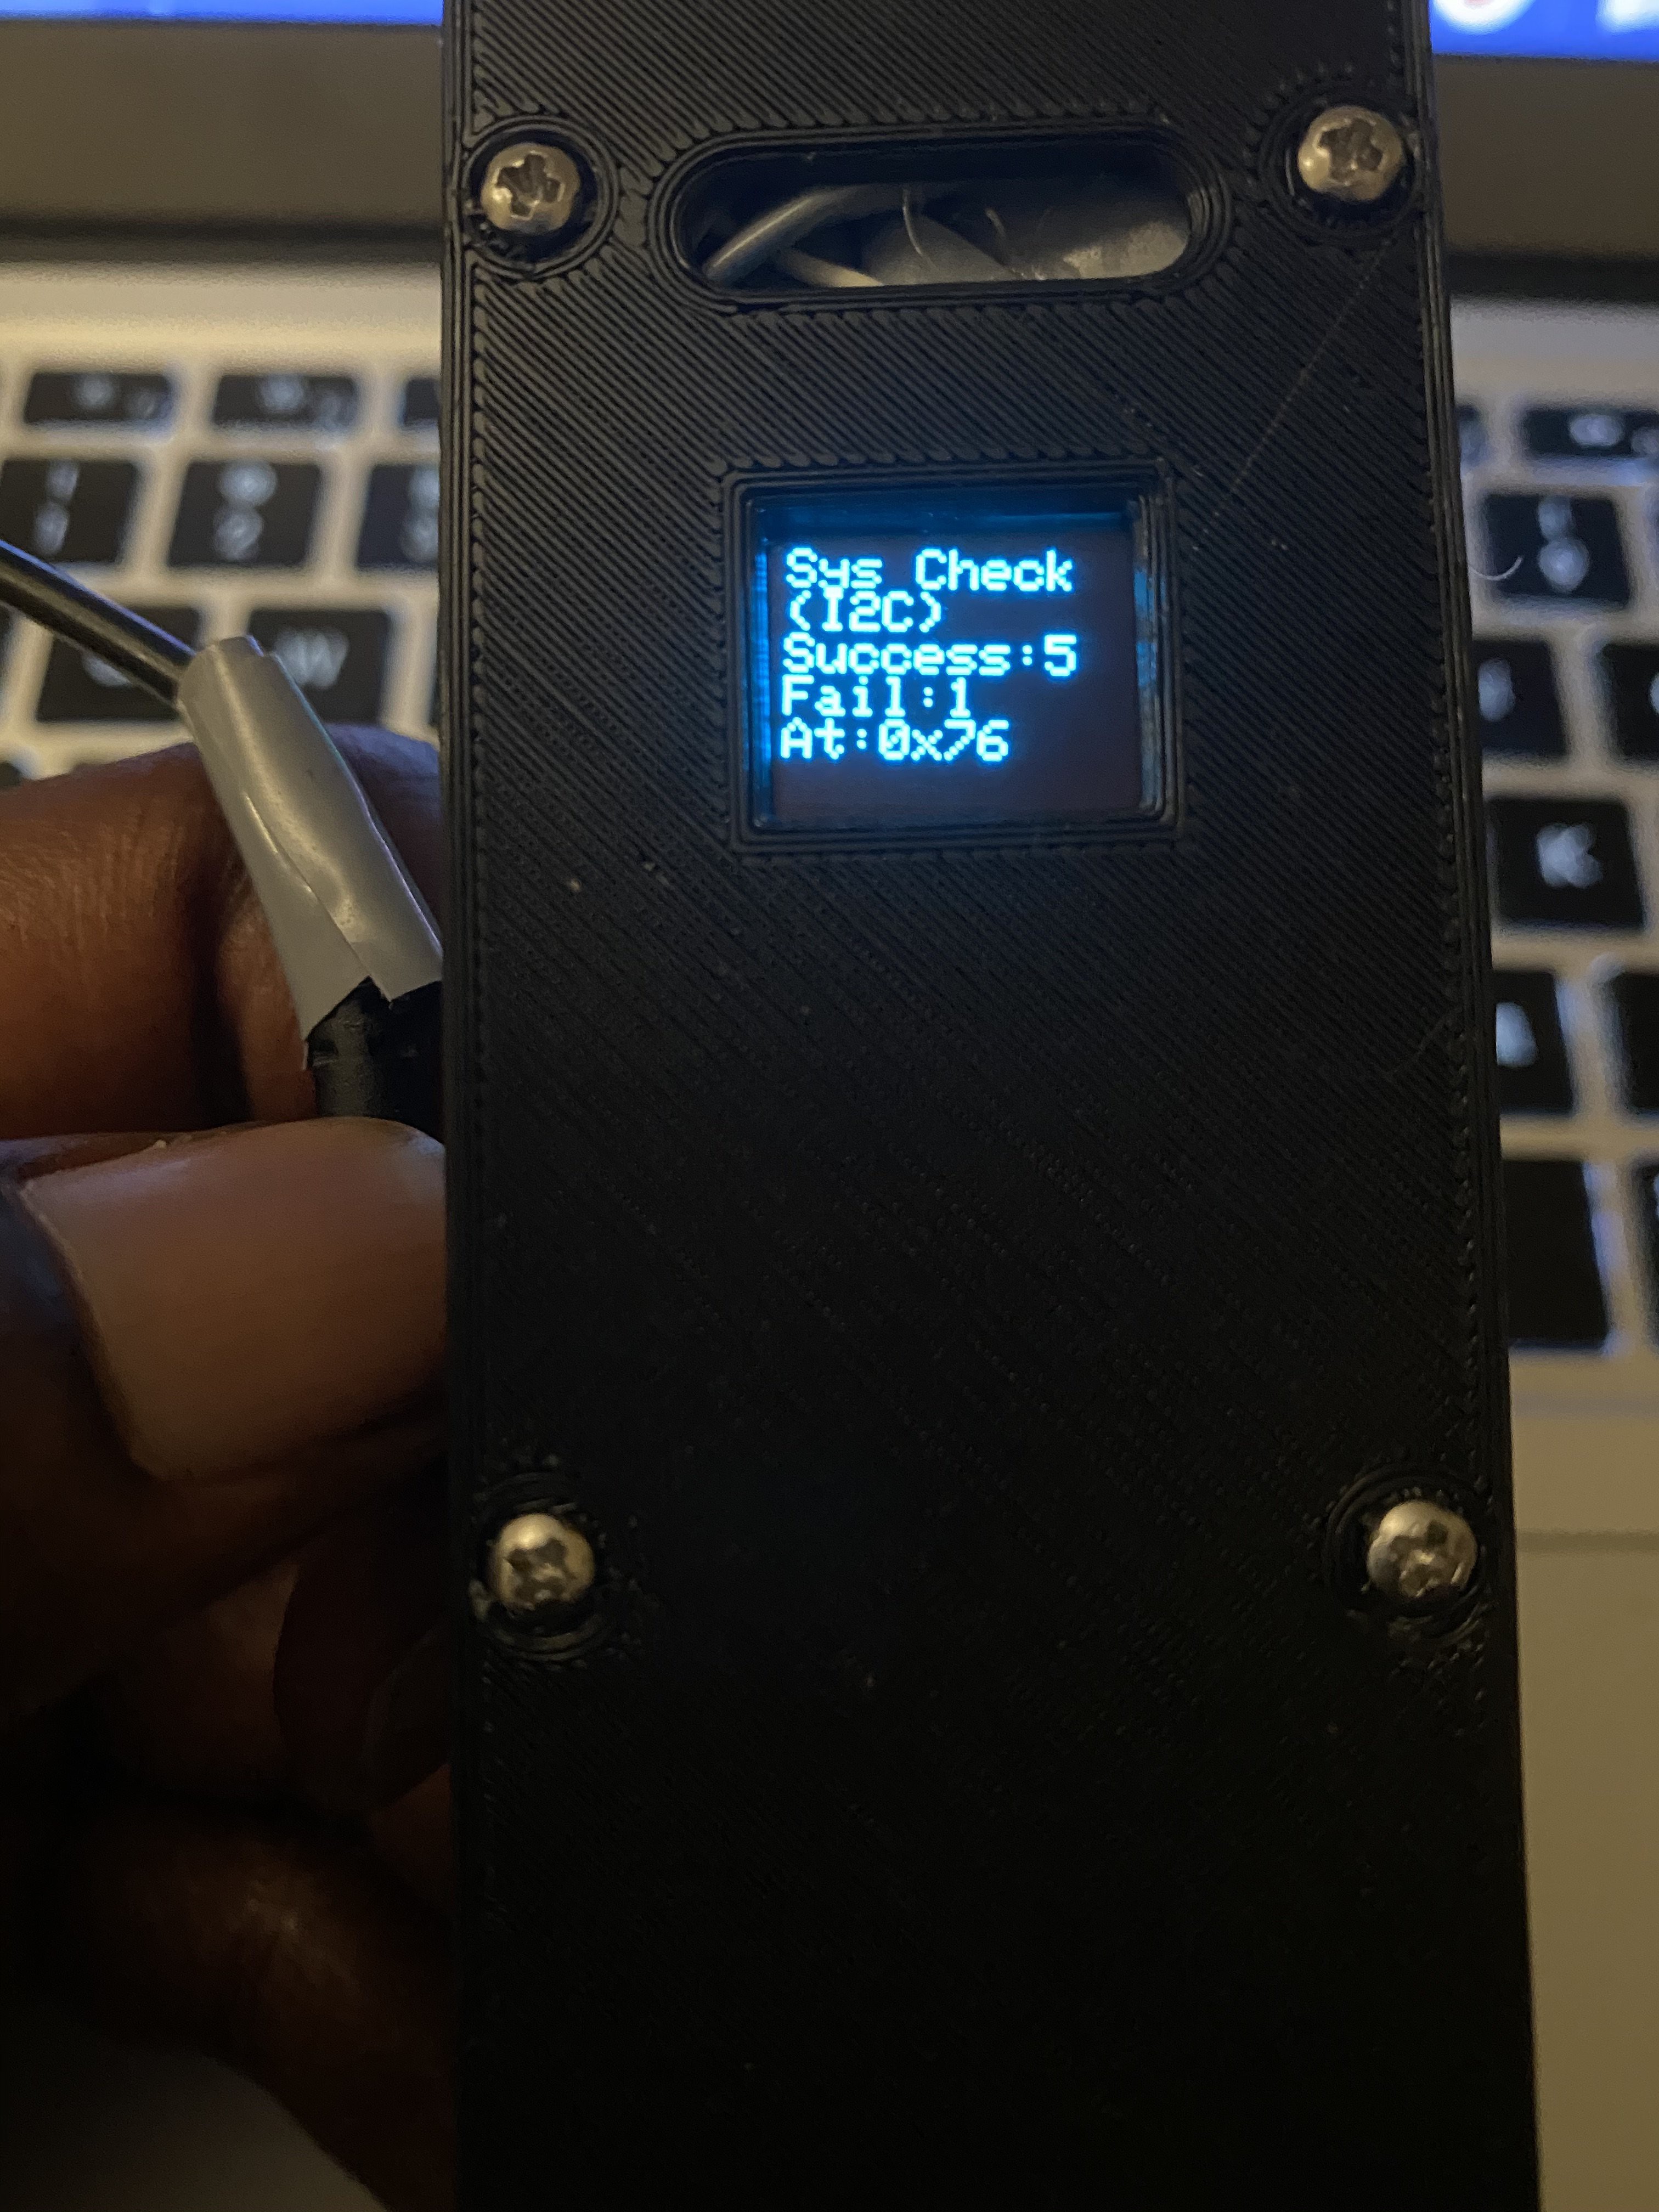
    Issue 1: After all the pre-testing I did, things just weren't talking on the I2C bus. The initial system check showed only one failure, but things cascaded from there. I had to open things back up, and check each connection. I realized the issue was the LiPo fuel gauge, which was fine when I tested it earlier, but was damaged at some point between. Unfortunately, this means I'll likely have to power the SS by USB while I test functions, which isn't ideal, but ok I guess.

    Issue 2: The main GUI seemed to spit garbage on the screen, whenever I initiated a module. I couldn't for the life of me figure out why, because the function that plots on the screen has no connection to the initiation modules. 

    Issue 3: Another issue I encountered was writing data to flash memory. When testing the code on the Arduino Micro / Uno platforms, used this method to save space, by storing some of the bitmaps into flash memory. For some reason, doing the same on the TinyZero caused the code to hang, whenever I was retrieving the data. I removed the code that stored data in flash, and the issue with the GUI magically disappeared. No clue how or why. 

    Modules on the way: Wifi (here but needs to be connected), RGB leds (because what's the SS without colorful lights)
    Modules to be included: (New) Battery Gauge, Battery, Mic, Speaker (because what's the SS without whirring sounds)

    Now that (almost) everything is hooked up. I can start programming in some functions.

    PS: I also accidentally broke the IR Thermometer, so I'll need to replace it eventually. 

  • Testing Modules

    TuesdaysWithMerlin05/05/2021 at 05:16 0 comments

    The first round of ordered modules arrived from Digikey, and I spent the better part of the weekend testing their functionality. Most of the tests I ran on the modules were simple call-and-response, or sensor reading.  I discovered a website (Tinycircuits.com) which sold, unsurprisingly, tiny circuits. These are perfect for a space limited project.

    There were a few hiccups. 

    At first, I couldn't get the ESP module to work. I'd initially pegged the issue to be a power draw issue. After testing a few modules, couldn't get the IMU module to work as well. I later the microcontroller was damaged sometime during the testing, and was unable to communicate with some modules. Digging through drawers, I found an old Arduino Uno that I used to finish testing the modules. 

    I've updated the B.O.M.

    Next steps are: (1) Hook everything up (2) Take it out for a joy ride (testing at least one function per module in situ) (3) Make revisions on the case (4) Write a bunch more code.

  • CAD and Enclosure

    TuesdaysWithMerlin05/01/2021 at 12:47 0 comments

    While I wait for the electronics to arrived, I decided to start working on the enclosure. 

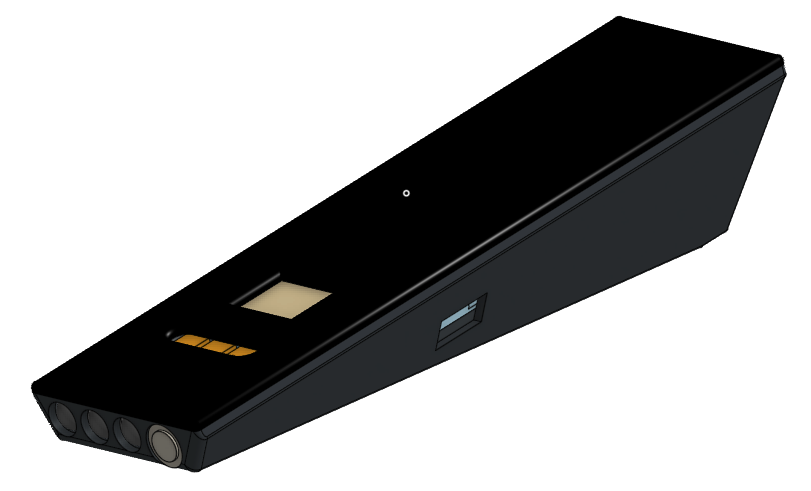
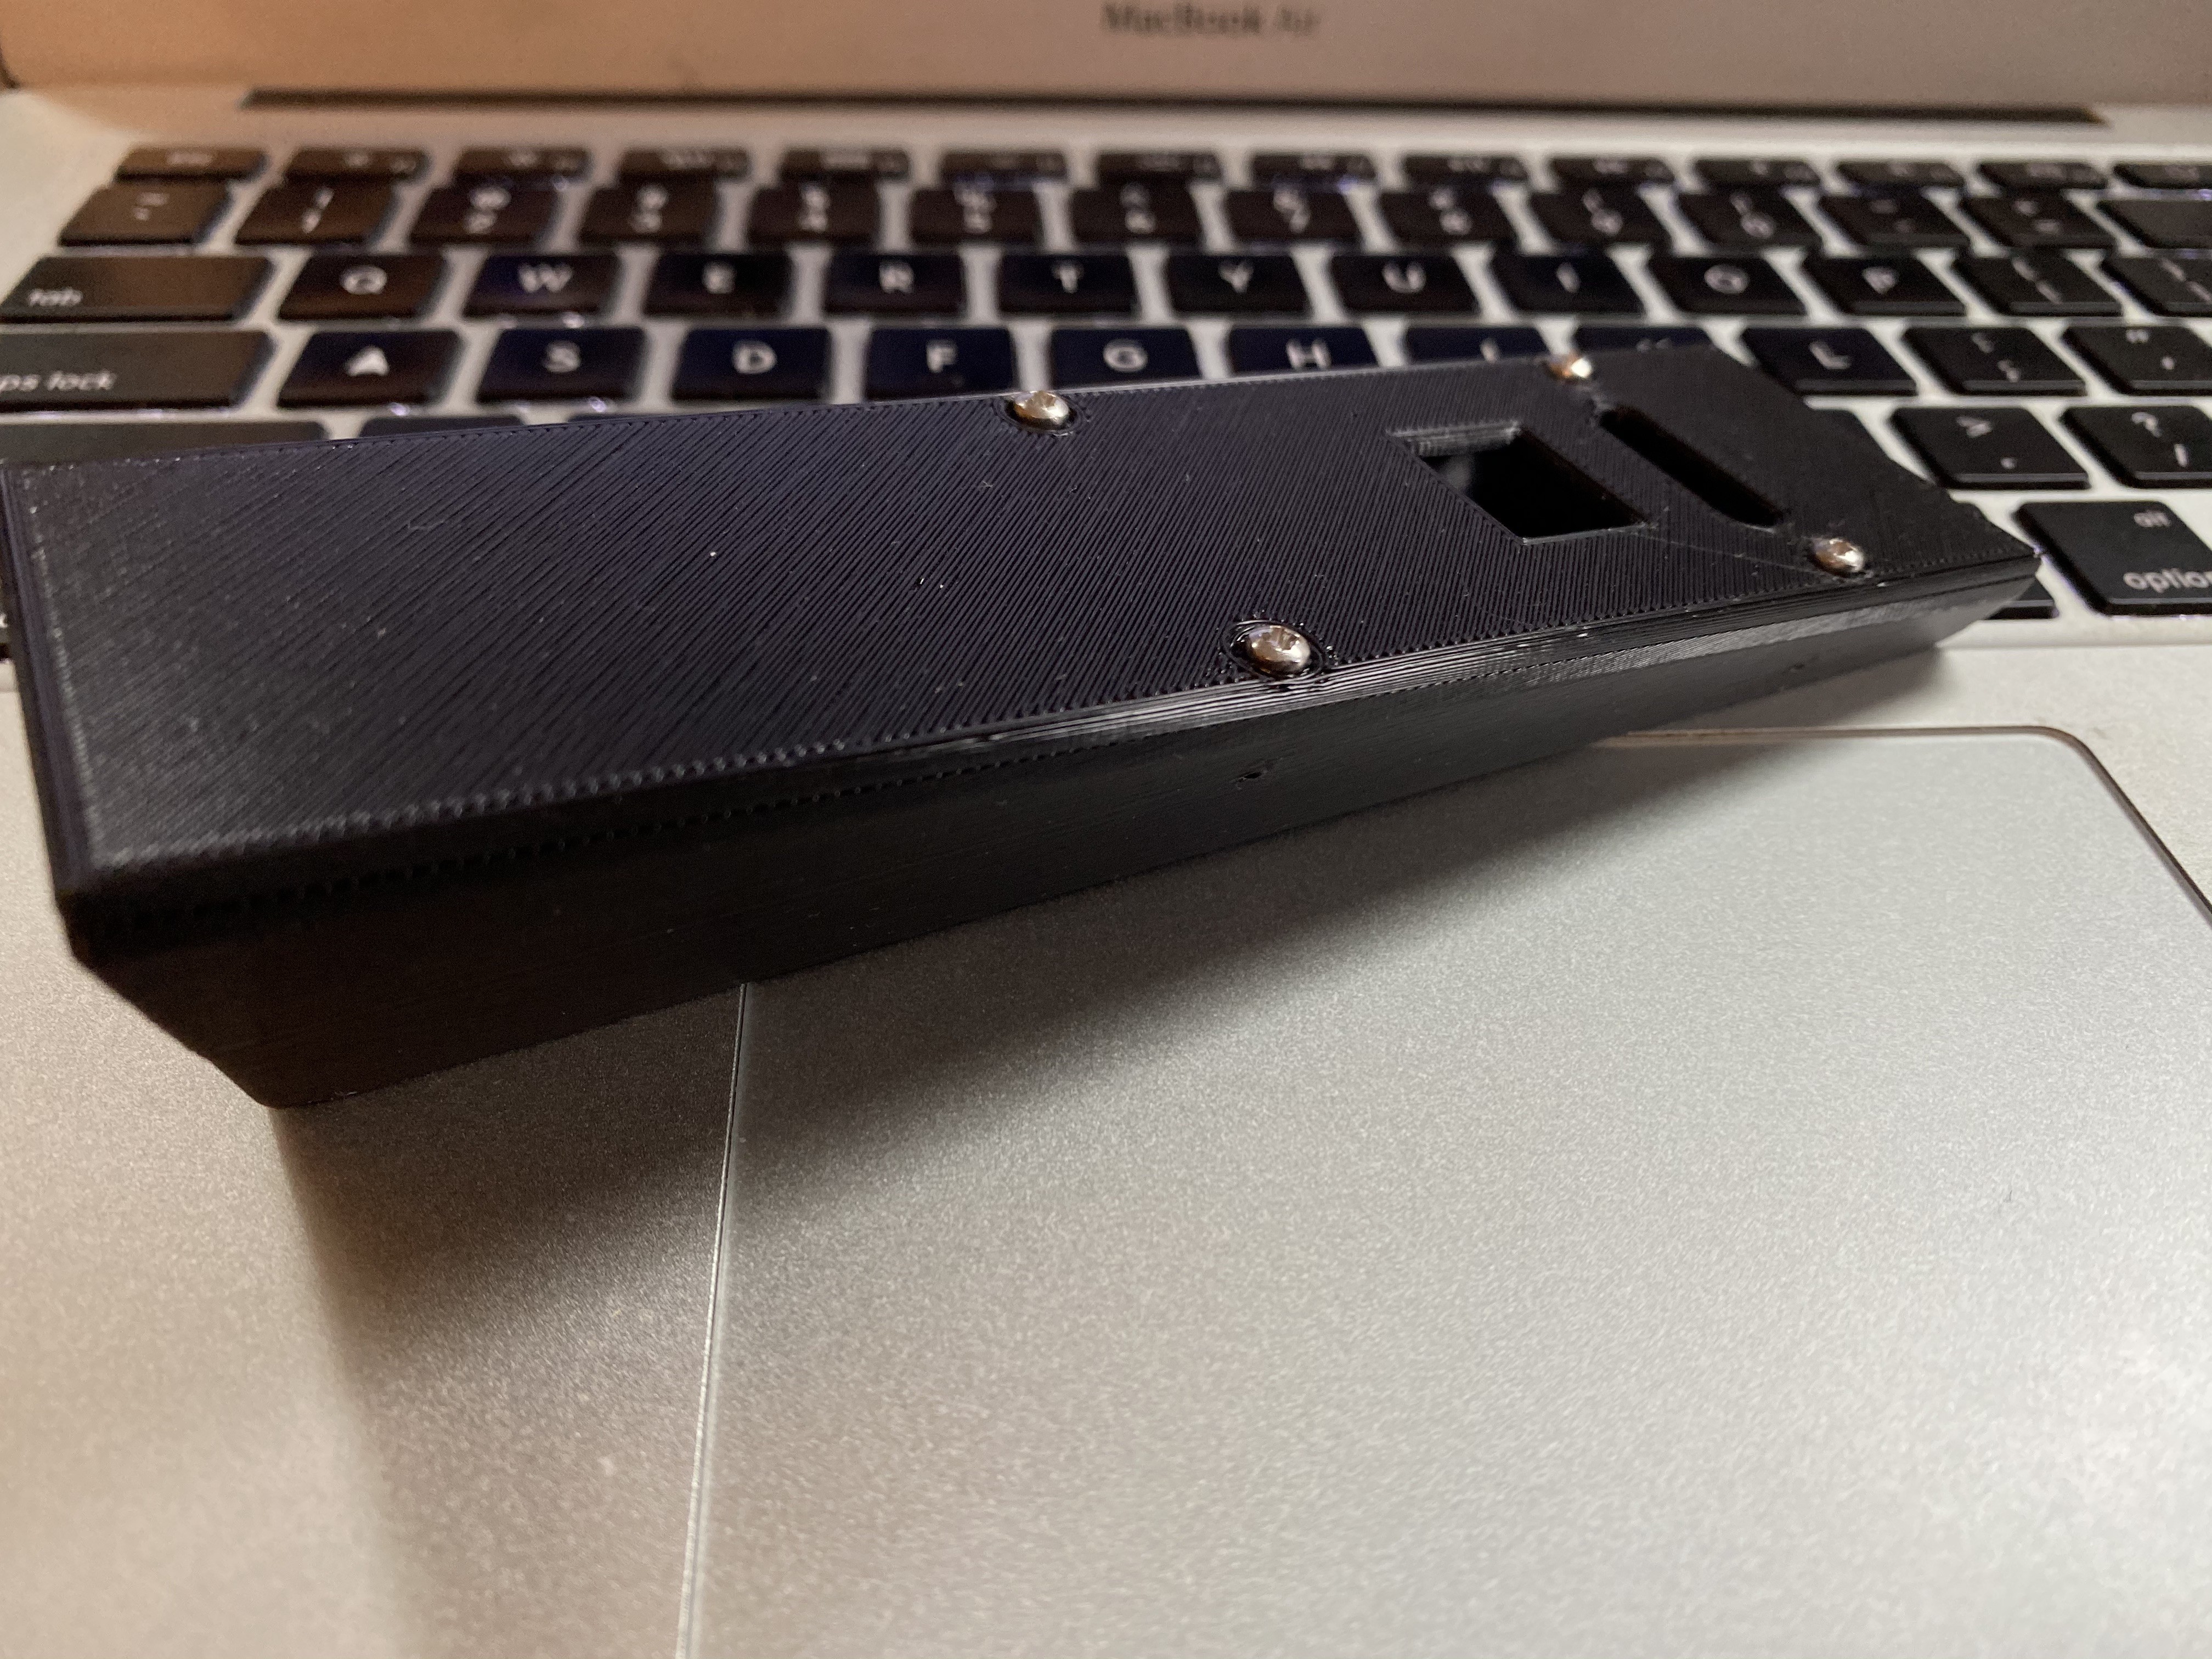
    This is likely not the final version. In between testing each module, and the final sleek SS, having a prototype that is about the right shape, with most things in their right place while be pretty useful, especially with testing functions that require more than just a working module. 

    I made the part in Onshape (mostly because I'm on a mac, and am too lazy to install AutoCAD). It's a very simple shape, with lots of room inside. I like the simpler more mundane look and feel of this enclosure, but there is something specially about the steampunk look of the SS in the shows. I don't have a design in mind yet for the final SS, but this will have to do for now. 

    Shout out to "The Supplier" for printing the case for me. 

  • Layouts and Modularity

    TuesdaysWithMerlin04/24/2021 at 08:38 0 comments

    In trying to learn from my previous attempts, I think modularity, and outsourcing will make life easier; that is, if you don't have to make things harder, don't.

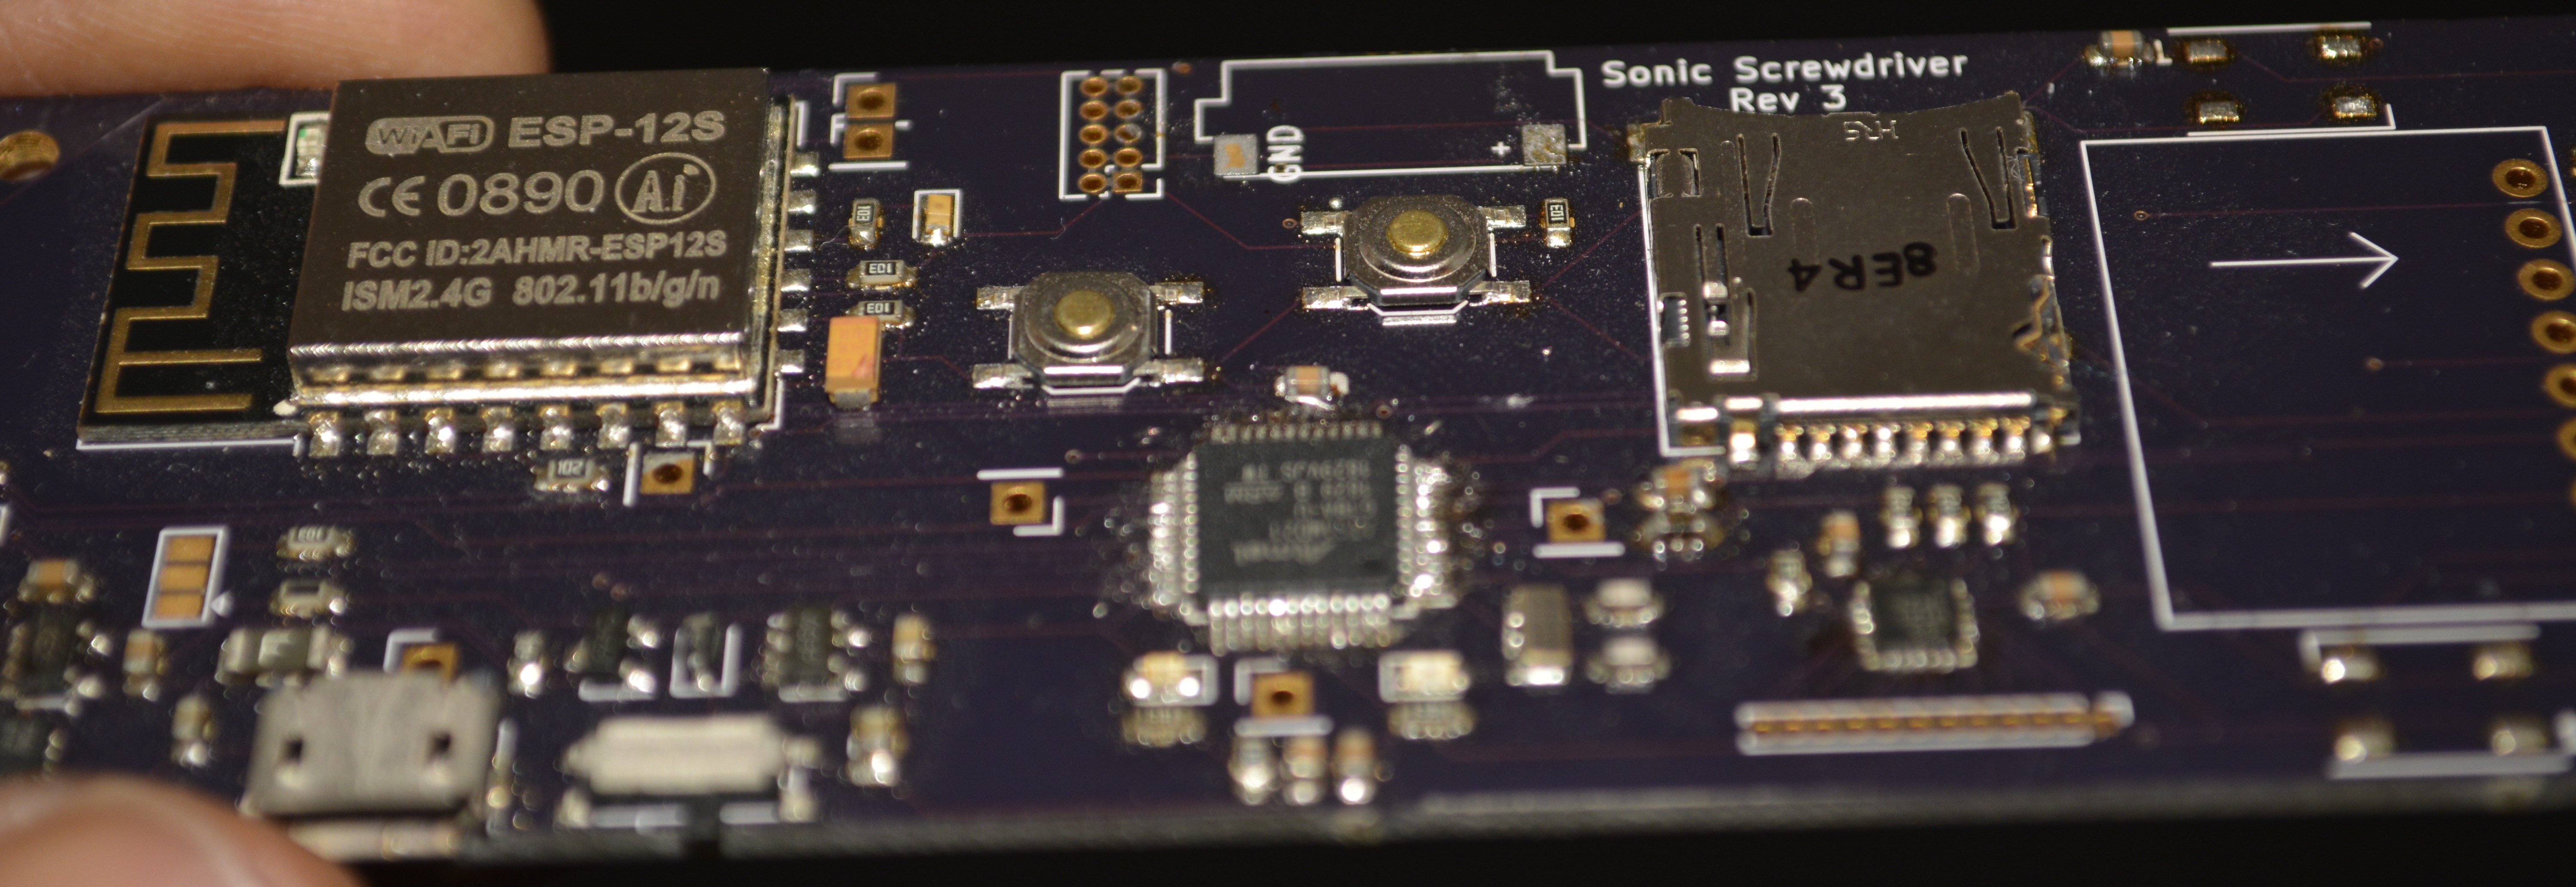
    In particular, this is in regard to custom PCBs. In the second attempt of the sonic screwdriver, I dreamt of a gorgeous single PCB, hosting all the components in neat rows, and spiraling silk screen art. 

    Wiring was a task in it of itself. Fortunately, there were auto-routing scripts, and though I still had to push some wires about, it largely got the job done, and after sending the gerber files to OSH Park, I received their glorious purple PCBs a several days later. And honestly, I had fun trying to solder what I could, after populating with a "reflow oven", which was literally just a toaster oven. 

    The issue with this was approach there wasn't much room for testing and making sure things worked. I couldn't prototype as much, and before I knew it, there were too many errors and shorts to easily correct. 

    This time around, I want to use more of a modular approach. Rather than generating a single PCB with everything, I intend to use discrete modules, so that I can test the electronics, and functions before they have to work in concert. This has the benefit of making things easily changeable, in case one part is damage, or I find a better module down the line. 

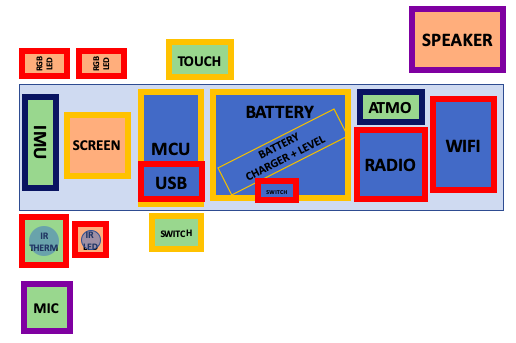
    Looking at the modules I'm envisioning for the first prototype, I have blocked them into the following space. The current constraints are space and positioning - a sonic flashlight is just not as cool. I chose a few modules (looking through the usual Sparkfun, Adafruit, Digikey etc.), and stumbled on a company whose products were rather fitting for the task (TinyCircuits.com).

  • MFM: MicroOLED Display

    TuesdaysWithMerlin04/21/2021 at 02:24 0 comments

    The thing about breaking out the soldering iron every 1 or 2 years, is that you forget the basics and might burn out components and stuff. Yeah. I destroyed one board (SETBACK 1). Thank God I had another microOLED board in one of my many unsorted boxes from attempt 2 of the SS. 

    You know how, when a song is stuck in your head, but you don't really remember the lyrics, just fragments of the melody, and you're trying to ask someone what the song is, and all you give them is an off-key half-remember motif. I think I experienced the software version of that annoying feeling. 

    You can write bitmaps to the microOLED to show graphics. When the microview was released years ago, I remembered finding a website that allowed you to draw images, and the website would spit out the bitmap array for the OLED. I couldn't for the life of me remember what the web address was (SETBACK 2). 

    Then began a rabbit chase that took several hours to resolved. Since my computer is young, it wouldn't be in the search history. I vaguely remember it was in a forum. I googled and found a website in Japanese, that referenced the microView and the microview forums. I clicked the link. The website wasn't there. The Wayback Machine came to me in a flash of inspiration! I went on the website, searched for a few minutes, realizing the specific forum post wasn't saved. I thought, maybe my old barely limping computer might have the webpage still in the history. I hit the power button the donkey, and several minutes later, it was fully booted. It took several minutes for Chrome to load, and seconds for me to find that website was not in my history. At this point, I thought it was donezo. GGWP. Since the donkey was booted up already, I decided to get the first SS files from its cobweb-filled folders. 

    And that's where I found it. Not the link to the website. I found the entire webpage, zipped and saved in a folder. Ha LLe LU JAH.

    It was just as pretty as I remembered. I had half-given-up on finding it, and wrote a matlab script to generate the arrays from images, but having a tool that could let you draw them will be very useful further down the line. 

    LESSONS LEARNED:

    1. Saving things, even whole web pages, can be like having a second kidney. You won't know how much you'll love it, until you really need it. 

    2. I'll need to pay more attention to memory when completing the code: i will need to tighten things up to save space, and also chose more strategically which things go into which kind of memory.

  • Let's Try This Again

    TuesdaysWithMerlin04/21/2021 at 01:43 0 comments

    This isn't my first time doing this. In fact, it is my third. Why am I trying something I've failed at multiple times? Well, because I'm older, stronger, wiser and because pandemic.

    Will you actually finish it this time?

    Okay. No promises. I know they say third time's the charm, but they also say things come in threes, and failed project is a thing sooooo..

    What are you hoping to get out of this?

    Mostly, just have fun making something again. The one thing I know about projects is that you make more mistakes, than successes, so if you can find the fun every time you take a small step, then that's a good thing.

    Why are you blogging?

    Eh. I don't know. Seems fun. 

    What're you gonna do differently?

    Well, if the goal is the fun of it, I'm just going to do what seems fun to me at any point in time. Not that I'm not following some plan. More like the plan is to bounce around parts of the project I'm interested in. Forget about MCMs. I'm following a strict MFM  (Most Fun Module) strategy.

    I might also ask other folks to help me with specific parts of the project. That could be fun too.

View all 8 project logs

Enjoy this project?

Share

Discussions

Similar Projects

Does this project spark your interest?

Become a member to follow this project and never miss any updates