It's alive! We're rollin and in this update we get mostly all wired up to do some test driving. Initial verdict? It's fast! Like, scary fast. I've had to dial down the battery power output to 40% (initially started at 75%). At 75% I saw a peak draw on the BMS of 200 amps and I wasn't even full throttle! 40% is a more reasonable and controllable peak of about 175 amps.
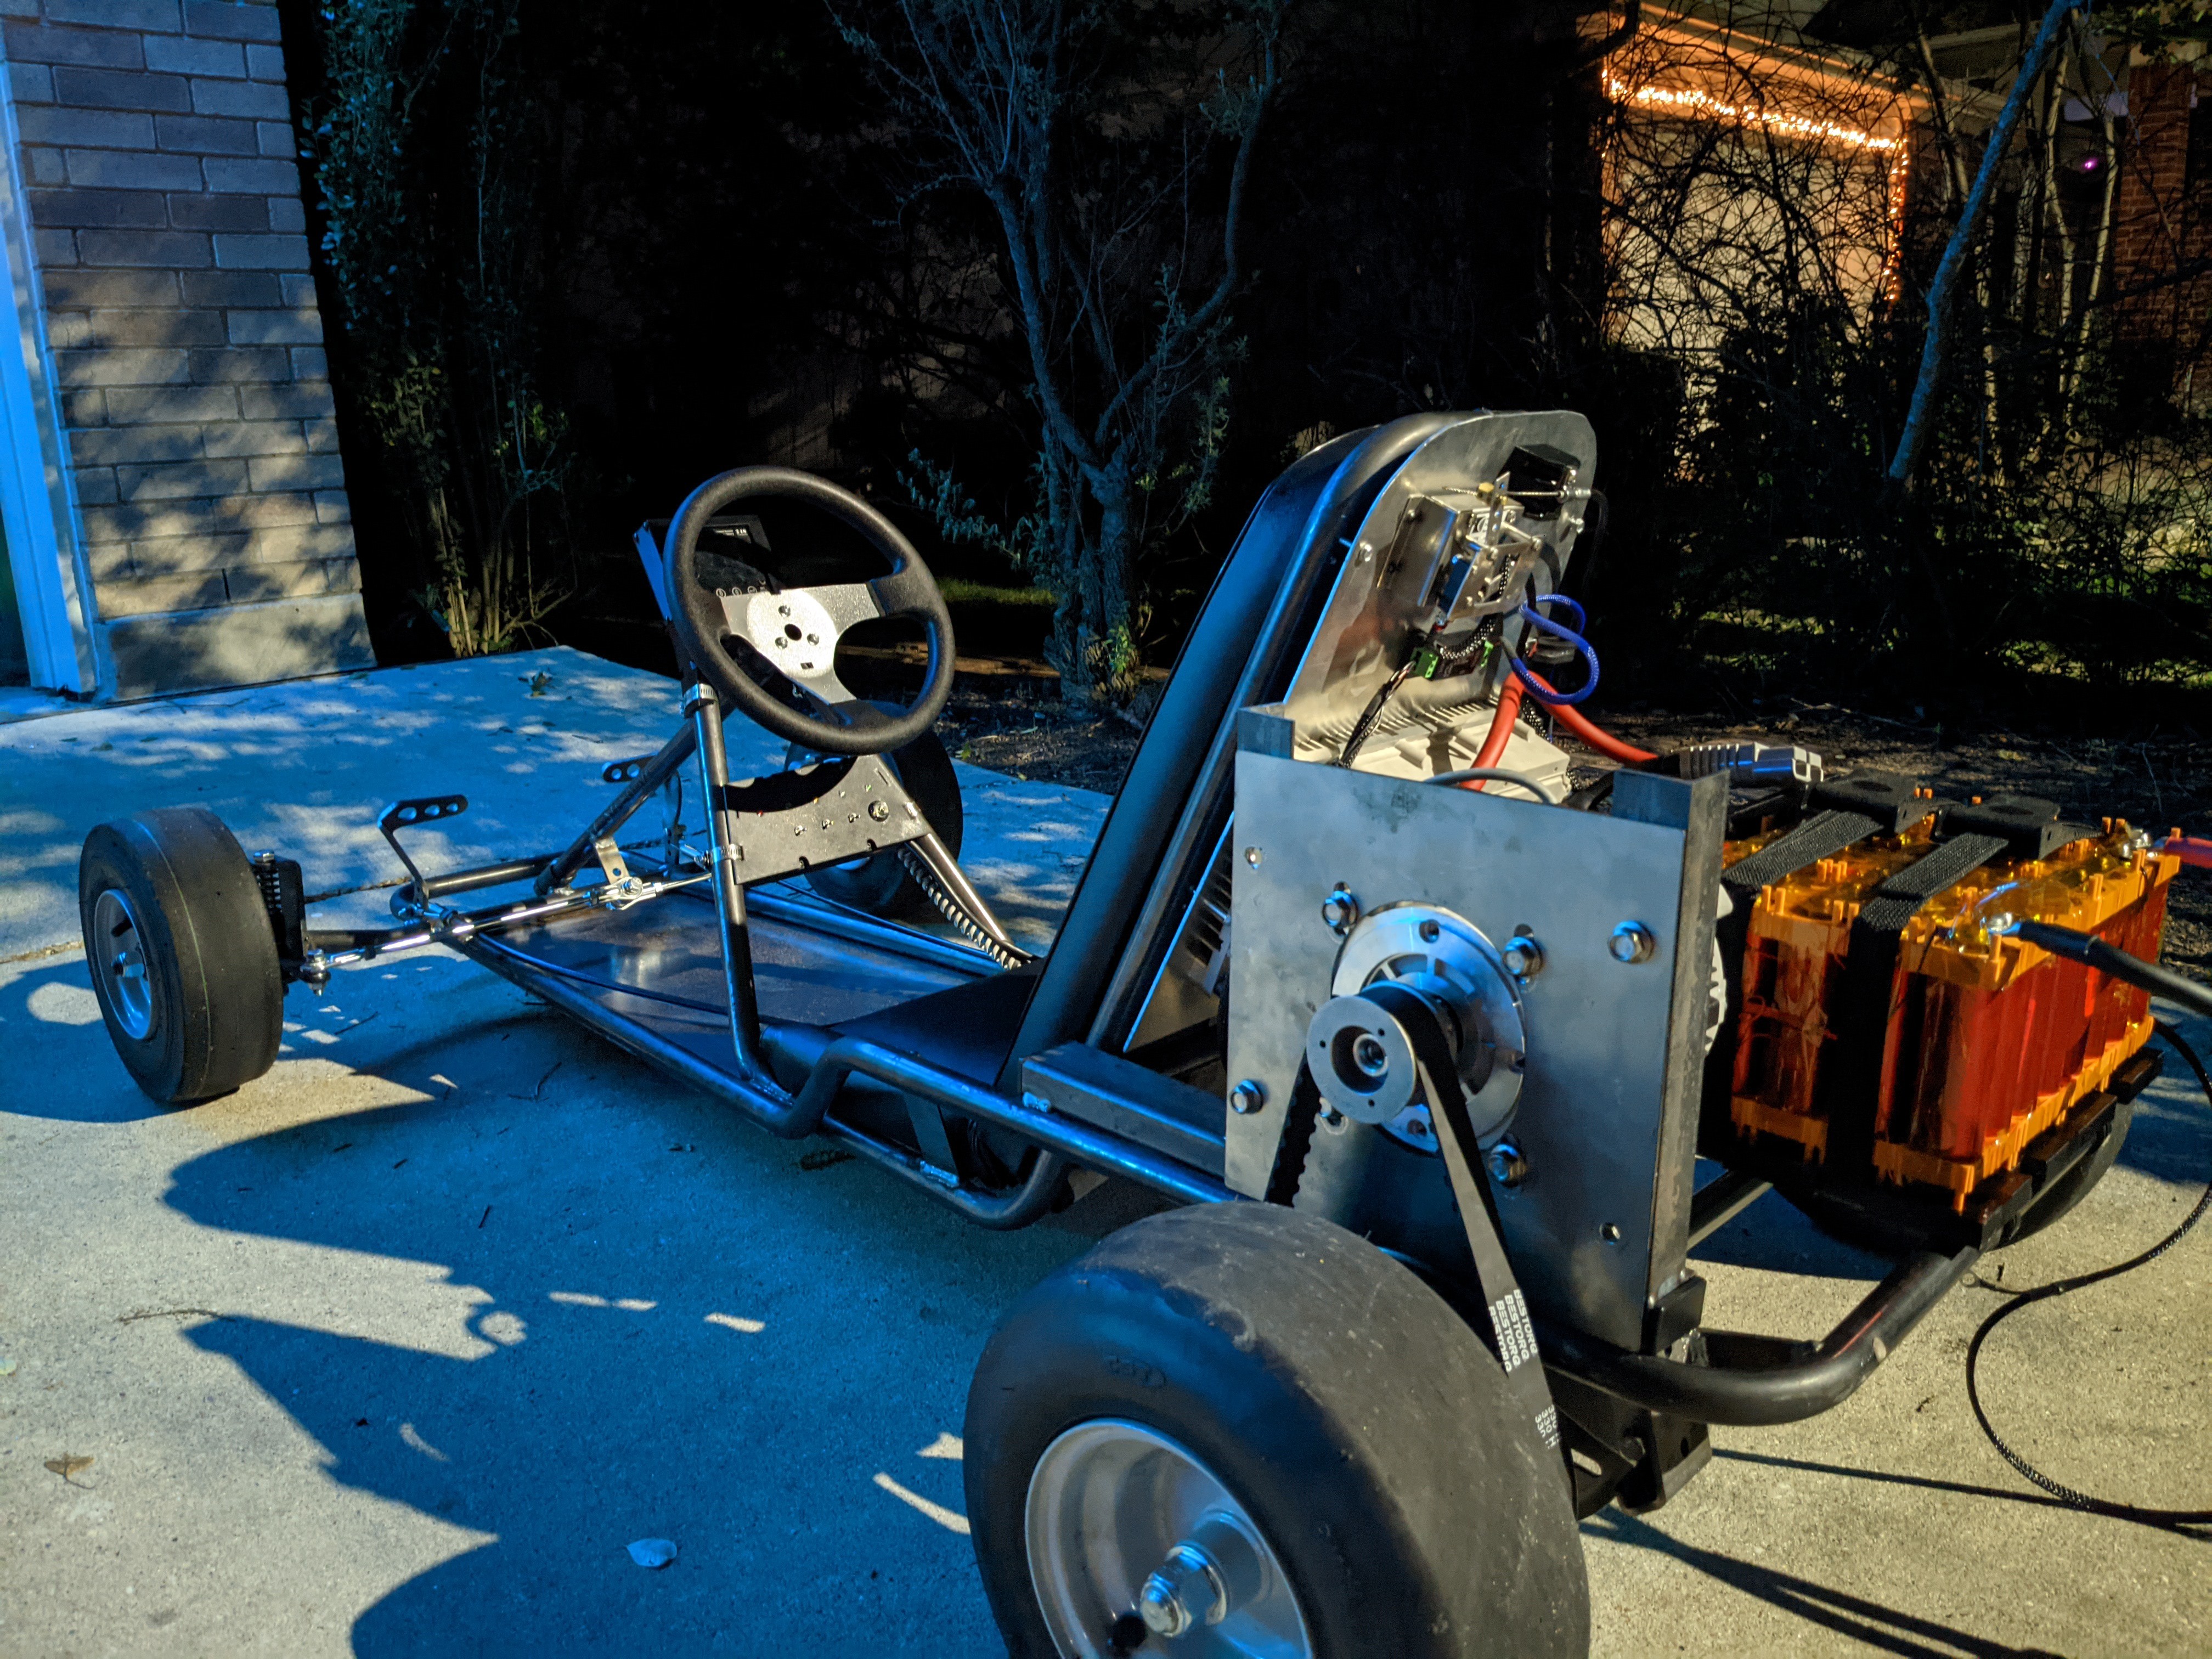
So, how did we get here since last update? Well, lots of little things! First, we finished up a bunch of things on the back panel including the throttle cable mount block, throttle cable pivot, and 24 volt output to the BMS. Now the BMS and controller have power from the DC-DC converter.
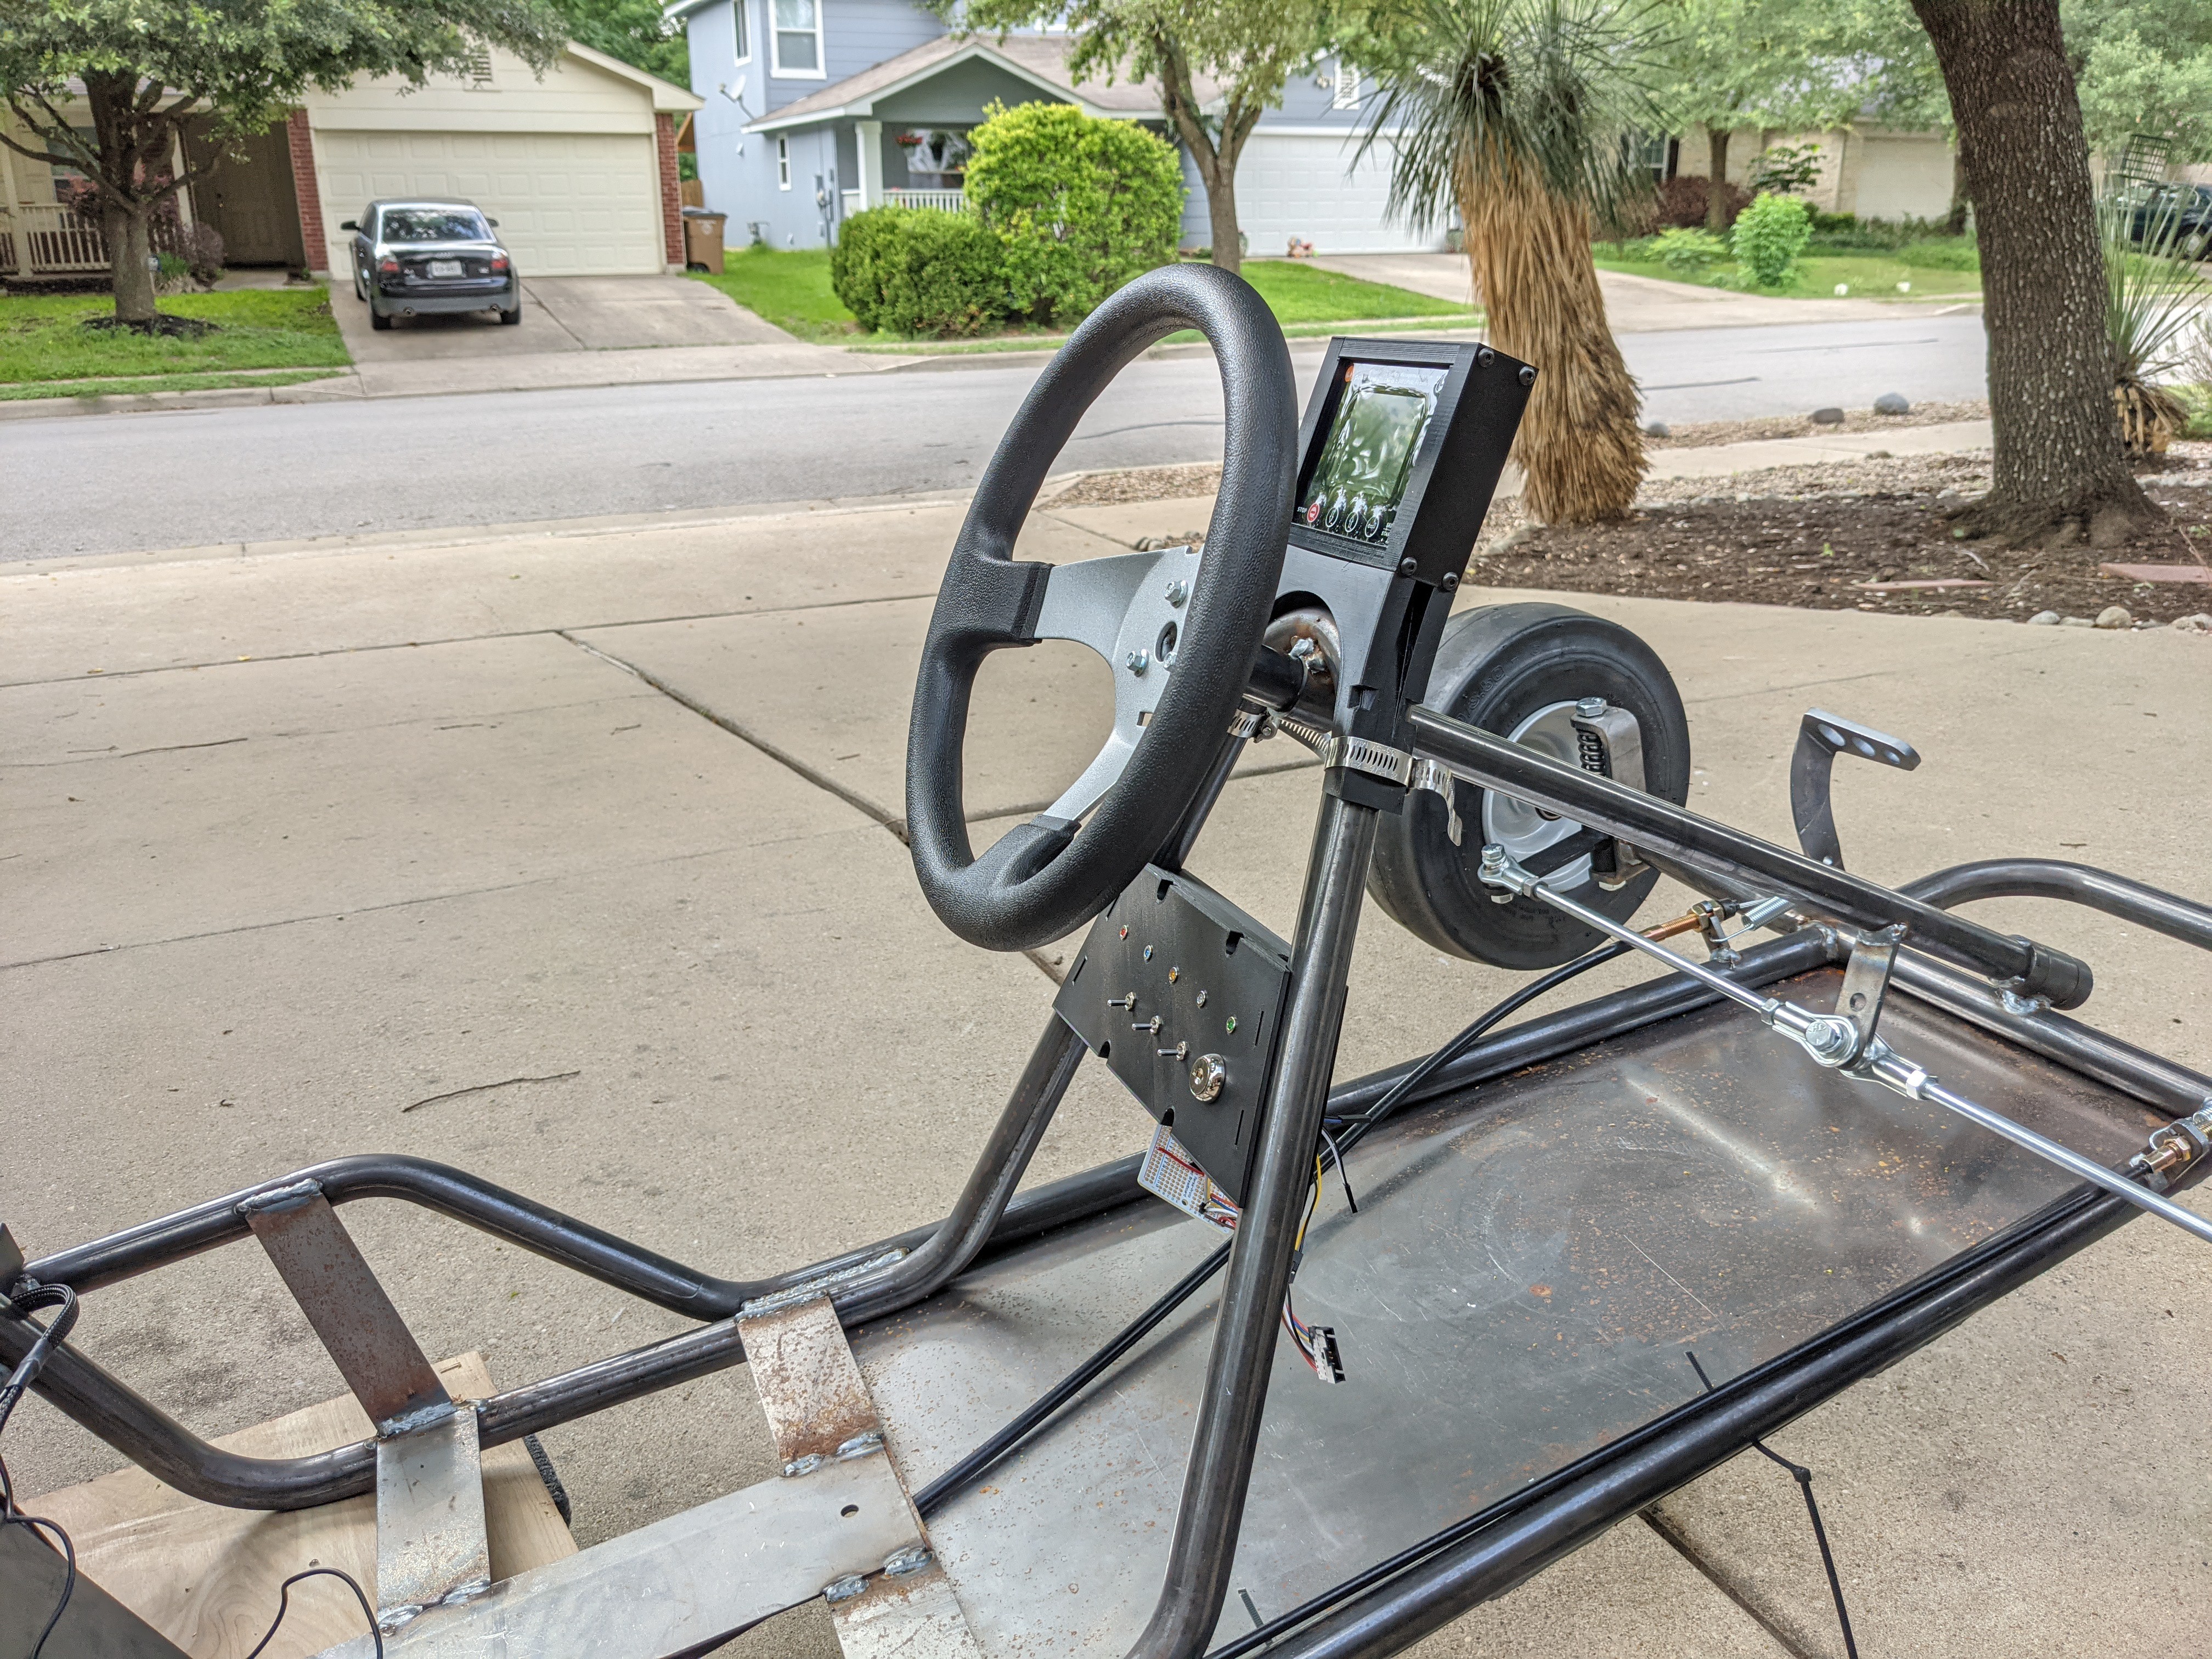
The 3D printed pieces for the control panel and display also arrived with the throttle cable mount and contactor and BMS brackets. I had mostly finished the wiring for the front panel so this was mostly just plugging the LEDs and switches into the holes and shoving all the wiring and board into the back. The display bracket doesn't fit perfectly on the steering top tube but it is good enough. Control panel fits nicely. Both cinched down with hose clamps.
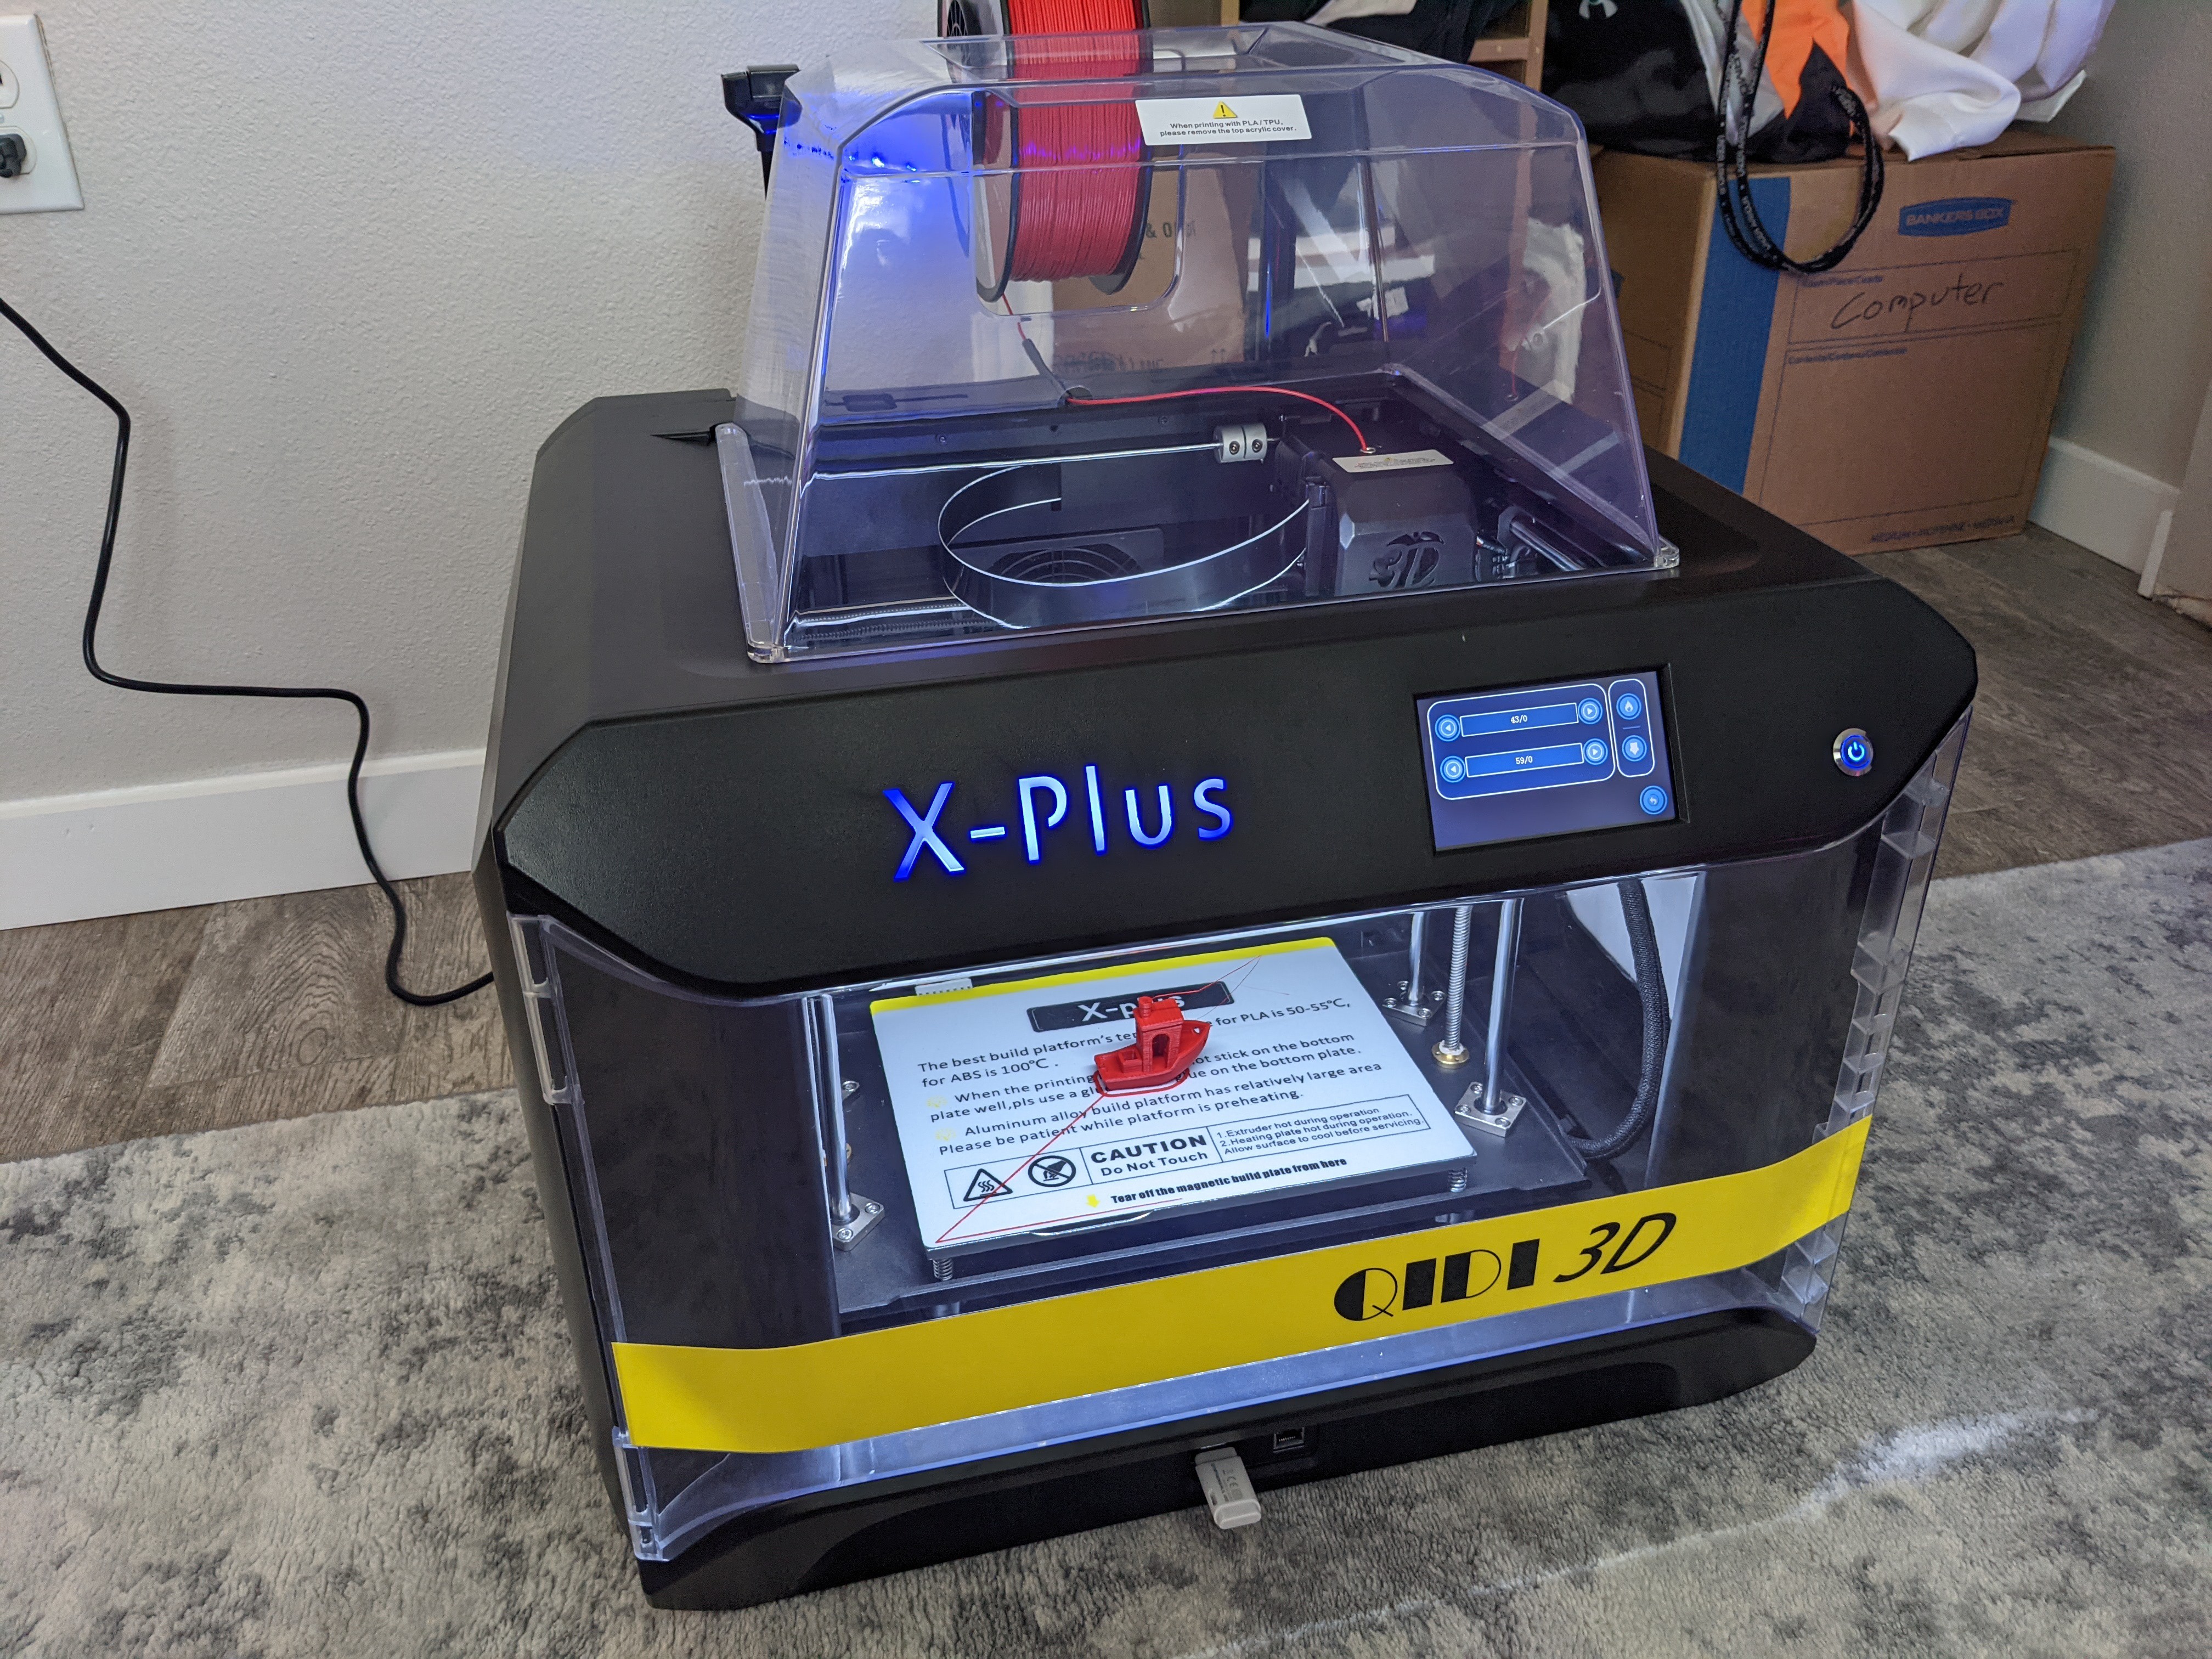
While waiting for the 3D printed parts to arrive I got impatient and purchased my own 3D printer! I used it to print the new battery cradle design.
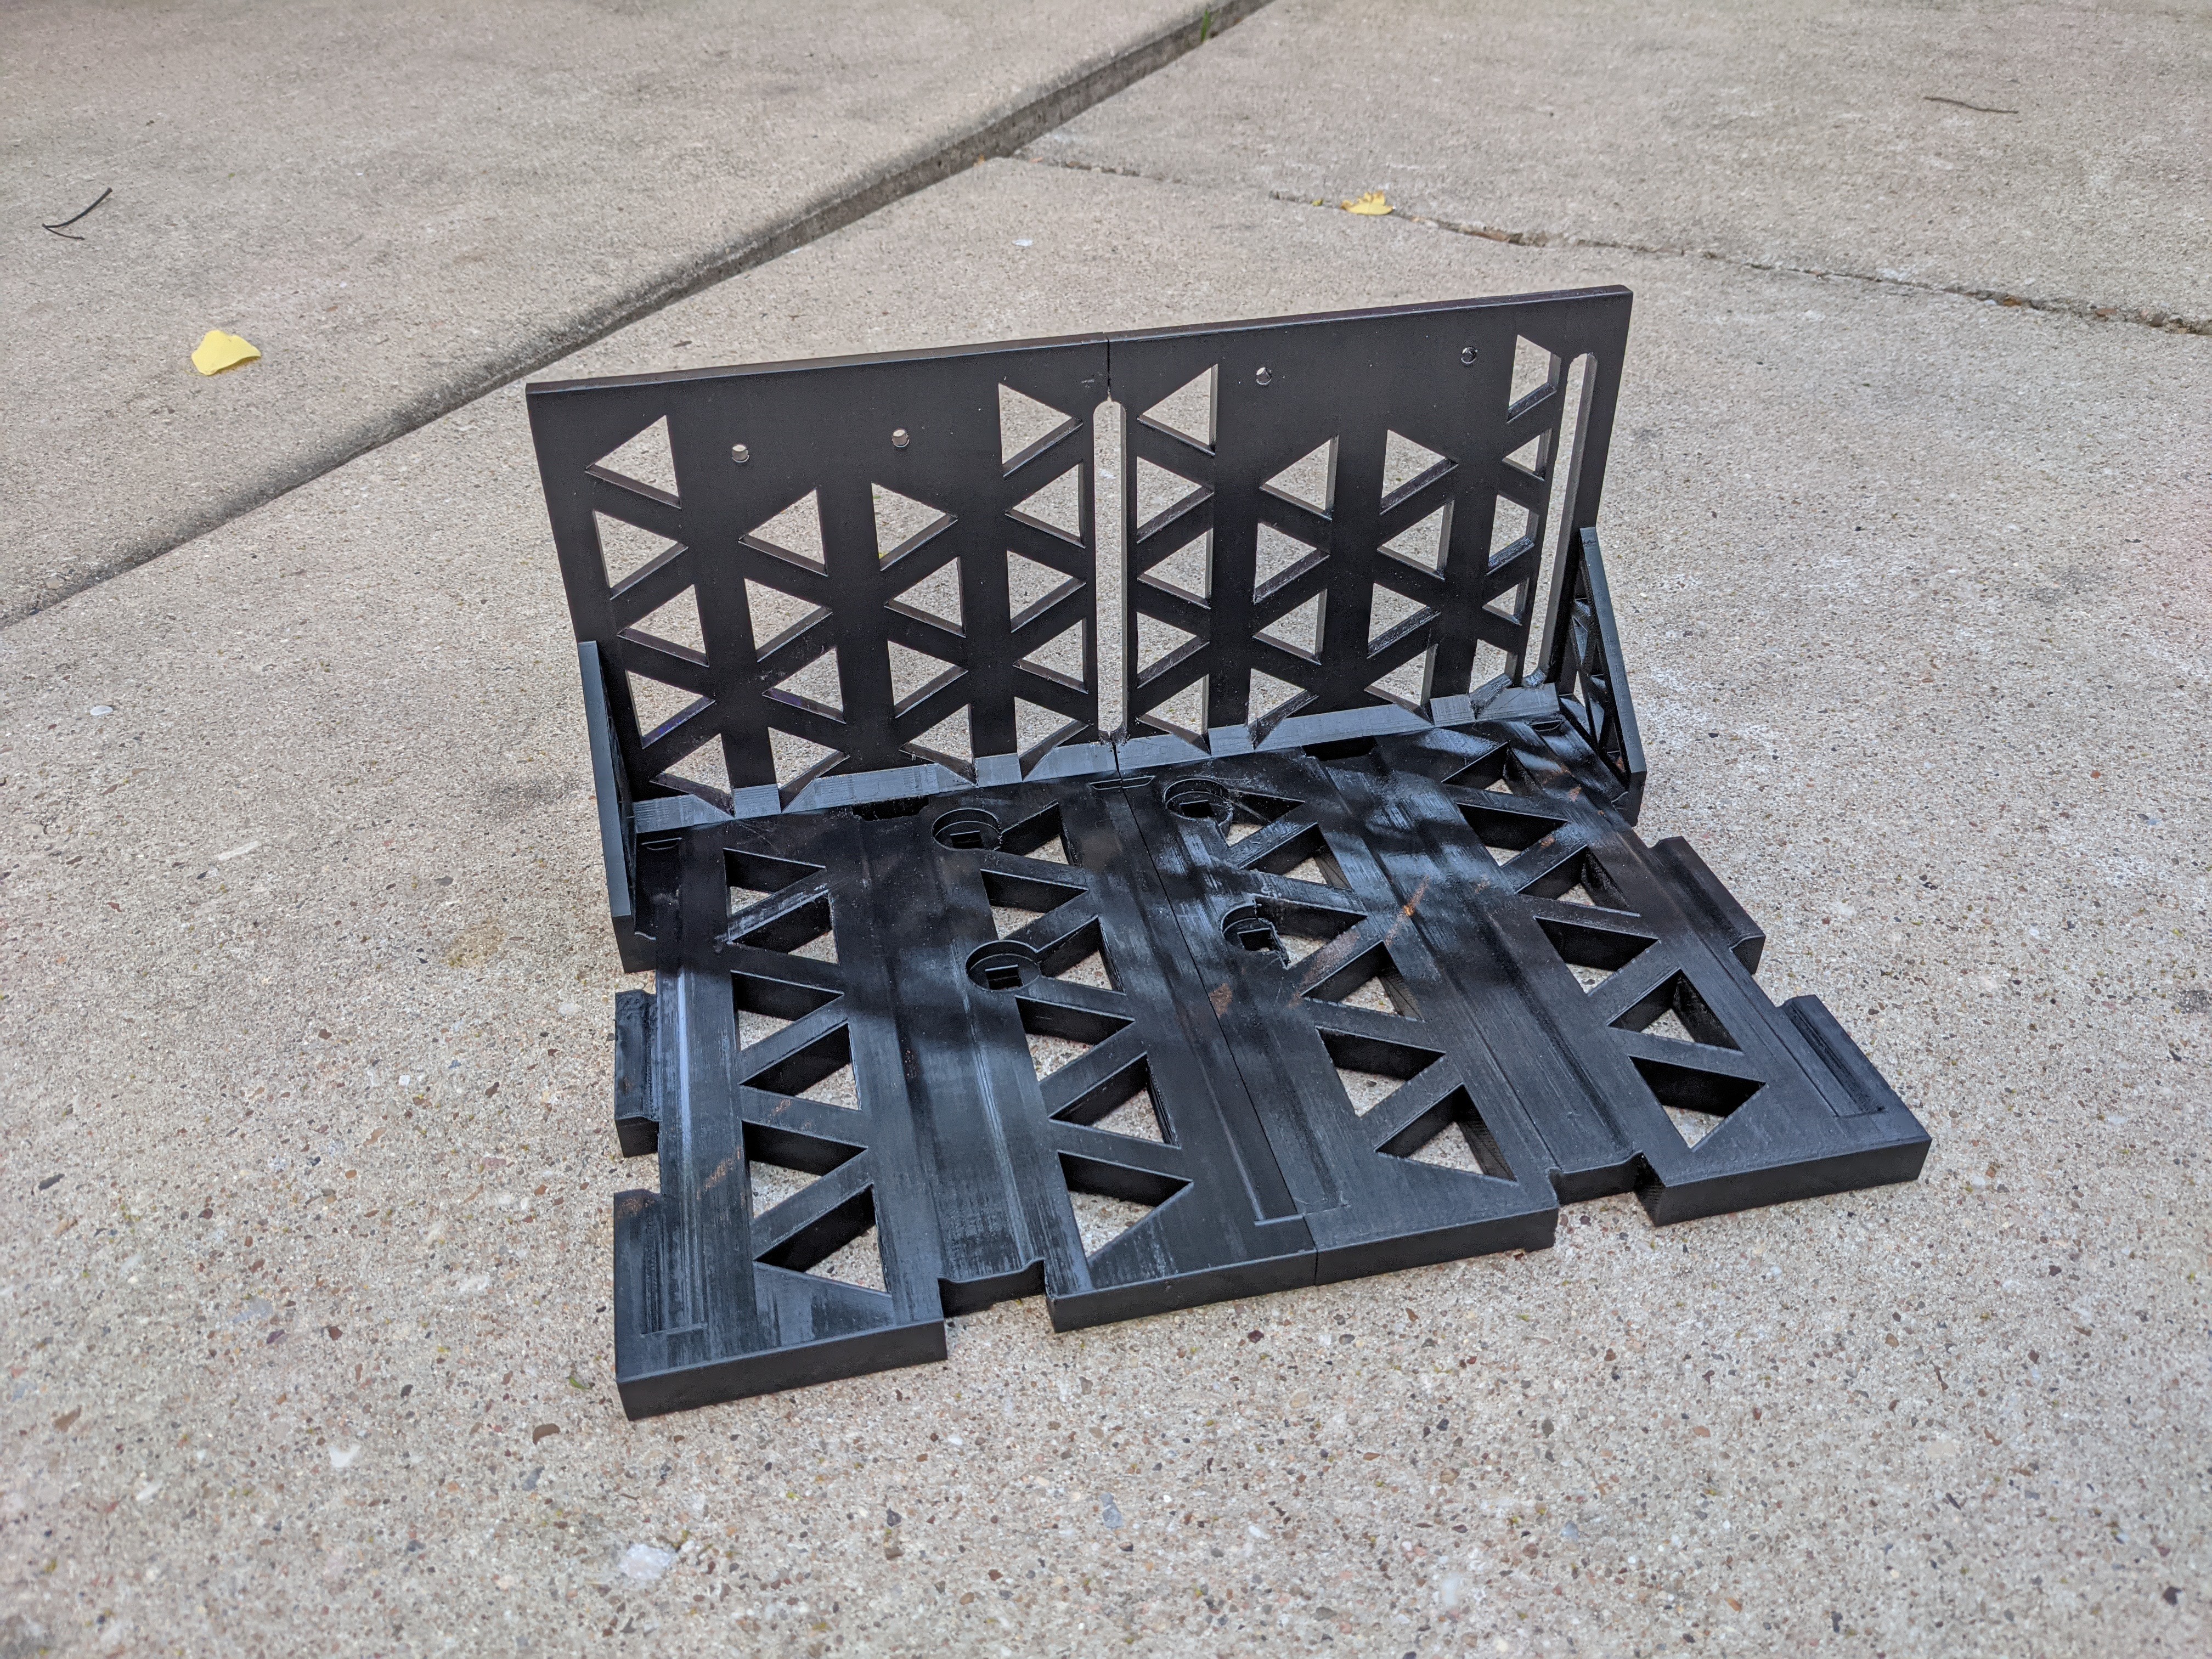
This new cradle design works out a bit better than the box. The battery straps to the cradle with nylon and plastic cam buckles.
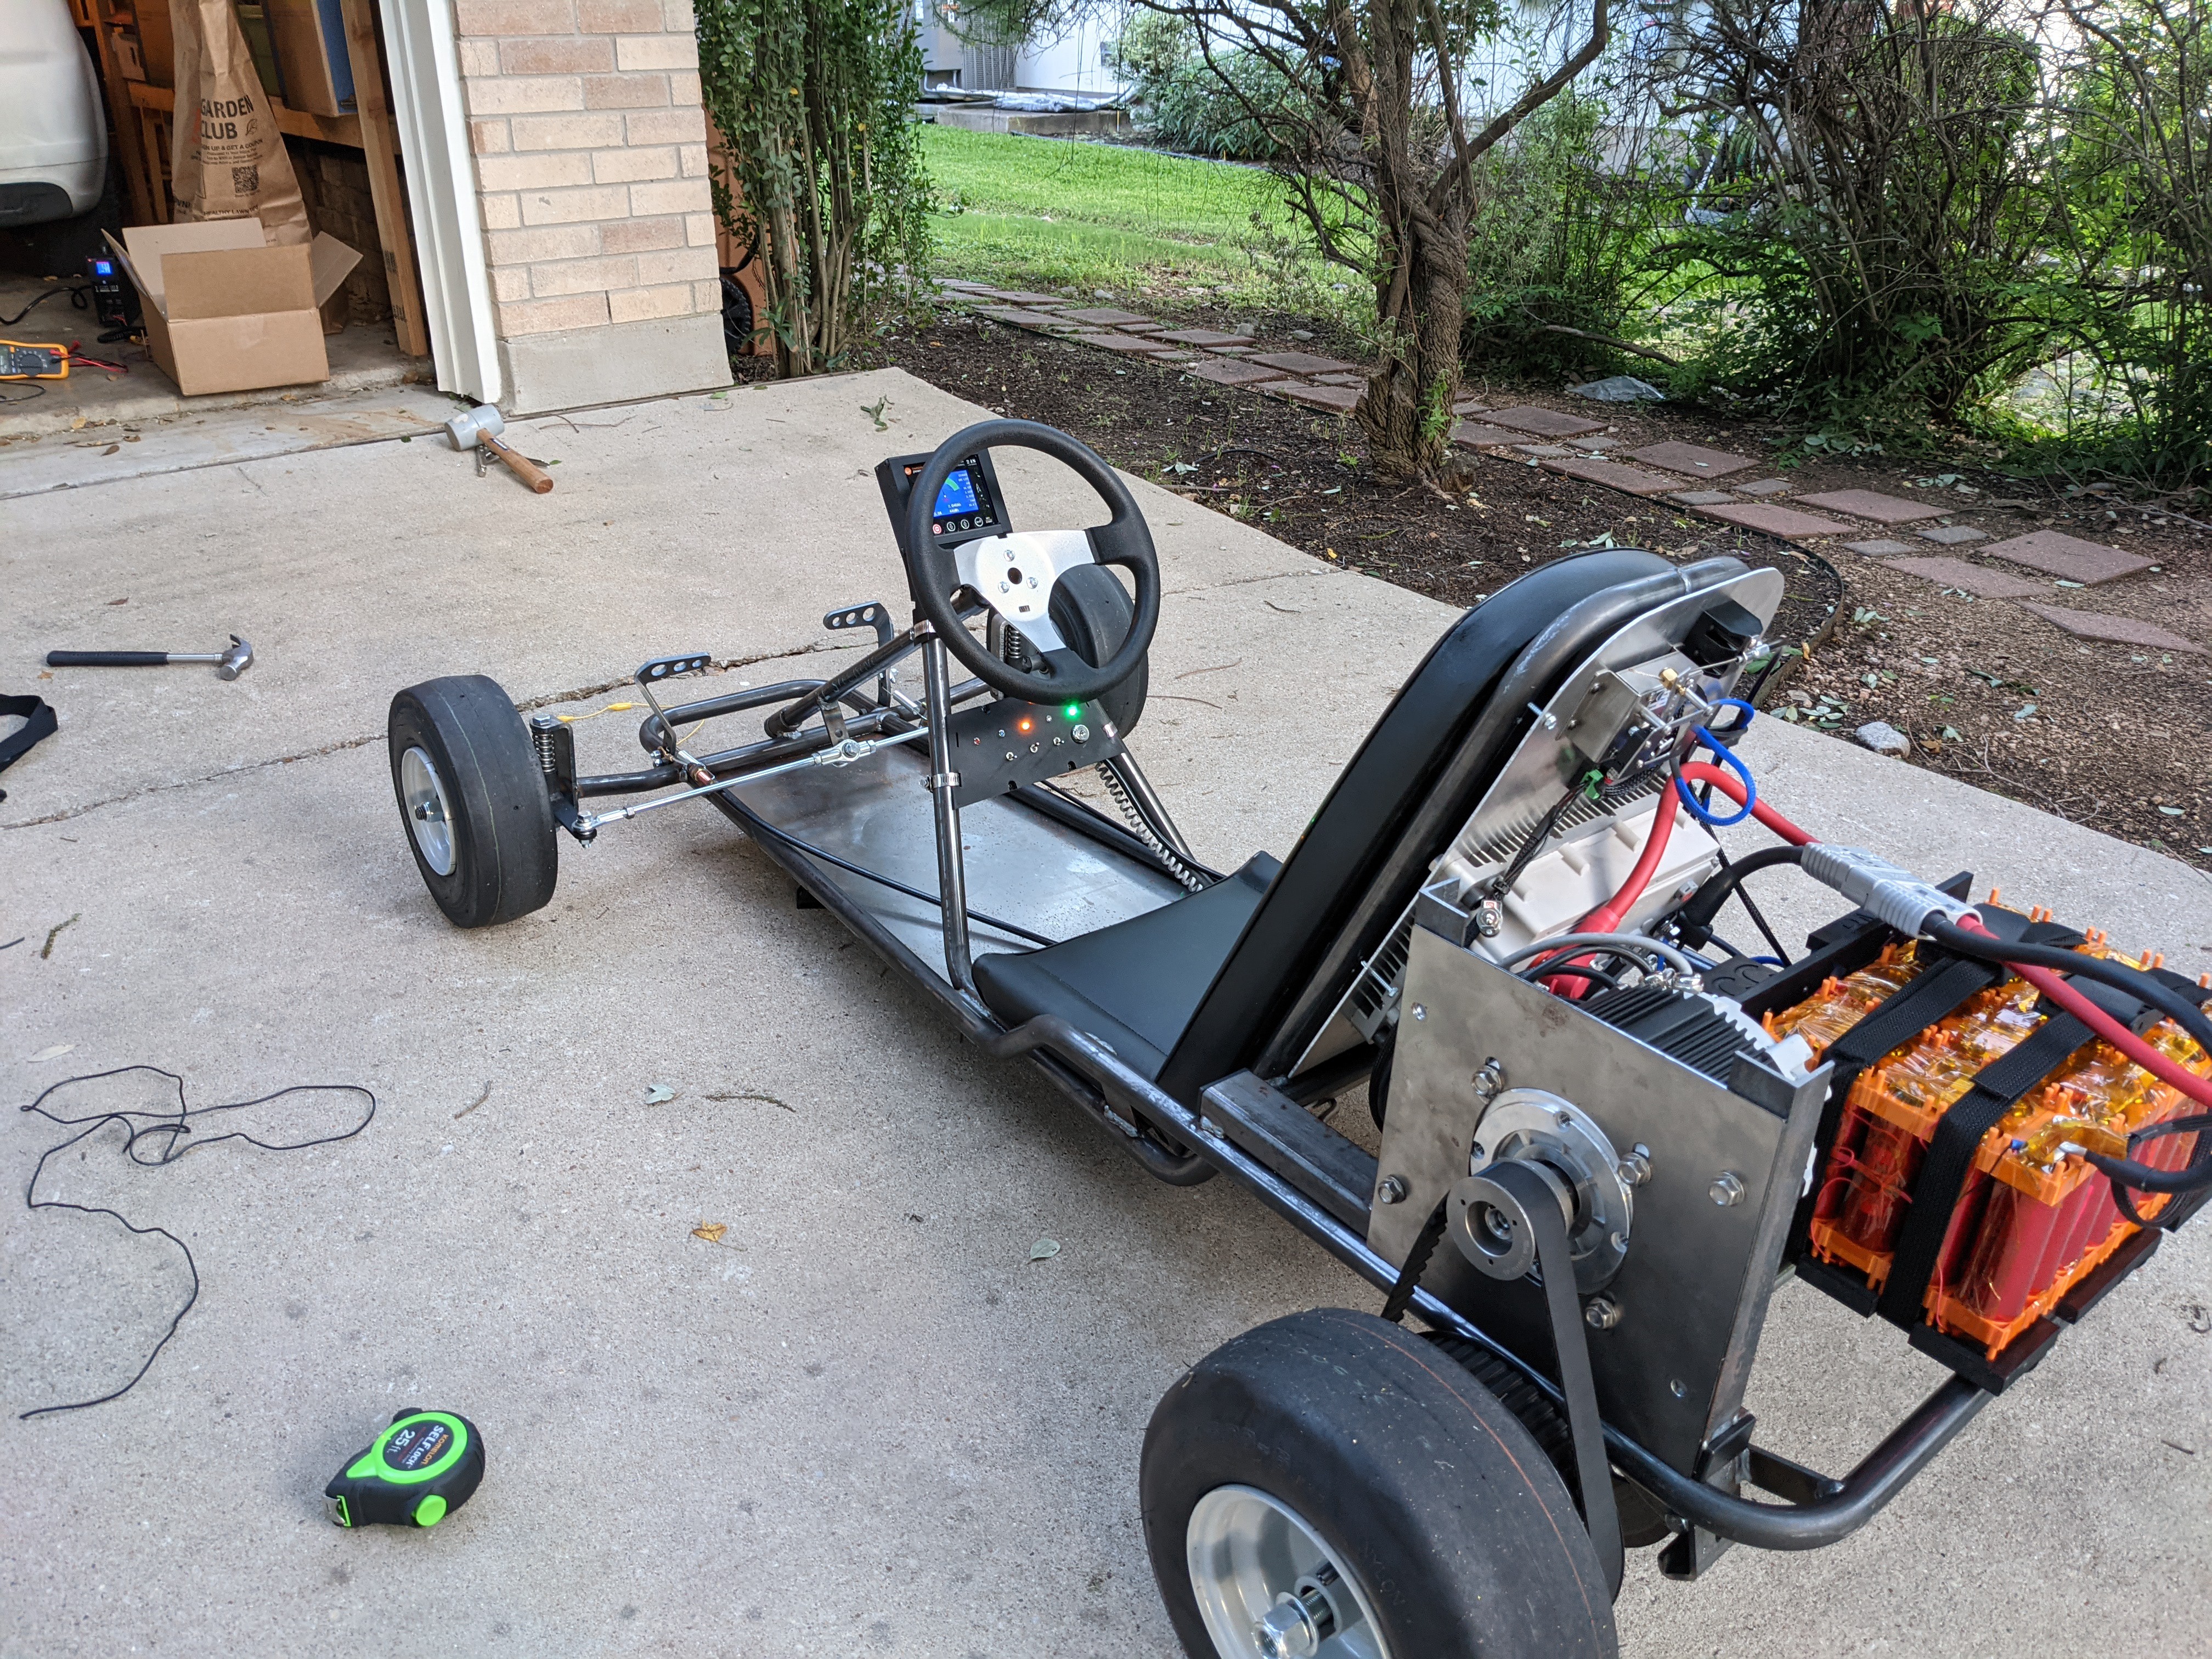
The first drive worked out great. The brakes could use some work and steering is a little twitchy and can be hard to turn at slow speeds. I think this is mostly due to the weight being mostly in the rear of the kart.
Check out the video for some footage of the drive. We've sent the cut off for powder coating and when it comes back we will do a full bill video to outline everything. I imagine that video will be really long and detailed. So, if you've been looking for the ultimate detailed video stay tune for that one!
 Andy Shinn
Discussions
Become a Hackaday.io Member
Create an account to leave a comment. Already have an account? Log In.