Matthew Carlson
-
Update
12/05/2017 at 20:40 • 0 commentsSo after evaluating the time I had left before Christmas, I realized that I wasn't going to get this shipped by Christmas. That said, I took my improvements I had made on the larger board and back-ported them to the raspberry pi zero version. There's some considerable challenges for the CM3 version: battery, heat, routing, etc. I was looking at a four or more layer board and I just wasn't excited about that. So it's disappointing but really close to being done.
-
Unable to Program
06/17/2017 at 17:07 • 0 commentsLooks like I made some mistakes on the SPI lines when I laid out the board and there were some misnaming of some nets. So it's not responding to AVRdude's initialization requests. I soldered a few lines deadbug style in hopes of bringing it up but it looks like it is still a work in progress as it had no effect. I'm going to call it a learning experience to try and make it less discouraging.
-
Block Diagram
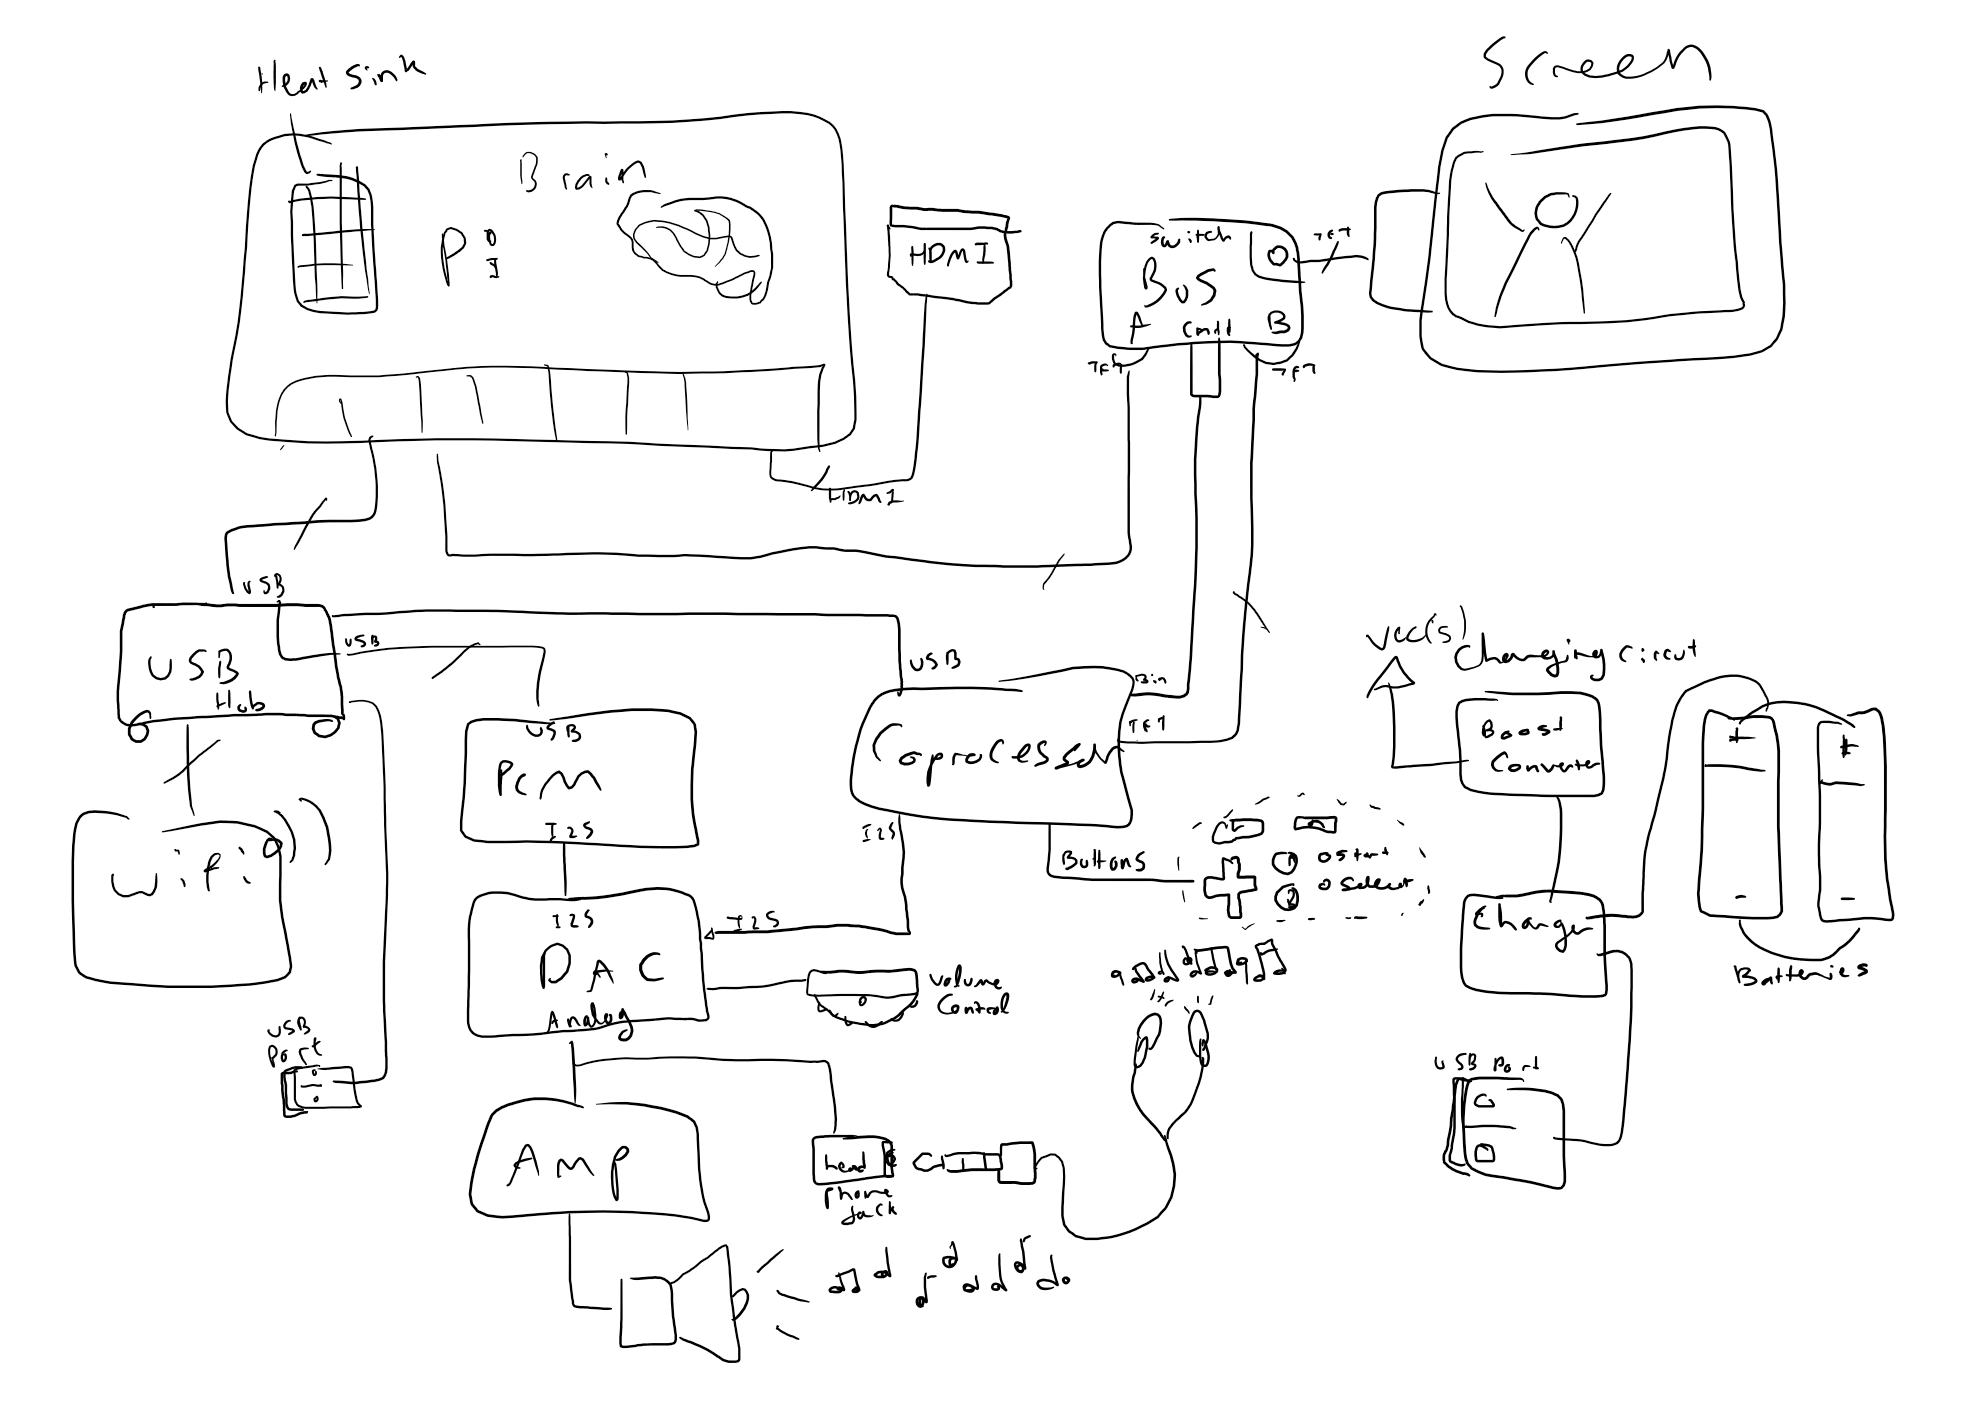
05/26/2017 at 22:53 • 0 commentsI think I'm going back to the drawing board a bit to add some more features. I decided wifi is a must have feature or at least in the future. I also need to figure out battery power issues since I don't know if my chosen battery will be able to do 1.3-1.5A peak much less the .9amps under load. Here's the overall block diagram:
![]()
-
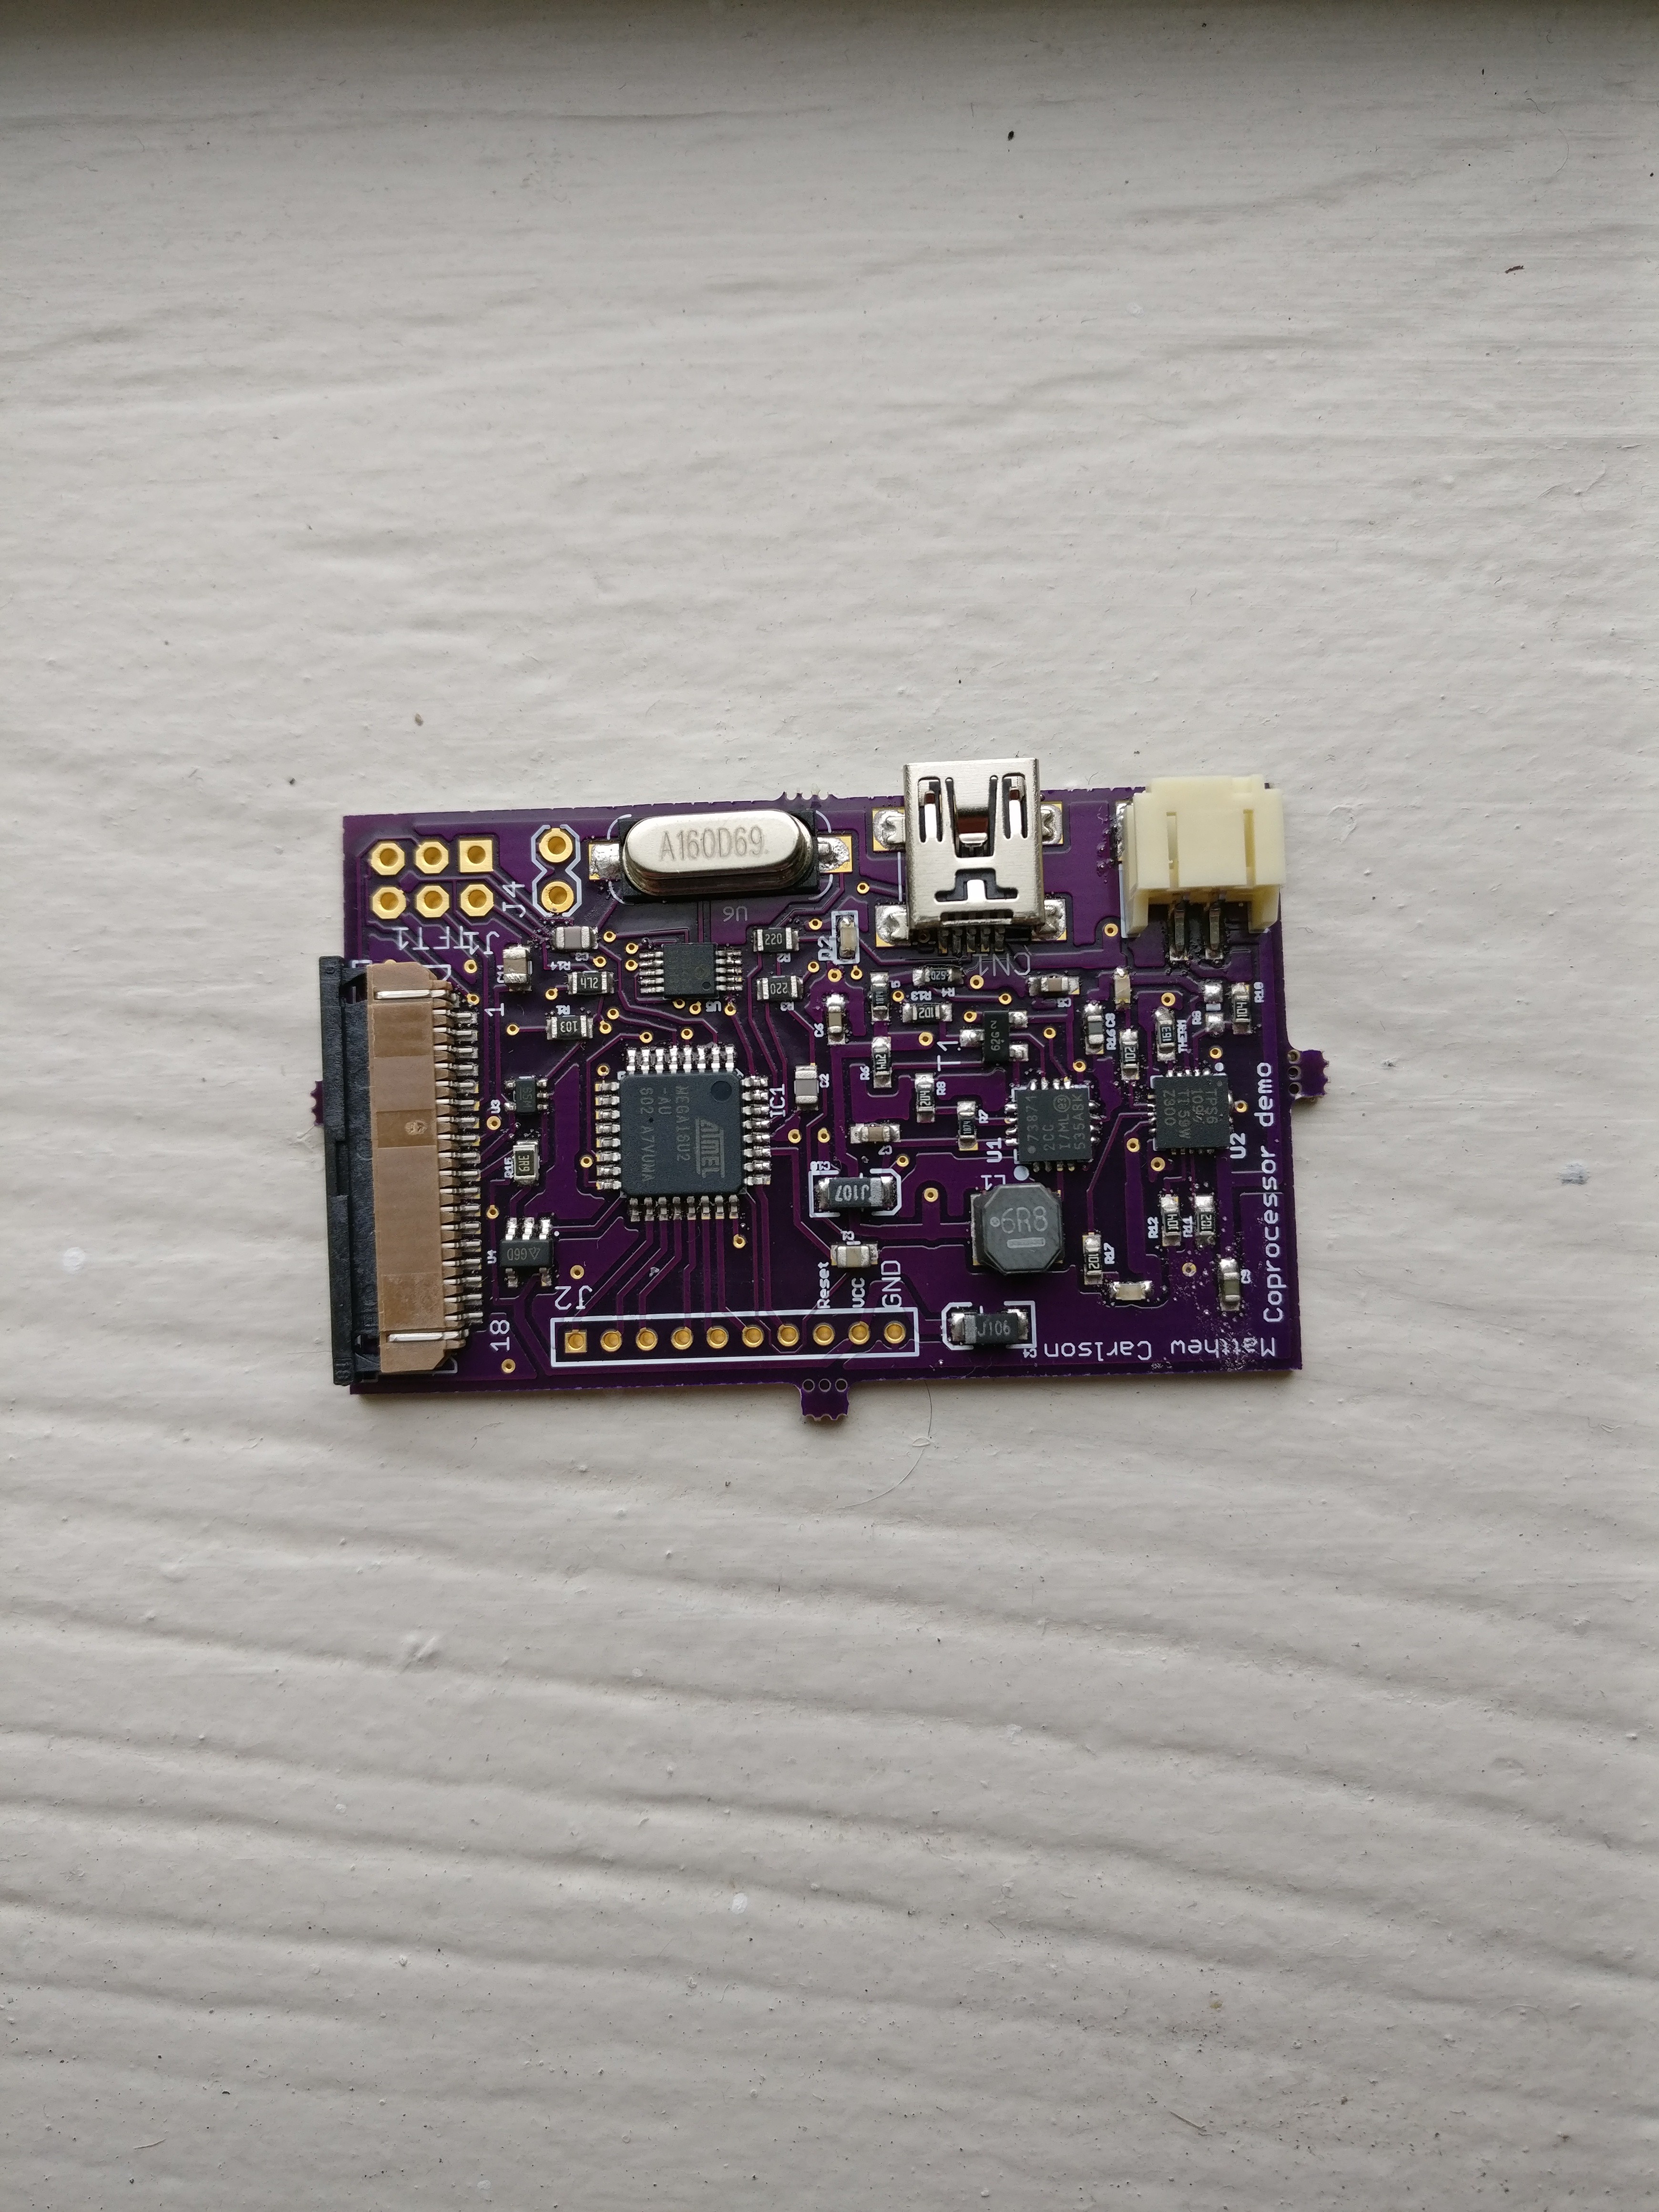
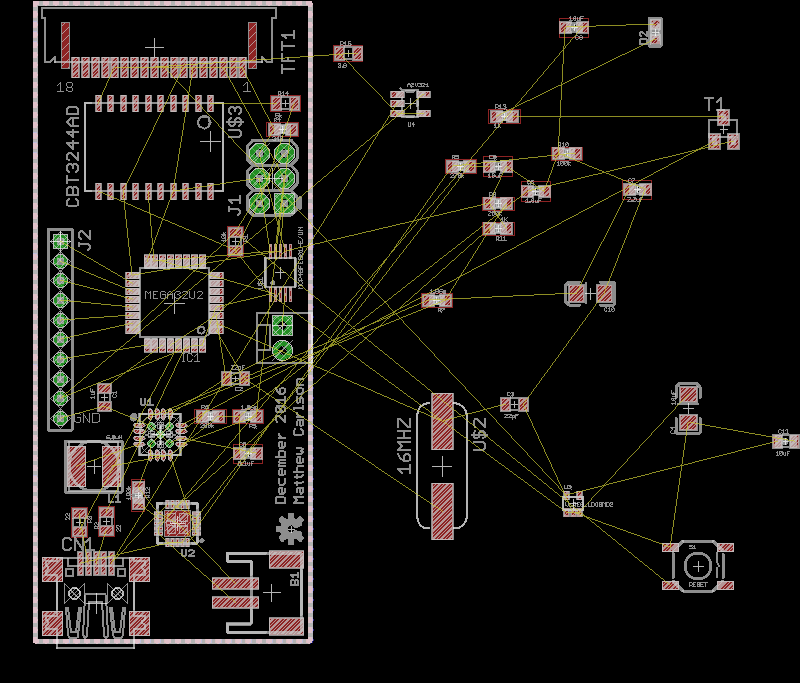
Soldered but with mistakes
05/17/2017 at 00:58 • 0 commentsWell, I guess this is my second ever PCB so I really shouldn't have been so optimistic about it being perfect on the first iteration. The board itself baked beautifully (though in the future I'll be using a stencil).
![]()
The problem is that I seem to have neglected to connect the MOSI line, which means no data out of the programmer. It asks for the header on the chip and gets no response, so it refuses to program. A problem to say the least.
-
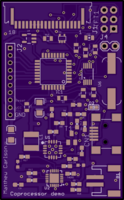
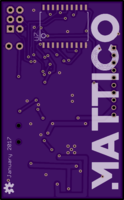
Coprocessor Ordered
04/07/2017 at 21:17 • 0 commentsI sent the coprocessor off to the fab at OSH park and I'm very excited. The coprocessor has almost all the bits that would go onto the Gameboy itself in a smaller 2" by 1.25" form factor so it's cheaper to iterate. For those curious, the Mattico logo is accompany I made up when I was 12 and it has stuck around ever since. There's still some big challenges to face such as heating/cooling, battery life, and frame rates. It is still very exciting.
![]()
![]()
-
CM3 flashed and coprocessor laid out
03/28/2017 at 04:39 • 0 commentsI installed retropie onto the CM3 and I'm running it through some performance tests. I have an old xbox controller I'm using. Bootup timees have been less than 30 seconds, which has been awesome (most zero based builds have a boot up time of about a minute. I think the eMMC module really helps disk speed). My next steps there are to get some emulators installed.
The coprocessor module is completely laid out and routed. I made some 1:1 print outs and have the parts coming from digikey. I might have to adjust the crystal and inductor footprint. I've been looking into OSH Stencils and might order a stencil from them. I have a discount code but I might wait for the whole board to get a stencil. It's only $6.
For reference, the idea behind the coprocessor board is to bring everything that would be on the GBA board normally. I can develop the code and debug any circuits on a breadboard. I'm excited to check the layout and send them off to OSH Park.
As a side note, in the future, I'd recommend ordering a CM3 dev kit from Adafruit. Their prices were much better.
-
CM3 Ordered
02/28/2017 at 00:34 • 0 commentsI've been travelling and on vacation and I'm finally moved into the new apartment. Anyway- so I found that the US element14 doesn't have any CM3 dev kits in stock. So I ordered one from the UK and it should be here in a week or so!
-
CM3 Release
01/17/2017 at 03:15 • 2 commentsThe module 3 has finally been released! I've been waiting a while. Unfortunately. I've been on holiday at the in-laws so only a bit of work has been done. I've revised a few things though and added a few features. I'm beginning to wonder maybe I should eliminate feature creep for good.
-
Progress chugs on
01/03/2017 at 01:36 • 0 commentsI've got the coprocessor test board almost done. The main goal is to be able to program it over SPI, have it charge a battery, control an TFT LCD, emulate a joystick (or more than one?) over USB, and output sound over a DAC.
![]()
-
Coprocessor
12/22/2016 at 17:12 • 0 commentsIt's become obvious that a coprocessor is needed. Some of the functions needed:
- Handle booting up and safe shutdown of the RPi (read battery via ADC)
- Handle button polling and updating RPi
- Display splash screen while Pi is booting (a linux boot screen breaks the illusion)
- Play startup sound via DAC to speaker
The ATMEGA32U2 or 16U2 is an obvious choice as it has a build in HID module that can communicate over USB.
PiBoy 64
A Raspberry Pi Compute module based emulator inside of a GameBoy advanced