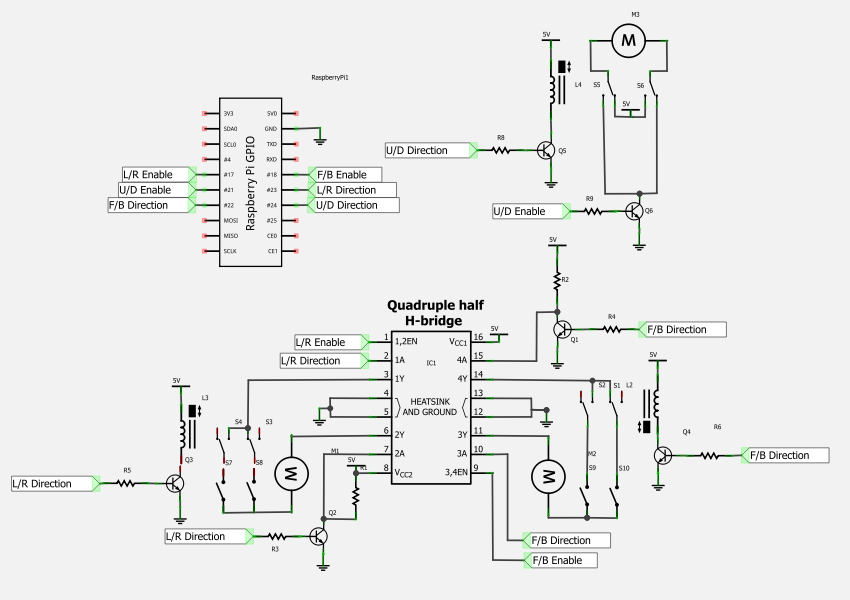
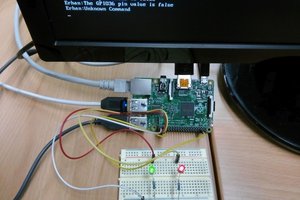
The web page is split into three parts: A title bar displaying the makerspace logo; a web cam stream and a control panel. To make the webpage quickly I've used frames, so it may not look too good on all browsers etc. The logo image and index.html need to be in the folder /var/www. this is because the image is server up using apache2 and the rest is done by webiopi.
The index.html in htdocs must be edited with the IP address of the Pi you are using. Port forwarding could be set up to view this webpage in the wild.
Webiopi Control Panel
The code required to display the Control Panel buttons and control the Raspberry Pi's GPIO pin states is written in an HTML page using JavaScript and CSS. The '/webiopi.js' (the Webiopi client library script) is included in the <head> section along with the custom script to create the buttons and their behaviour, and the CSS that defines the button and text colours and dimensions. The Control Panel HTML that is generated from the JavaScript is appended to a <div> tag with an ID named 'content', and this <div> tag is placed in the <body> section of the page. The <div> tag remains empty until the page is loaded on the client web browser. When the client loads the page, the HTML content is loaded dynamically via the JavaScript instructions.
We based our initial Control Panel design from the rather succinct but comprehensive example on the Webiopi wiki.
Following on from this, we were able to customise the functionality to suit our own purpose by using the sensibly laid-out Webiopi JavaScript and CSS references.
...and we finally ended up with the HTML for the Control Panel
All of the files required are attached to the project page.
This needs 3 packages, WebIOPi, mjpg-streamer and Apache, then a webpage creating and the start-up configuration. The WebIOPi handles the interface from the website to the gpio of the Raspberry Pi, the mjpg-streamer takes the stream from the webcam or Raspberry Pi camera and sends it to the webpage and Apache runs the webpage itself.
The original toy had 2 motors to control the gantry and a third to control the height of the grabbing claw. The gantry had limit switches on each of the sides. this was al controlled by three switches mounted on the front panel of the toy.
To interface the Raspberry Pi to this grabber machine, we need to control these three motors and use the 4 limit switches to move the gantry.WeI've used a L293 driver ic with 1 relay for each axis to switch over the limit switches for the gantry and a relay and transistor to control the grabber movement and direction. I could have used another L293 to do this, but I only had the one. The relays are all driven by transistors, some BC547s.
The limit switches were wired in series with the motors, these were swapped over by the relays depending on the direction of travel.