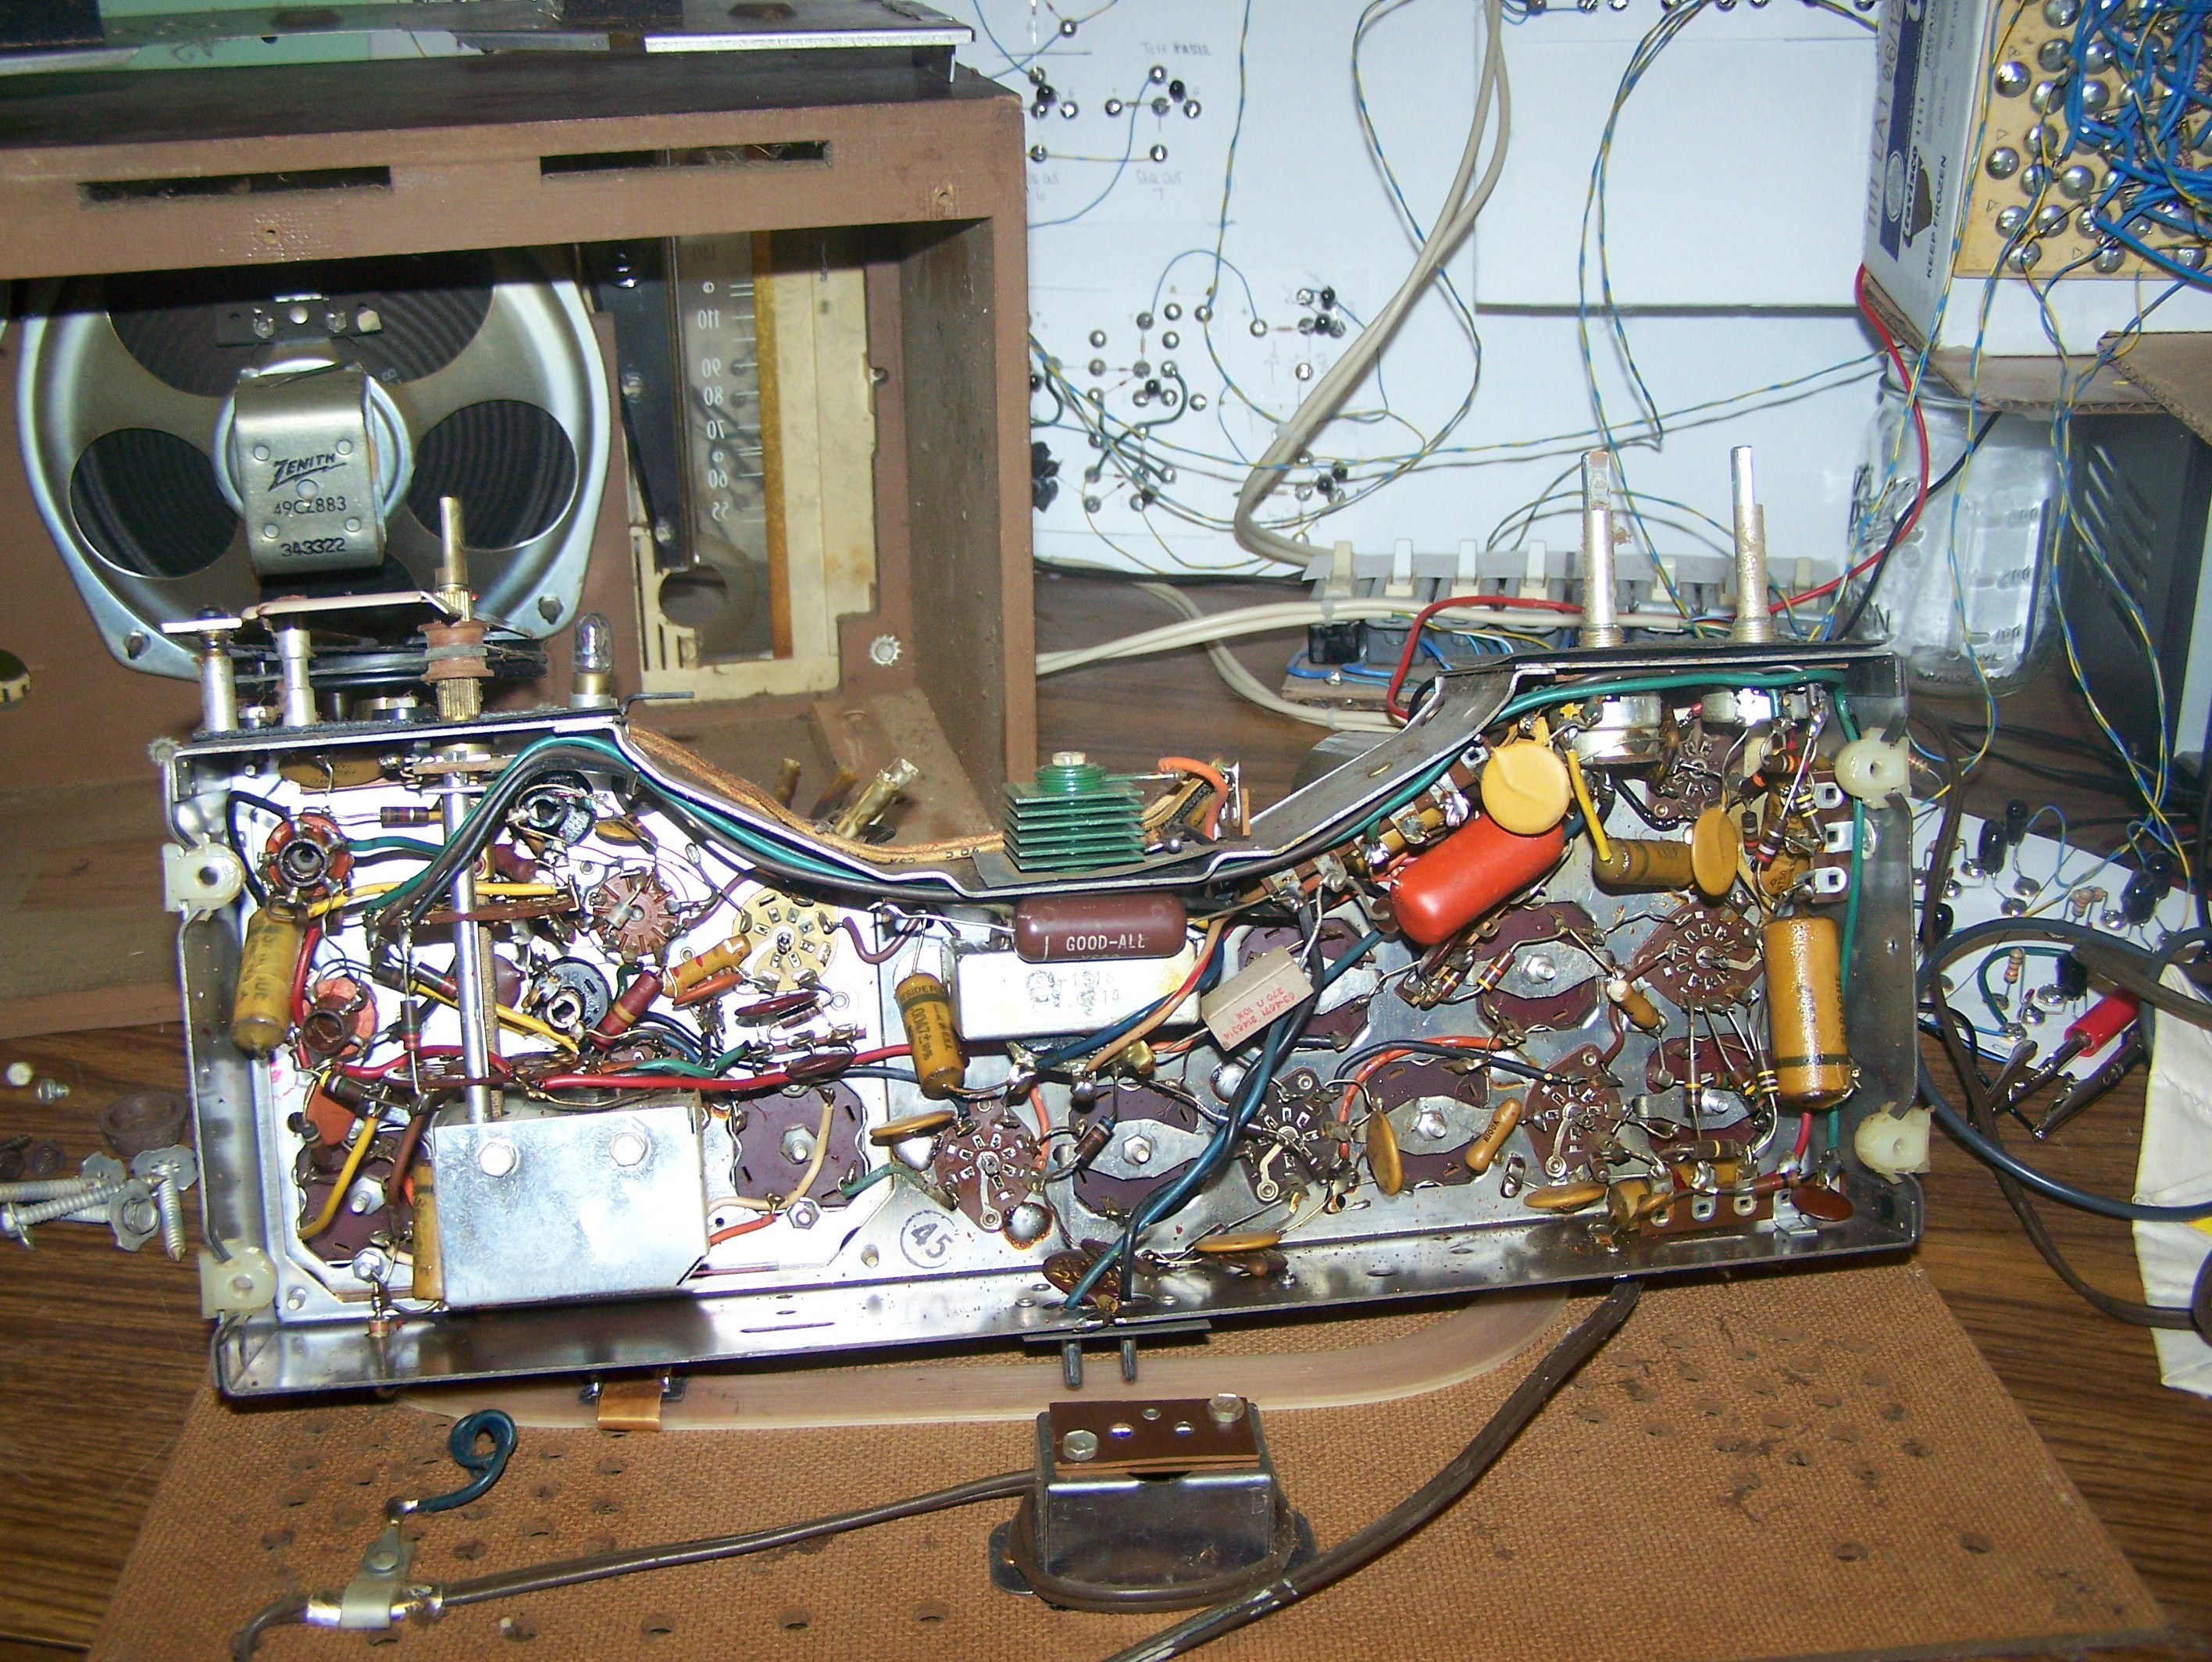
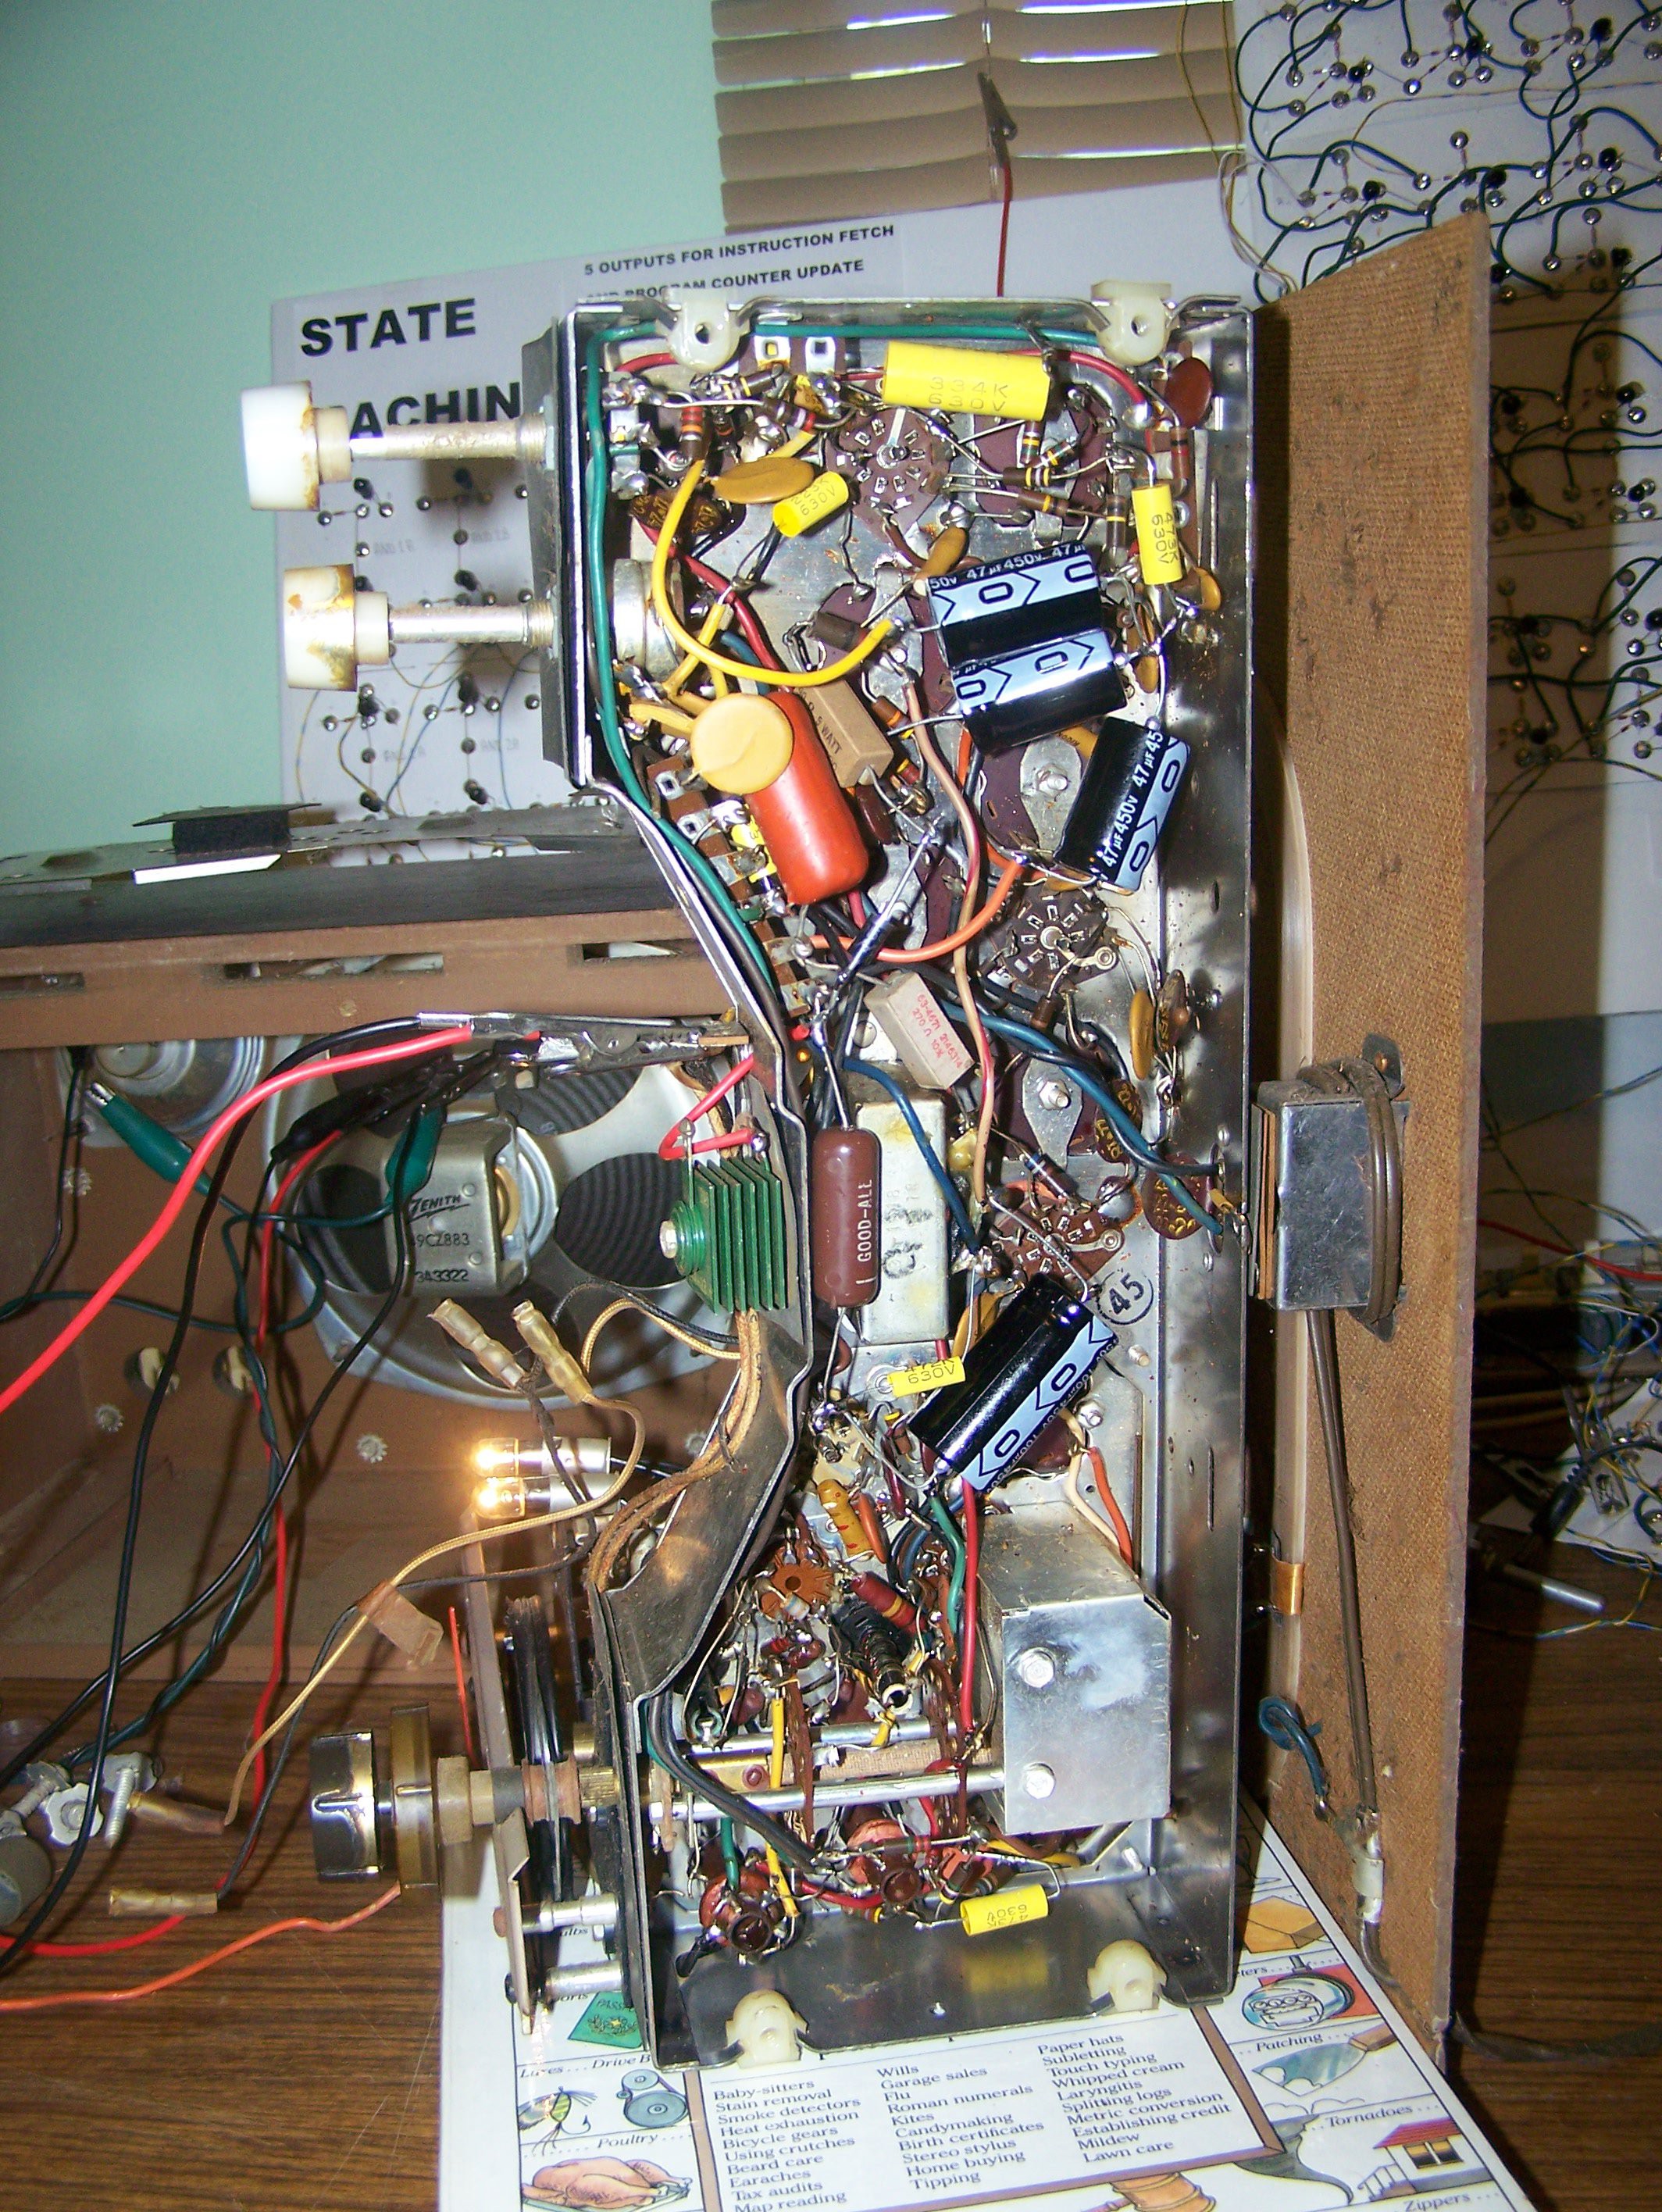
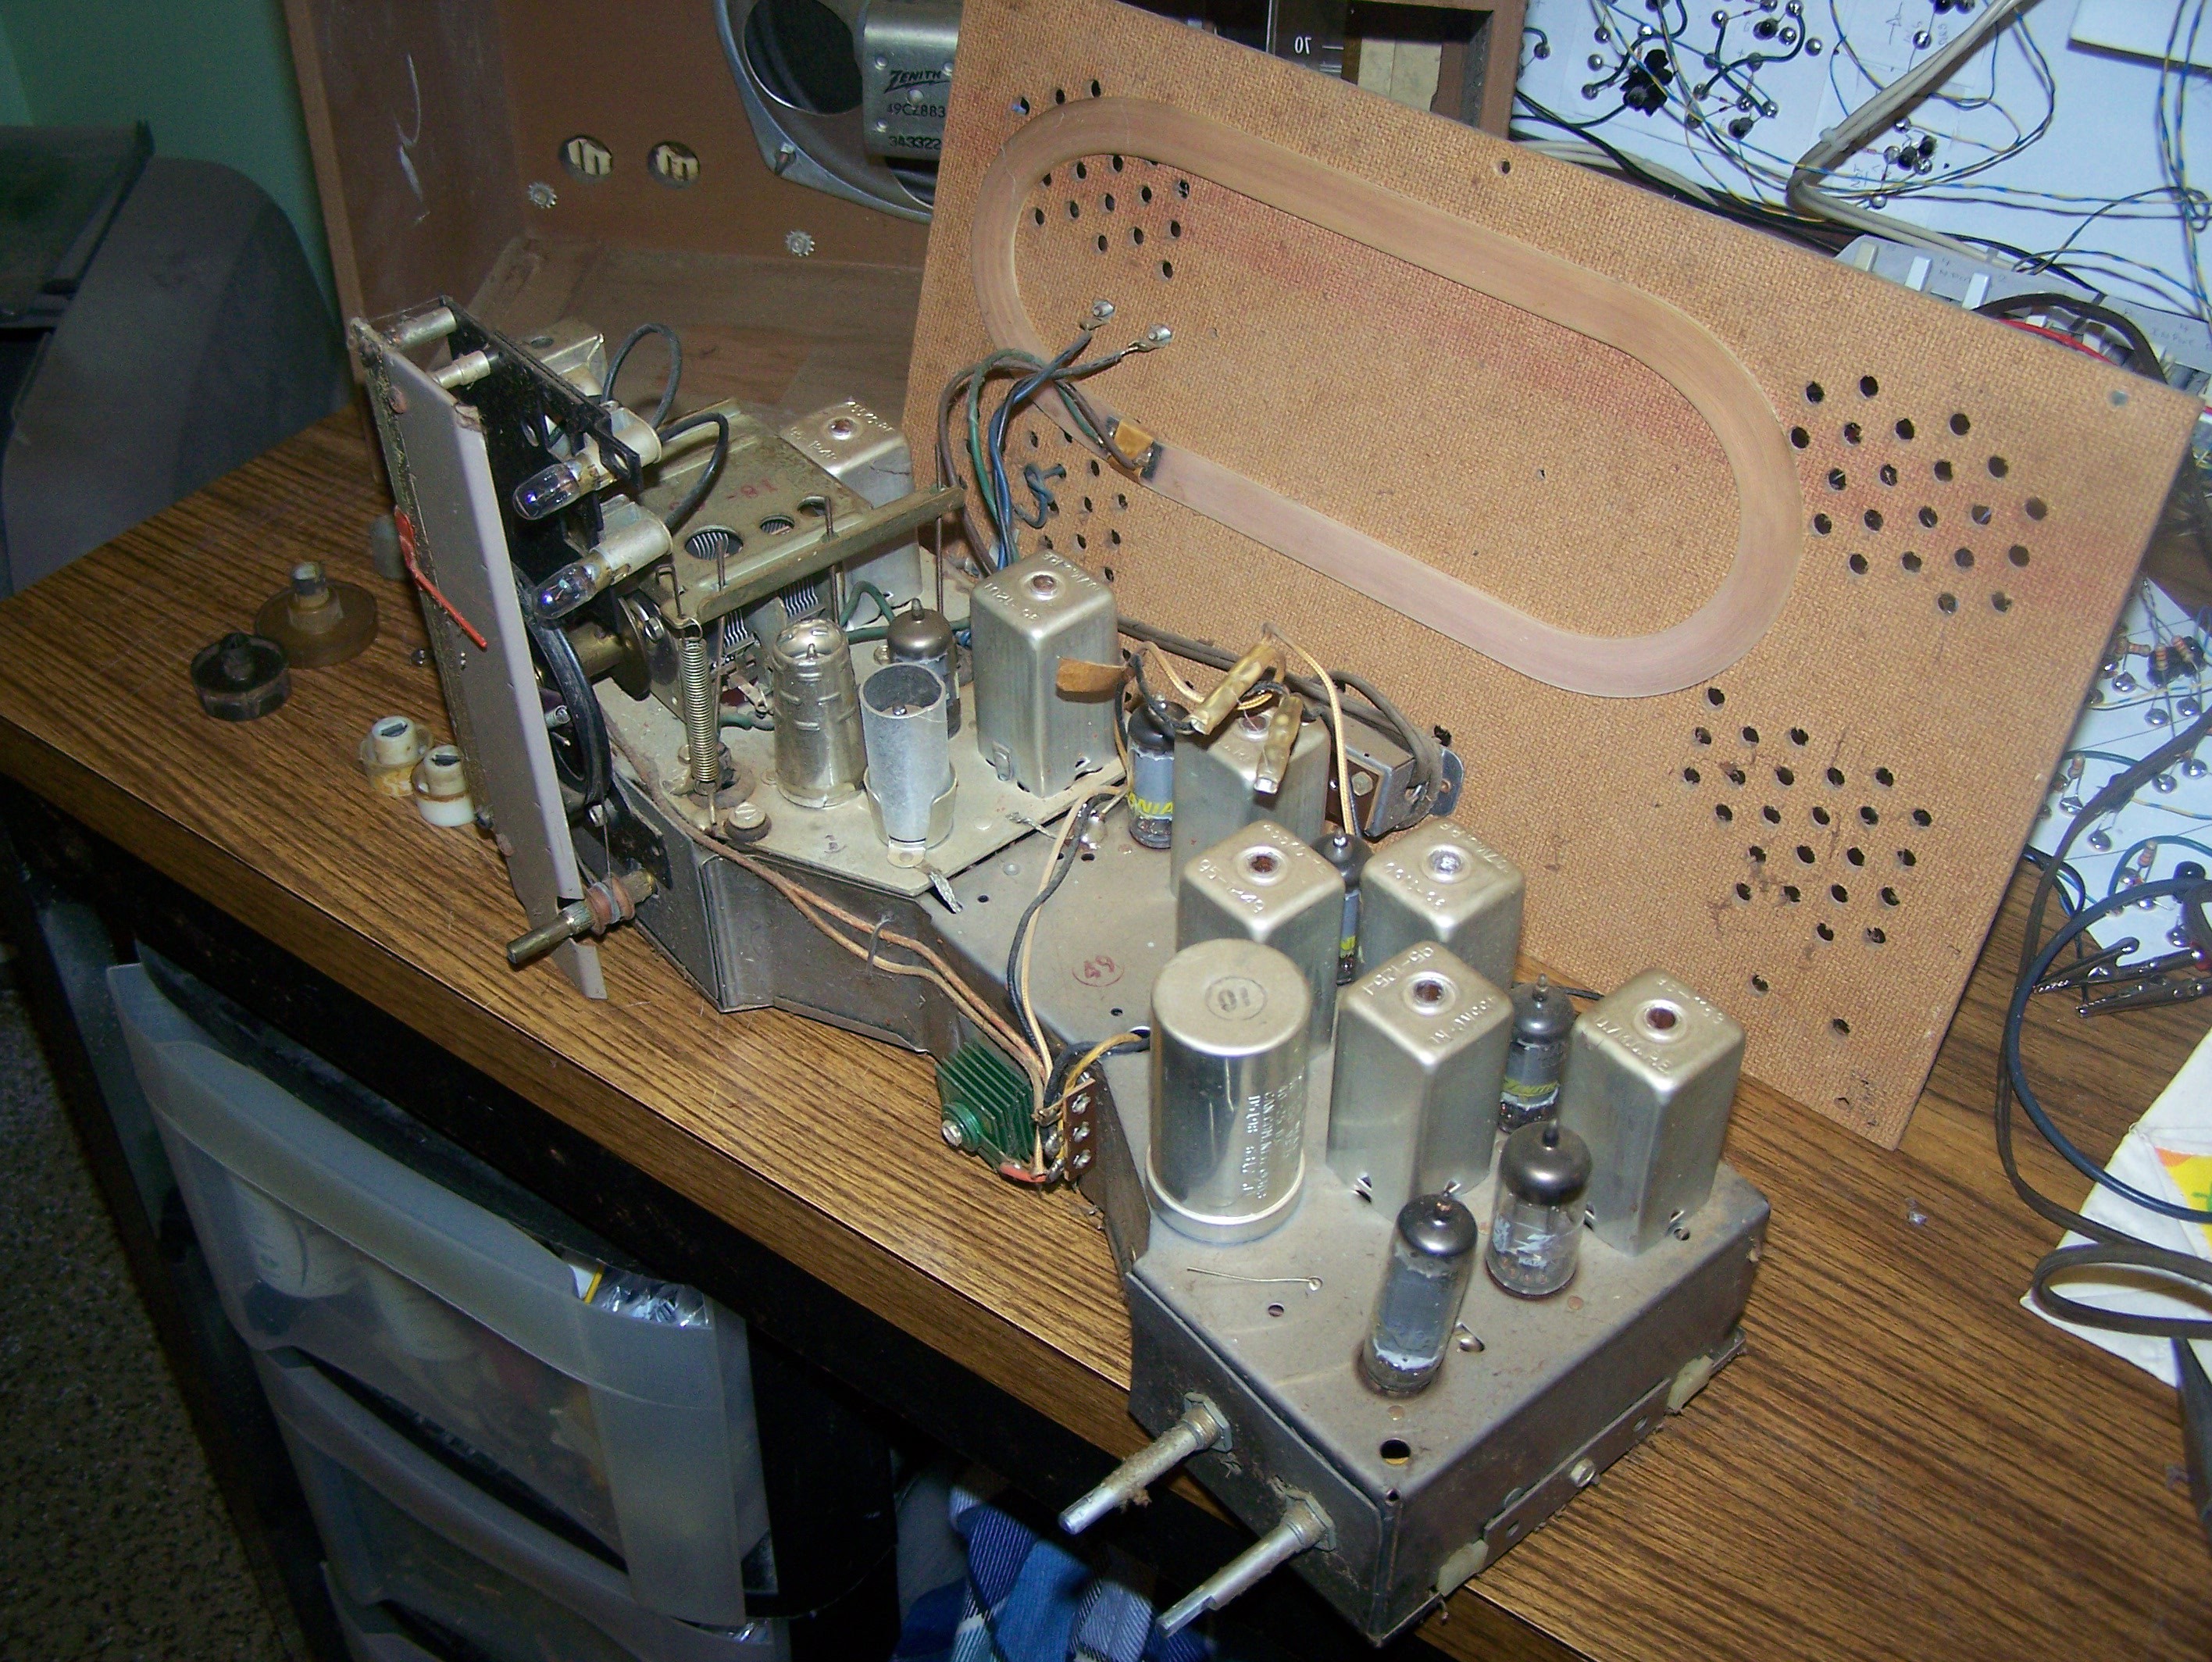
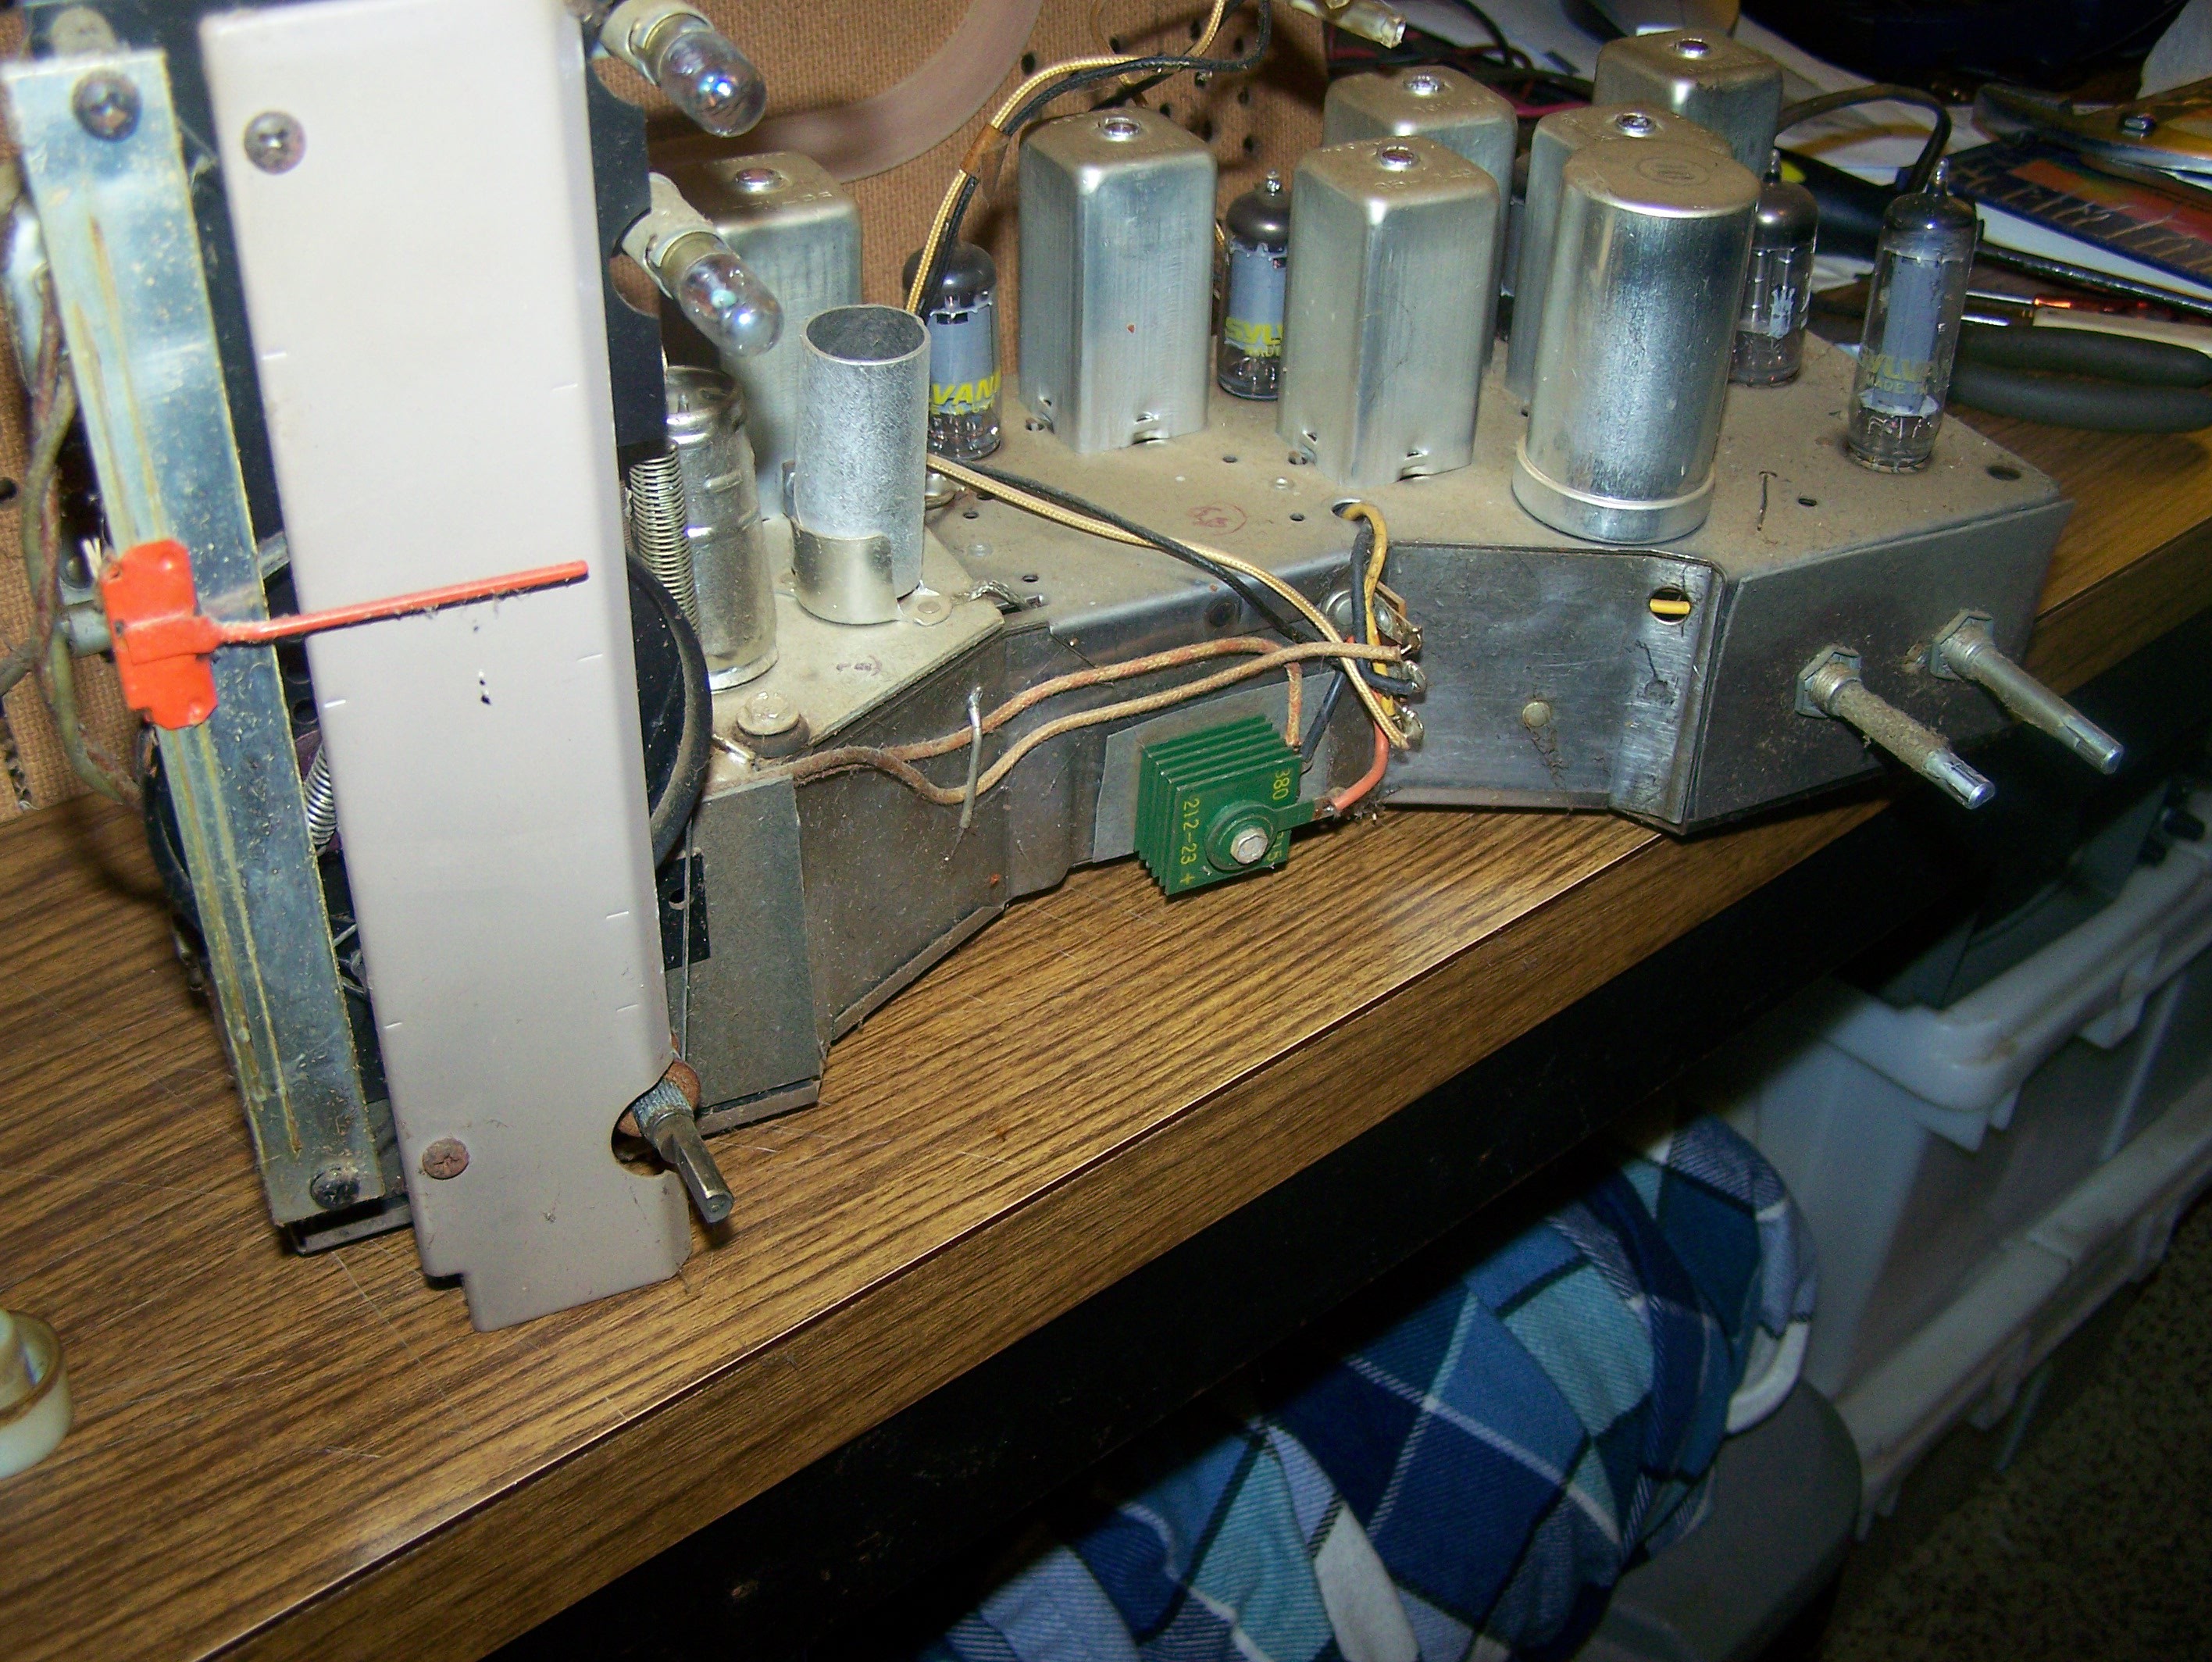
A little ( yeah right ) restoration radio project
To make the experience fit your profile, pick a username and tell us what interests you.
We found and based on your interests.
Just some images of how the chassis wiring looked before and after the caps were replaced as well as the rectifier diode and added resistor.
Before with the waxy caps.... and then after with the metal films and electro caps in place. Bypassed the selenium rectifier and added a hefty diode and added 90 Ohm resistor.
Trust me, it now sounds much better than it did before :-)
Yay, the parts for this project arrived yesterday from AES. Now I can start burning my fingers on my somewhat trusty cheap soldering iron. I will add the parts to the component list later but for now here is the packing slip. The #45 lamps were a box of ten so now I have extras as I only needed two.
Just a short clip to show that this radio does play prior to restoration. Lets hope it sounds even better after.
Well now, lets see what we have here. Generally a clean chassis with no signs of rust. Some dust and a couple of cob webs but looks good. Some tubes have been changed over the years as three Zenith tubes were replaced with Sylvania types. The Selenium rectifier is going to have to be replaced with a modern and safer diode and the pictures show all the waxy paper caps to be replaced on the under side.
Create an account to leave a comment. Already have an account? Log In.
I'll always remember the Elektor project that was an add-on to a transistor radio to simulate the hum and fade in at power up of a valve radio. 😜
Hey Ken, never heard of that project. Can't say I would go to that level to add to a transistor radio but cool that someone would try that :-)
Hey Keith. Well, I am old school to the degree that for older/vintage electronic equipment such as this receiver, I prefer to replace the least amount of components and in this case that would be the waxy paper caps and the selenium rectifier. Might keep the selenium mounted for looks even though it is well hidden. I would rather keep things as original as possible including the outer wood case as it is in decent shape and just needs some careful cleaning. Tubes are all working but due to not having my vacuum tube test gear any longer I will just use the tubes it already has as it sounds quite good except for contact noise. I can find NOS online if I need. No Raspberry Pi for this baby :-D
The CA3080 is out of production anyway. All the circuit does is use a couple of variable gain amplifier stages to mix in diminishing mains hum and increasing audio from the demodulator. But I doubt if any people are keen on this circuit concept now. Maybe not even then. Elektor used to publish a joke circuit now and then. This is not one of those but close.
Ah here it is: https://www.elektormagazine.com/magazine/elektor-198399/45255 I have a scanned copy of the article with schematics but I think Elektor would be upset about copyright if I attached it. However I can say that the transconductance amplifier is the CA3080 chip. I'm sure someone keen can devise a work-alike.
Thanks Ken for the info but when I saw that I had to be a Green or Gold member and the price of 71 Euros just so I could download/read the article I just could not swing the price. But thanks for the article link anyway :-)
Hey Doc, what a wonderful radio set! Wish you gook luck with the restoration.
Thanks, I used to have a very big collection of radios and wireless gear back in the 80's but sadly sold them all. This set might bring back to me the fun of working with vacuum tube radios once again. Been a while since I worked with one hand behind my back ;-)
Just to add, I did power it up as is and it sounds very good but a lot of noise on the controls as I would expect after sitting a lot of years.
Become a member to follow this project and never miss any updates
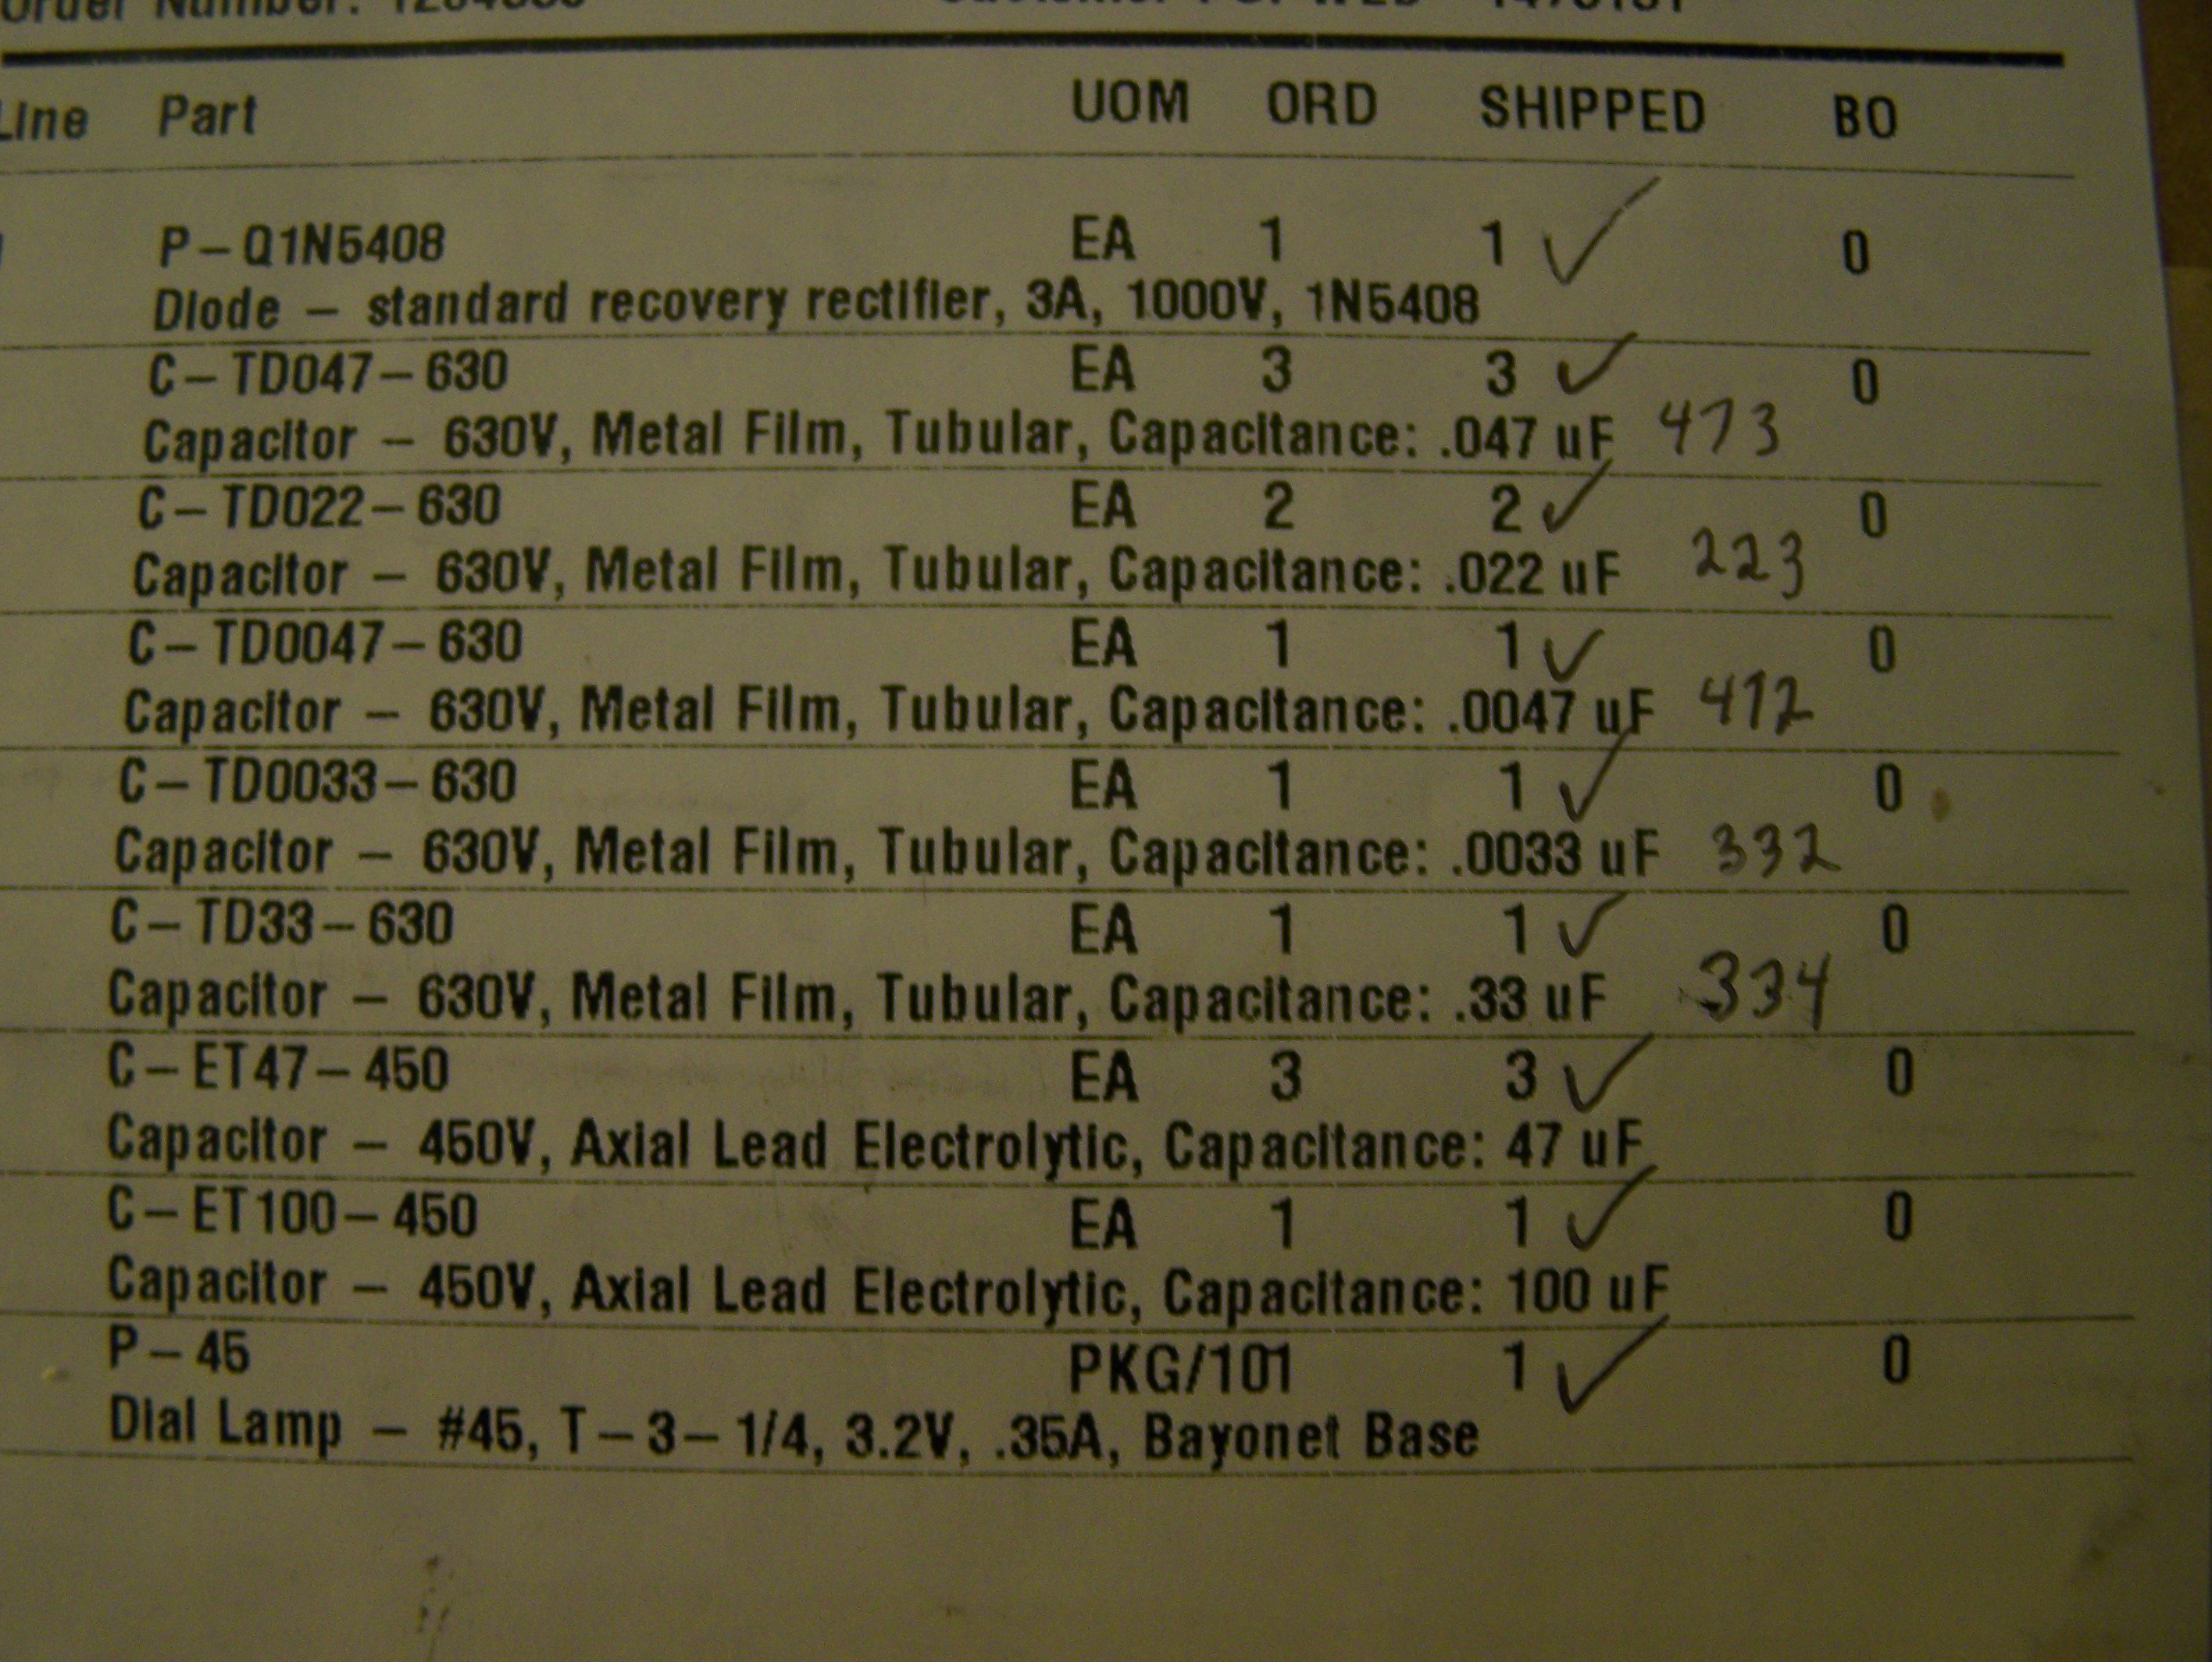
Obviously there is a Ship of Theseus debate, but it is up to you to define the restoration. T one extreme you could simply replace everything with a carbon (or germanium) copy, and at the other one could throw the lot out for a Raspberry Pi. In between, lies artistic licence. Interestingly, this unit is old as I am! Enjoy this renovation project