 Thøger Kappel
Making the functional prototype I tried to build it as quickly as possible with what I had eliminating cost prizes, waiting time for delivery, and feeling great as it's also an environmental choice. The prototype was built at the fabrication lab at my university at DTU (Technical University of Denmark - Design Build Lab). I used the leftover scrab piece of plywood as well as scrab acrylic pieces once again as an environmental choice.
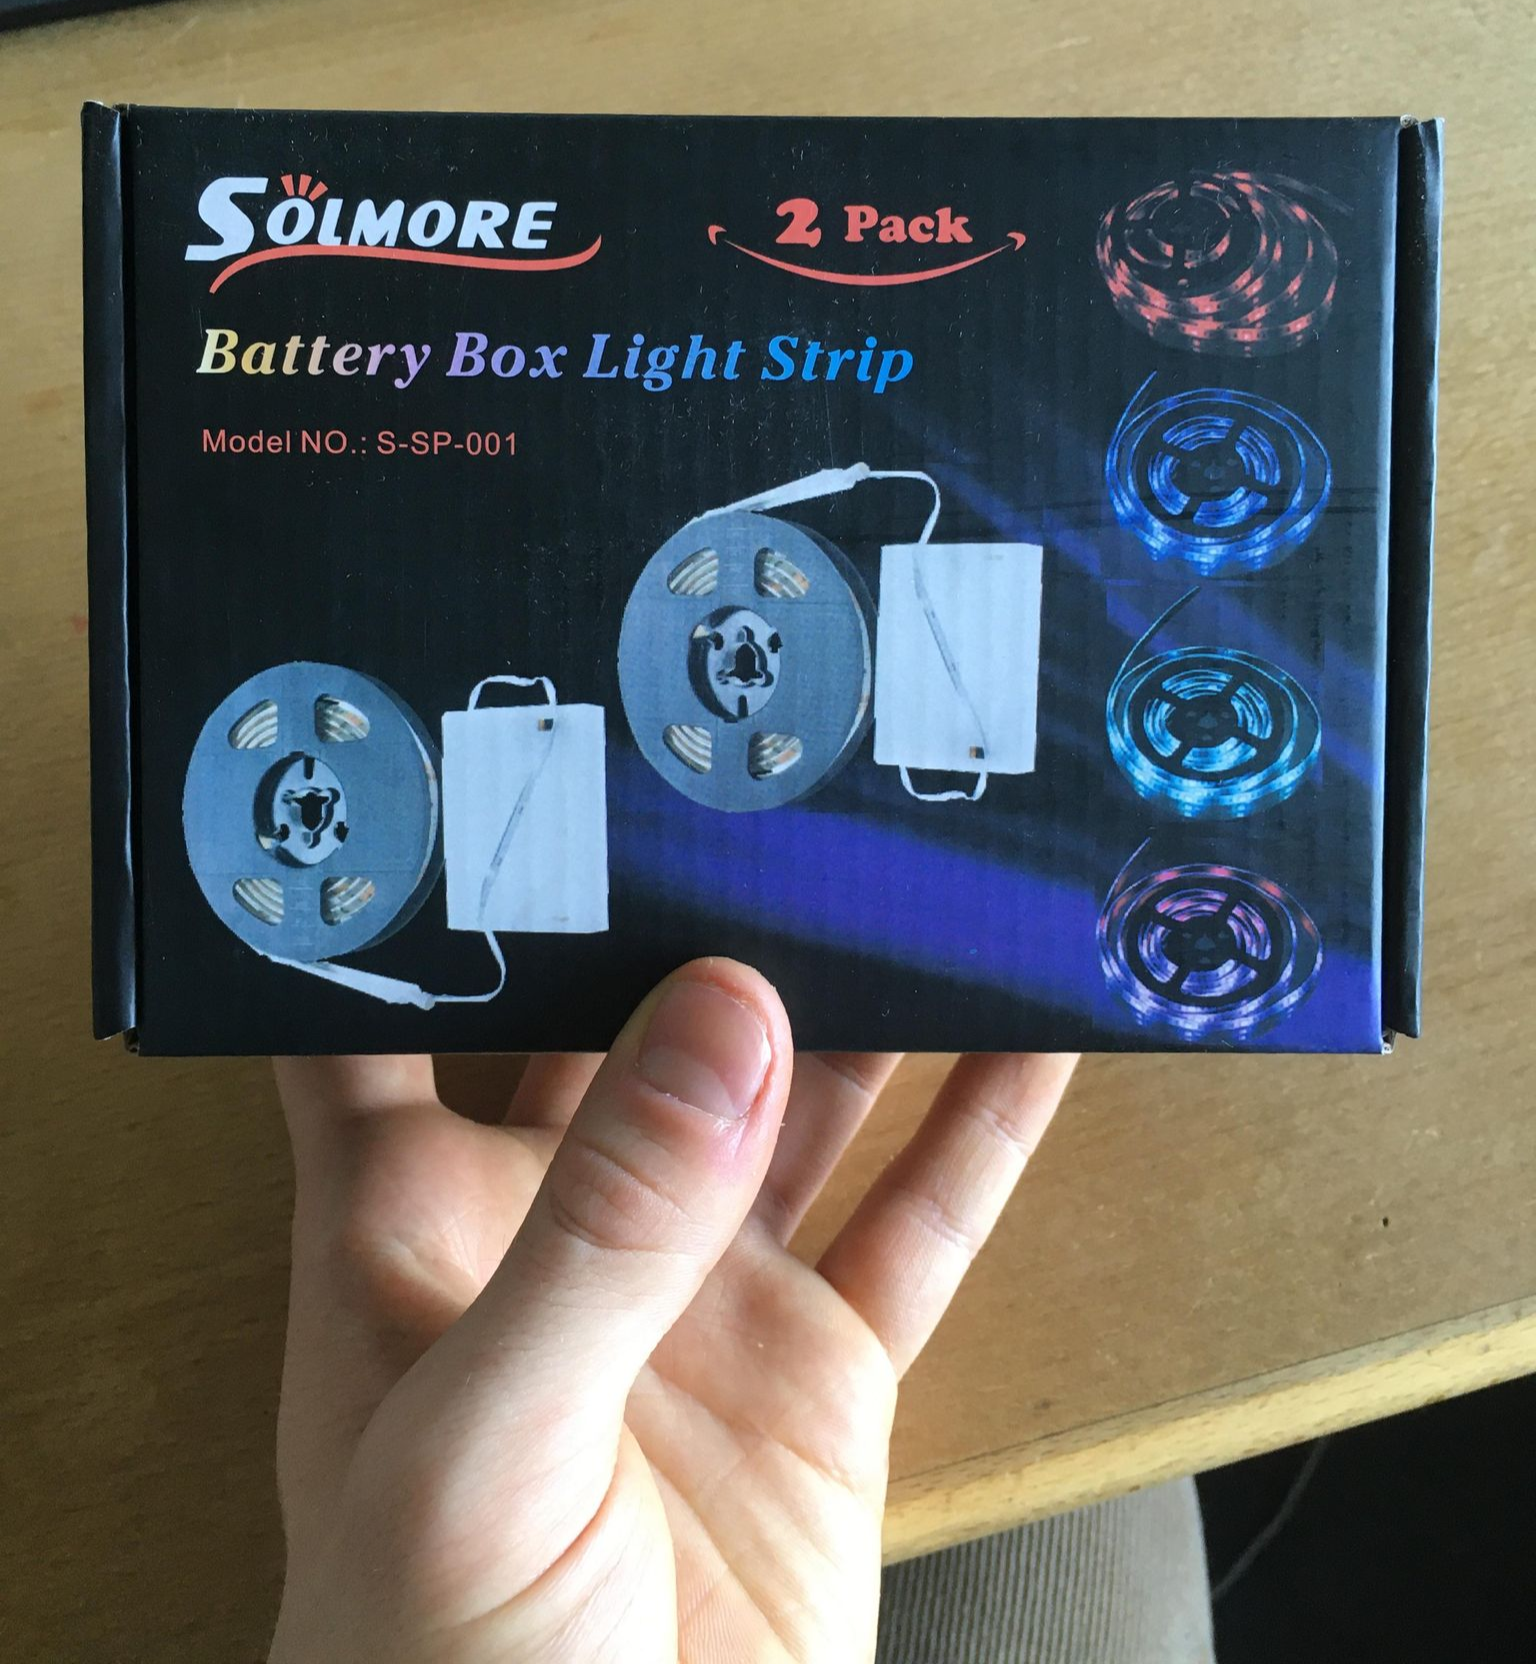
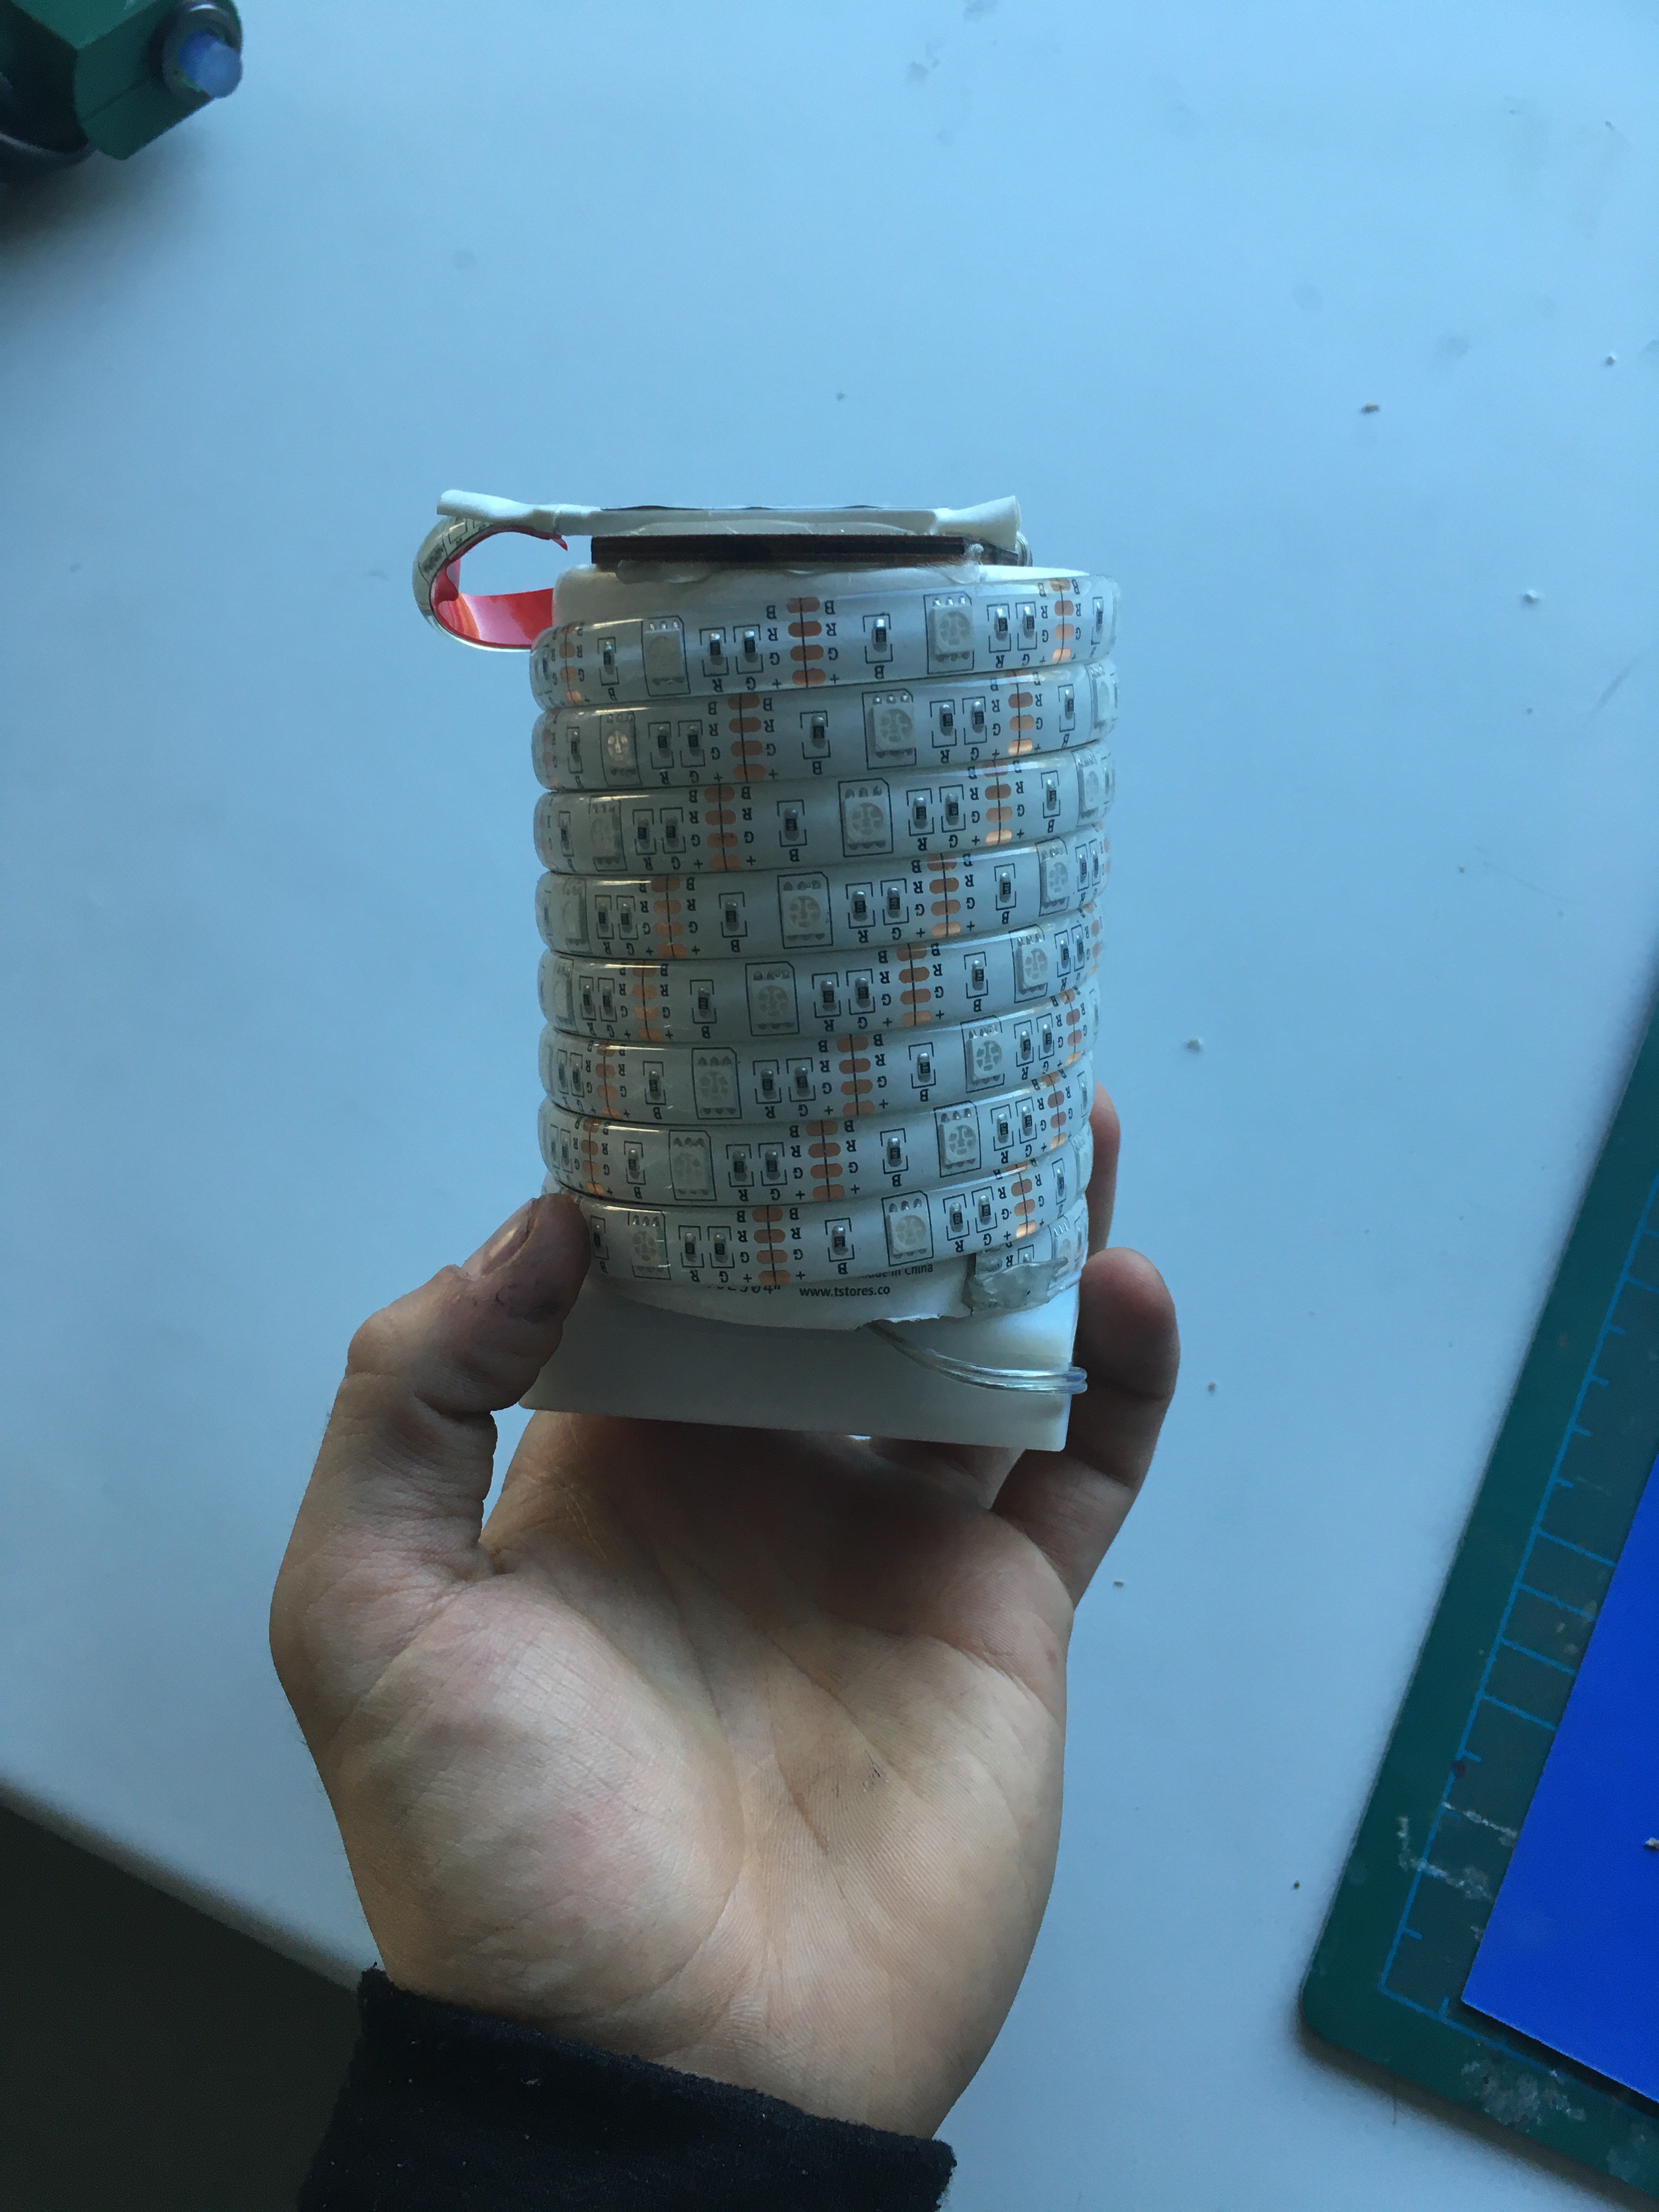
The lamp inside is made from a battery-connected LED stripe which I had at home. This piece, ordered from amazon, was once used in another project but given new life in this one.
I wrapped it around and glued it to a cardboard container I had making it light evenly 360 degrees. with the battery pack at the bottom.
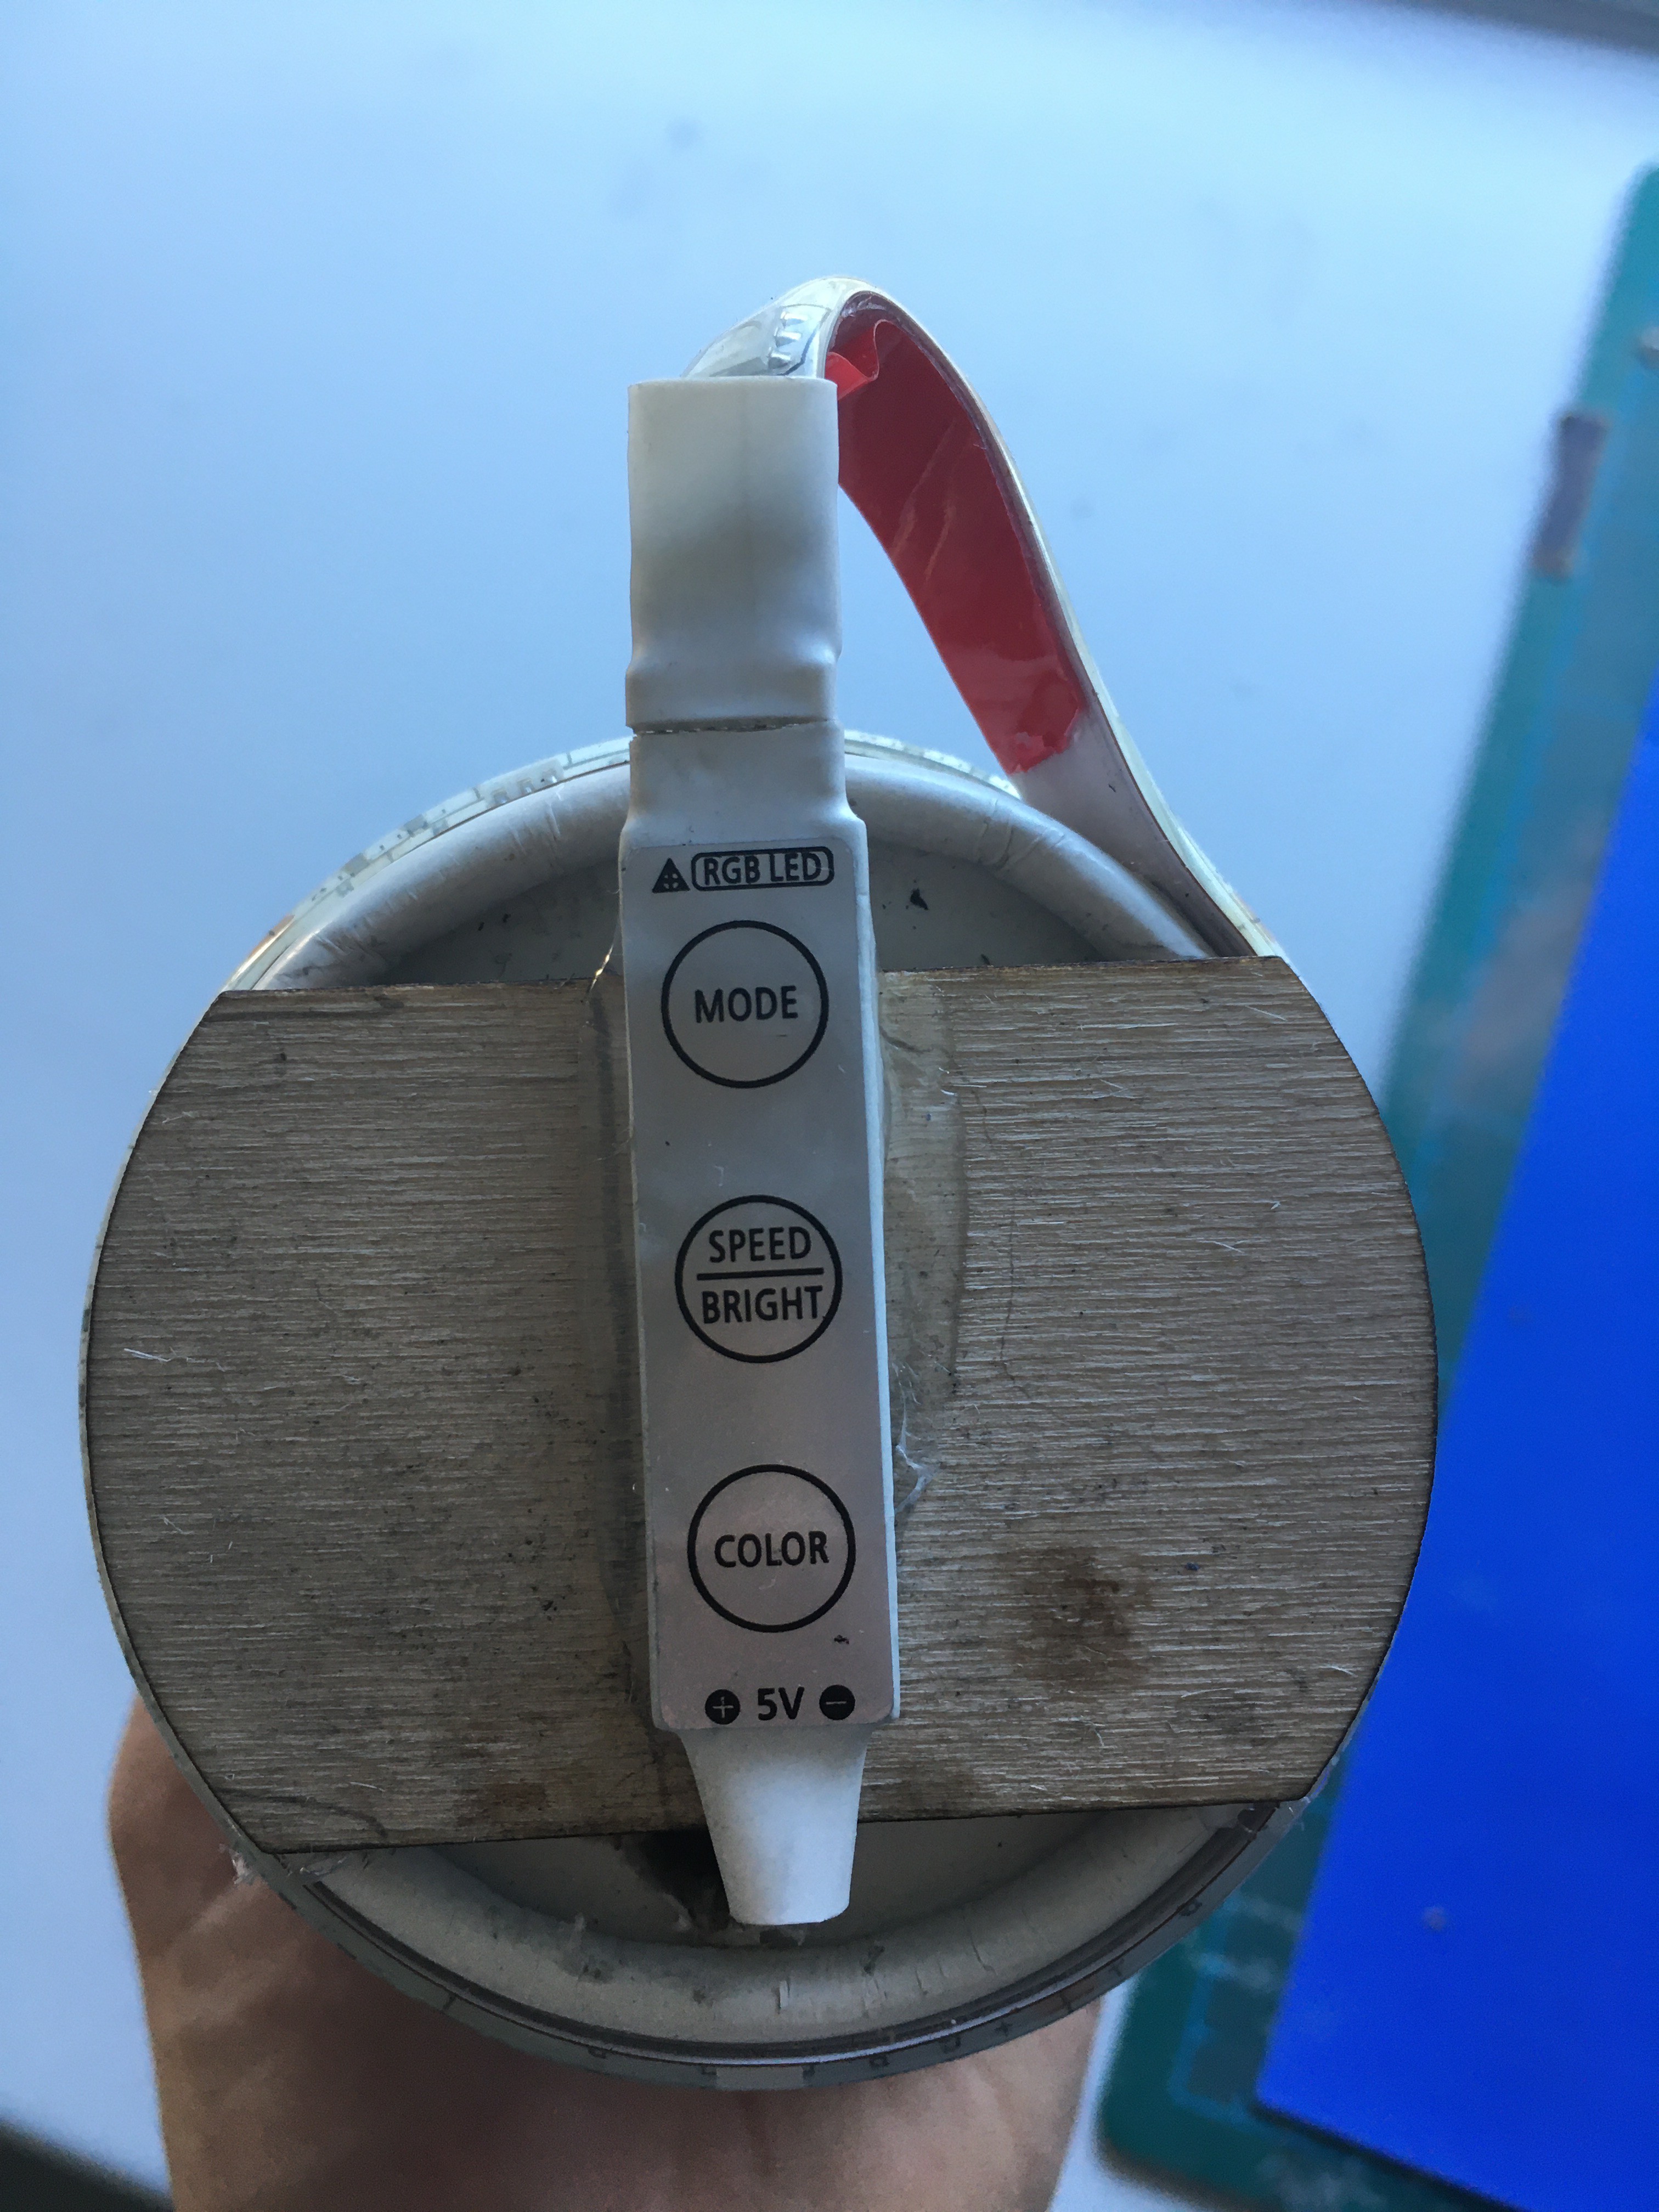
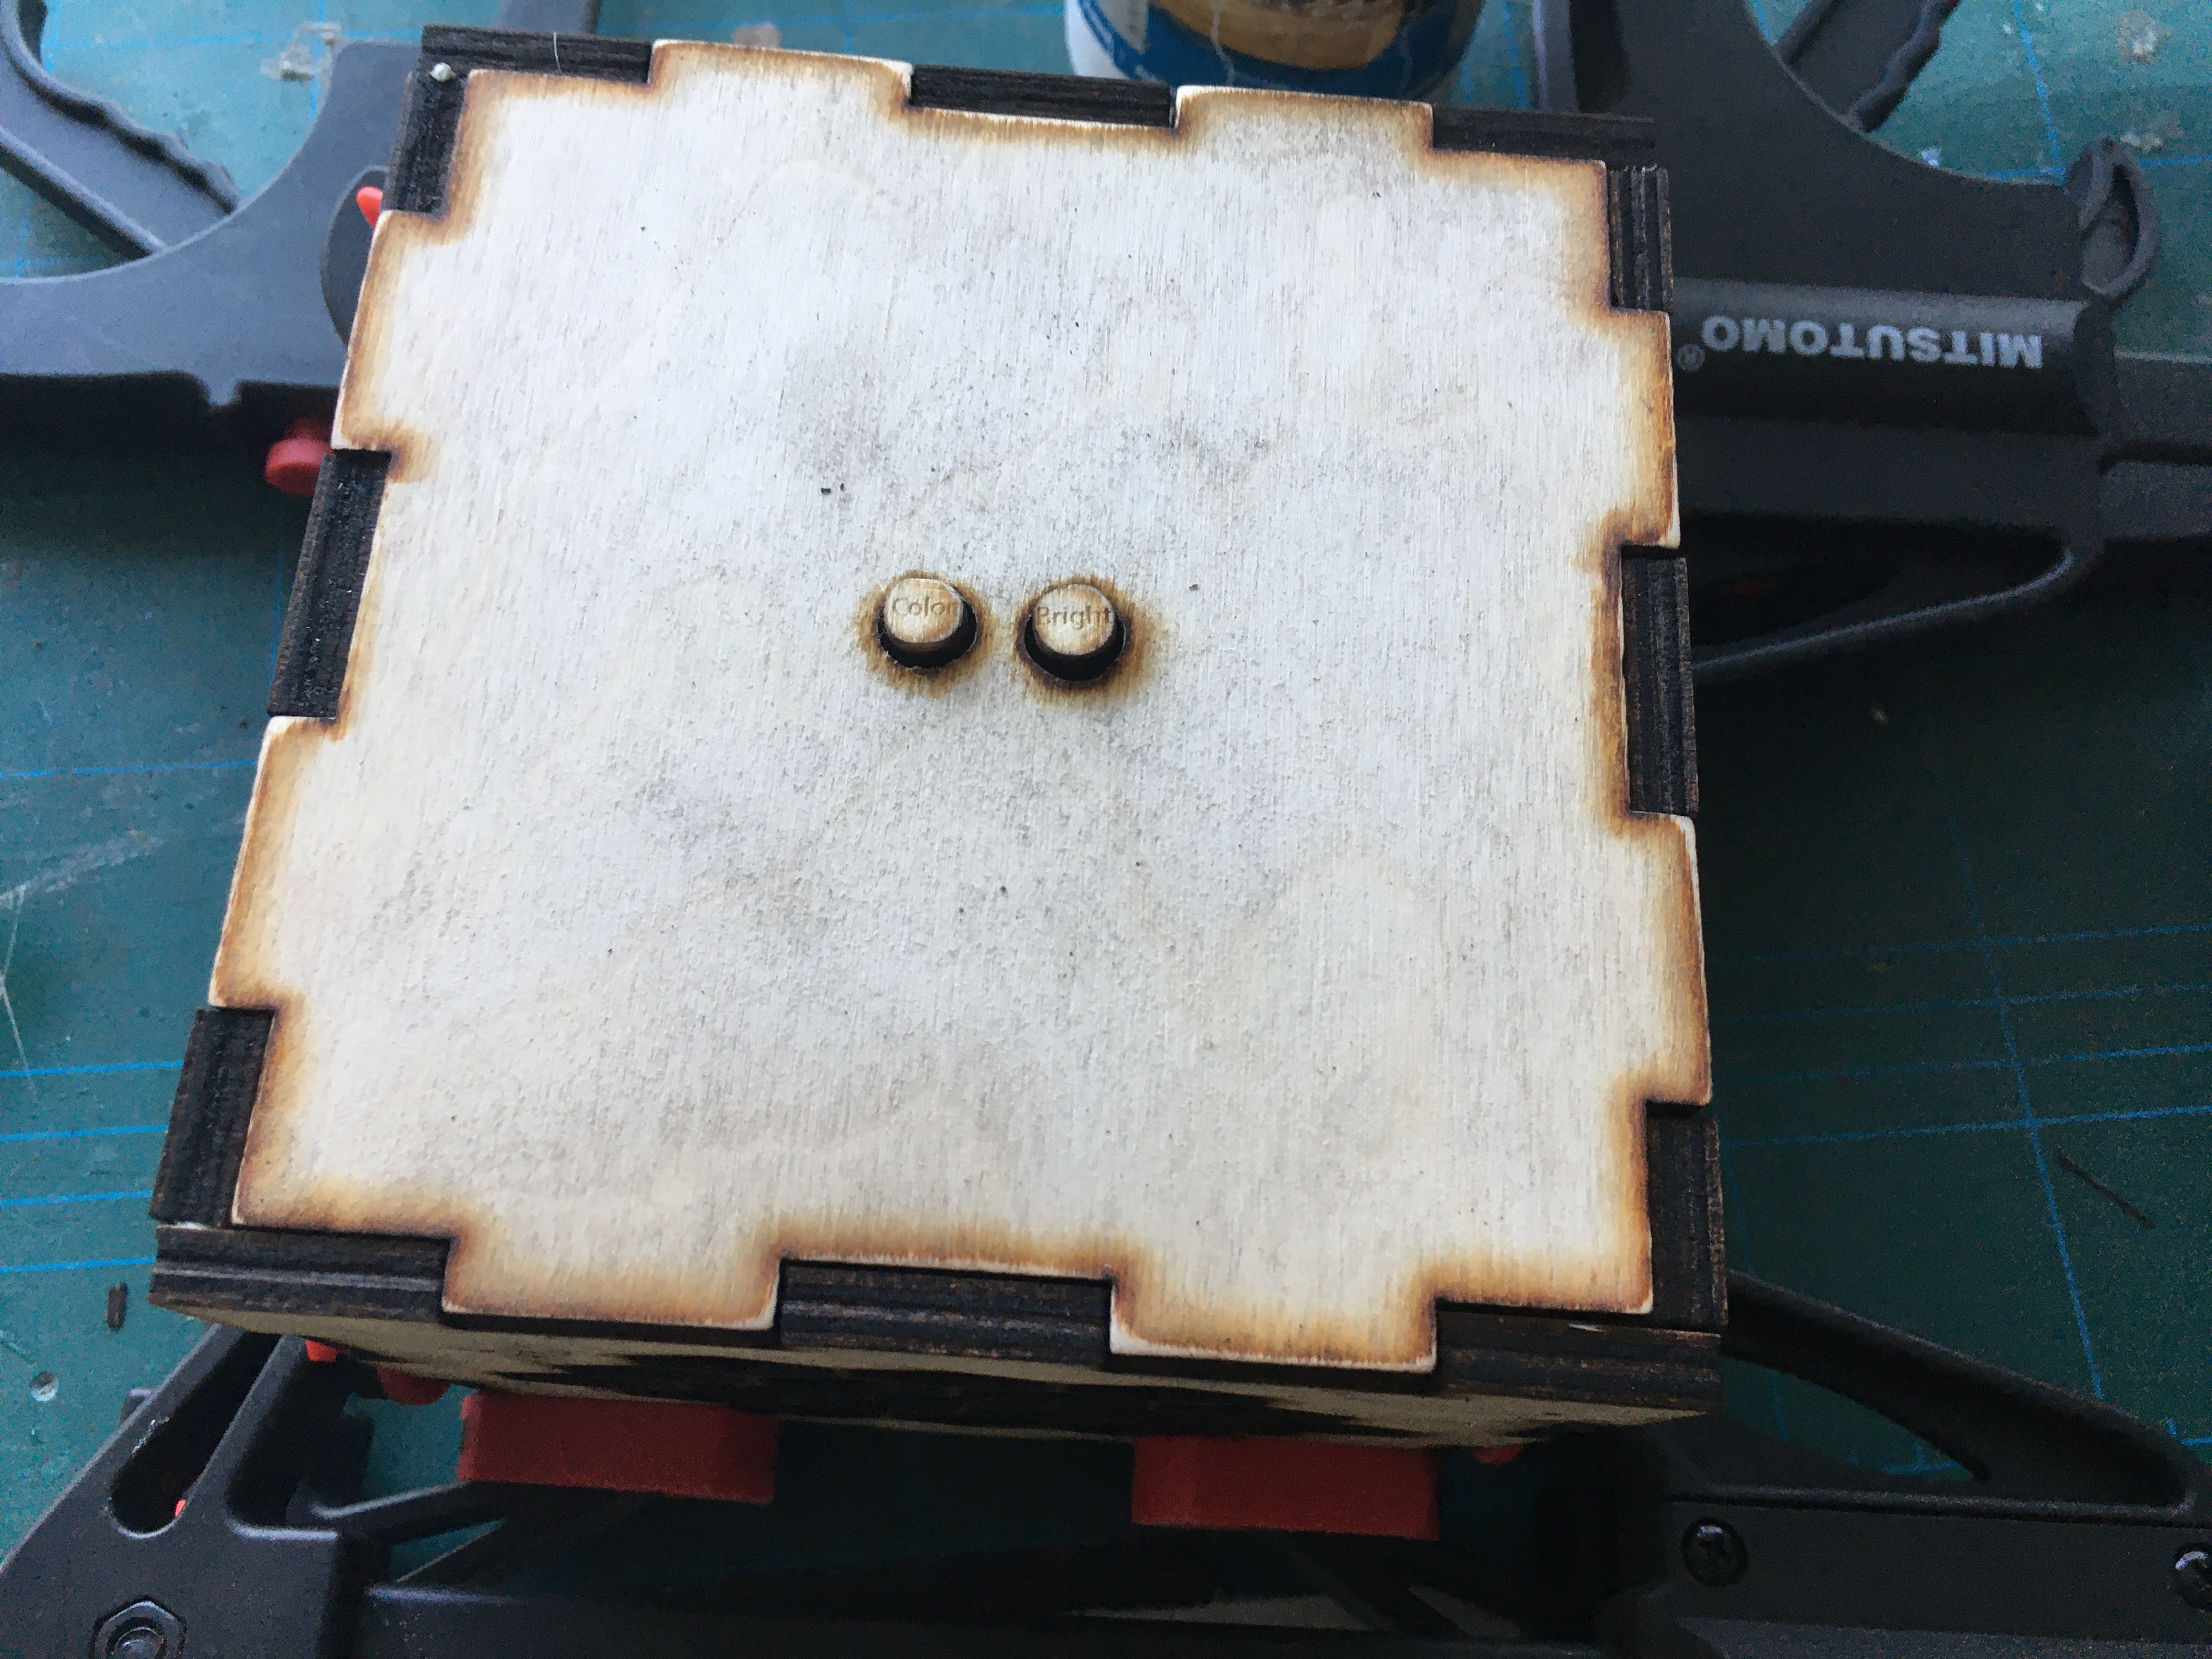
I glued its engagements buttons at the top making them accessible from my own wooden made buttons in the casing.
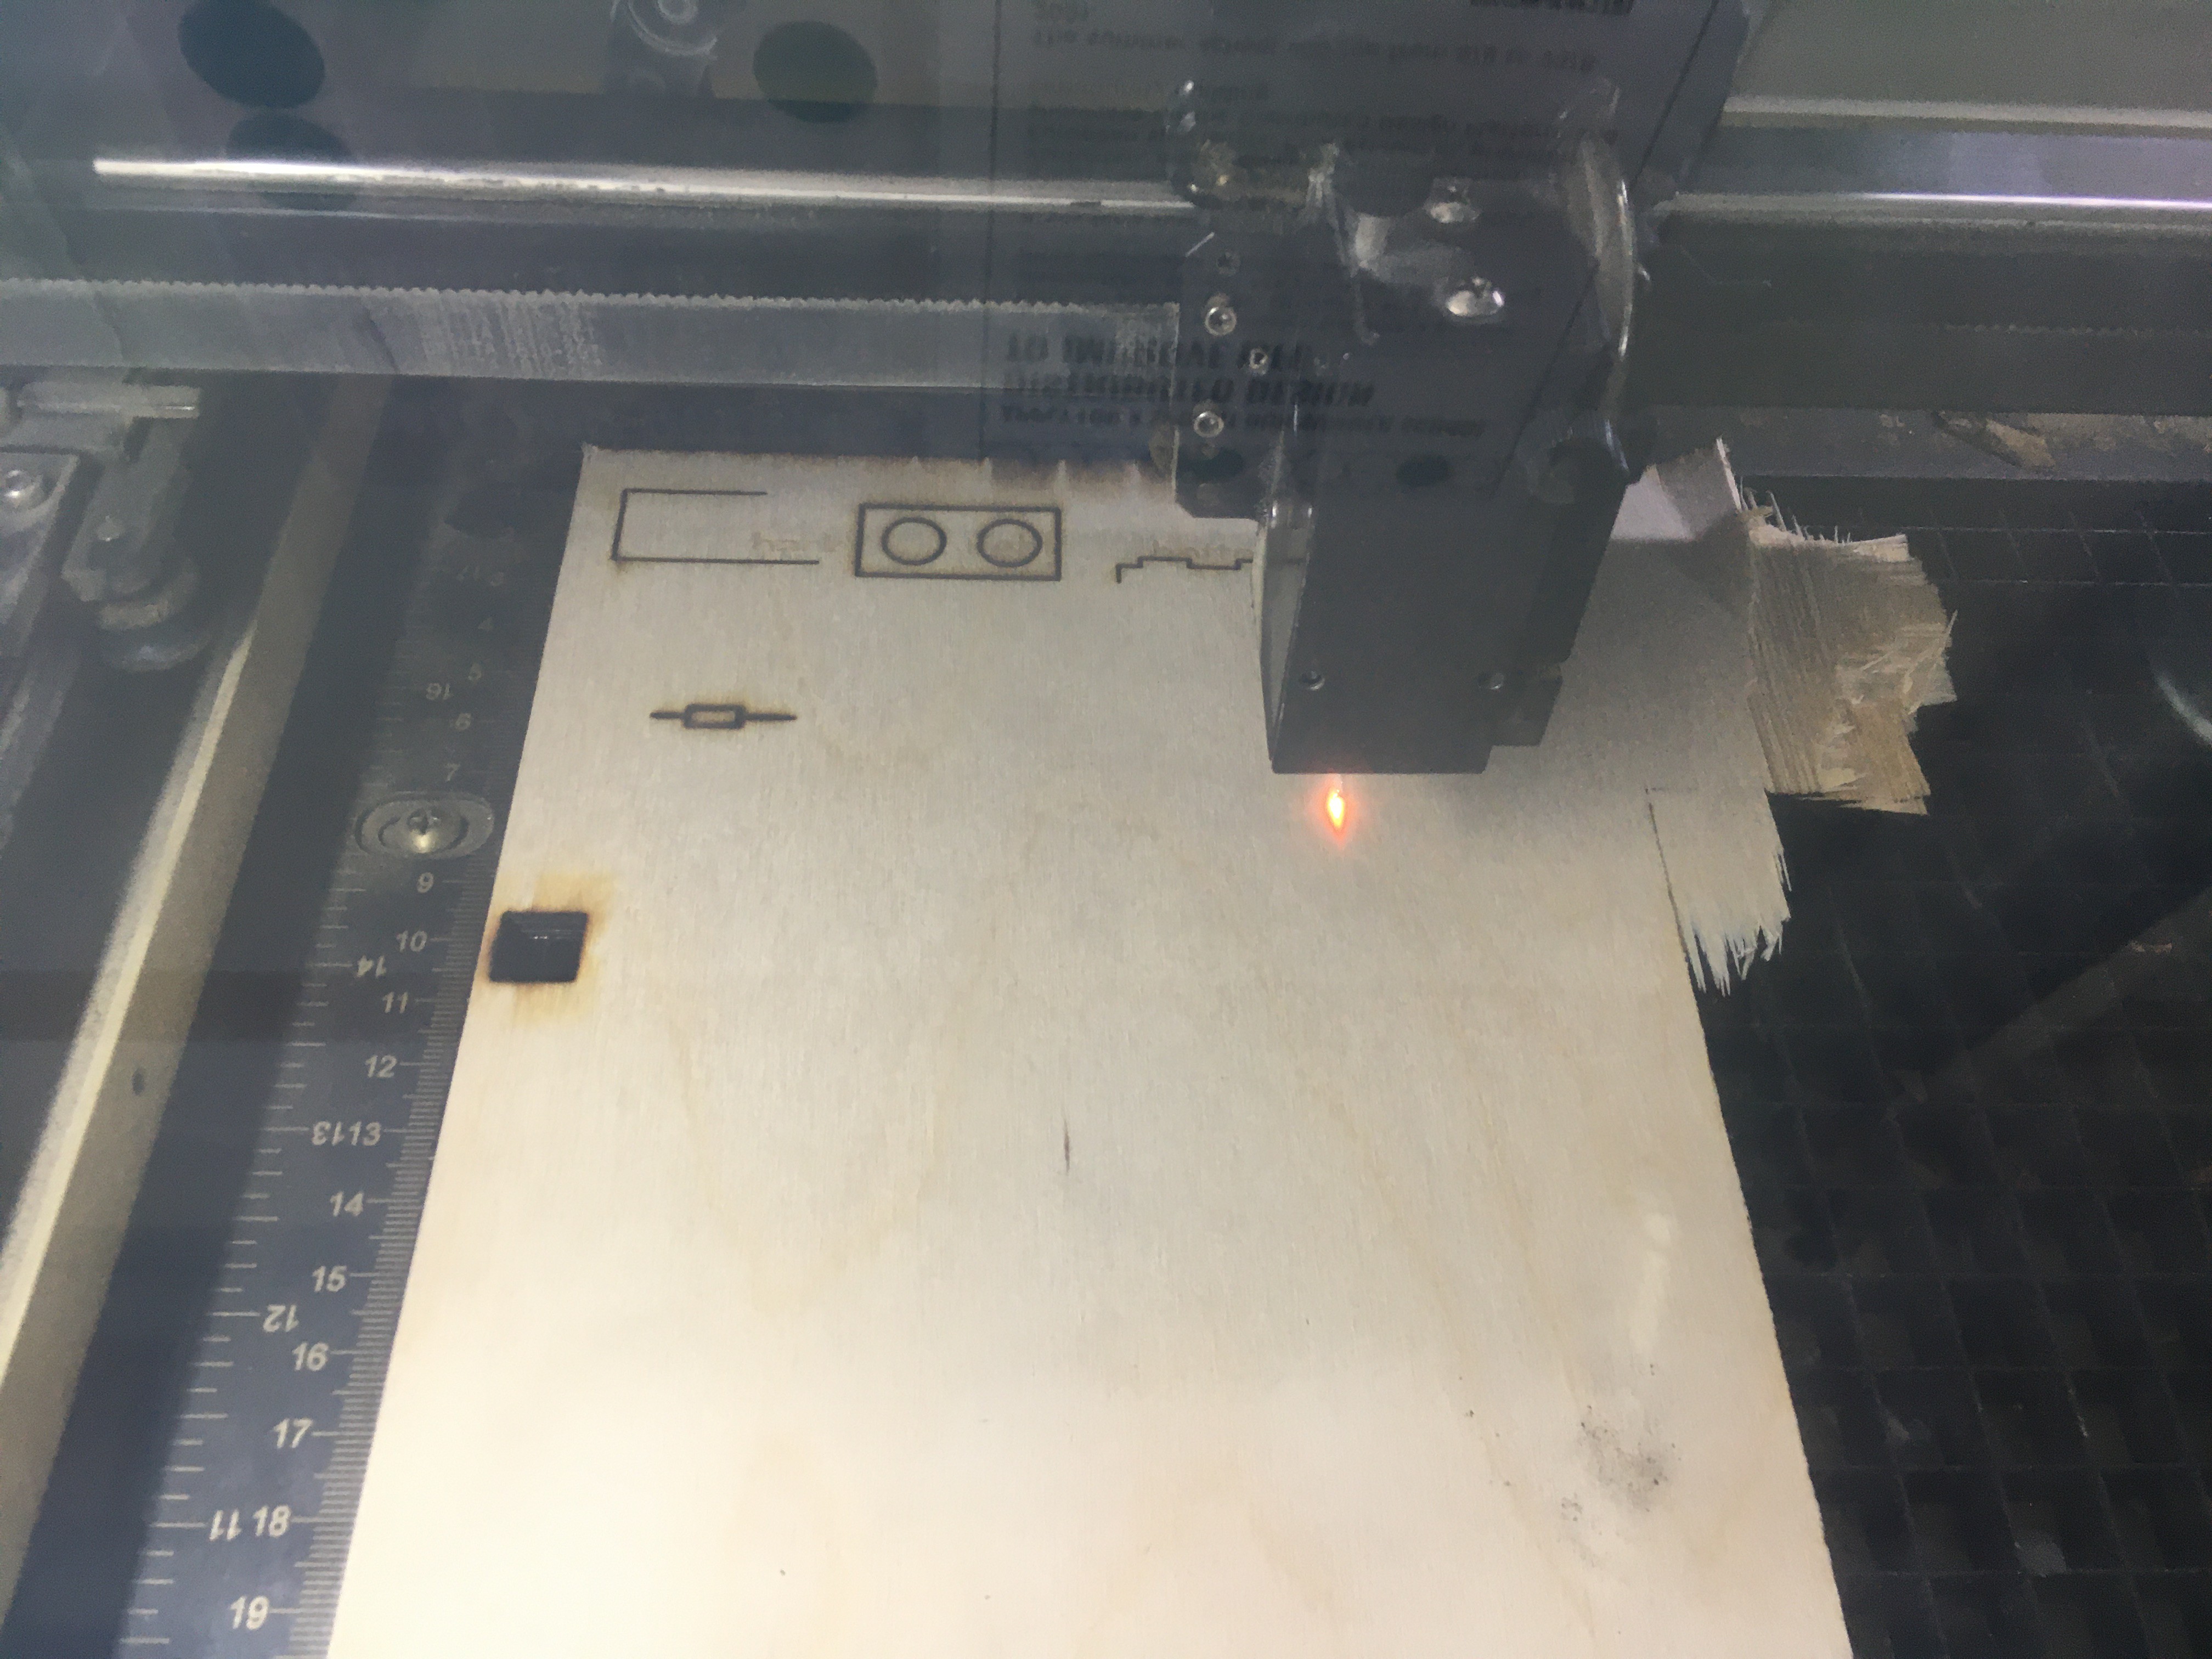
As seen on this picture the box was cut from scrap pieces of plywood lying in the workshop.
Finally, all parts were glued together using clamps to make sure the casing was held in place as the glue dried.
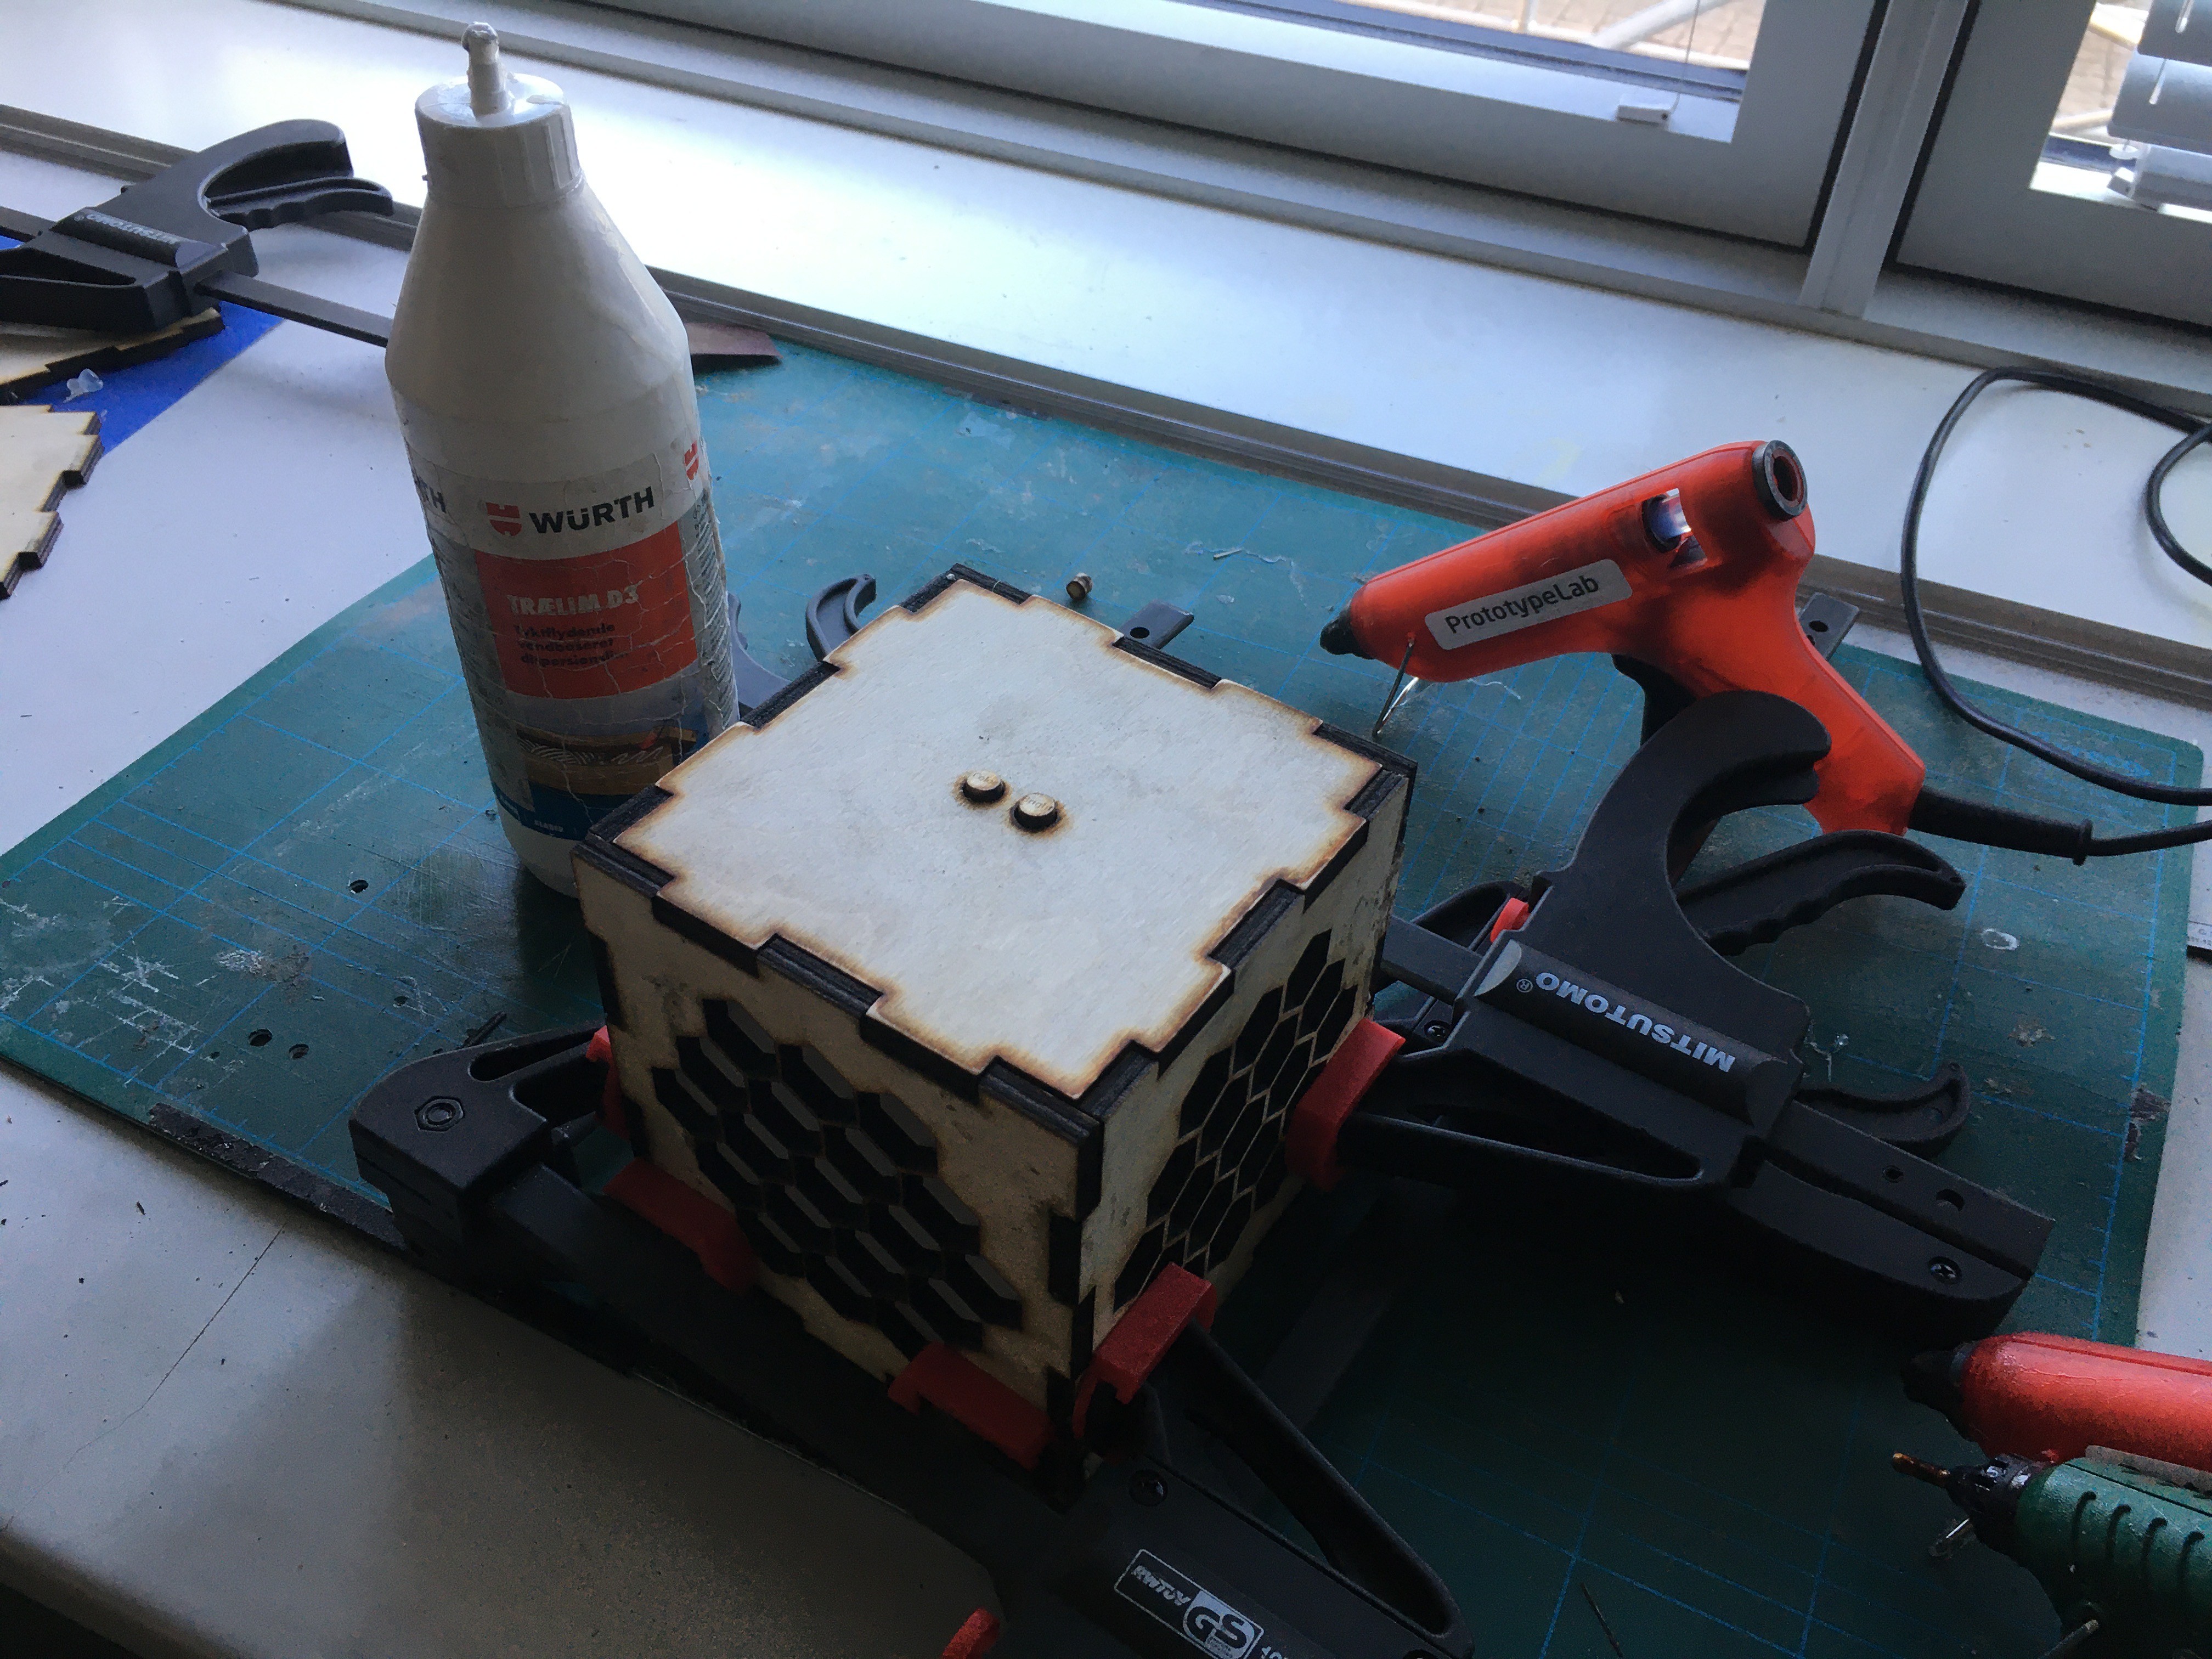
In between wooden joints i used wood glue however between surfaces of wood to plastic like the ones between the wooden buttons at the top and the lightning contraption underneath I used a gluegun.
Discussions
Become a Hackaday.io Member
Create an account to leave a comment. Already have an account? Log In.