0%
0%
Making Work-From-Home Lighting Work-For-Me
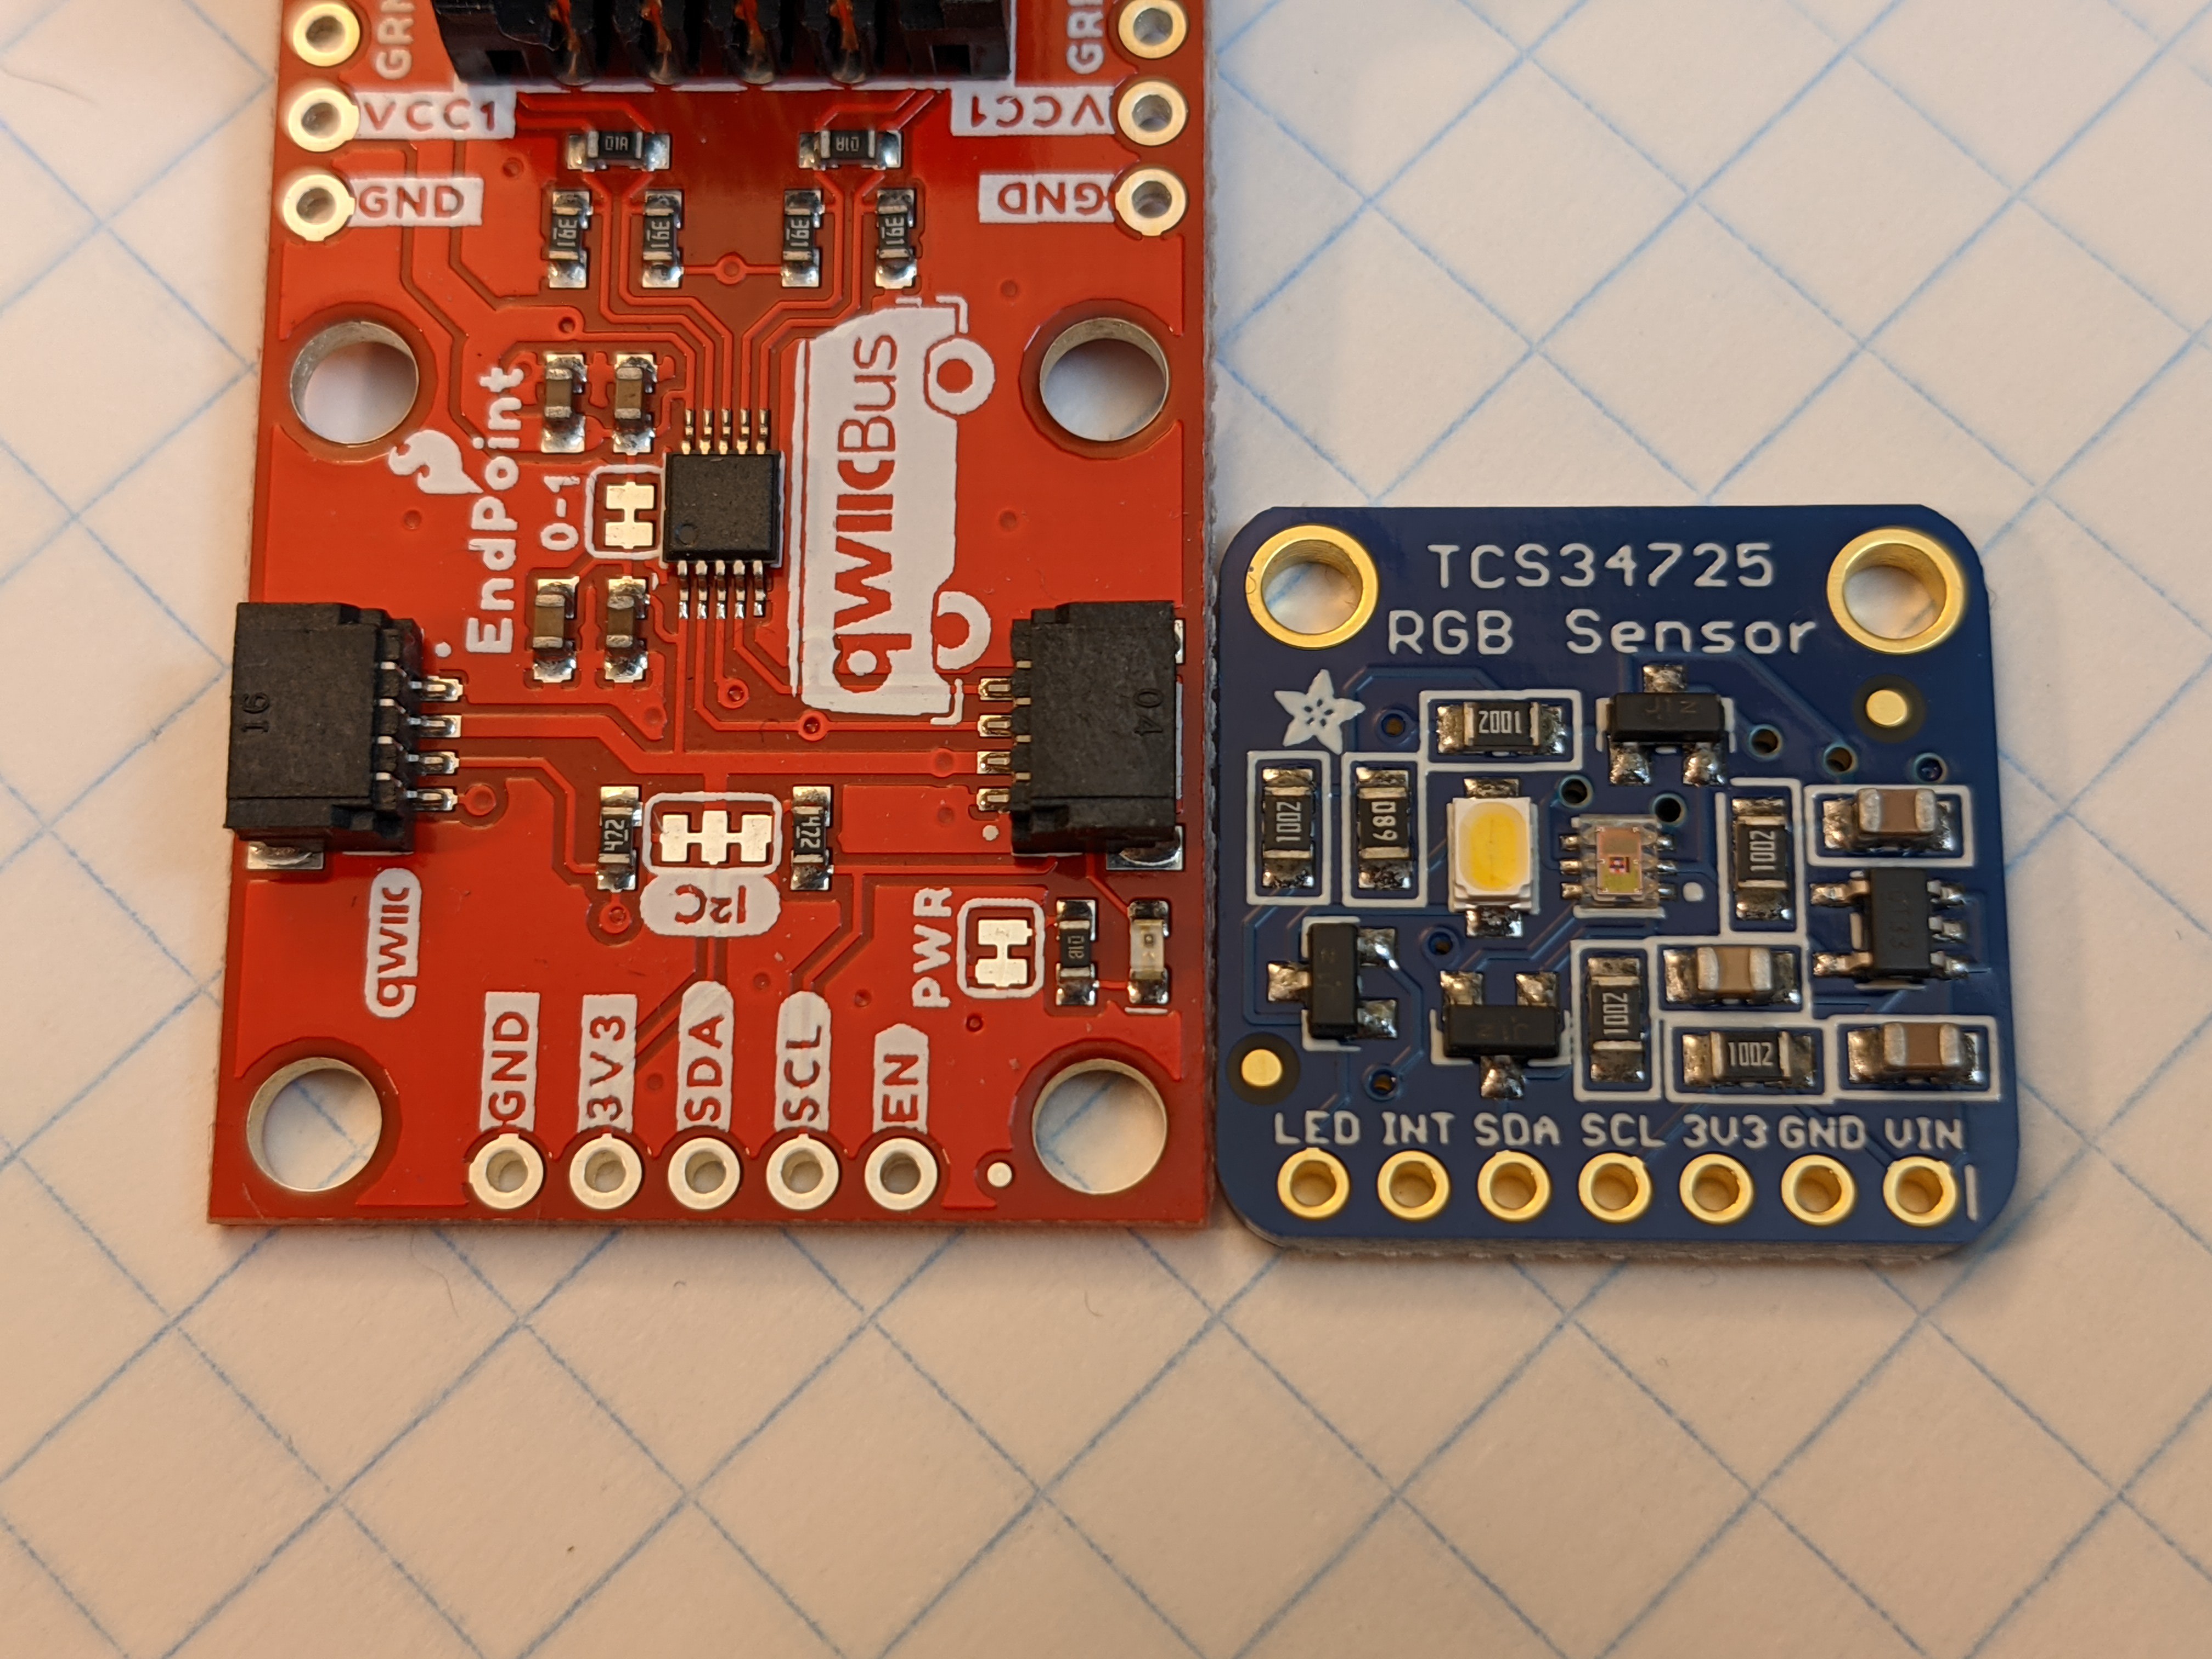
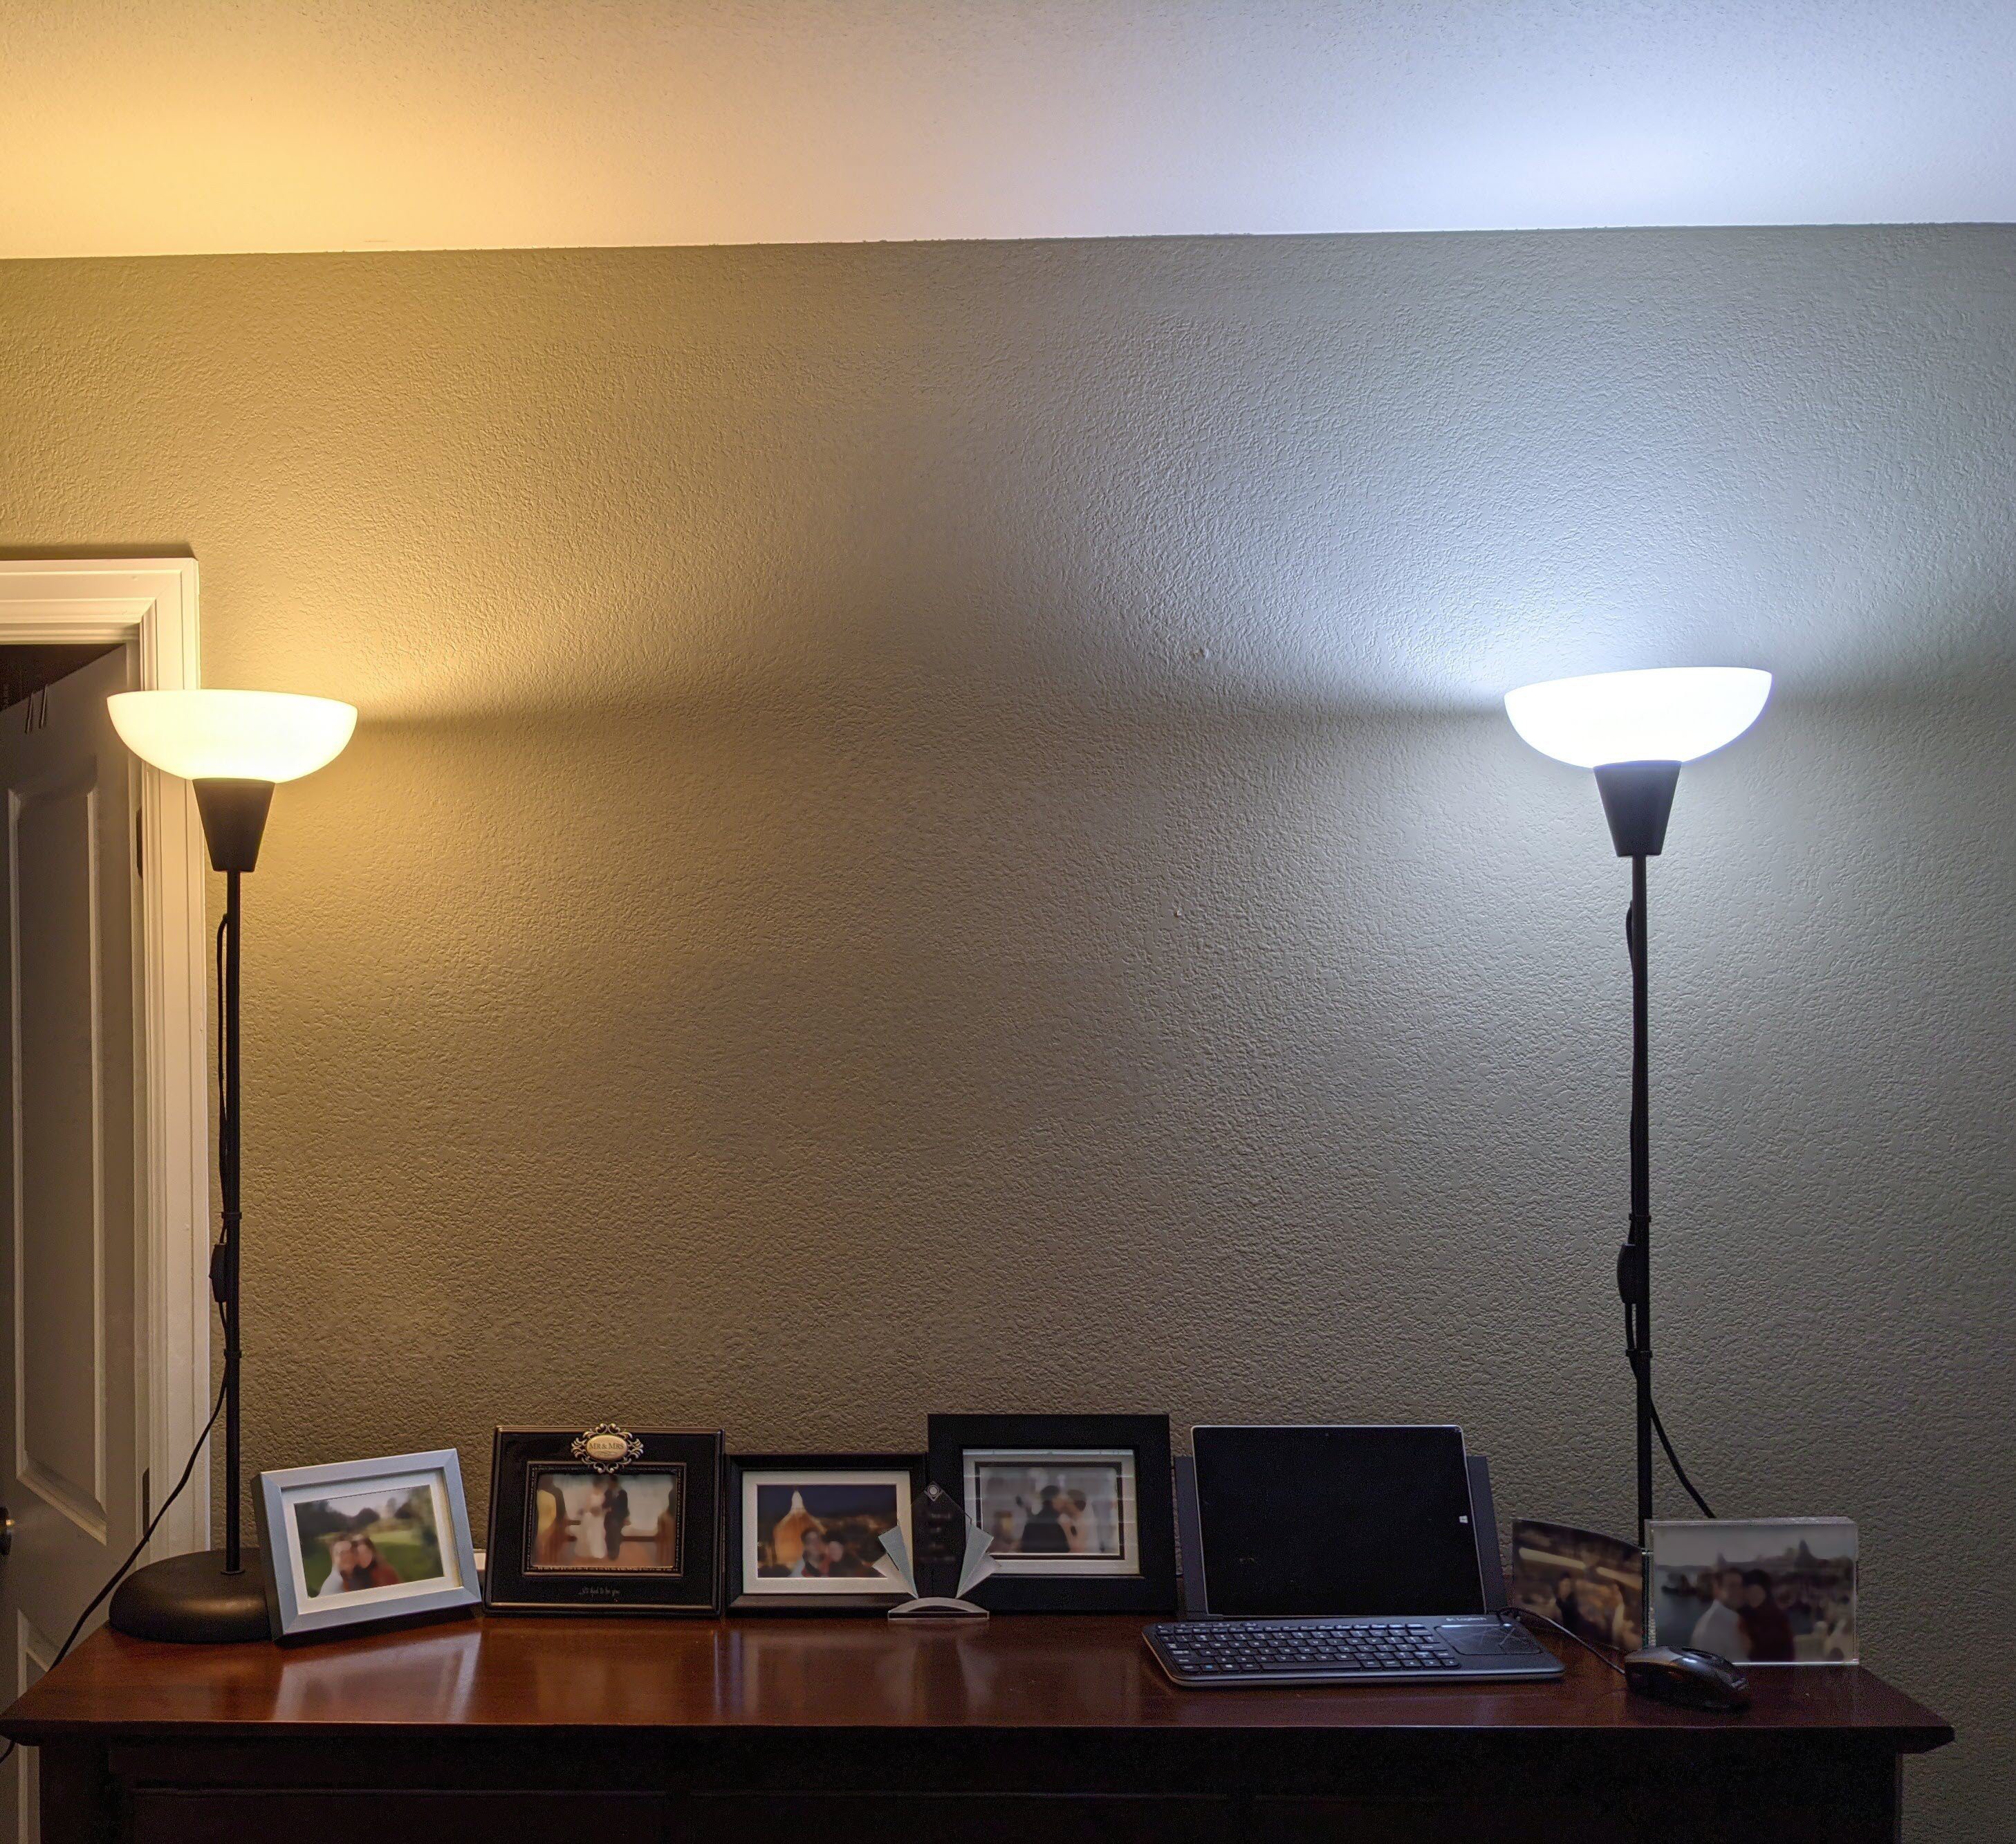
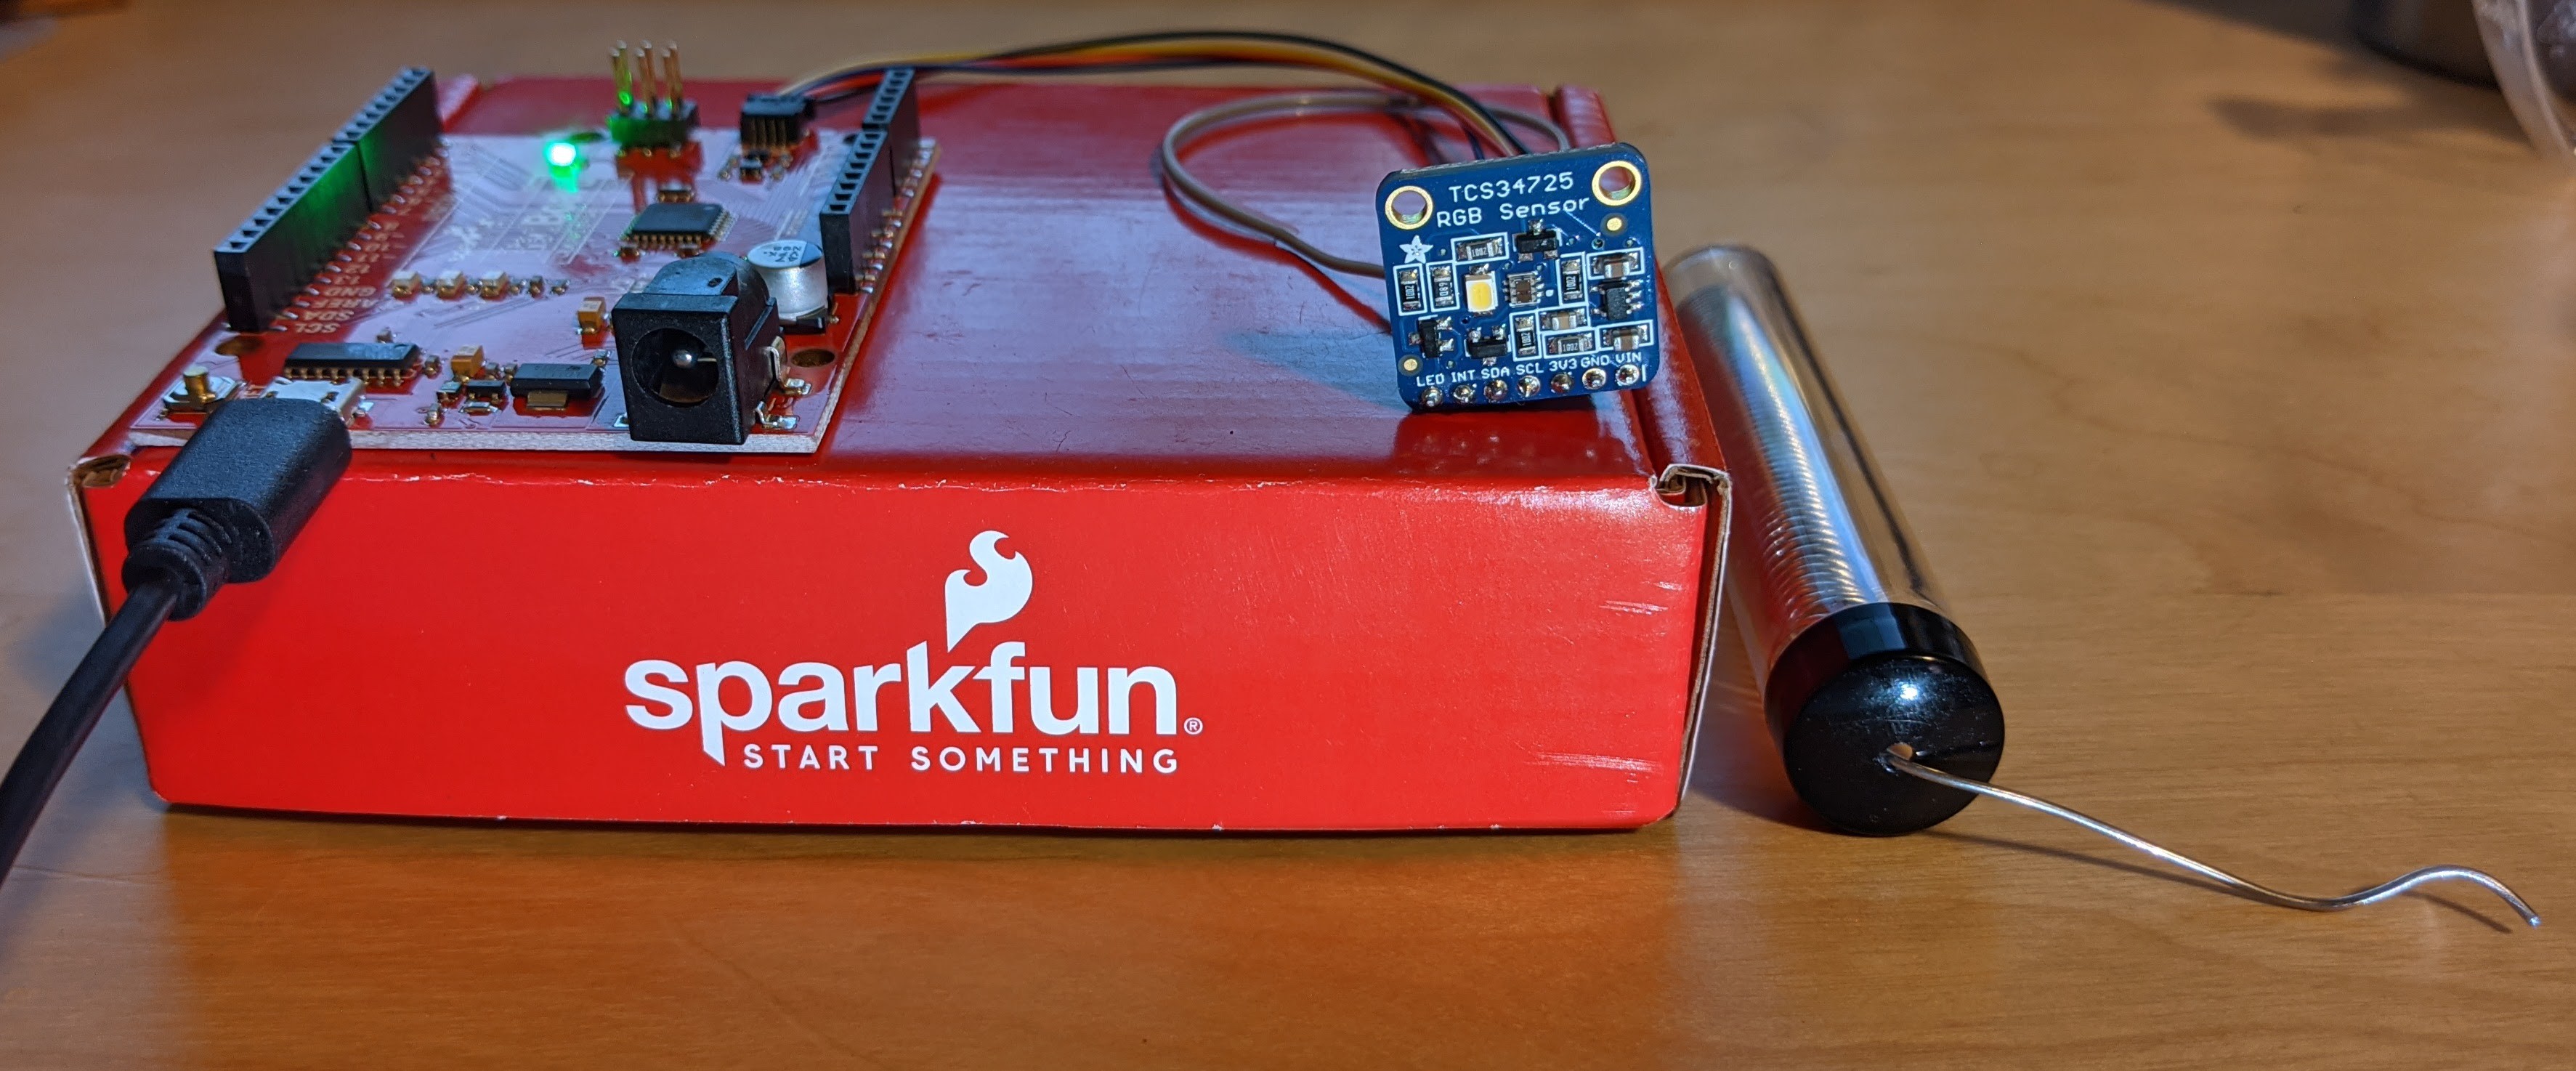
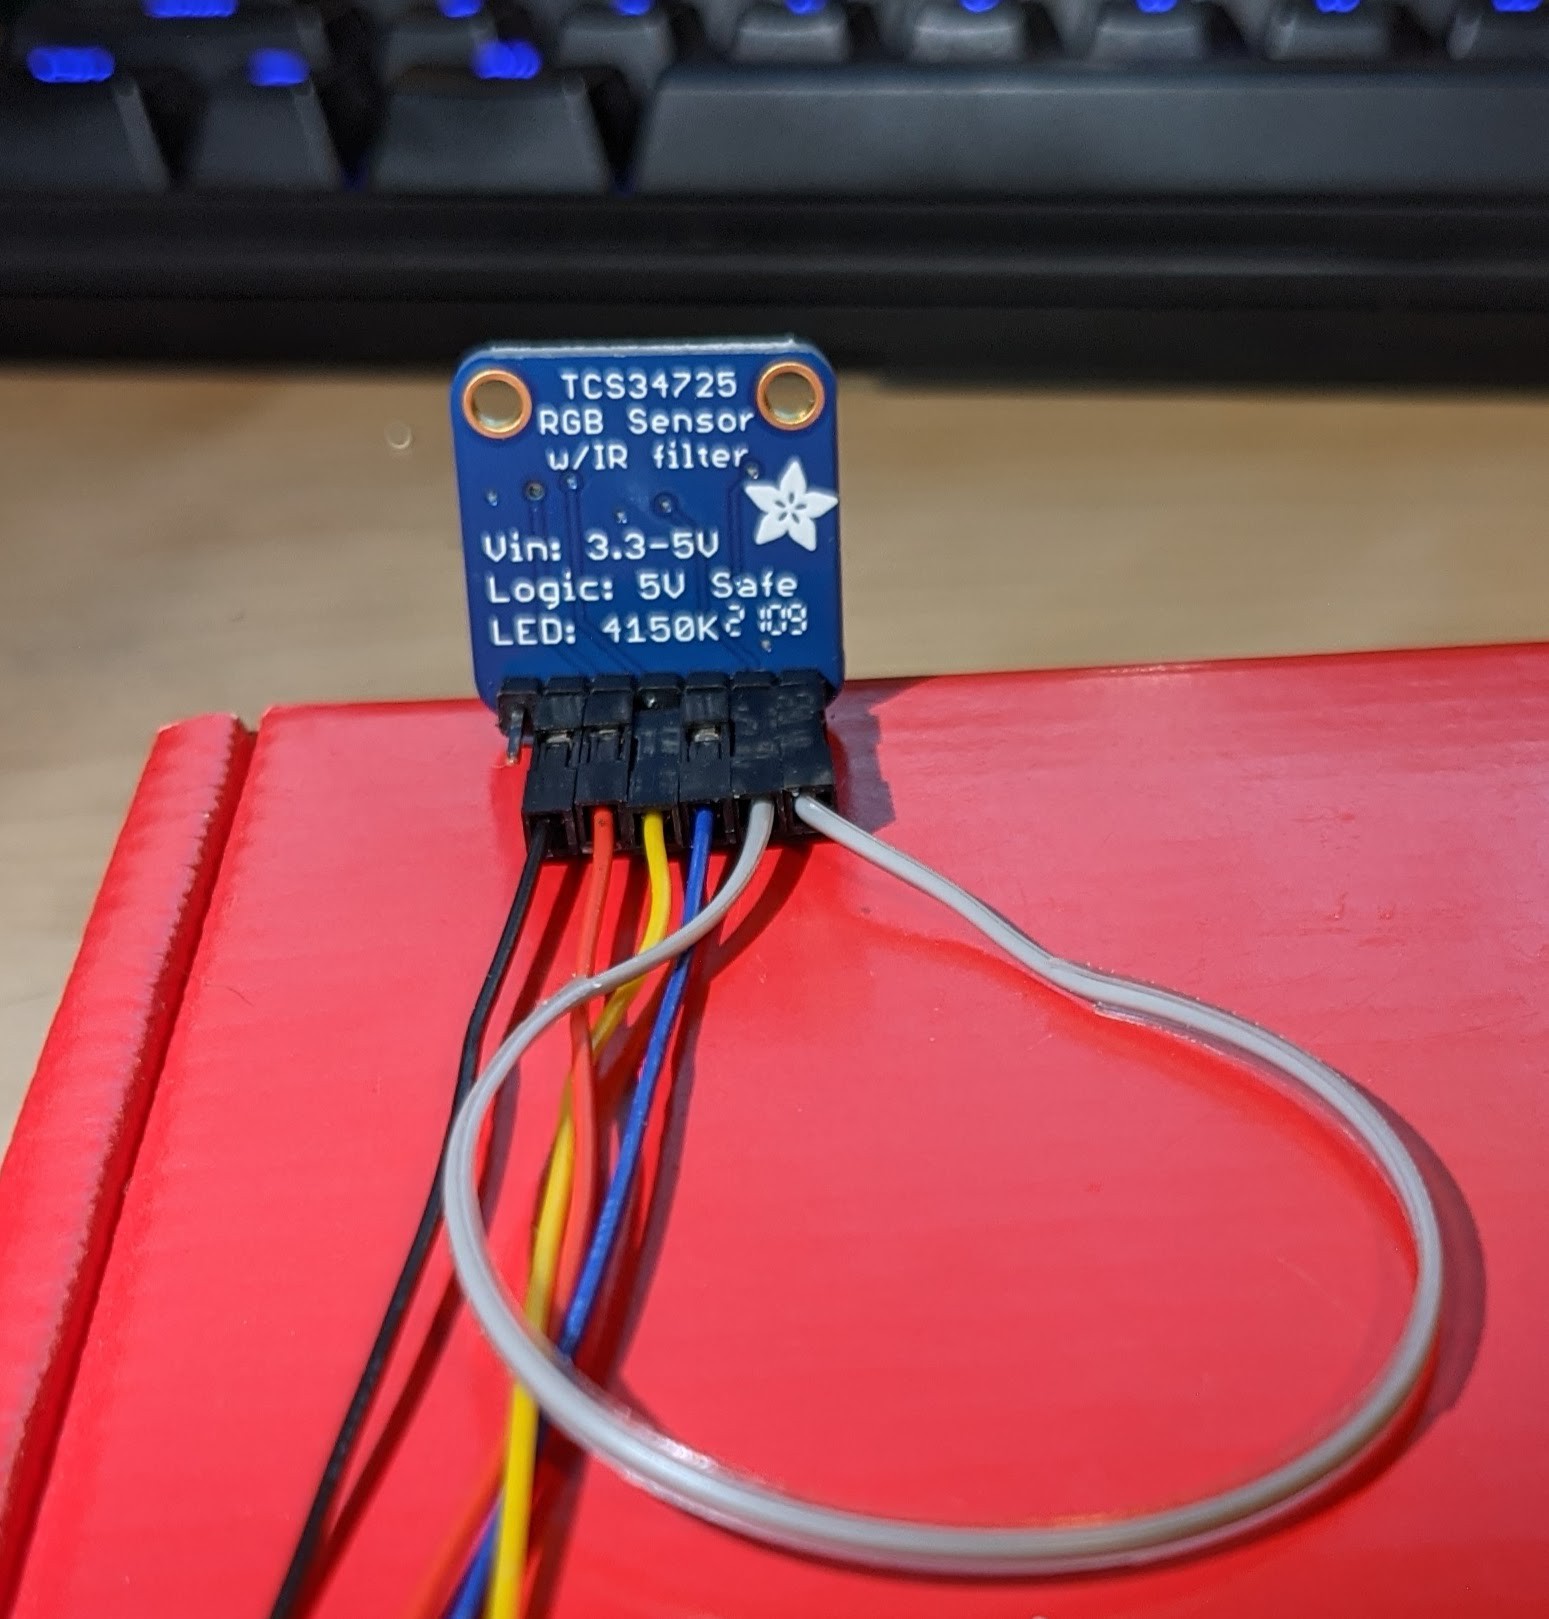
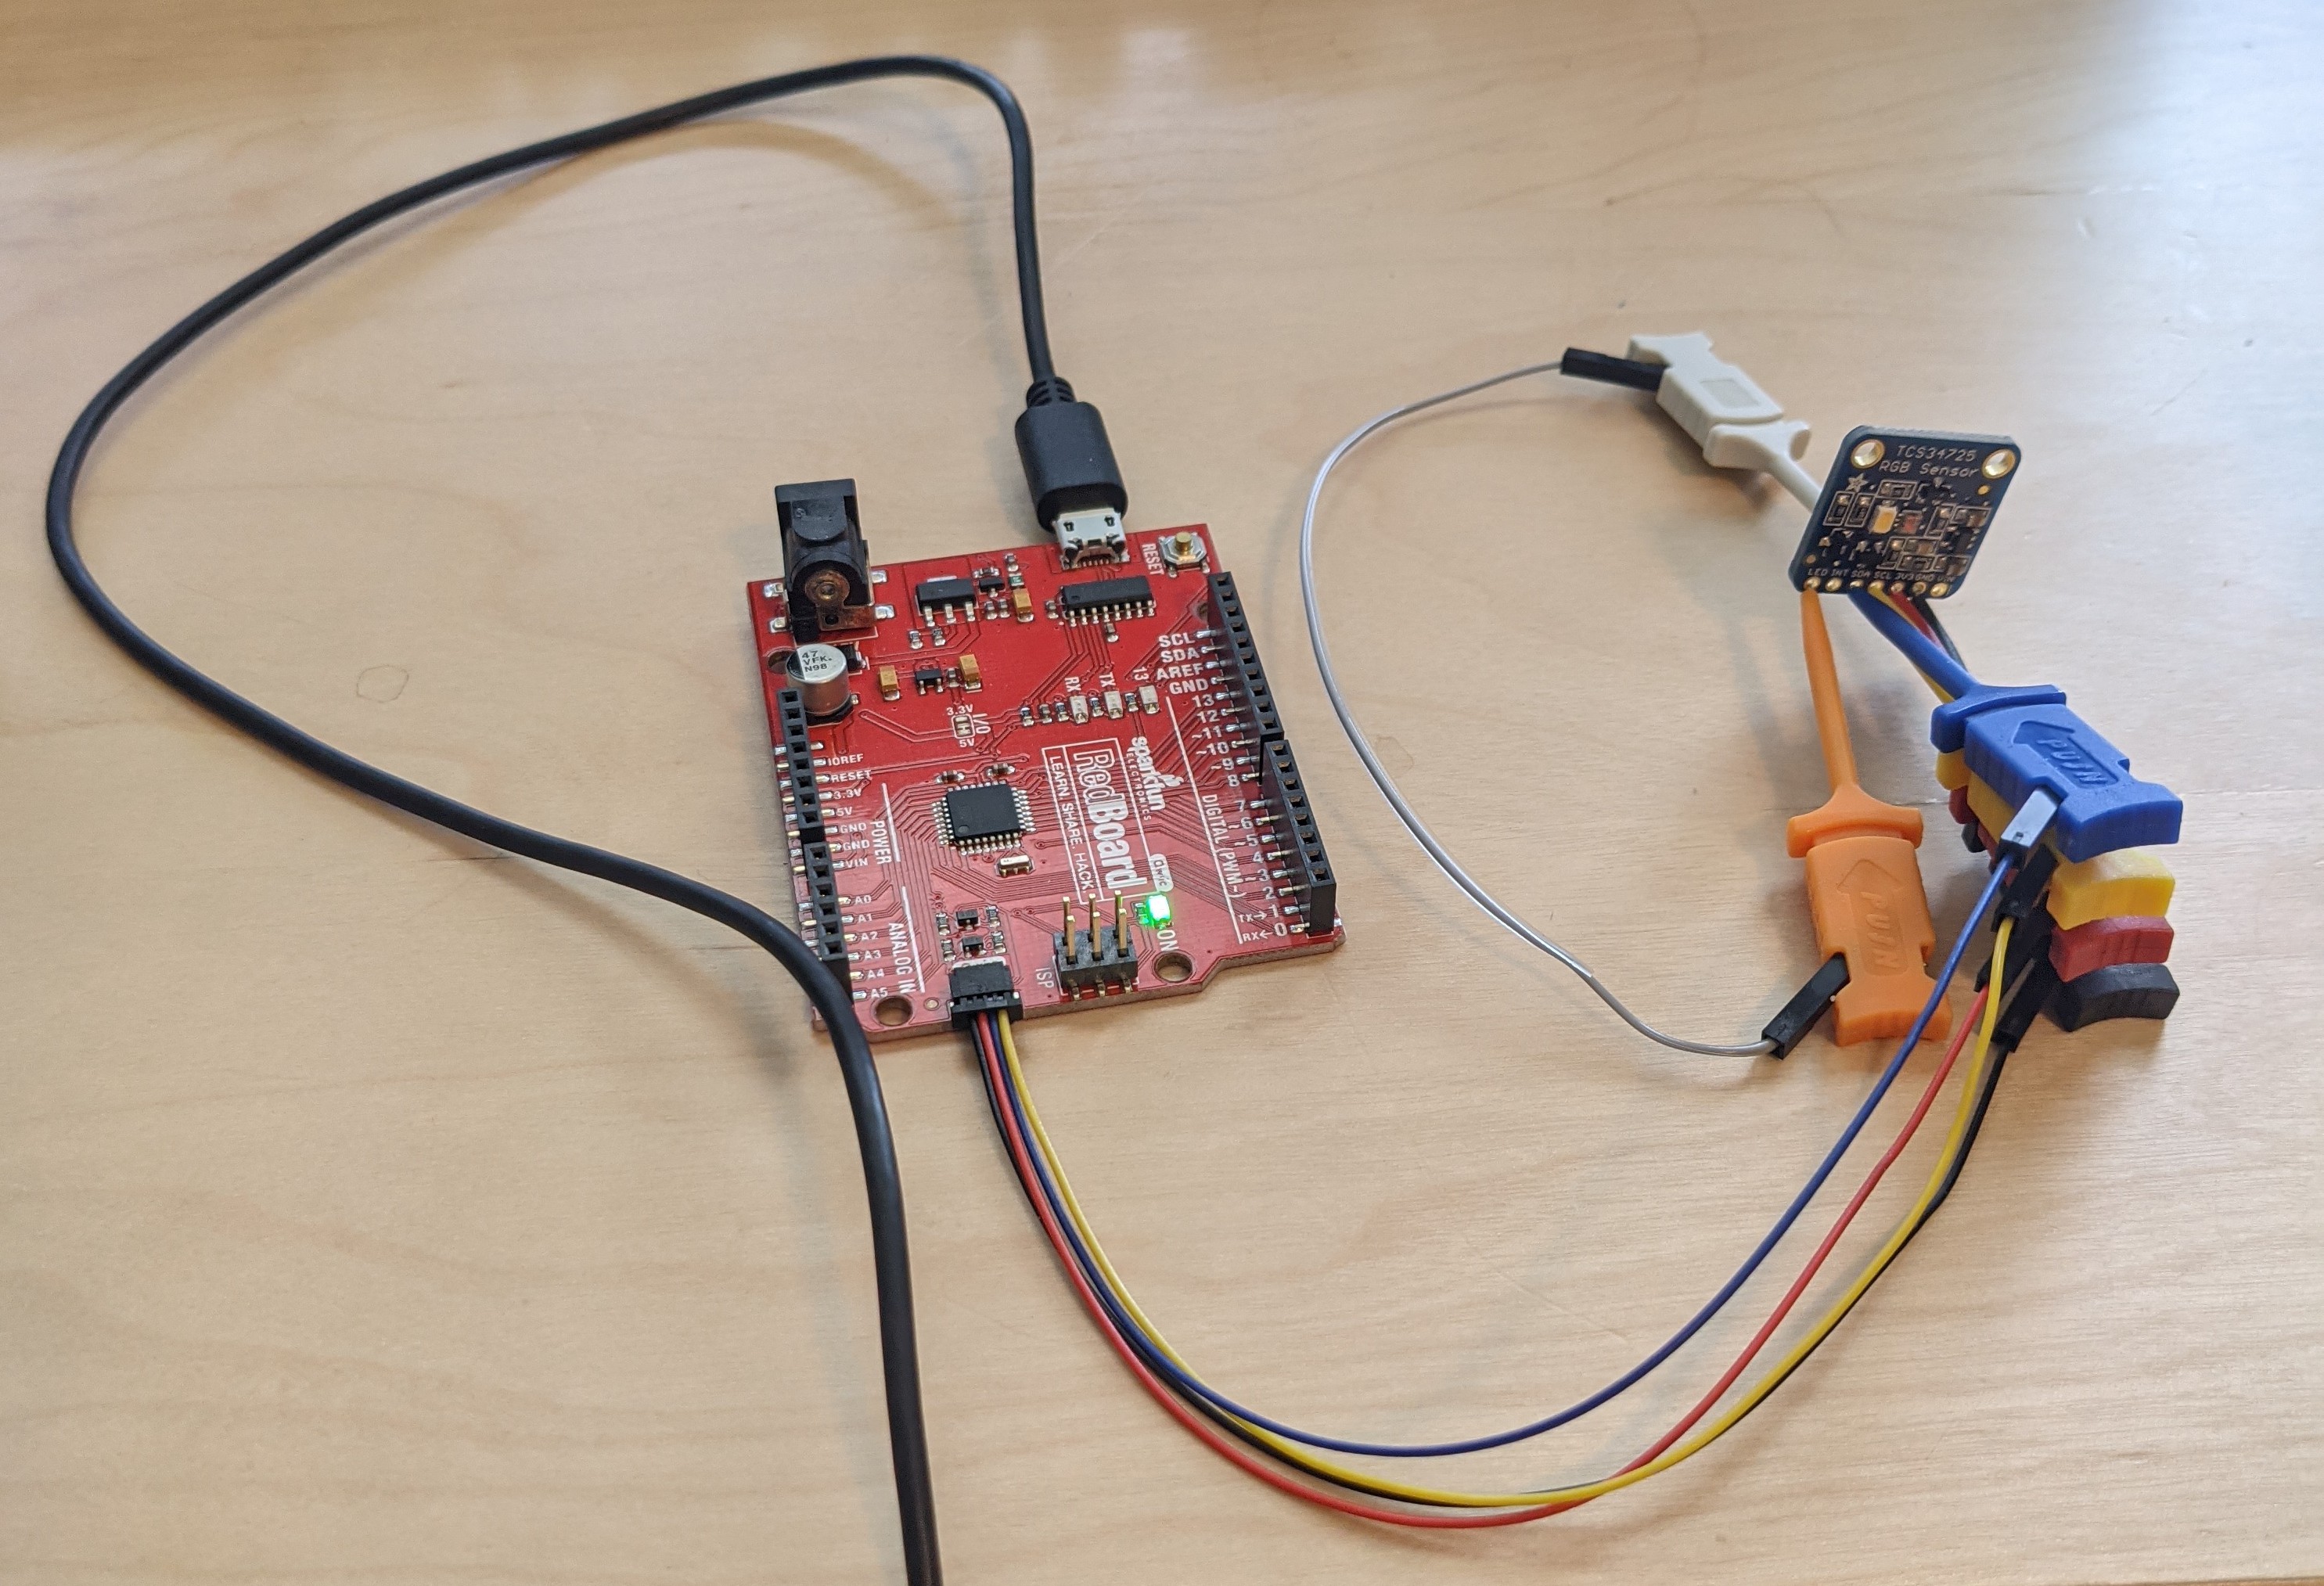
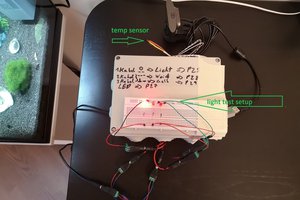
A modular system to dynamically monitor and replicate outdoor lighting color temperature indoors while maintaining a stable light level.
 Jon
JonBecome a Hackaday.io member
Already have an account? Log in.
Just one more thing
To make the experience fit your profile, pick a username and tell us what interests you.
Pick an awesome username
hackaday.io/
Your profile's URL: hackaday.io/username. Max 25 alphanumeric characters.
Pick a few interests
Projects that share your interests
People that share your interests


 Nikola
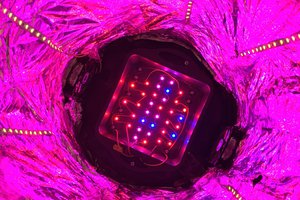
 niko
niko
 Minimum Effective Dose
I hope you don't mind... I tried to read through the project... WHY would you do that, and I didn't find it.
Maybe I'm wrong but I think that replicating outside lighting conditions is NOT what we should do; why would you?
- When you wake up to start working you need bright white light (with nice blue content) to wake you up, not whatever gloomy light (or even dark) may be outside.
- Late evenings you want low, no-blue light to allow the body to prepare to go to sleep, not the bright skies one gets even at 10PM at summer solstice in the northern lands.
- When you come home in winter and it's dark outside, you want bright inside to cheer you up, or you'll get depressed.
Sure, it's interesting but I don't think it's useful. What am I missing?
Sorry :-(