OK, McGuyver -- you have to build something retro-ish, and while *you* can define that term (within a reasonable extent, of course!), you're going to be slow and you SUCK at coding. You also don't have time for anything to come from eBay, which is bad because you rely on that, usually, to patch the potholes in your creativity -- which you always fall into. Somehow they're always big enough that your grandmother would say, "Why, you could lose a small dog in that!" Better think fast.
This was my predicament, come Wednesday evening -- and yes, my grandmother *did* describe potholes that way! (She used to raise Cairn Terriers, as well, so an average-ish adult of the breed is going to be your standard reference size for 'small dog' there ;) )
I knew I had an Arduino Nano on the desk, cast aside as unsuitable from another project where the pinout didn't line up. I knew I had a couple keyboards in the closet... mostly USB, but I had one or two that were PS/2. I had character LCDs. I had a tube of NOS *very* old, but trustworthy (!!) second-source MAX232 clones, purchased on eBay specifically *because* I knew I could trust them not to be counterfeit. I was pretty sure I had enough 1uF electrolytic capacitors to make at least one MAX232 chip work, thanks to a bag of old, scavenged caps of that sort (one of two) that @Dr. Cockroach had given me some time ago when we met in person, that I'm pretty sure *he* got off another pal (although I'm not quite sure whom any more -- he told me at the time, but I've forgotten since).
See what I meant in that other log about what I'd do with that $200 and why it's important to me?
(Context -- https://hackaday.io/project/180346-the-mighty-quill/log/194543-aaargh )
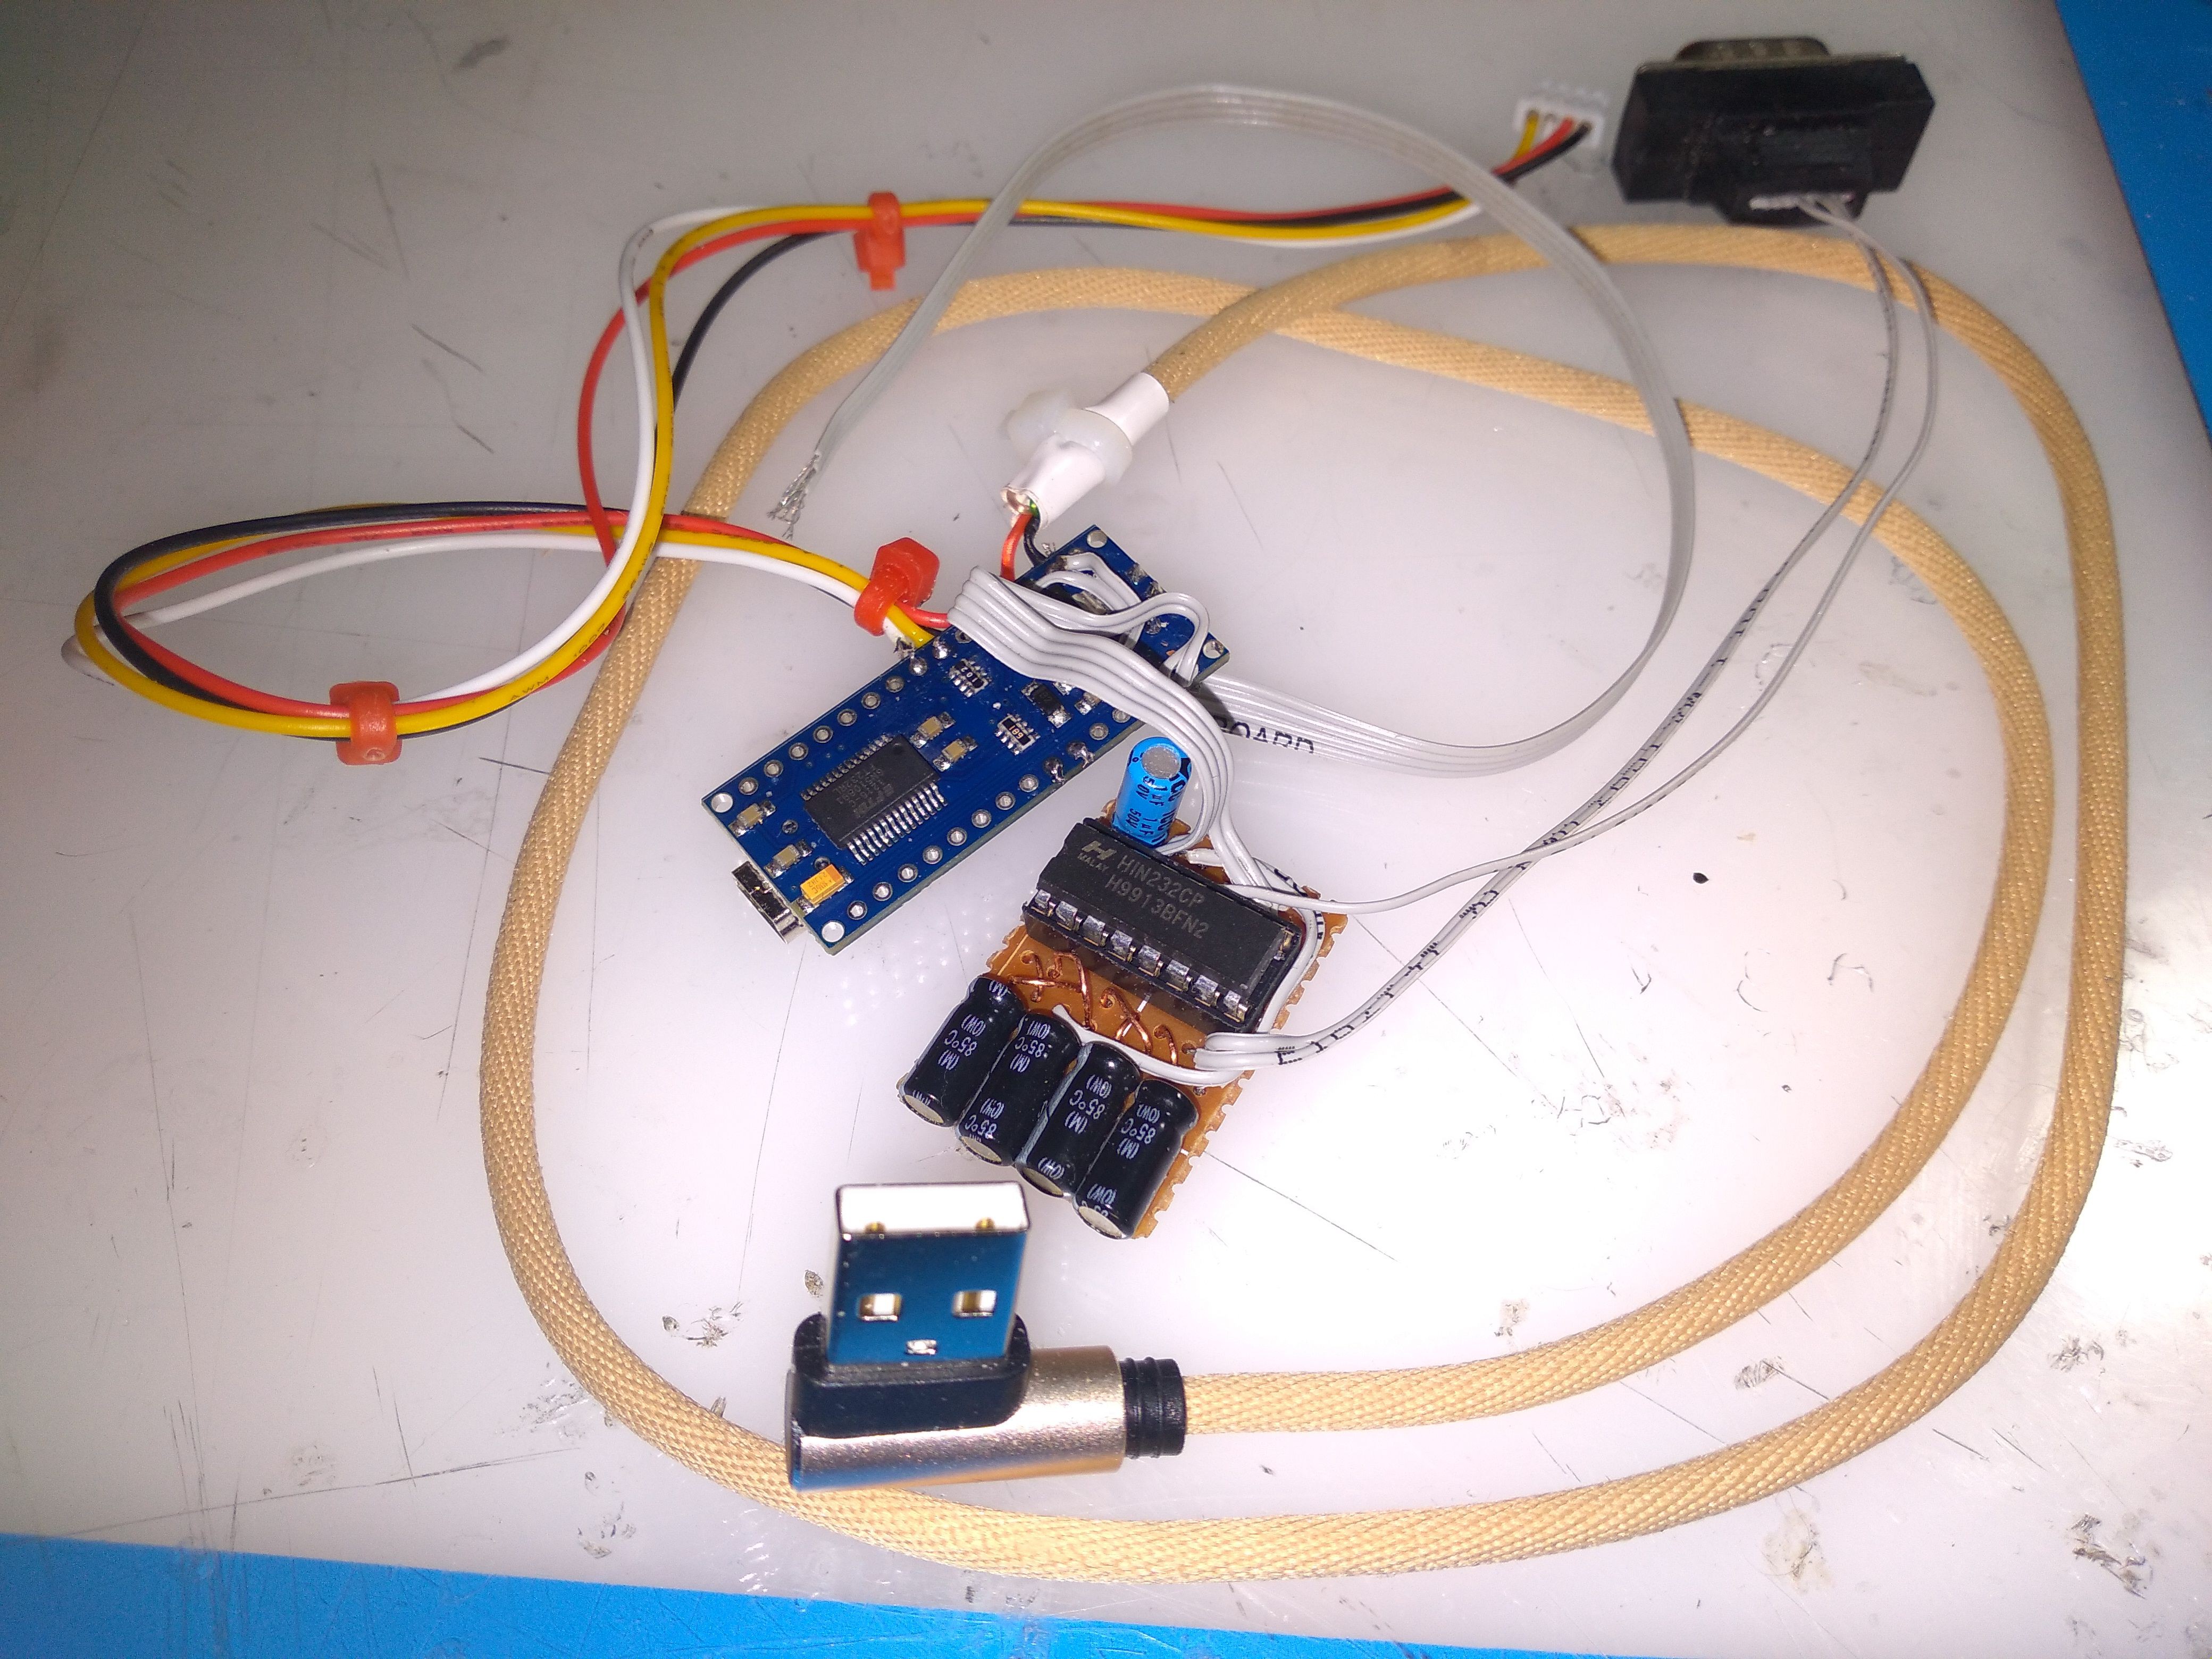
Ultimately what I threw together looked like this...

I'd pulled a spare USB cable stub from a drawer of them in the closet (I keep cut-up USB leads for EXACTLY this sort of thing), as well as a spare COMport motherboard header-dongle from a different drawer, a random 2mm-pitch 4pin cable that could (hopefully) drive an I2C serial backpack I'd found in a box, so I could (I hoped) easily run a 20-character / 2-line HD44780 character LCD I'd dug out of a *different* box (LOL).
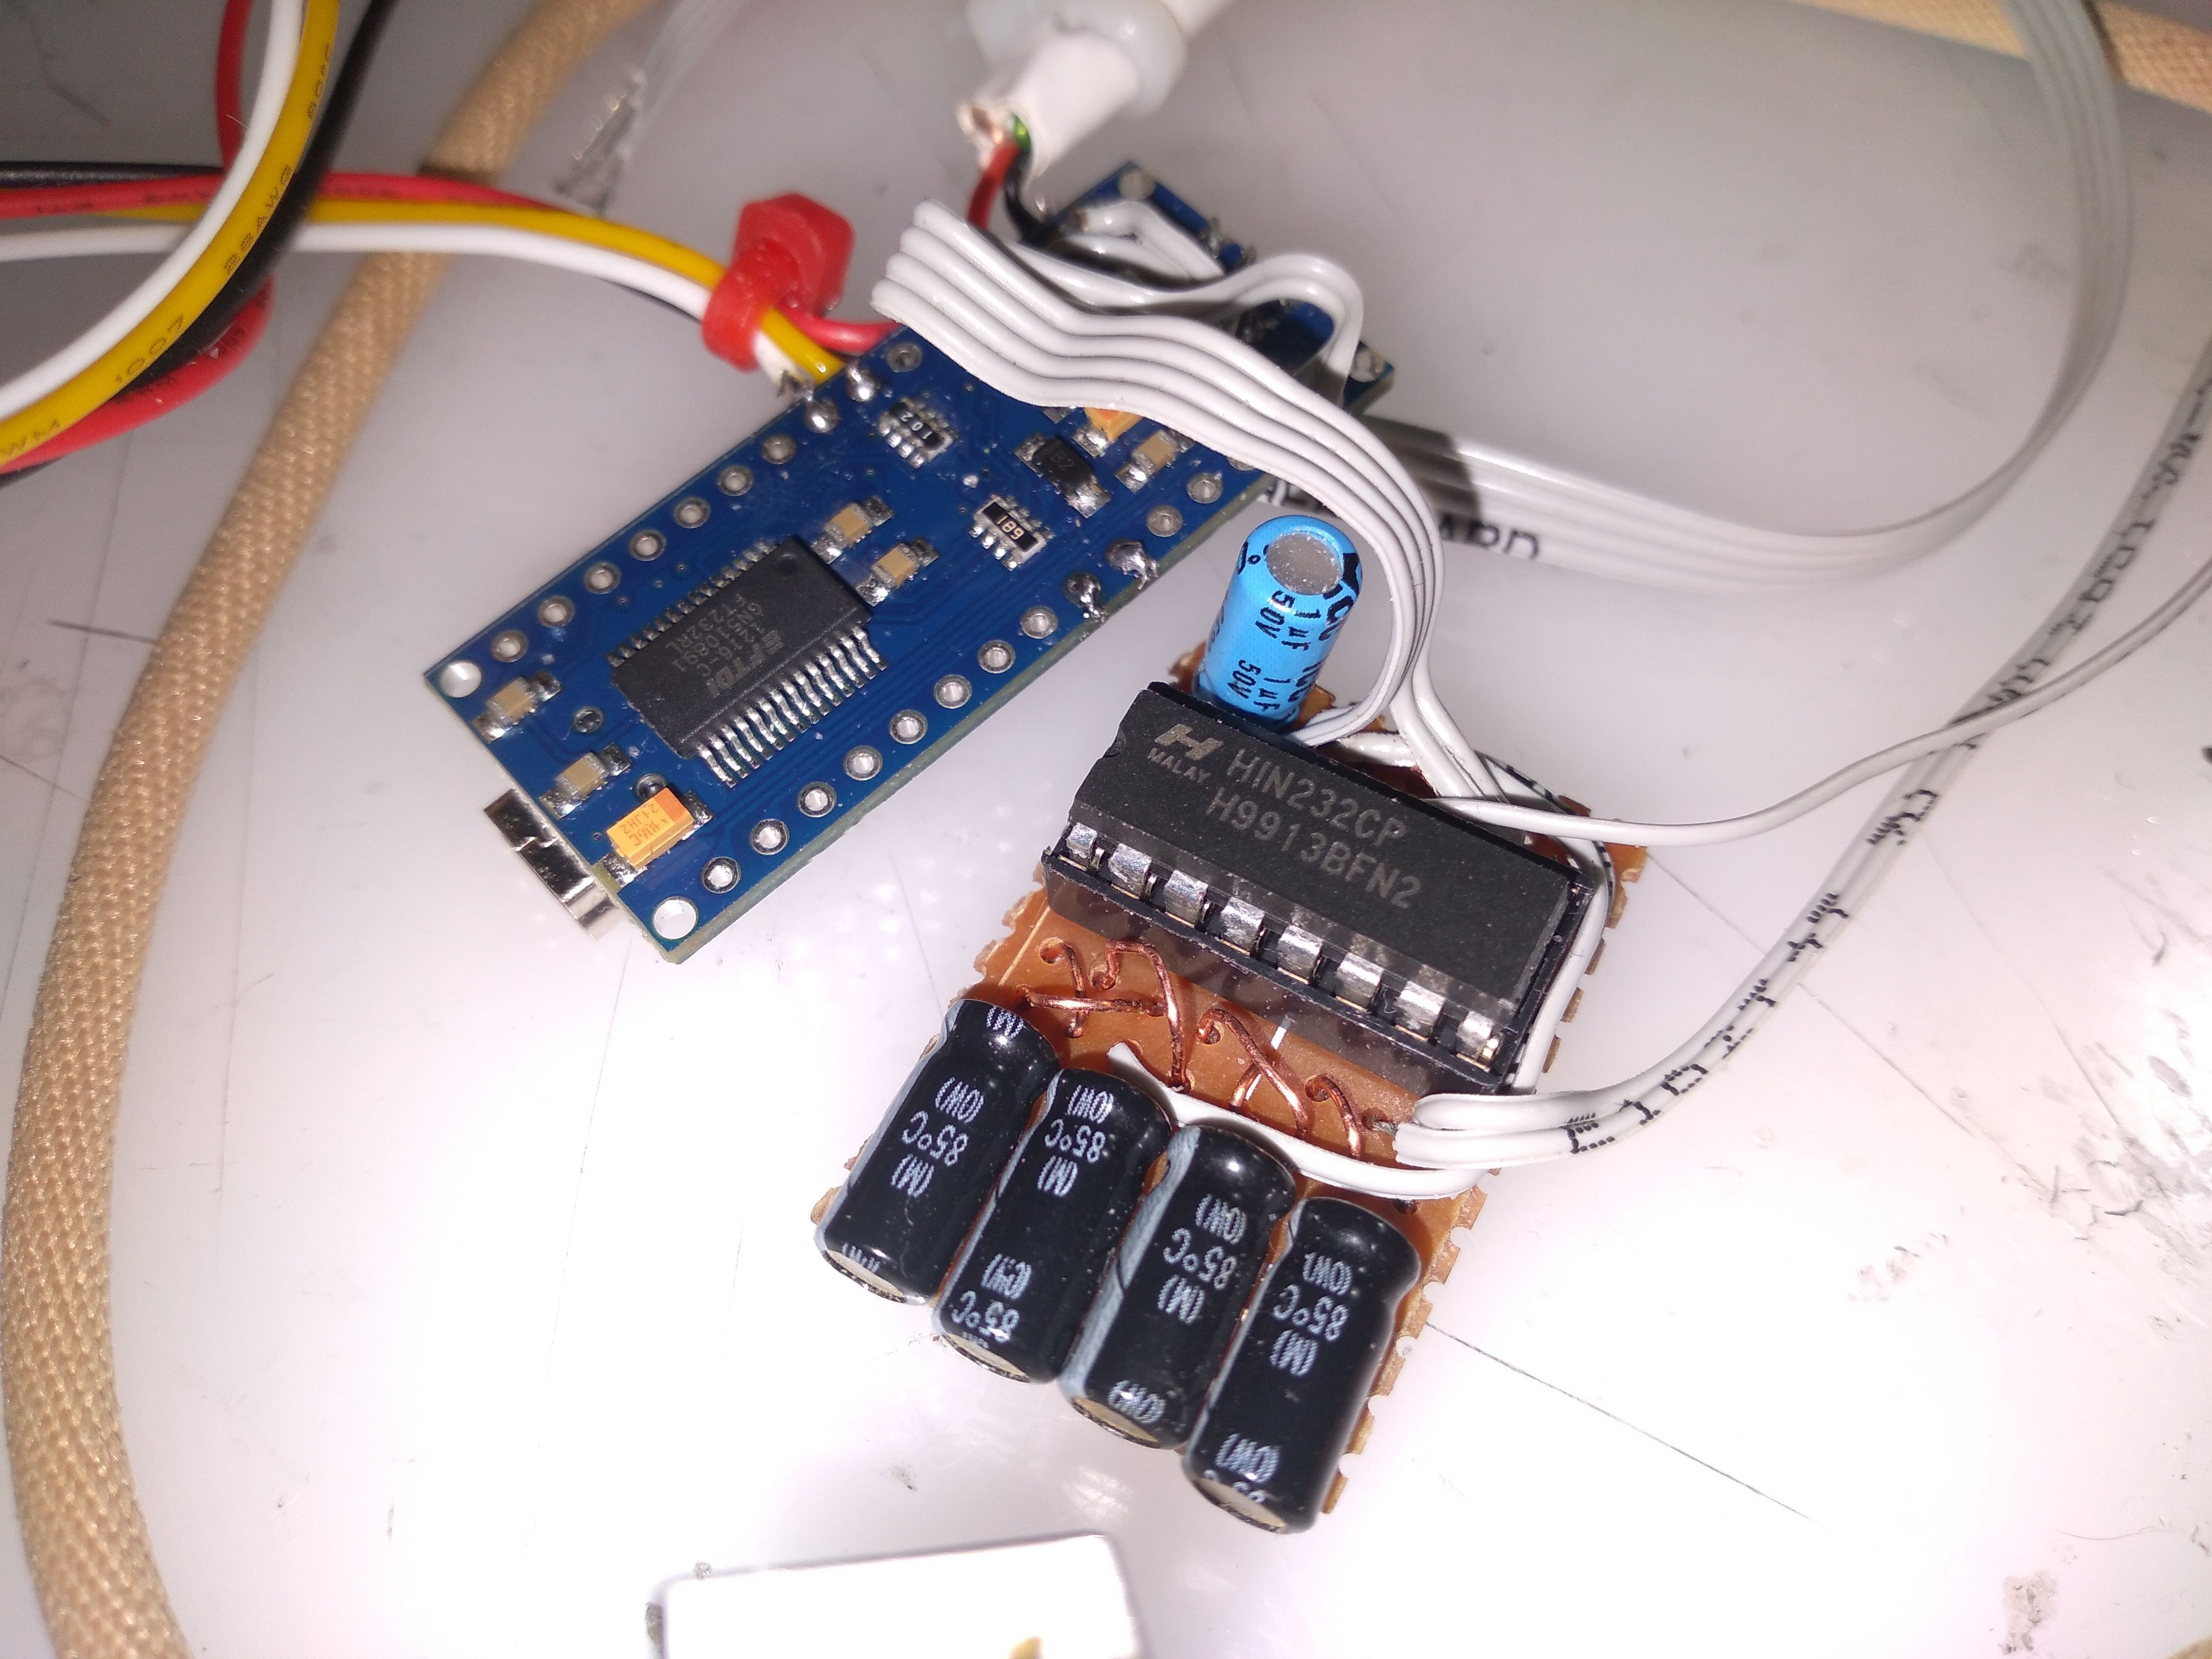
The circuit for the Harris Semi HIN232CP -- a MAX232CP second-source, so identical to the original, just a slightly different part number because of the different manufacturer, is the reference schematic in the datasheet. This is the *ancient* version of the chip that still needs huge electrolytic can caps ;) so that's what I used. (Thx Doc!) All five caps are 1uF 50v... and all five are absolutely absurdly antique, ha!
You can't really see it, but the USB lead *only* supplies power; the white and green leads are cut so that they cannot conduct through, and they're bent over into the white electrical tape. BTW, that trick of using a zip-tie around the tape is a clever thing I came up with -- I've never seen anyone else do it -- it keeps the tape from unraveling as the adhesive dies. Nowhere near as nice as heatshrink, of course, but when you need to do things on the quick-n-dirty ;) and you're not so hot with the heatgun... it's not half bad. For the record, that white zip-tie became a much smaller black one at some point. Cable routing in this thing wound up being a serious devil's b----.

A closer look at the electronics. Trust me when I tell you, be glad you don't get to see my soldering!
 Starhawk
Discussions
Become a Hackaday.io Member
Create an account to leave a comment. Already have an account? Log In.