Close
0%
0%

Reflow Plate from Upcycled Hotplate

Up-cycling a breakfast sandwich hotplate from goodwill to create a profile controlled reflow plate.

Similar projects worth following
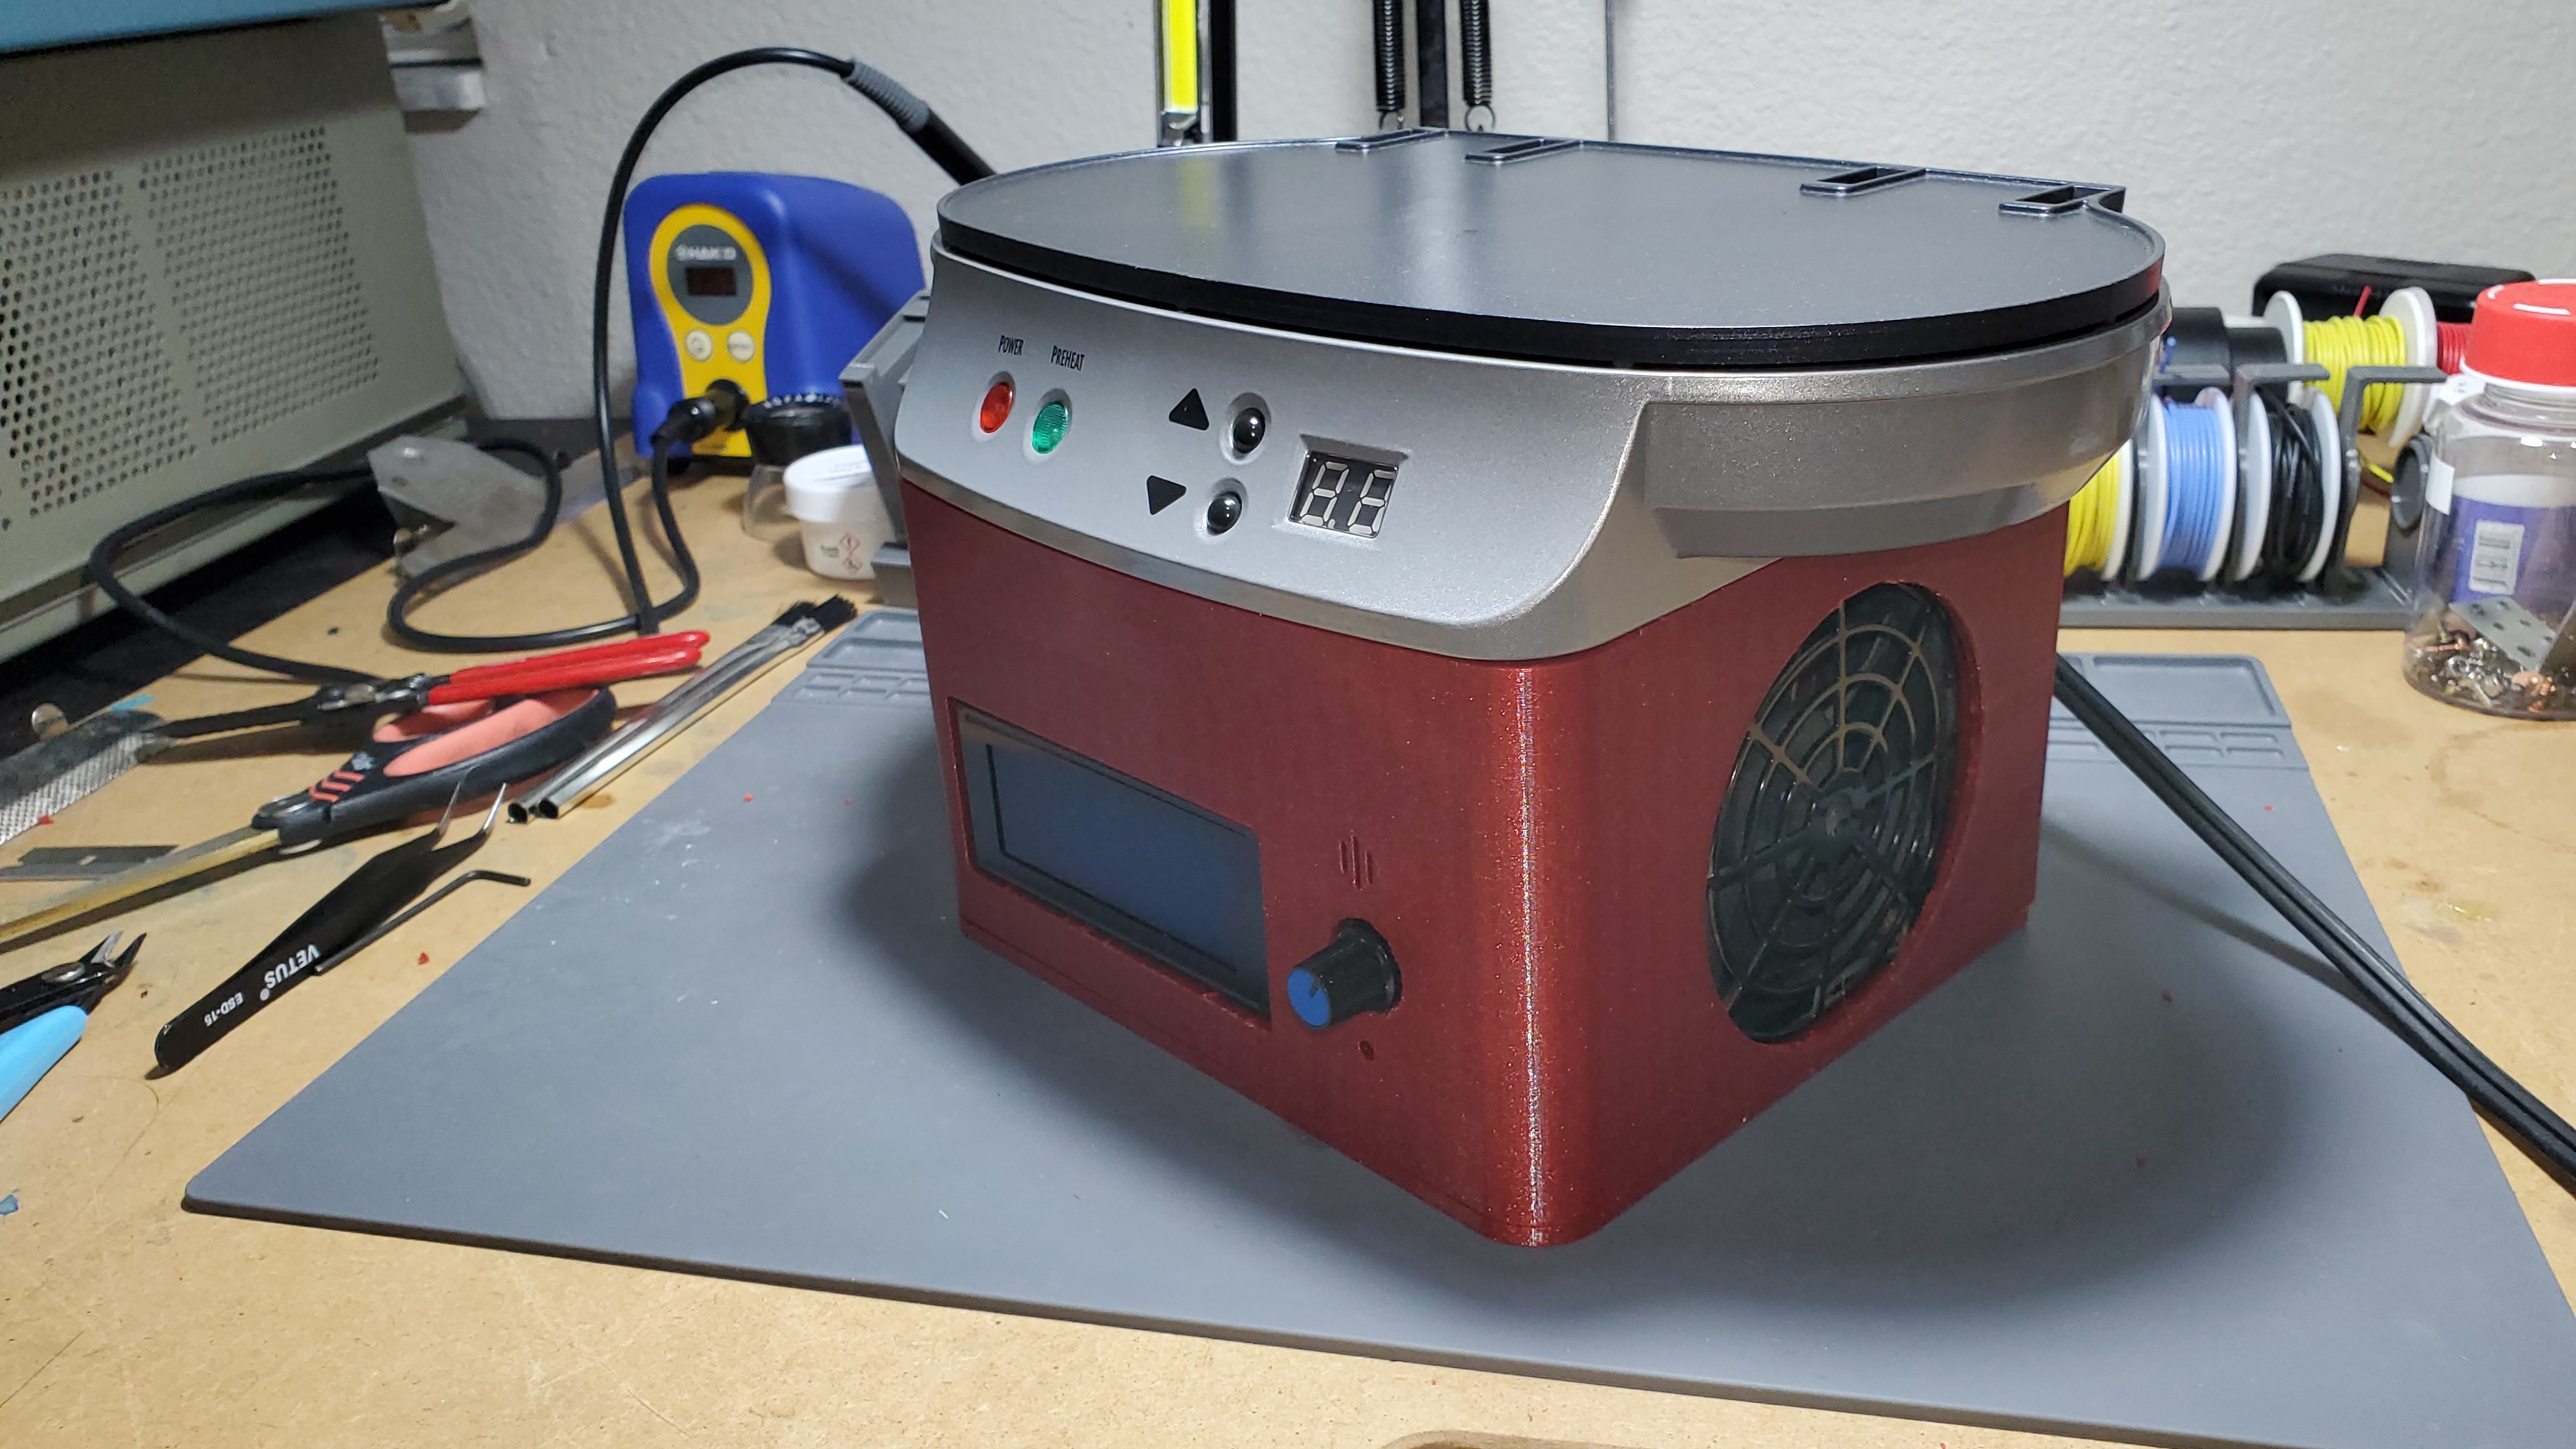
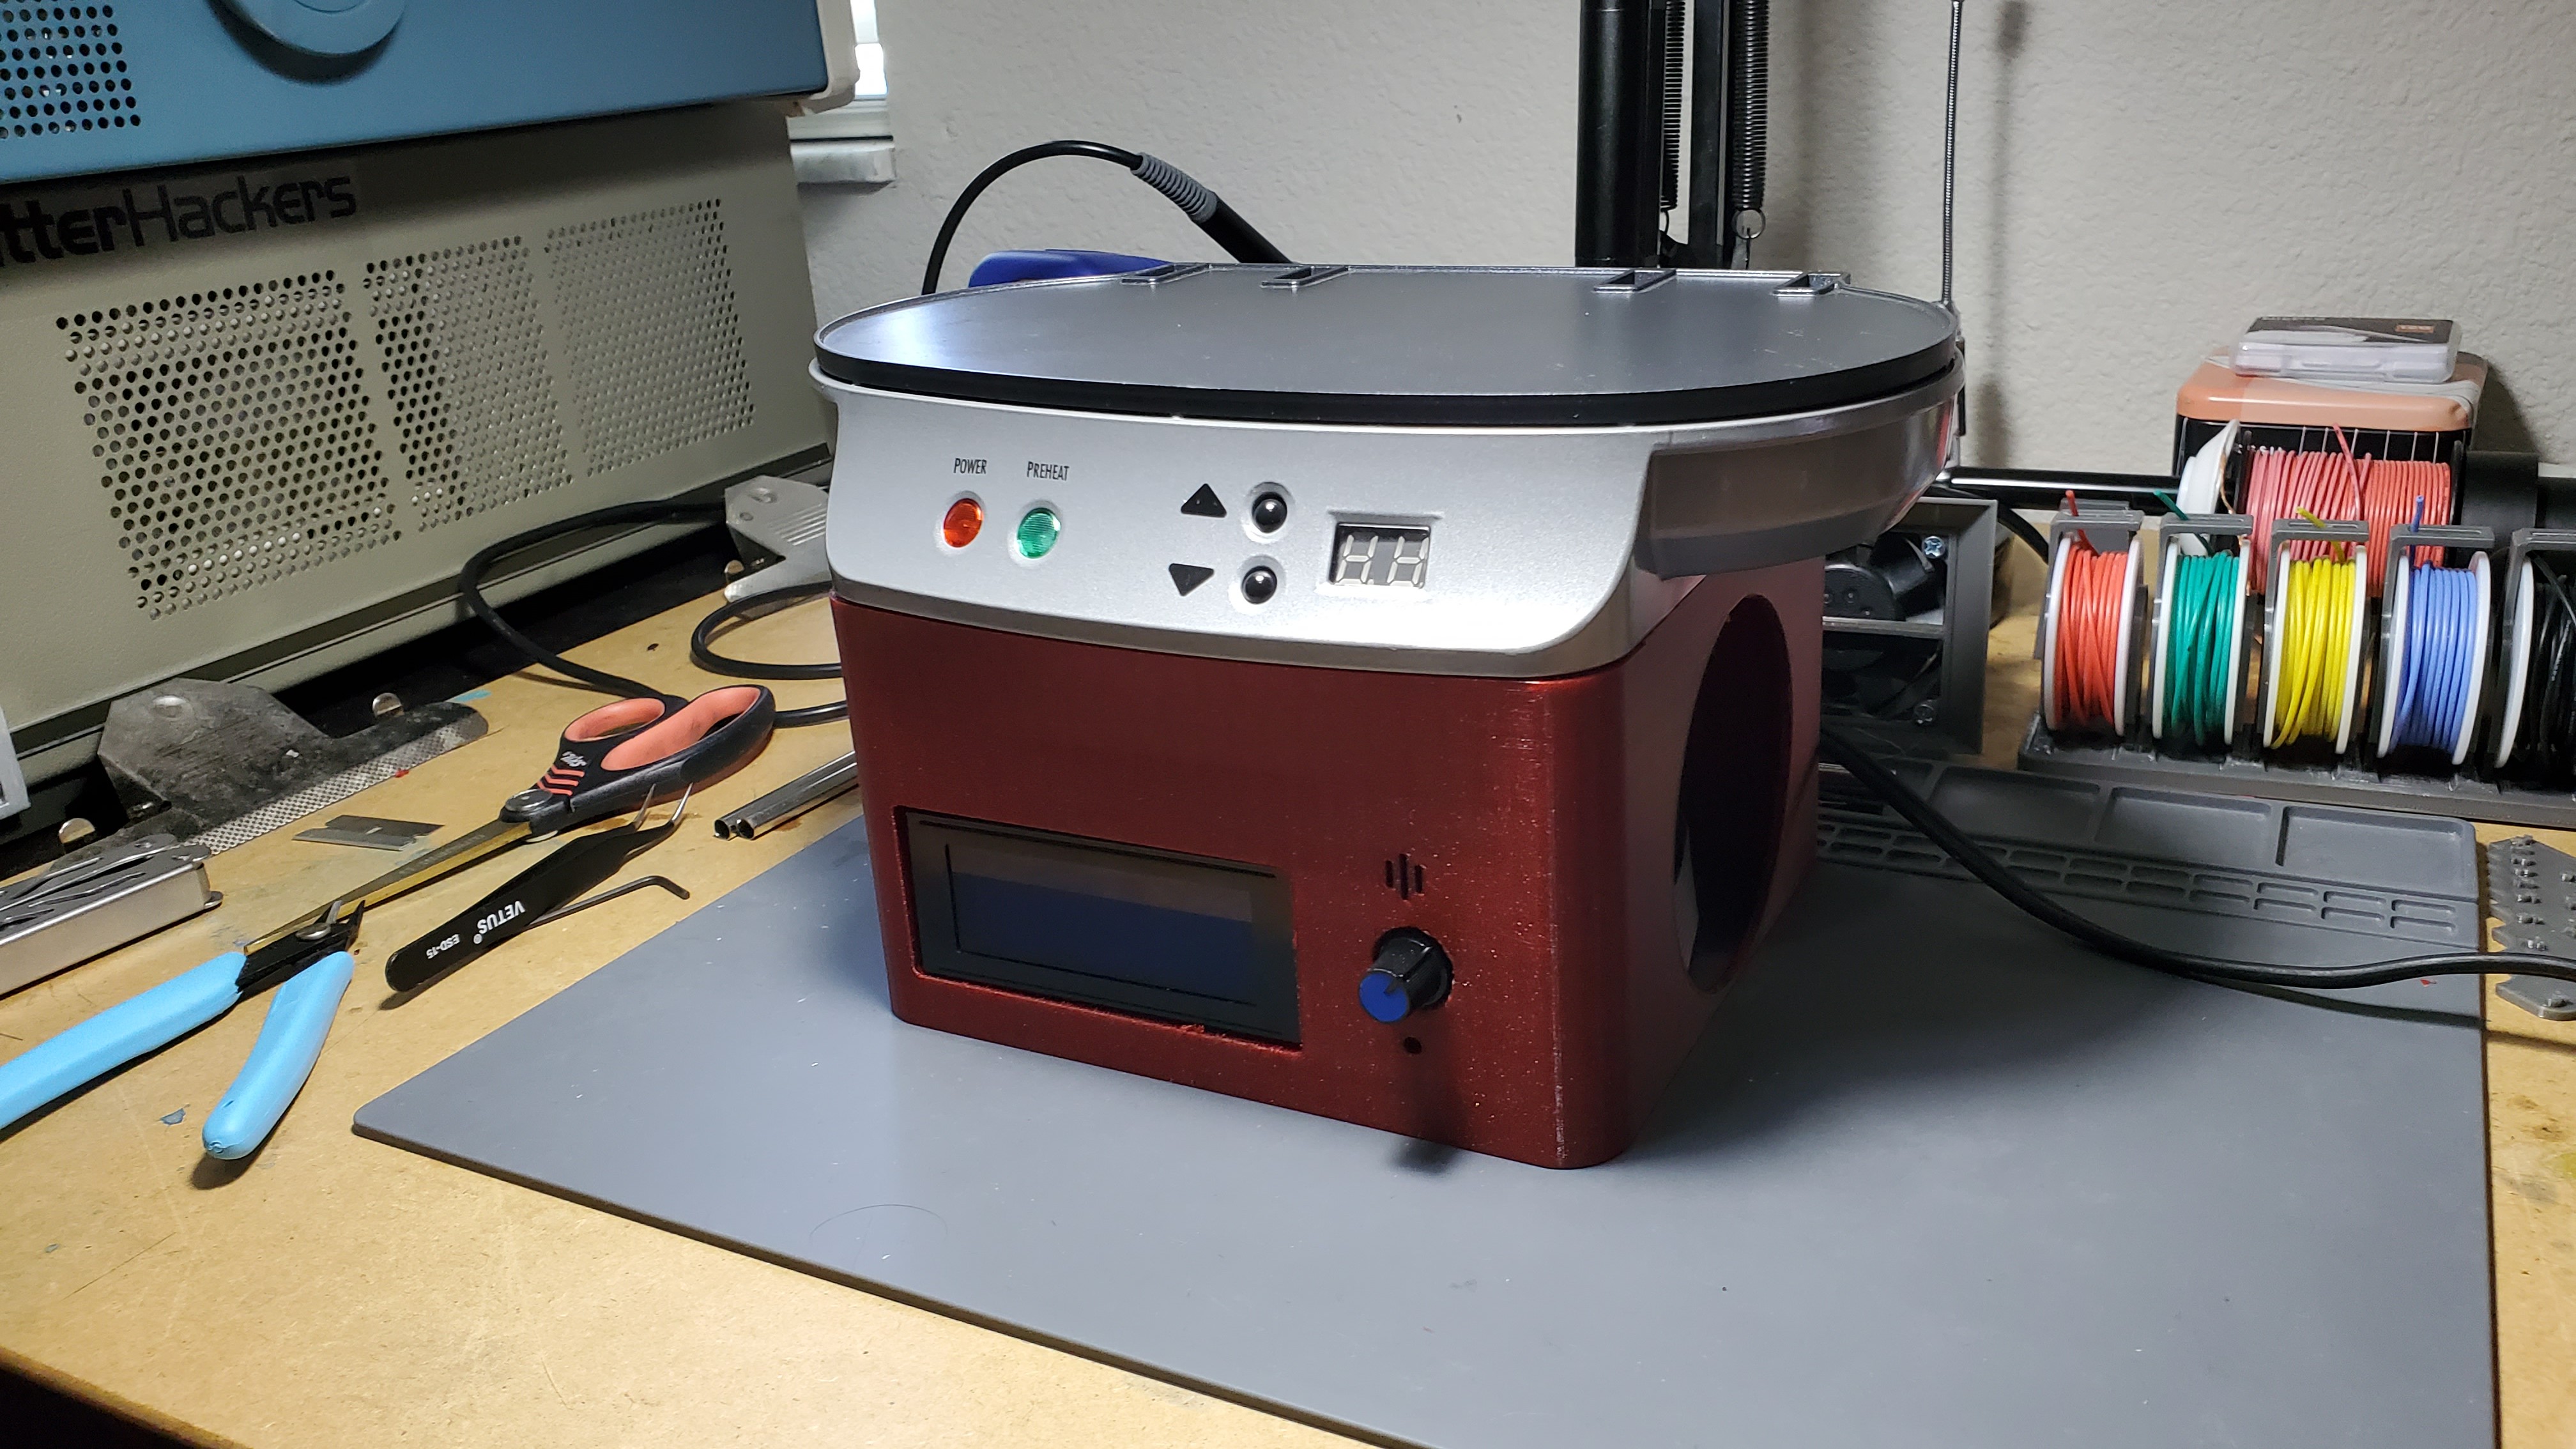
In an effort to actually be able to reflow lead free solder paste at home I purchased a mini hot plate from goodwill for around 6 bucks. Unfortunately the internal controls cuts it off right below the temperature needed. Ultimately it resulted in a bodged board. To fix this I am adapting the hotplate with additional electronics and a controller to be able to not only make it go hotter, but to follow paste profiles. This project will hit all the marks: 3D Modeling, Hardware Hands-on, and Code development!

This project will be broken up in stages: 

  • Planning/Design
  • 3D Modeling and Printing
  • Electronics Assembly
  • Programming
  • Testing


Design: 

At it's core the base design is:

  • Heating Element
  • Thermocouple and amplifier
  • Controller
  • SSR

This project uses a SSR to connect mains voltage to the heating element. If you are planning on replicating this in any way please proceed at your own risk and observe proper safety procedures for high voltage.

Parts:

I will be using some parts that I have laying around in addition to purchasing parts that I do not have. I will list all the parts in the components tab as well as estimated costs per item.

3D Modeling: 

I have been using fusion 360 and will post these files after the project is complete. I will note however this enclosure will only work with the specific hotplate as it was purpose built for this hotplate.

You can view the current model here: https://a360.co/3qSl1Pi

3D Printing:


All the parts will be printed in PETG on my CR-10S Pro.

Programming: 

I will be leaning on the Arduino IDE for the Teensy, as I plan on levying a specific PID library to control the heating elements. Also to minimize my development time.

Github repository: https://github.com/NegativeEnergy/Upcycled-Reflow-Plate

Assembly Drawing v5.pdf

Basic assembly drawing

Adobe Portable Document Format - 170.17 kB - 07/14/2021 at 23:53

Preview

View all 15 components

  • Created Github Repository - Started Code

    Garrett Brainard07/15/2021 at 04:14 0 comments

    I created a github repository for the project, something I haven't done for many years. I also started the code for the controller, something I haven't done for equally as long a time, trying to wake up the brain and remember how to code, I'm leaning on Arduino's flavor of C++ for this project just for ease of use and rapid development. I need to figure out how to reference the different libraries that I am using within the project, I thought I had seen a way to link a repository to files in an entirely different repository that did this very thing, however this is far above my knowledge on how github works, it will require some heavy investigation. For now I'll likely just pull the libraries from the directory and add it to the repository manually as I go. I'll add CAD, BOMs, and drawings in the future, however because it's form fit for this specific hot plate, the CAD isn't going to get you very far unless you have the exact model which is a Hamilton Beach Type ST30 Model 25490A: https://hamiltonbeach.com/dual-breakfast-sandwich-maker-25490 . I'm predicting that the code is going to be the longest task in this list, I'm fluent in hardware, my software abilities have atrophied over time, they are slowly coming awake.

  • Parts list and "Assembly Drawing"

    Garrett Brainard07/14/2021 at 23:59 0 comments

    I added the parts that I am using for the project as well as a rudimentary assembly drawing, mostly for pointing out screw locations, it's very bare bones. 

    I've learned so far that hardware is expensive, those screws add up, especially when you have to buy them in packs, I definitely see the merit in using snap connections built into your models, I will visit this in 3D models going forward. That being said I would still have to use screws for mounting most of the electronics, also since this box has main wires inside of it I do want it to be fairly hard to open, I think 8 recessed torx screws accomplishes this pretty well.

  • 3D Printed Base Plate Complete

    Garrett Brainard07/14/2021 at 03:53 0 comments

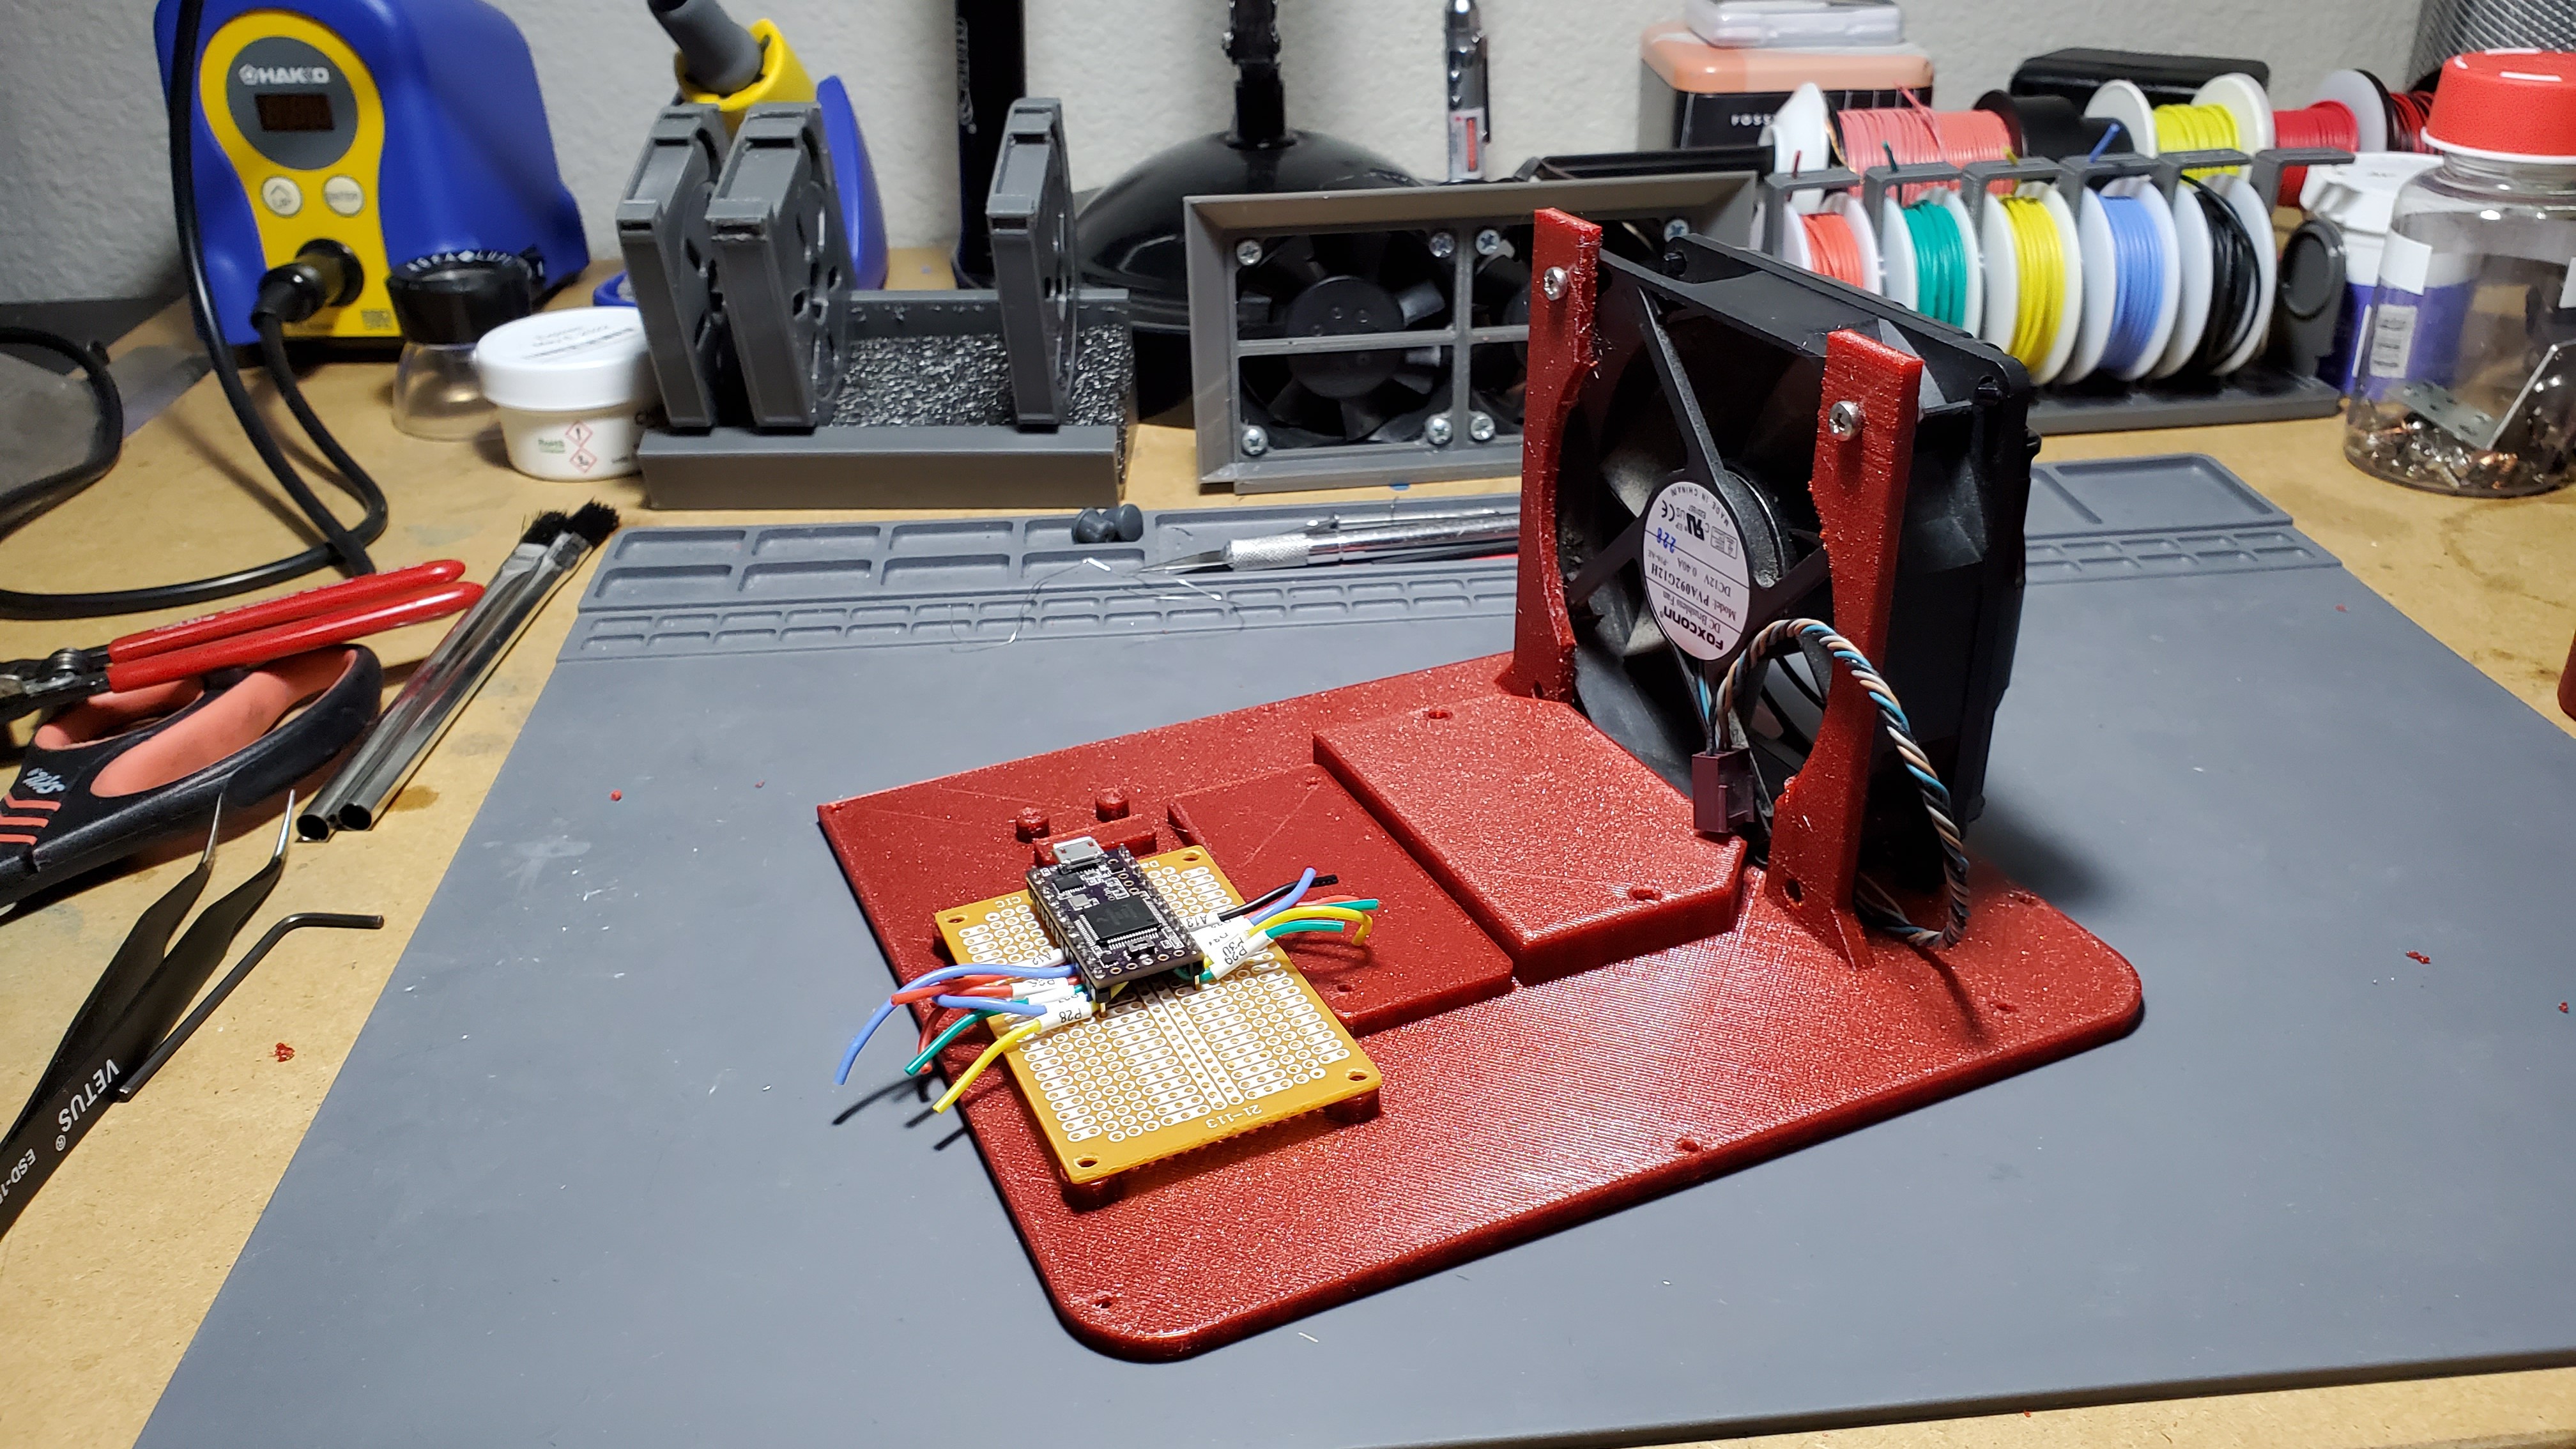
    The base plate just came off the 3D printer and looks great!

  • First 3D Printed Part and Some Electronics work

    Garrett Brainard07/13/2021 at 18:24 0 comments

    Just completed the shell layer of the enclosure and I am very happy to say it fit! I'm in the process of printing the base plate as I type.

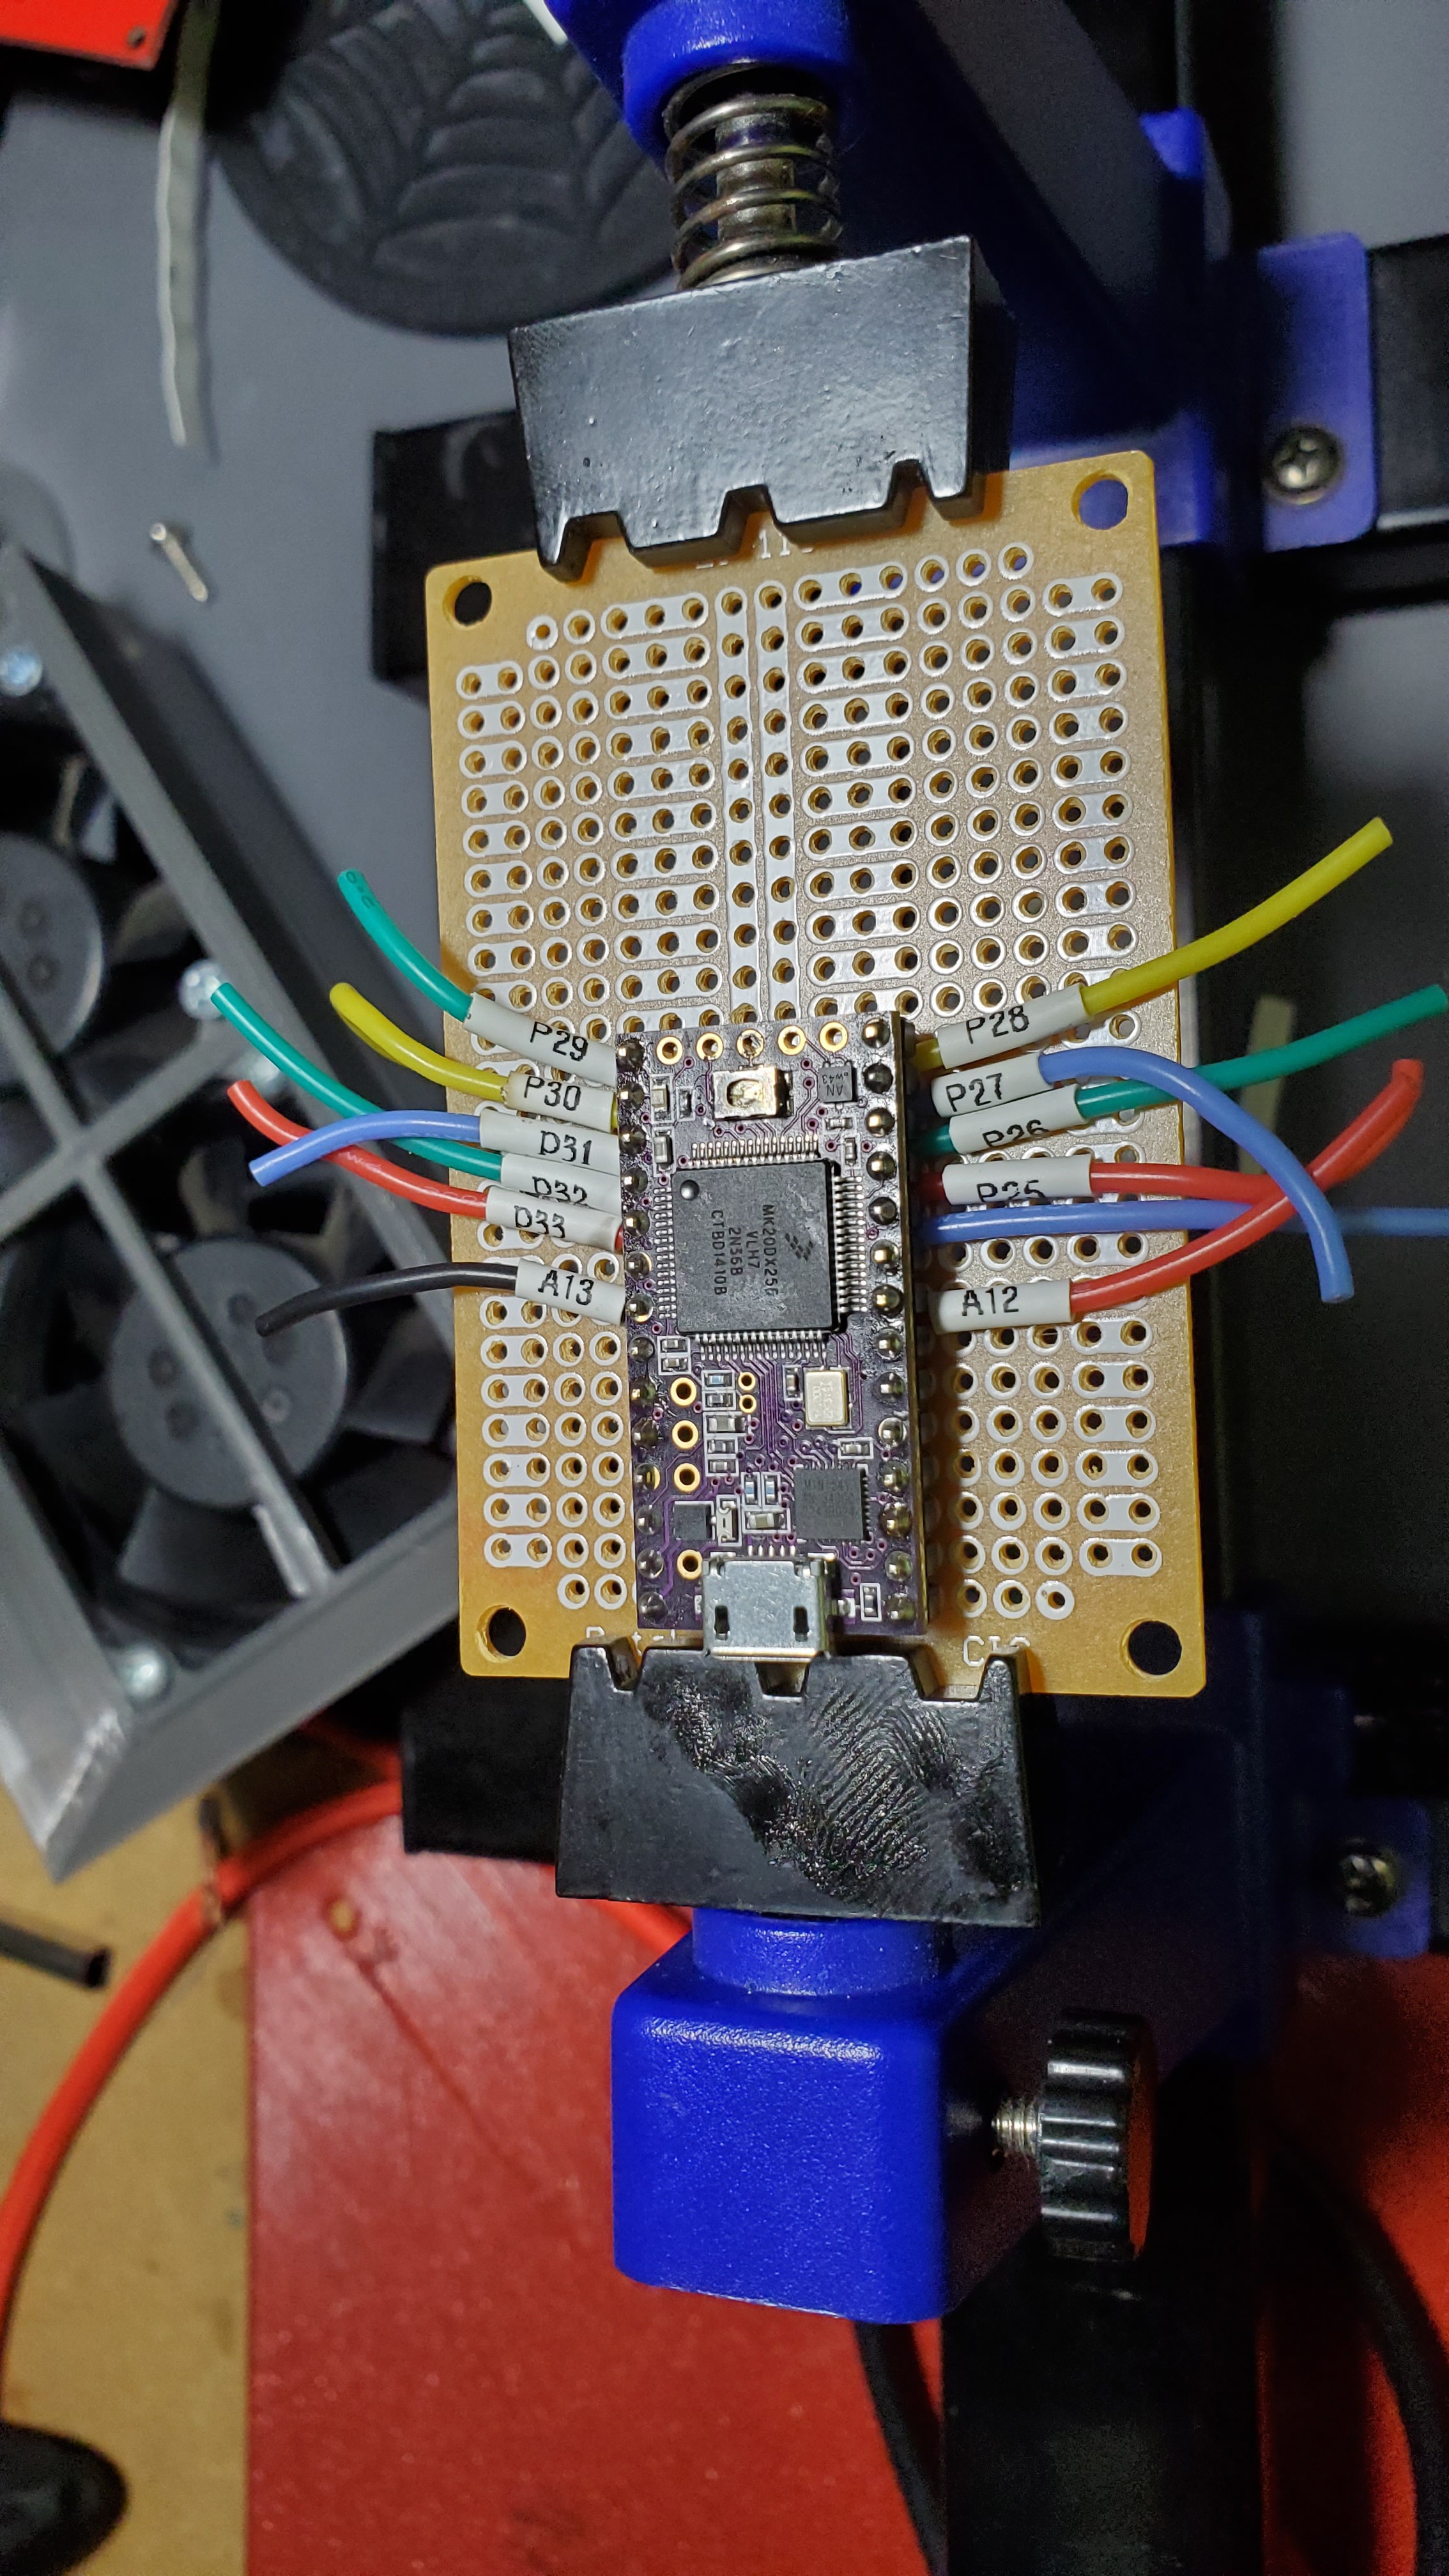
    I also had a little fun with my wife's label maker and some heat shrink label I had found online. I absolutely love the stuff!

    Next steps are to buy the rest of the hardware (and update the project BOM....) as well as the rest of the electronics.

View all 4 project logs

Enjoy this project?

Share

Discussions

Dan Maloney wrote 07/12/2021 at 23:40 point

I've got a hotplate here that I plan to make into a reflow, so this will be great for future reference. Thanks!

  Are you sure? yes | no

Similar Projects

Does this project spark your interest?

Become a member to follow this project and never miss any updates