Intro:
I initially started this project intending it to be just the 'MycoBox', a raspberry pi monitored and controlled chamber for spawning and fruiting. However, I soon realized the MycoBox is nearly a perfect bench-top space for including a complete mycology lab as well! So, my wiring design is in need of an update.
Initial Idea:
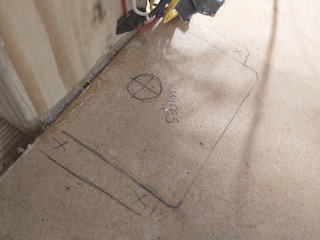
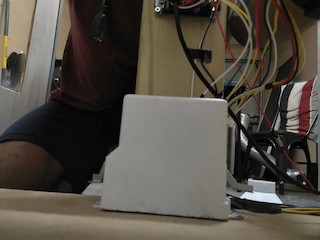
I like to keep data and clock lines from my controllers to my sensors as short as possible, as a best practice I think, so I intended to place the raspberry pi in an insulated box inside the chamber right below the sensor pole ( front door pole that holds the CO2, humidity, and temperature sensors).


This way I could run relay wires under the floor and over to the relay panel out of sight, and run a few data lines neatly up the pole to the sensors.
New idea & why I'm changing the design:
- I can keep the raspberry pi completely out of the chamber and place it in an air ventilated section above the MycoBox and below the MycoLab (components of the MycoHub).
- The MycoLab slides into place on top of the MycoBox and can easily be lifted and placed aside to access a very accessible electronics pan. I think this is just a nicer UX for anyone that may need to maintenance the sensors, or relays, or access the raspberry pi, or any other electrical wiring.
- It will also be easy to include wiring and control for the mycolab here as well
- when the MycoLab is seated into position on the MycoBox, it plugs into the power supply and control circuit
- I wanted to raise up the MycoLab a bit by rimming the MycoBox with 2x4 boards so that it's at a more ergonomic standing lab height (you could use a stool as well)

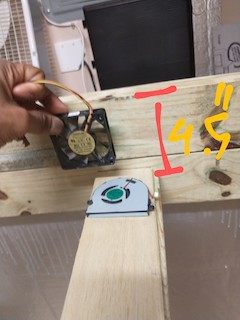
- The flat grey fan is my previous spacing idea, keeping the tray at 1.5" depth. However, I plan to raise the MycoLab up just a bit higher anyways, so now there's just a more generous amount of space to work with.
- The increased pan depth also gives more room for adding a nice thick, not thin flimsy, board for the bottom of this space and the ceiling of the MycoBox; which I think is better. Also a bit more room for any insulating/heat resistant layering I put down in the tray.
Summary: The Raspberry Pi will live above the MycoBox and below the MycoLab in a ventilated access panel for easy construction and maintenance, instead of inside the MycoBox chamber.
 Jonathan
Discussions
Become a Hackaday.io Member
Create an account to leave a comment. Already have an account? Log In.
I'll be uploading more info about the build so far, and the software of course!
Are you sure? yes | no