-
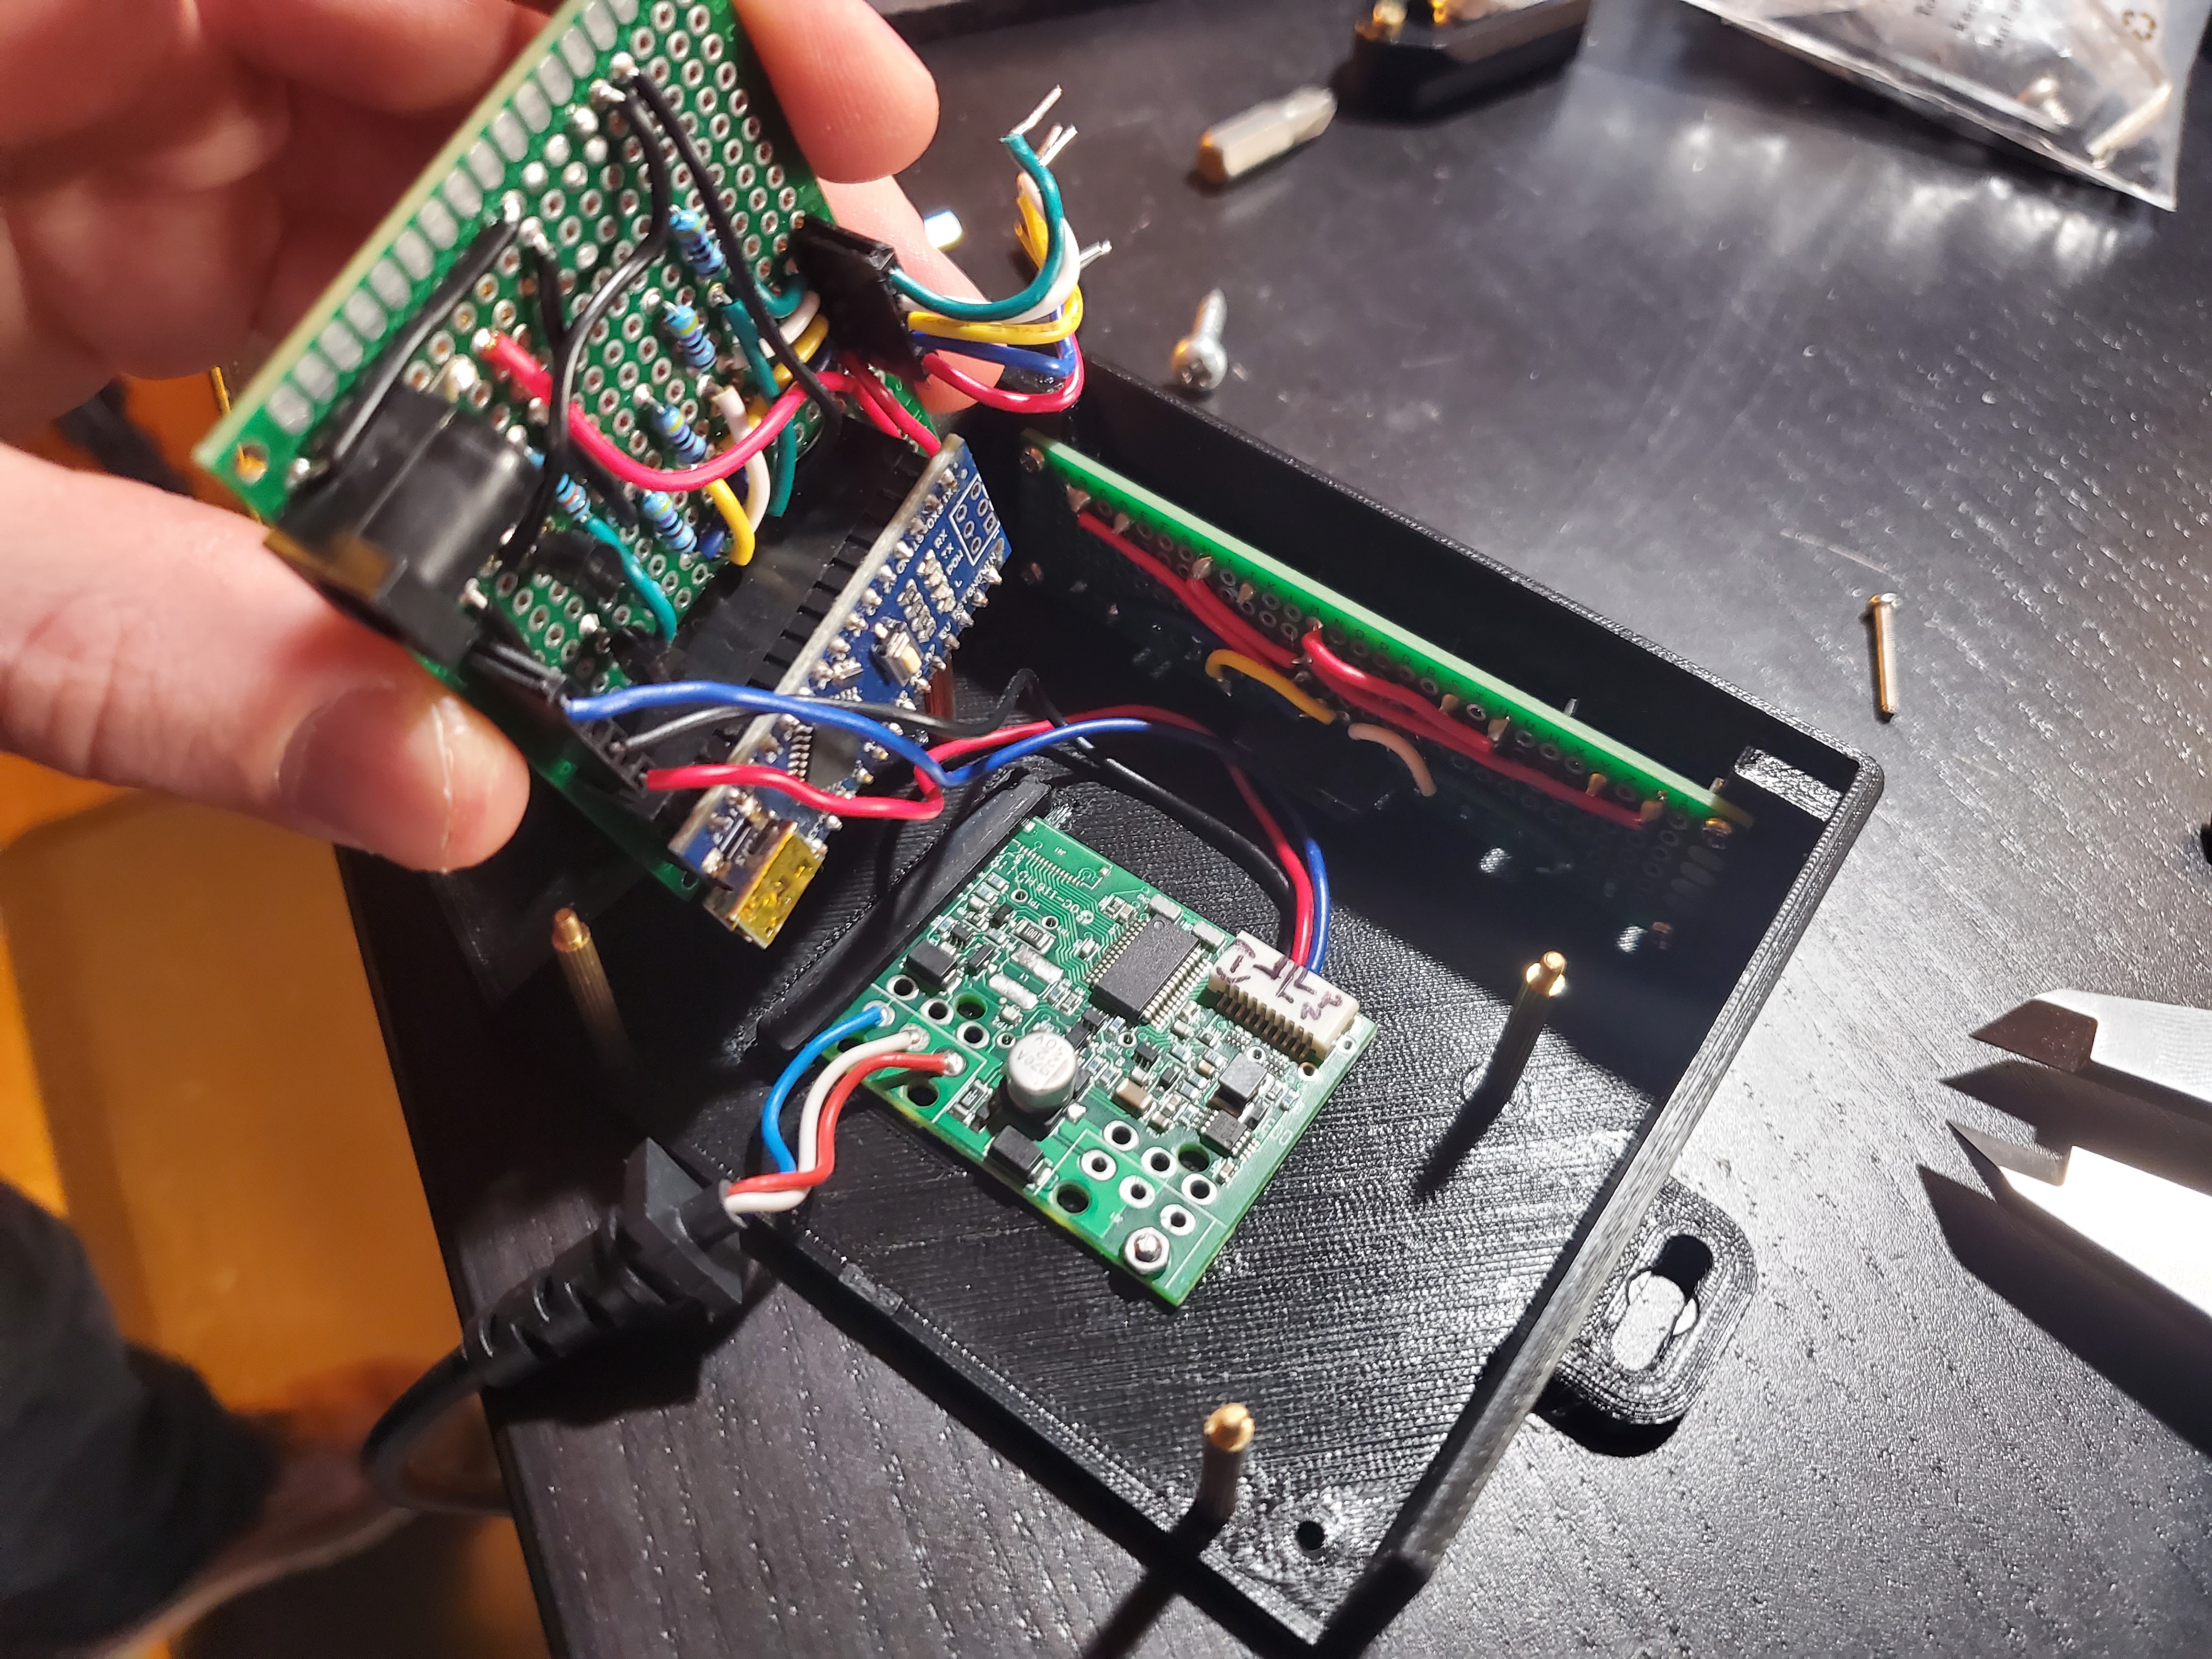
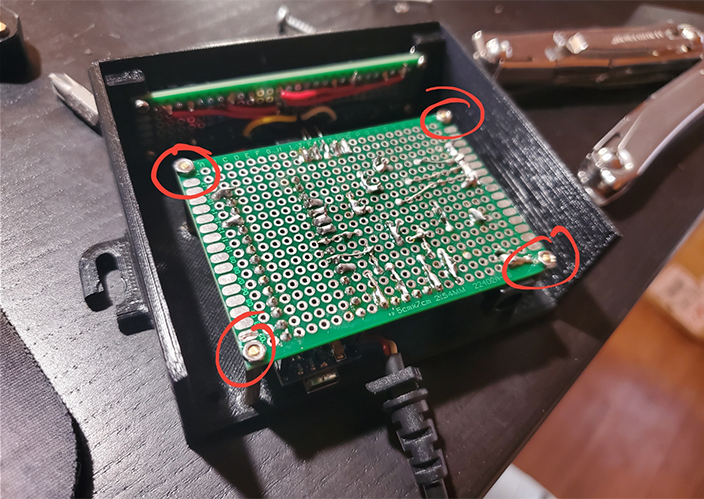
11Finish installing desk PCB jumper wires.
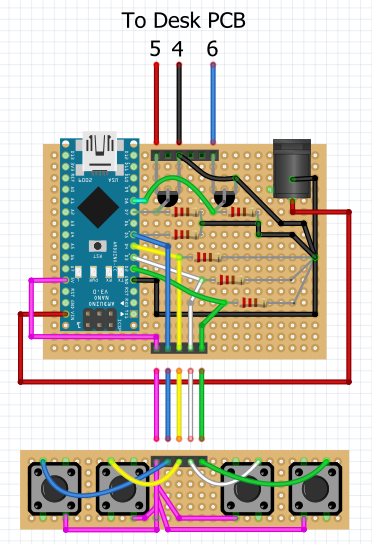
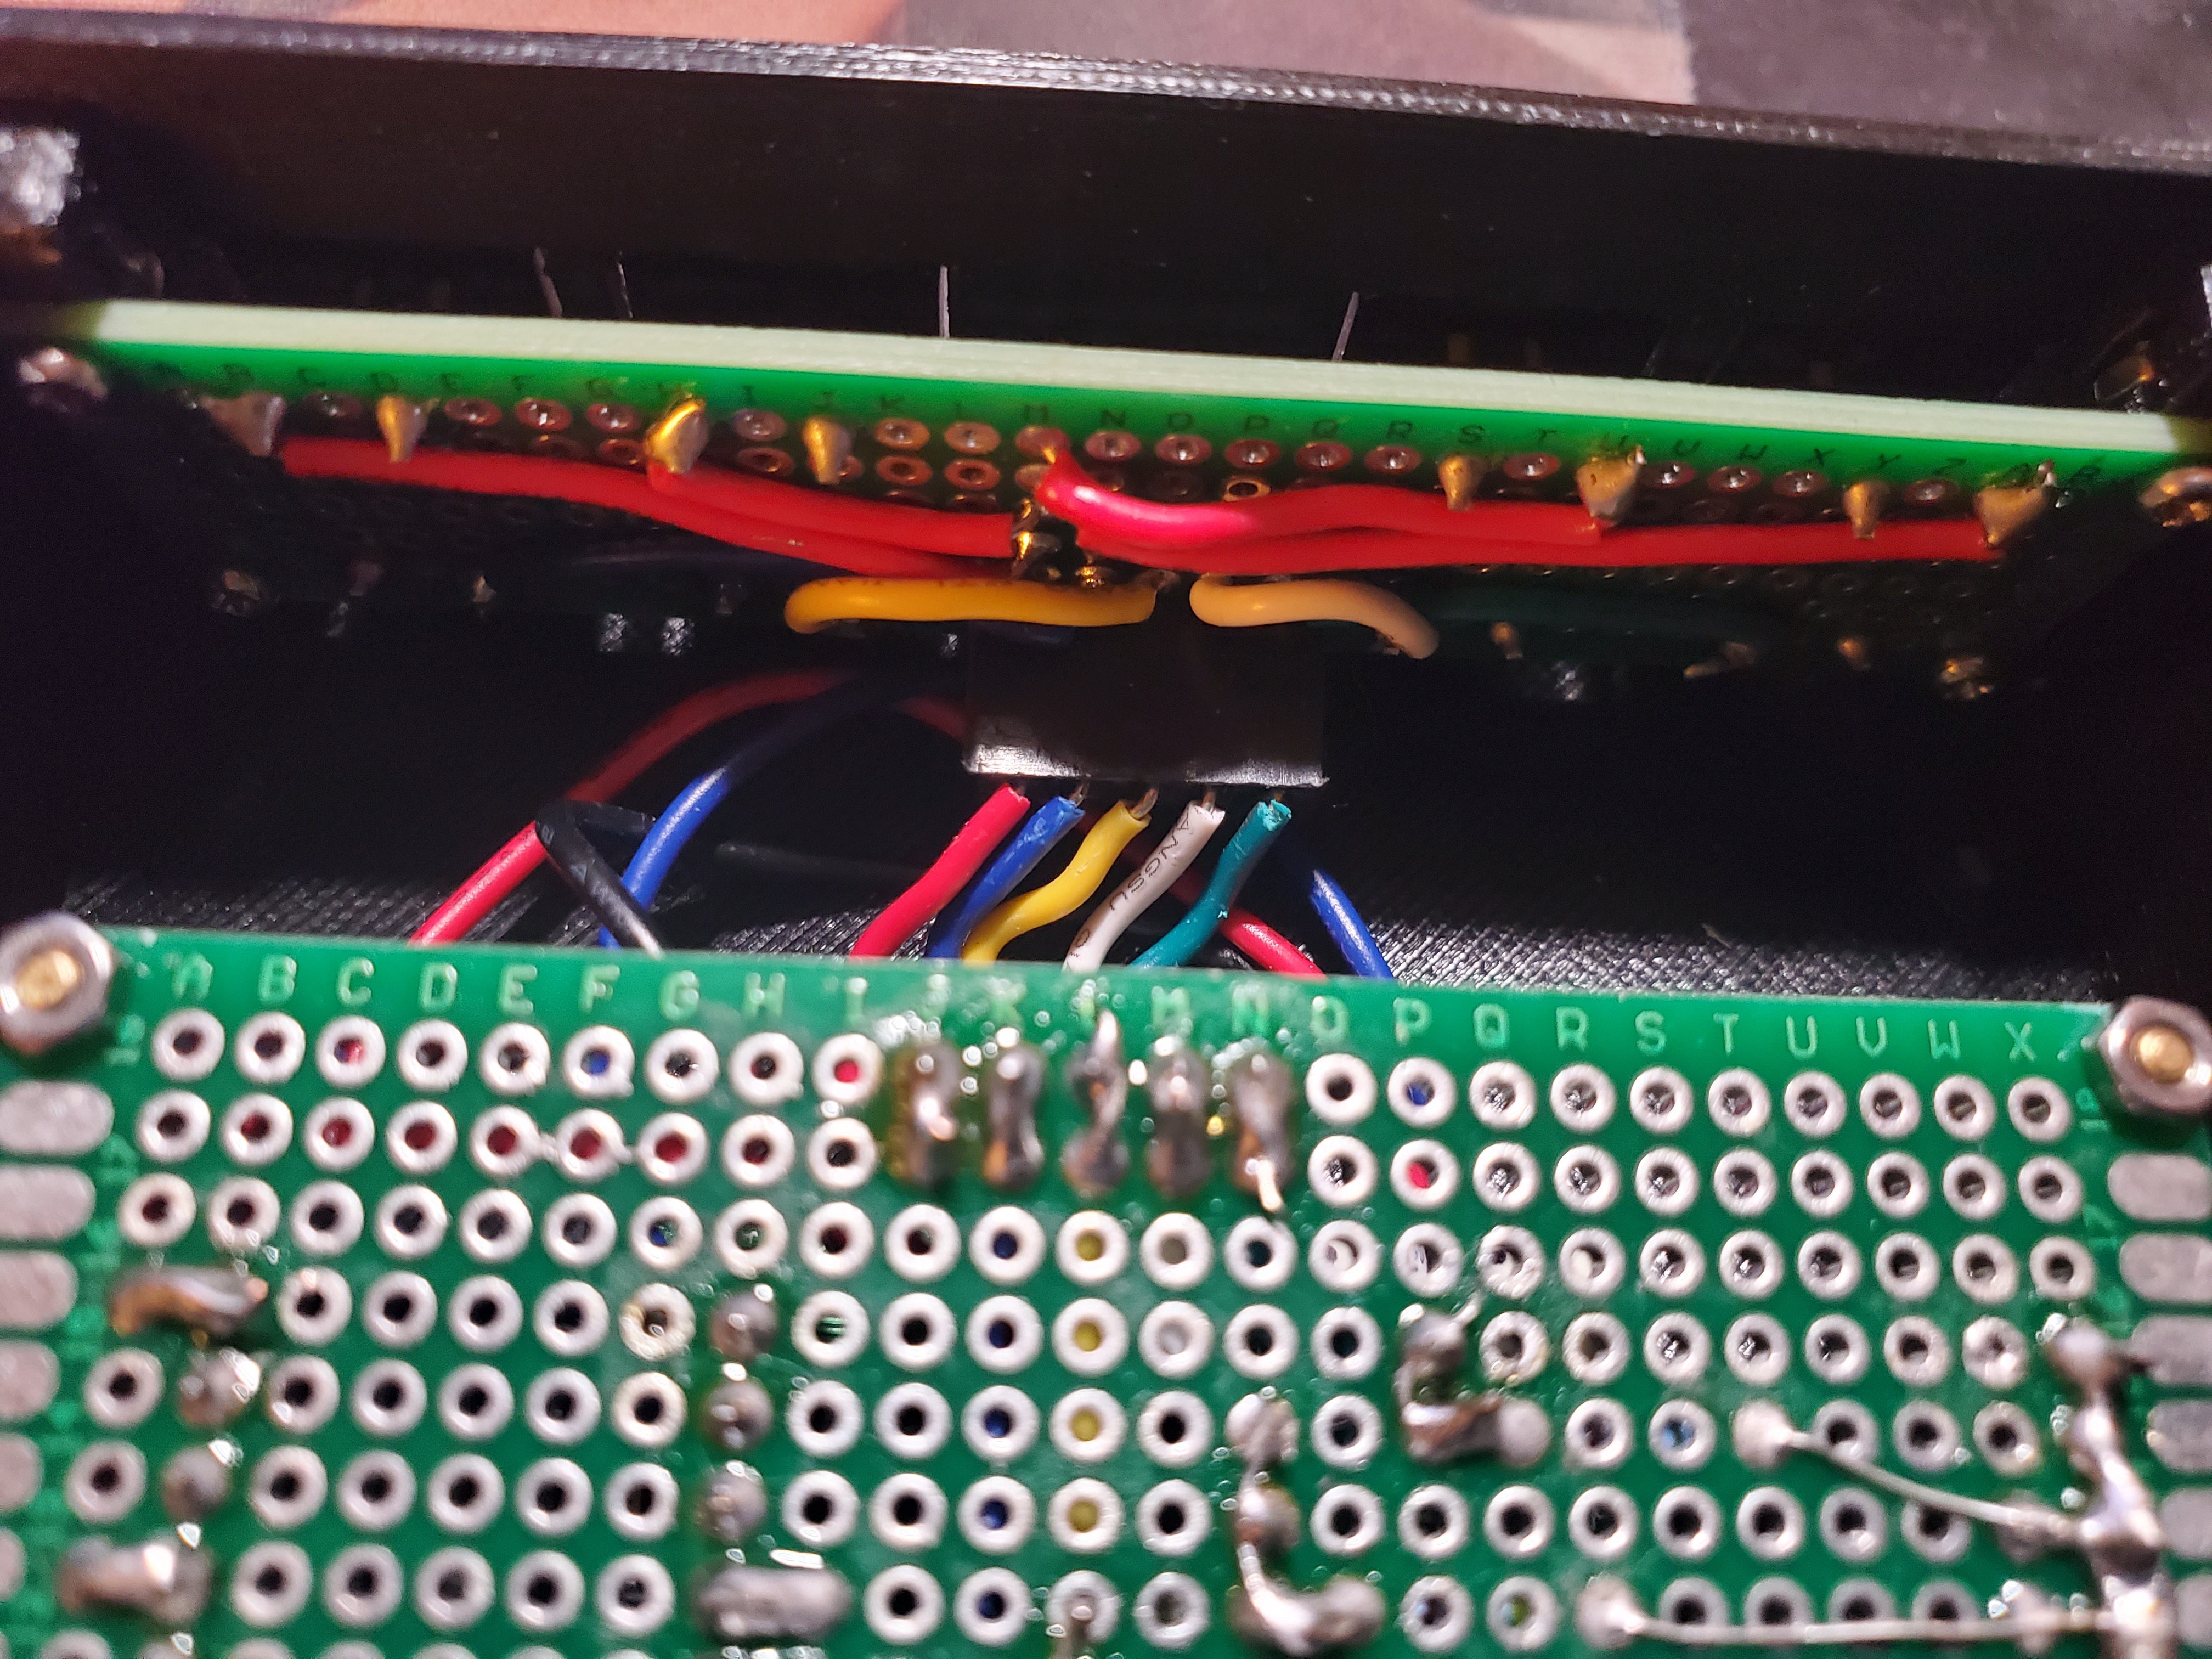
Insert the jumpers from the desk PCB into the remaining main PCB header using the wiring diagram, then attach the main PCB upside down on the standoffs using nuts.
![]()
![]()
![]()
-
12Finish installing button PCB jumper wires.
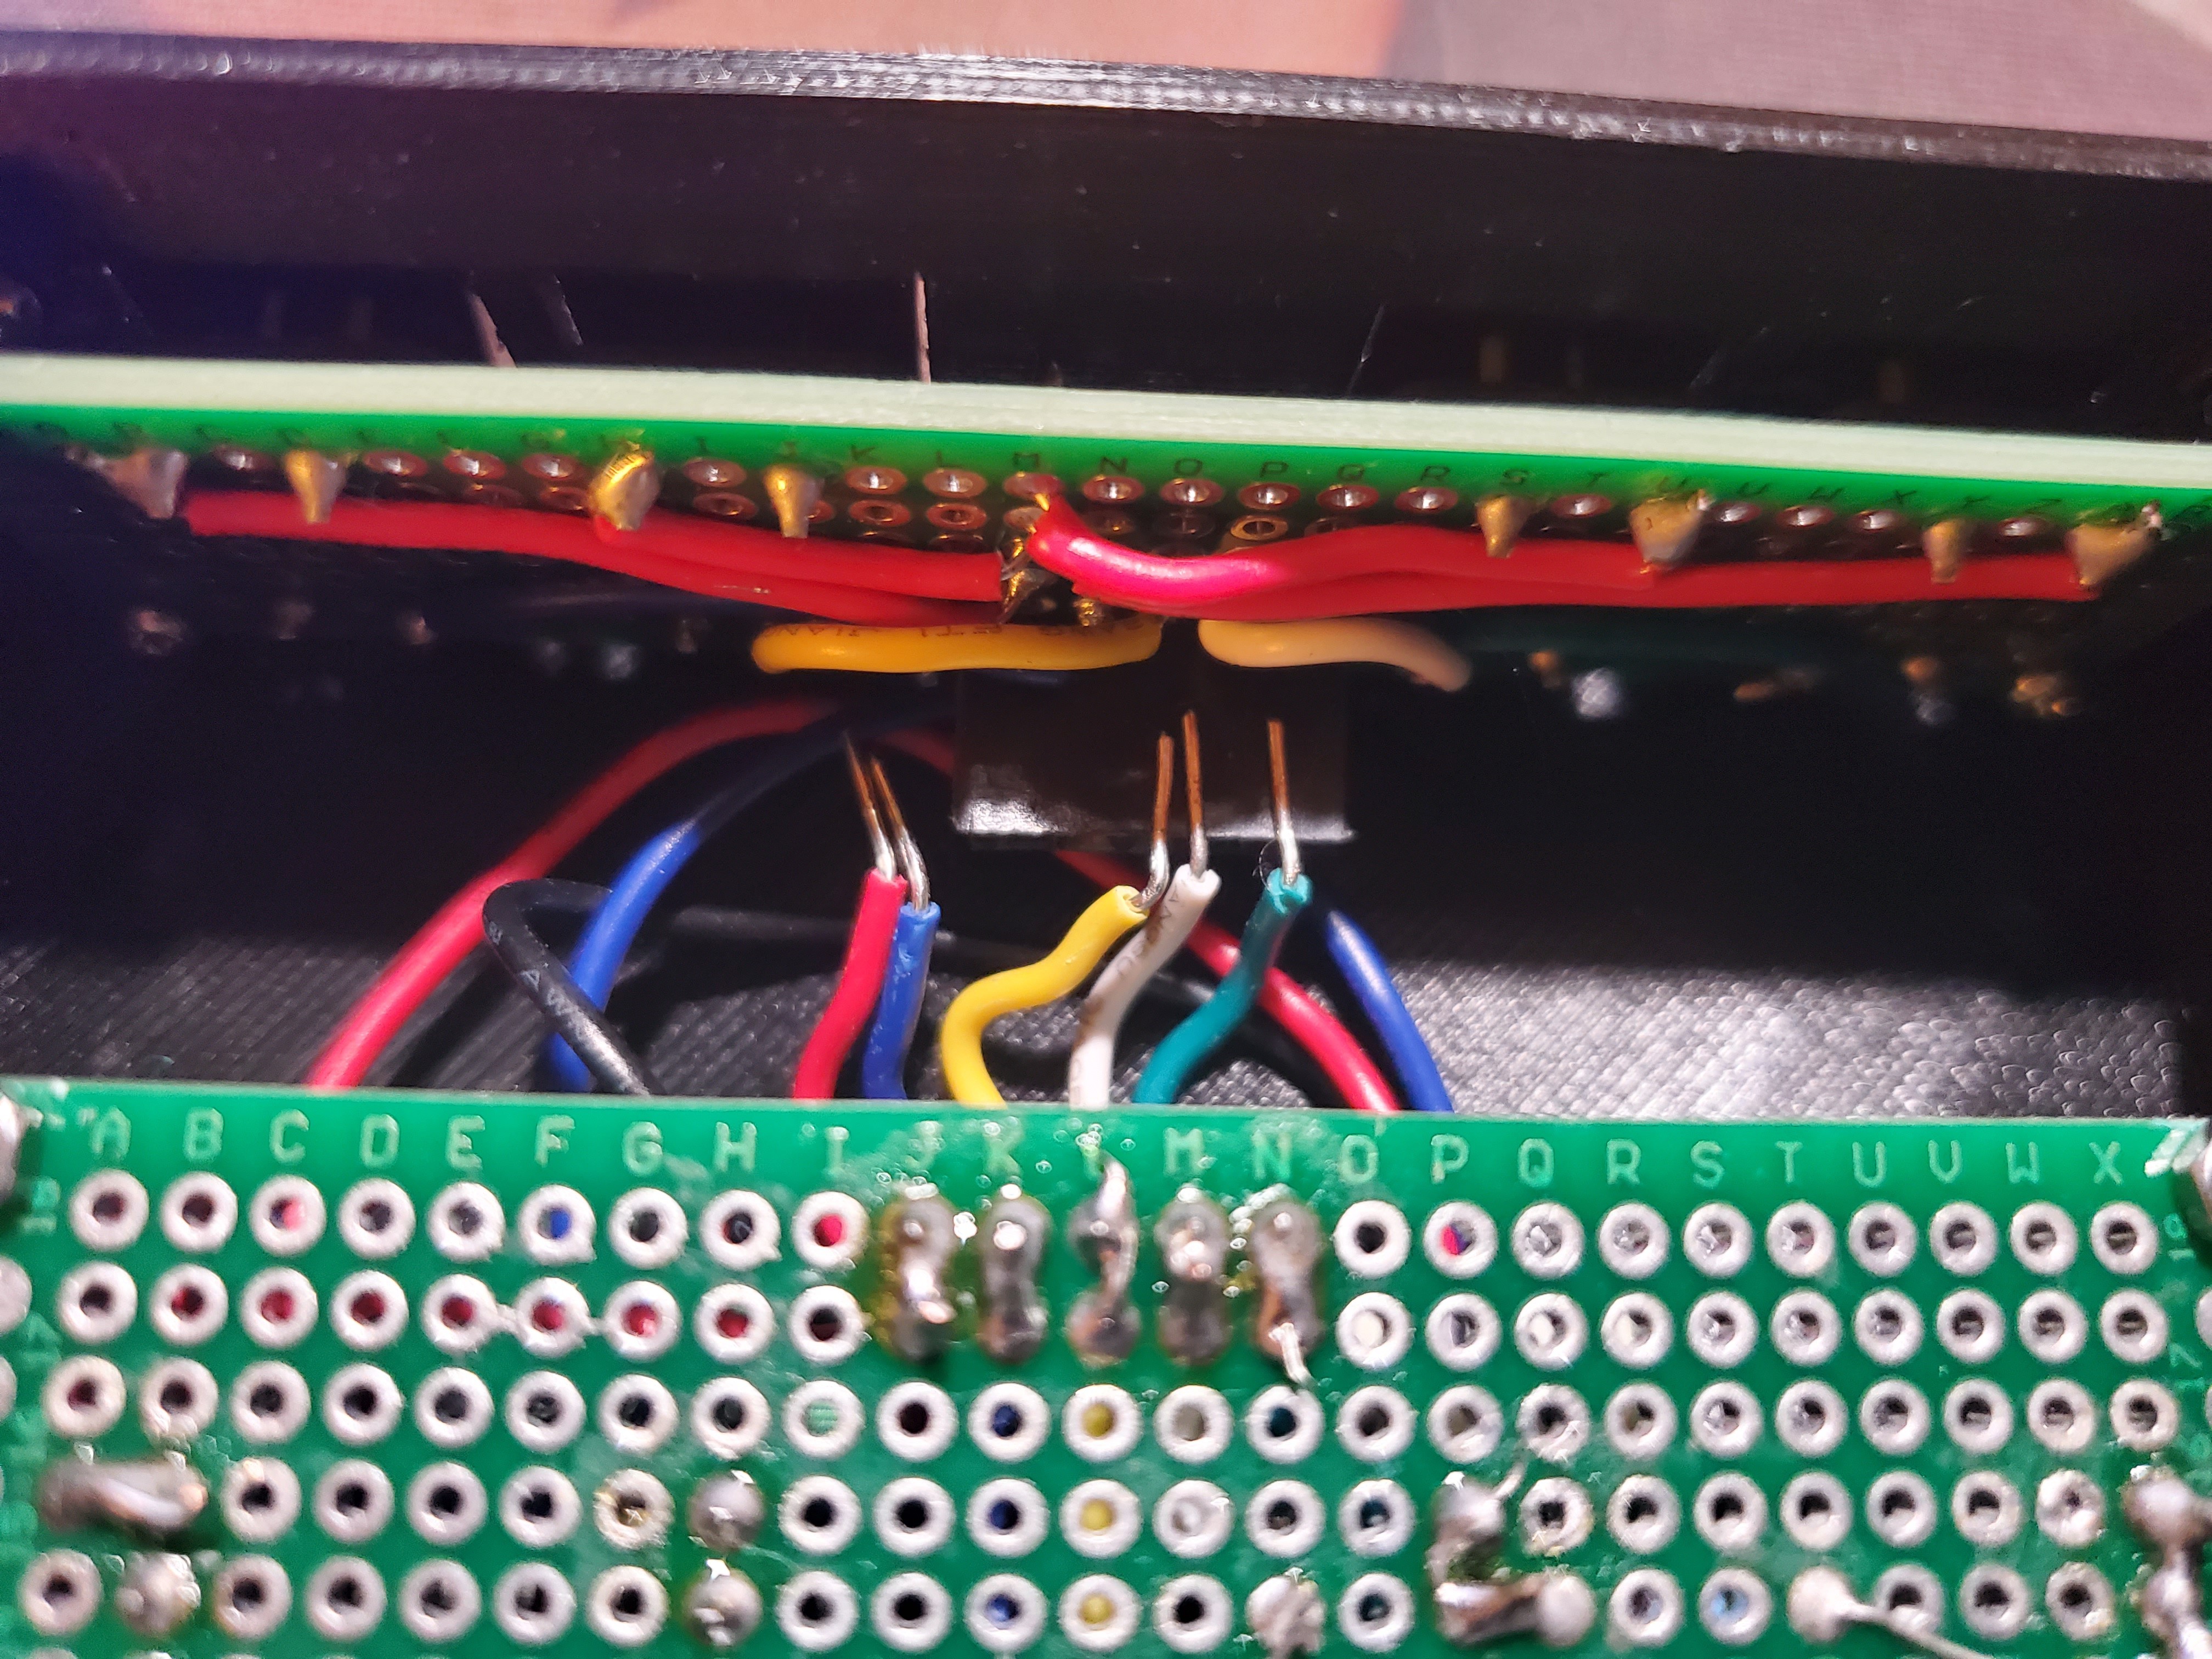
Using pliers, carefully insert the five jumpers from the main PCB into the header of the button PCB, referencing the wiring diagram as needed.
![]()
![]()
-
13Add enclosure cover nuts.
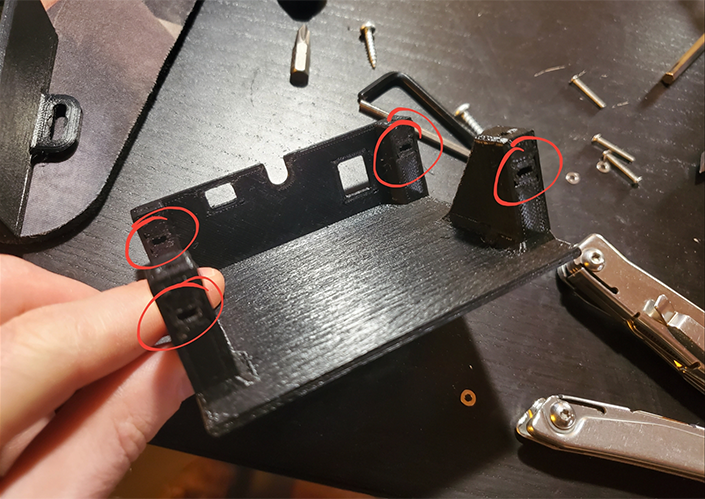
Place nuts into the four slots of the case cover. Make sure to press them to the bottom of the slots, otherwise the screws won't thread into them properly.
![]()
-
14Install the cover.
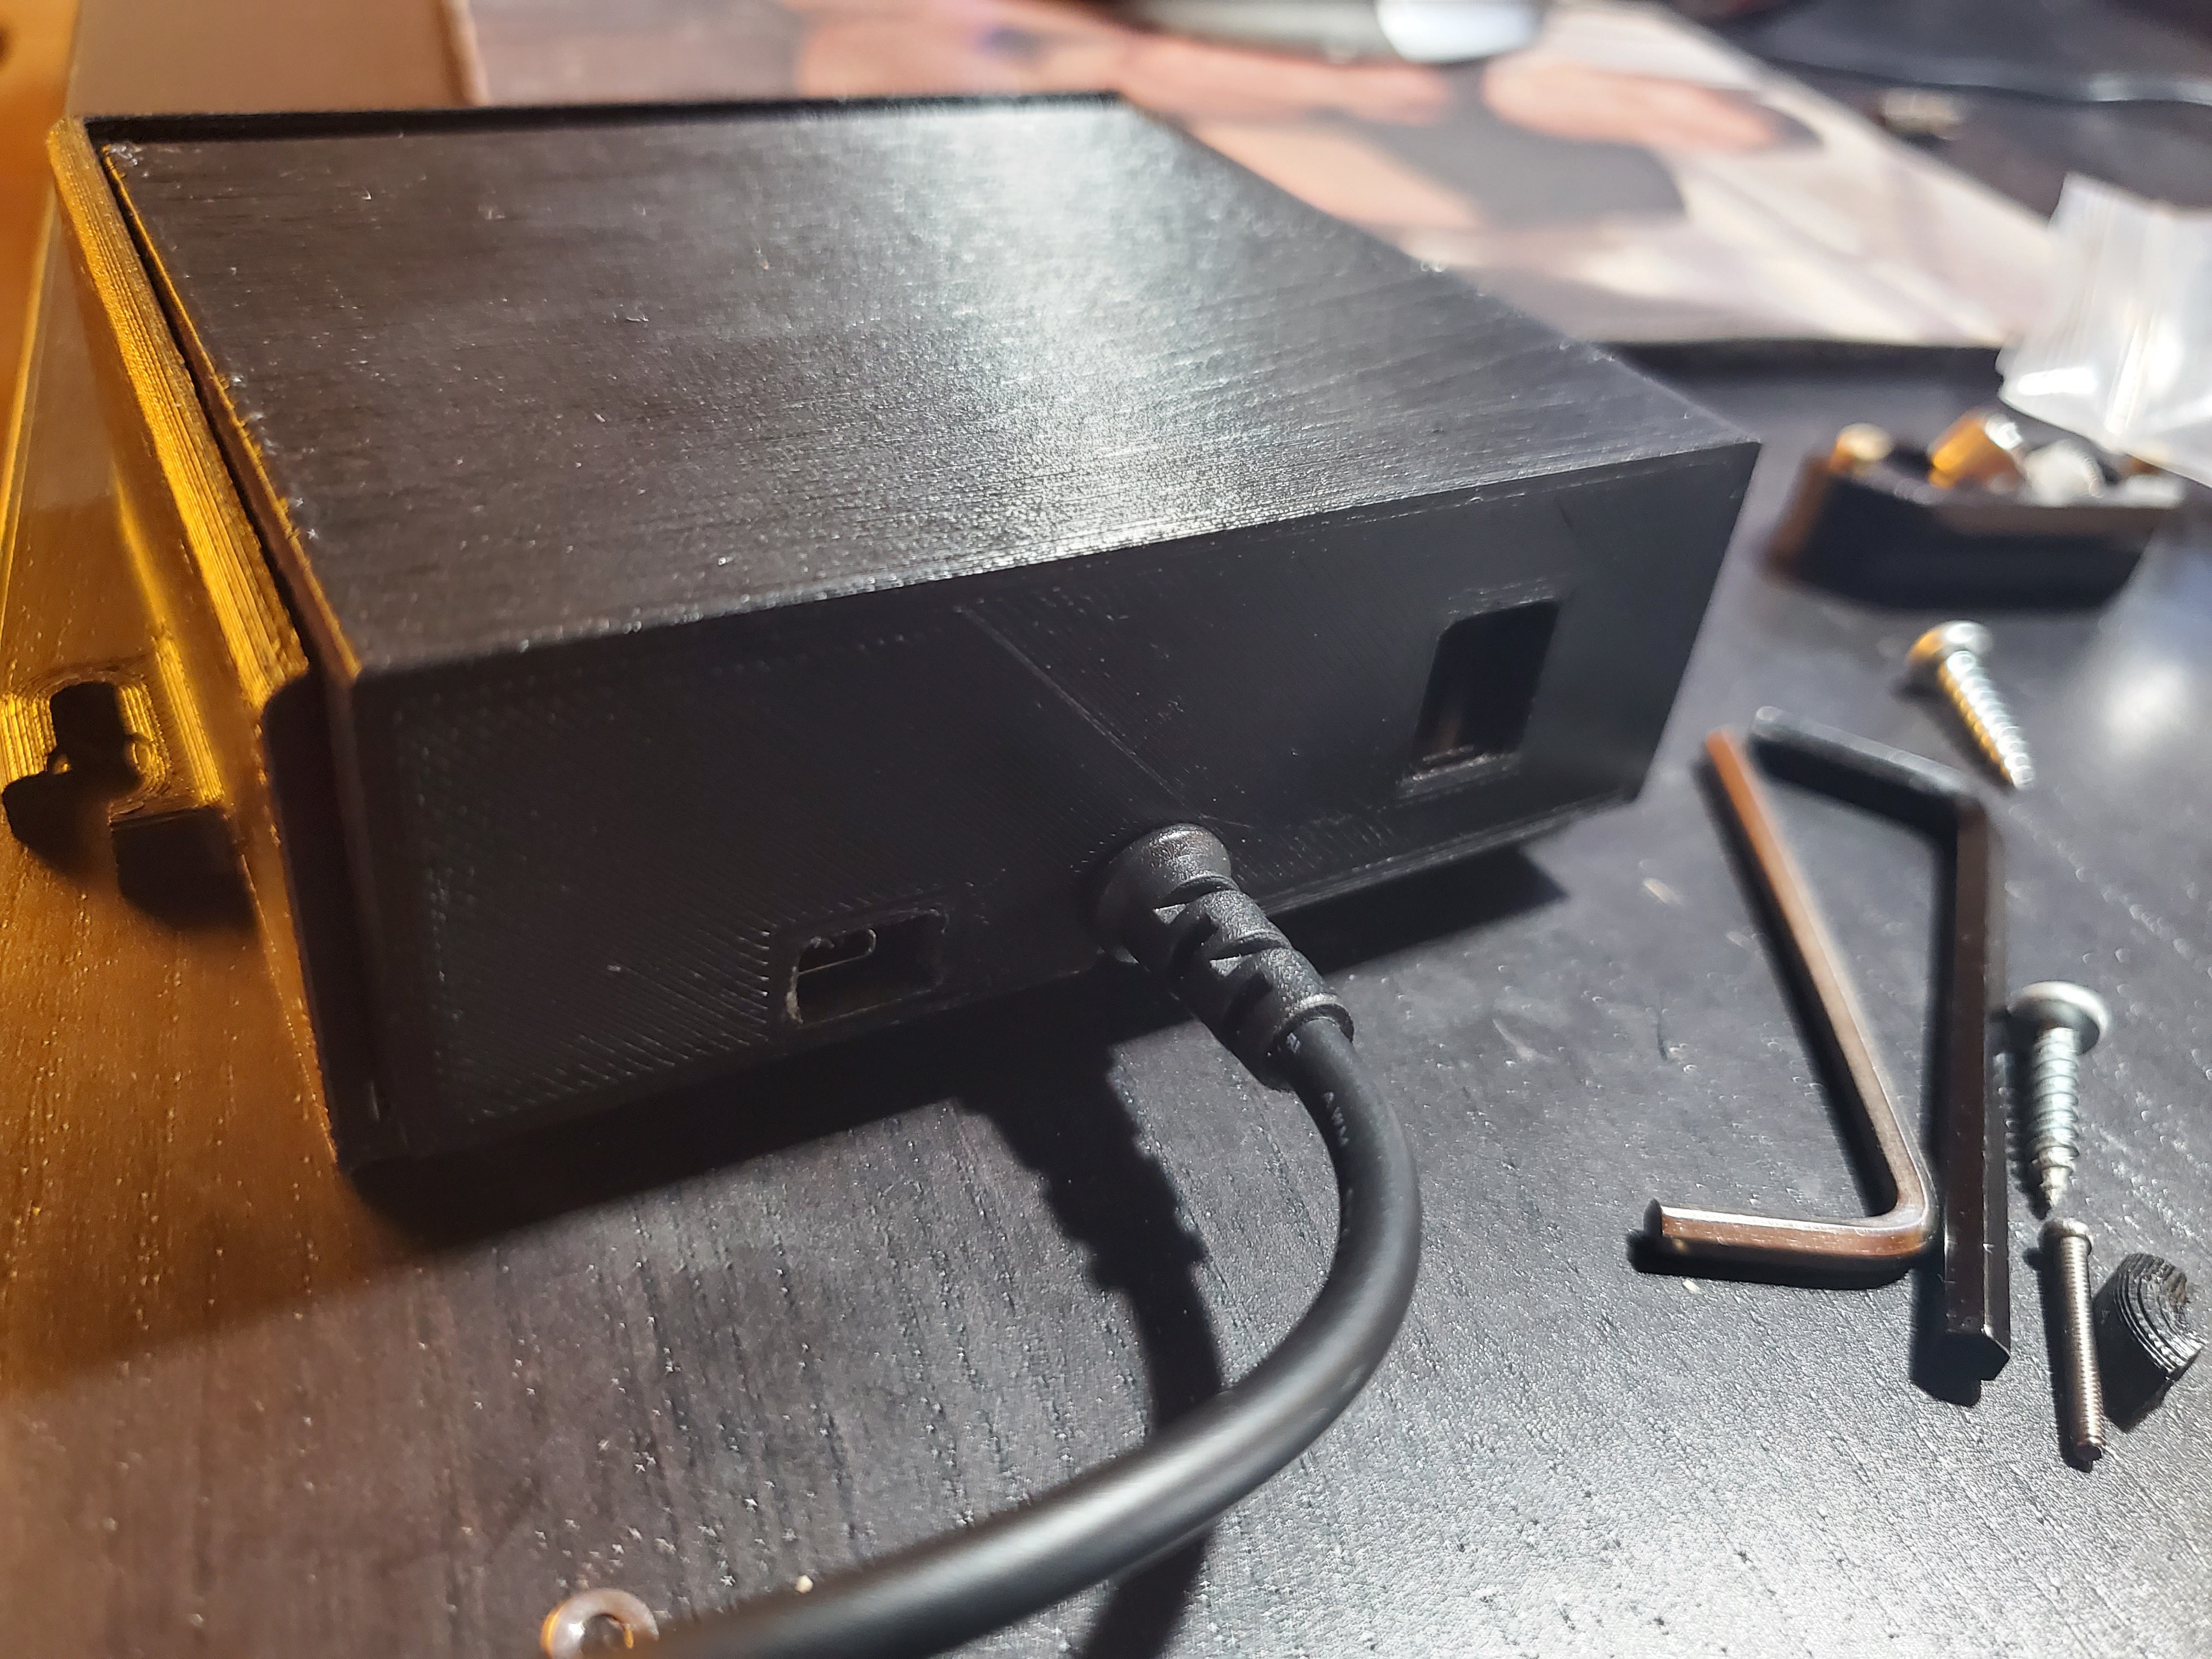
Place the case cover onto the case body, making sure to slide the grommet of the desk PCB properly into the cutout. Slide the case cover backward over the Nano USB port and the power port, then secure with washers and 16mm screws.
![]()
-
15Mount the desk automater and plug it in.
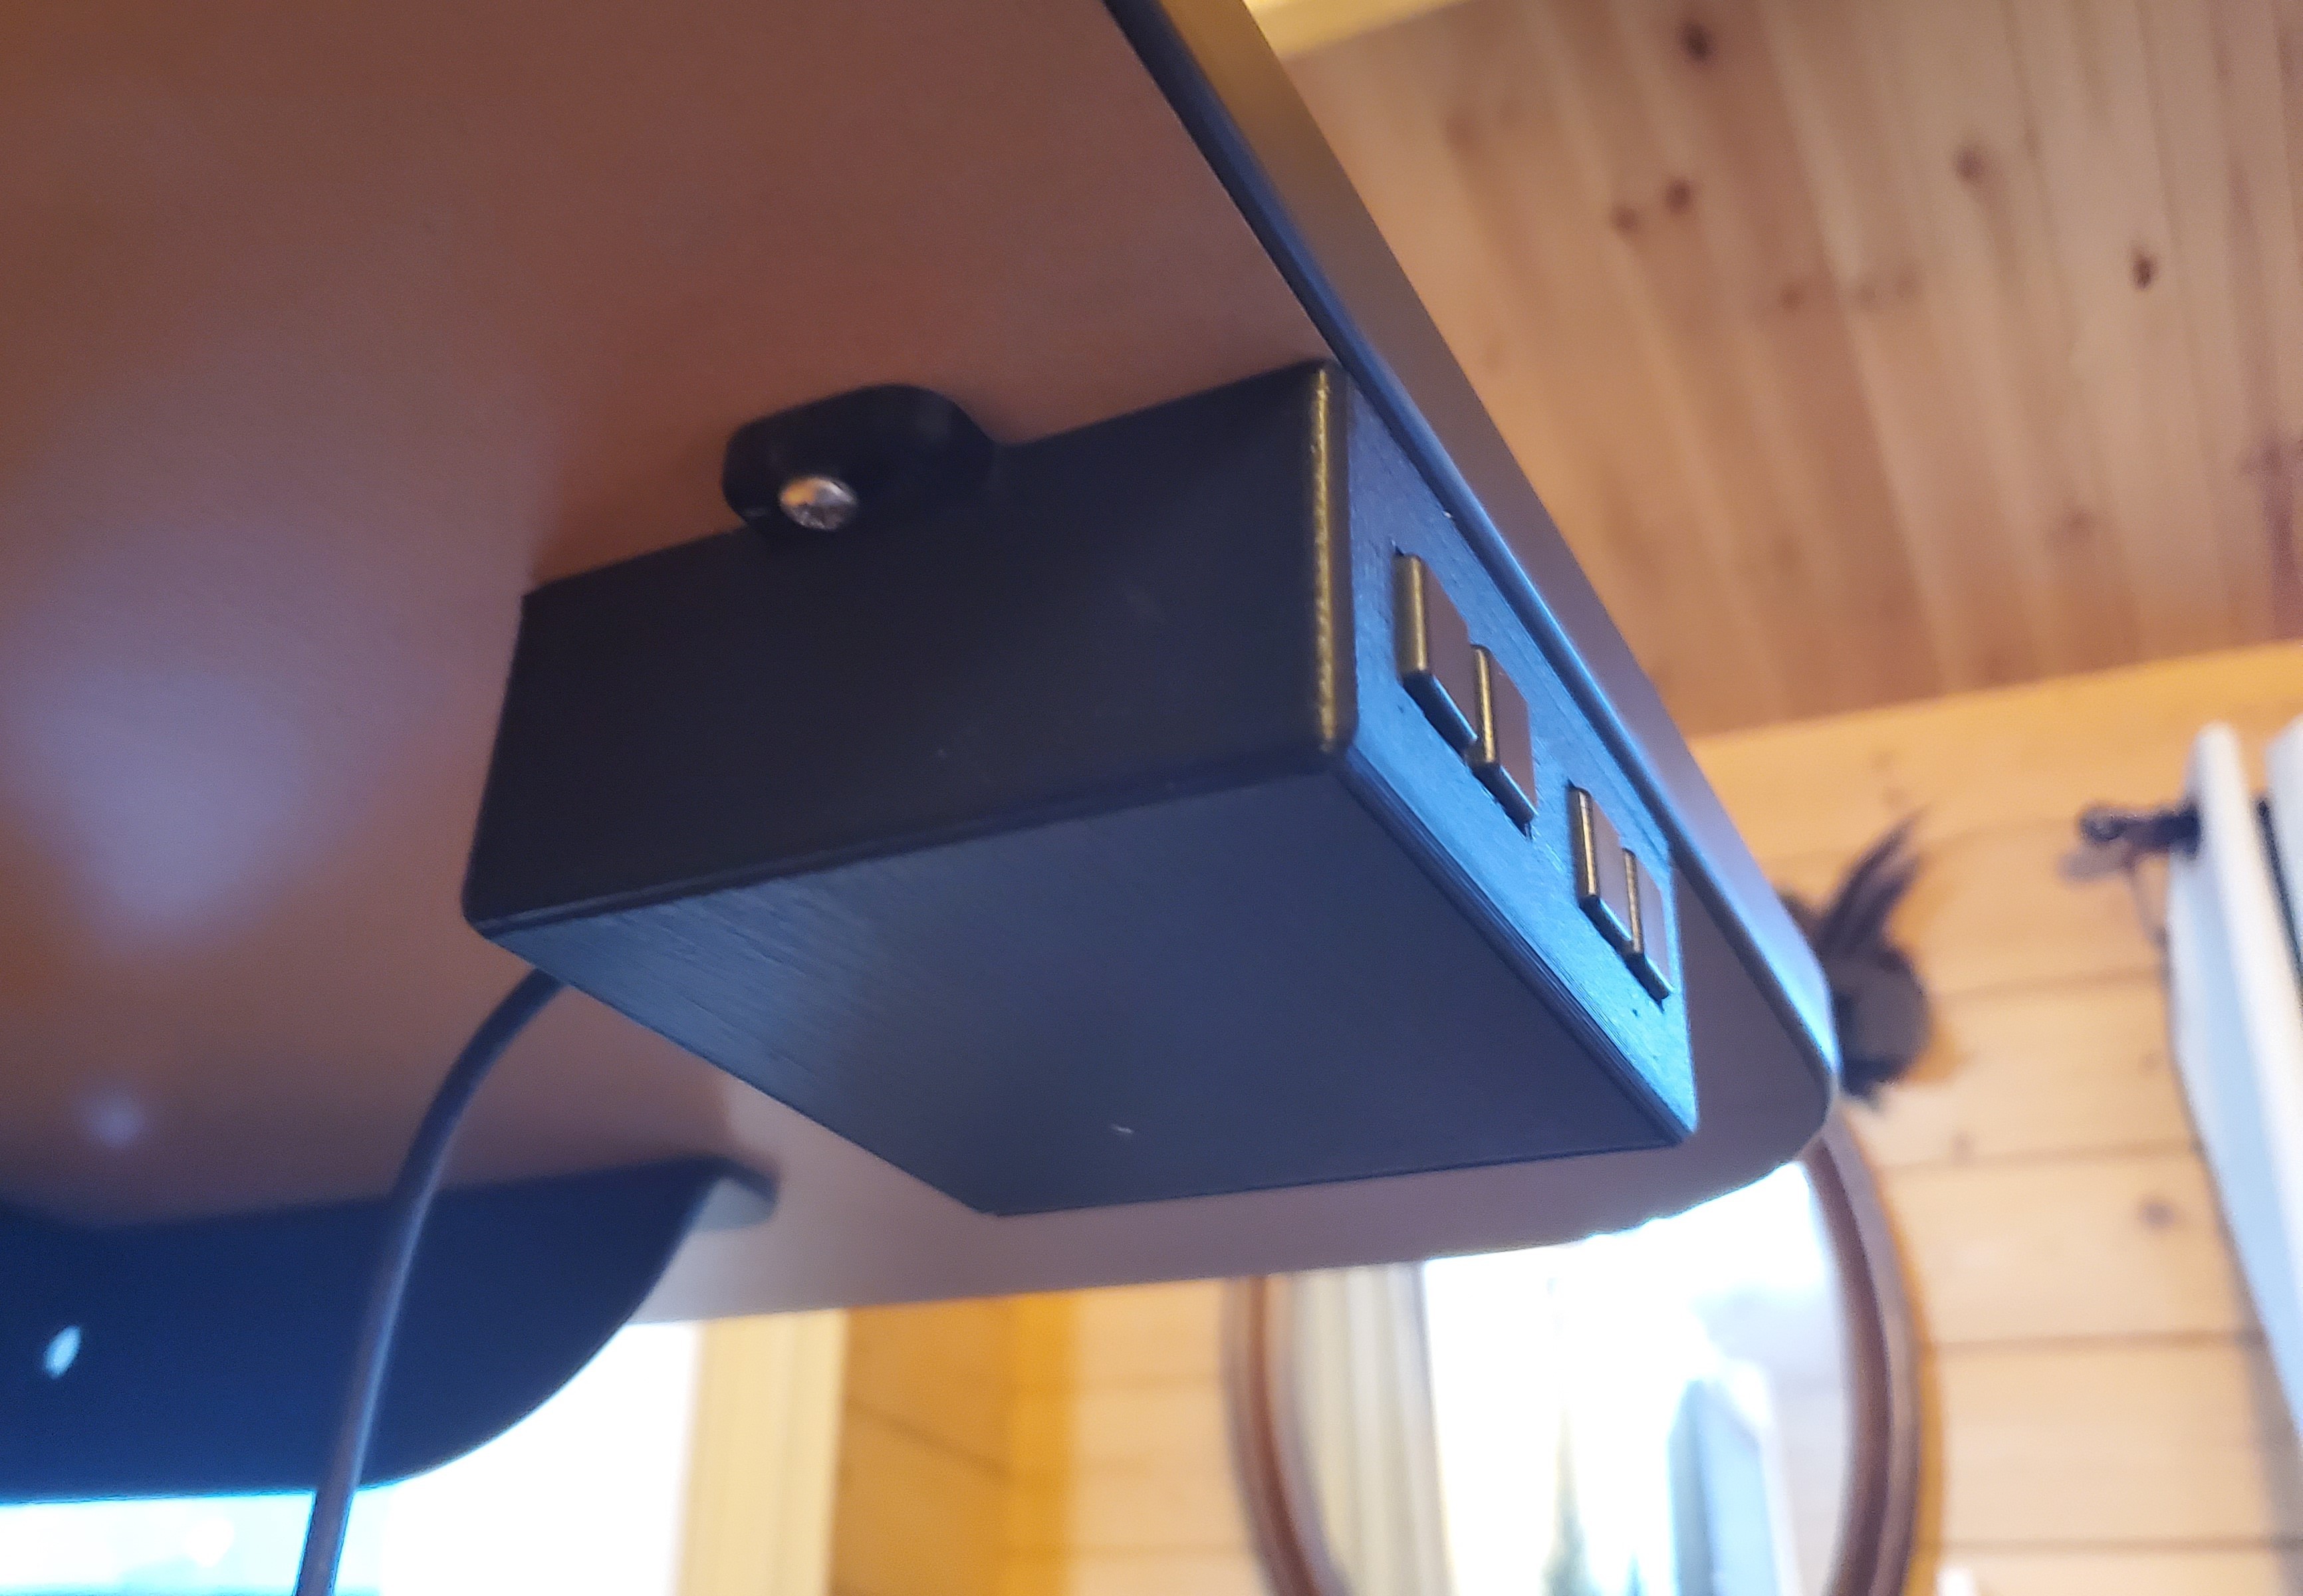
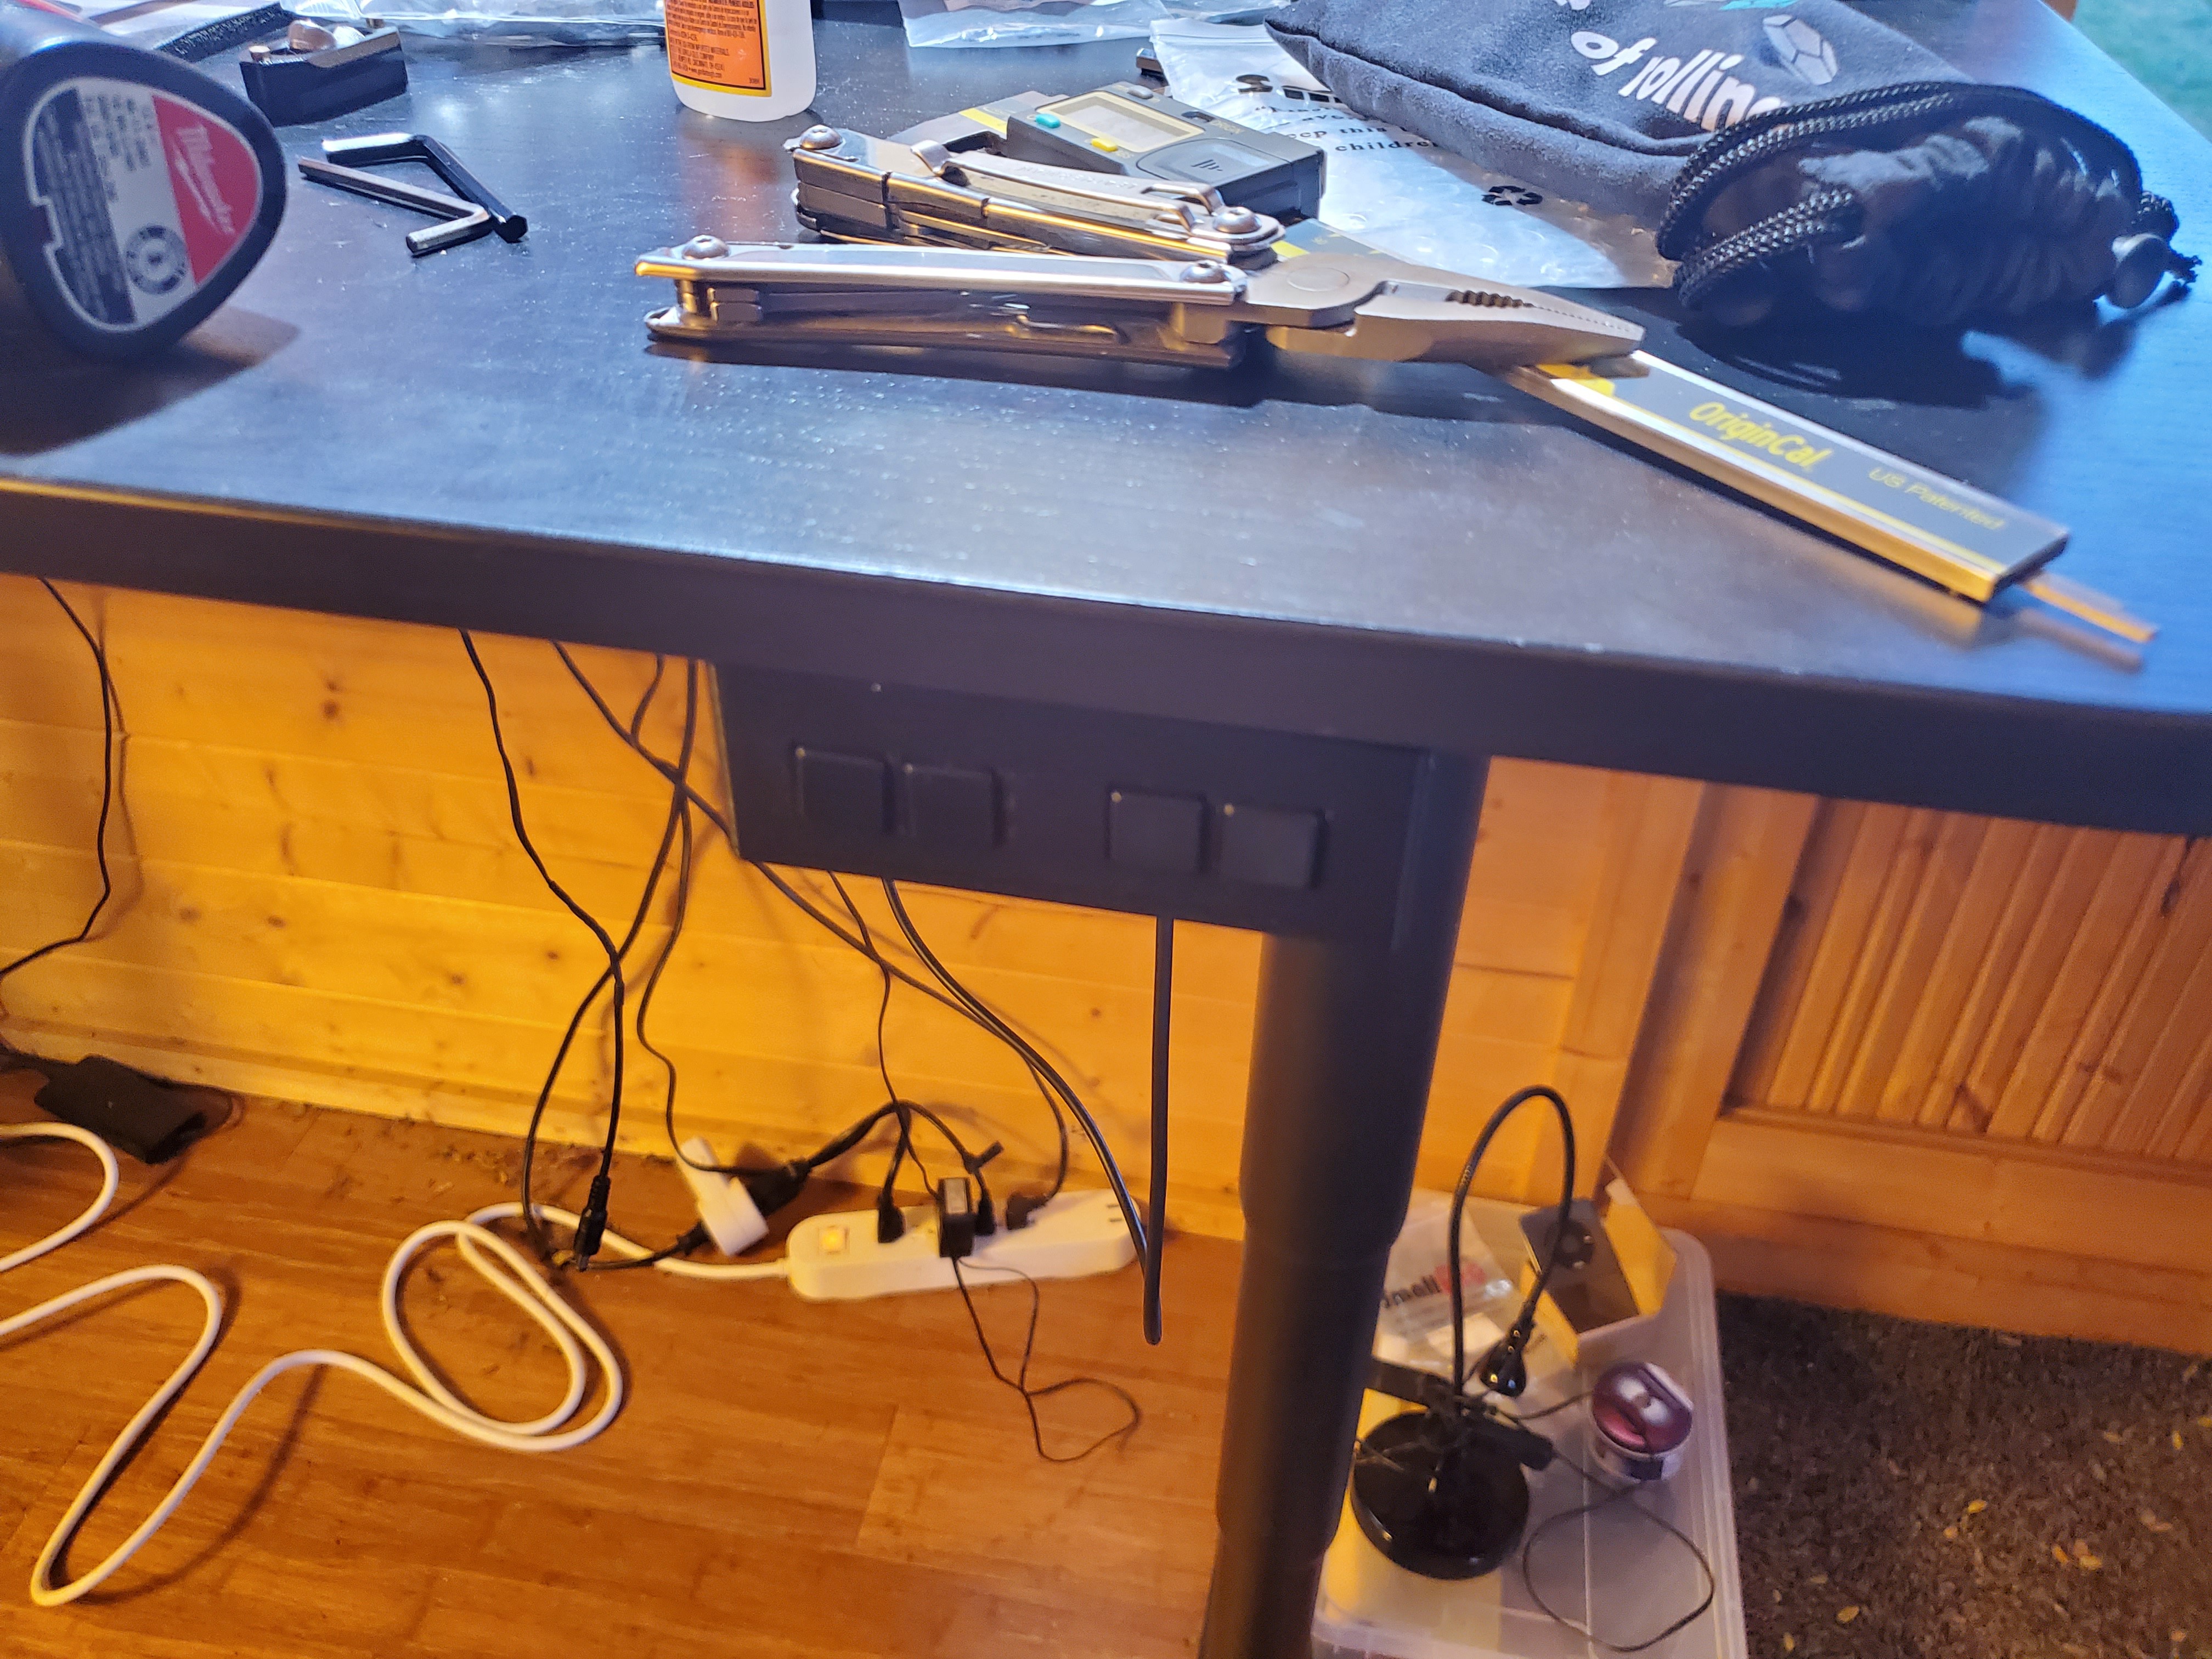
Mount the device underneath your desk using wood screws. I used 16mm. You can use other lengths, just MEASURE BEFOREHAND SO YOU DON'T BREAK THROUGH THE TOP SURFACE... keeping in mind 3D printed plastic will compress as you tighten the screws. I recommend hand-tightening these so you don't split the screw tabs.
Plug the desk PCB cable into the desk and attach the power source to the main PCB power port.
![]()
-
16Test the desk automater.
Test the buttons again to make sure each one moves the desk as intended. There should be one button that automatically moves the desk up for an extended period once pressed and released (STAND), one that automatically moves the desk down for an extended period once pressed and released (SIT), one that moves it upward as long as you hold it (UP), and one that moves it down as long as you hold it (DOWN)
My chosen configuration from left to right is STAND, SIT, UP, DOWN.
-
17Adjust the code and enjoy!
Adjust the code and re-upload as needed to get the button configuration and automated movement length you want. Now go and enjoy your automated desk! Go on, move it up and down a few times... you know you want to.
![]()
IKEA Bekant Desk Automater
Who has time to wait for minutes per day to push a button? Let's automate the motion of an electric IKEA desk with an Arduino Nano!
 Hardware Unknown
Discussions
Become a Hackaday.io Member
Create an account to leave a comment. Already have an account? Log In.