Printing Structural Components + Covers/Spacers
All printed components in this system are PLA, and are printed at 100% infill. Everything was printed on my old da Vinci Junior 1.0. Setting tapered roller bearing seats into the J1 and J2 turret housings.
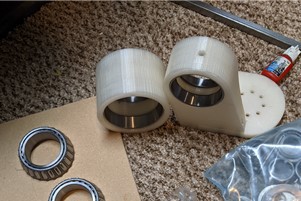
Initial progress on the first version of the J2 arm with spindle and roller bearing installed on the left side. On the right side the J3 bearing assembly is finished, with spindle and retainer installed. To note, I've tested printing the J3 bearing cup at a lower infill, to act as an intentional break-point in the event of a collision. Ultimately this entire arm is replaced with a solid polycarbonate plate, and the spindle retainer was eventually remade in aluminum.
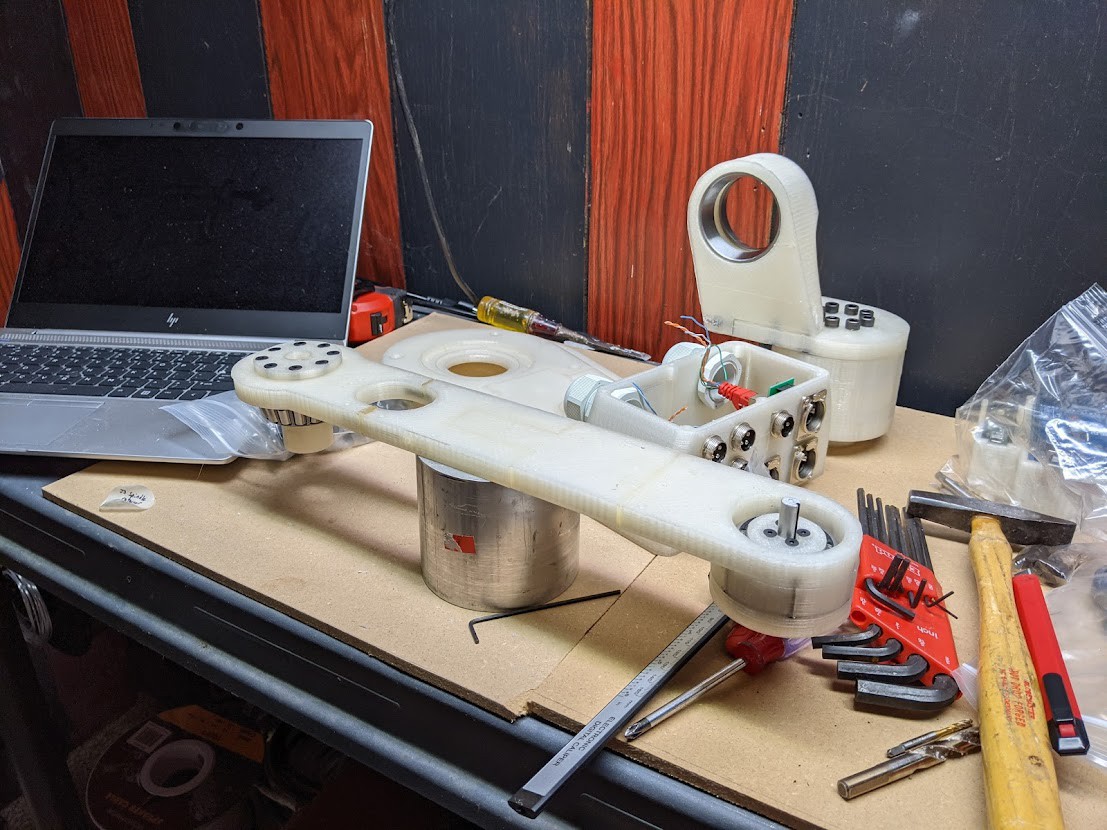
J3 chain installed and tensioned. This can be seen even with the cover on in the final design! All the extra work involved in adding a chain and sprocket drive is simply to lower the mass of the J3 motor towards the base of the arm. Even though it would be much simpler to manufacture, direct driving this joint would extend the mass of the arm and involve much larger forces on the lower joints when moving.
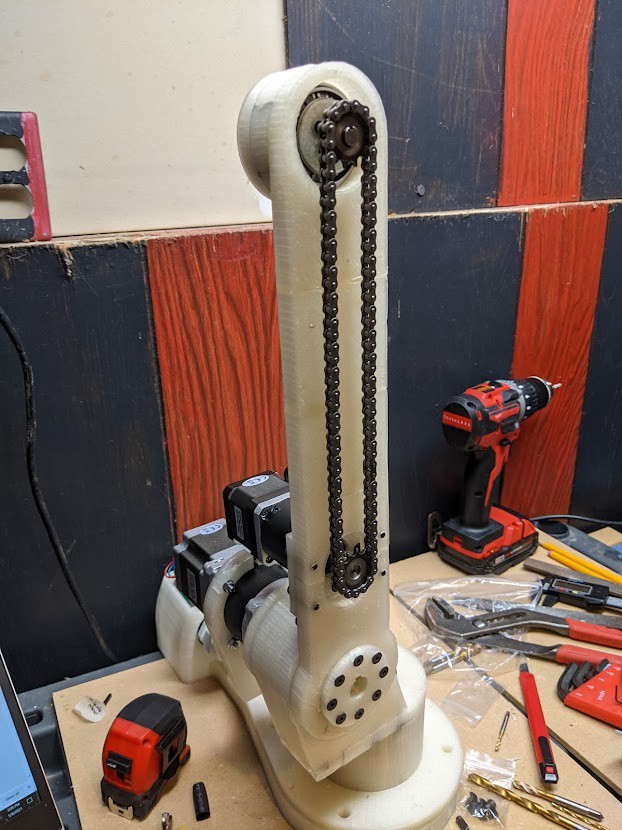
The chain and sprockets are lubricated with lithium grease. Below the cover for the J2 Arm installed. The rear side contains a rigid wire harness to contain slack from the additional motors.
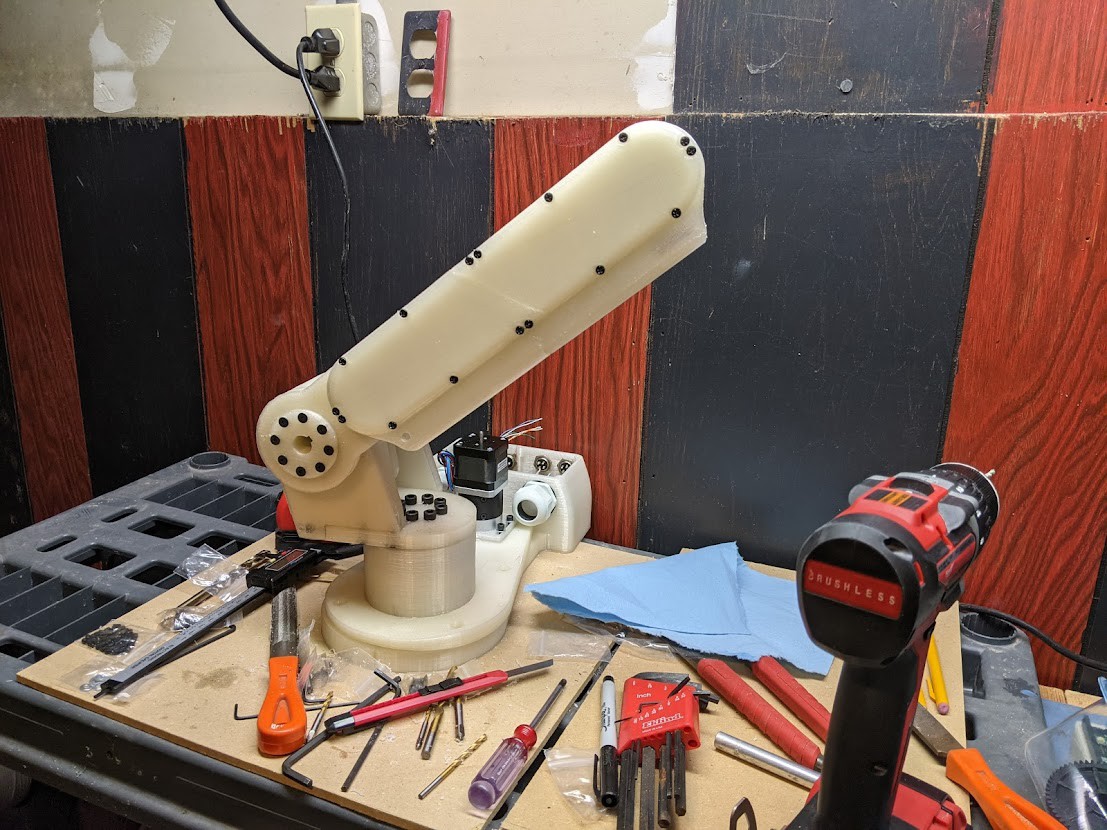
Initial work on the J5 lower assembly. The J5 motor shaft has a 200mm lead screw which drives the inner carriage back and forth on 3mm linear rods and bearings. Alignment of these components is critical, and took several attempts to get proper results.
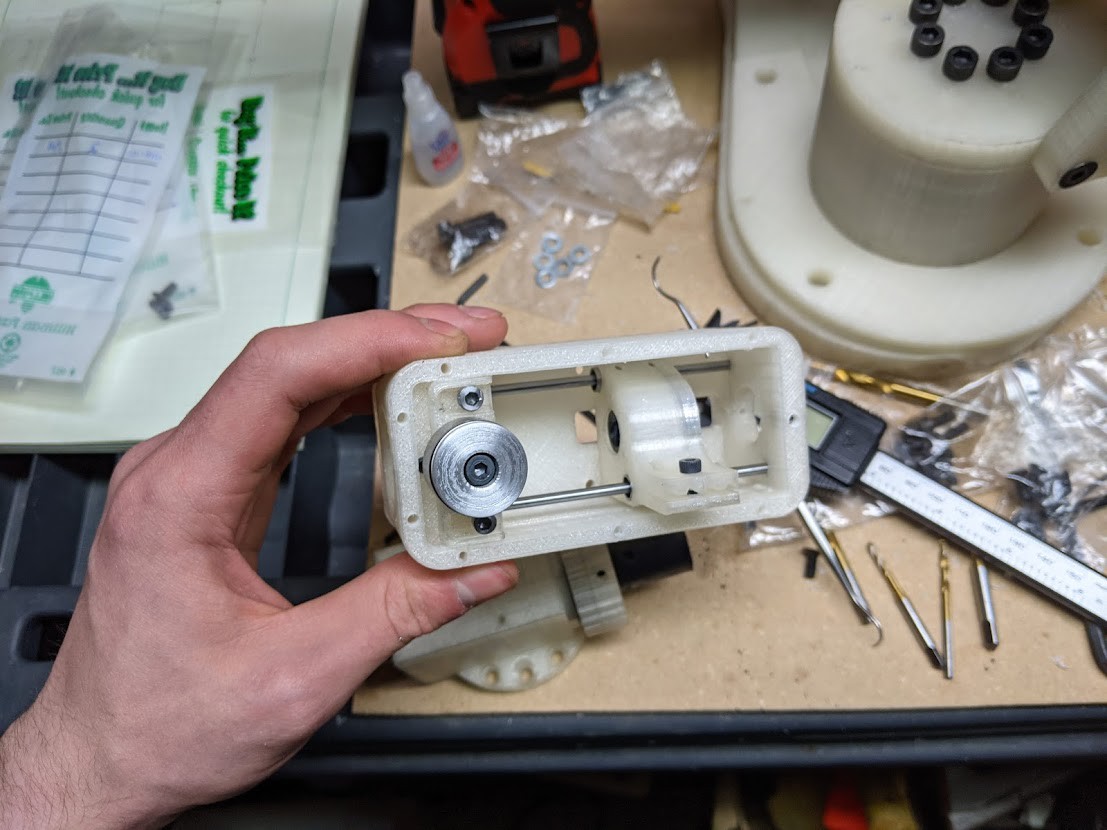
Below the J4 turret housing is installed perpendicular to the J3 spindle. I had pressed a needle roller bearing inside and installed the J4 shaft. The J4 timing hub is also fixed to the shaft, along with the J5 motor mount and associated thrust bearings and washers. At this moment I was installing the J5 lower assembly.
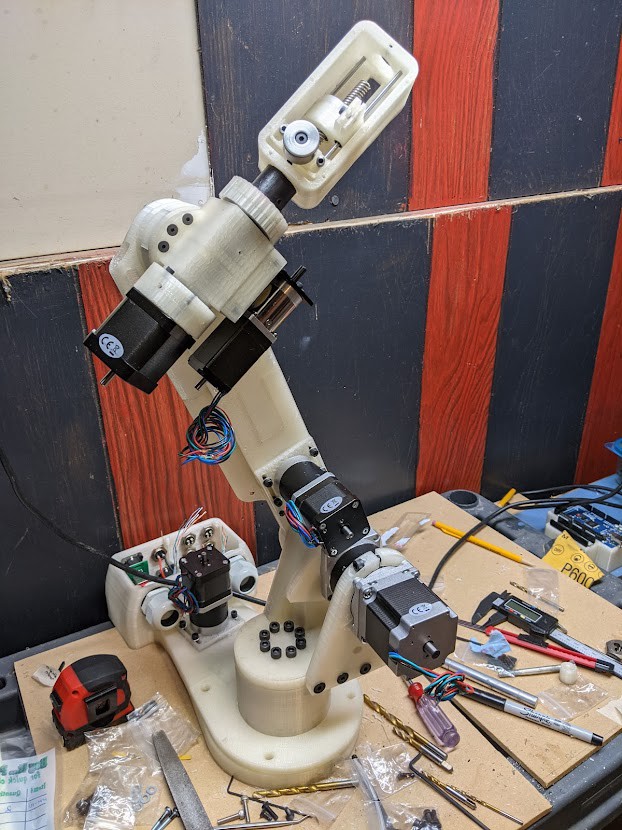
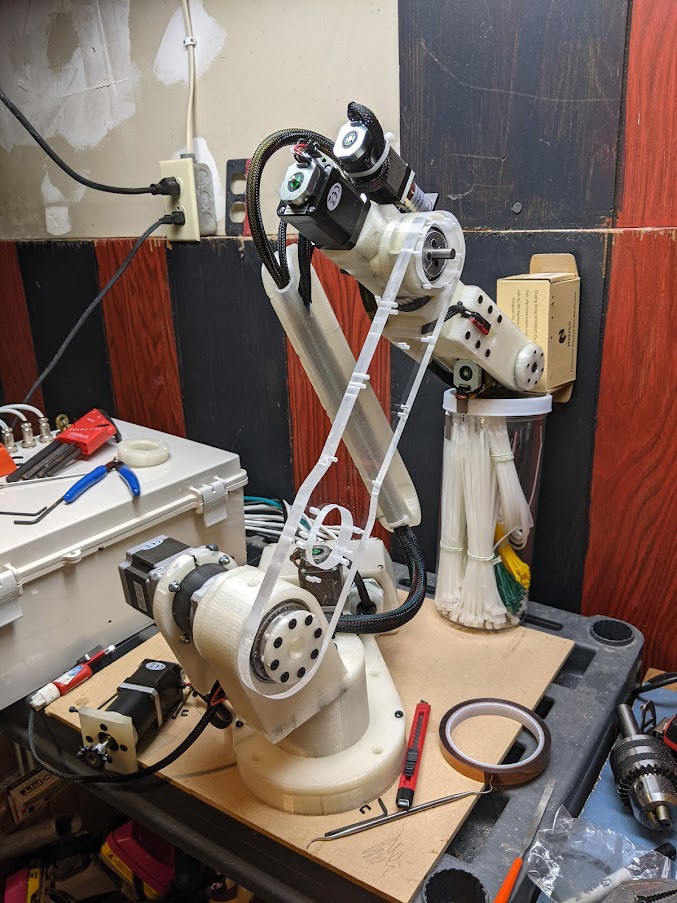
Another progress photo, now showing the J4 timing belt installed and tensioned. The J5 upper bearing arm is bolted to the J5 lower assembly. The J6 housing and spindle holds the 6th axis stepper motor, and is held captive to the J5 bearing arm via tapered roller bearing and cap with thrust needle-roller bearing and washers.
The 150XL timing belt used is fixed to the J5 carriage clamp, and tensioned between the 15XL pulley and idler post on the J5 lower assembly. The rotation of the J5 shaft shaft (lead screw) drives the carriage clamp back and forth within the assembly, driving
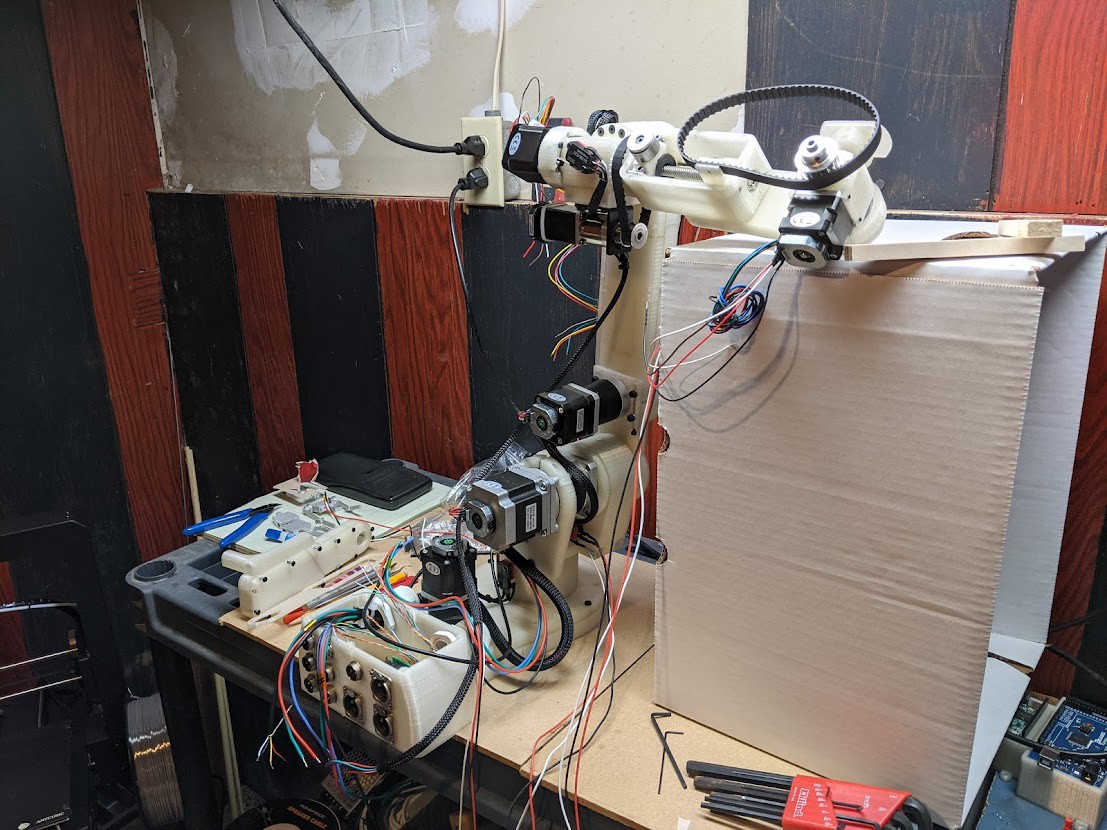
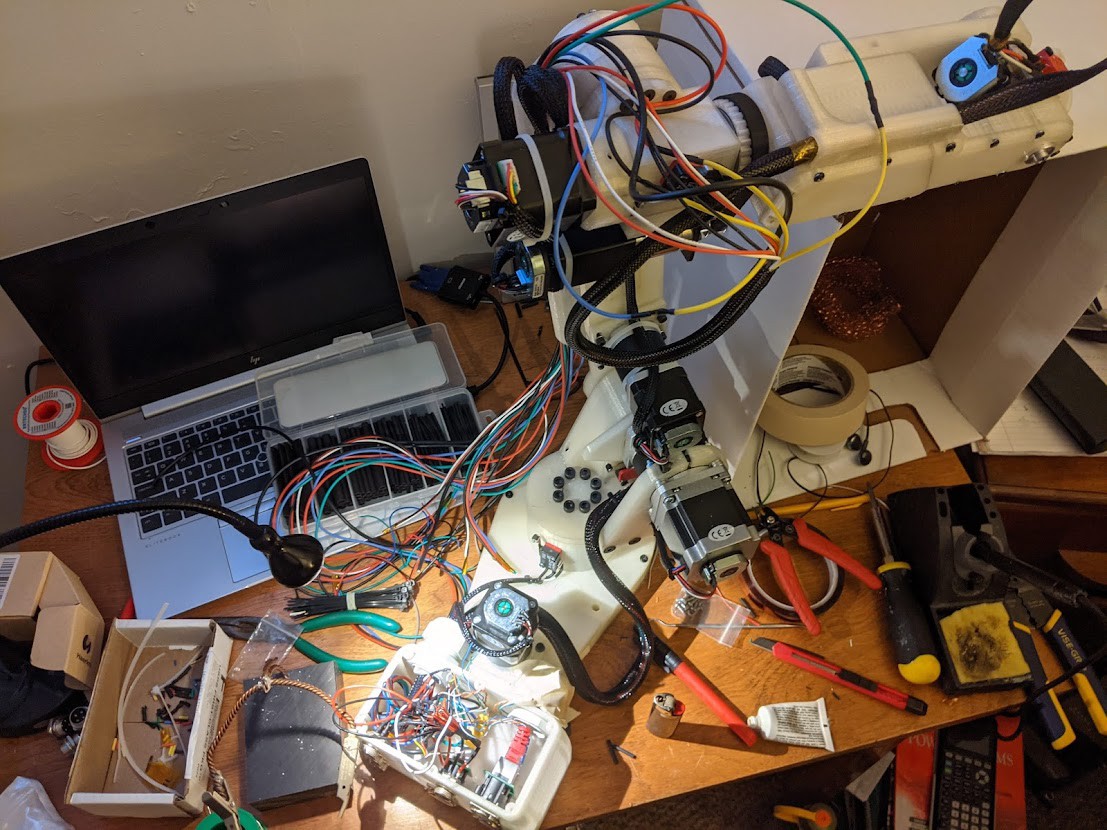
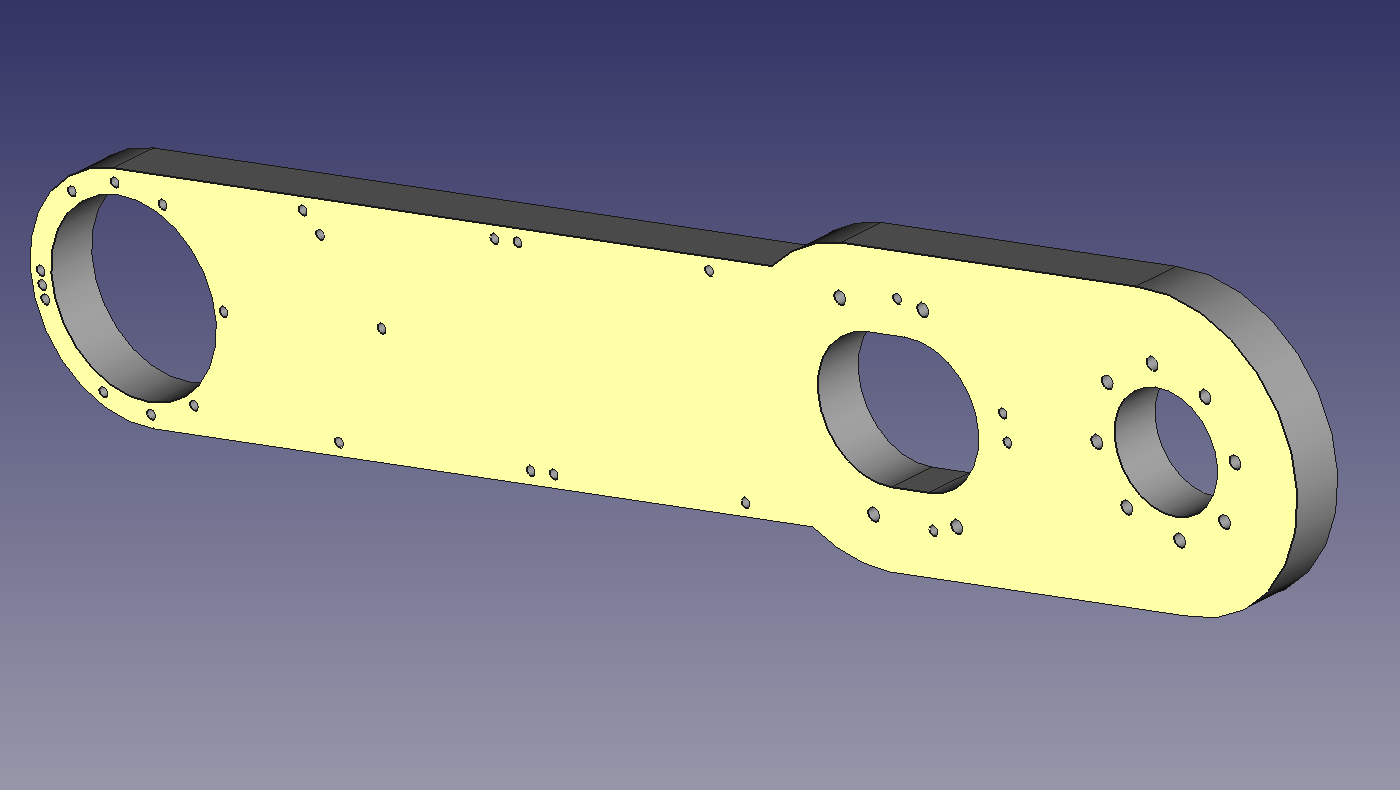
J2 Redesign (above) and fabricated part made from polycarbonate plate (below).
 Michael Laffin
Discussions
Become a Hackaday.io Member
Create an account to leave a comment. Already have an account? Log In.