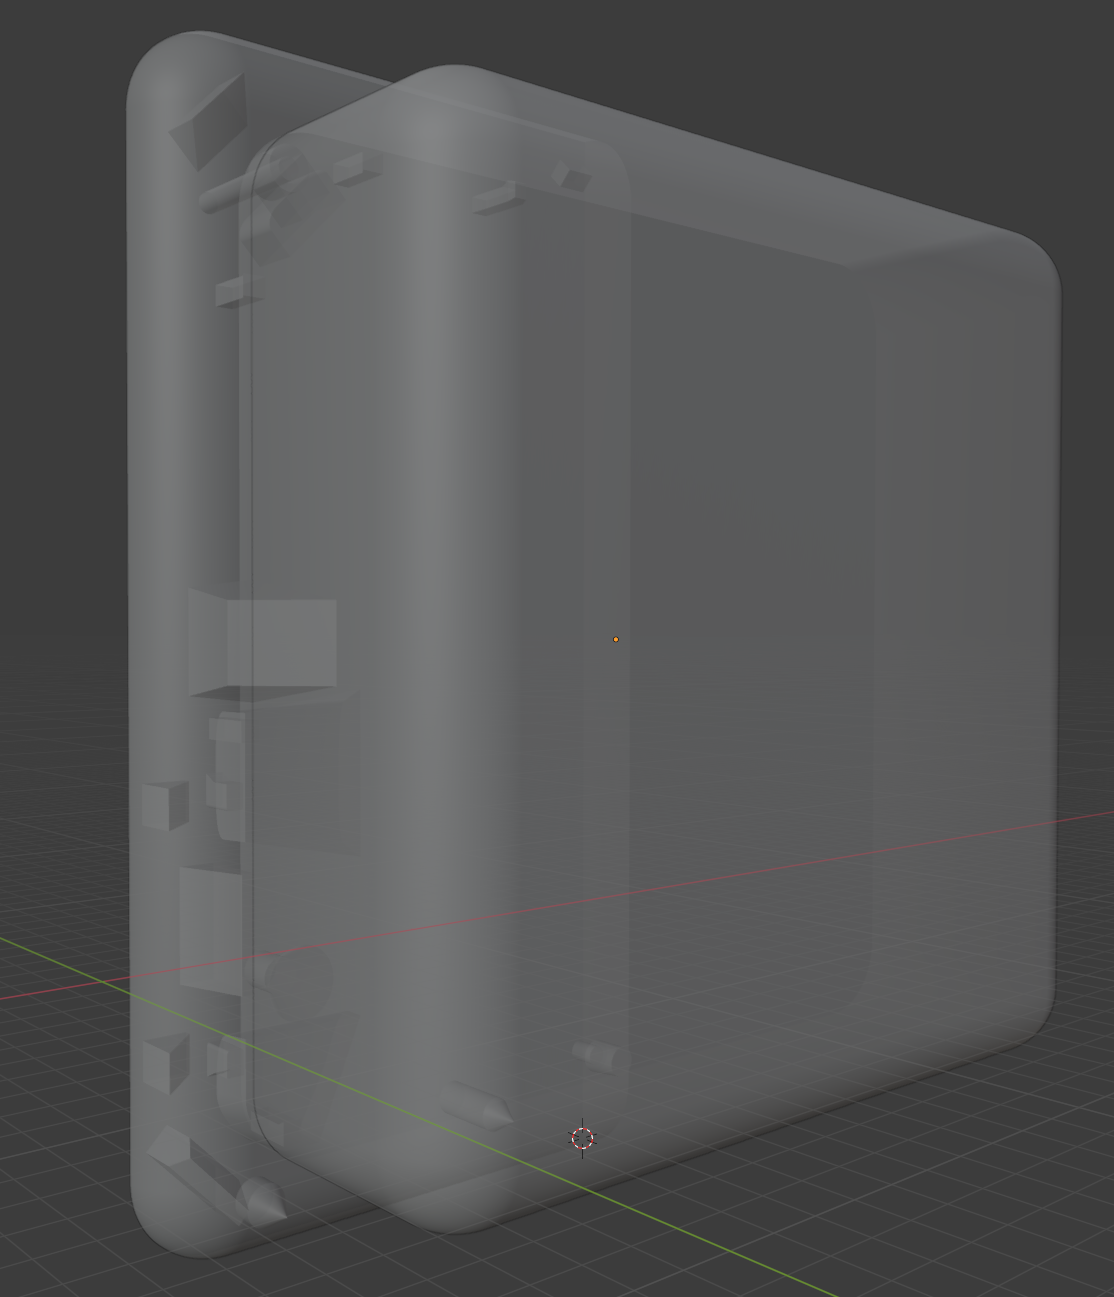
This ended up being the longest part of the project, and by far. It is also a proof that with perseverance, one can achieve a lot, even with a rather unfitting tool. I definitely wanted to use Blender though, for its amazing UI (since version 2.8) and rendering capabilities (this is also important).
The case design came unforeseen, long after the components where chosen and the first prototype ready. I thus decided to use this opportunity to do something new and quite ambitious: designing a pleasant 3d-printable case entirely tailored for the existing components, with no reference or prior experience, and all the while still learning to use the software.
On top of it, I had additional objectives:
- using all the types of fastening and assembly techniques I could think of
- using no support to print the parts
- reducing material usage whenever possible, while retaining enough robustness (I did not go as far as using structure optimization software though. It would have to be FOSS anyway)
- thinking in 3D, experimenting with forms, volumes, giving my creativity no limit (at first)
- avoid potential print failures as much as possible, by considering the physics of the 3d printer
And the following challenges came as well during the process:
- using the new sculpt mode to draw the paws and muzzle
- using the new collections and exact booleans for an almost non-destructive workflow
- exporting valid .stl files for the slicer software, rescaling meshes and making them manifold

In the end I went for a kind of two-layer solution, one inner structure to hold all the components, and one outer cover for the overall shape and look. This way it is a bit the best of both worlds, and it allows for interesting possibilities: two colours, different densities, objects that are easy to print versus smooth looking ones, etc.
 jdelbe
Discussions
Become a Hackaday.io Member
Create an account to leave a comment. Already have an account? Log In.