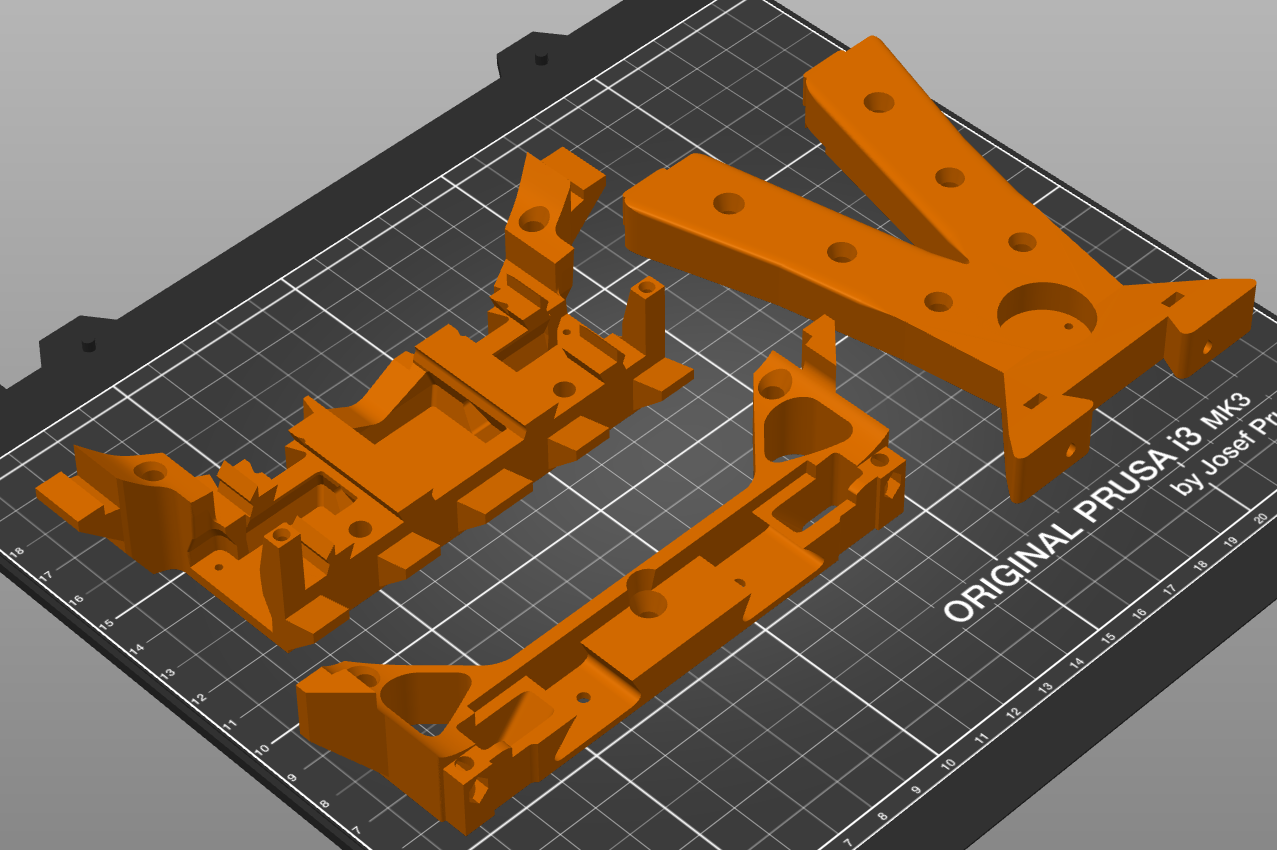
All the 3D printing details can be found on the dedicated Thingiverse page.

The slicer software is the latest PrusaSlicer (2.3 at the time of writing), combined with the latest firmware for the MK3 (3.9).
And now that all the parts have been printed, we can see what worked really well in the design and what did not:
- The Good
I have definitely over-engineered the internal parts. Being the first time as well that I was using PETG for its mechanical properties, I wanted to make sure that it would be robust enough for the payload. So for the first parts, I started adding an extra perimeter, and even switched to a honeycomb infill pattern with increased density... Well, those are VERY robust!

There are also enough holes and fastening possibilities, in case a "fix" or add-on is needed.
For the parts that have to be printed identically multiple times, I realized that versioning is - as for software - almost mandatory. Actually printing the version number onto the part is a very good idea, otherwise similar pieces that have only very minor differences between them (tolerance for instance) cannot be distinguished anymore.
Another cautious trick was to start printing the outer case from the back, so that potential early mistakes may not disturb the general look too much. I am glad I did that, this way I could correct some of the flaws for the sides and the front.
- The Average
Though the split of the cube in frames and panels worked well to achieve smooth edges without support, this has required a lot of work. The panels themselves do not always fit very well, and being thin and white, they turn out to be more transparent than expected. But at least they are very light on filament usage.
One of the very new features of PrusaSlicer that I have tried is Ironing. It has potential, but it did not really pay off in this case.
- The Bad
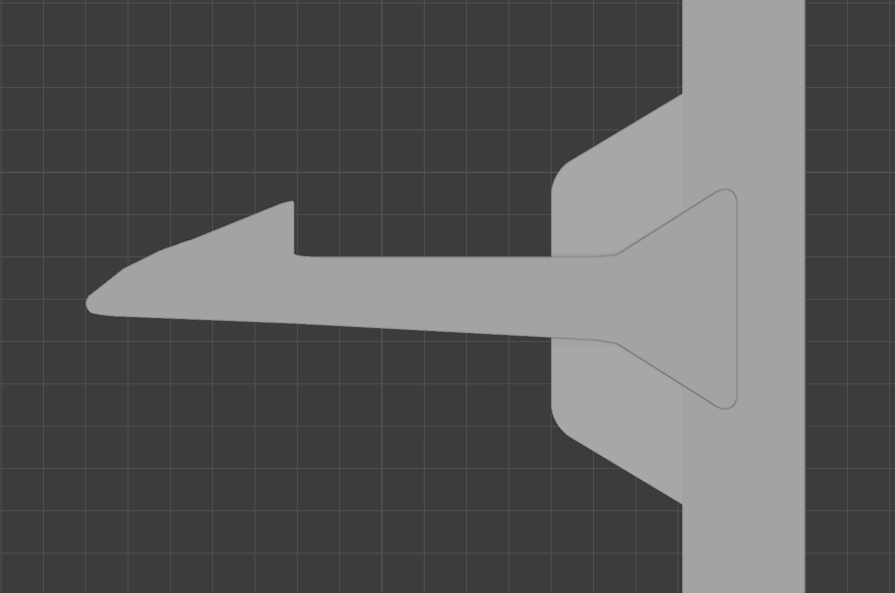
I have made a mistake by designing the snap-fits between the back panel and frame. Though I knew already about the importance of the build direction for a cantilever snap-fit joint, I thought it would not matter too much since there is almost no force applied to this area. I was wrong.
Some of these snap-fits did not even print correctly (very sensible to stringing and to Z-layer shifts, because there are far apart and very thin), some broke right away the first time the panel was fitted into the frame. Luckily I had put enough (too many) of them in the design, so that it still fits and holds well enough.
I have learnt from that experience and had the occasion to rethink the snap-fits for the front part, with a satisfying modular result. It might come in handy for other projects.

Overall I'm really happy that I didn't have to reprint any part, and didn't have any major failure. I might rework the back or improve smaller things there and there, but I don't need to. This a real success for a first project done like this.
The sum of all the gcodes for Tobi-P says that there has been 5000 minutes of printing time so far, which is about 83 hours.
 jdelbe
Discussions
Become a Hackaday.io Member
Create an account to leave a comment. Already have an account? Log In.