 Inne
Inne-
11Attach bubble
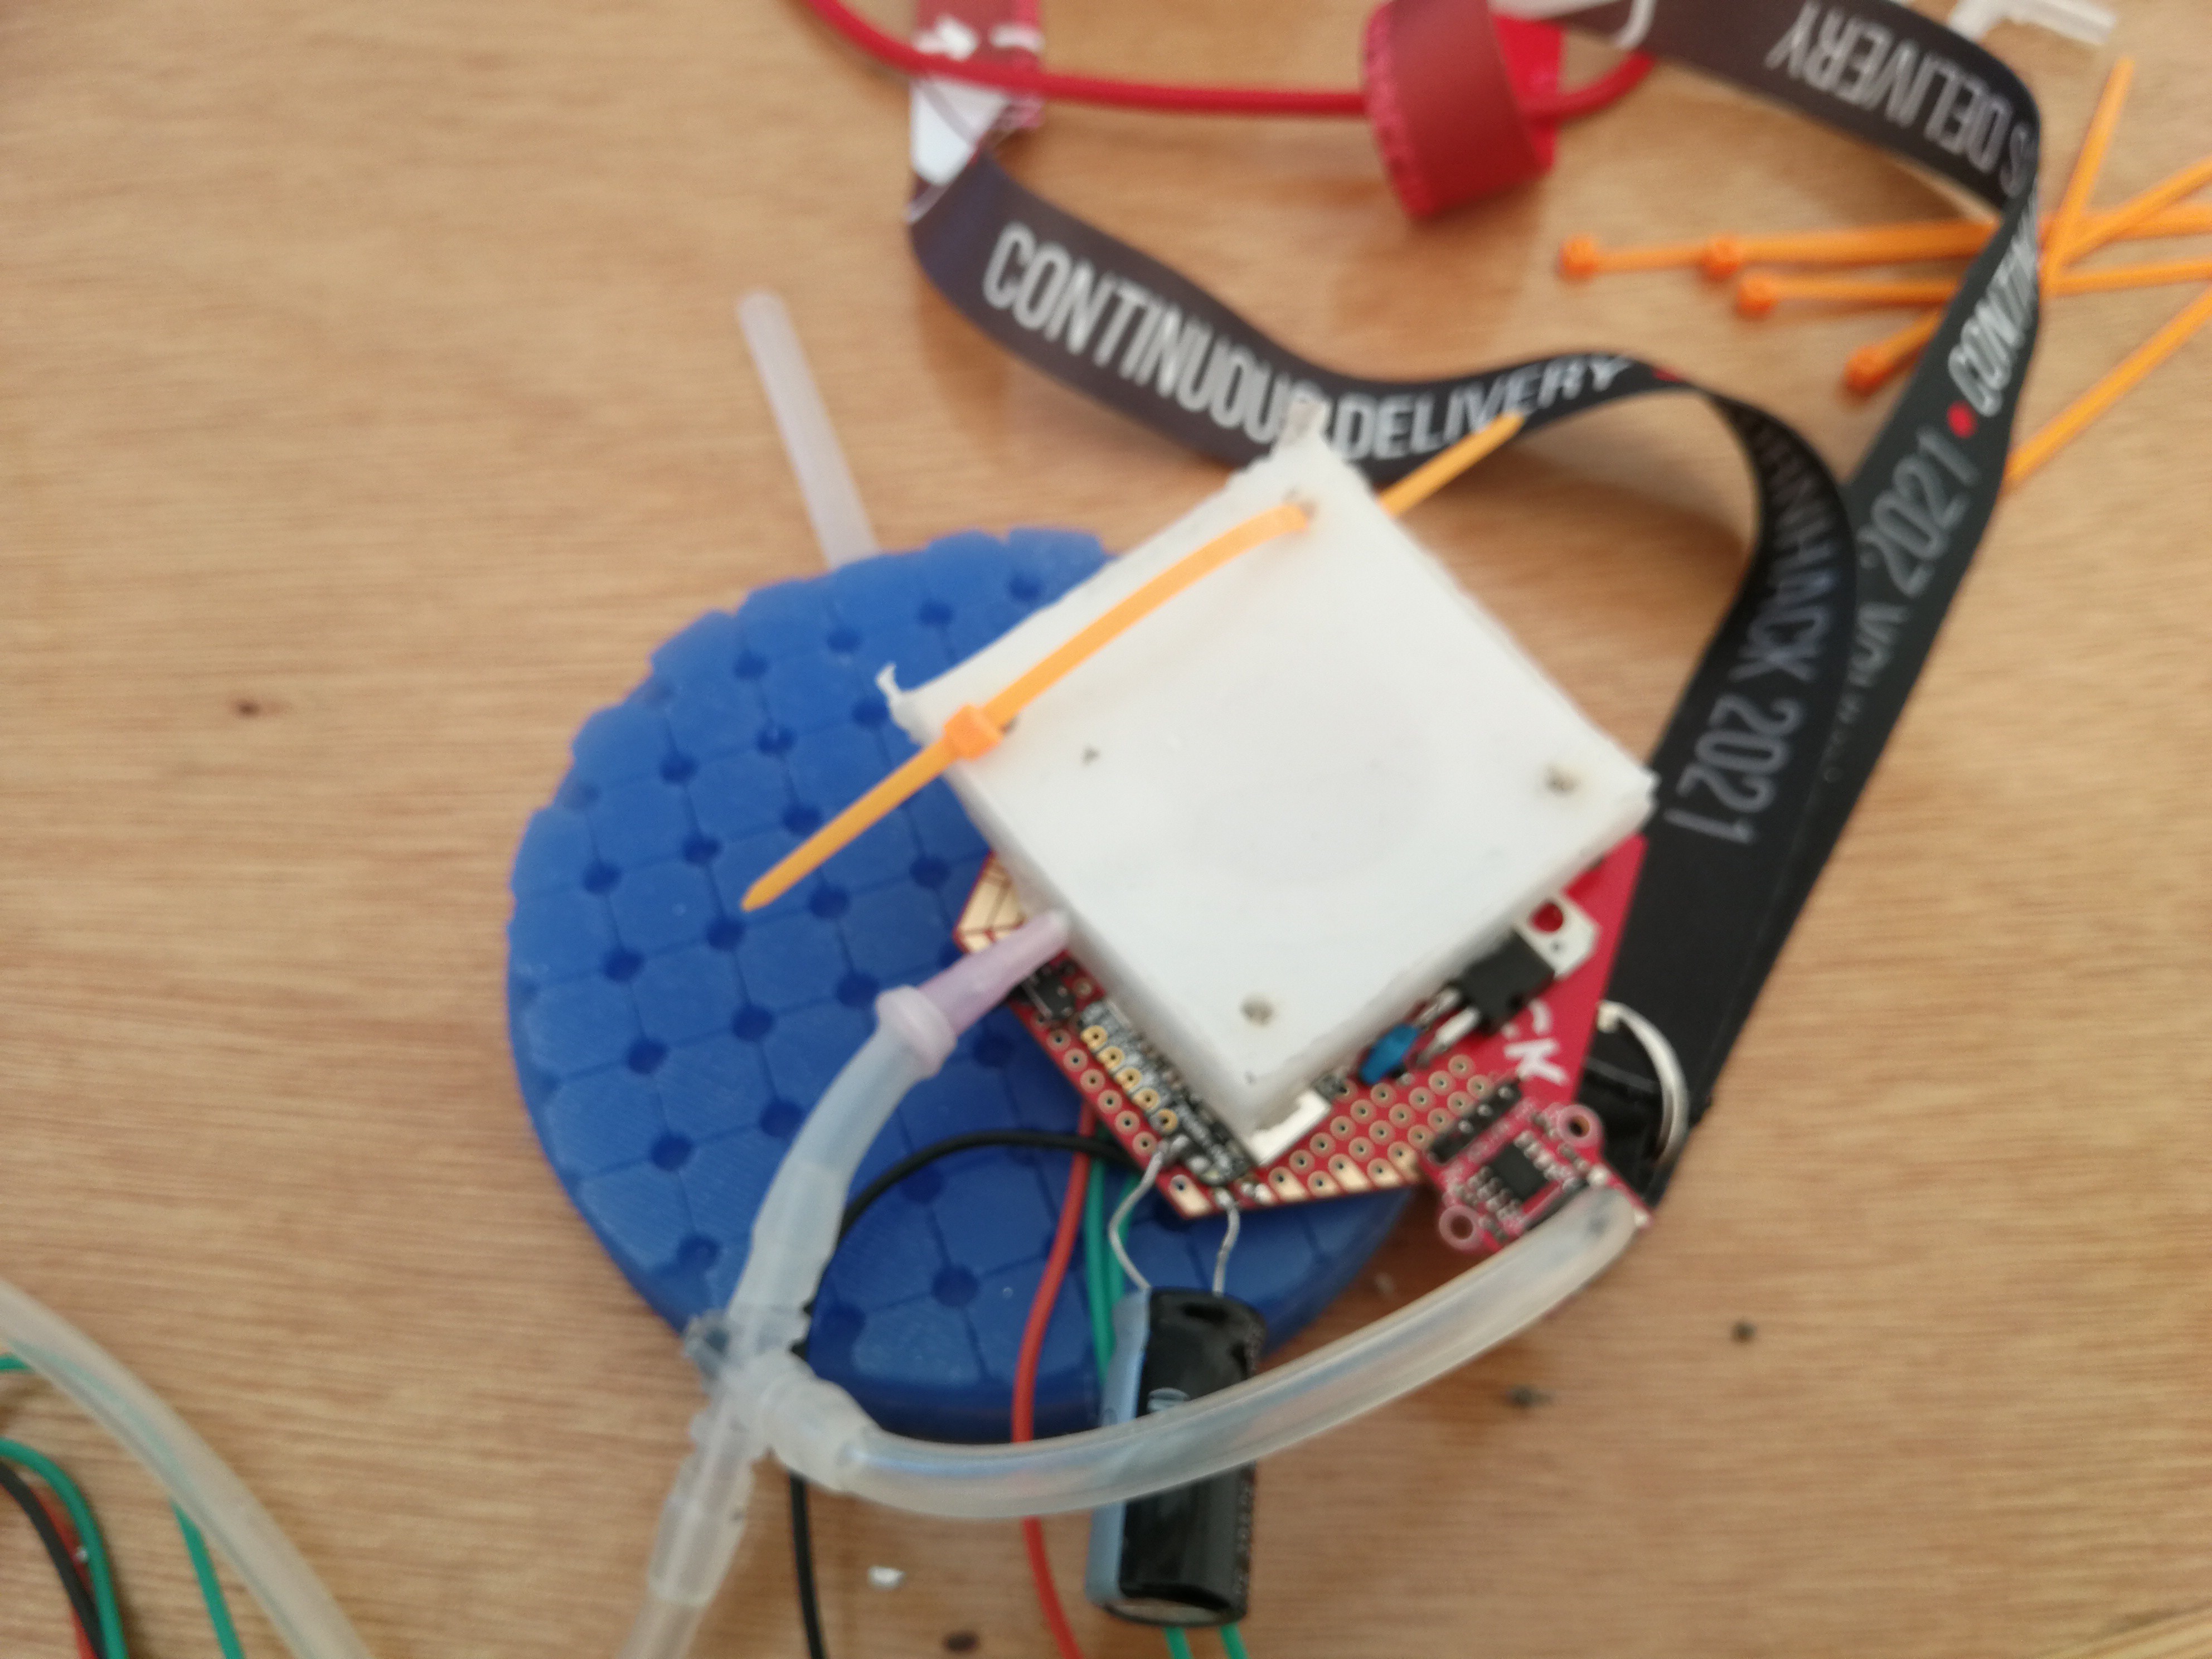
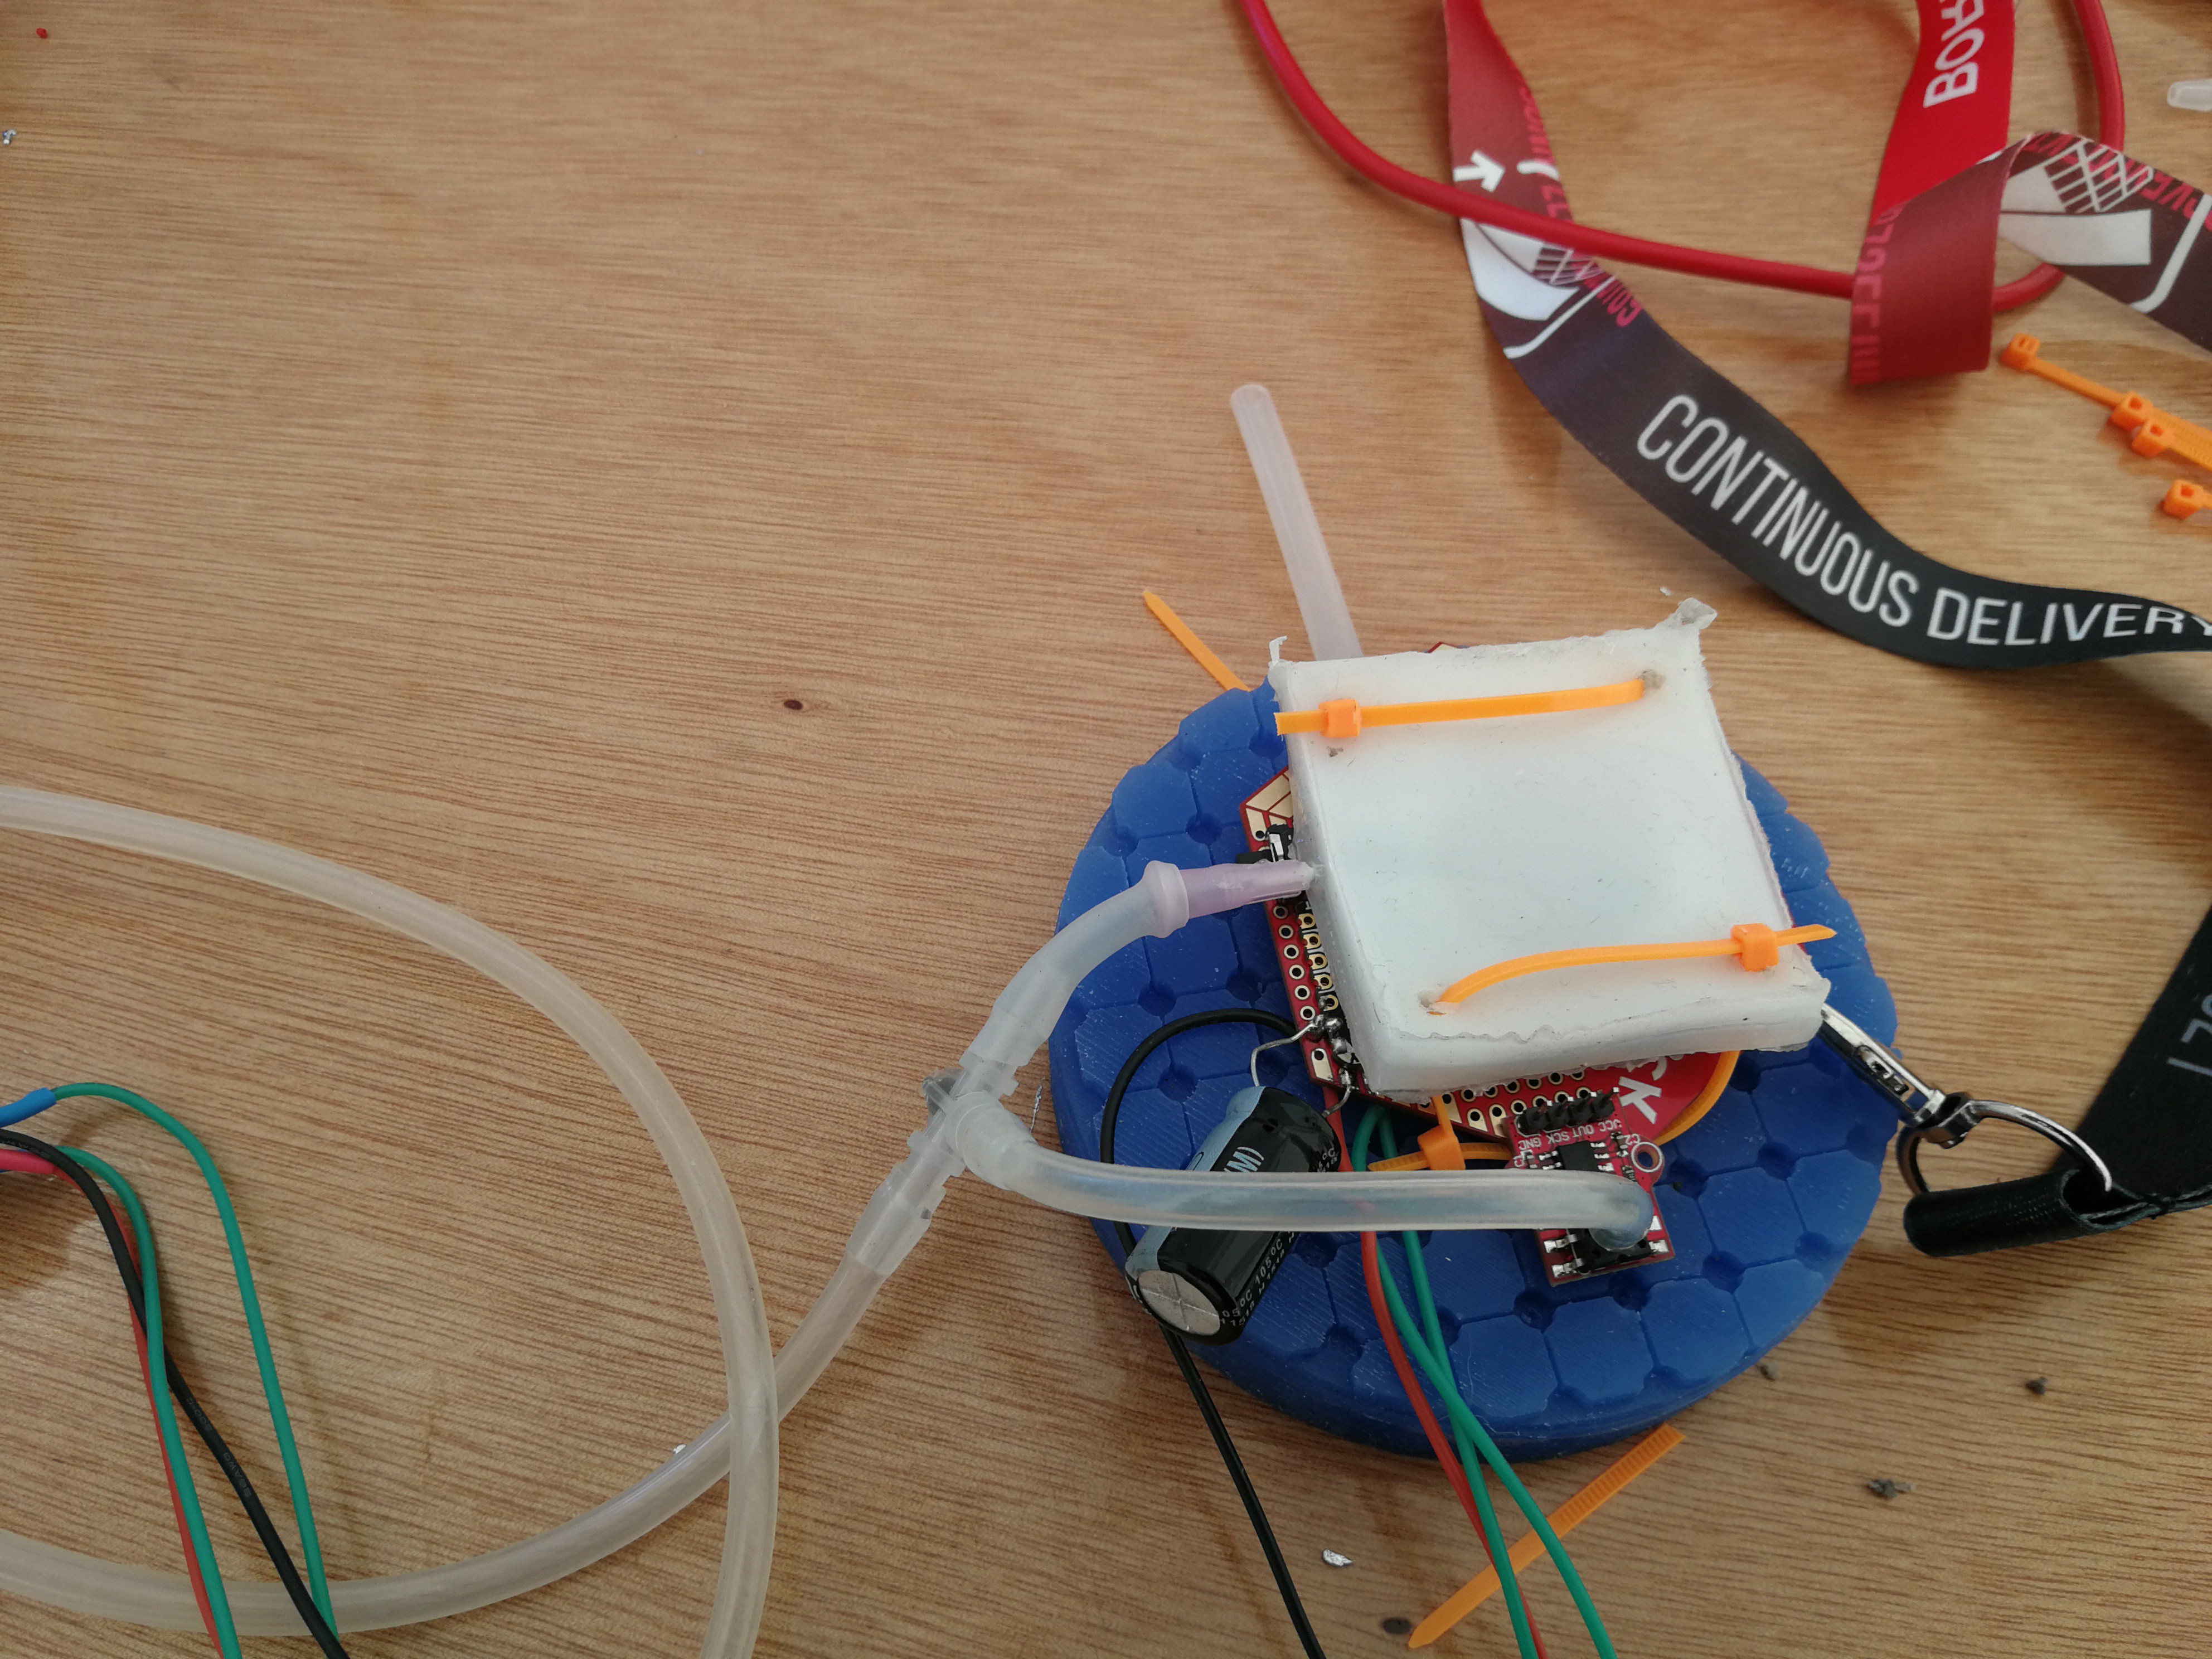
Use 2 small zip-ties to make a longer zip-tie by pushing one trough the screw hole in the bubble from the top and the other from the bottom. Do this also for the other side. Place one loop around the hook of the lanyard on the top of the badge and the other around the wires on the bottom. (currently there are no instuctions to make the bubbles yet).
![]()
![]()
Note: the above picture show another orientation of the zip-ties and bubble but top bottom vastening turned out to be better with less risk of straining the air pressure module. Thighten the gradually, iterating from both front and backside.
-
12Connect tubes.
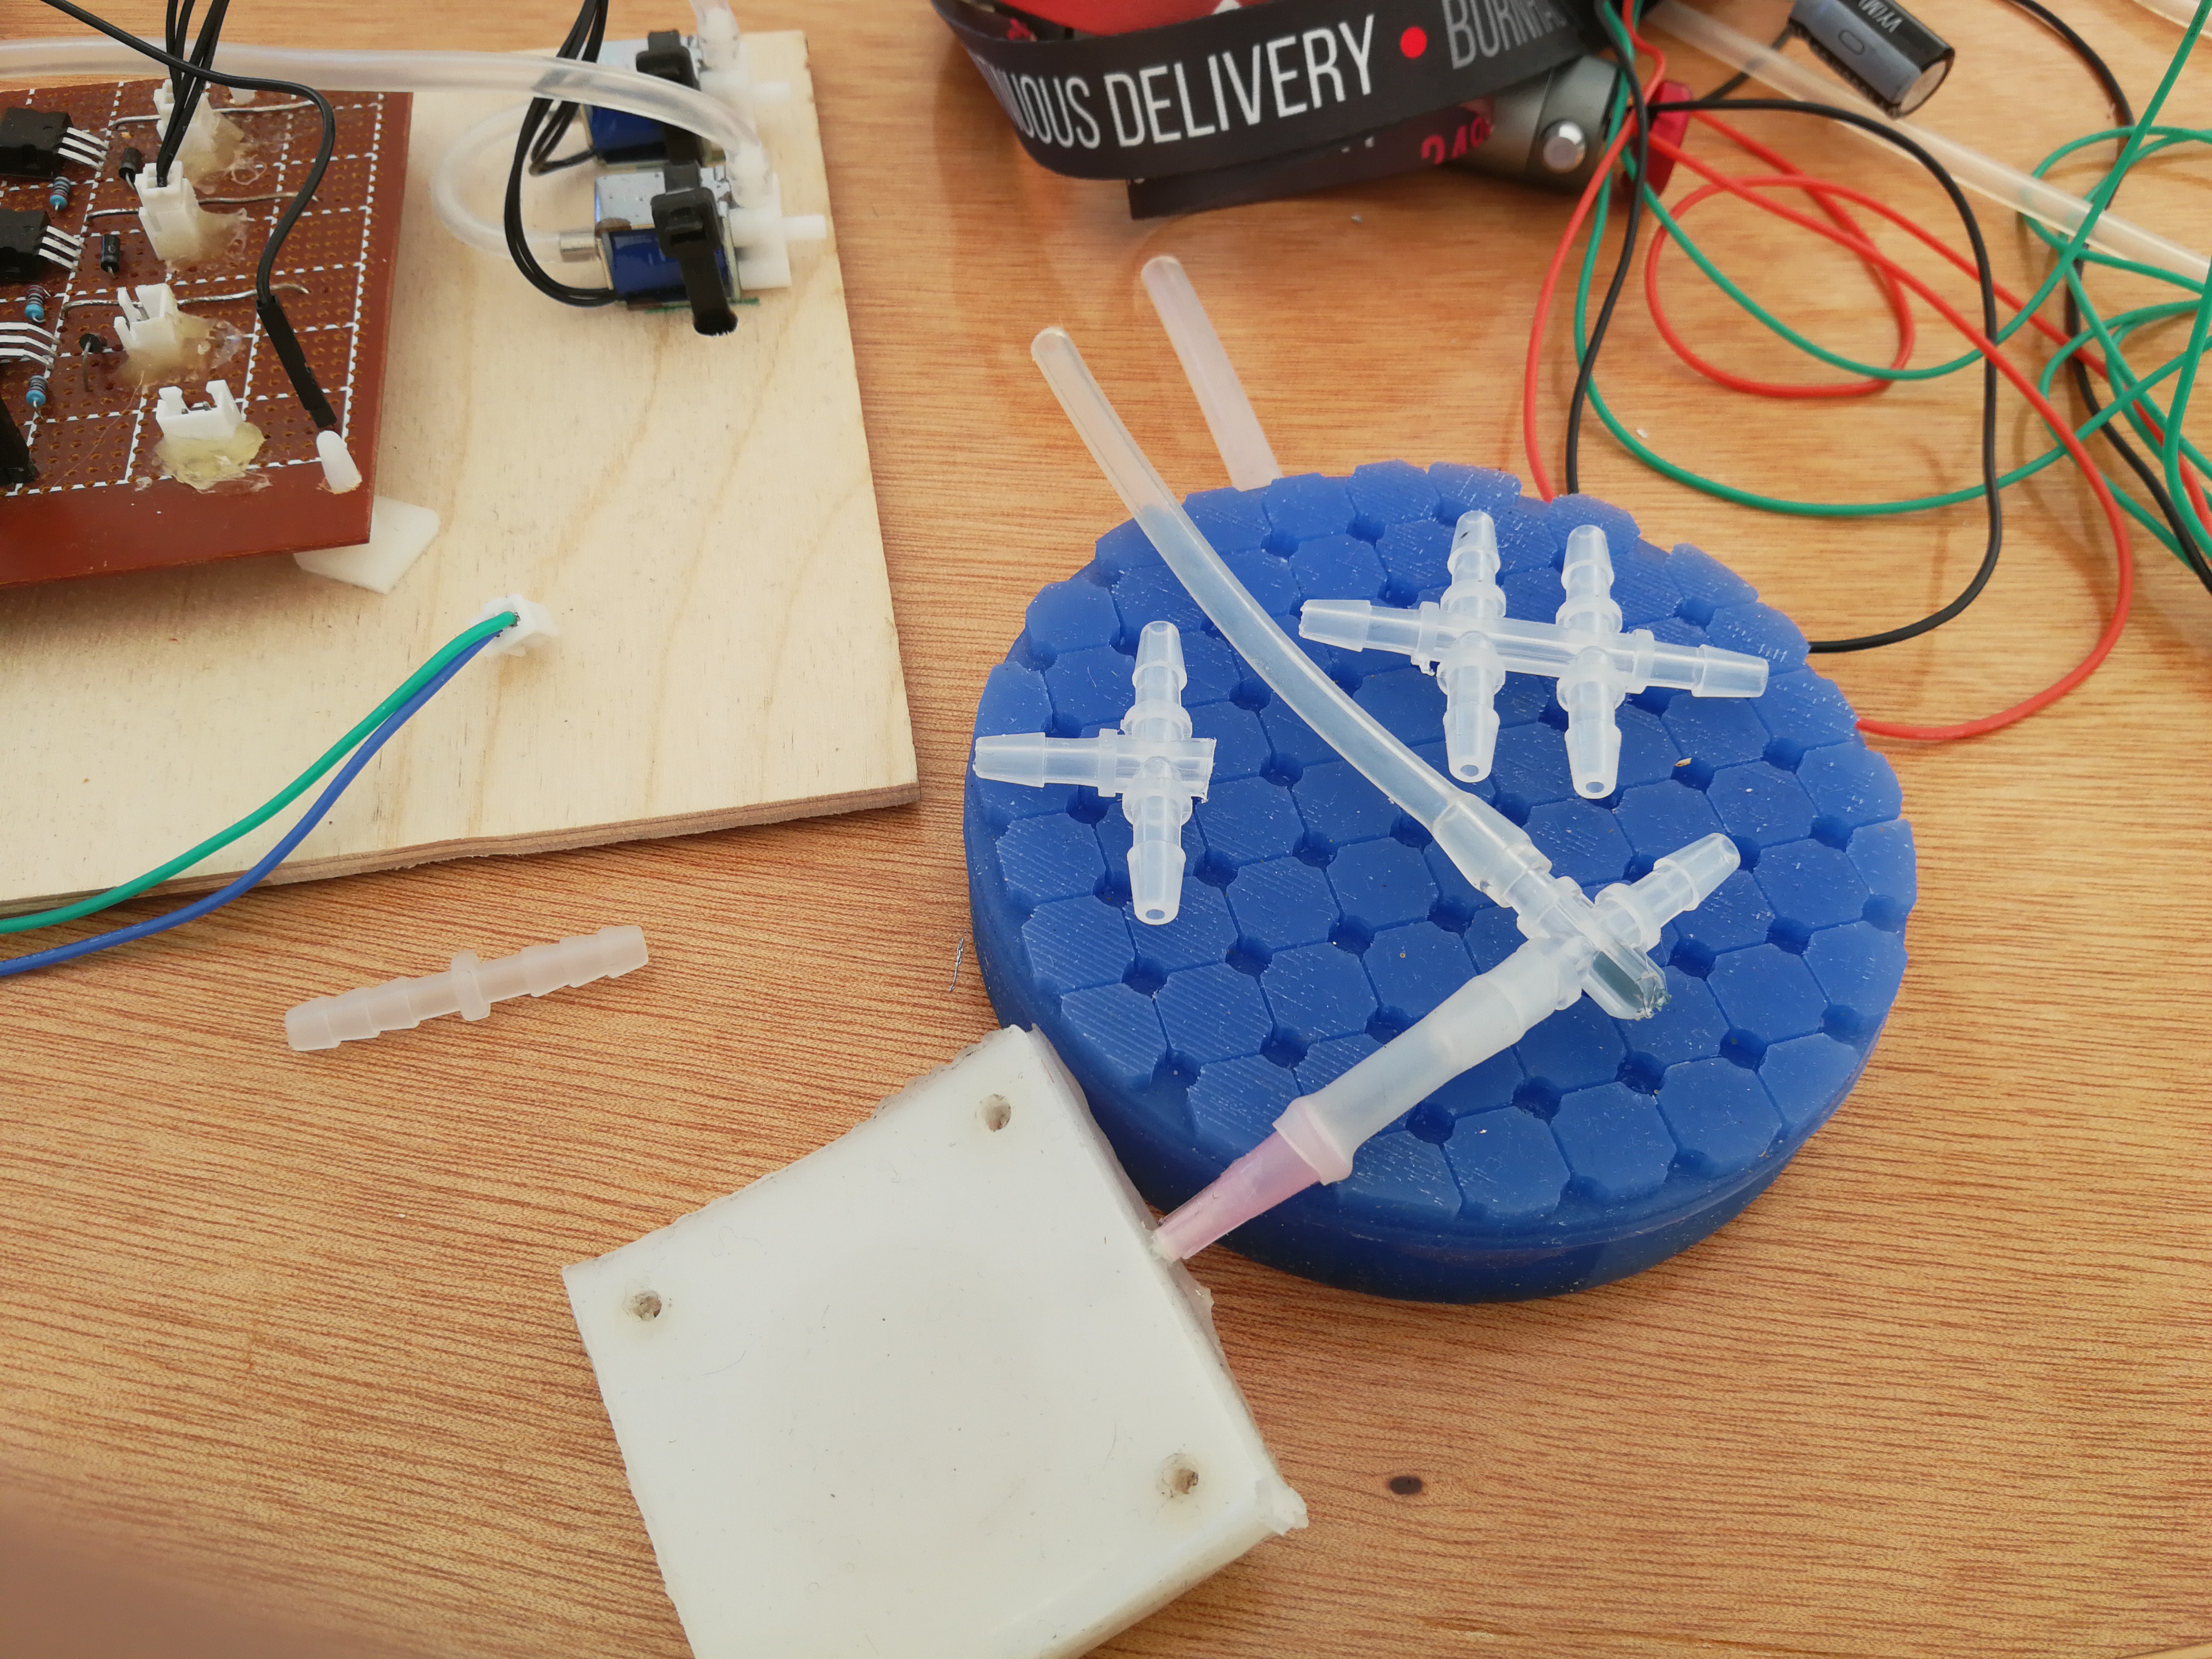
To connect all the tubes we need 2 threeway connectors. Since I ran out of those I made some cutting up bigger connectors and sealing them with hot glue.
![]()
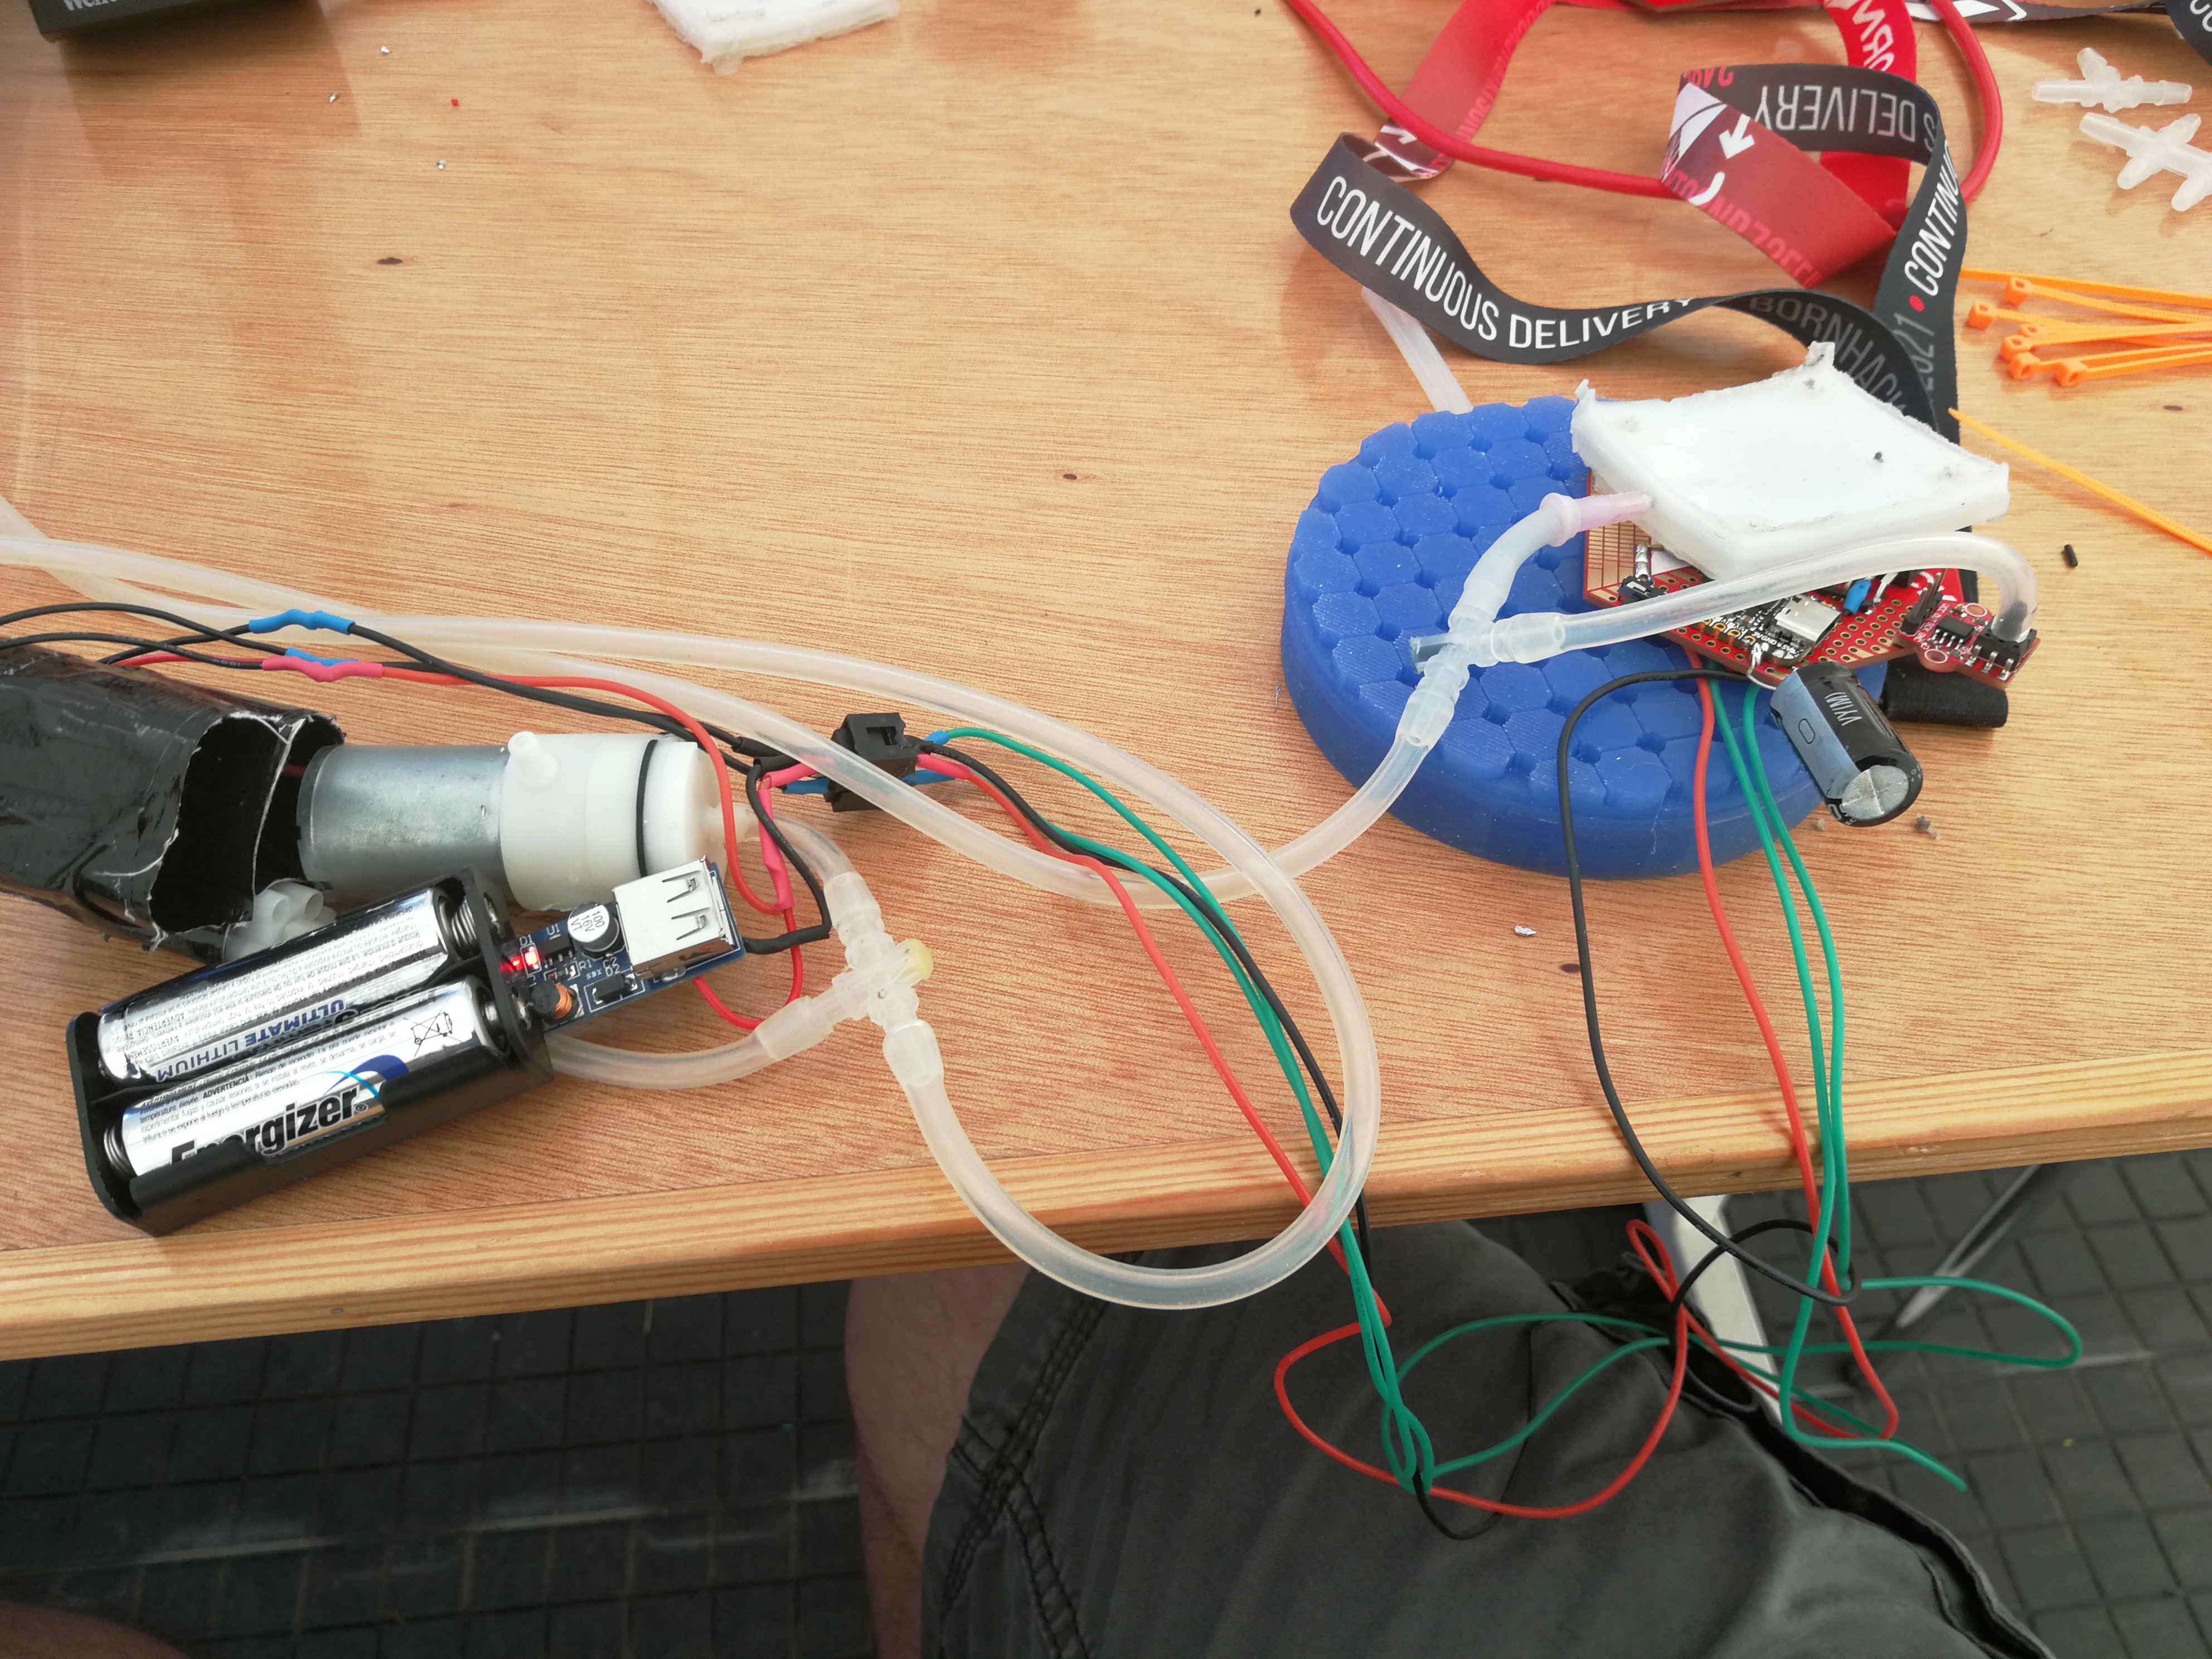
One connector splits the air for the bubble and the pressure sensor at the badge end. The other splits the airpump and the vale at the battery end.![]()
-
13Code the badge in CircuitPython
You can write the code for the QTPy SAMD21 in anything you want. However the nice thing about CircuitPython is you get an interpreter to test your inflating and color animations live on the badge. As well as allowing anyone with an USB-C cable to make you new animations since the code is stored and accesable on the badge itself.
Add adafruit_pixelbuf.mpy and neopixe.mpy to the lib directory on the QTPy. These are dependacies for to run the NeoPixel.
With this very basic code example you can make the bubble move and change its color with the NeoPixel.import board import time import neopixel import digitalio bubbleLed = neopixel.NeoPixel(board.D1, 1) motor = digitalio.DigitalInOut(board.D2) motor.direction = digitalio.Direction.OUTPUT valve = digitalio.DigitalInOut(board.D3) valve.direction = digitalio.Direction.OUTPUT while(True): bubbleLed[0] = (0,0,10) motor.value = True valve.value = False time.sleep(3) bubbleLed[0] = (10,0,0) motor.value = False valve.value = True time.sleep(5)Note: in the current version of this badge the pressure sensor is not yet connected. So we inflate and deflate based on set times, make sure to choose a longer deflate time to make sure the bubble is completely empty before inflating again.
BornHack Bubble Badge
The BornHack 2021 badge was a PCB/prototyping board, I decided to make a smaller version of my soft robotic bubbles.
Discussions
Become a Hackaday.io Member
Create an account to leave a comment. Already have an account? Log In.