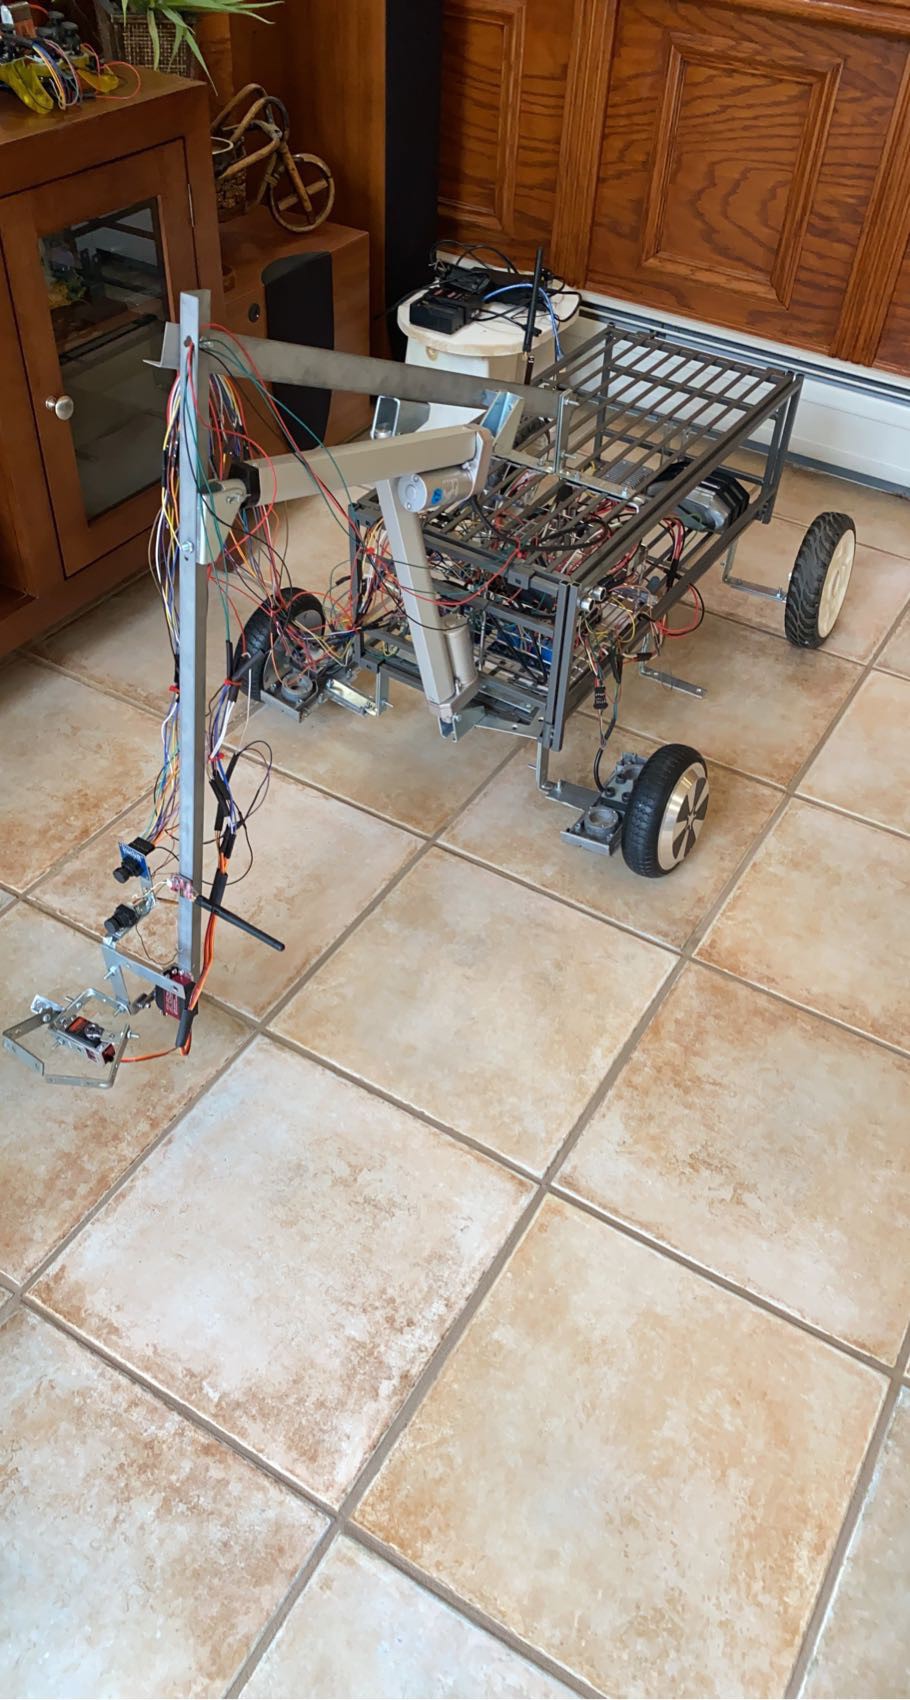
AUTONOMOUS FIRST TEST: Testing all moving parts successfully. 
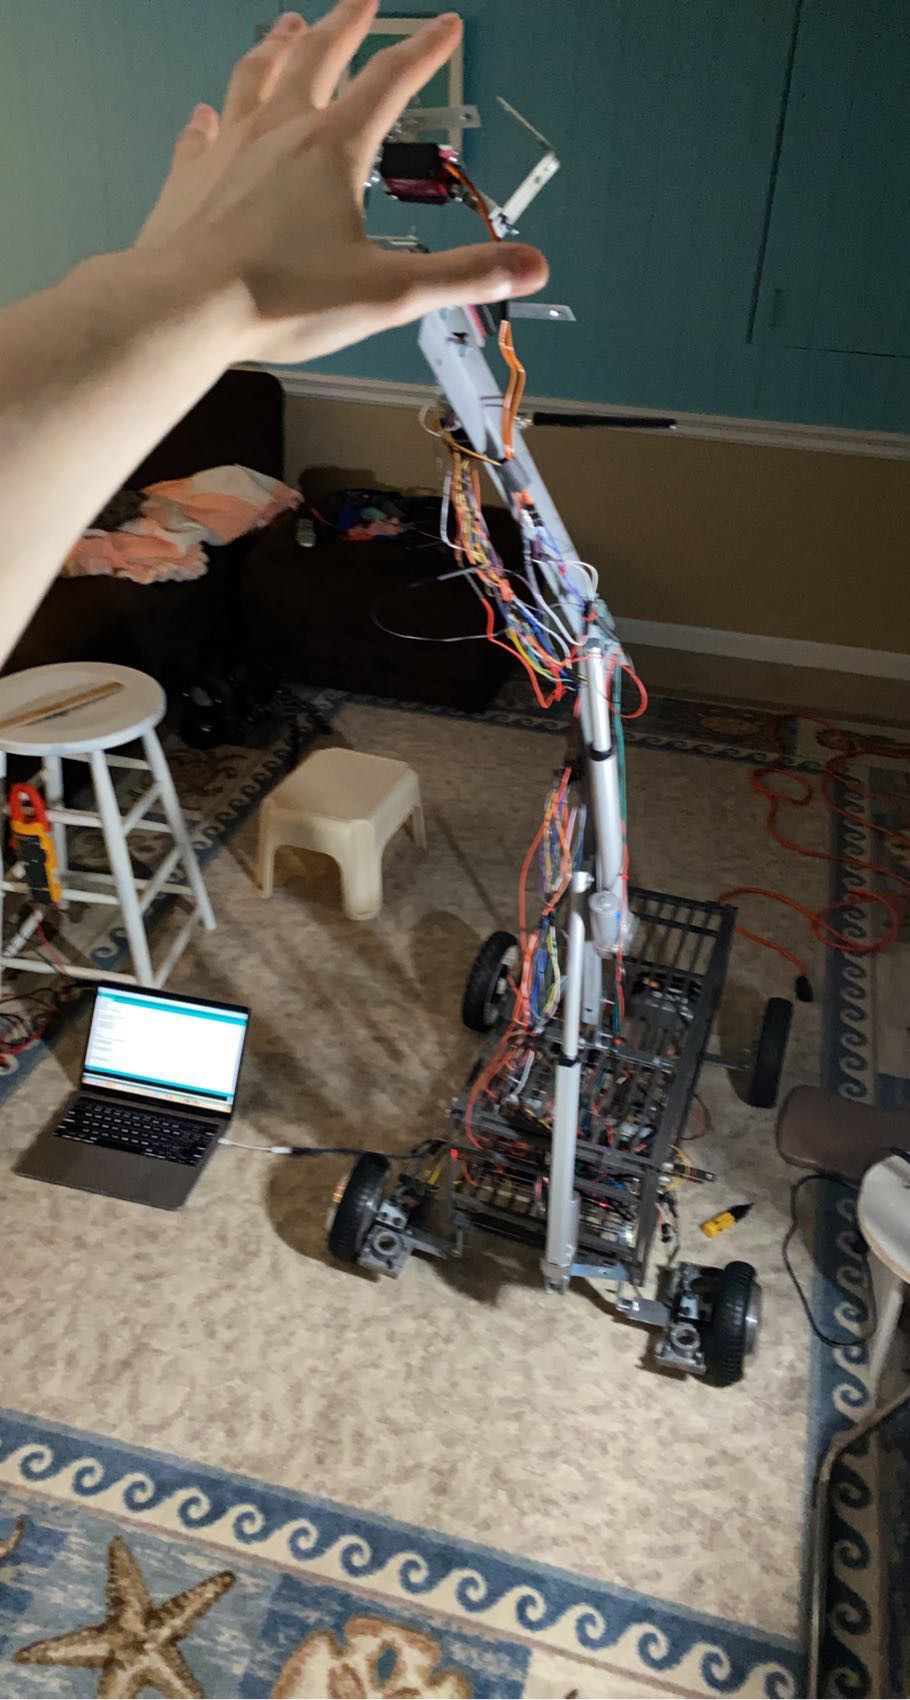
    

ABOUT THE ROBOT:

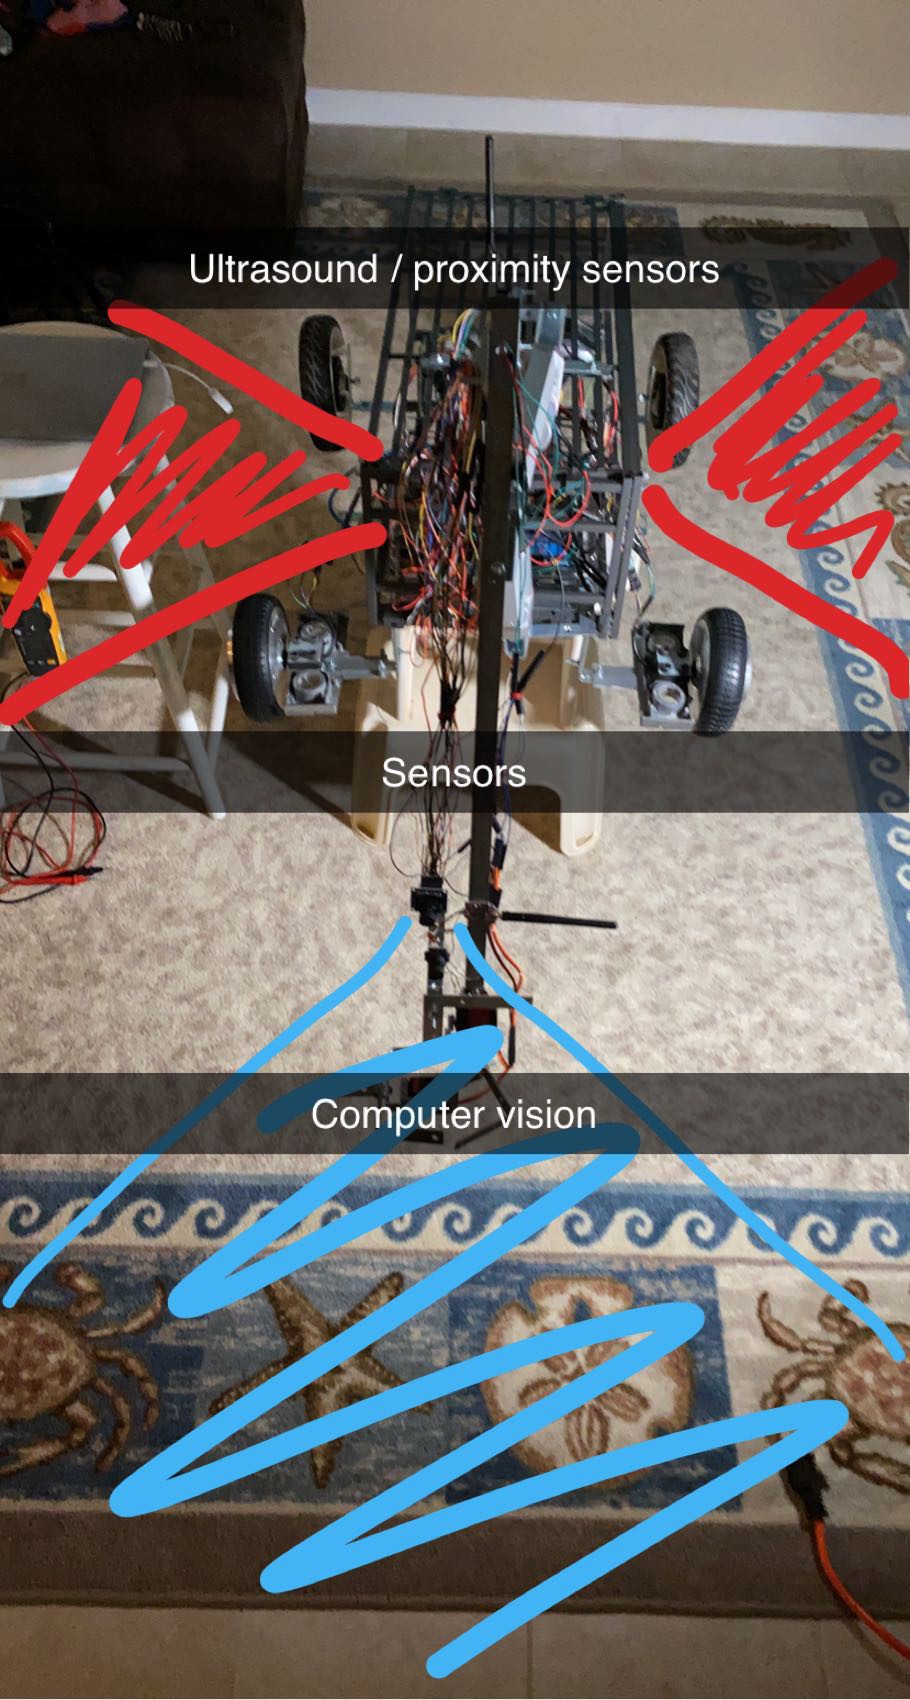
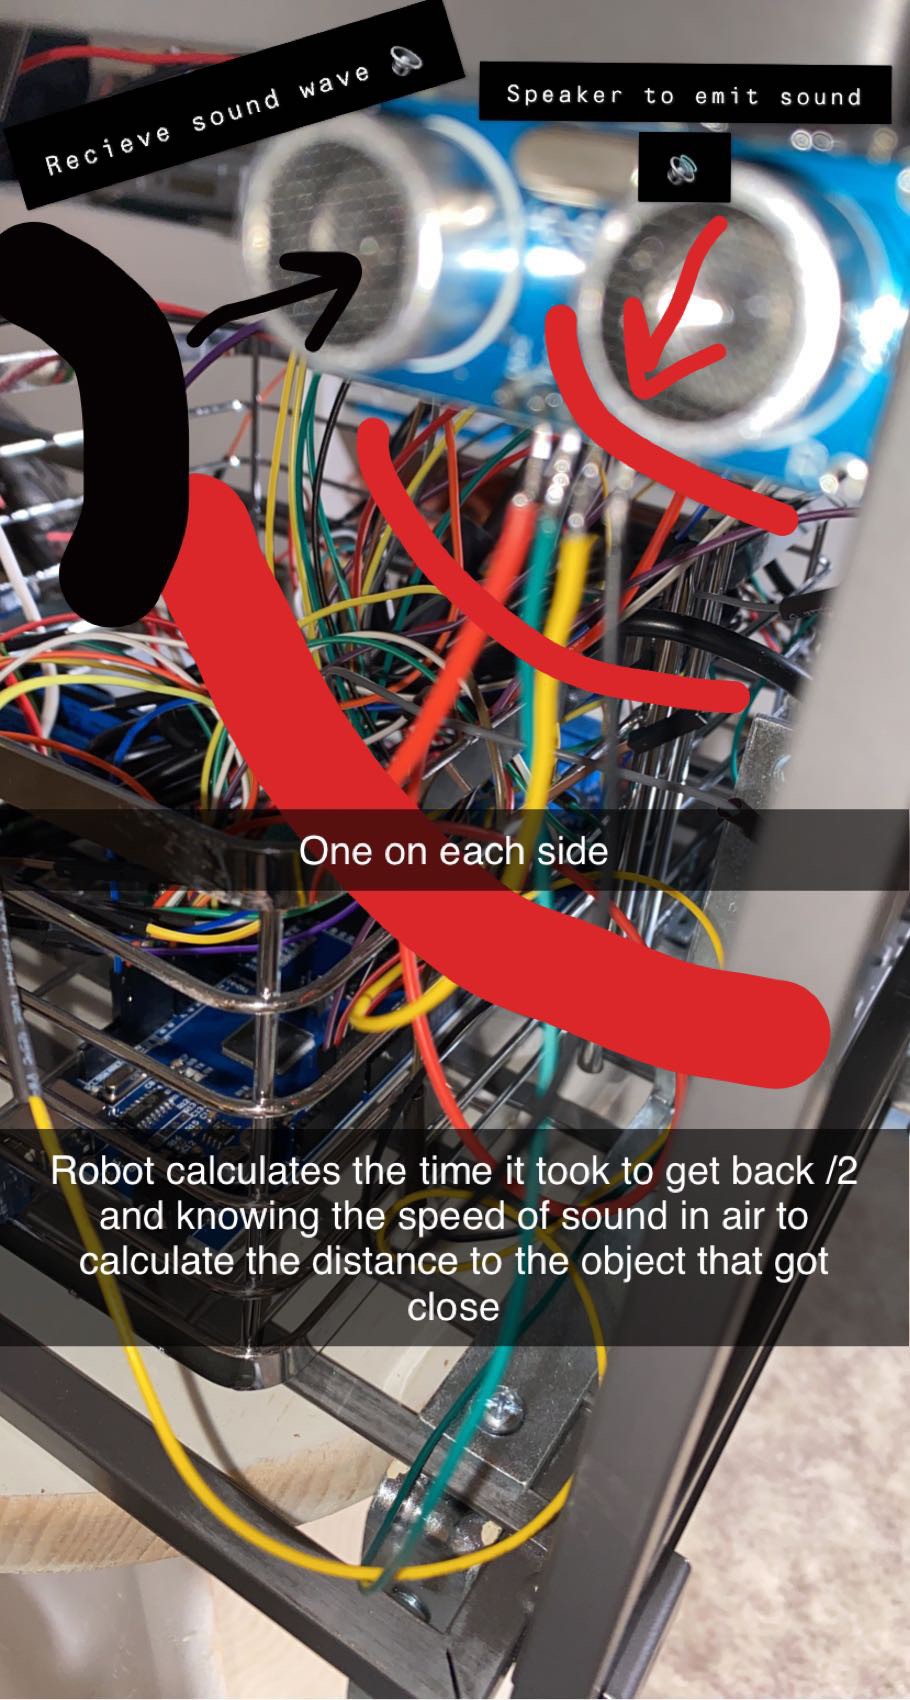
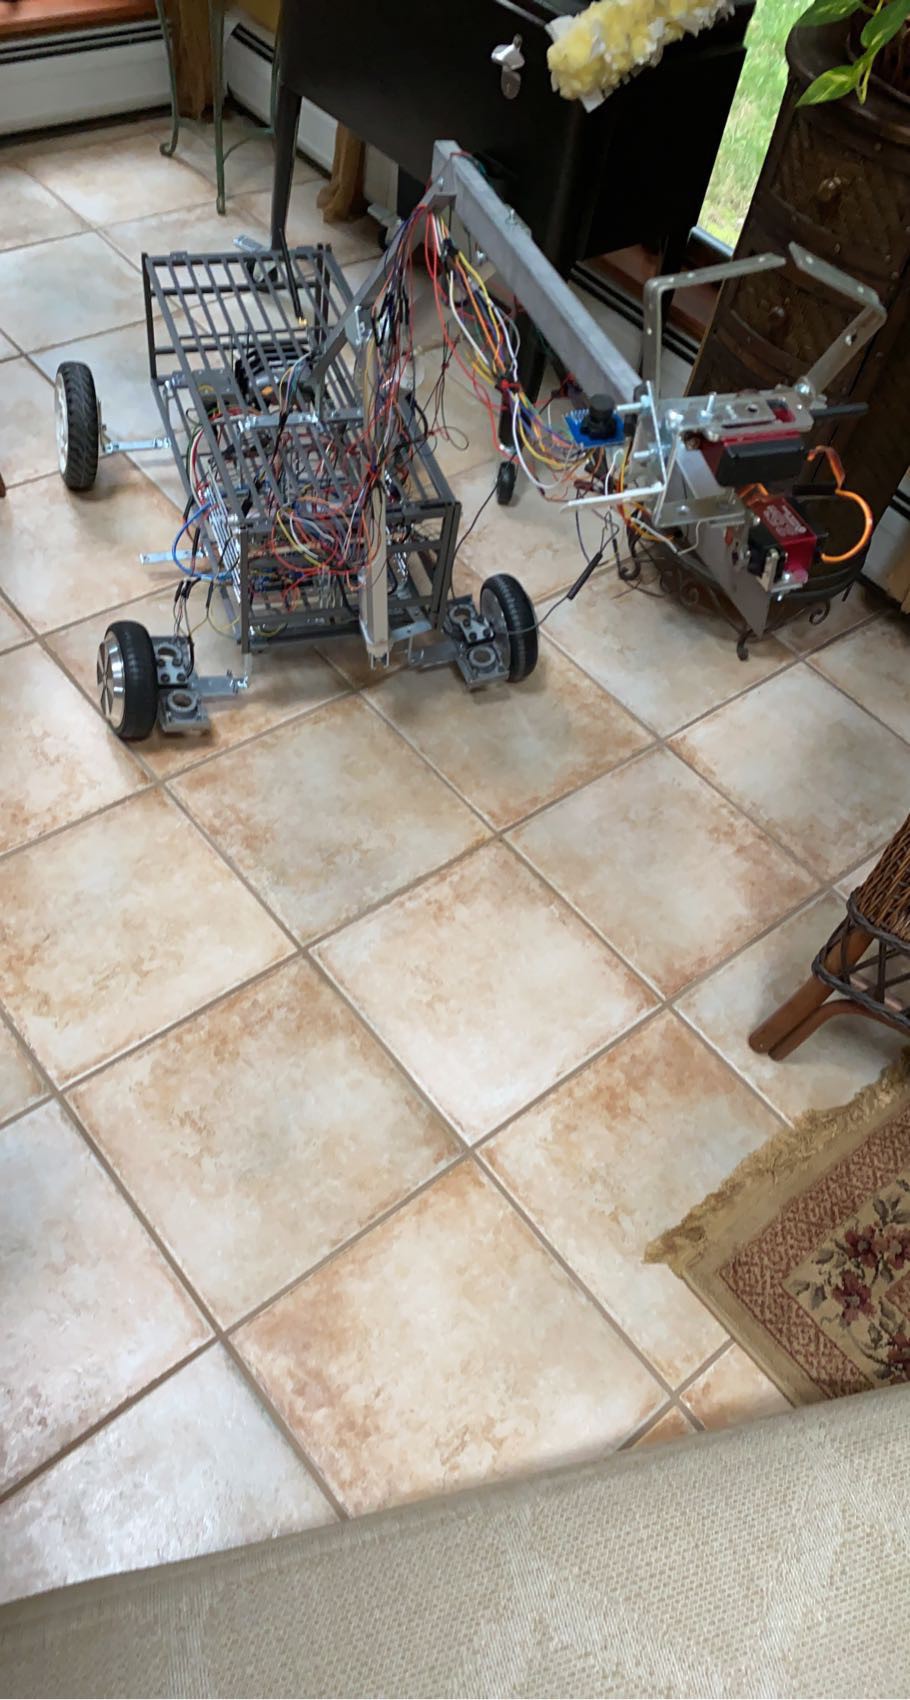
Made by myself, from June 2021-August 2021 this is the first version of my helper robot. In addition to the remote controls, it will use its same camera module for computer vision/AI & distance ultrasonic sensors to help it navigate autonomously in the real world & being able to track and follow specific objects have it do work on its own by itself. 
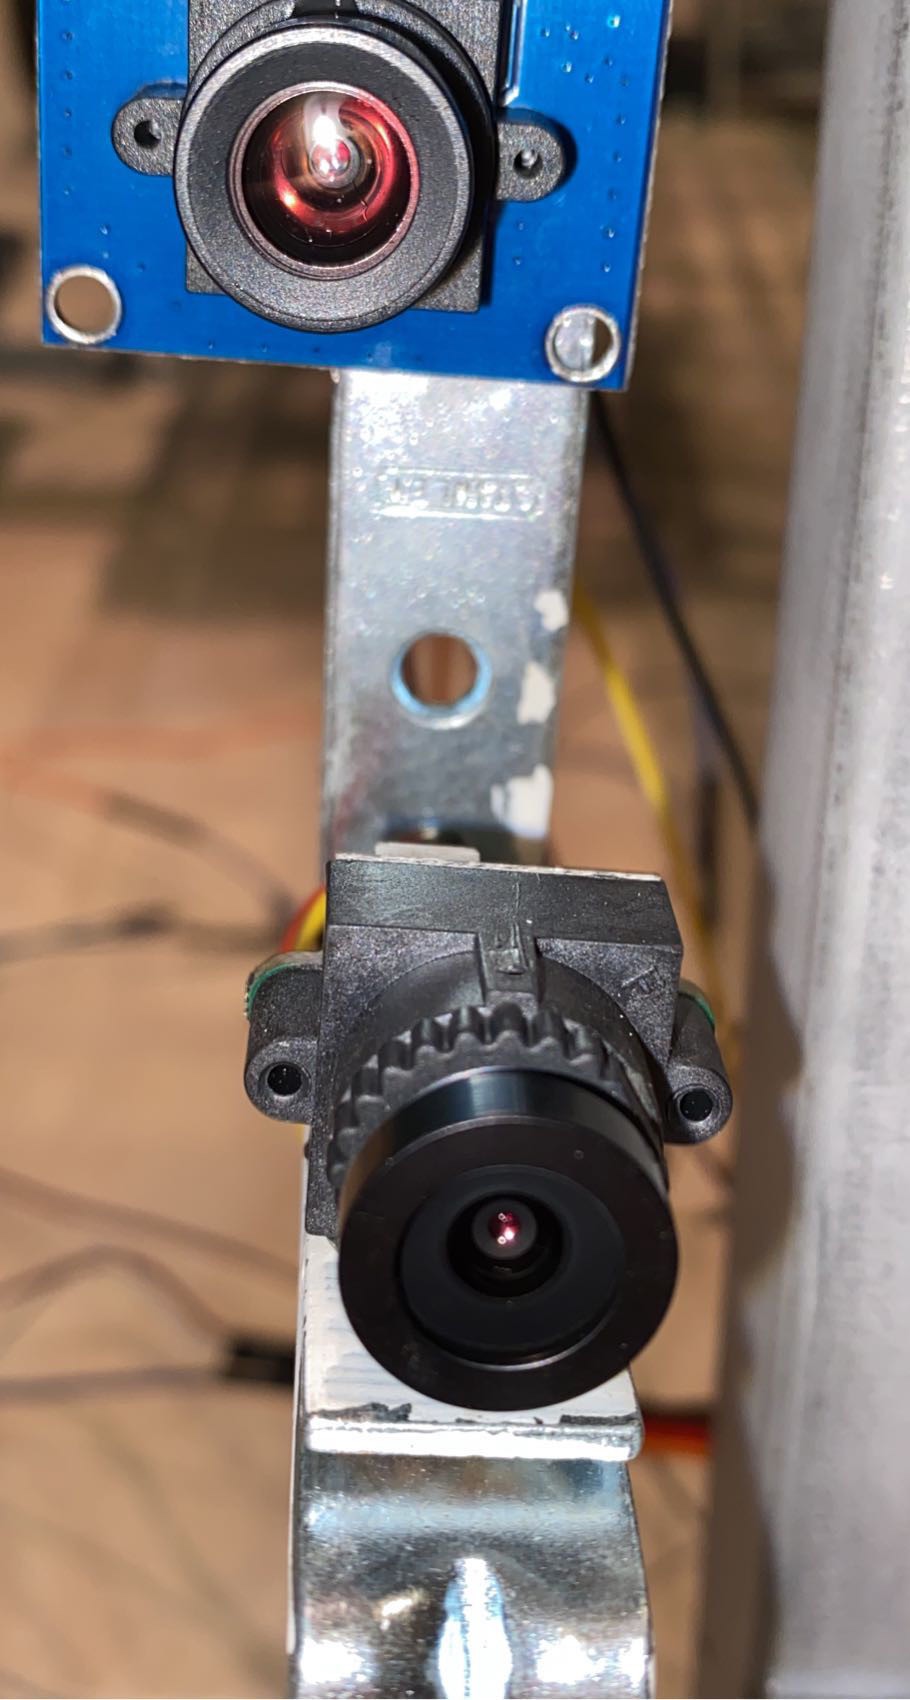
Camera Modules
Computer Vision / AI camera (blue) & FPV remote control camera (black)

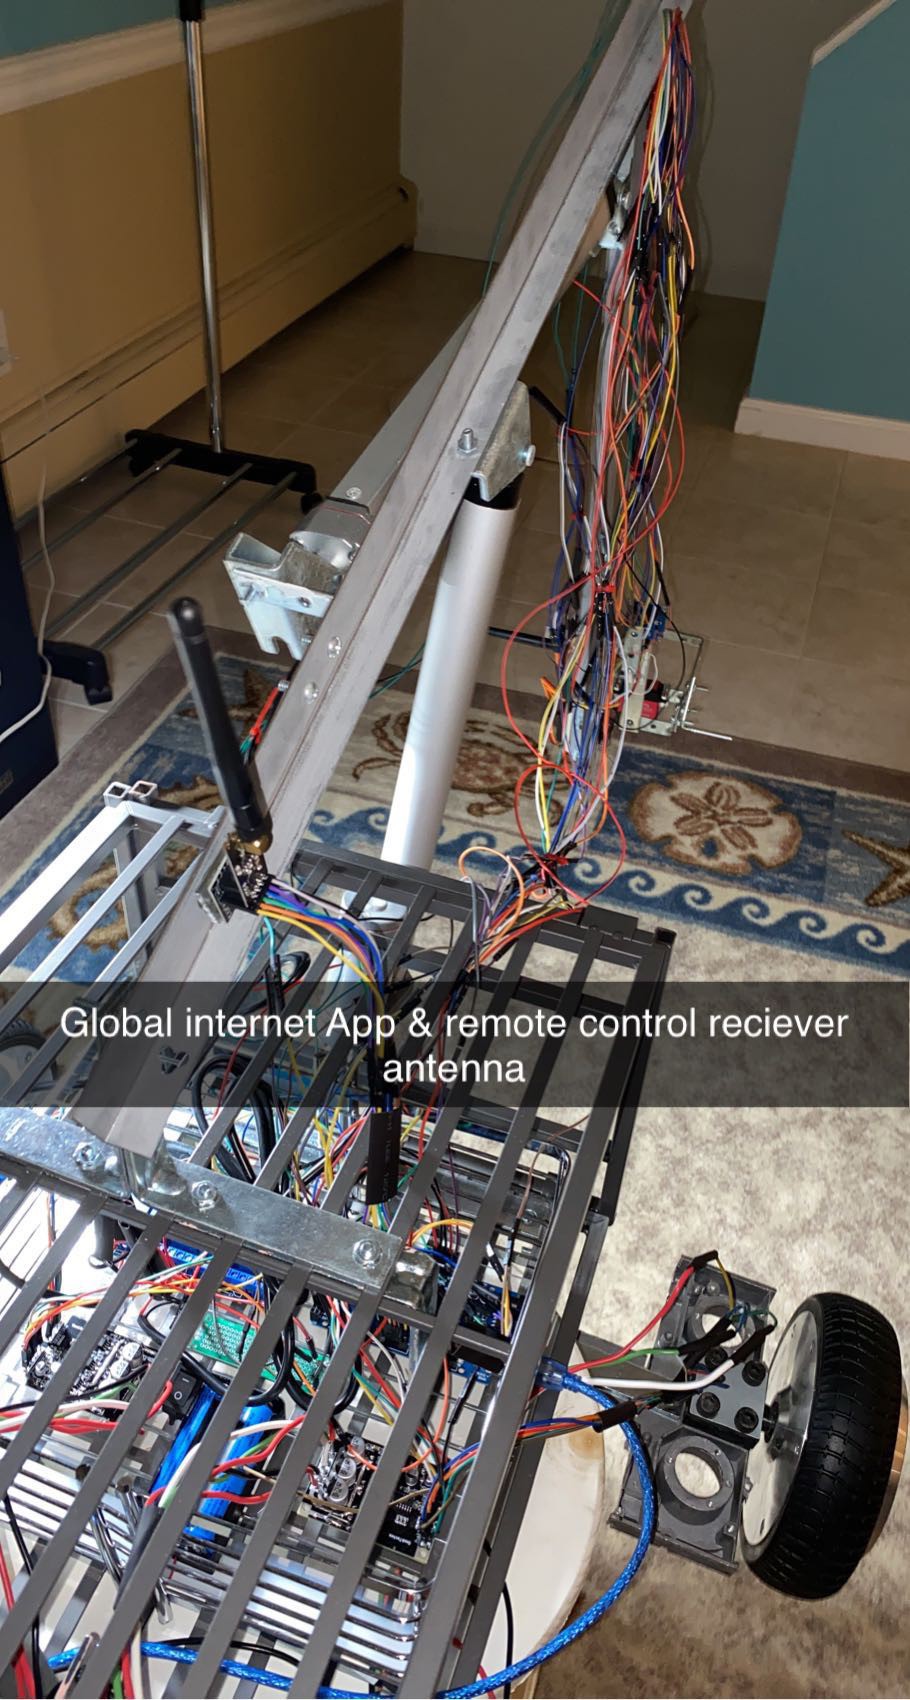
The best applications for this are cutting grass/ landscaping, shoveling snow, raking leaves, any work common people typically do that is time consuming and boring. Or just being there as an extra hand / helper to support others needs. It can transport & deliver items, and help you carry cumbersome items. Of course, the robot can be used as way to keep people safe to remotely do any dangerous tasks.  I am currently working on an app in addition to the physical controller, that lets anyone, anywhere around the world use their smartphone as the controller with an internet connection.
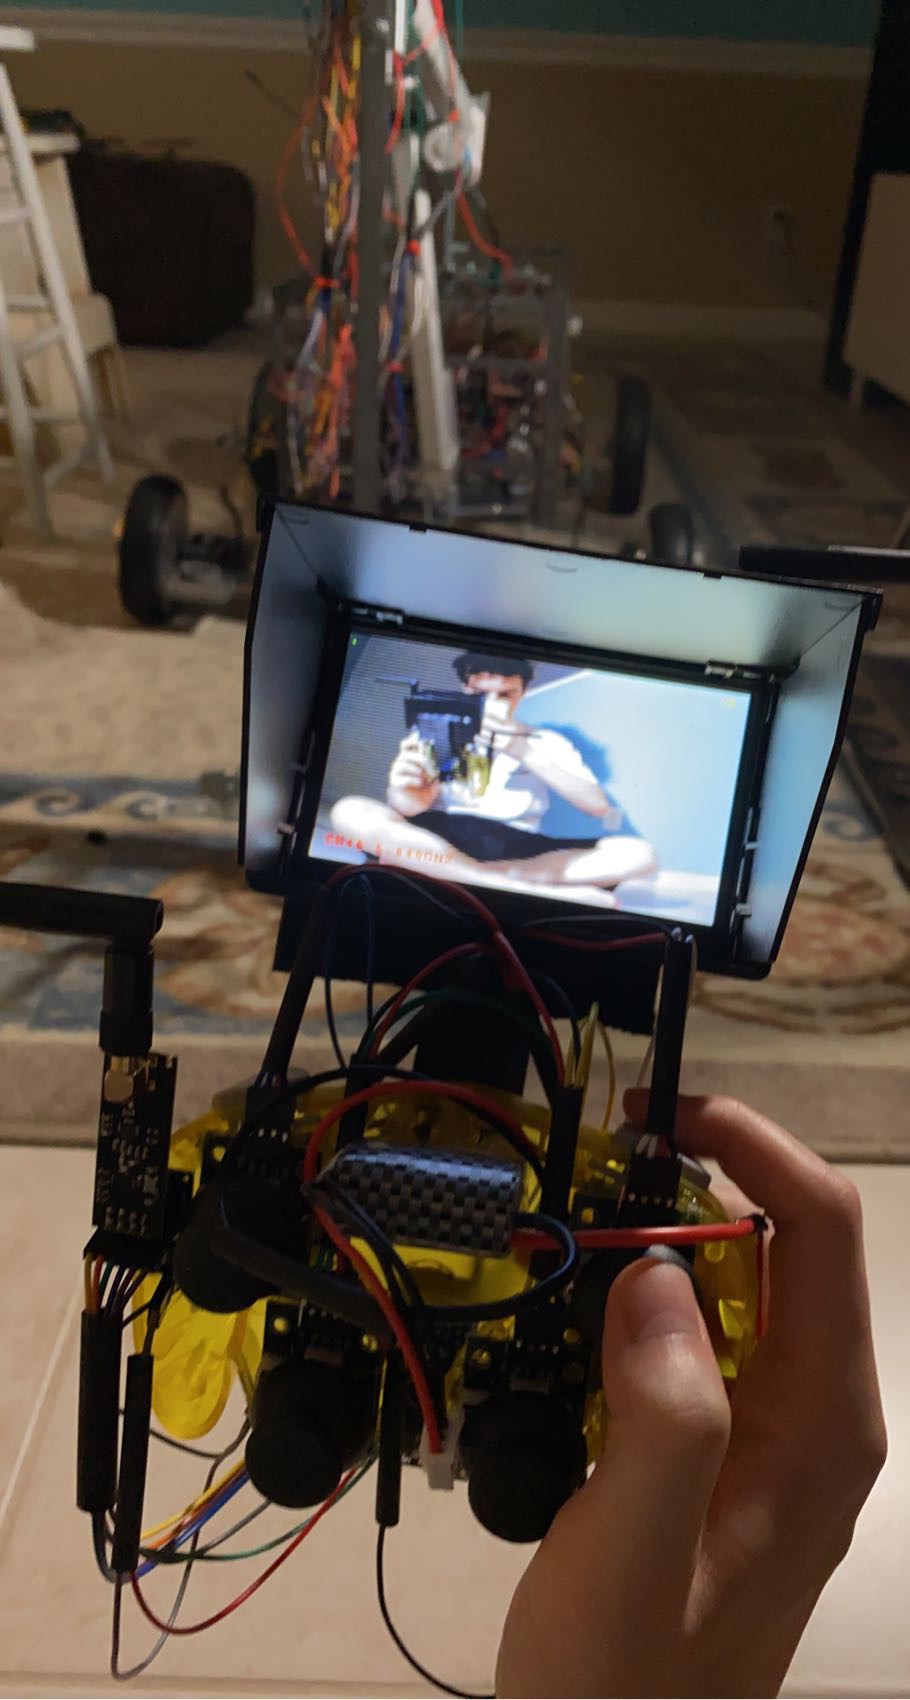
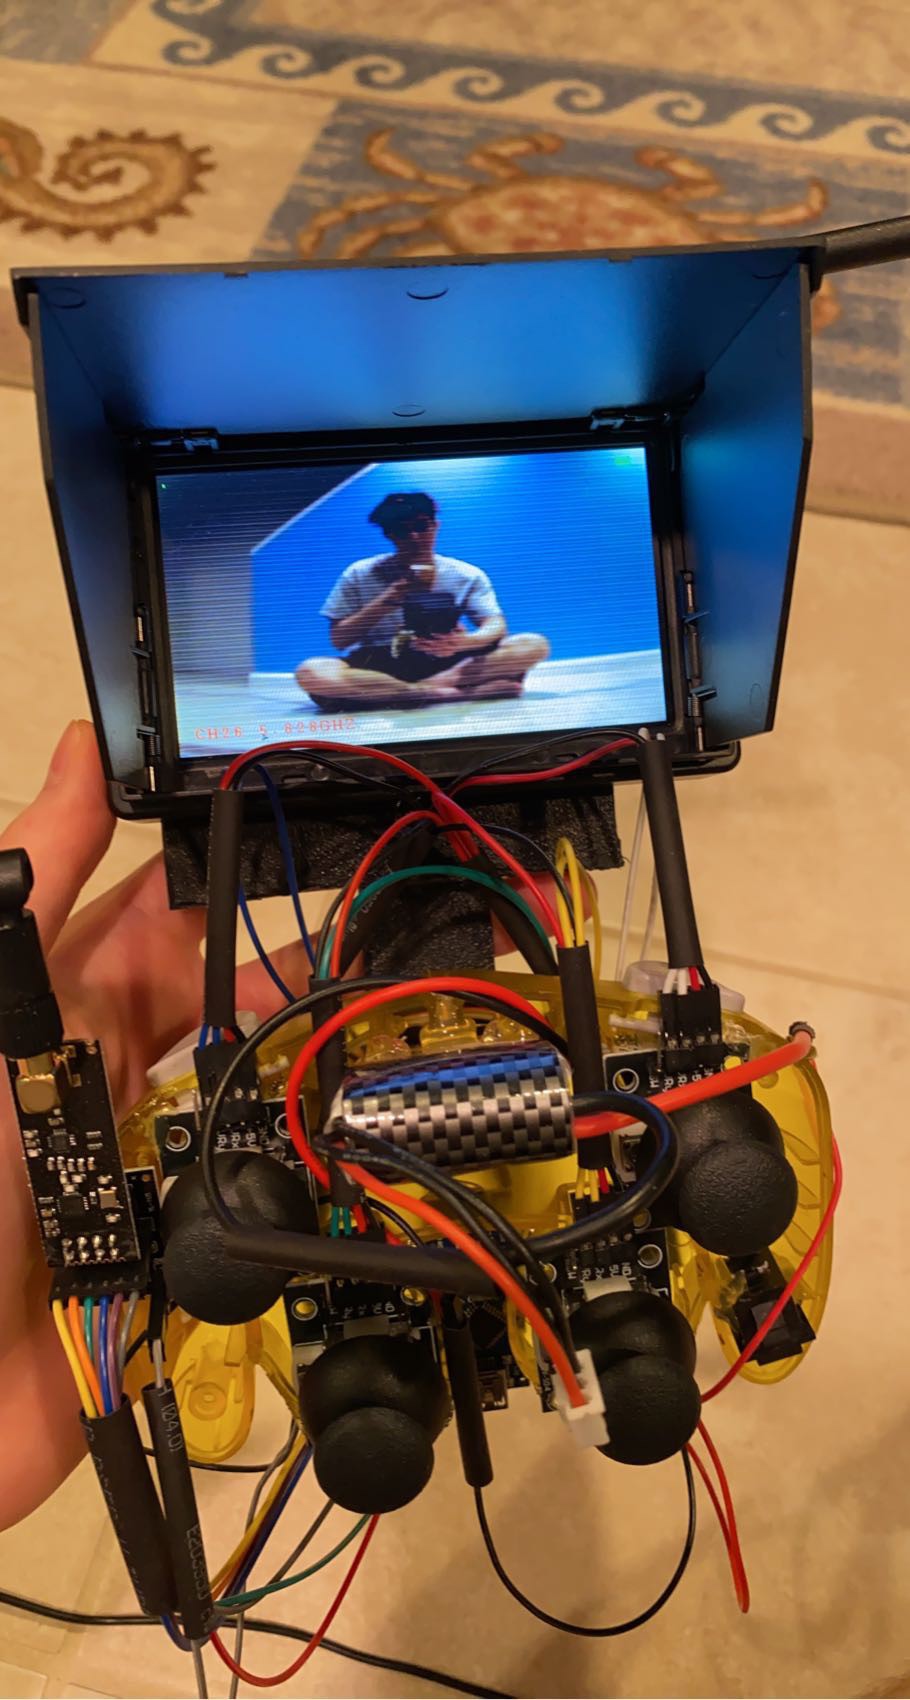
Radio FPV controller
                                 Based on arduino nano and 4 joysticks as inputs, 1000m open sight communication range

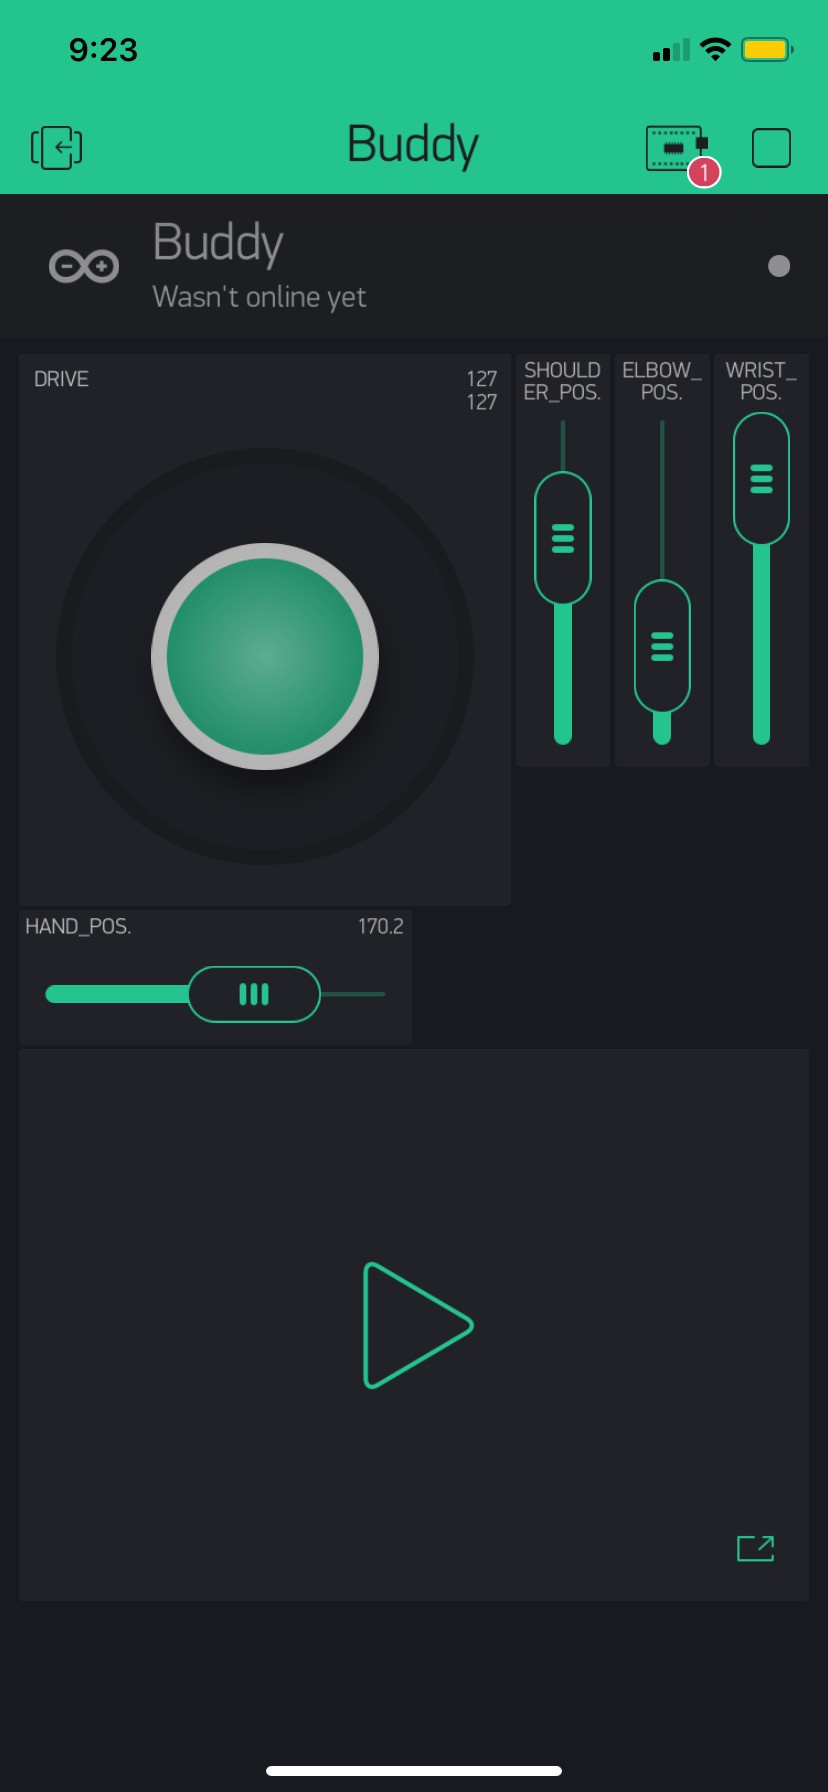
Smartphone app internet FPV controller
This controller was inspired by my own physical handheld remote FPV controller, but made to be a bit more easier to use with sliders for setting arm positioning and the same live video feed that gets its data from the blue camera module

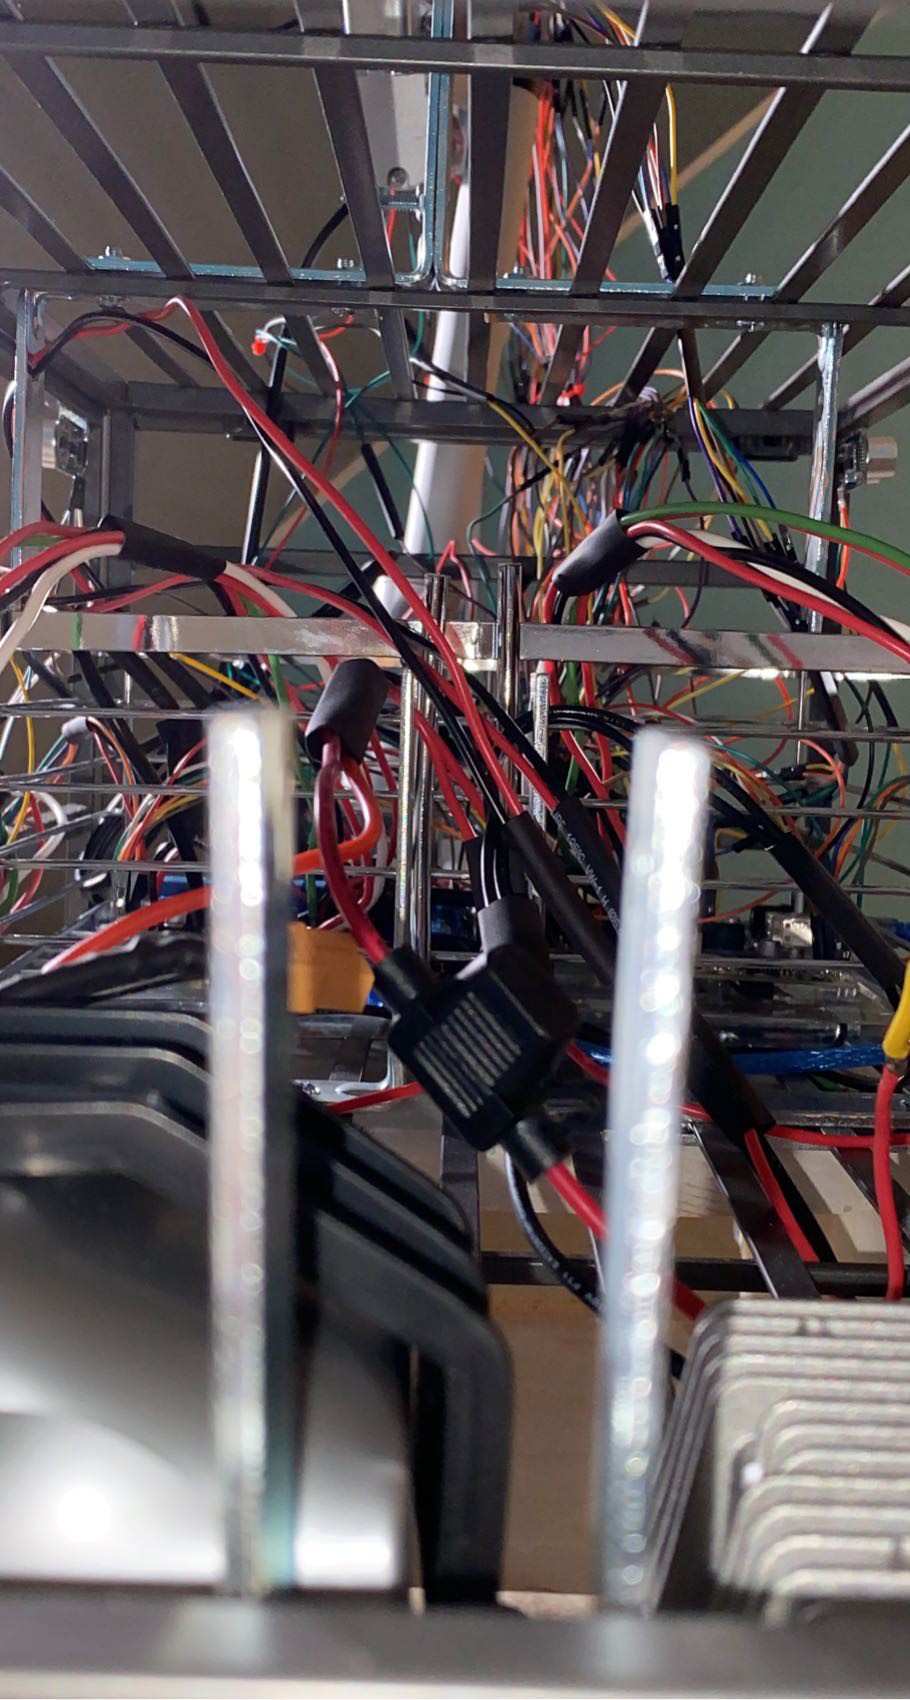
Insides from behind
Every component was positioned very strategically in order to maximize safety and minimize the insane amount of wires; by putting the battery & step down buck converter power supplies in the back, if worst-case-scenario occurs, and the battery overheats badly, gets punctured, any explosions/fires will not damage the electronics since they're placed in the very back away from the brains/processor
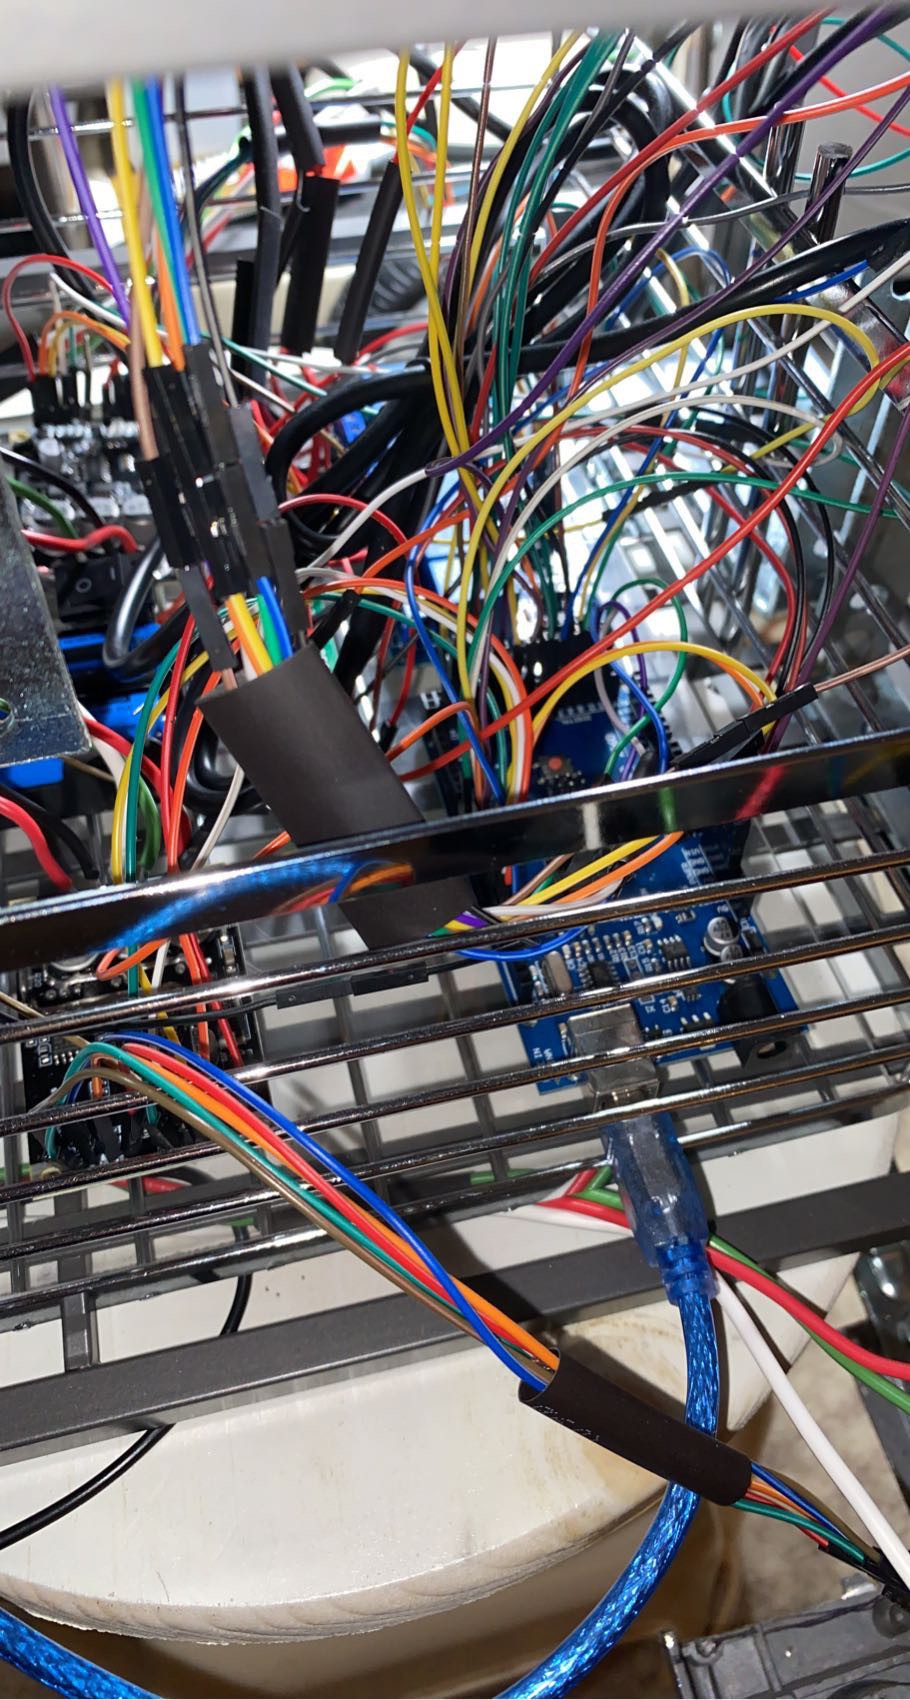
Brains
A closer look at the left side of its processor and motor drivers
Arm linear actuator switching method
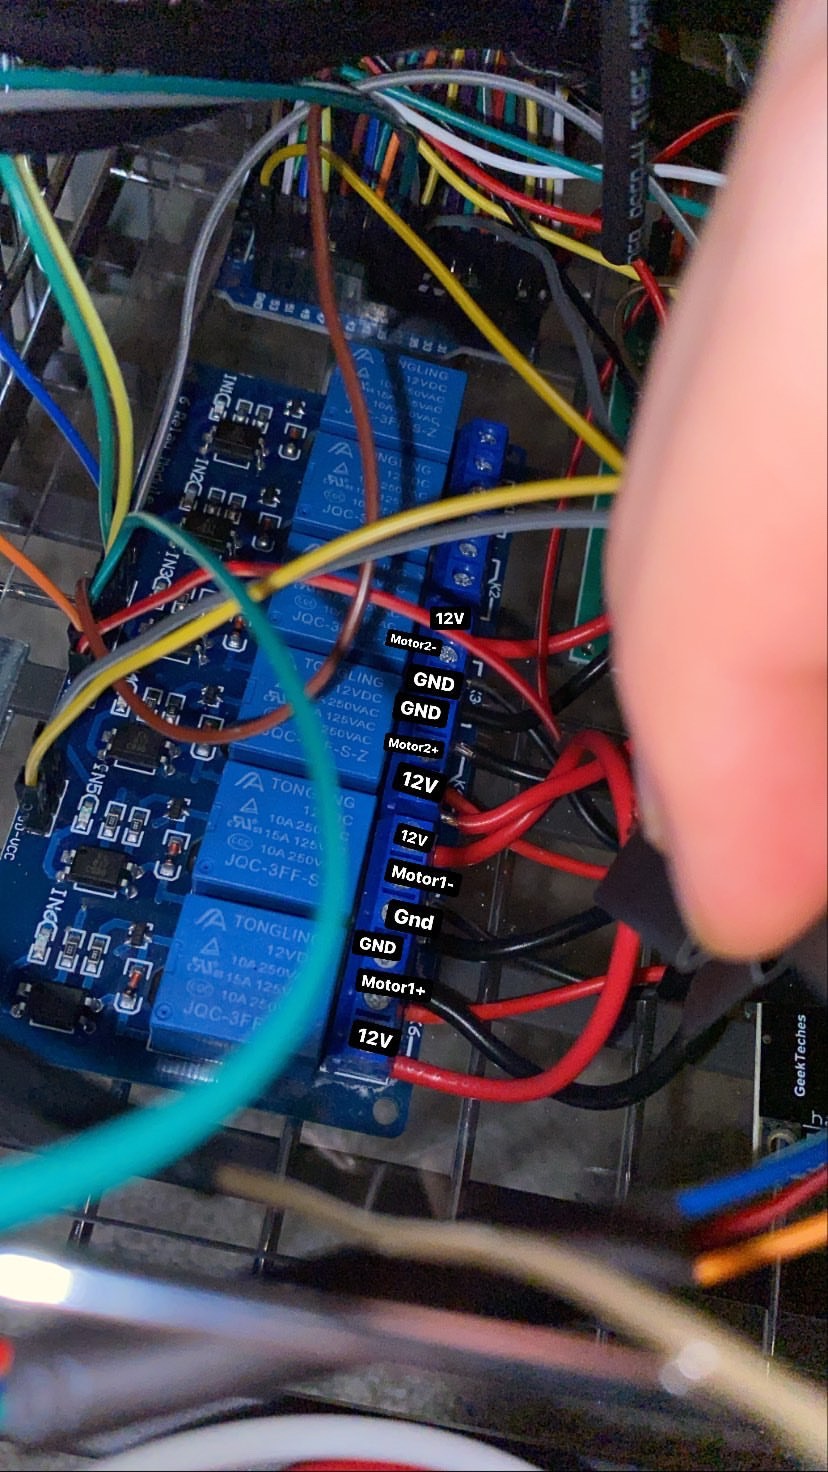
Using relays, I am using electromagnets to switch voltages to the shoulder and elbow motors that extend & retract the arm by using a positive or negative voltage to each motor controlled by the signal pins at the left. NOT shown here, but I DID USE all 6 of the relays to allow full independent control over both 2 of the actuators as I can toggle each arm joint on/off thru those 2 relays
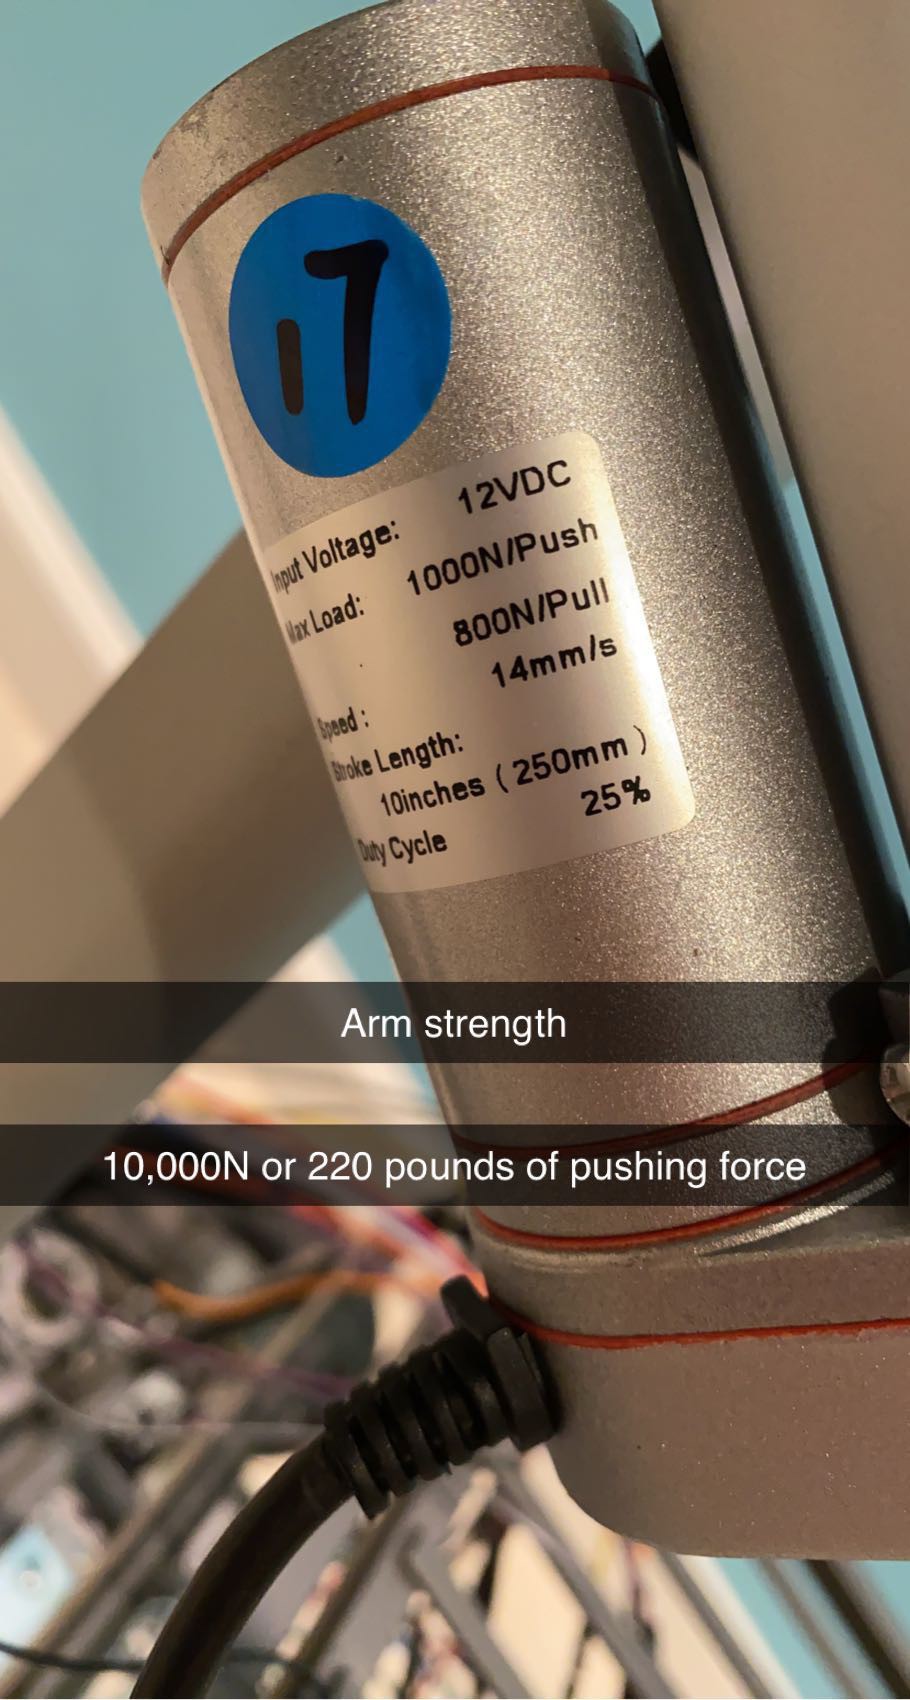
Arm linear actuator motors for elbow and shoulder
Turned on/off to pull/push with + or - 12 volts from the relays, given 12 volts from a 36 volt main battery that steps down to 12 volts through a buck converter. The point of the 36 volt main battery, is to drive the 3-Phase motor wheels
The motors/wheels
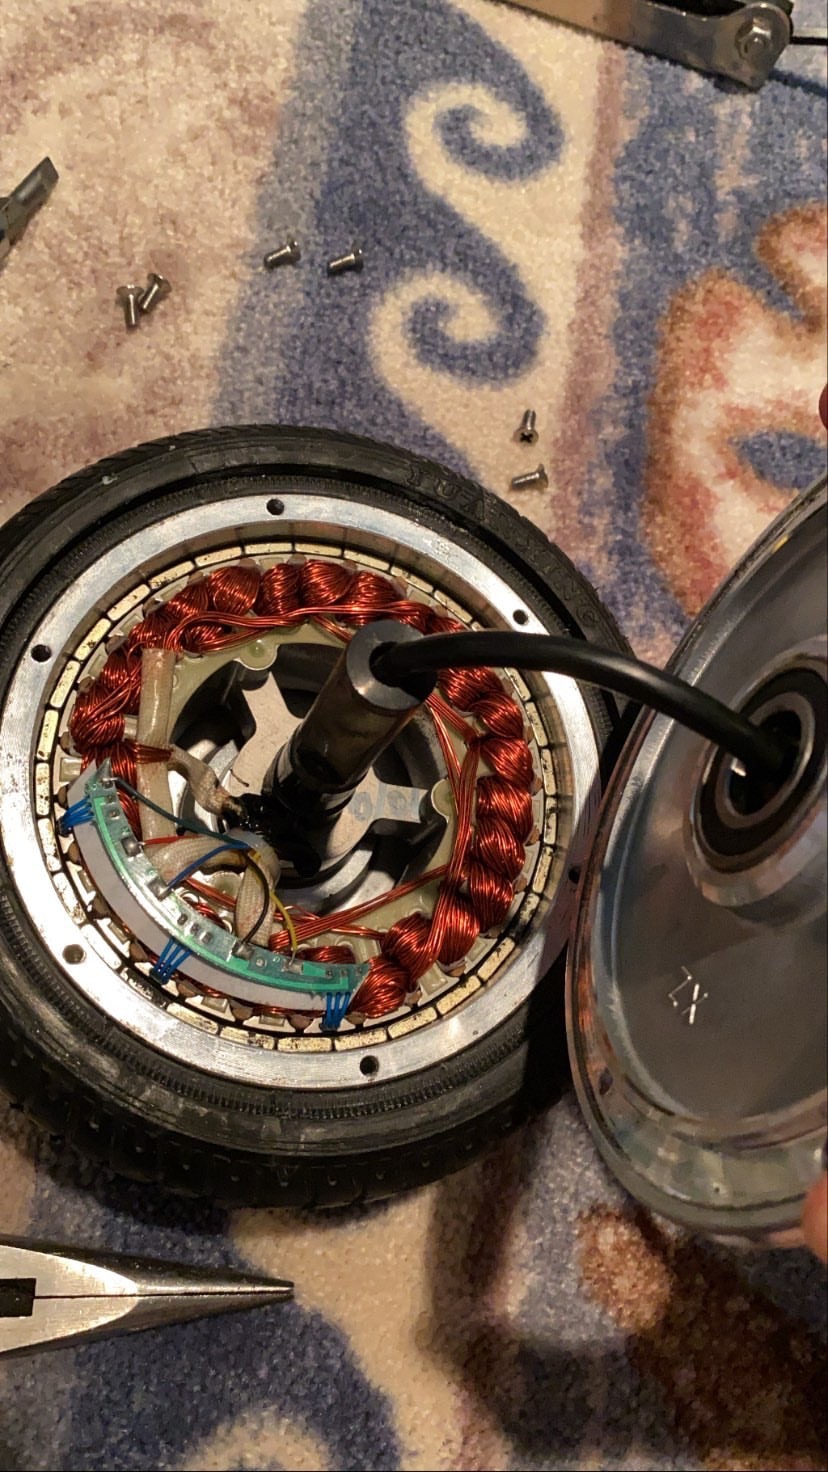
It may be confusing at first as to where the motor are that drive this thing. The motors are the wheels themselves. I got these motors from those old "hoverboards / hands-free segways" that I had as a kid that I didn't want to just throw away because it was expensive and held onto them til I got the idea to create a robot back in June. These motors to my research are one of if not the best torque to cost ratio 3-phase motors out there due to the high supply and not a very high demand

FINAL THOUGHTS: 

I made this robot to be a very sophisticated, highly versatile, yet, cost effective helper using scraps like random brackets and a steel shoe rack I had at home. I only had just enough within my budget to afford all the electronics that costed me around $500 USD. (The linear actuator arm motors were the most expensive thing by far). I originally thought of this thing being more like a tank and being more-so focused doing outside work where tank tracks really excel. As a final version of this robot, just a mere sketch, I want this robot in the future to be more well protected by some light weight armor, a larger battery for even longer run times for more work to be done, to fix its hand to pinch better and to not be a random bracket I found at...

Read more »