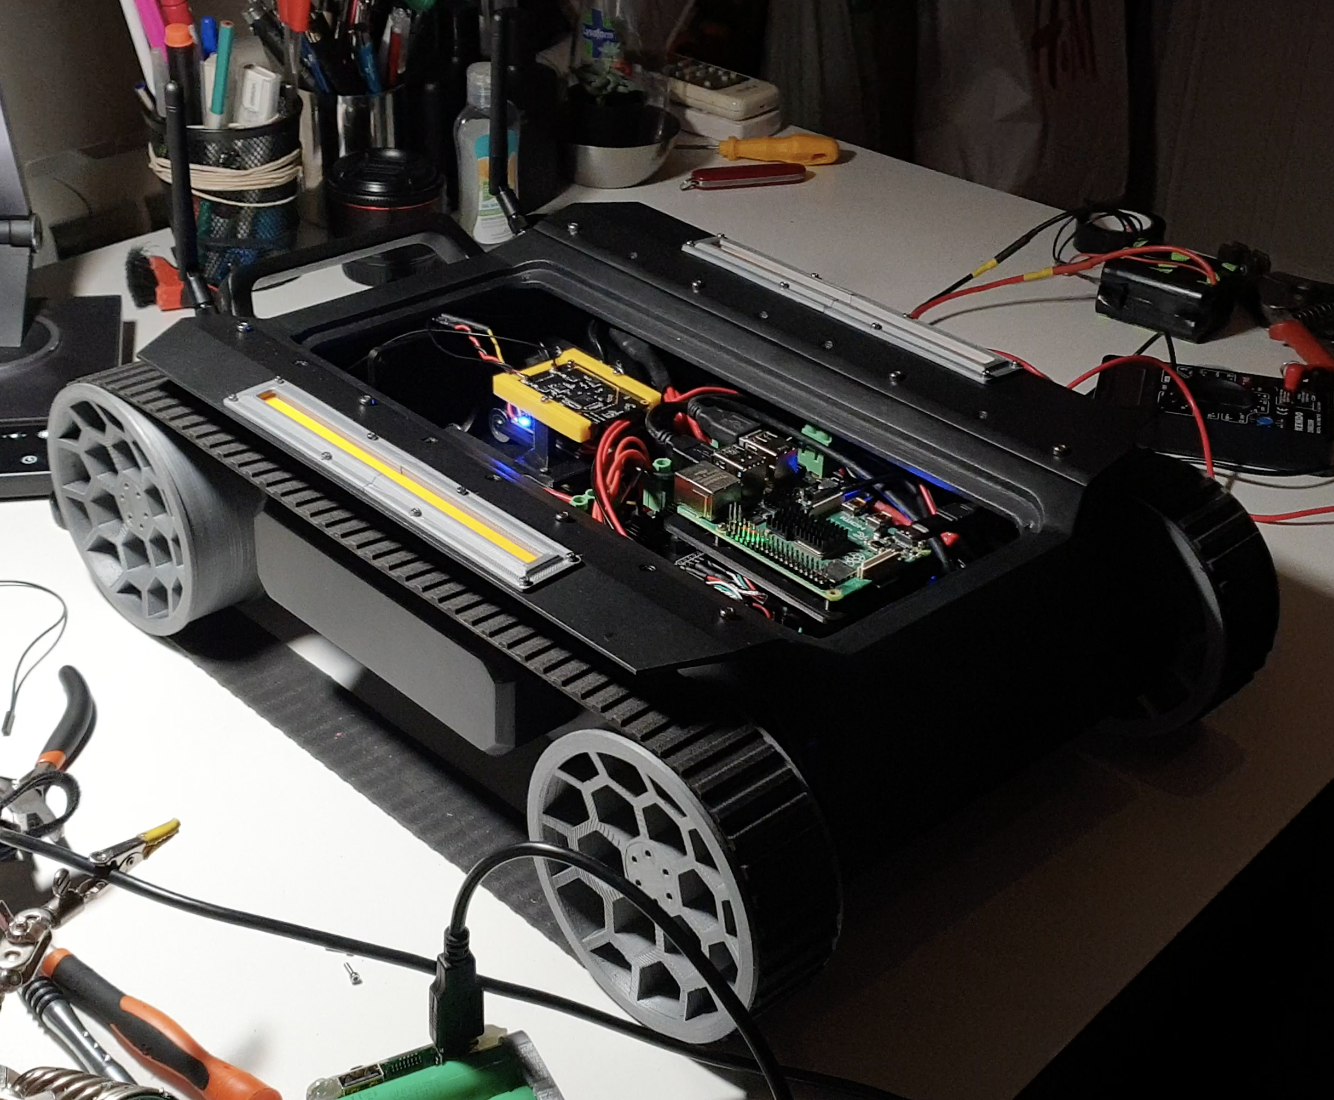
This phase was one of the most enjoyable until now. Seeing everything coming together to form the robot was amazing.
With every part already made, I had to prepare the electronics before assembling.
This stage required a bunch of soldering of connectors and cables and assembling the batteries.
You can see most of the process in the following assembly time-lapse.
Batteries were made out of recycled Lithium Ion laptop cells, in a 6s2p configuration. These were tested prior to assembly.
Bear in mind there are some parts of the build missing. As an example, I assembled the batteries, and then had to reassemble due to some issues. I captured the first take only.
Enjoy!
In the process I noticed some flaws on design that made the assembly a nick harder. Some of these were:
- Cooling fan mounting was pretty hard due to screws placement. If I had longer m3 screw, this would have been easier.
- Mounting the motors and rear pulleys wasn't too easy. A wider opening on top would have helped. On the other hand, the holes to get an Allen key through the frame were helpful.
- The attachment of side covers was a bit hard, screw placement made it hard to get a screwdriver or Allen key in.

Warning: soldering batteries is an extremely dangerous practice. I do not condone this activity. Do at your own risk.
If you were to make something similar, you can always use classic hobby packs.
 Maximiliano Palay
Discussions
Become a Hackaday.io Member
Create an account to leave a comment. Already have an account? Log In.