When the story begins
The all story begins with a cool BlakRPI project : a small pcb with a 320x240 color display , rubber keys and a small RPI ZERO. We sold over 300 naked PCB and got thousands of requests for a full assembled device.
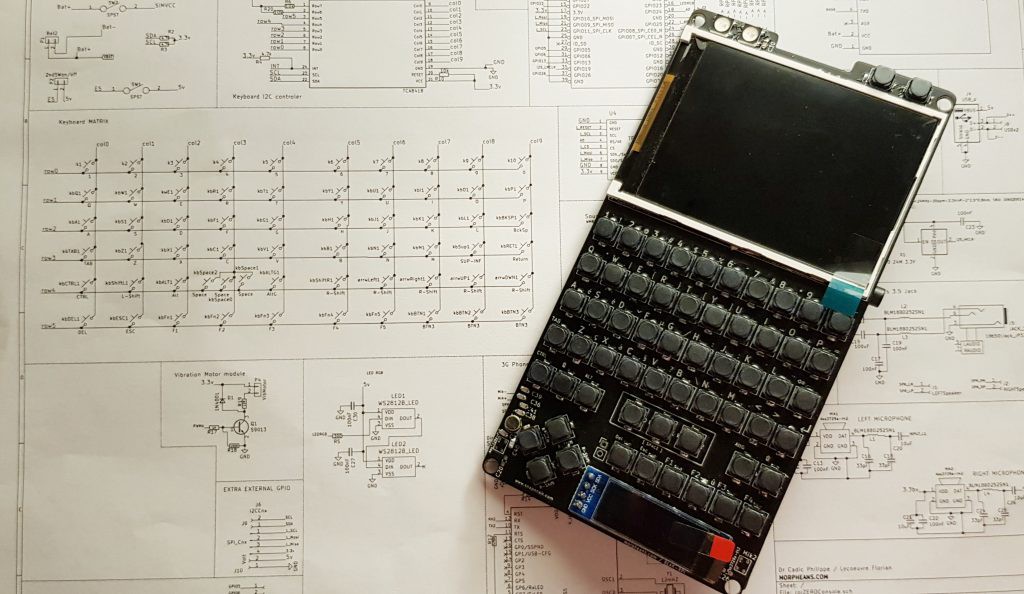
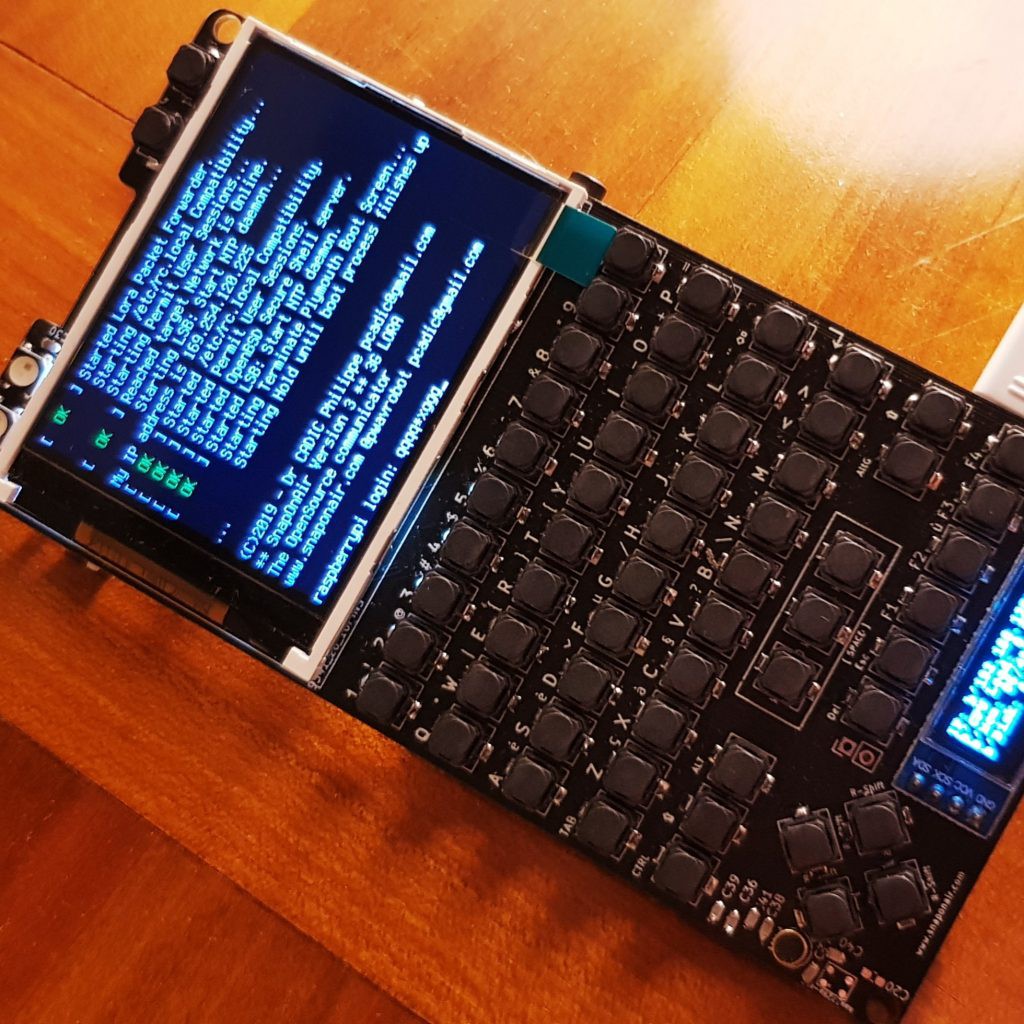
We were occupied making our first MORPHESP240 CrowdSupply operation in 2020-2021 , so the BlakRPI upgrade was delayed. The campaign was a success with 188% returns.
It is now time to start upgrading our BlakRPI and get a modern Linux handheld to be able to strat our second campaign.
The reviews we have received from V1 users
- Low Rez of the first display
- the keyboard driver component was too difficult to solder for beginners
- product access limited to people with soldering skills (frustration !)
We have taken all these criticisms into account to bring you a more sympathetic solution into a V2 we will call BlakRPI 2K .
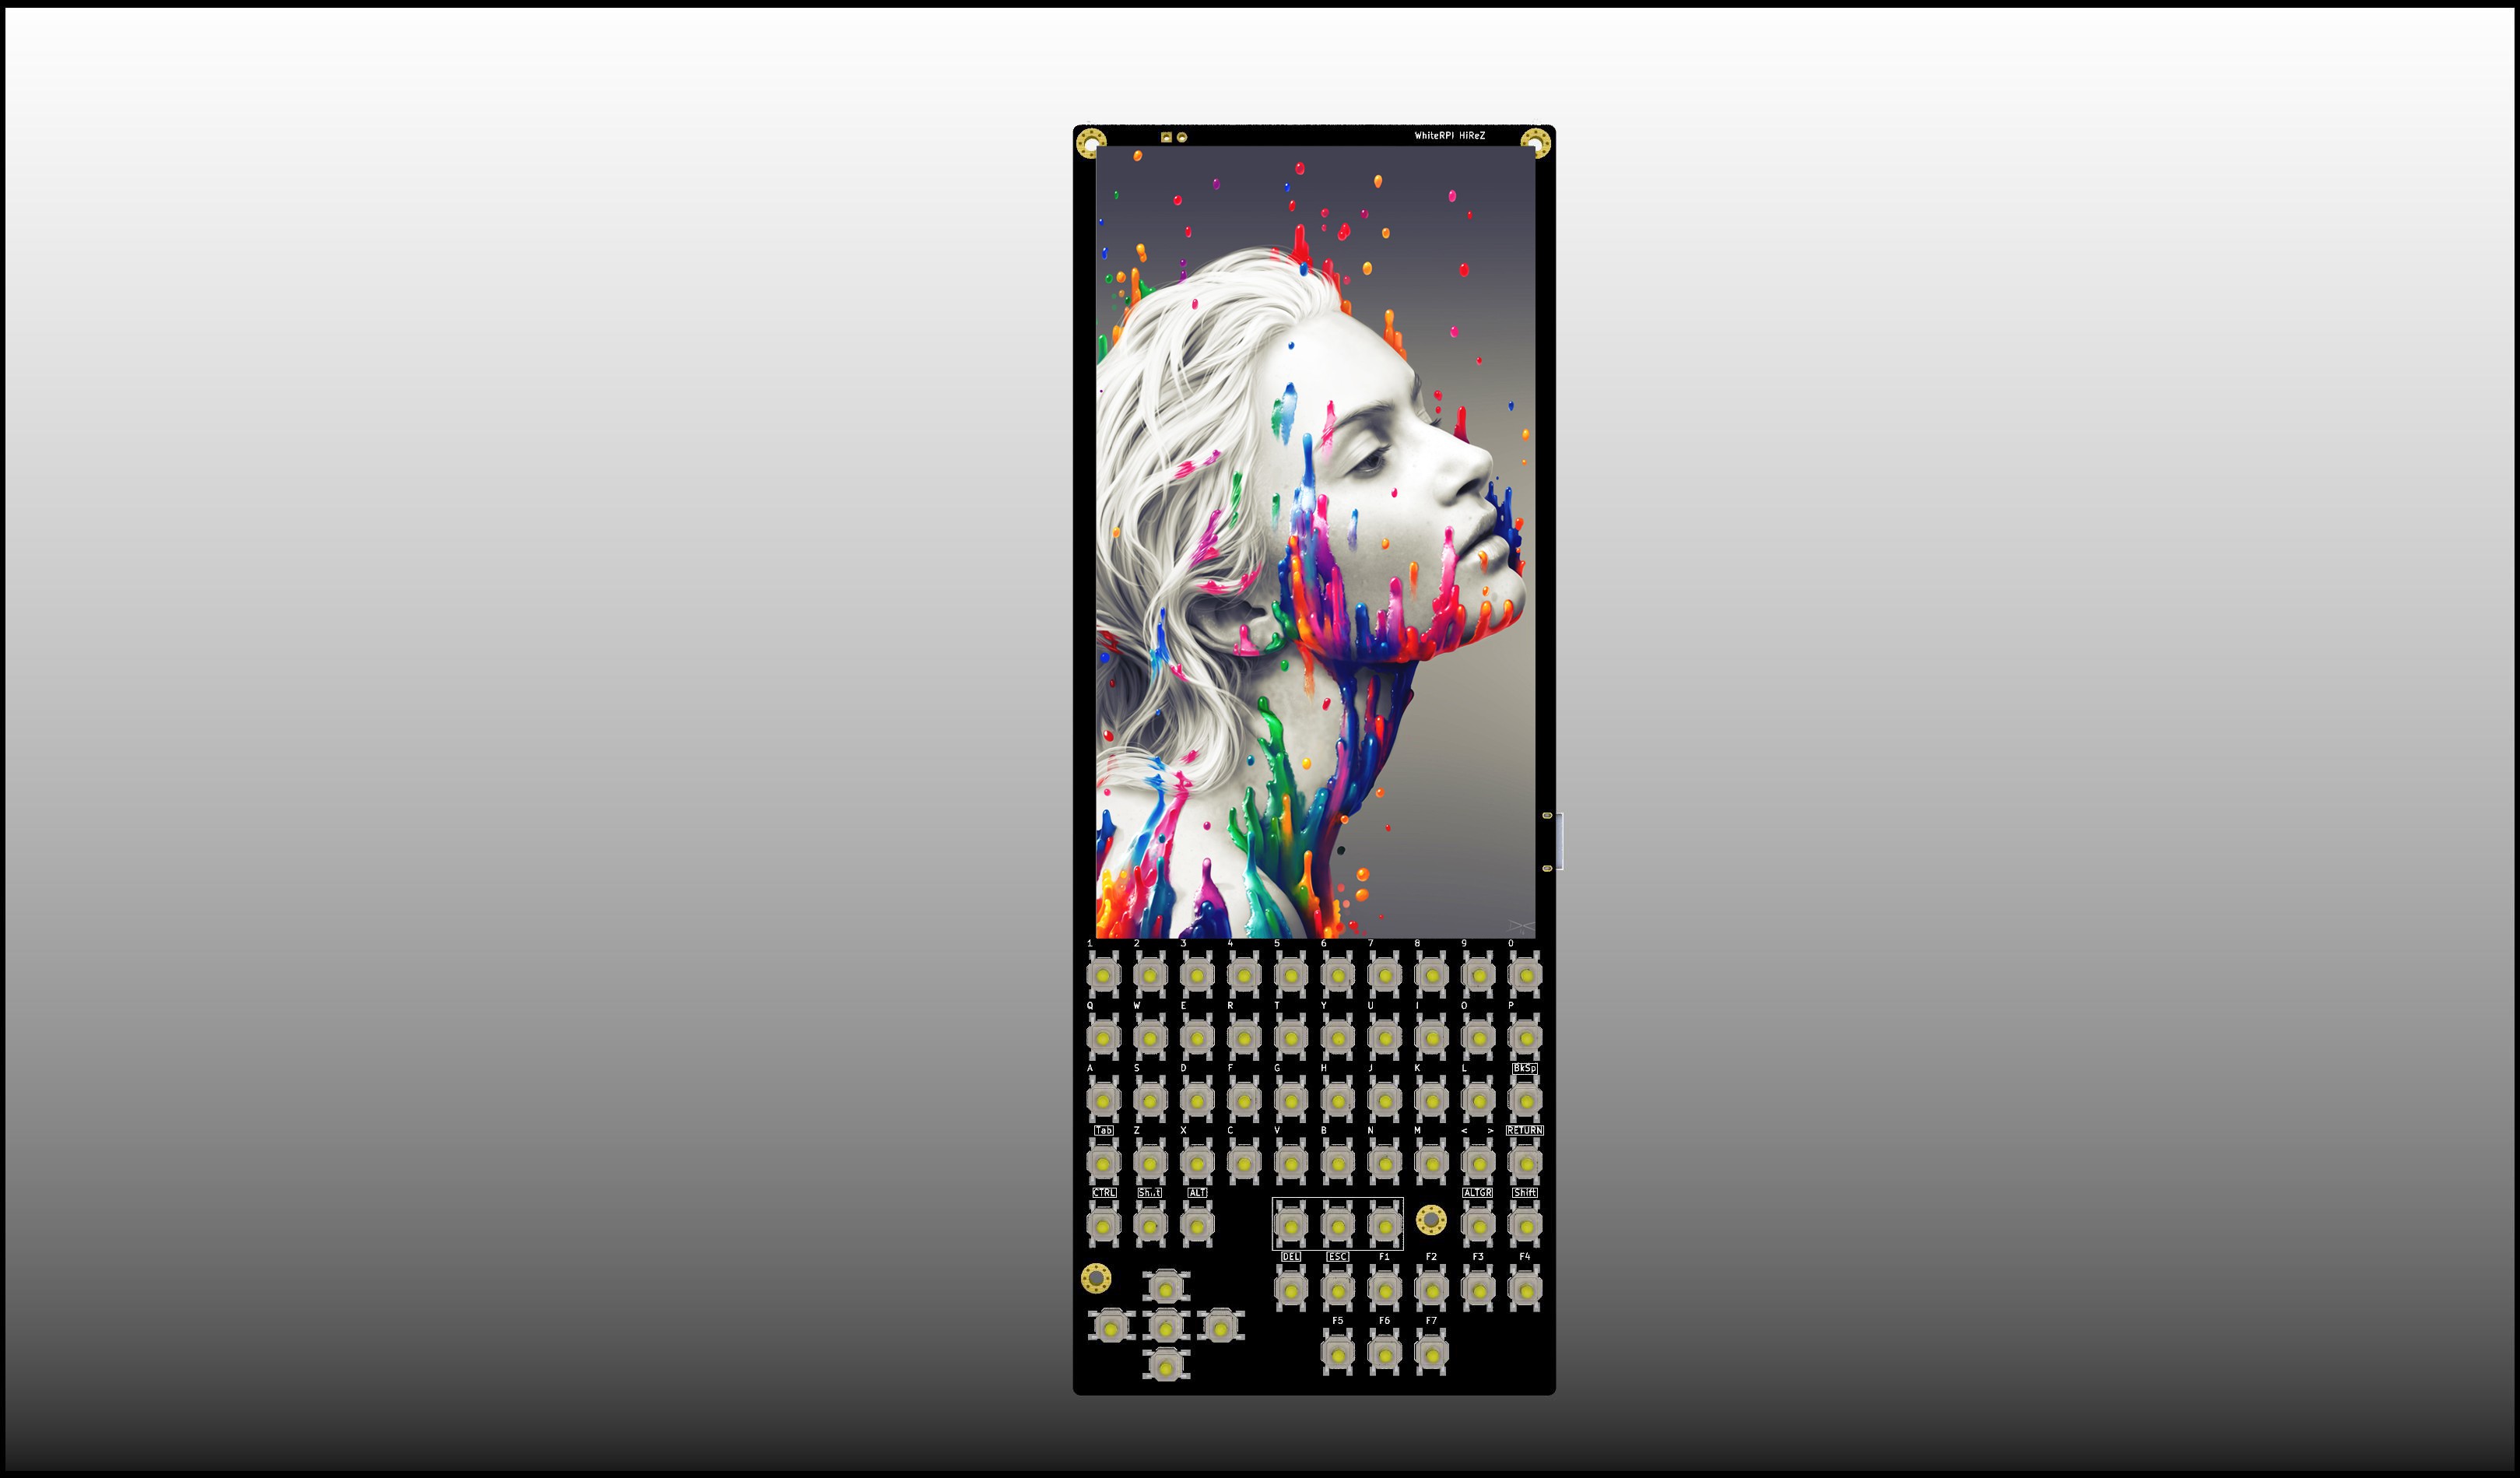
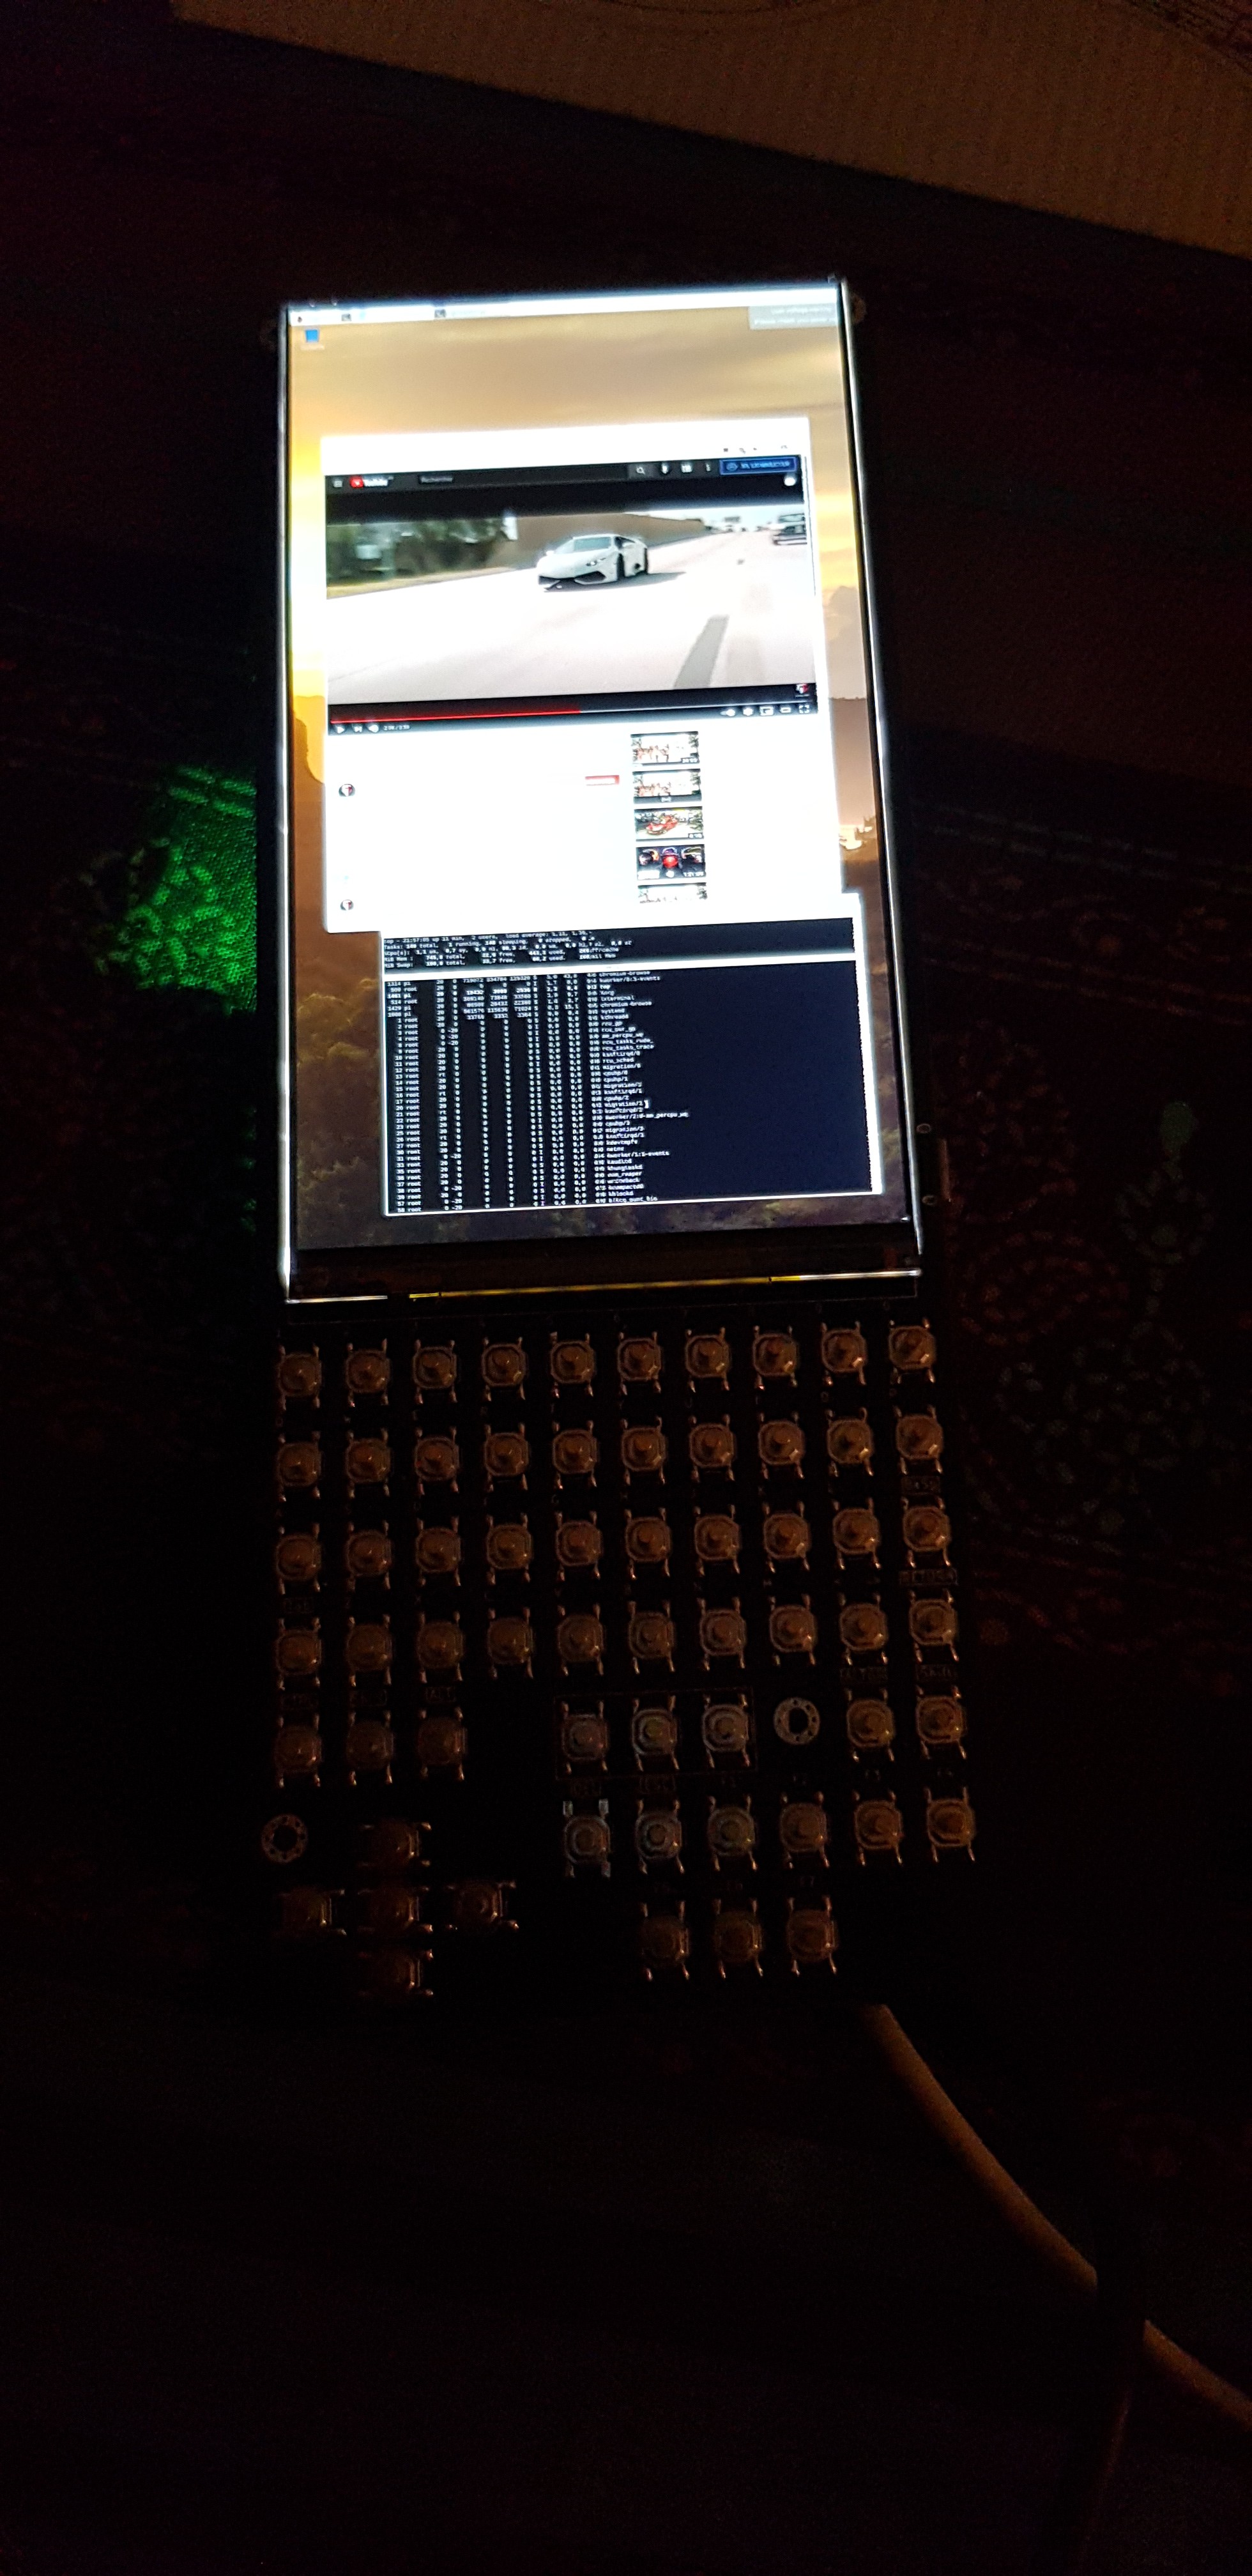
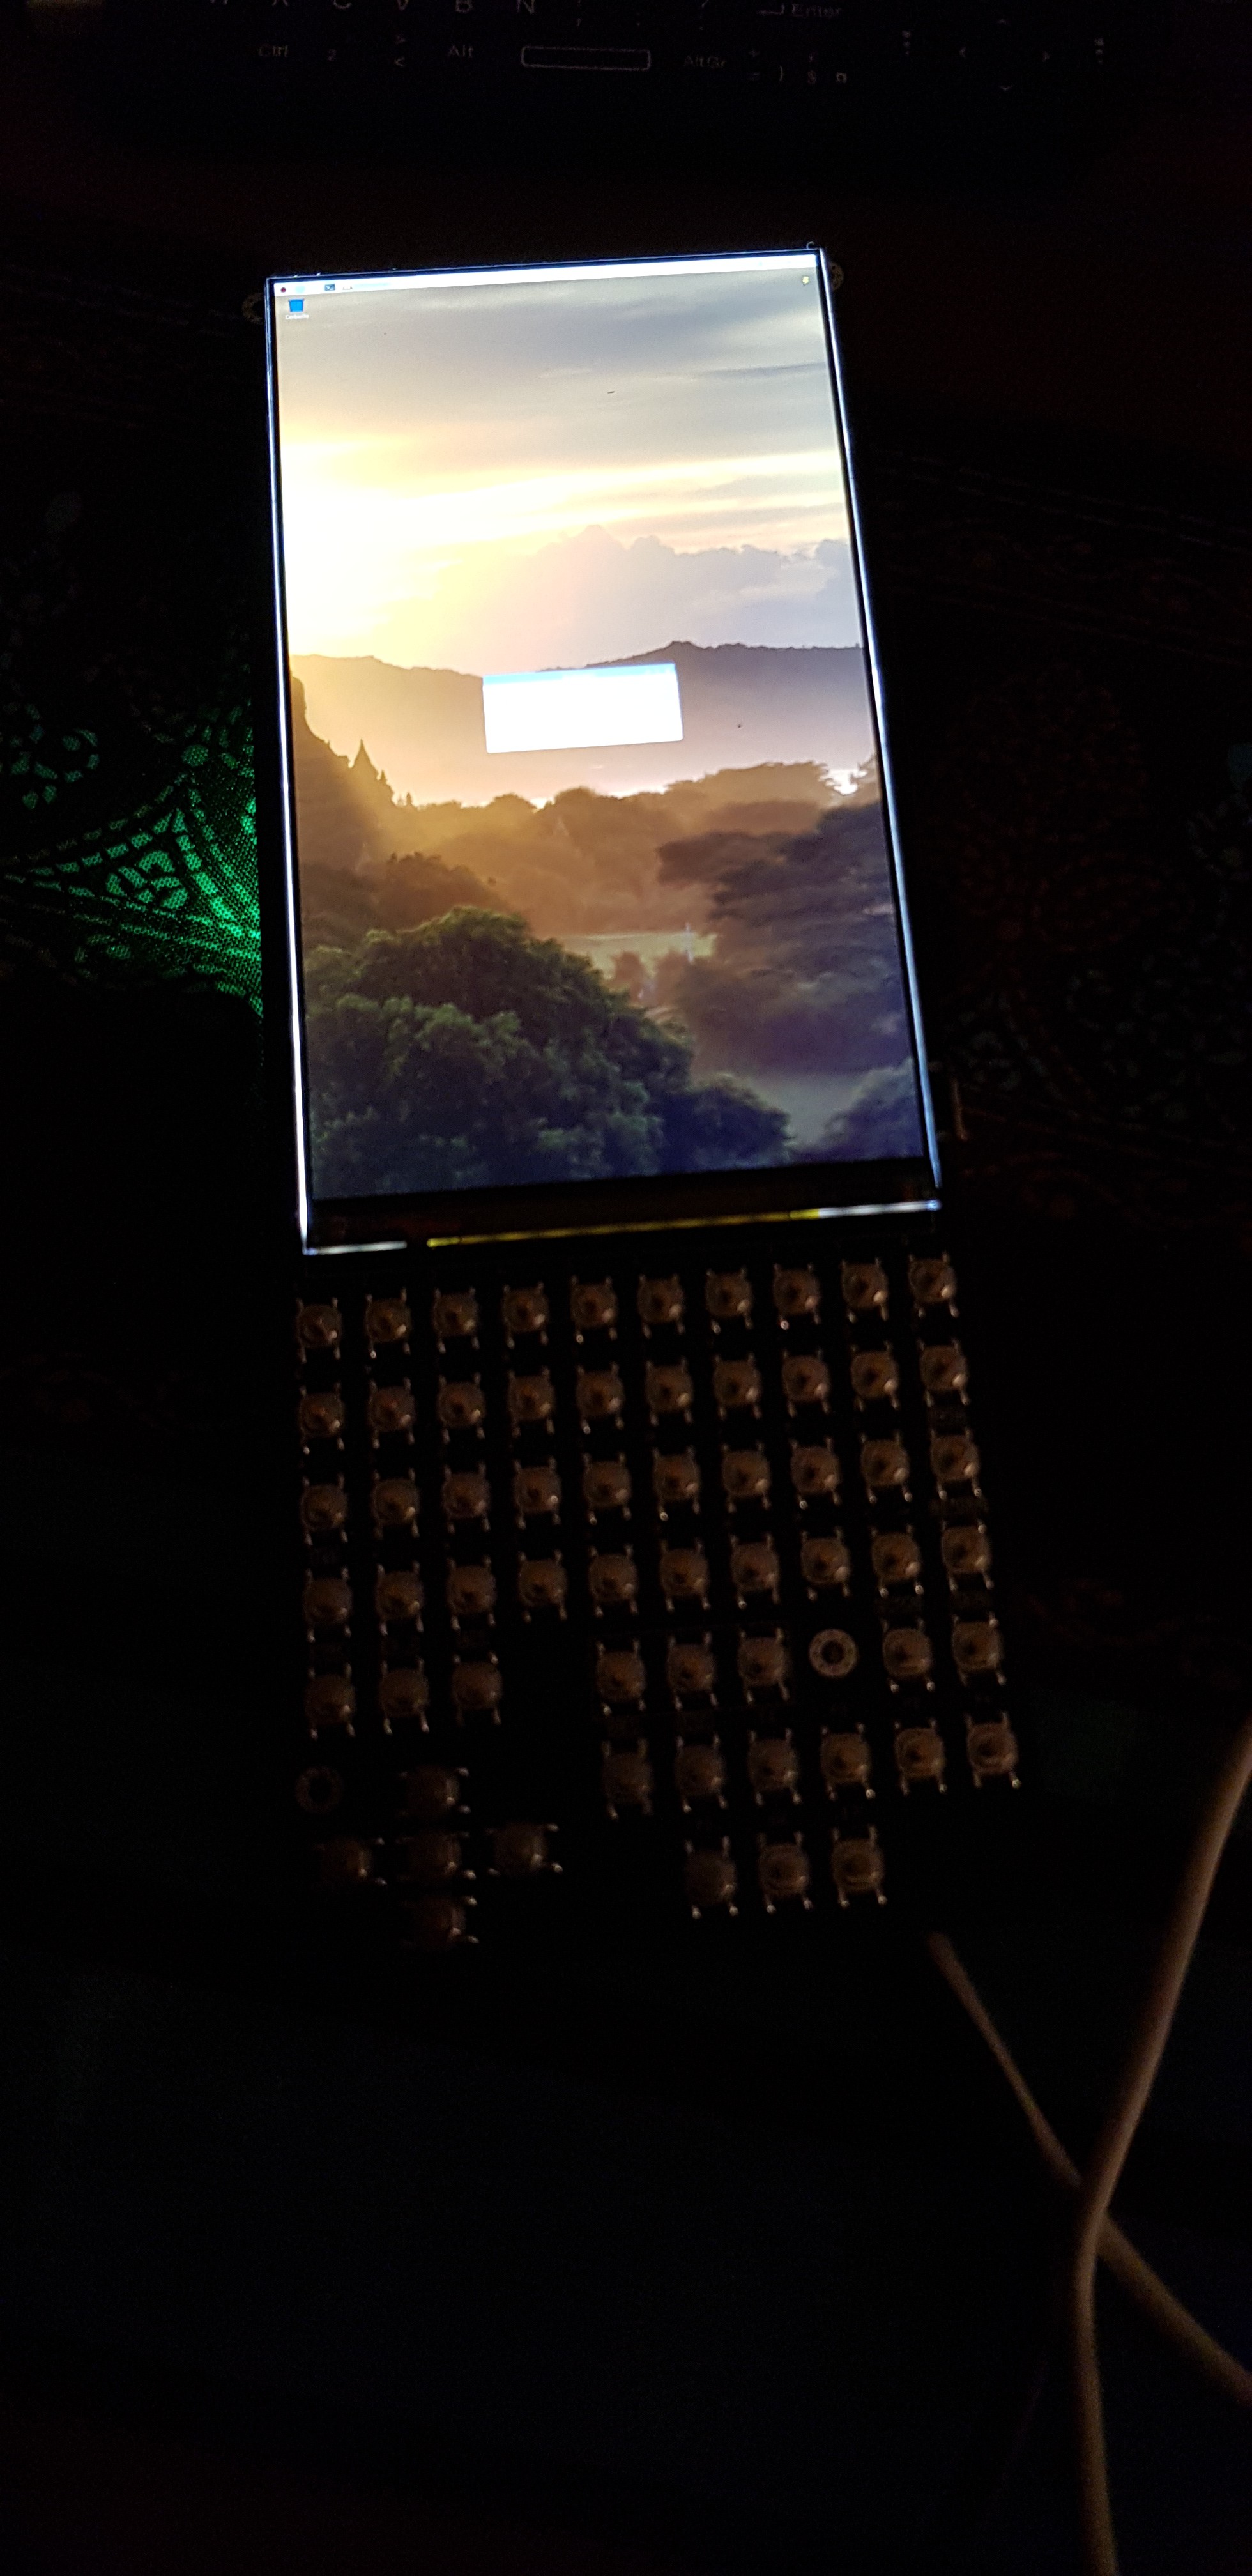
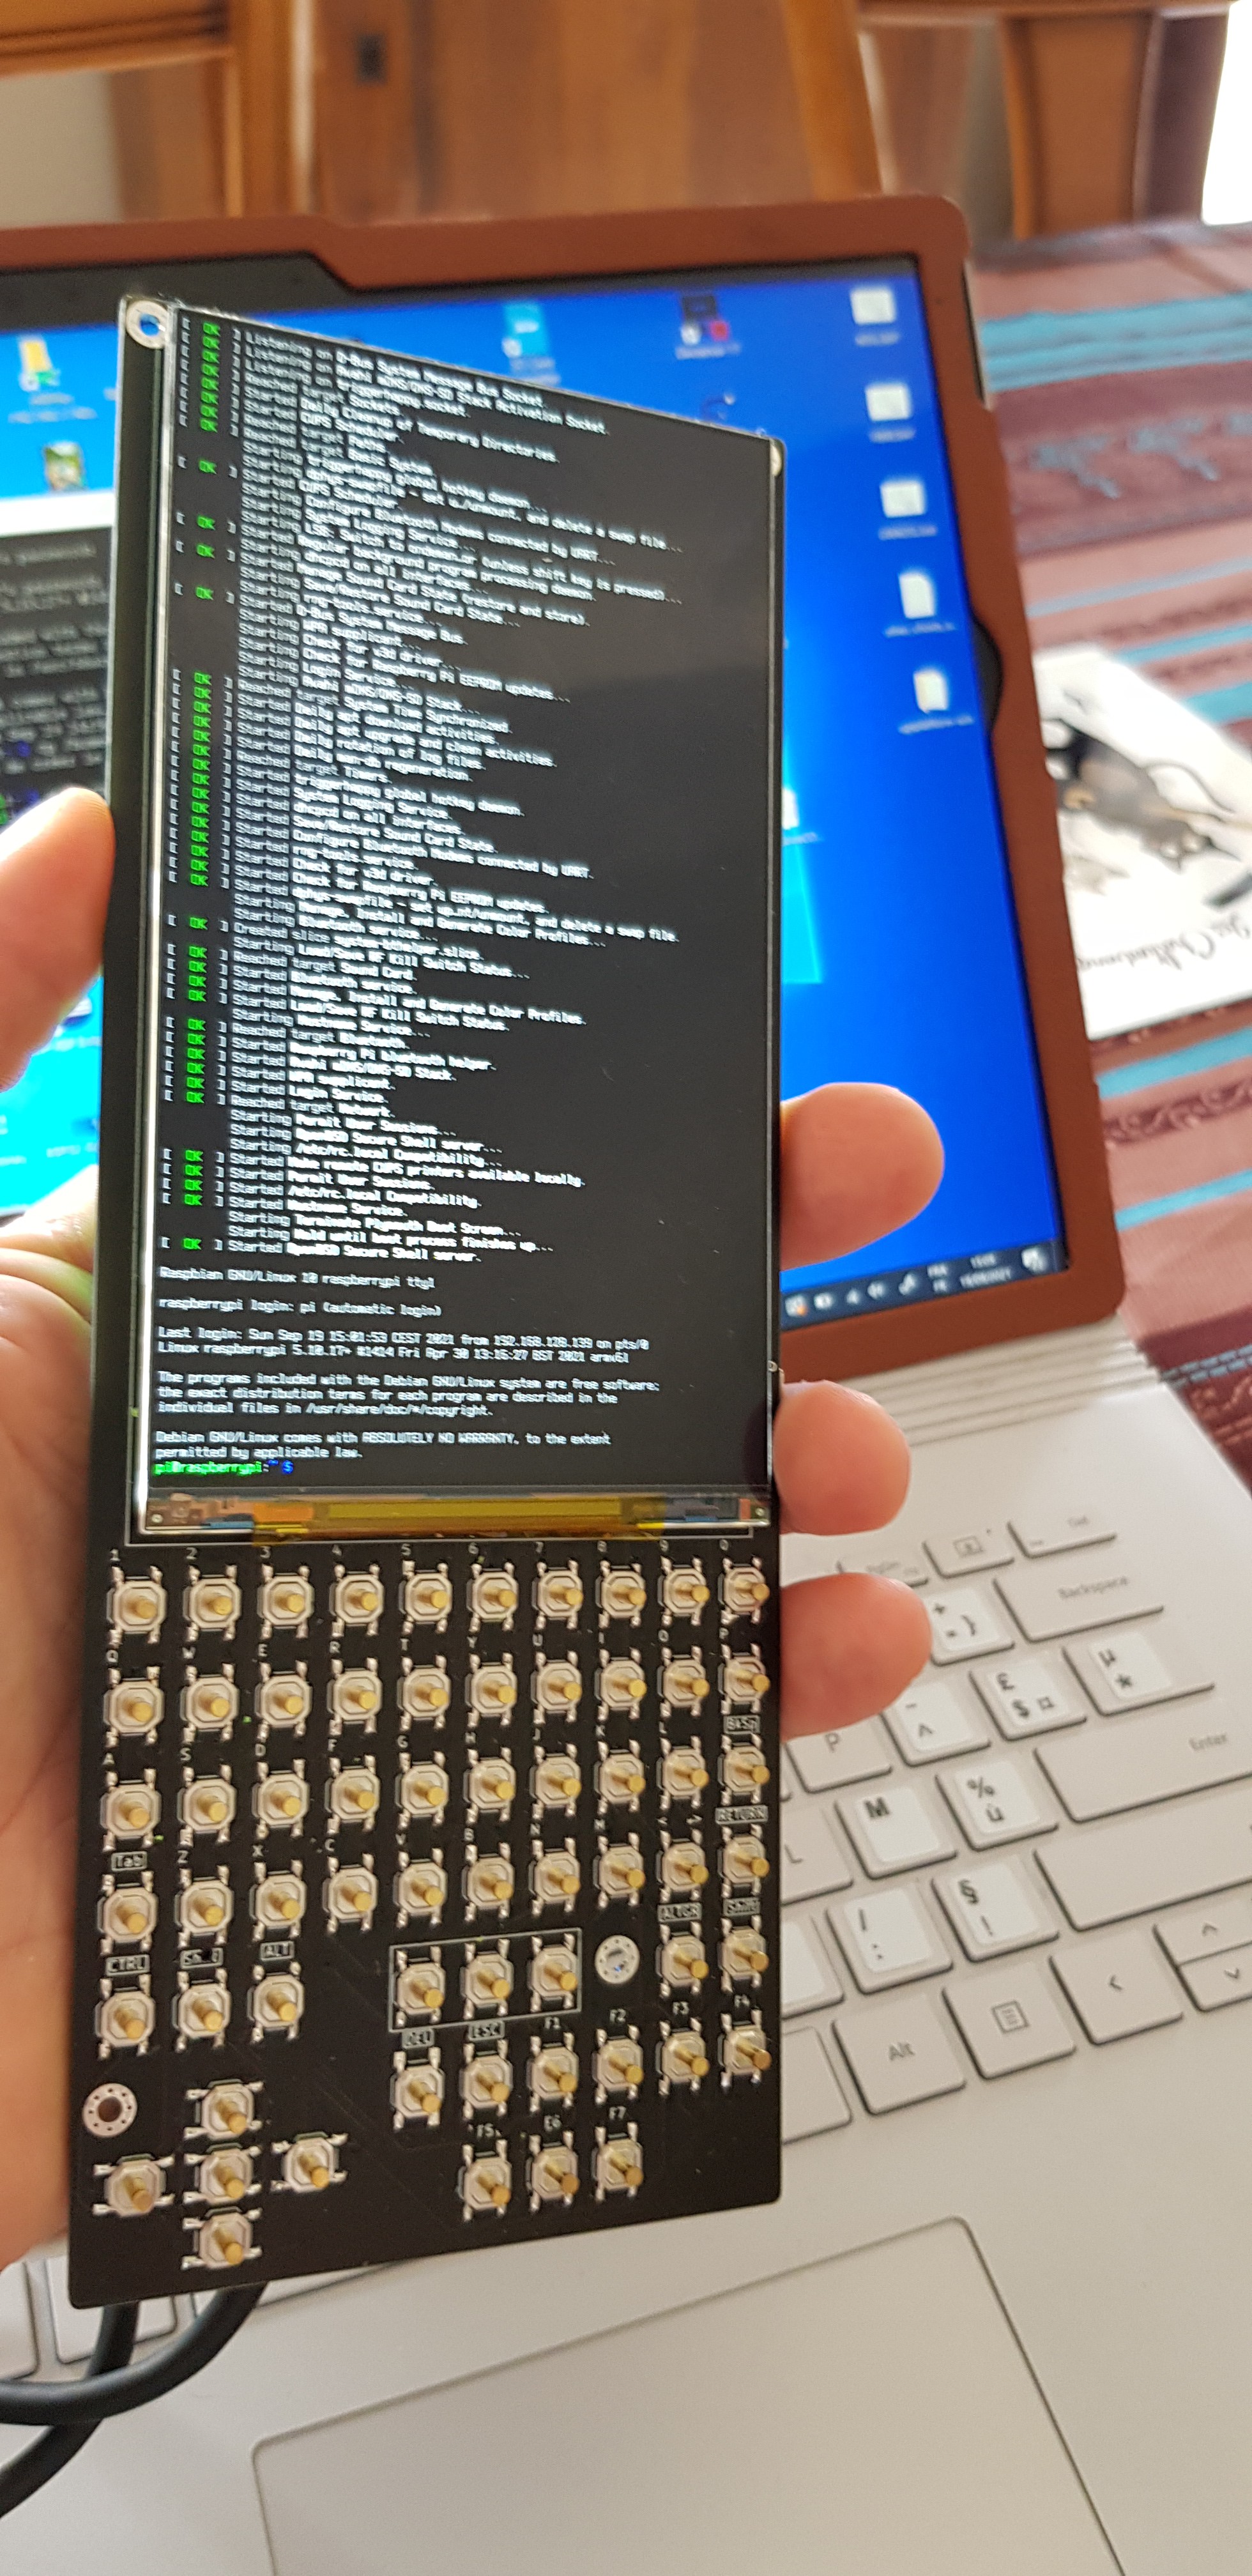
The display will be raised to 2K (2560 x 1440 pixels - 5 inch size) resolution using a HDMI to MIPI converter. Doing this way, you can plug any computer with a HDMI plug into our board. (This modularity will also allow to connect much more than raspberrys on the PCB. A Windows 10 USB key could be used if needed).
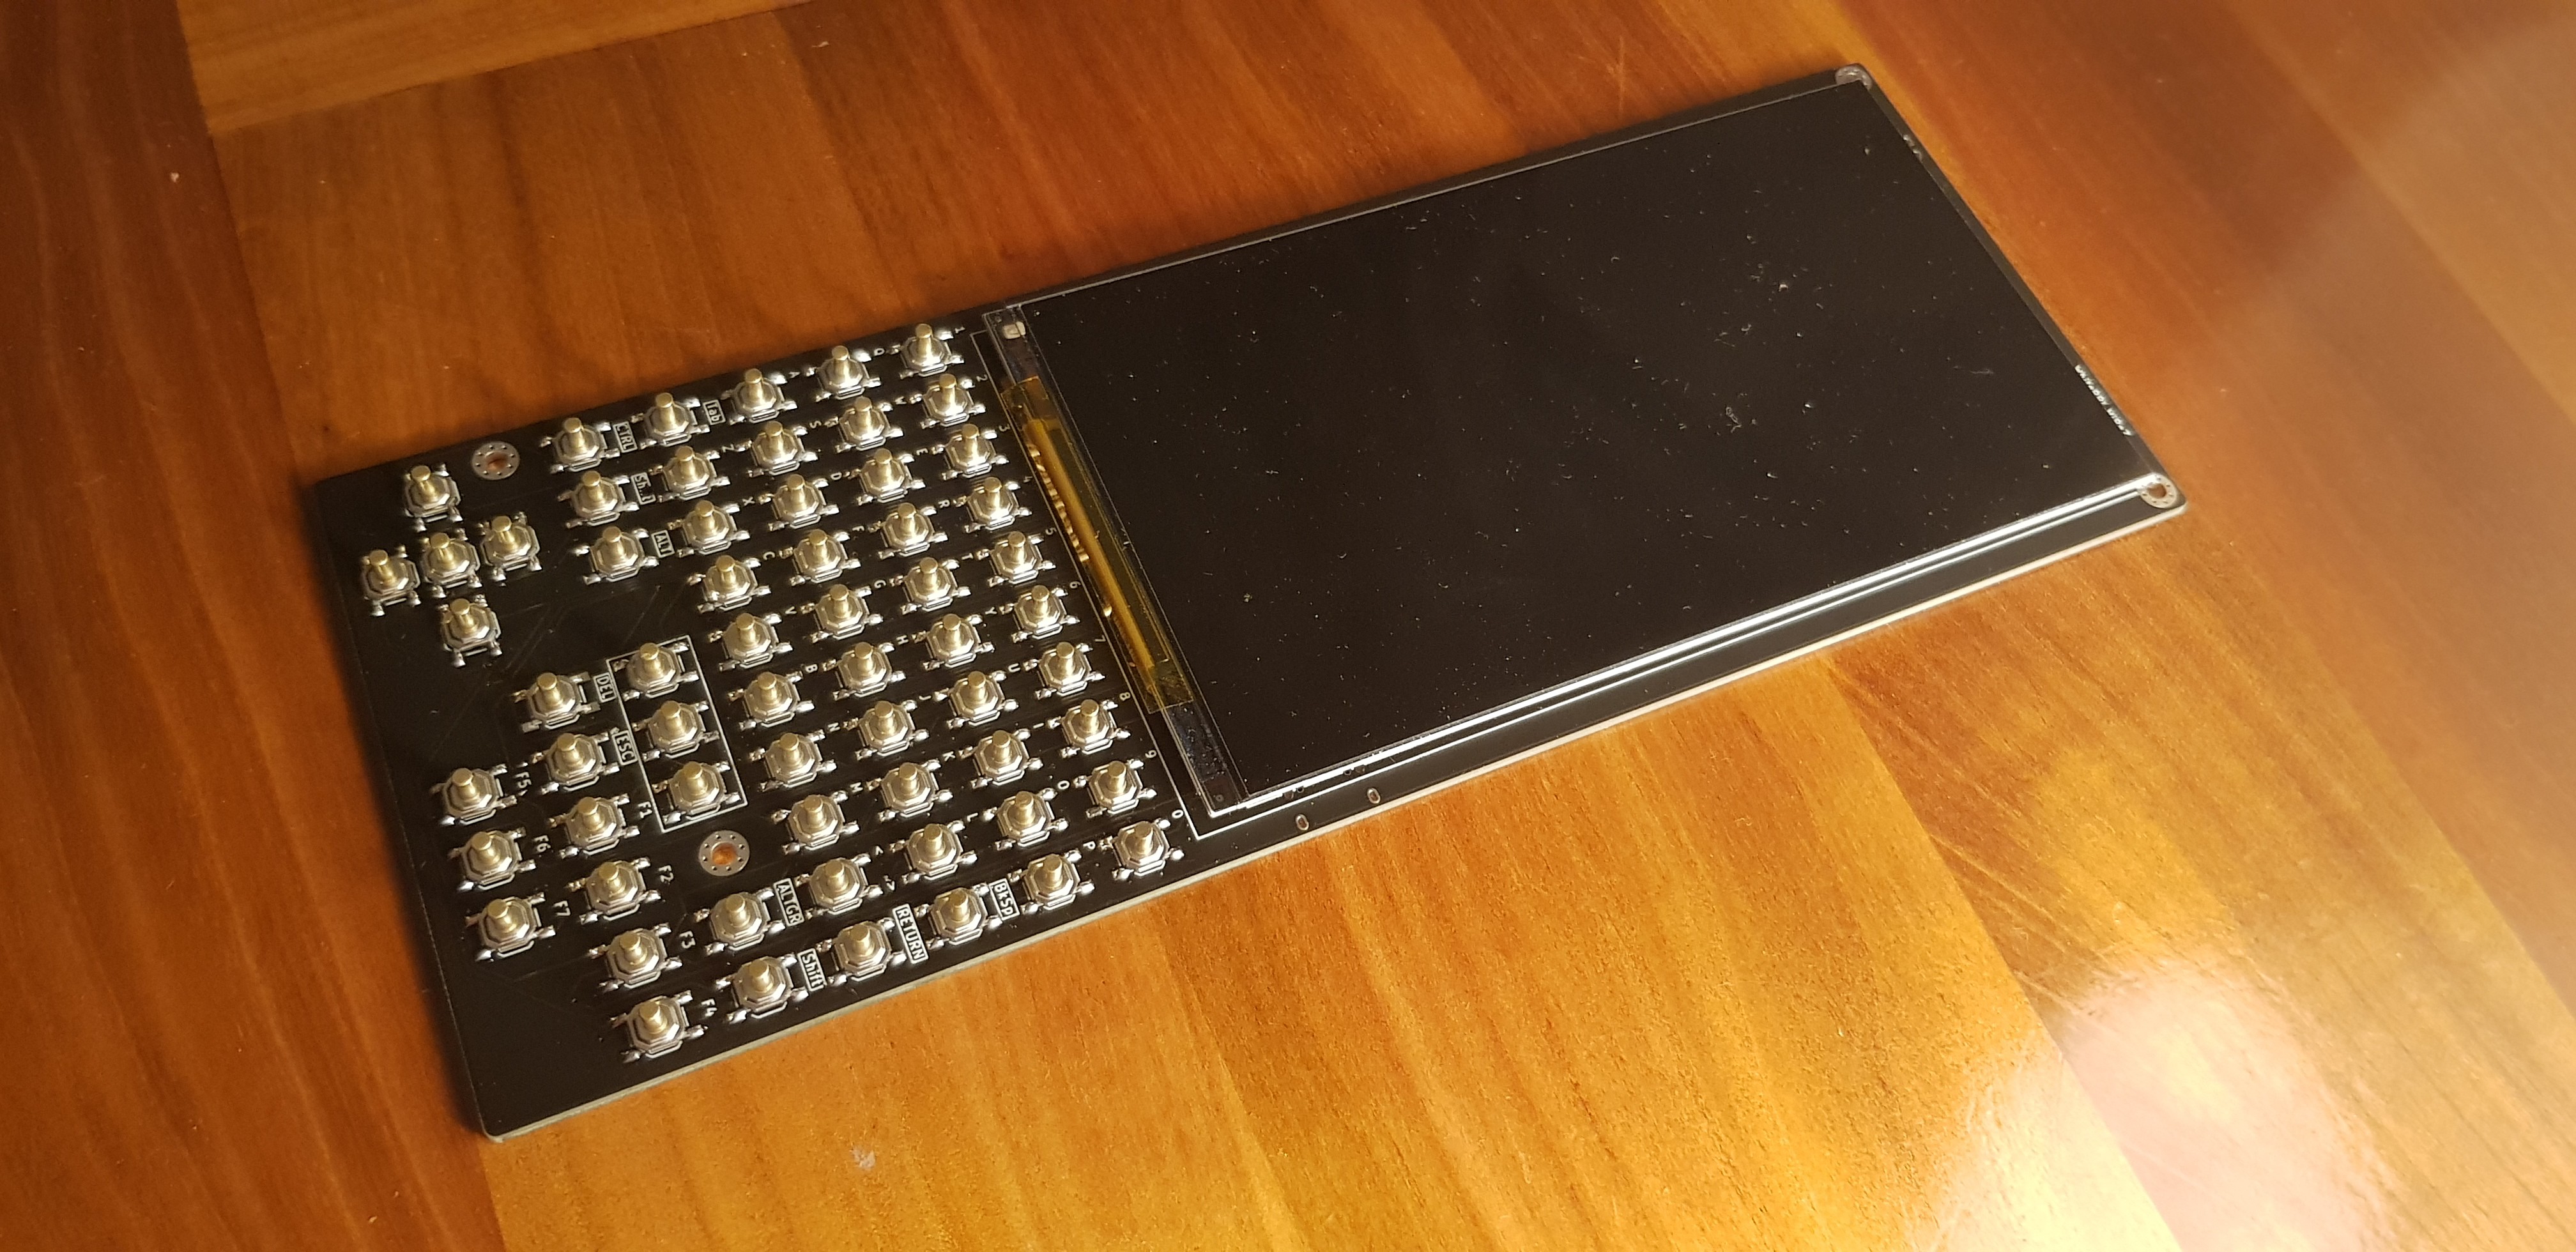
As for the display, we chose a common screen from aliexpress based on LS055R1SX03 . Although we chose a version with no touchscreen option, it is possible to add one later.
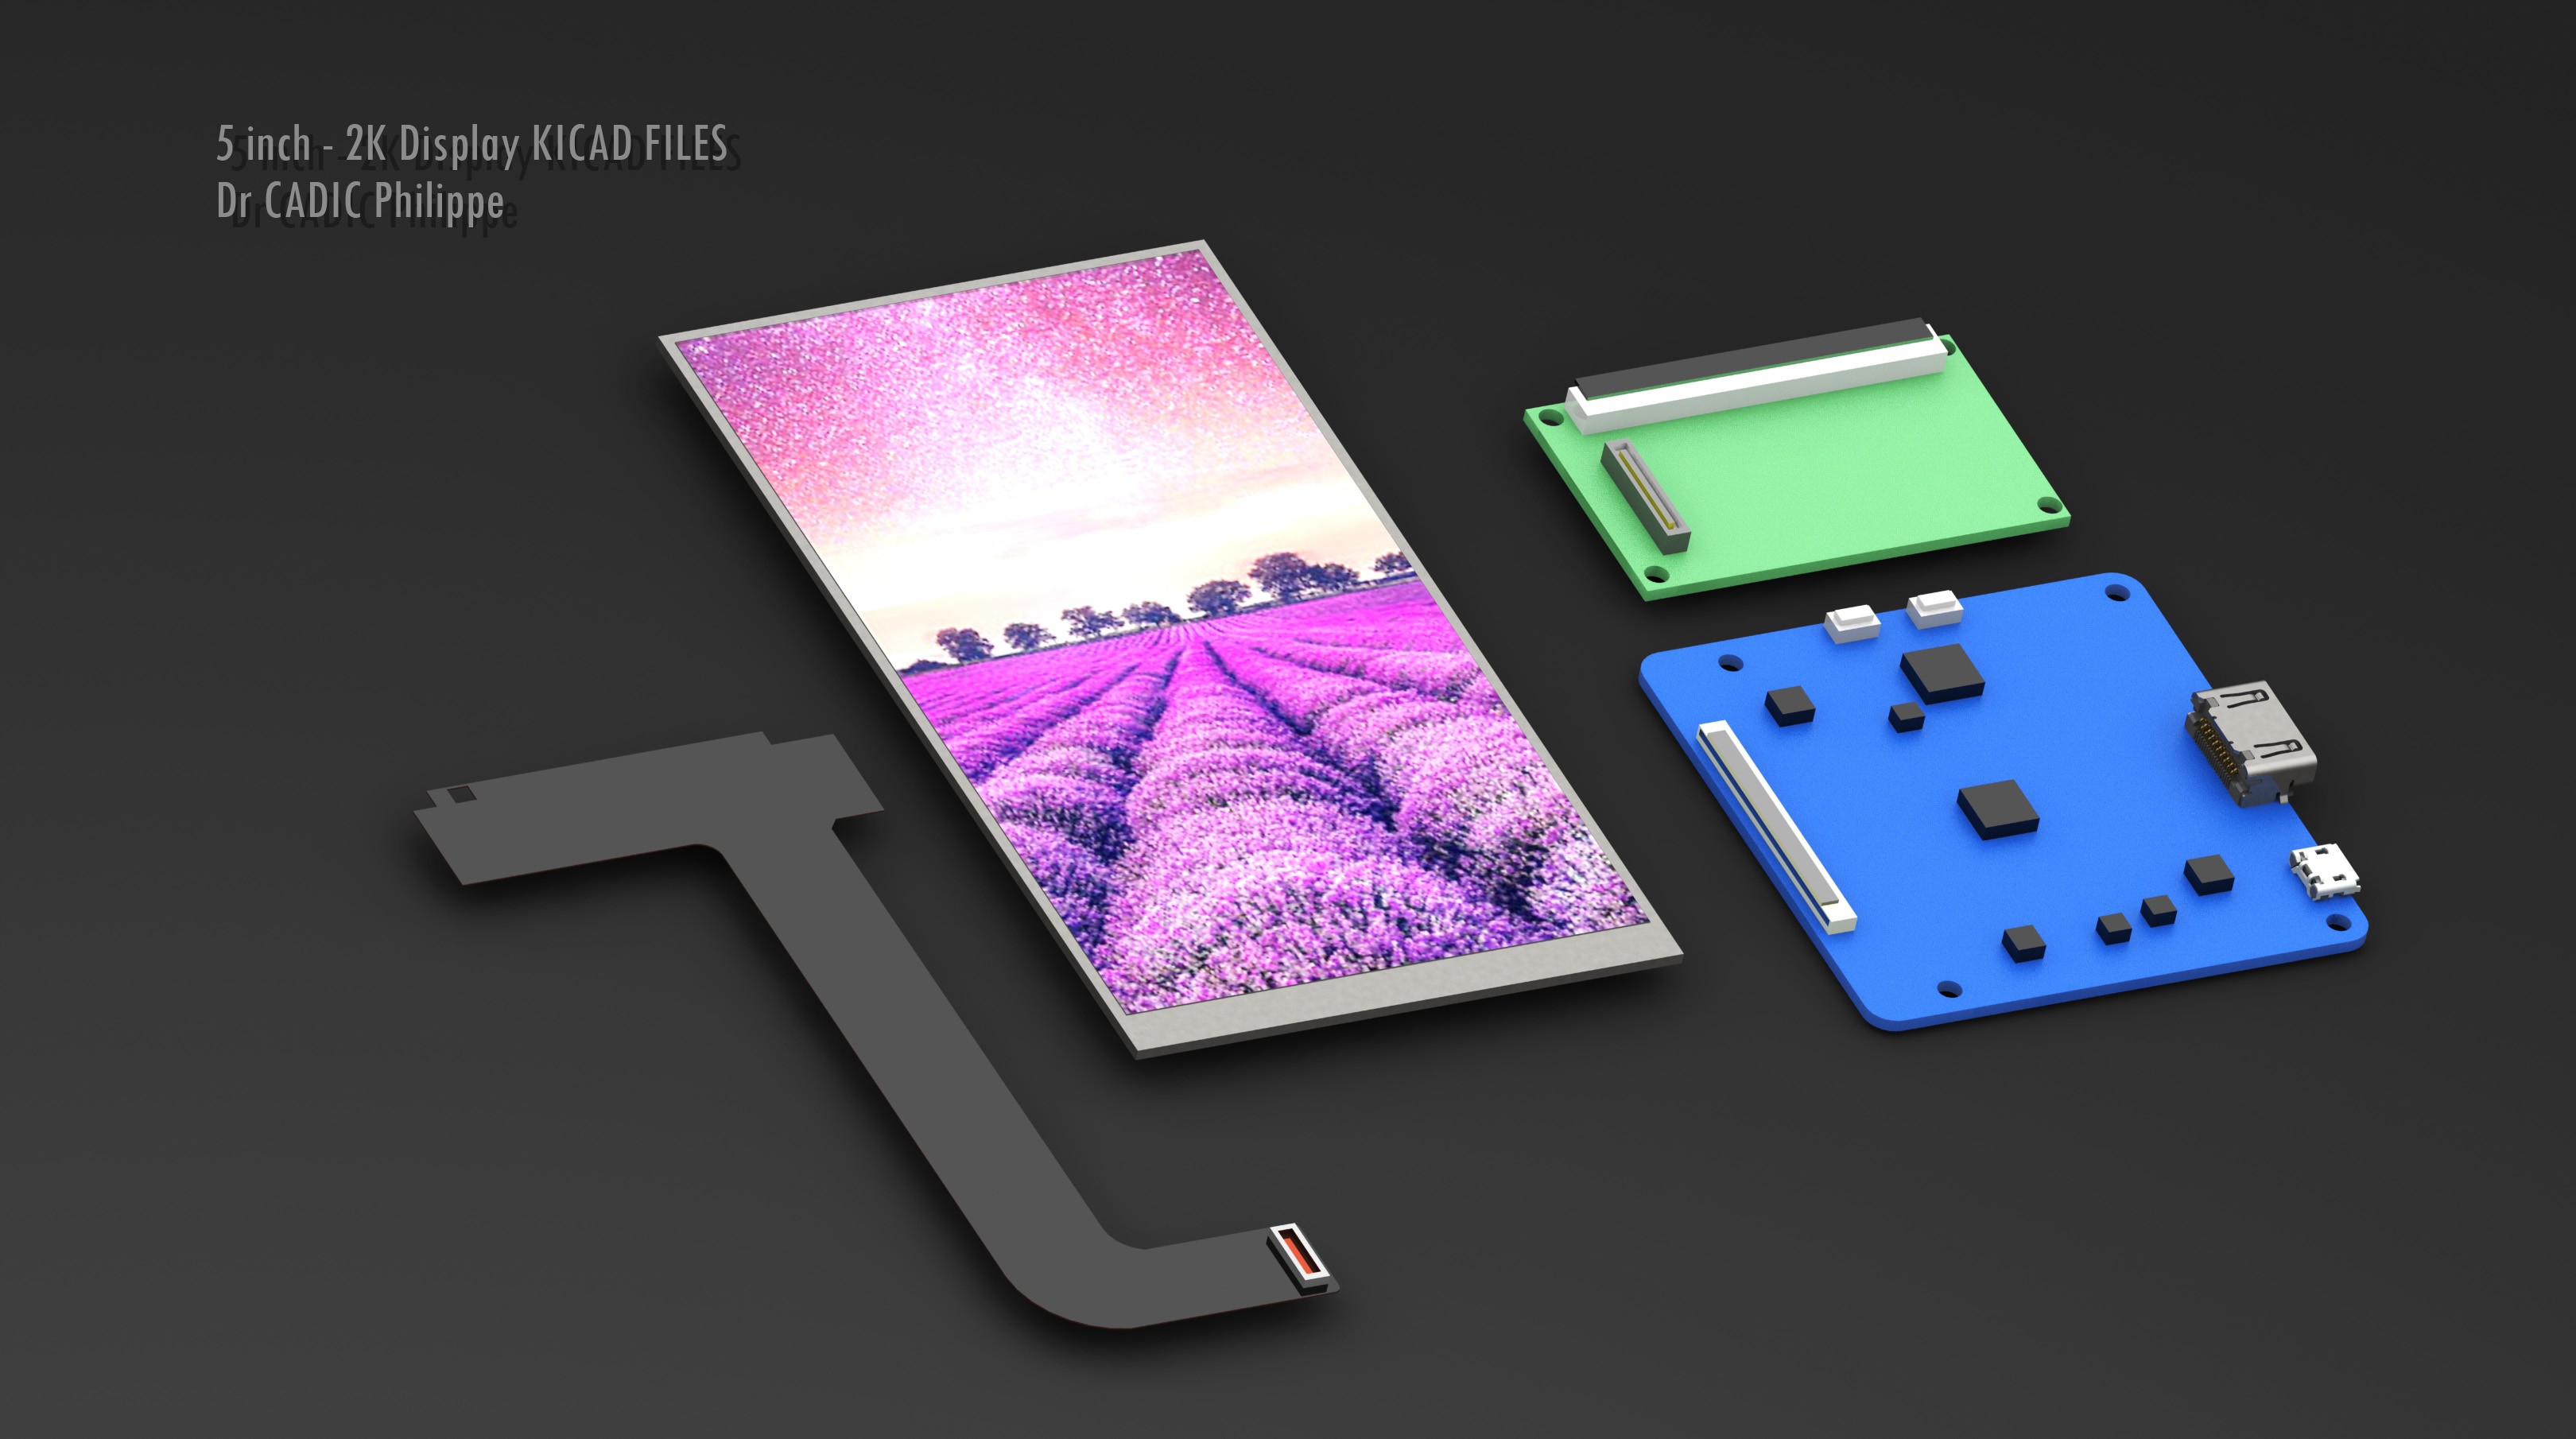
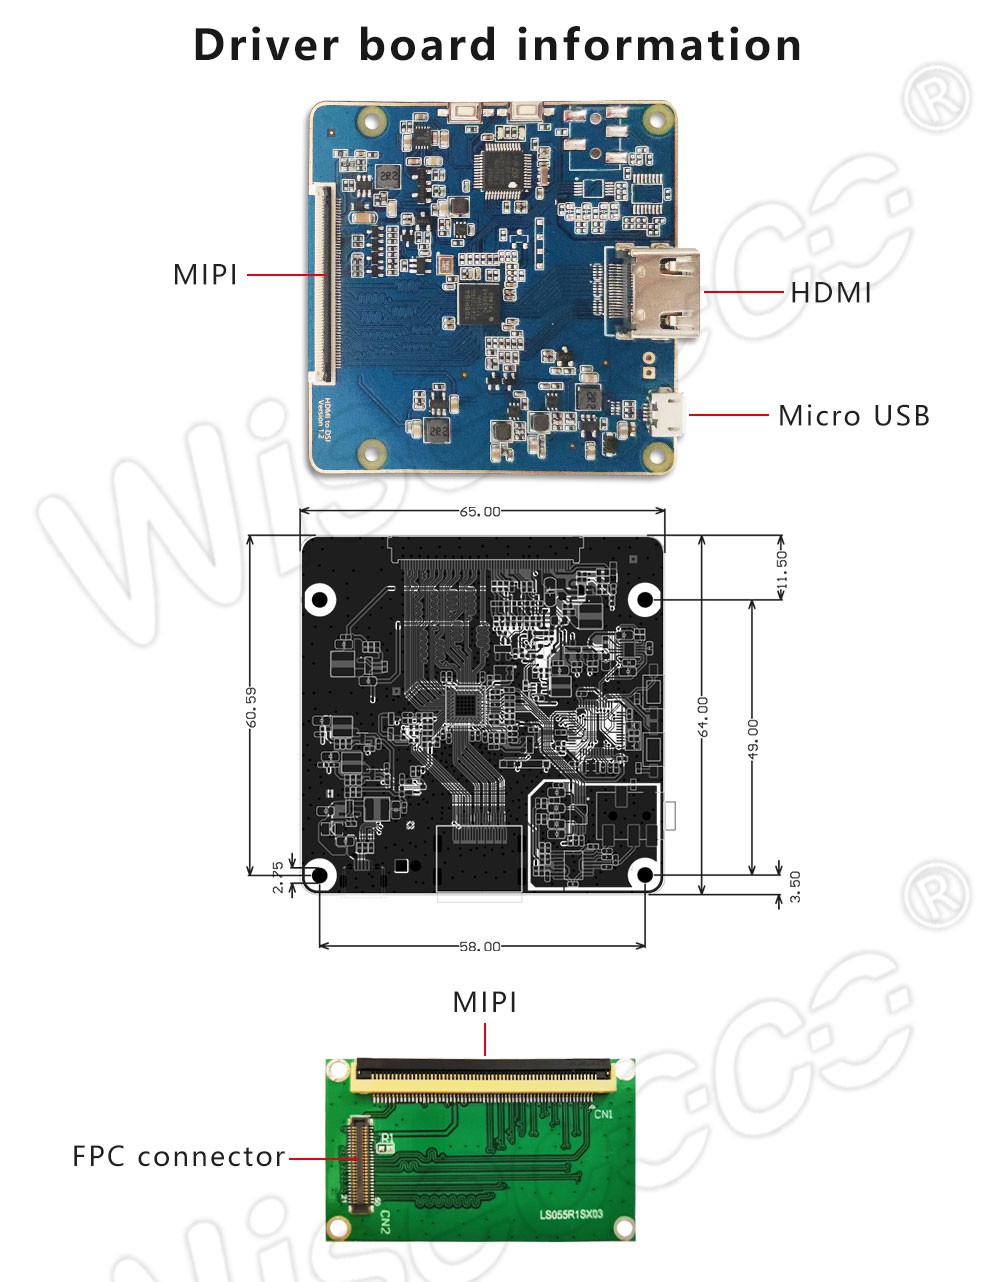
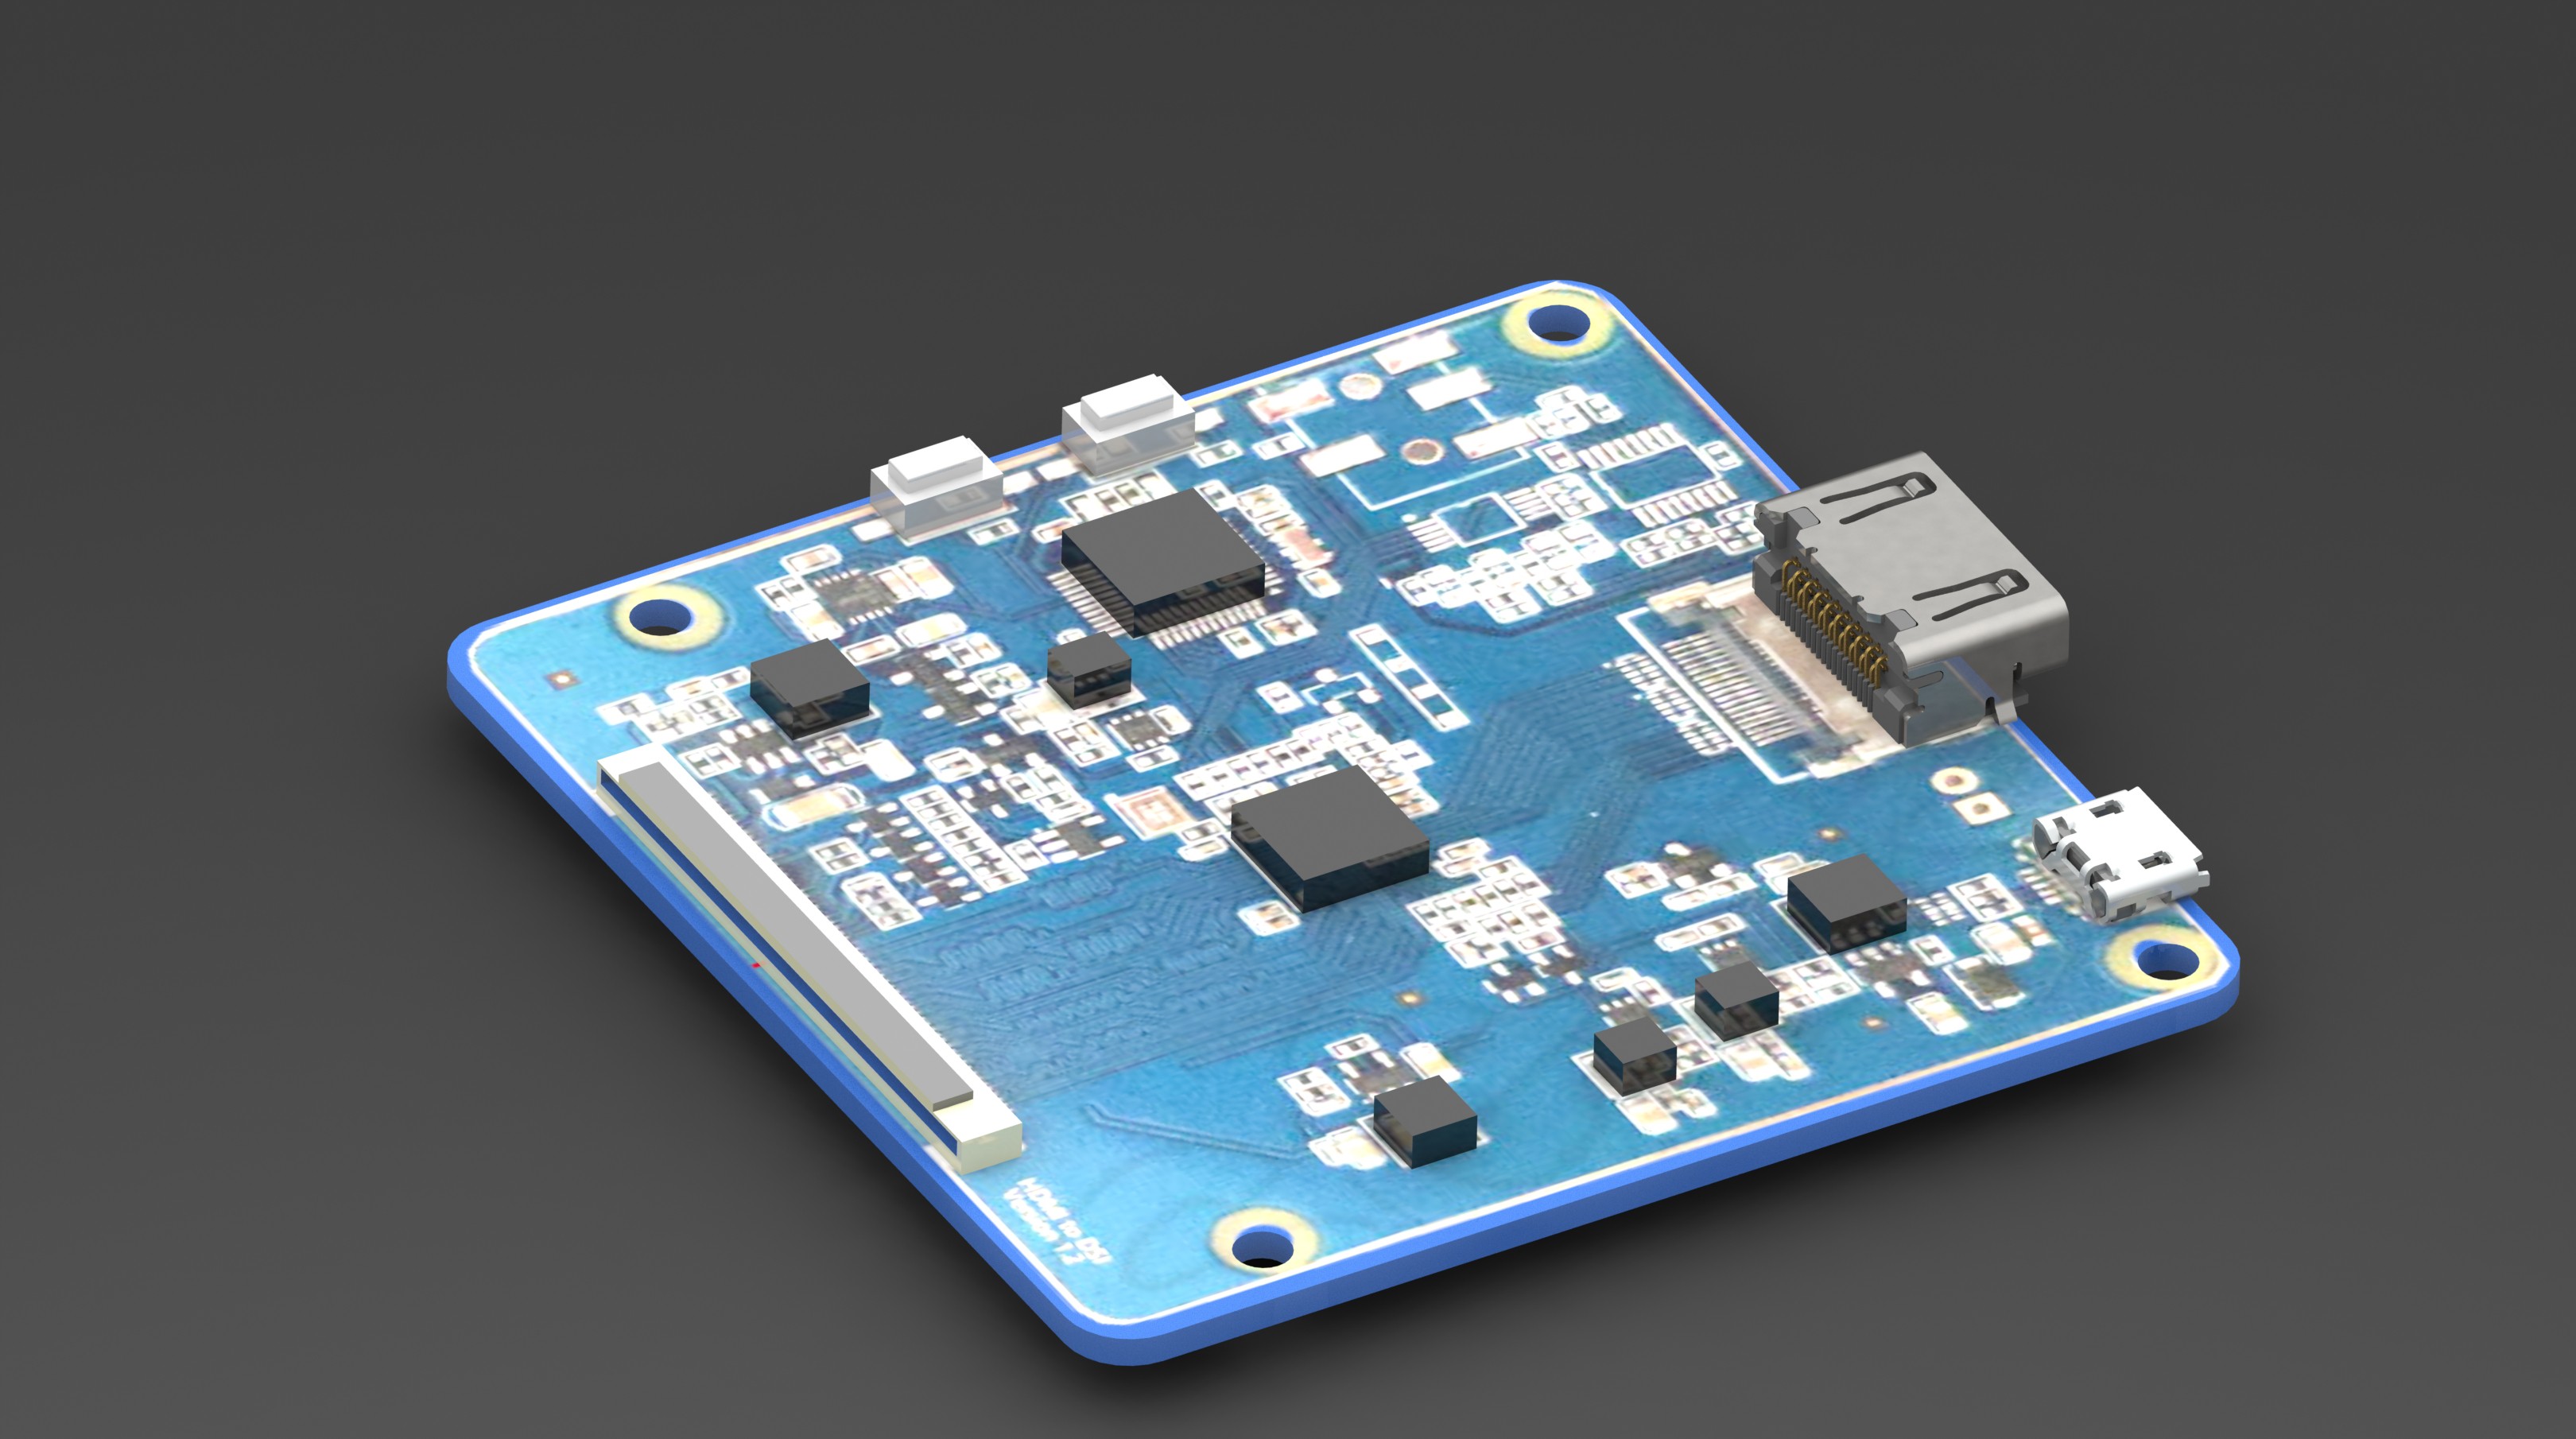
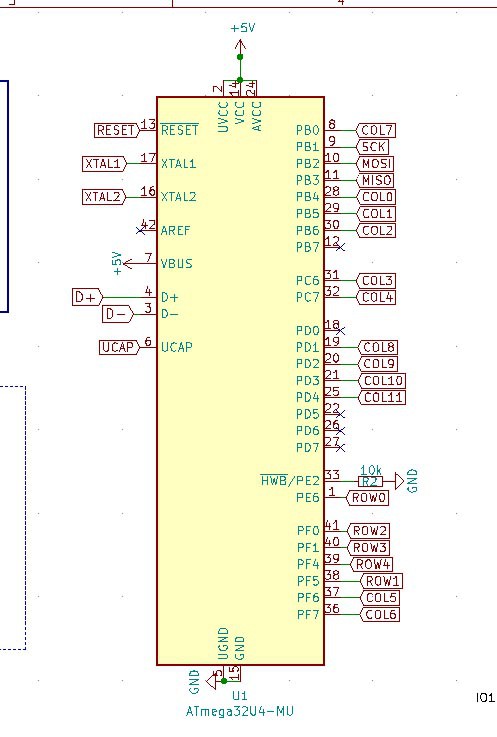
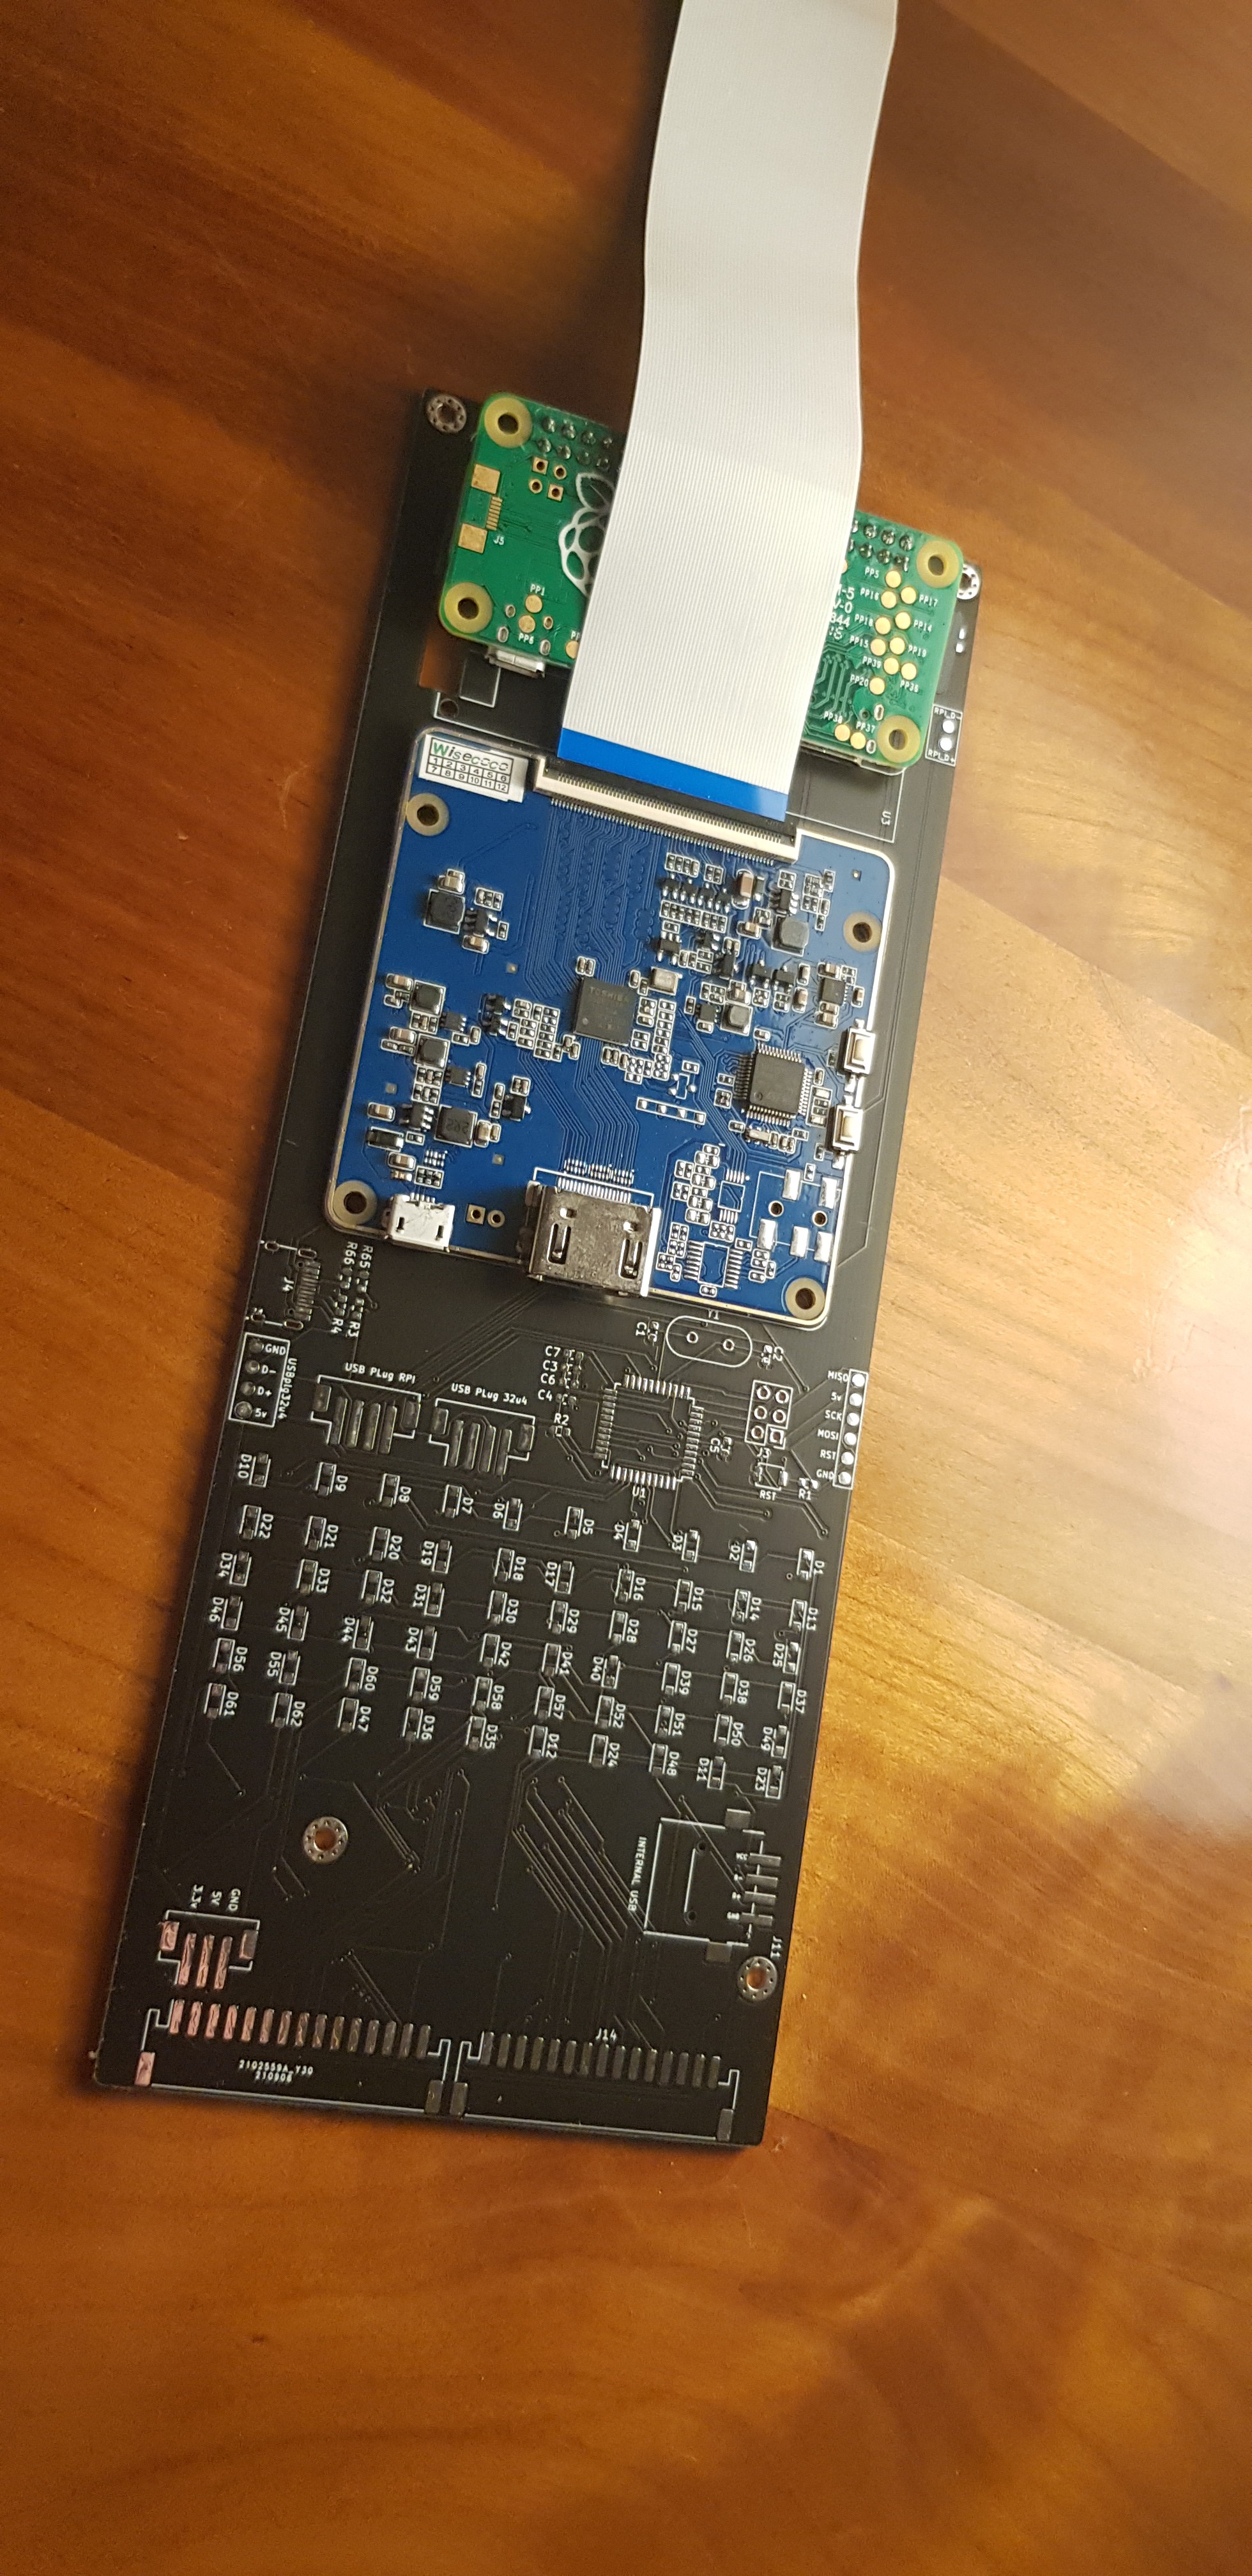
Many of you complained about the too tiny to solder I2C keyboard controller. So we desided to wipe it off and replace with a super simple ATMEGA32U4-AU chip . The AU version is suiper easy to solder and there is a bunch of arduino sketches for usb keyboard emulation (Example: QMK / Tutorial). It you read between the lines, it will also let you use the BlakRPI board as a classic keyboard for any computer accepting a USB keyboard. We made several connectors available on the board to play with this option.
How we made it ?
As always, we use our favorite PCB software: https://www.kicad.org/
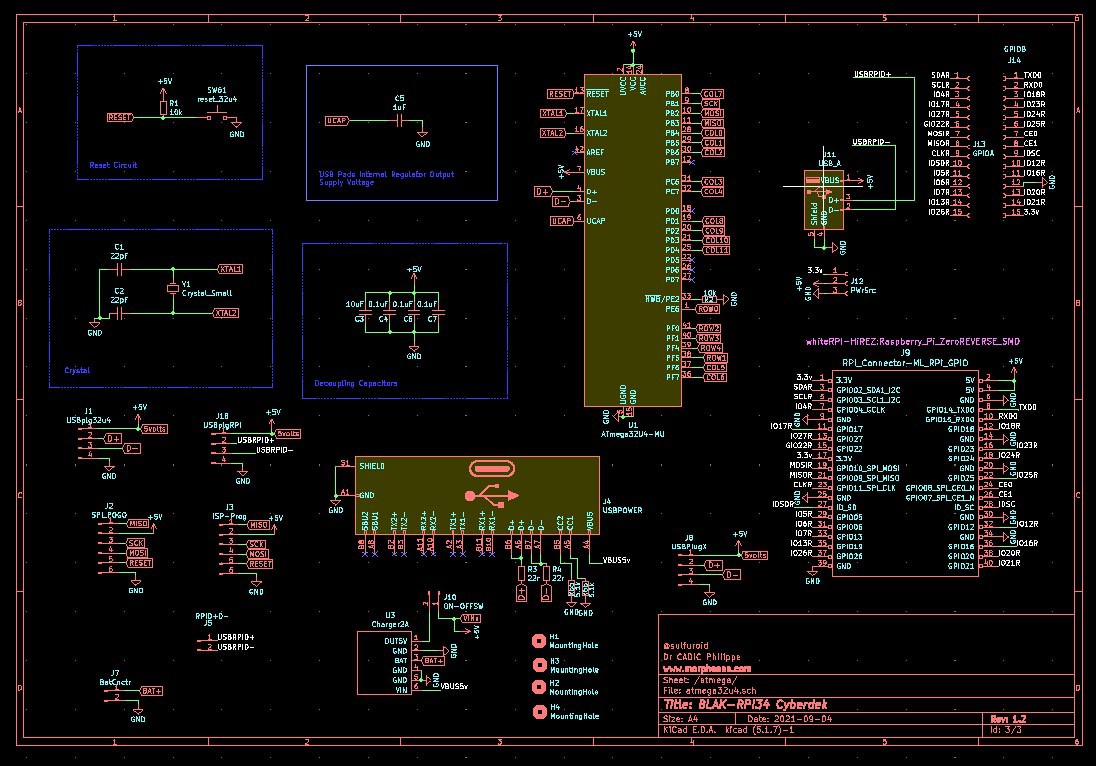
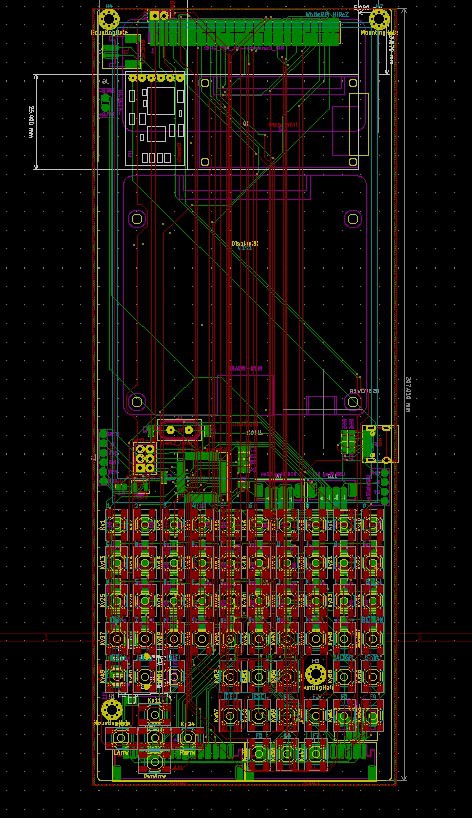
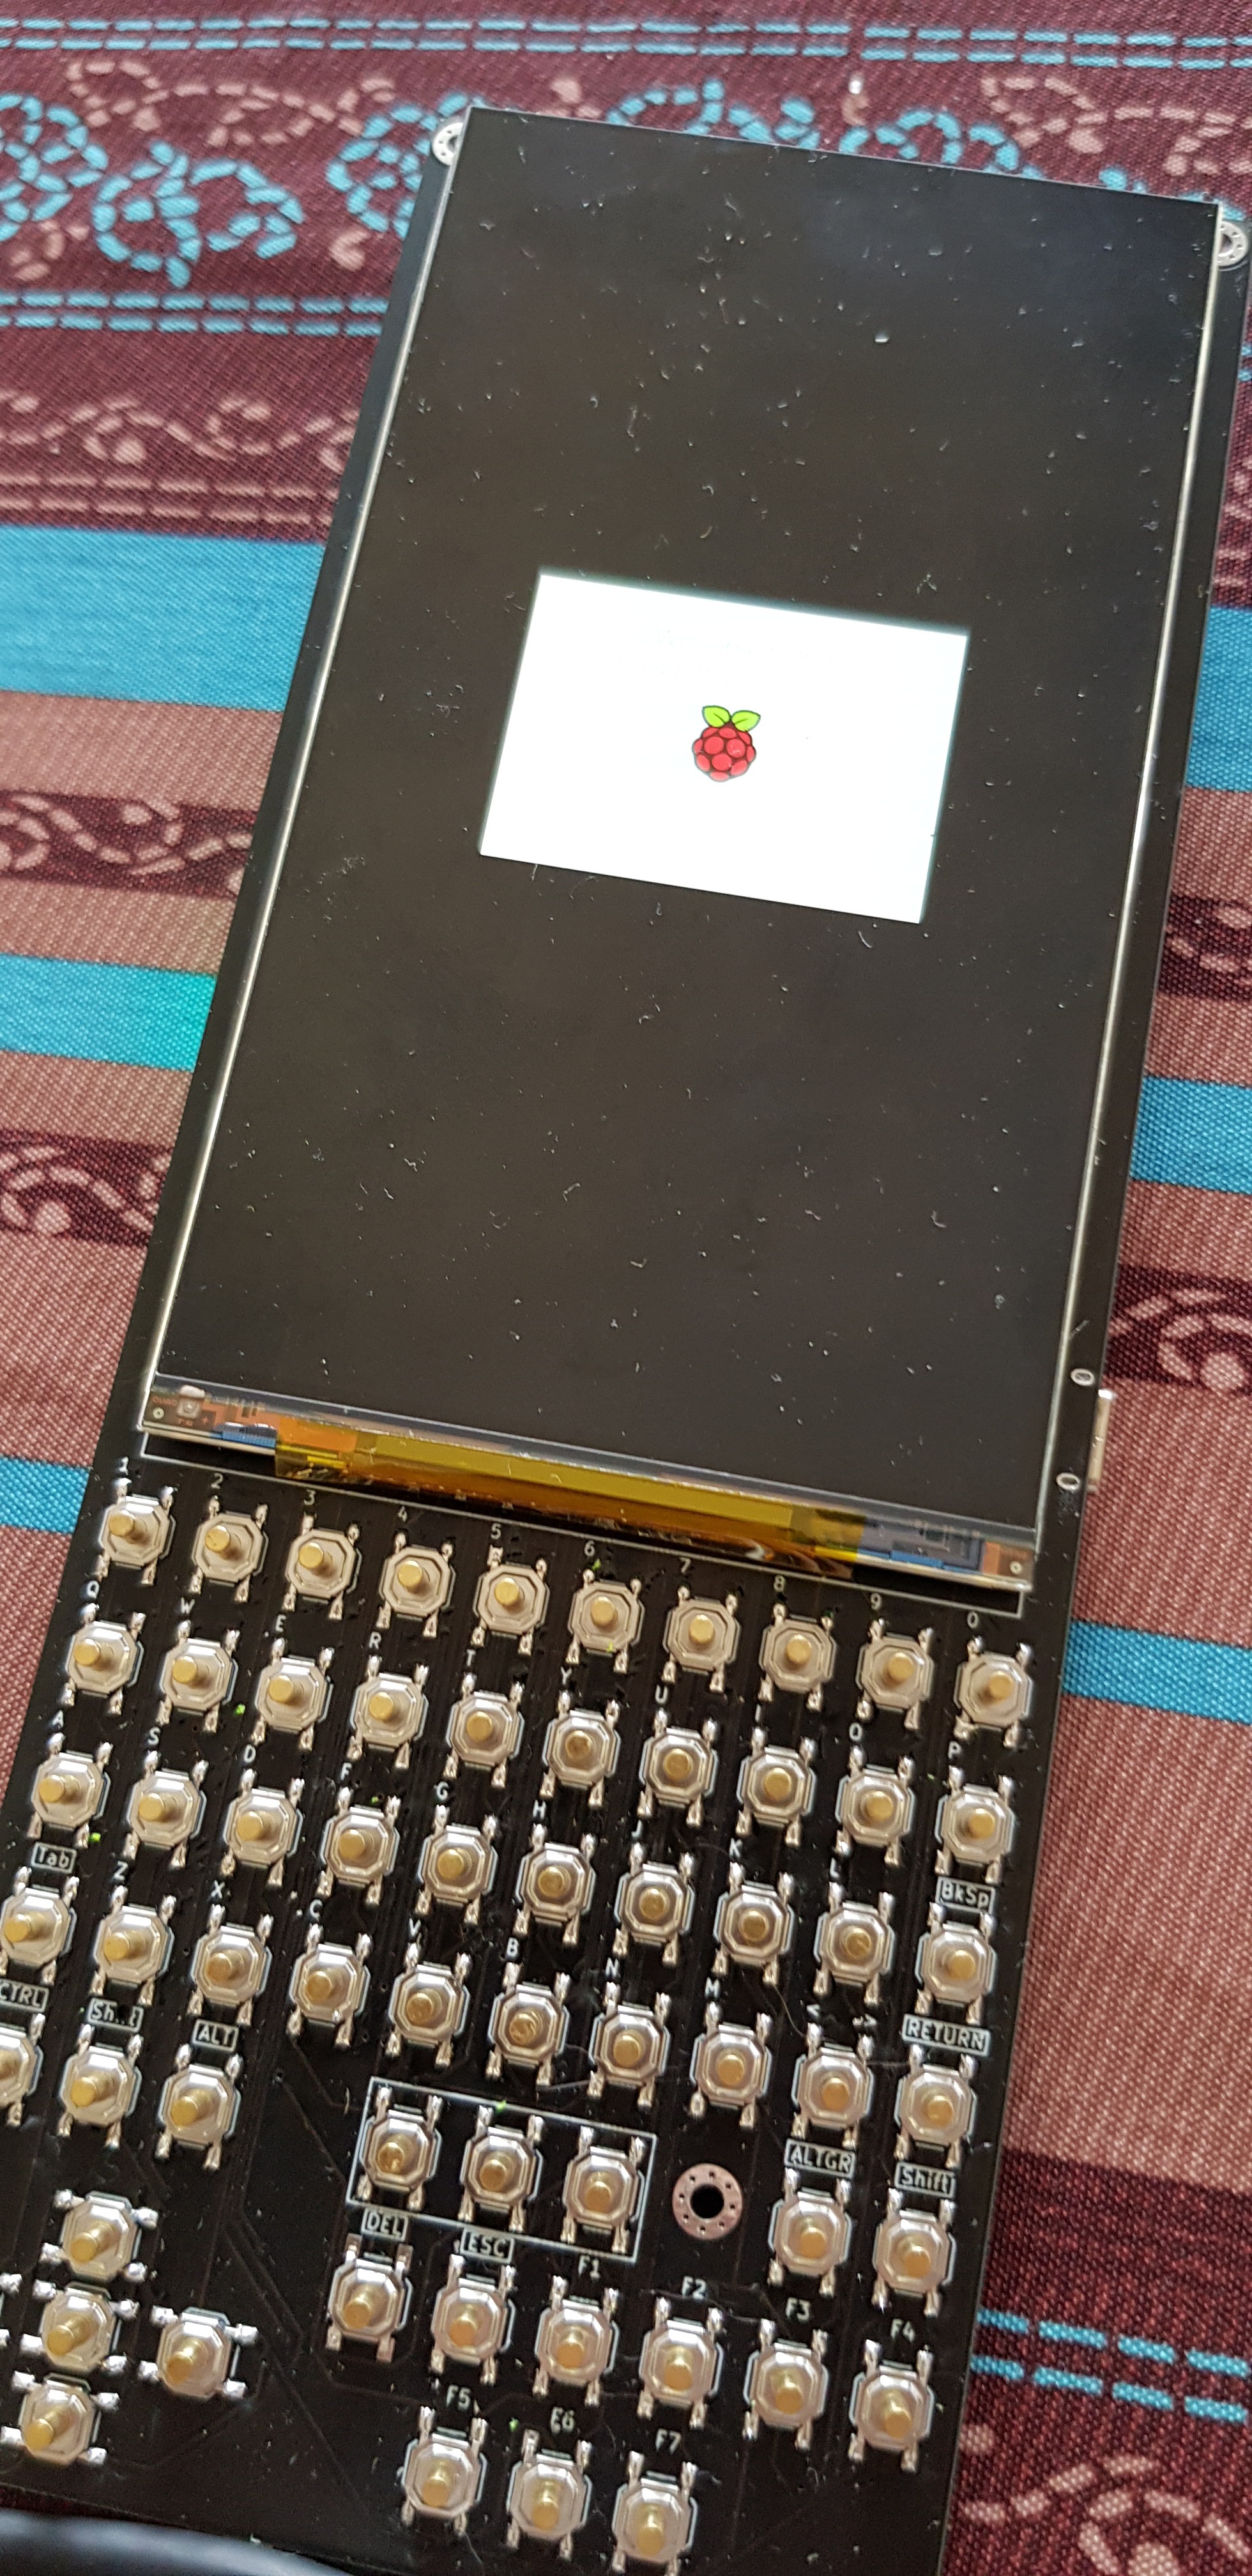
Instead of looking for a very compact realization, we decided to favor simplicity of assembly and ease of repair. The most tricky part was to be able to insert the HDMI to MIPI board, coming with the display , and keep a device as nice as possible. We decided not to recreate the charger option and found a ready made on capable of delivering around 3A which should be enough for this project.
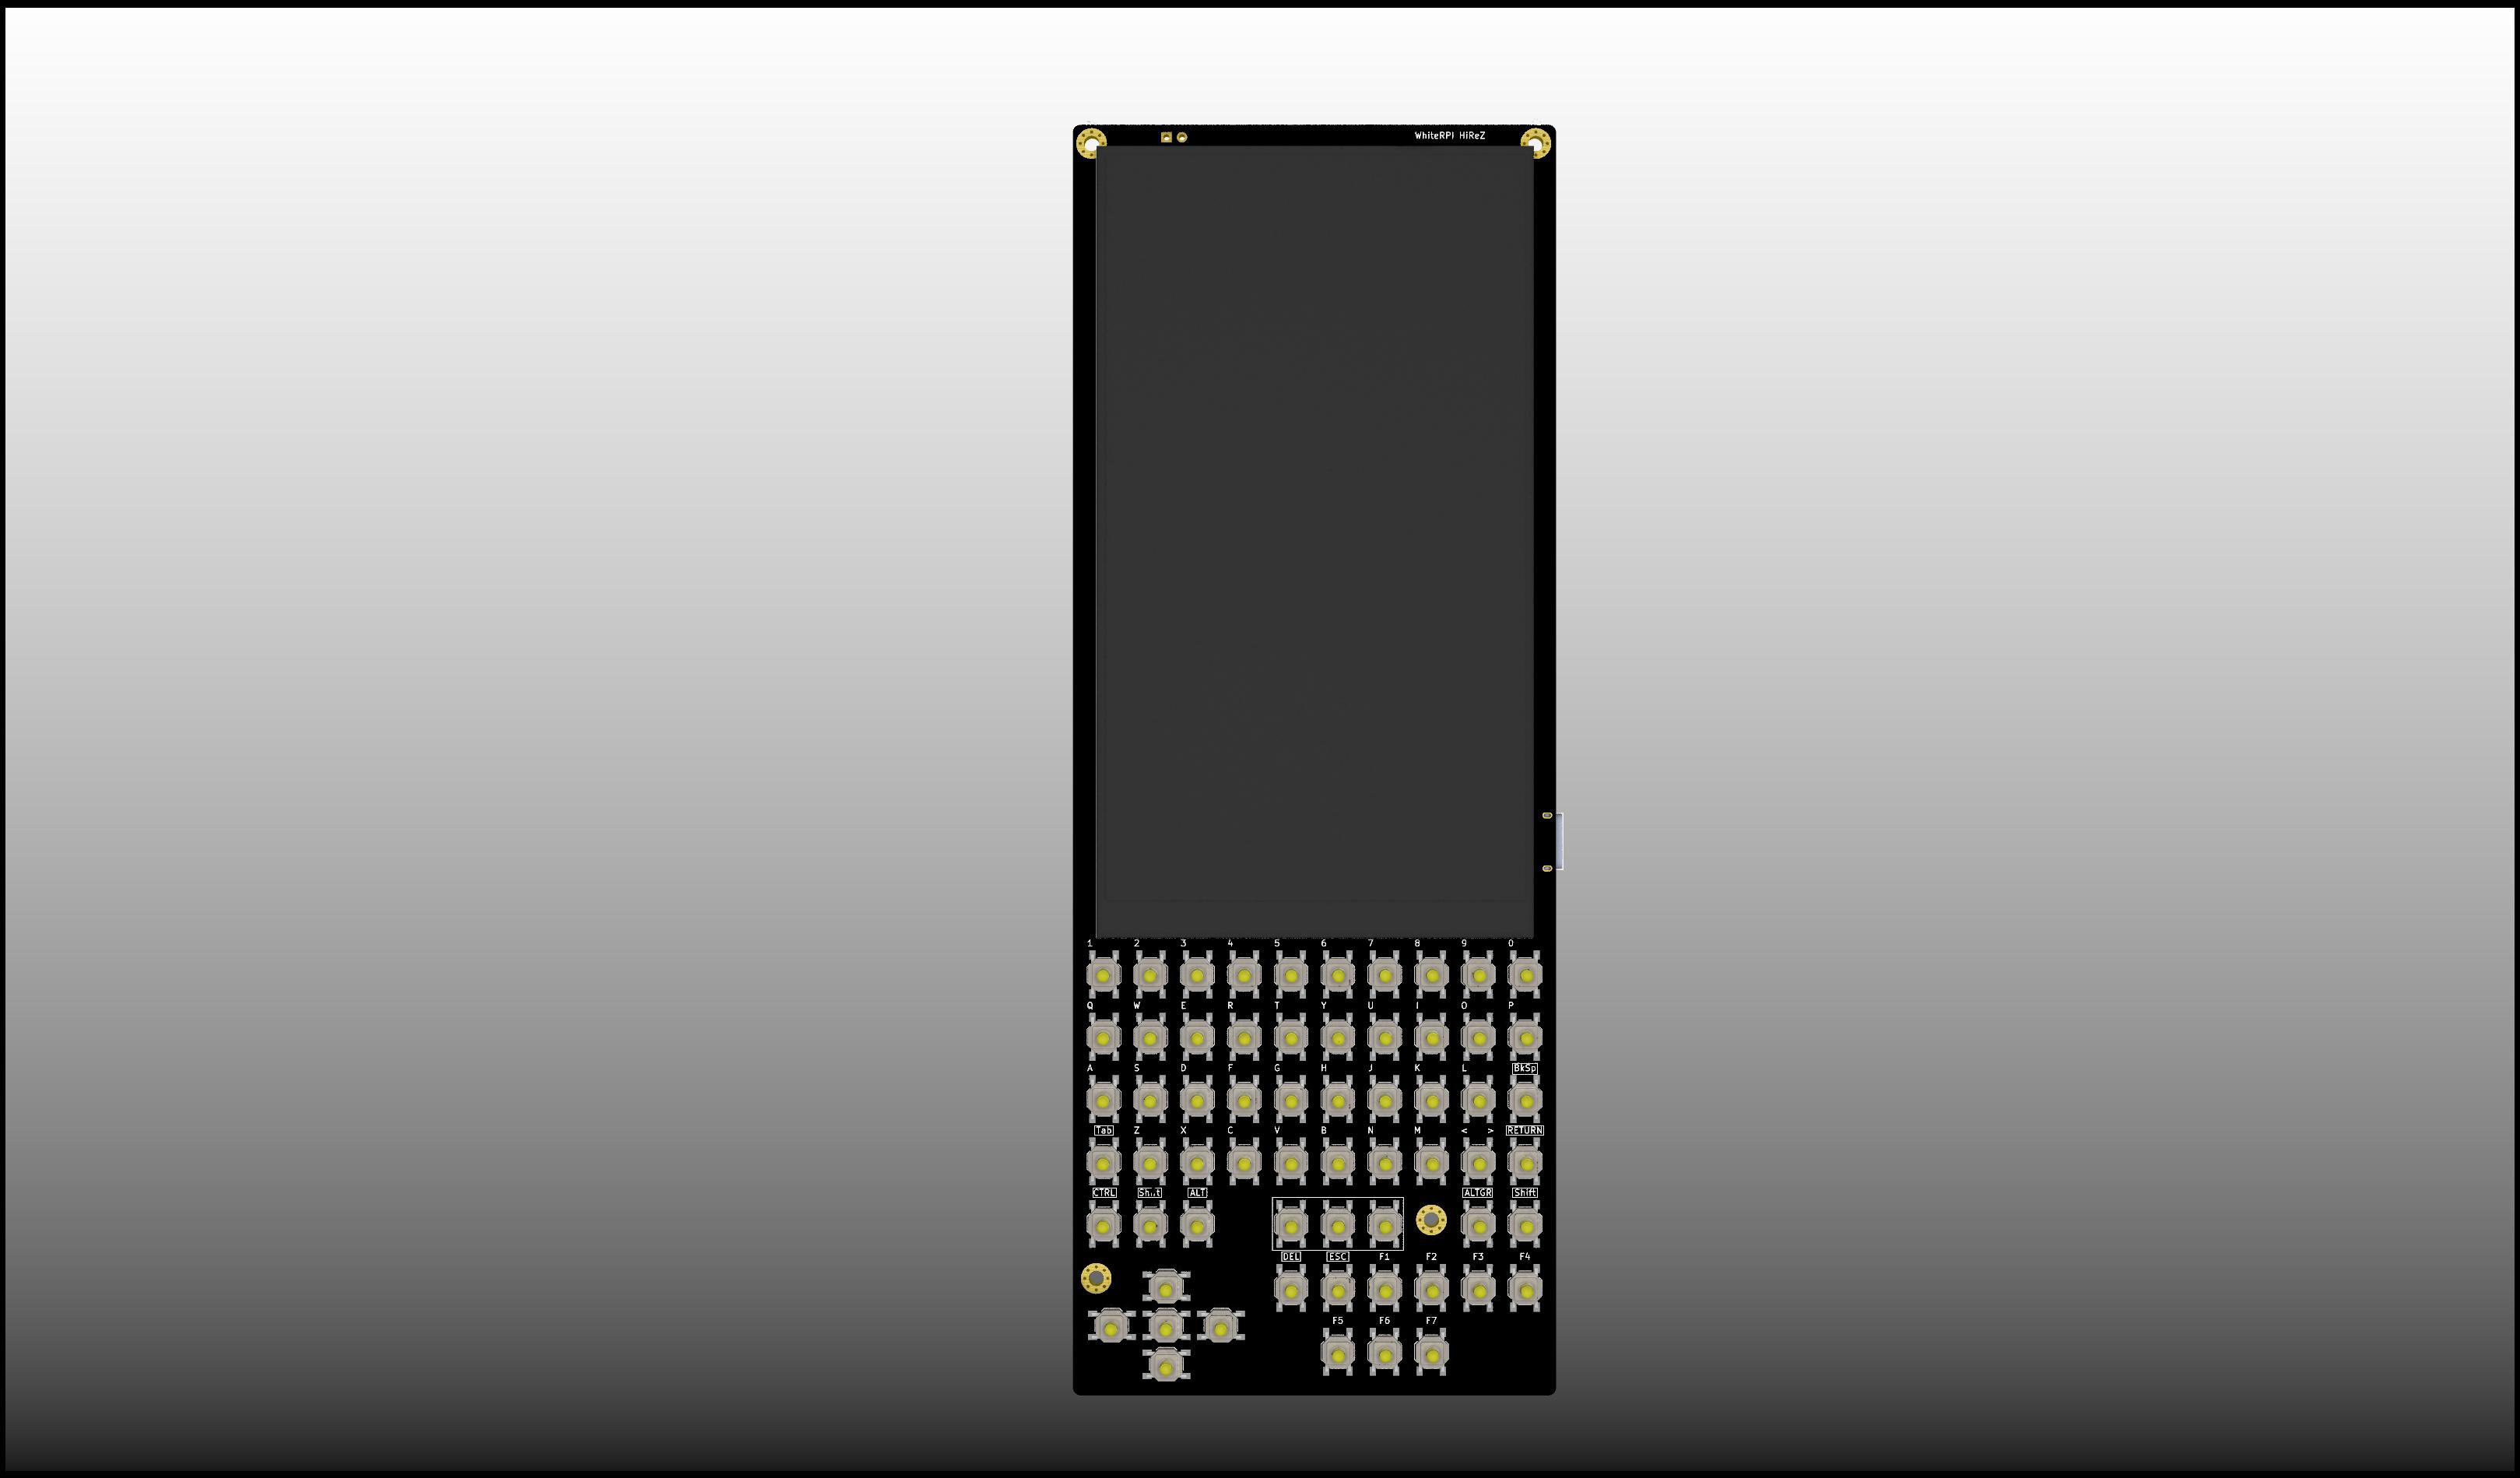
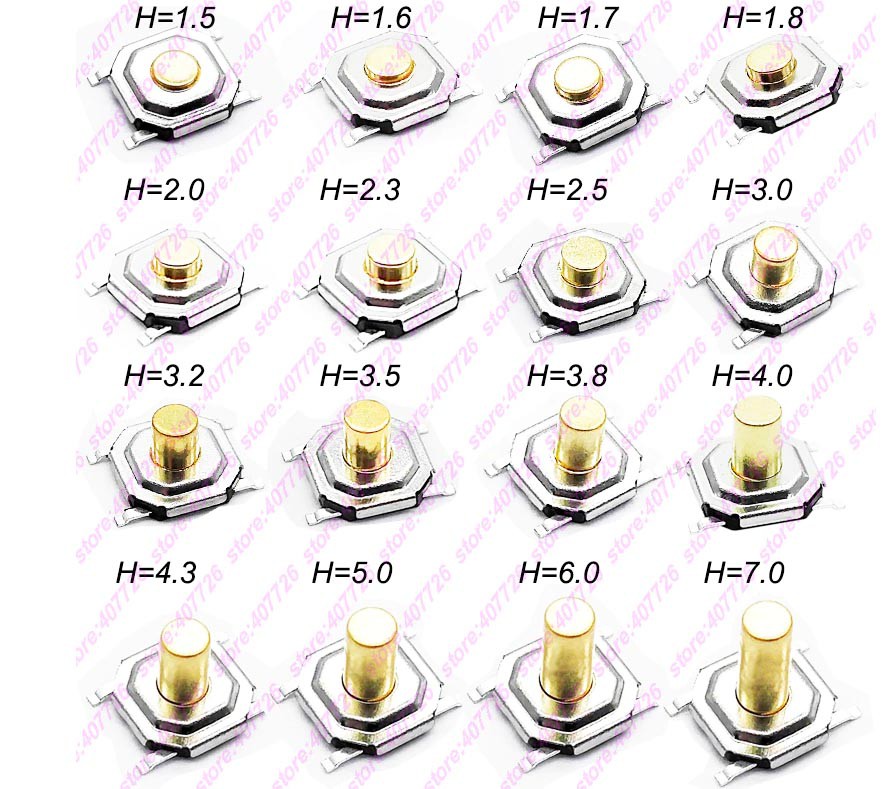
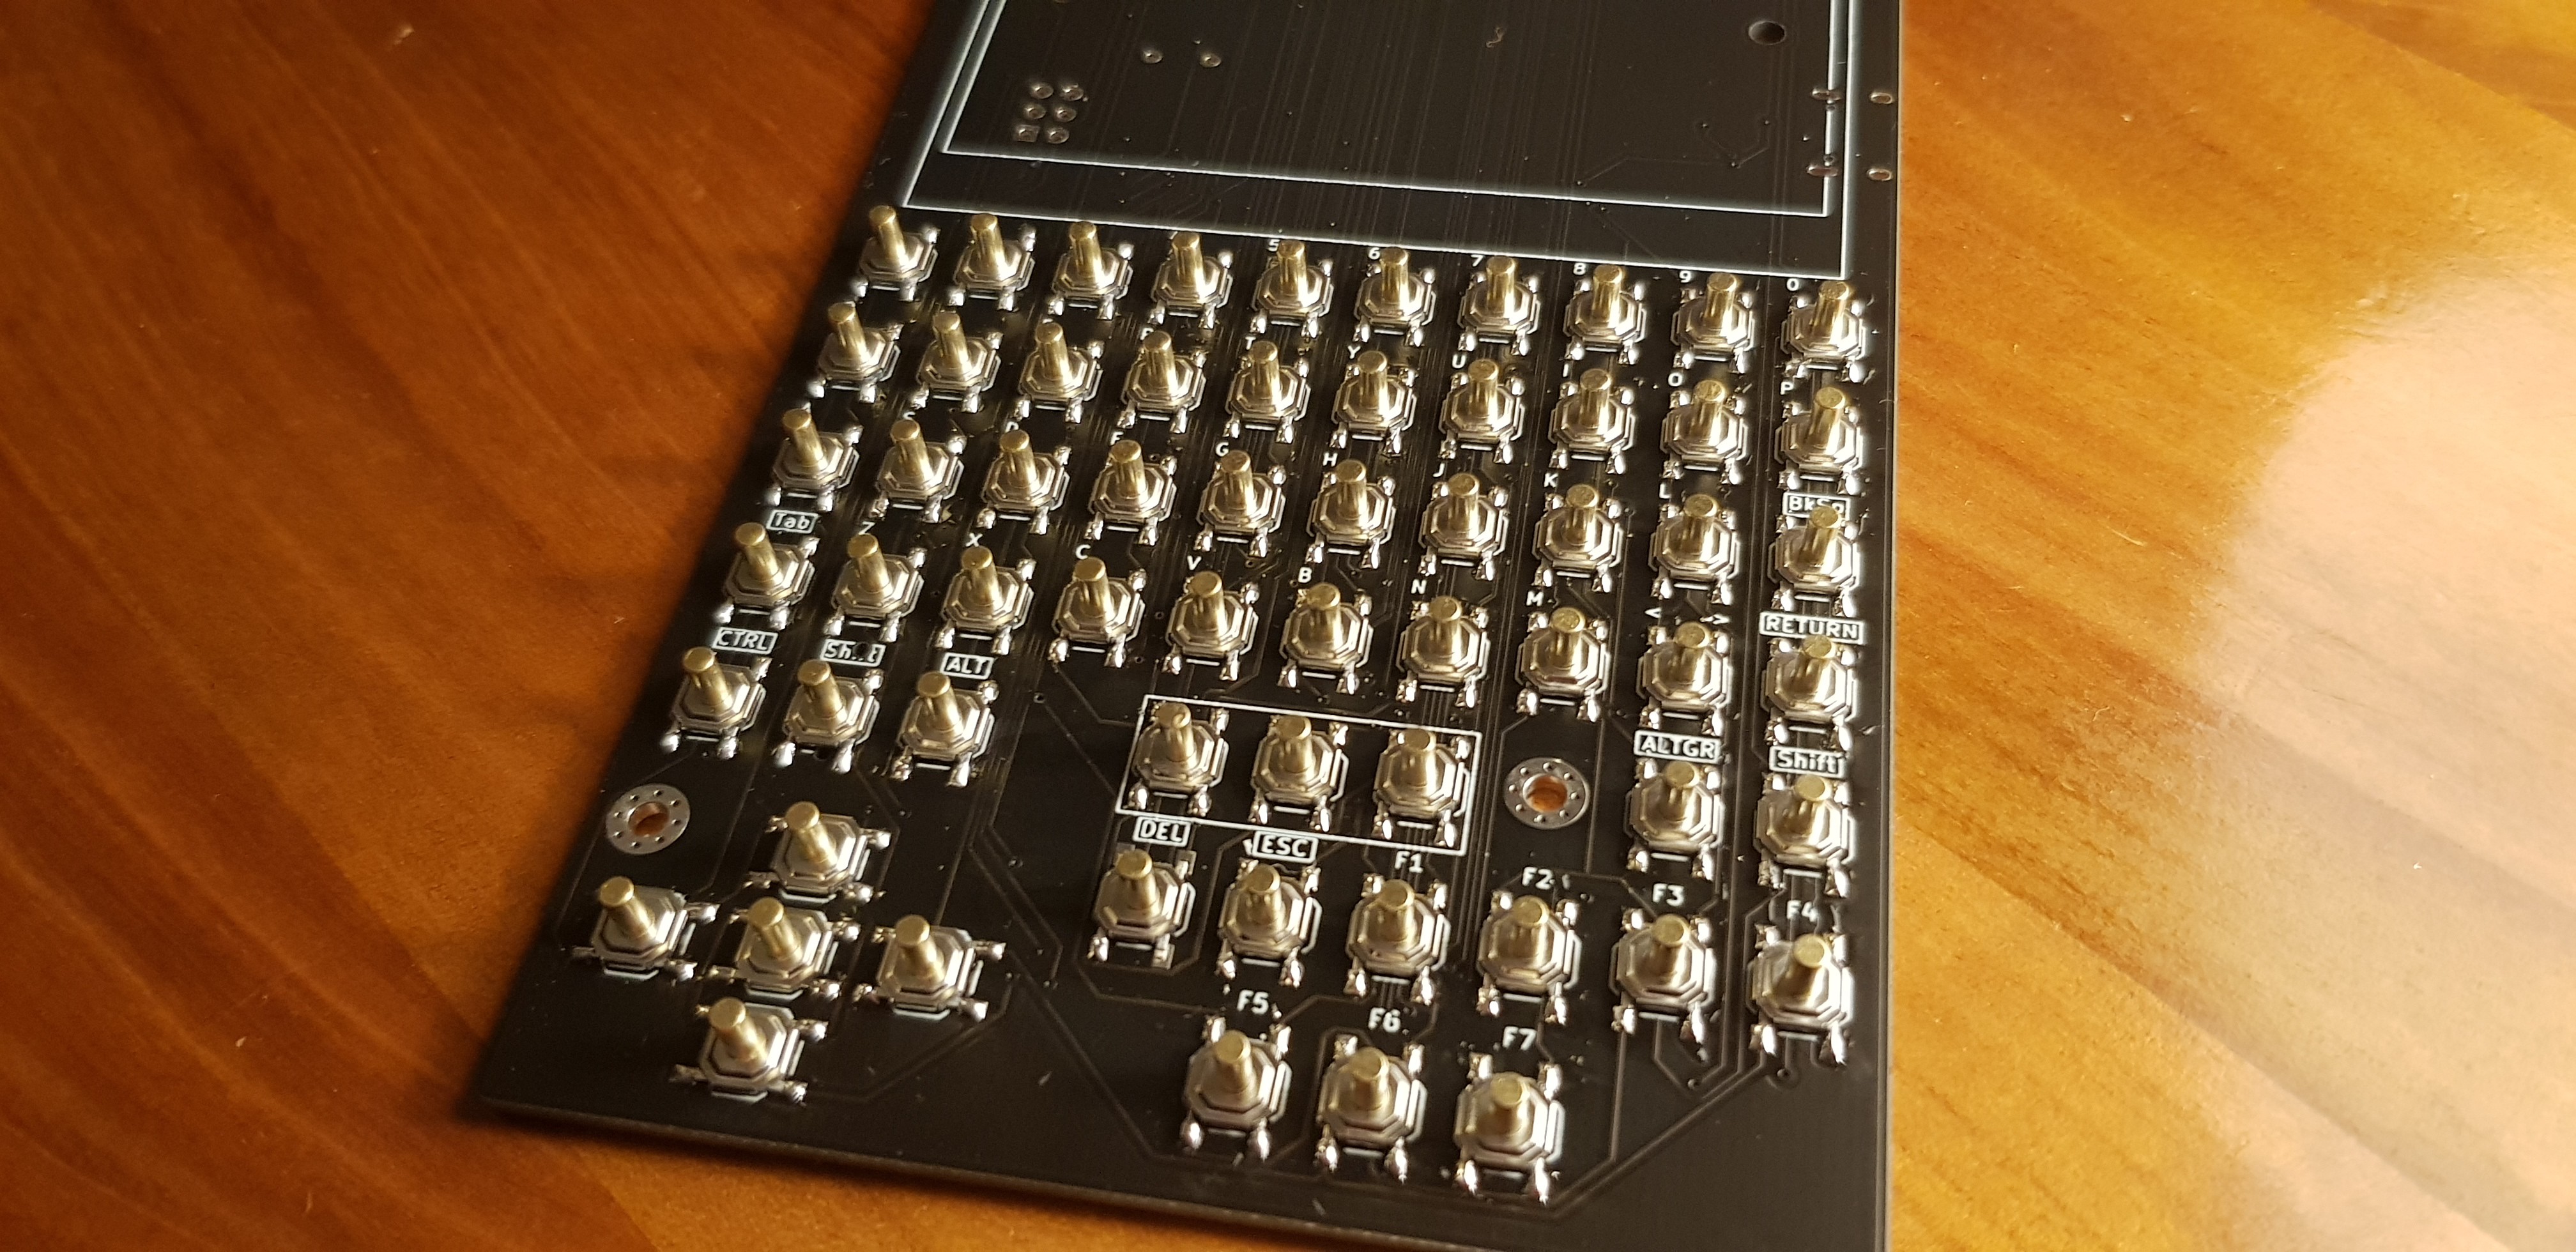
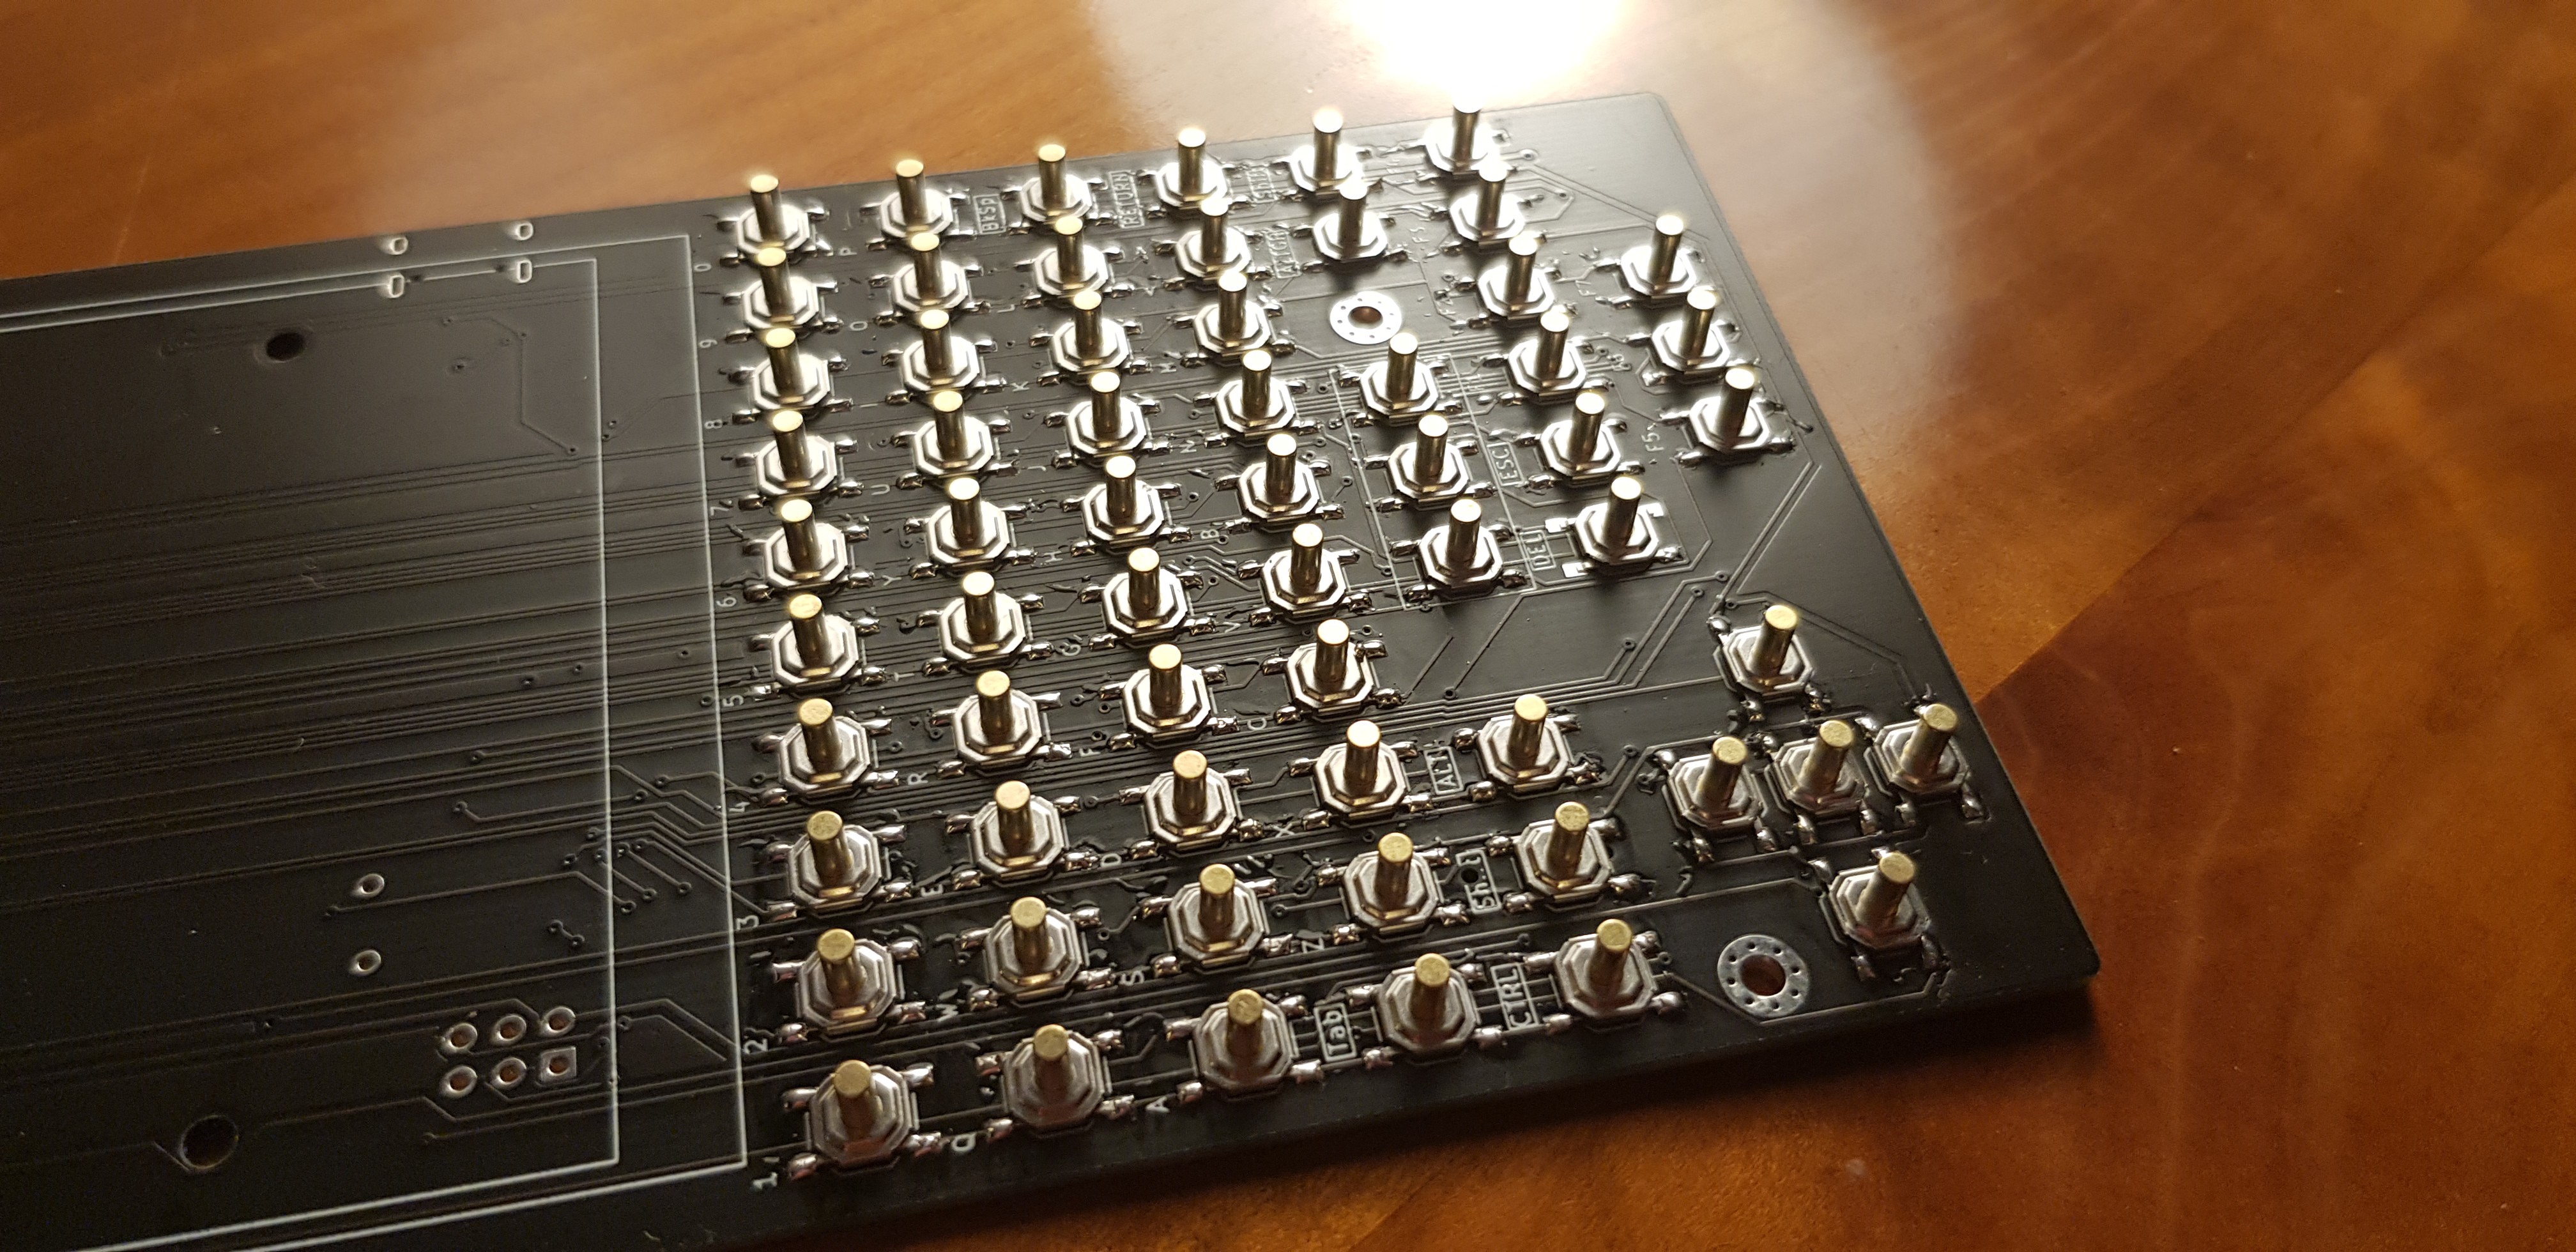
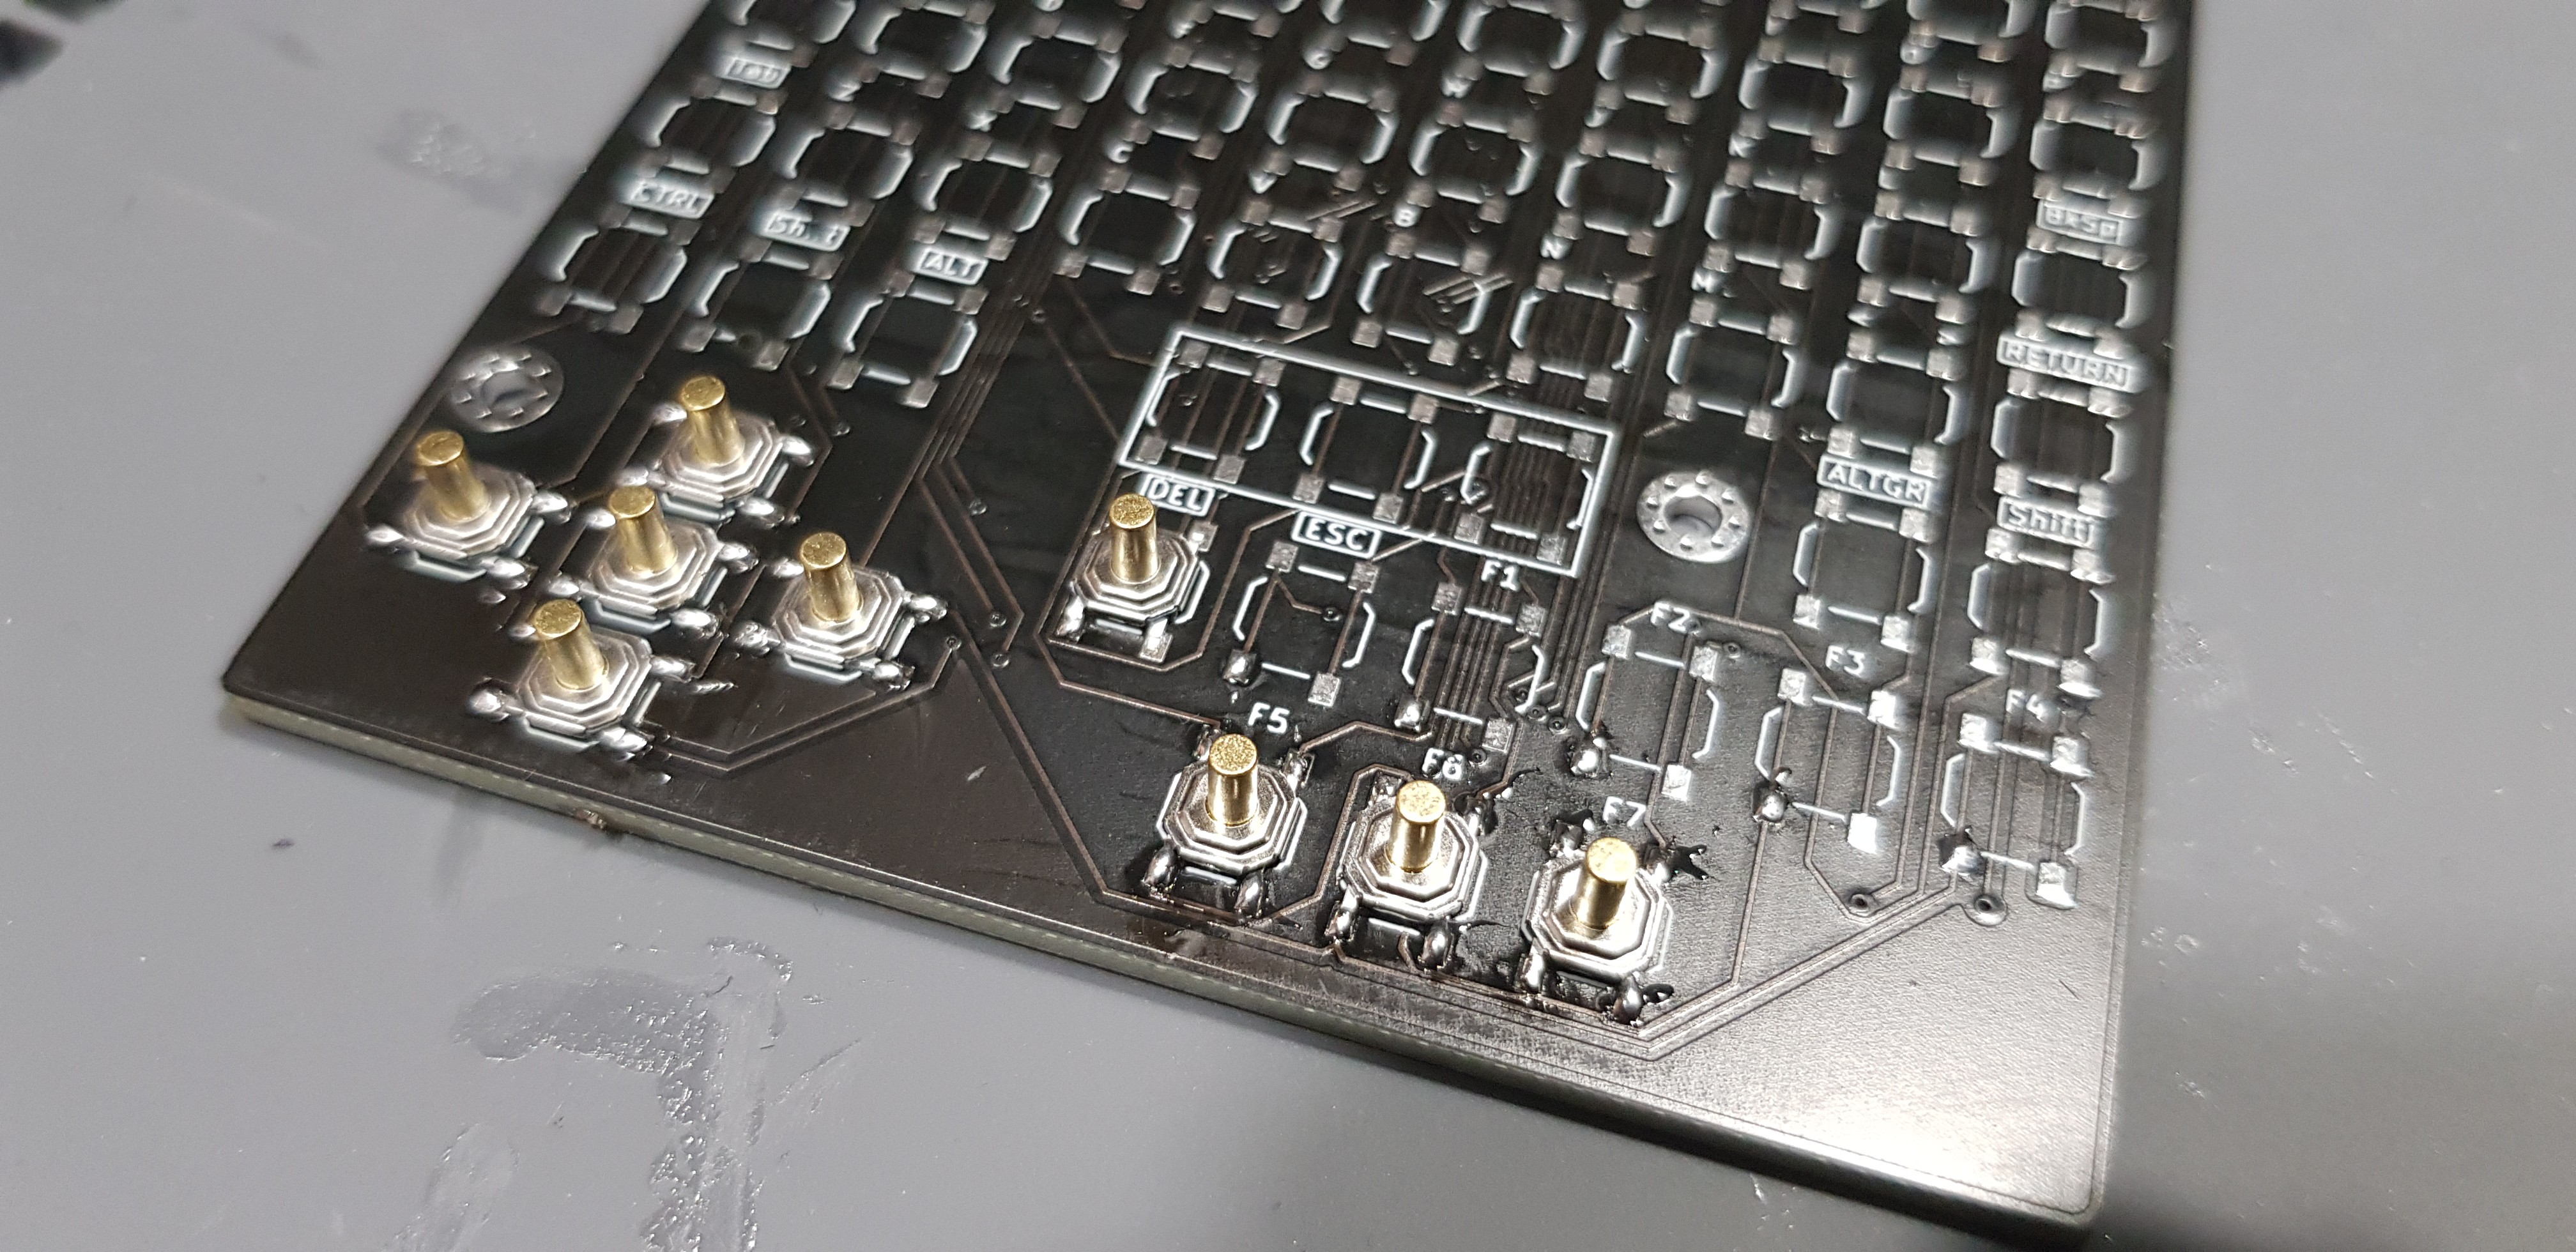
The tactile switches are very common ones: 5.2x5.2x5mm à 9mm, 4PIN SMT . We plan to design a sister PCB with AZERTY or QWERTY engraved/copper letters. This sister board will cover the main pcb in the switches area, to give a clean surface finished keyboard., only the top metal of the buttons protruding from the sister PCB plate.
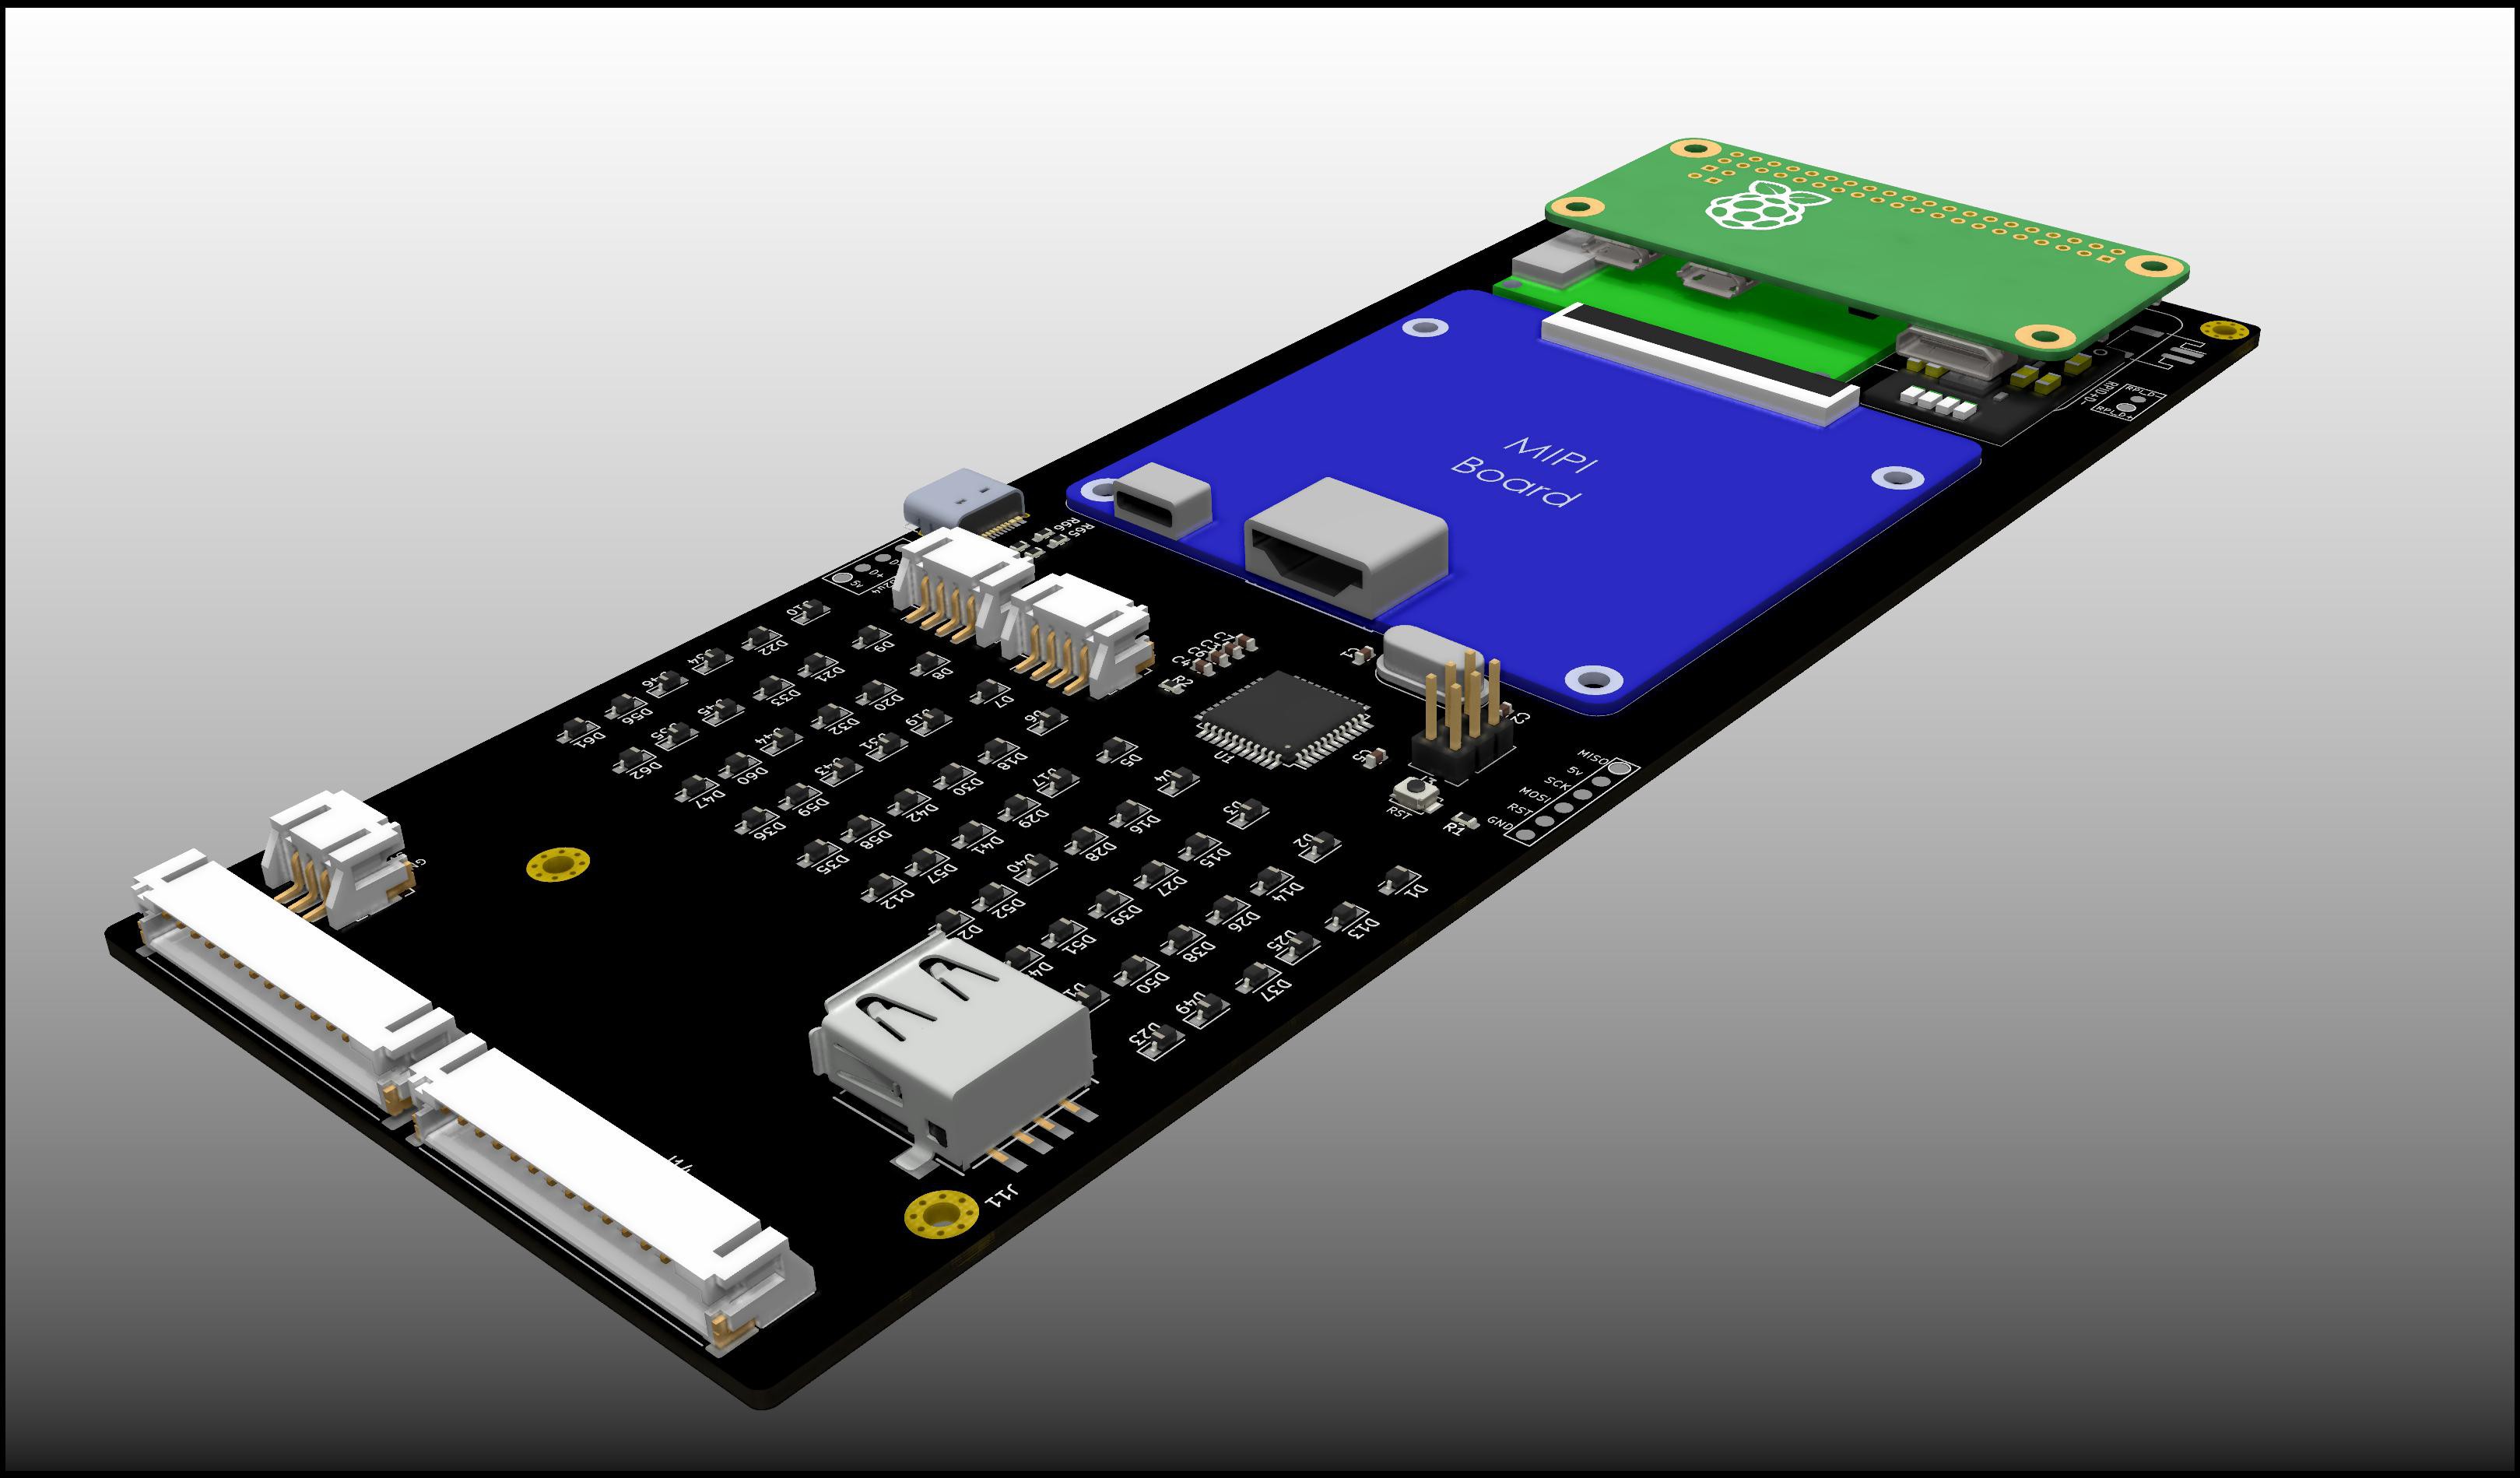
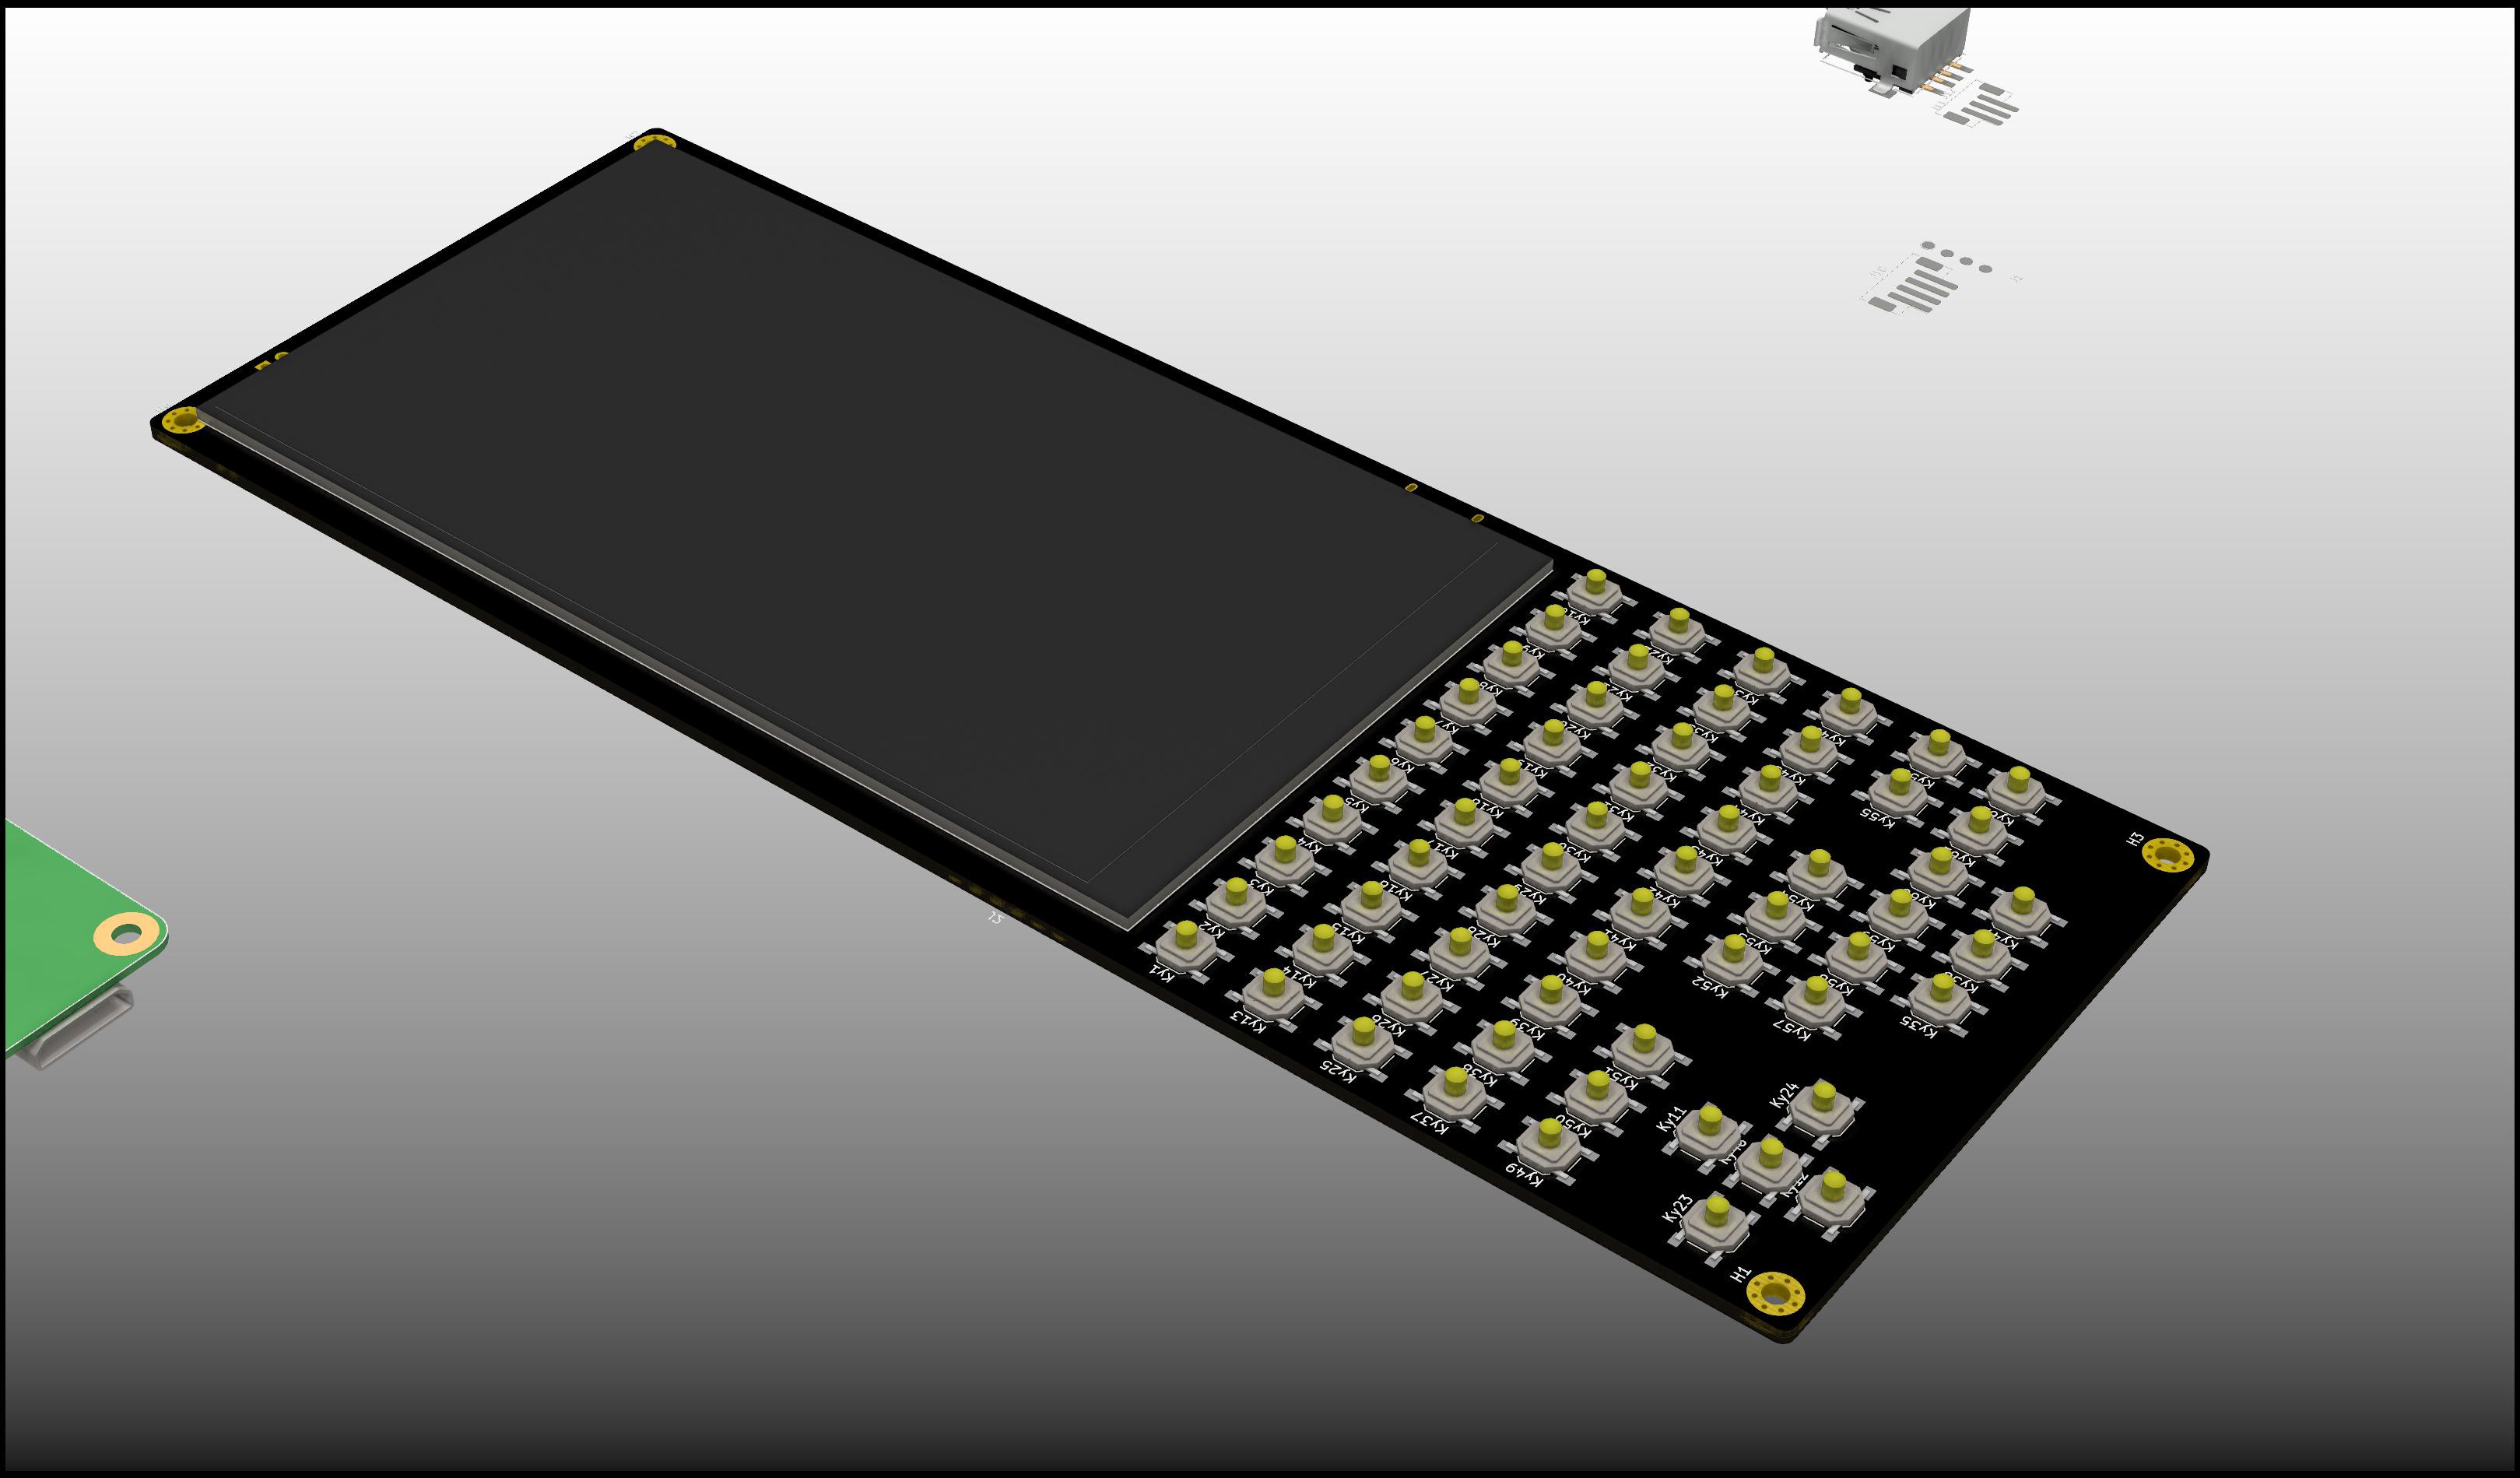
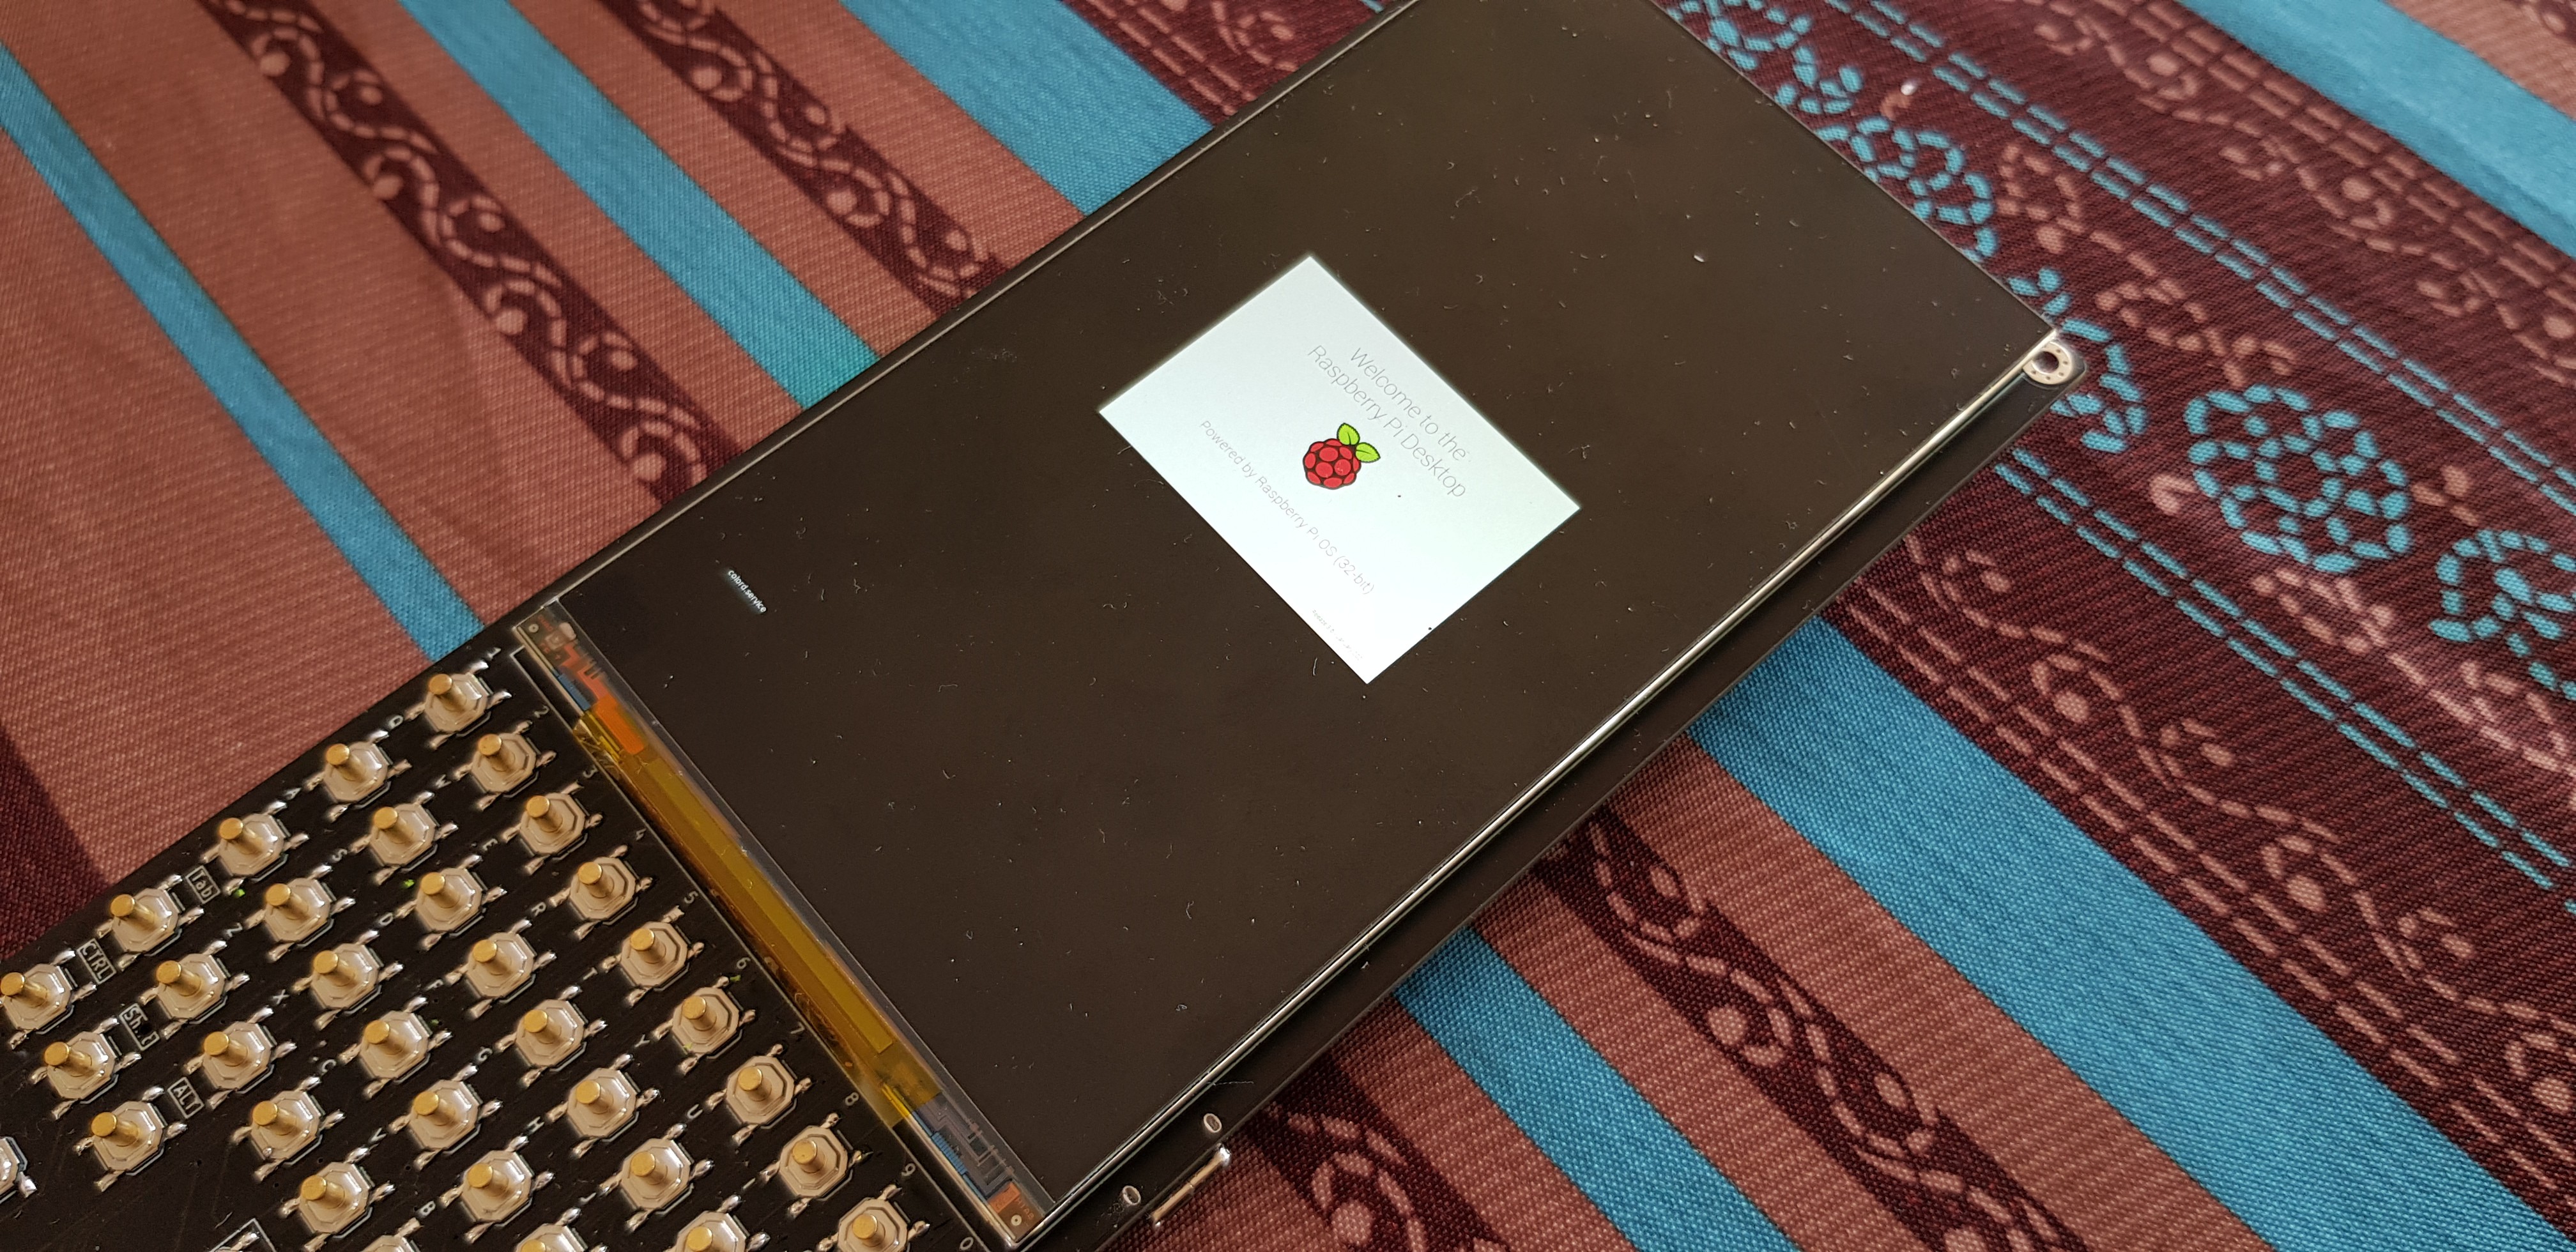
The final result
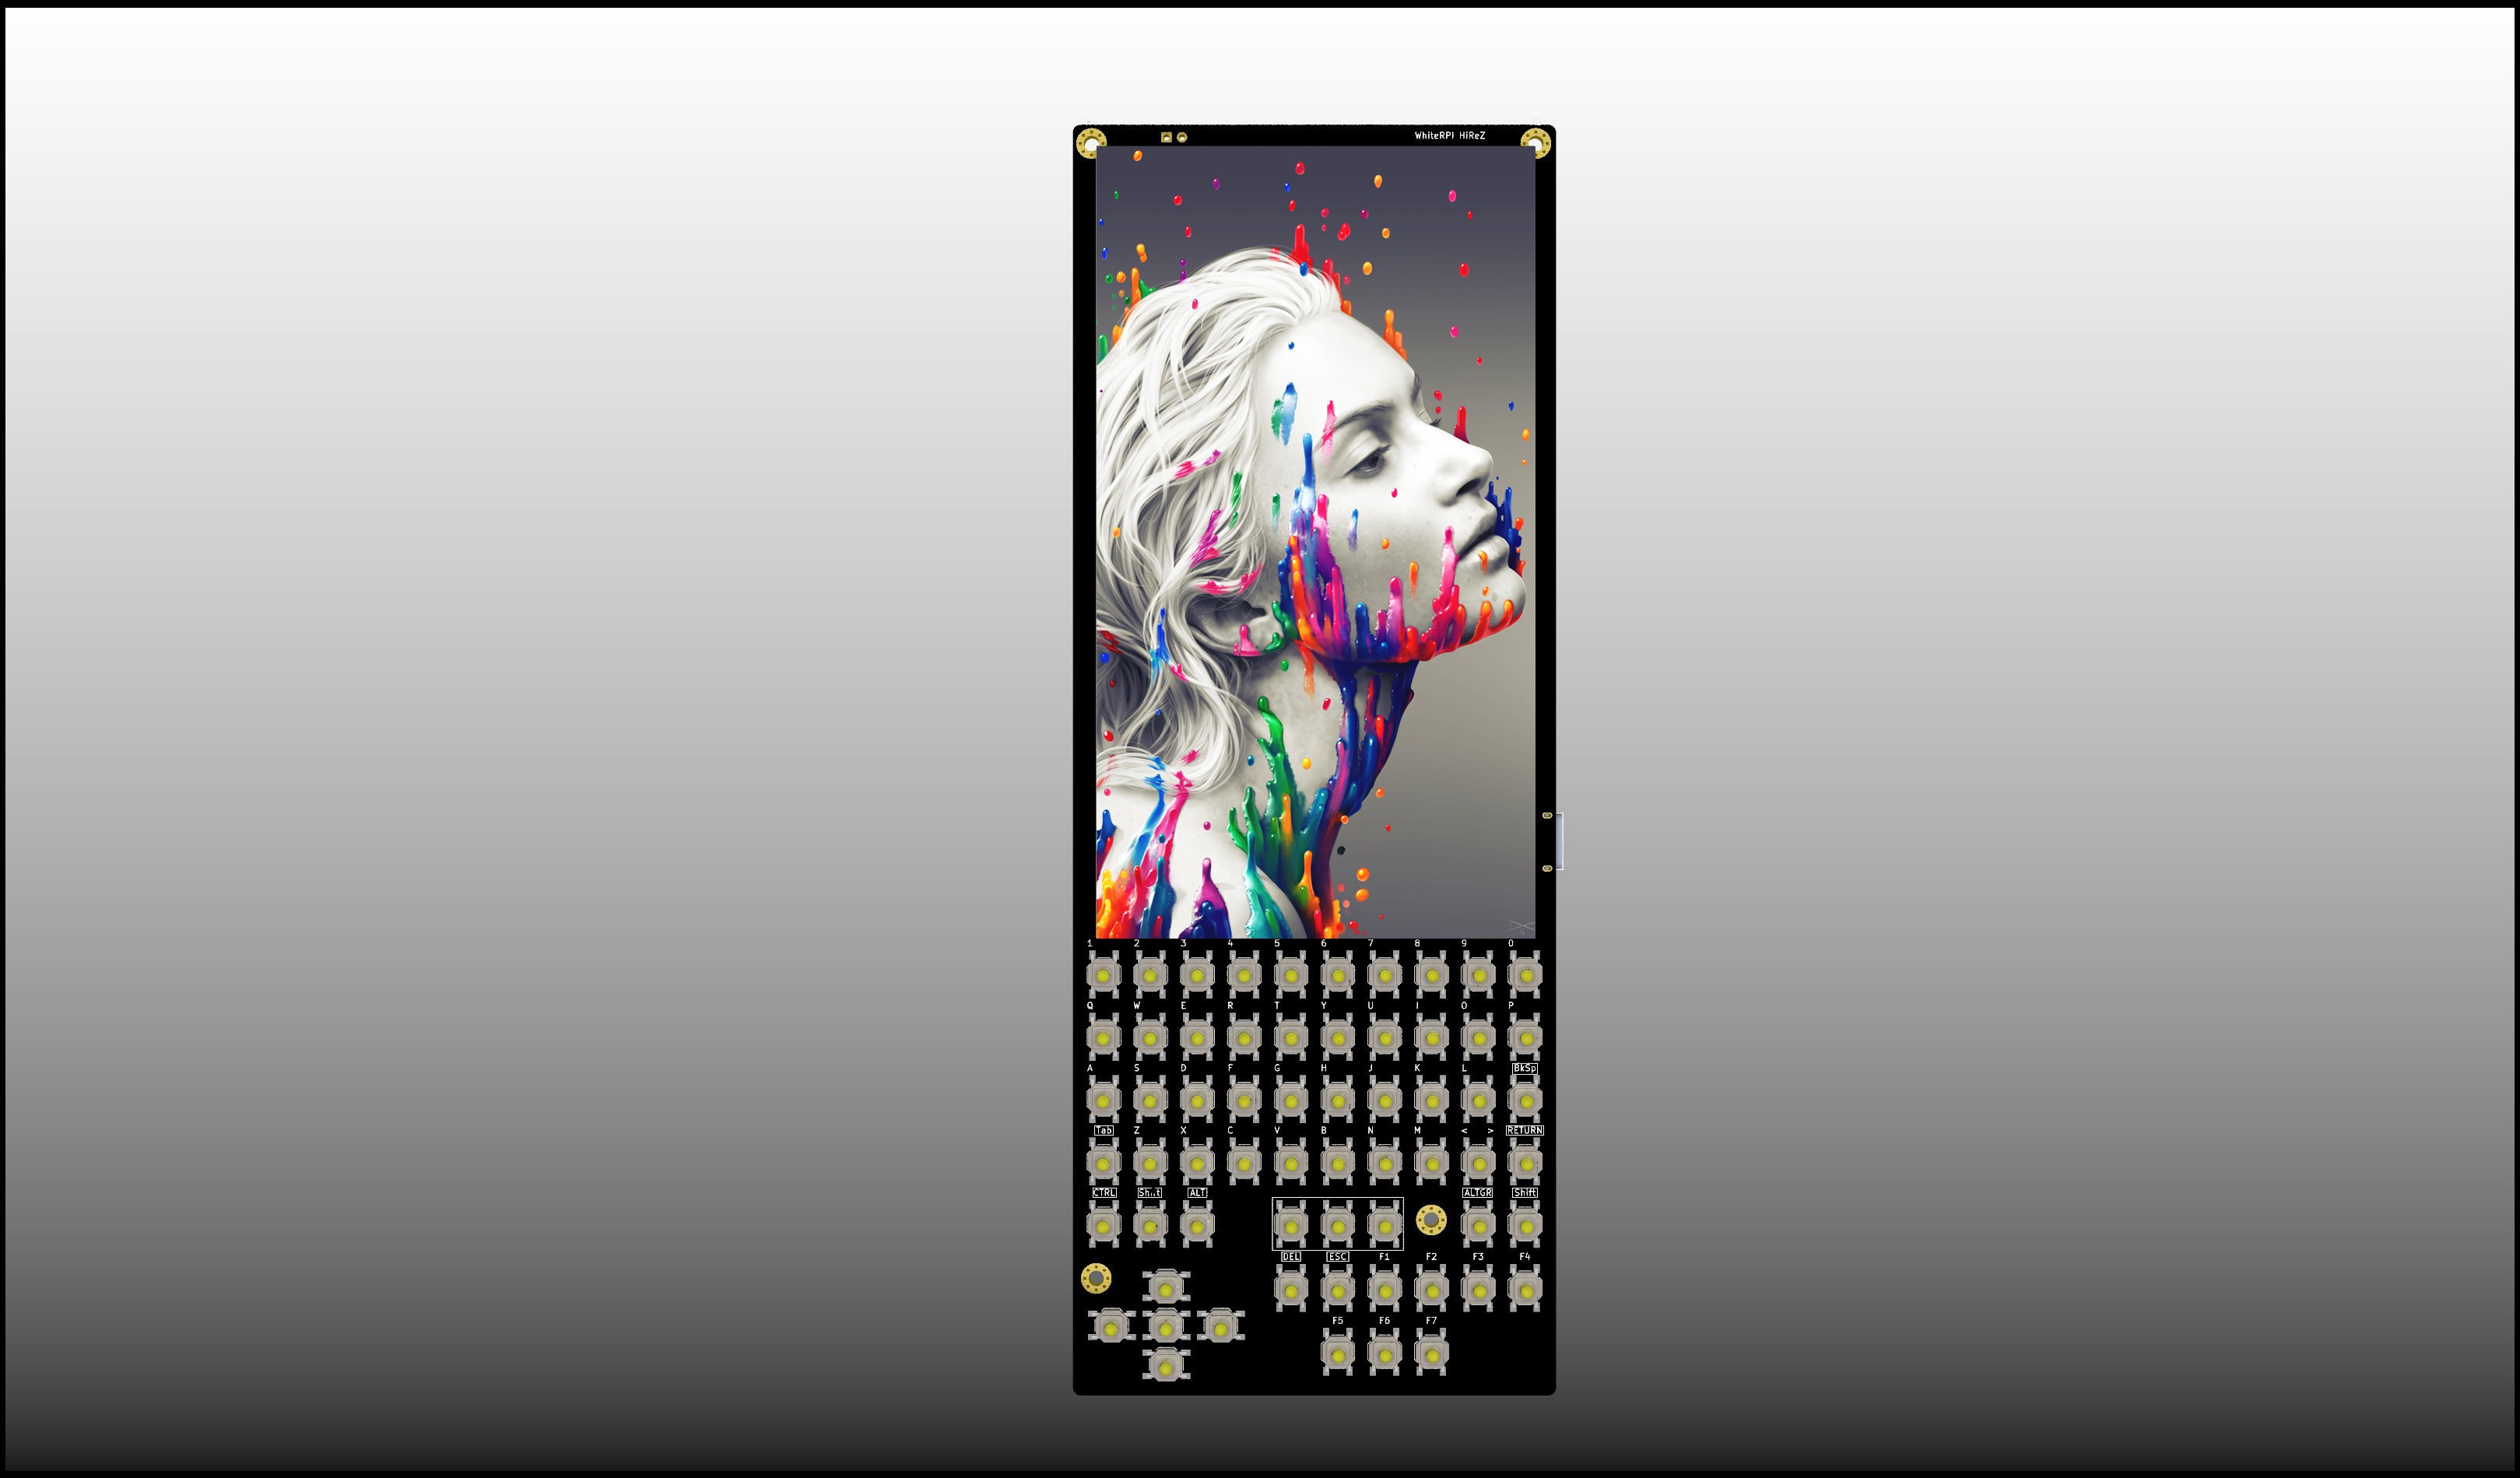
Here is the rendering of what is expected
You can follow us on twitter : @sulfuroid and @morpheans . The home of BlakRPI line of devices is available on www.blakrpi.com
There is also a FaceBook Group : PALM size RPI based standalone computers
 pcadic
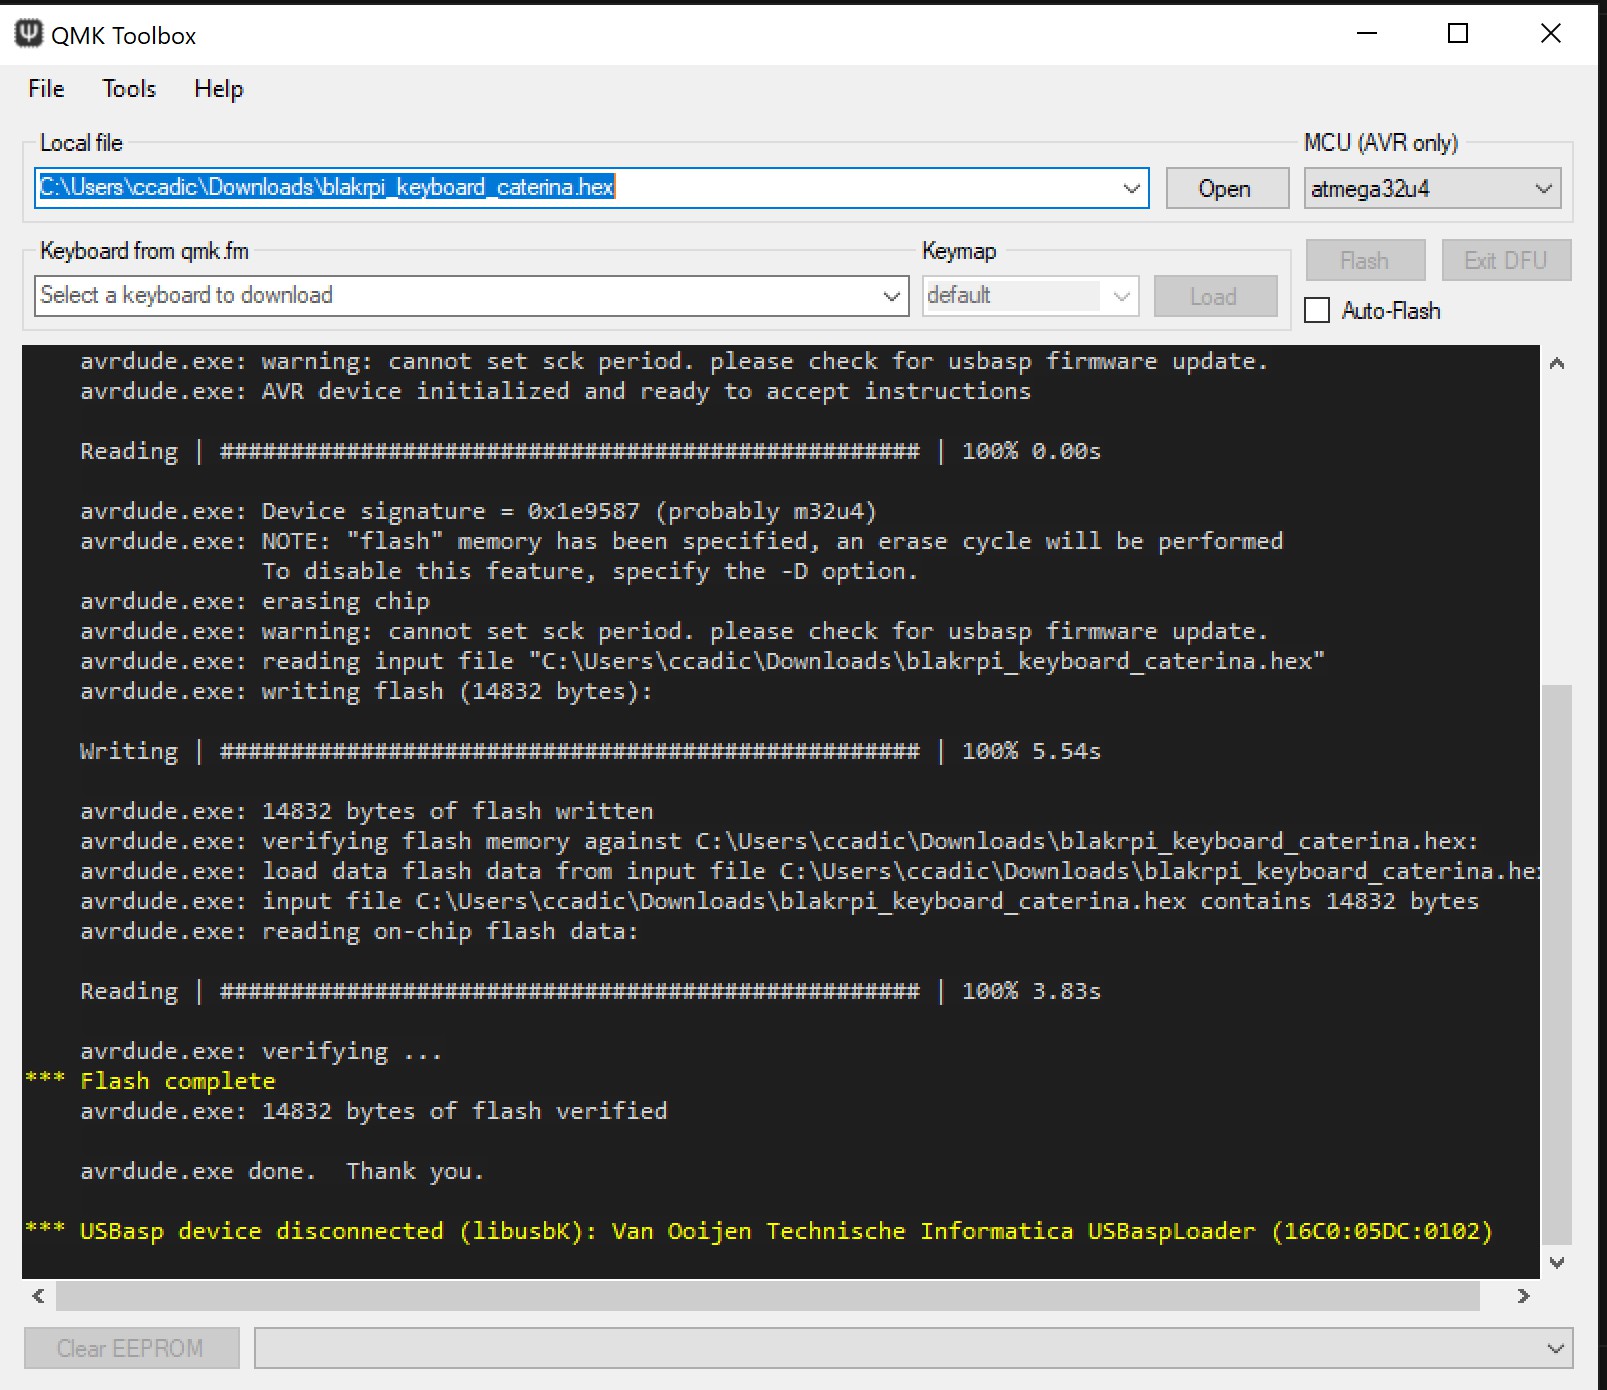
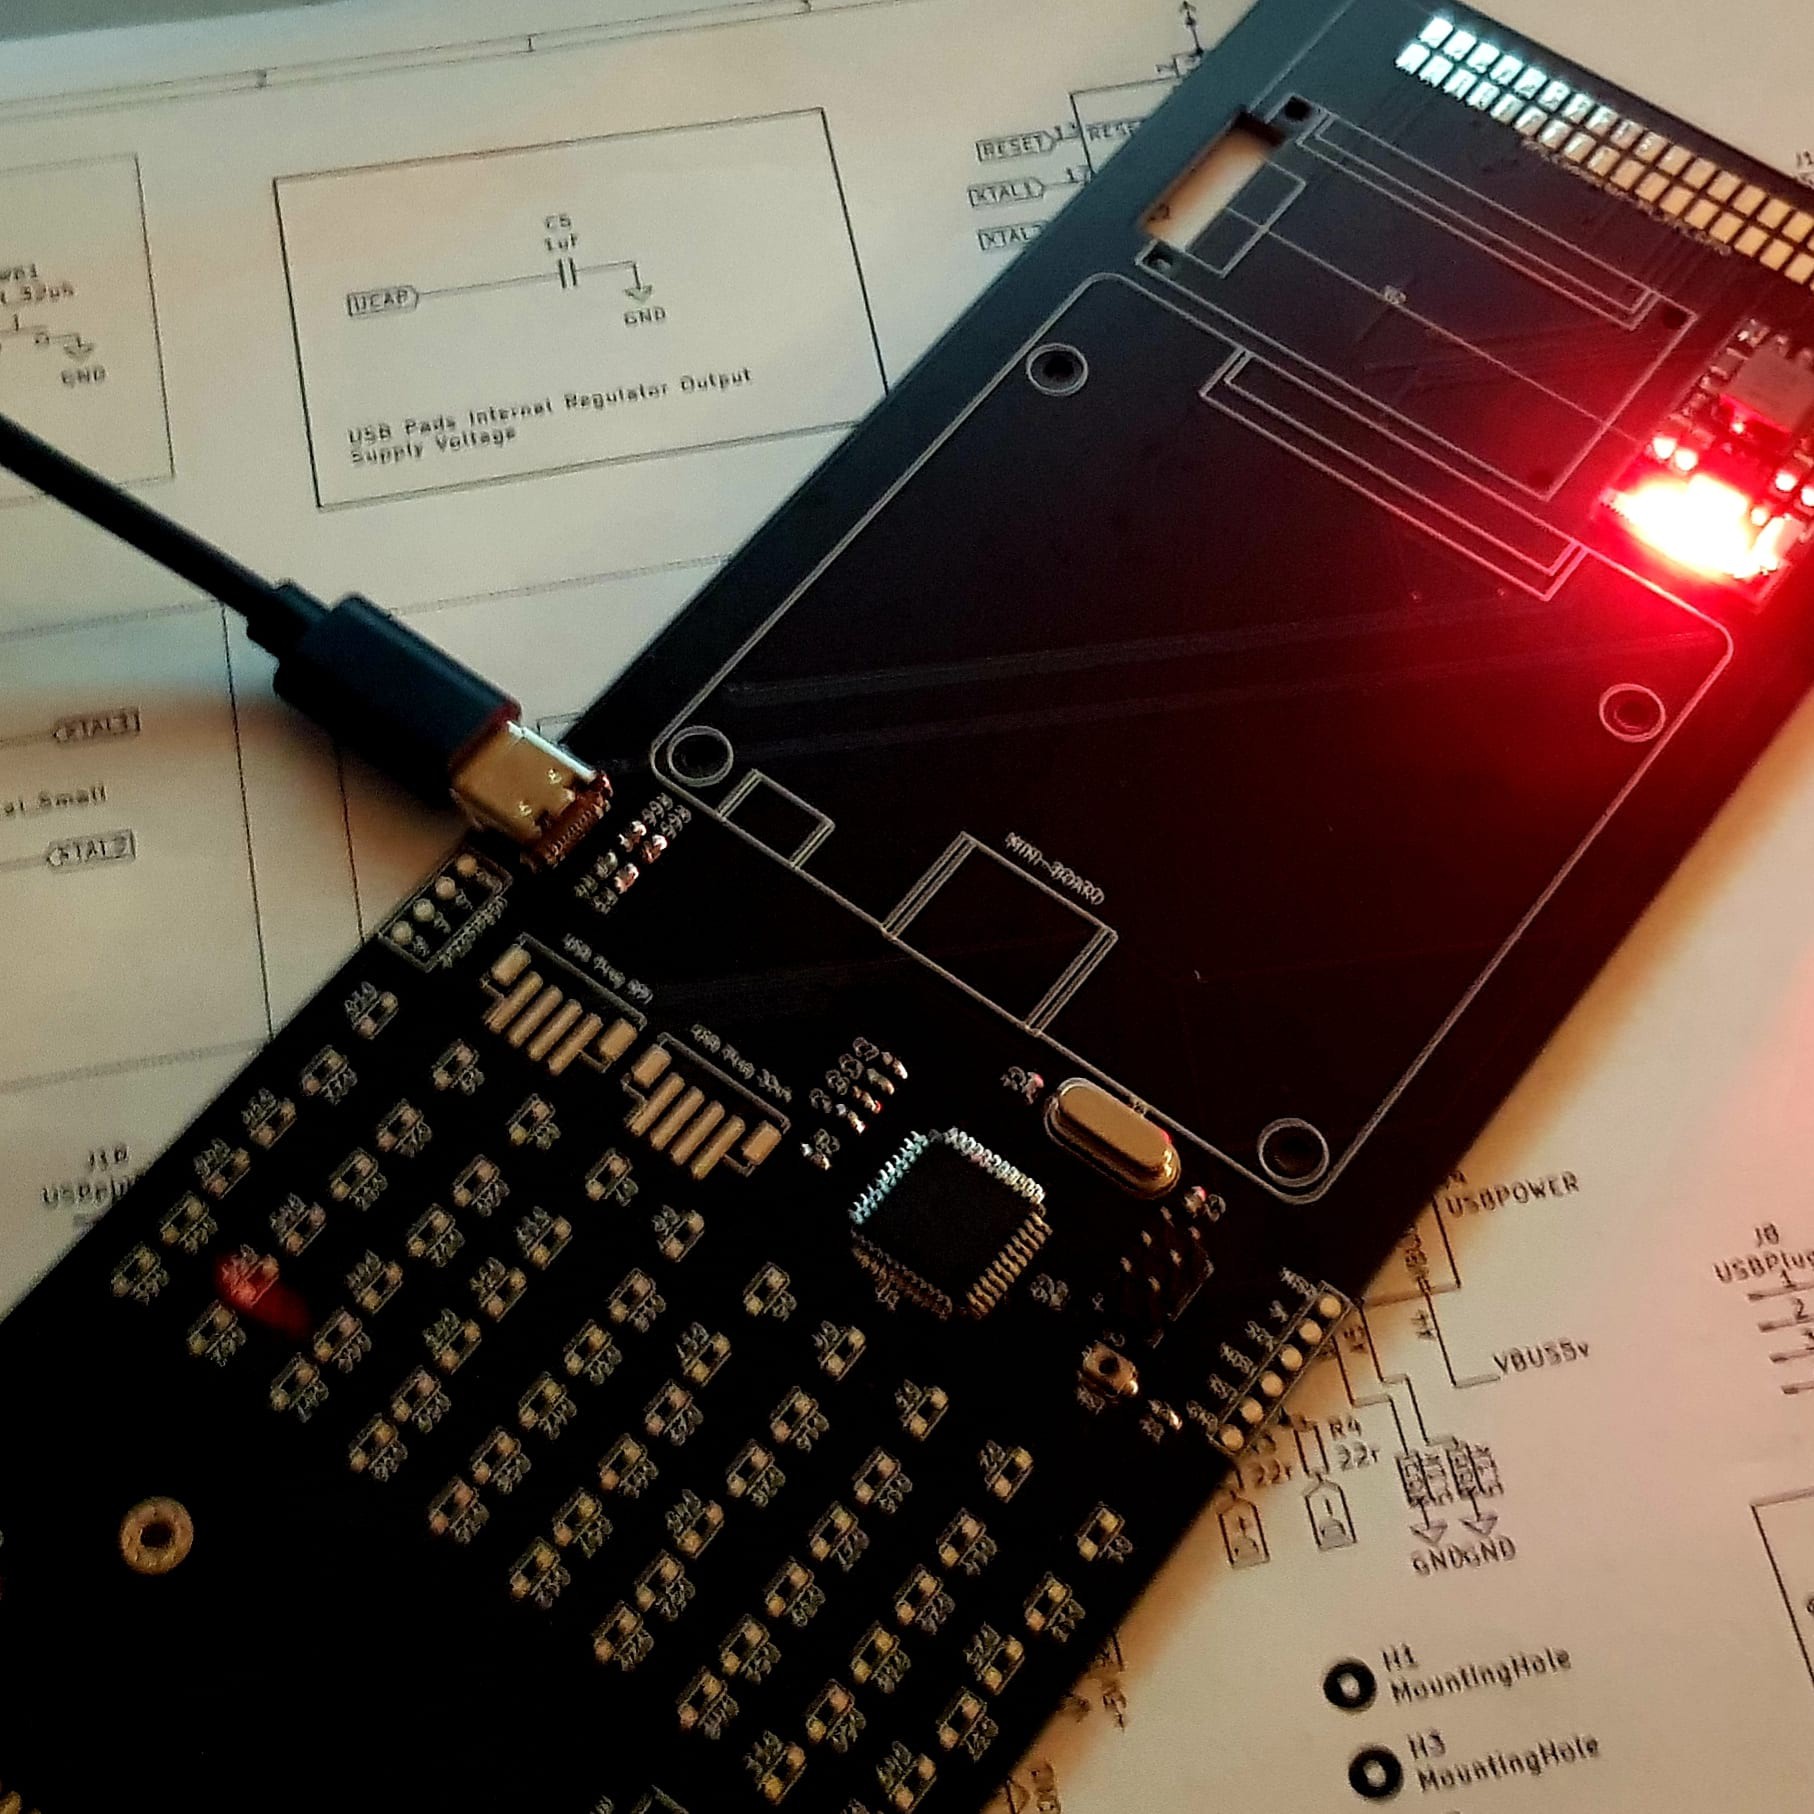
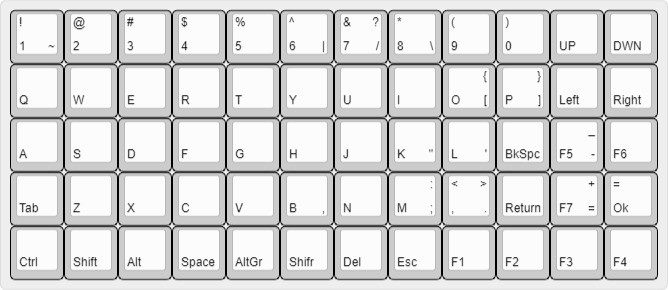
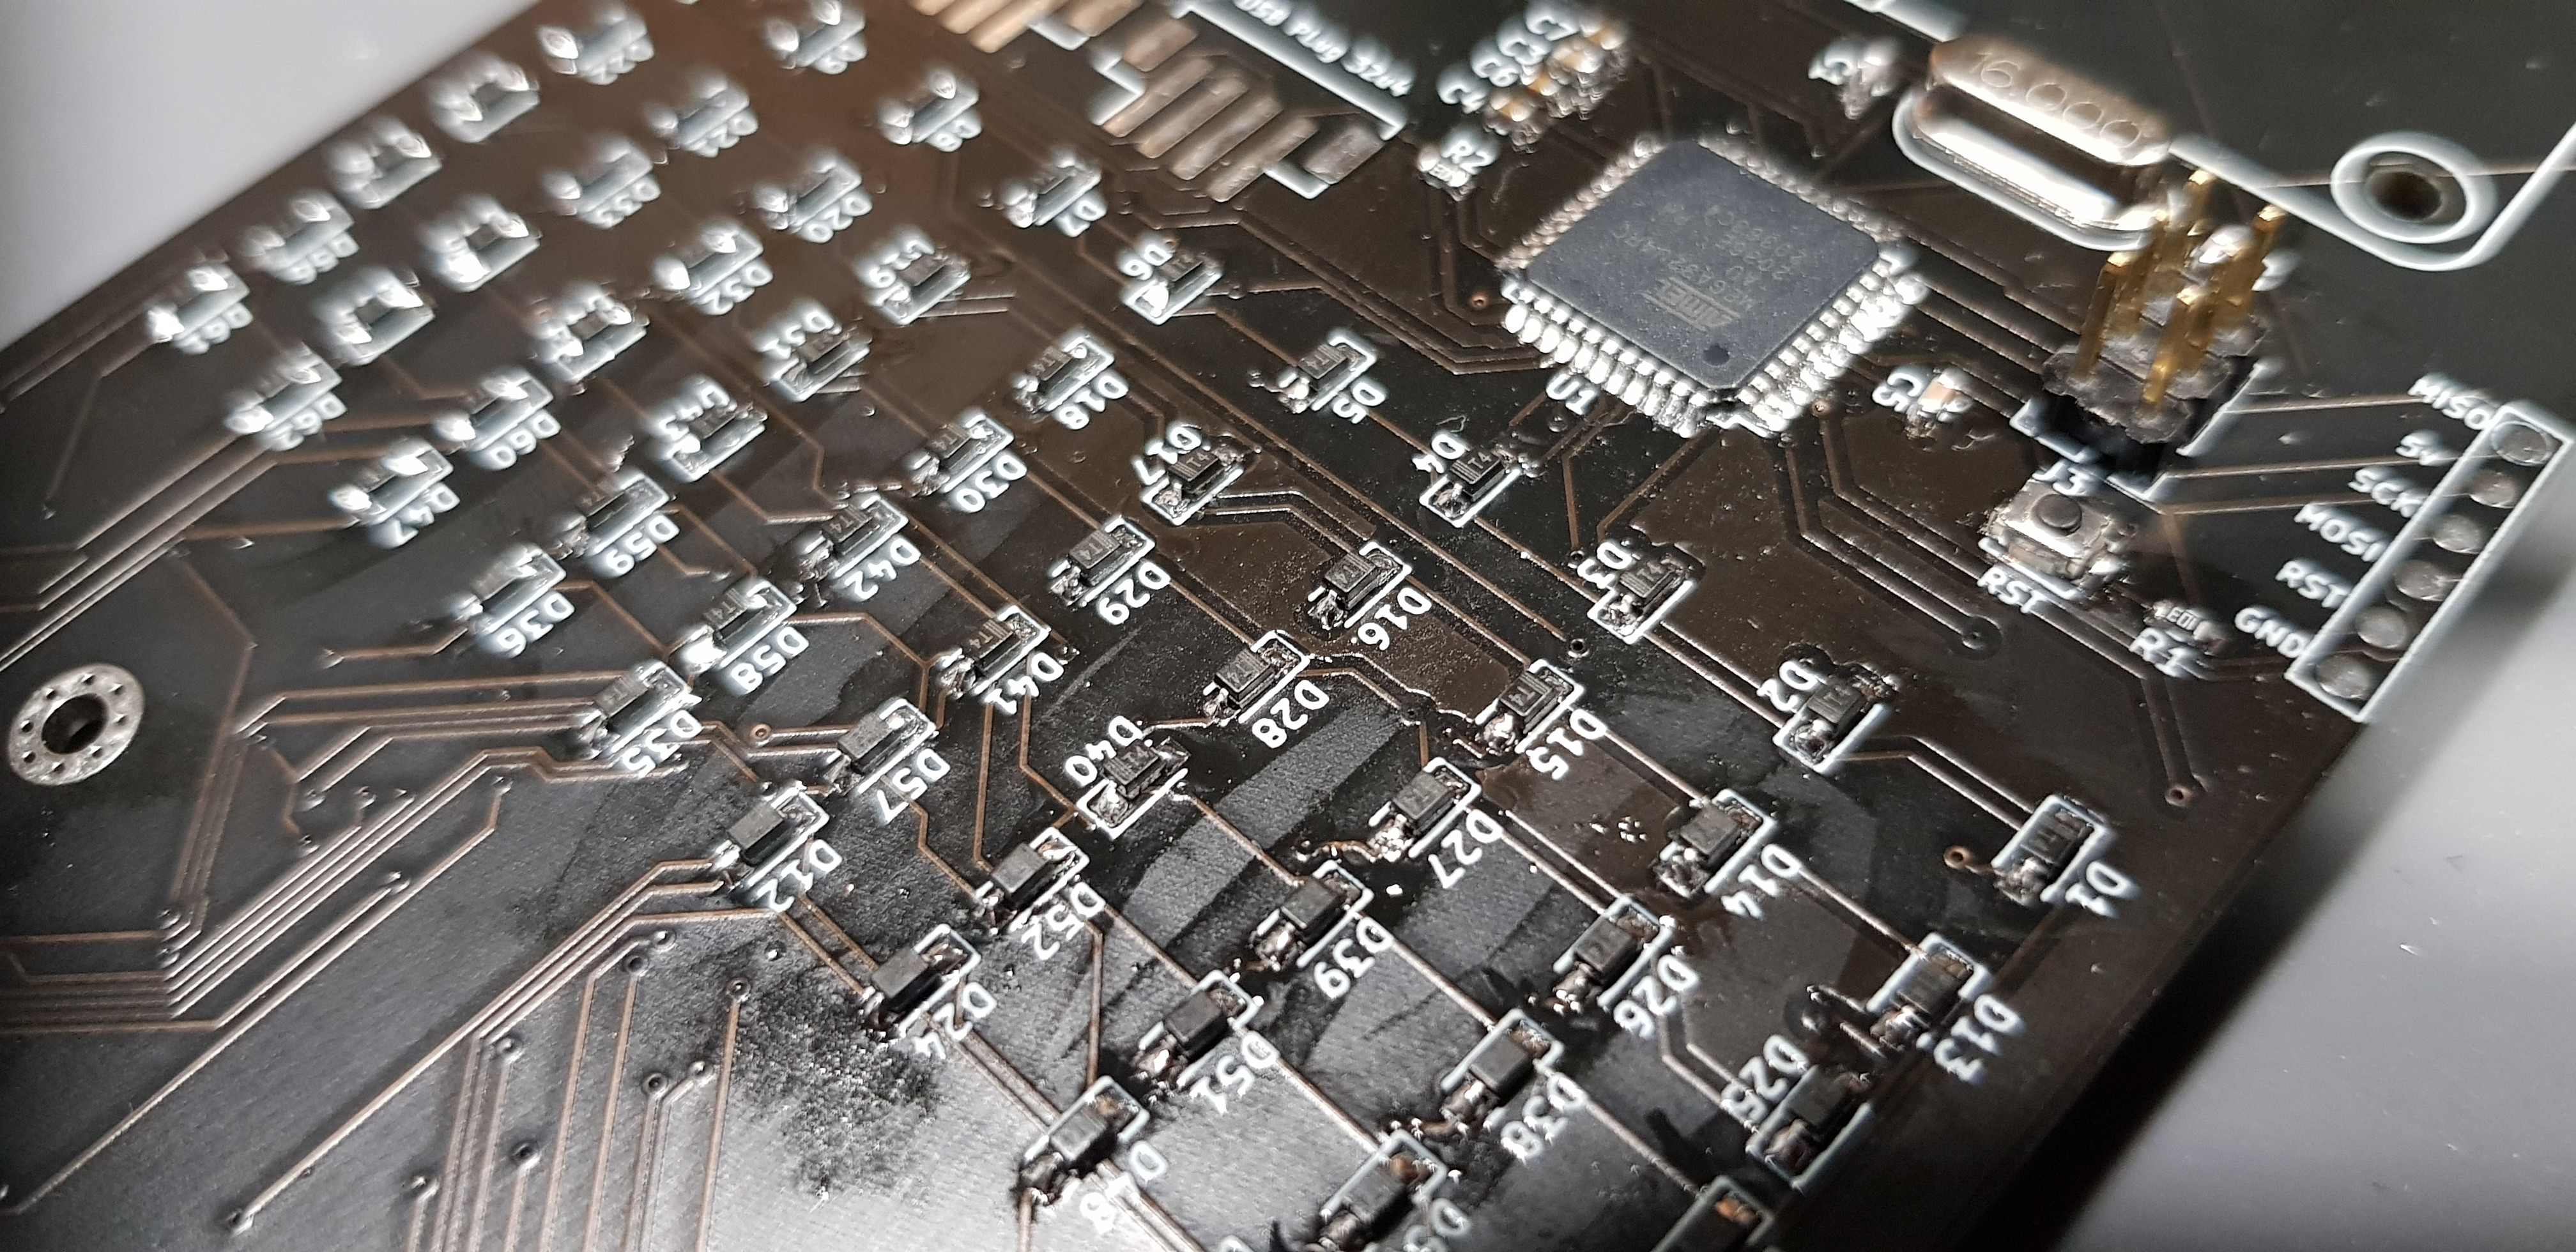 Now we are preparing the QMK config files . Installation of QMK was made under linux following this



Well, we are more than 3 years later now and all of his projects I followed are either just deleted or abandoned. Hope people did not lost too much money on his crowdfunding by not finishing products.