I’ve been spending most of my spare time working on my 68k system (check it out, it runs Linux now), but I haven’t forgotten about Herring. I’ve always loved the flexibility of the backplane for a system like this. Herring is a functioning 8-bit computer, but it’s really more of a playground for experimenting with hardware. It’s hard to beat the simplicity of the 8-bit interface and simple control logic.
Herring was the first homebrew computer project I’d ever gotten to a working state, but I’ve learned a few lessons since I started this project and I’d like to incorporate them into the next revision:
- 1x40 pin headers/sockets are too flimsy. Like many other 8-bit computer projects, I started with these single row headers because they’re easy to work with. The problem is that they’re not mechanically strong enough to hold up bigger cards. They work fine electrically, but I’ve never been happy with how shaky the whole thing feels with five or six cards installed.
- Bus design is hard. I’m not even talking about the electrical engineering problems, e.g. noise issues, signal integrity, or load on the drivers, but the logical layout. There’s a balance between having just enough pins defined to allow cards to communicate with each other and leaving room for flexibility in the future.
- Having small achievable goals is key for a project like this. Hobby projects have almost unlimited potential for scope creep. The first thing I do when I get something working is start dreaming up all of the cool stuff I can now do with this new feature. Fun, but not conducive to focus.
With that in mind, here’s what I’ve cooked up for Herring “v4” (the versioning on this project is not to be taken seriously).

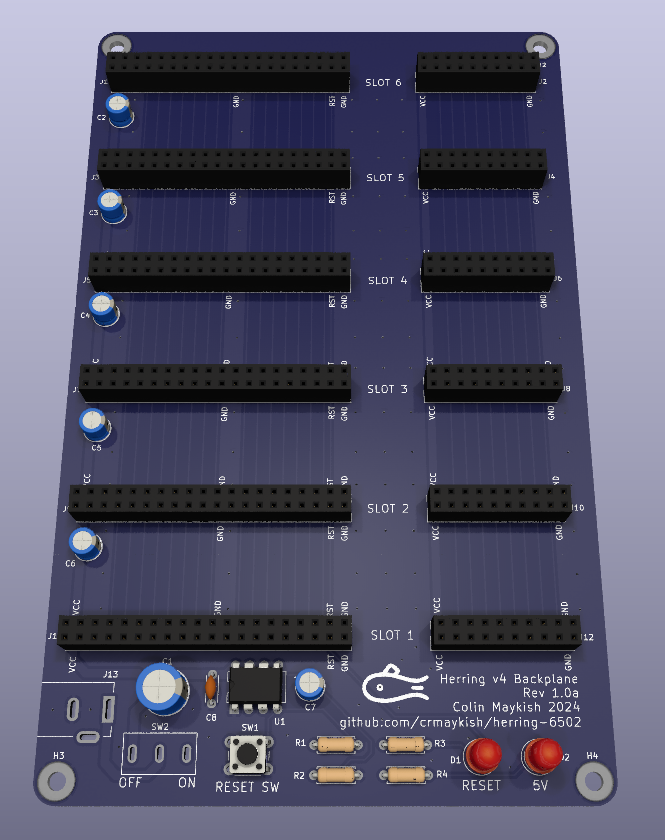
The new backplane uses 2-row pin sockets for extra stability and it has more power and ground lines spread throughout the bus. It purposely does not have any connectivity of its own, even the power input is not regulated on the board. The only thing the backplane is responsible for is the power-on reset generation with a 555. This means that the only fixed data line on the bus is the reset pin. I debated using two 2x20 sockets, but they don’t fit side-by-side in 100mm. 60 pins should be more than enough for an 8-bit system and keeping the PCB size under 100mm lowers the manufacturing cost (at least for the daughterboards).

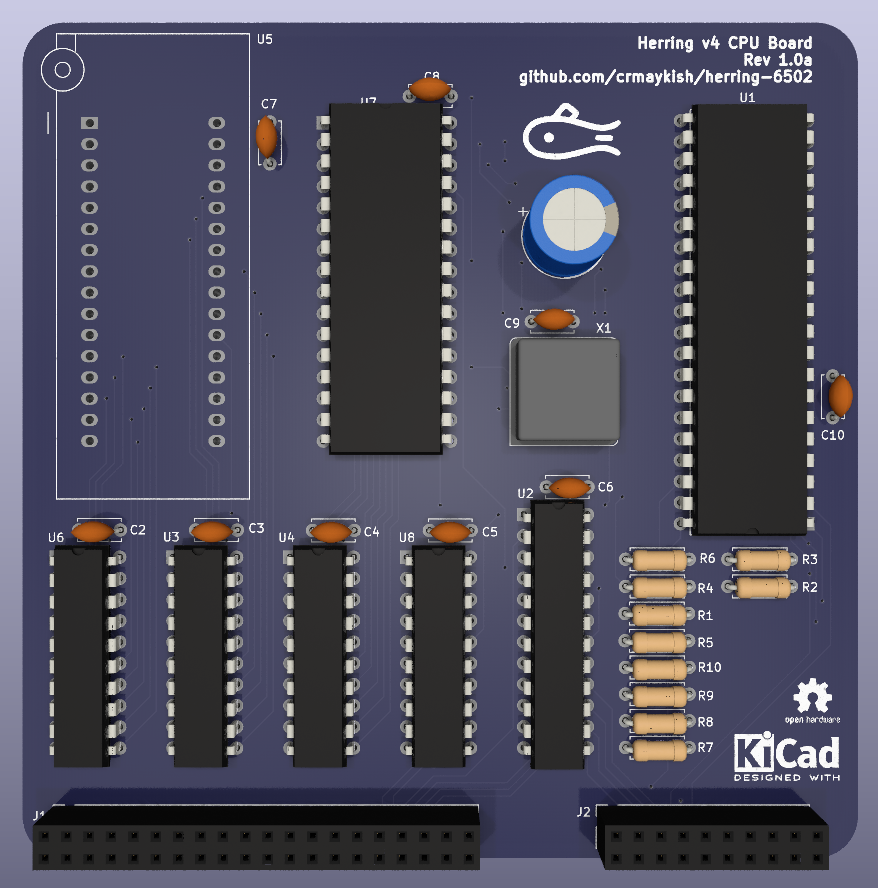
Modularity is great, but combining a few common components onto one board can really save some backplane slots. The CPU board here has the 6502, a 512KB Flash ROM, and a 512KB SRAM chip as well as a 22V10 PLD for glue logic and a handful of 74HC245 buffers to connect the CPU pins to the system bus.
The RAM and ROM chips were picked entirely for their speed rating and not their capacity. There is no memory banking implemented on this board. Only the first 8KB of ROM and the first 55.75 KB of the RAM are actually mapped into the CPU address space. This feels wasteful, but the 512KB ICs are both significantly cheaper and faster than their smaller counterparts. One of my goals for Herring is to run at the full 14 MHz rating of the WDC parts. Eventually I’d like to explore memory-banking, but that will come later (on a different board). This is my first time including buffers between the CPU and the backplane. I’m hoping this will help with speed and reliability as I add more load to the bus in the form of additional peripherals.

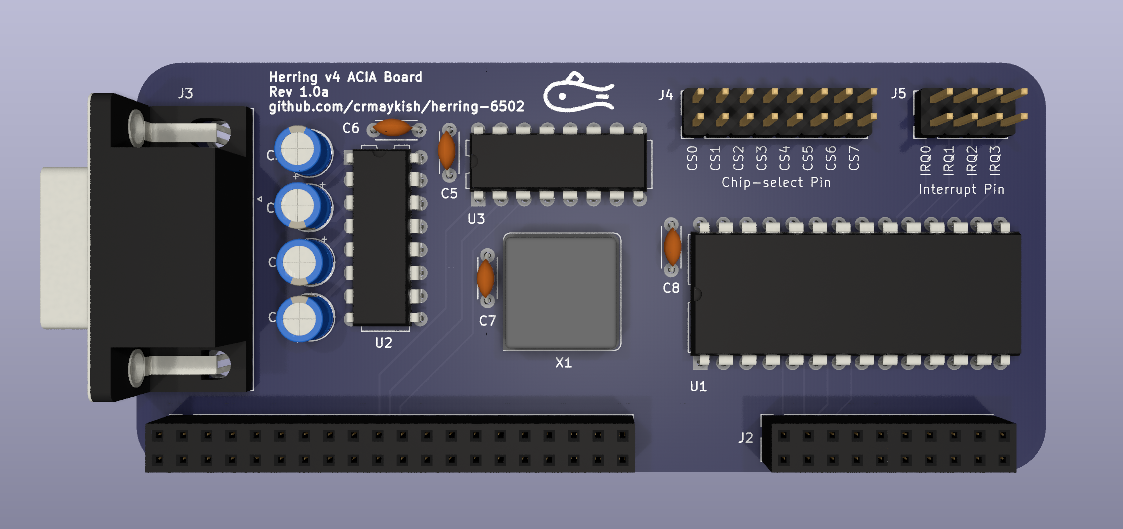
Finally, a work-in-progress, the ACIA board is a simple implementation of the 65C51 and a MAX232 line driver. I really don’t like the 65C51 (transmit bug, lack of GPIO, etc.) and I plan to replace it with something else, but it’s been well-tested on previous Herring hardware so I’m confident in the circuit design at least.
These three boards should be enough to bring Herring v4 up and put it through its paces. I’ll be cleaning them up and manufacturing the first batch soon. I’ve got a long list of goals and projects for Herring and I’d like to standardize on the v4 design before moving ahead with them.
 Colin M
Discussions
Become a Hackaday.io Member
Create an account to leave a comment. Already have an account? Log In.