How it looks?
The Programmable Overcurrent Protection device (POP) has two main parts in it, which are the base and the top section of the device. I would like to mount the device on a DIN rail, so I choose a mid size DIN housing for the project.
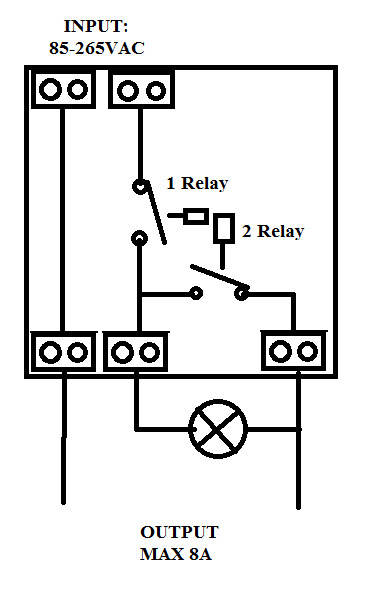
The base has all the high voltage electronic in it, like the relays, a current sensor and some power suppy electronic to supply the top part. I hade these parts just laying around, from some faulty circuit board. The relays a bit over kill (250VAC 25A) for what they do, but it was free at least.

The current sensor can measure 25A if you use only one turn on it (using all the legs), but in my case I did not needed to measure that much current, so I wired it with three turn around it. With this move I can have three times more precision and can measure 8A.
Drivers for the relays I choose some used mosfets from a dead PC graphic card.
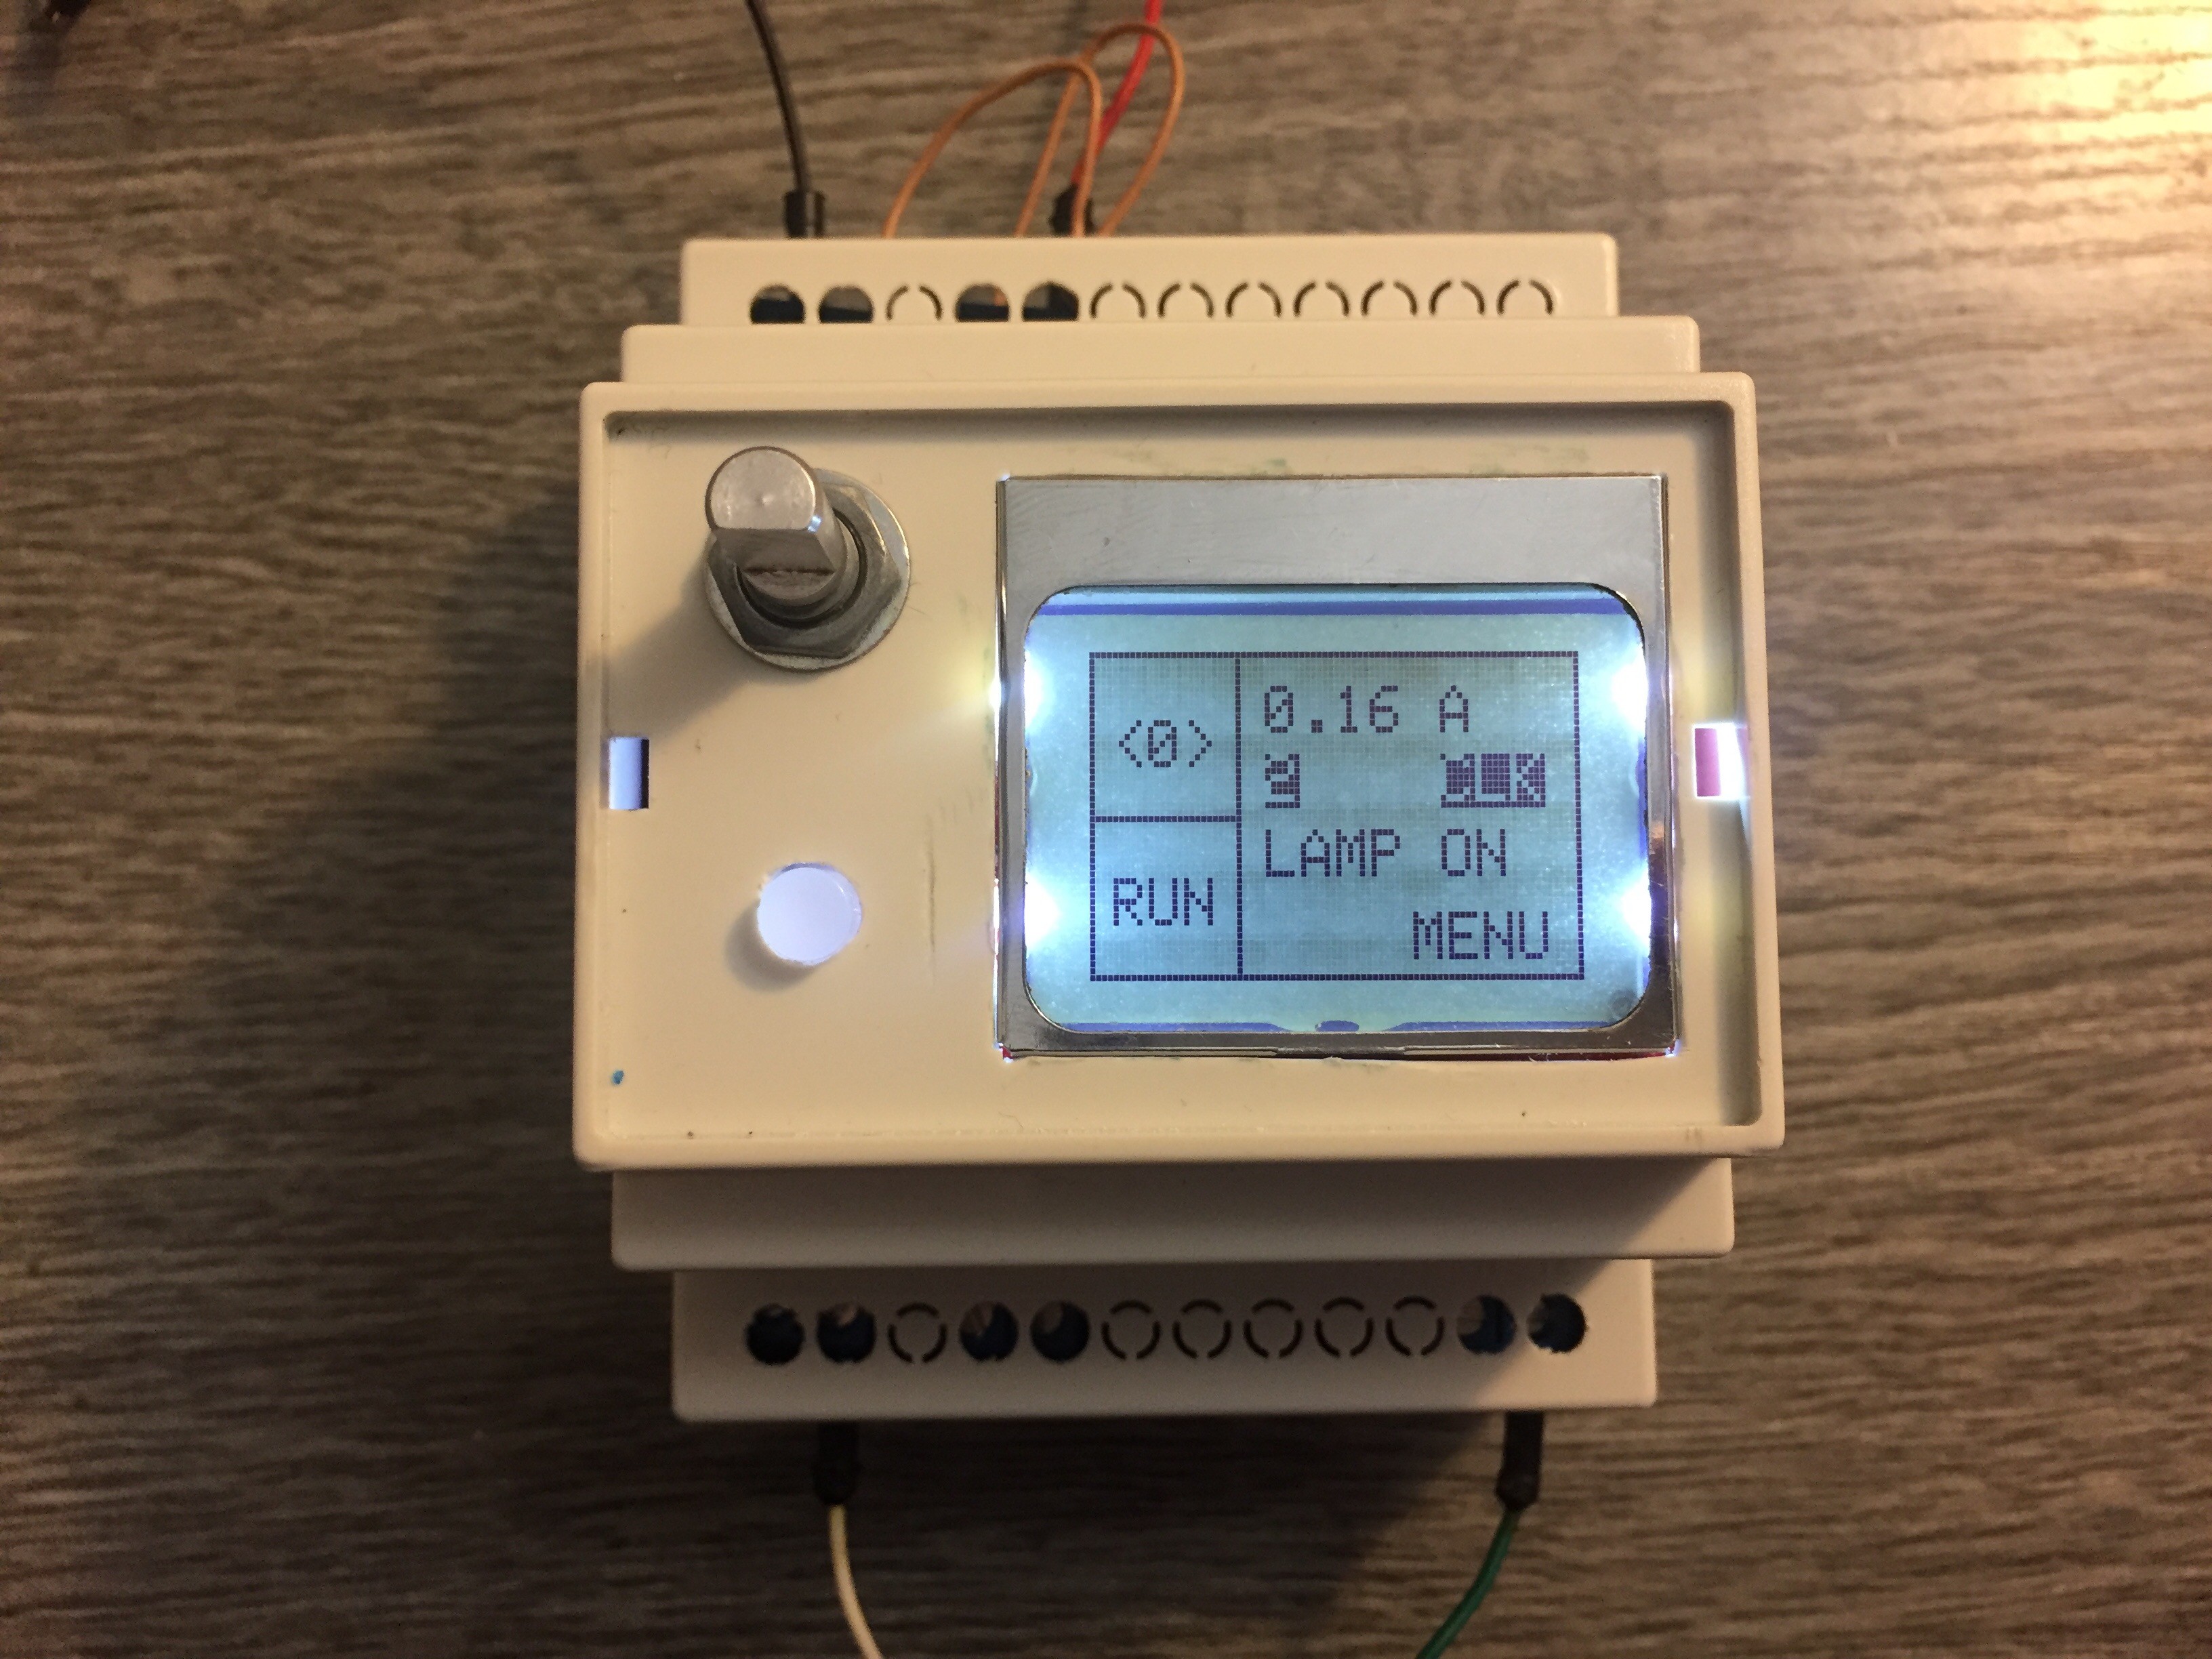
The top has the logical components, like the display, an arduino pro mini, a rotary encoder and a button with a built in LED.
The display is a simple Nokia 5510 LCD, which is the easiest to program, and it has enough pixels to display a lot of stuff, but not that much to slow down the AVR too much. The pro mini is just handling it very well.
I choose a rotary encode, because it has the smalest form factor to do menu system with it.
How I gonna use it:

How it is works?
I way it is works, you have main voltage (230V) to the input and you have to connect a 100W lamp as on the picture and aftre all done you can put your test device to the output.
You can set the current limit, where you would like to switch off the power. After below that, (CLK) where you can set after how many cicle has to be above the current the current limit to switch off the output. If the CLK value is a low number, you get like a fast fuse, if the CLK value is a higher number you get a slow fuse function. The slow function can be used if you have big capacitant in your test device and it starting with high current.
In the main screen you can set if you wanna use the Lamp in the start, but you not. If you wanna turn on your power on the output, you have to press the button below the encoder. The button start flashing and because of safety reasons you have to press it again, to turn on the power. On the Measure screen you can see all informations what you have to know when it is in operation. The Lamp can only turn off when you on the measure screen, so when you think it is safe now to put all the power to your repaired device, you just simply push the encoder button and it is turn off the Lamp for you.
I have to say it is in the early stage and it is absolutely not perfect yet, but I am working on the hardwer and the software to. It not tested yet with main voltage, but very soon I would like to test it, and see if POP is works fine, or not.
