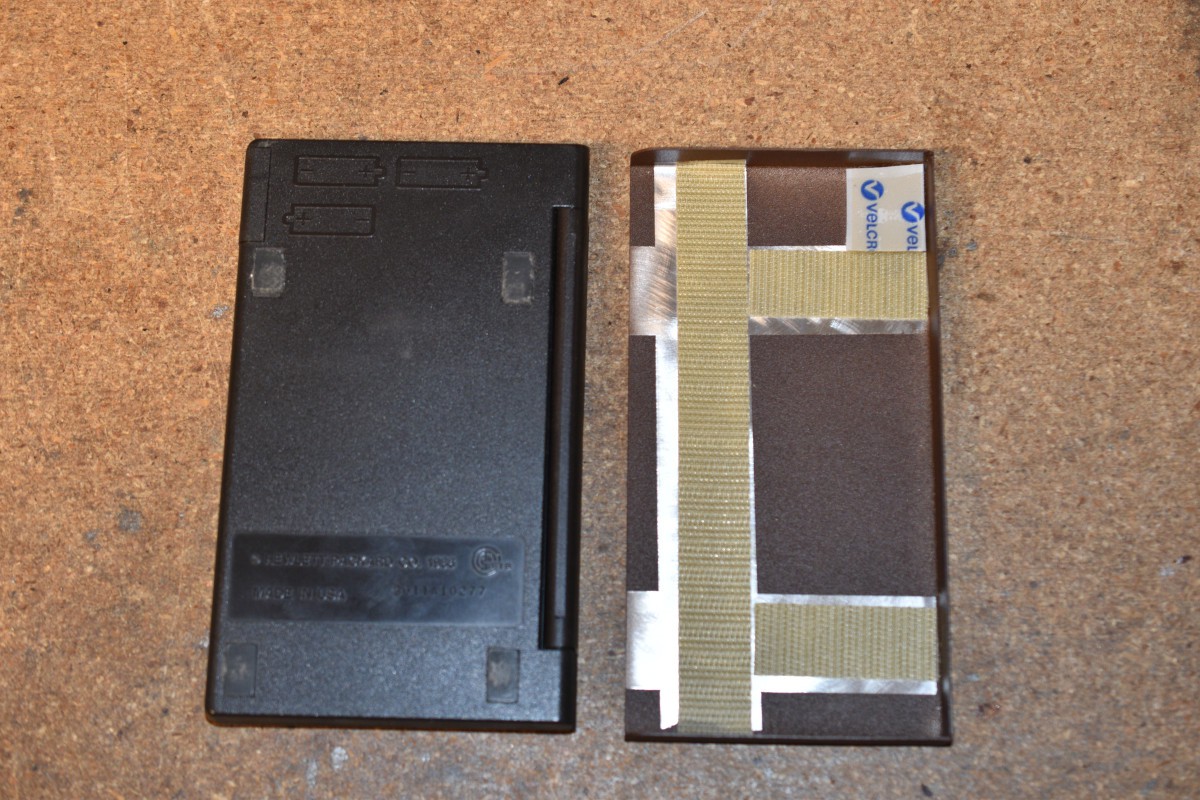
Shown below is a view of the back side of the calculator and the inside of the tray and the hook and loop fastening tape on both.
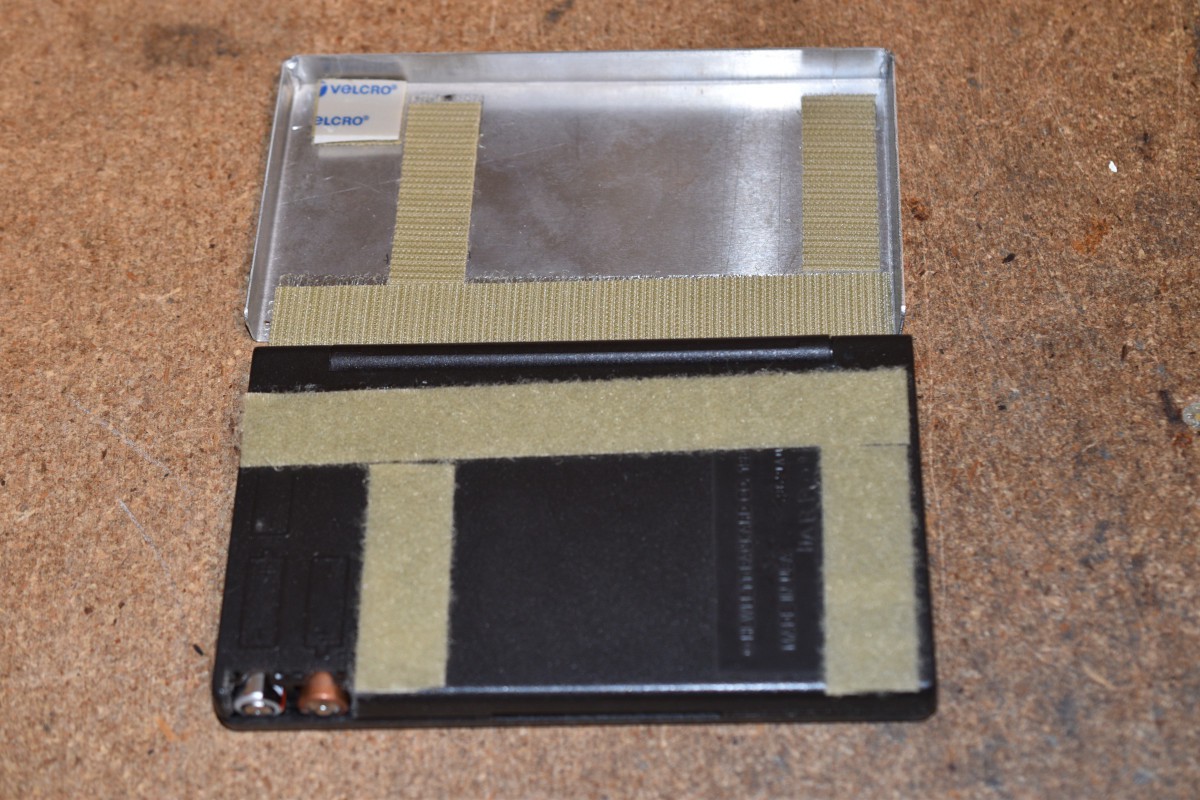
The extra bit of tape up in the upper left corner of the tray serves as a spacer to support the battery door without any adhesive exposed on the calculator surface.
The original mechanical drawing for this project was probably penciled on the back side of a receipt from my local metal vendor, and is nowhere to be found. Since I don't have a mechanical drawing of the original tray, I drew a new drawing and fabricated a tray from the drawing to check the dimensions. The tray is made from 0.030" 5052 aluminum. It probably could be made from 6061, but 5052 bends better and welds better.
The 0.475 height dimension of the side walls is based on the 0.130" thick hook and loop double sided tape that I used to attach the calculator to the tray. If the hook and loop tape that you use is a different thickness (including both the hook and the loop tape mated together), you should adjust the 0.475 dimension accordingly.
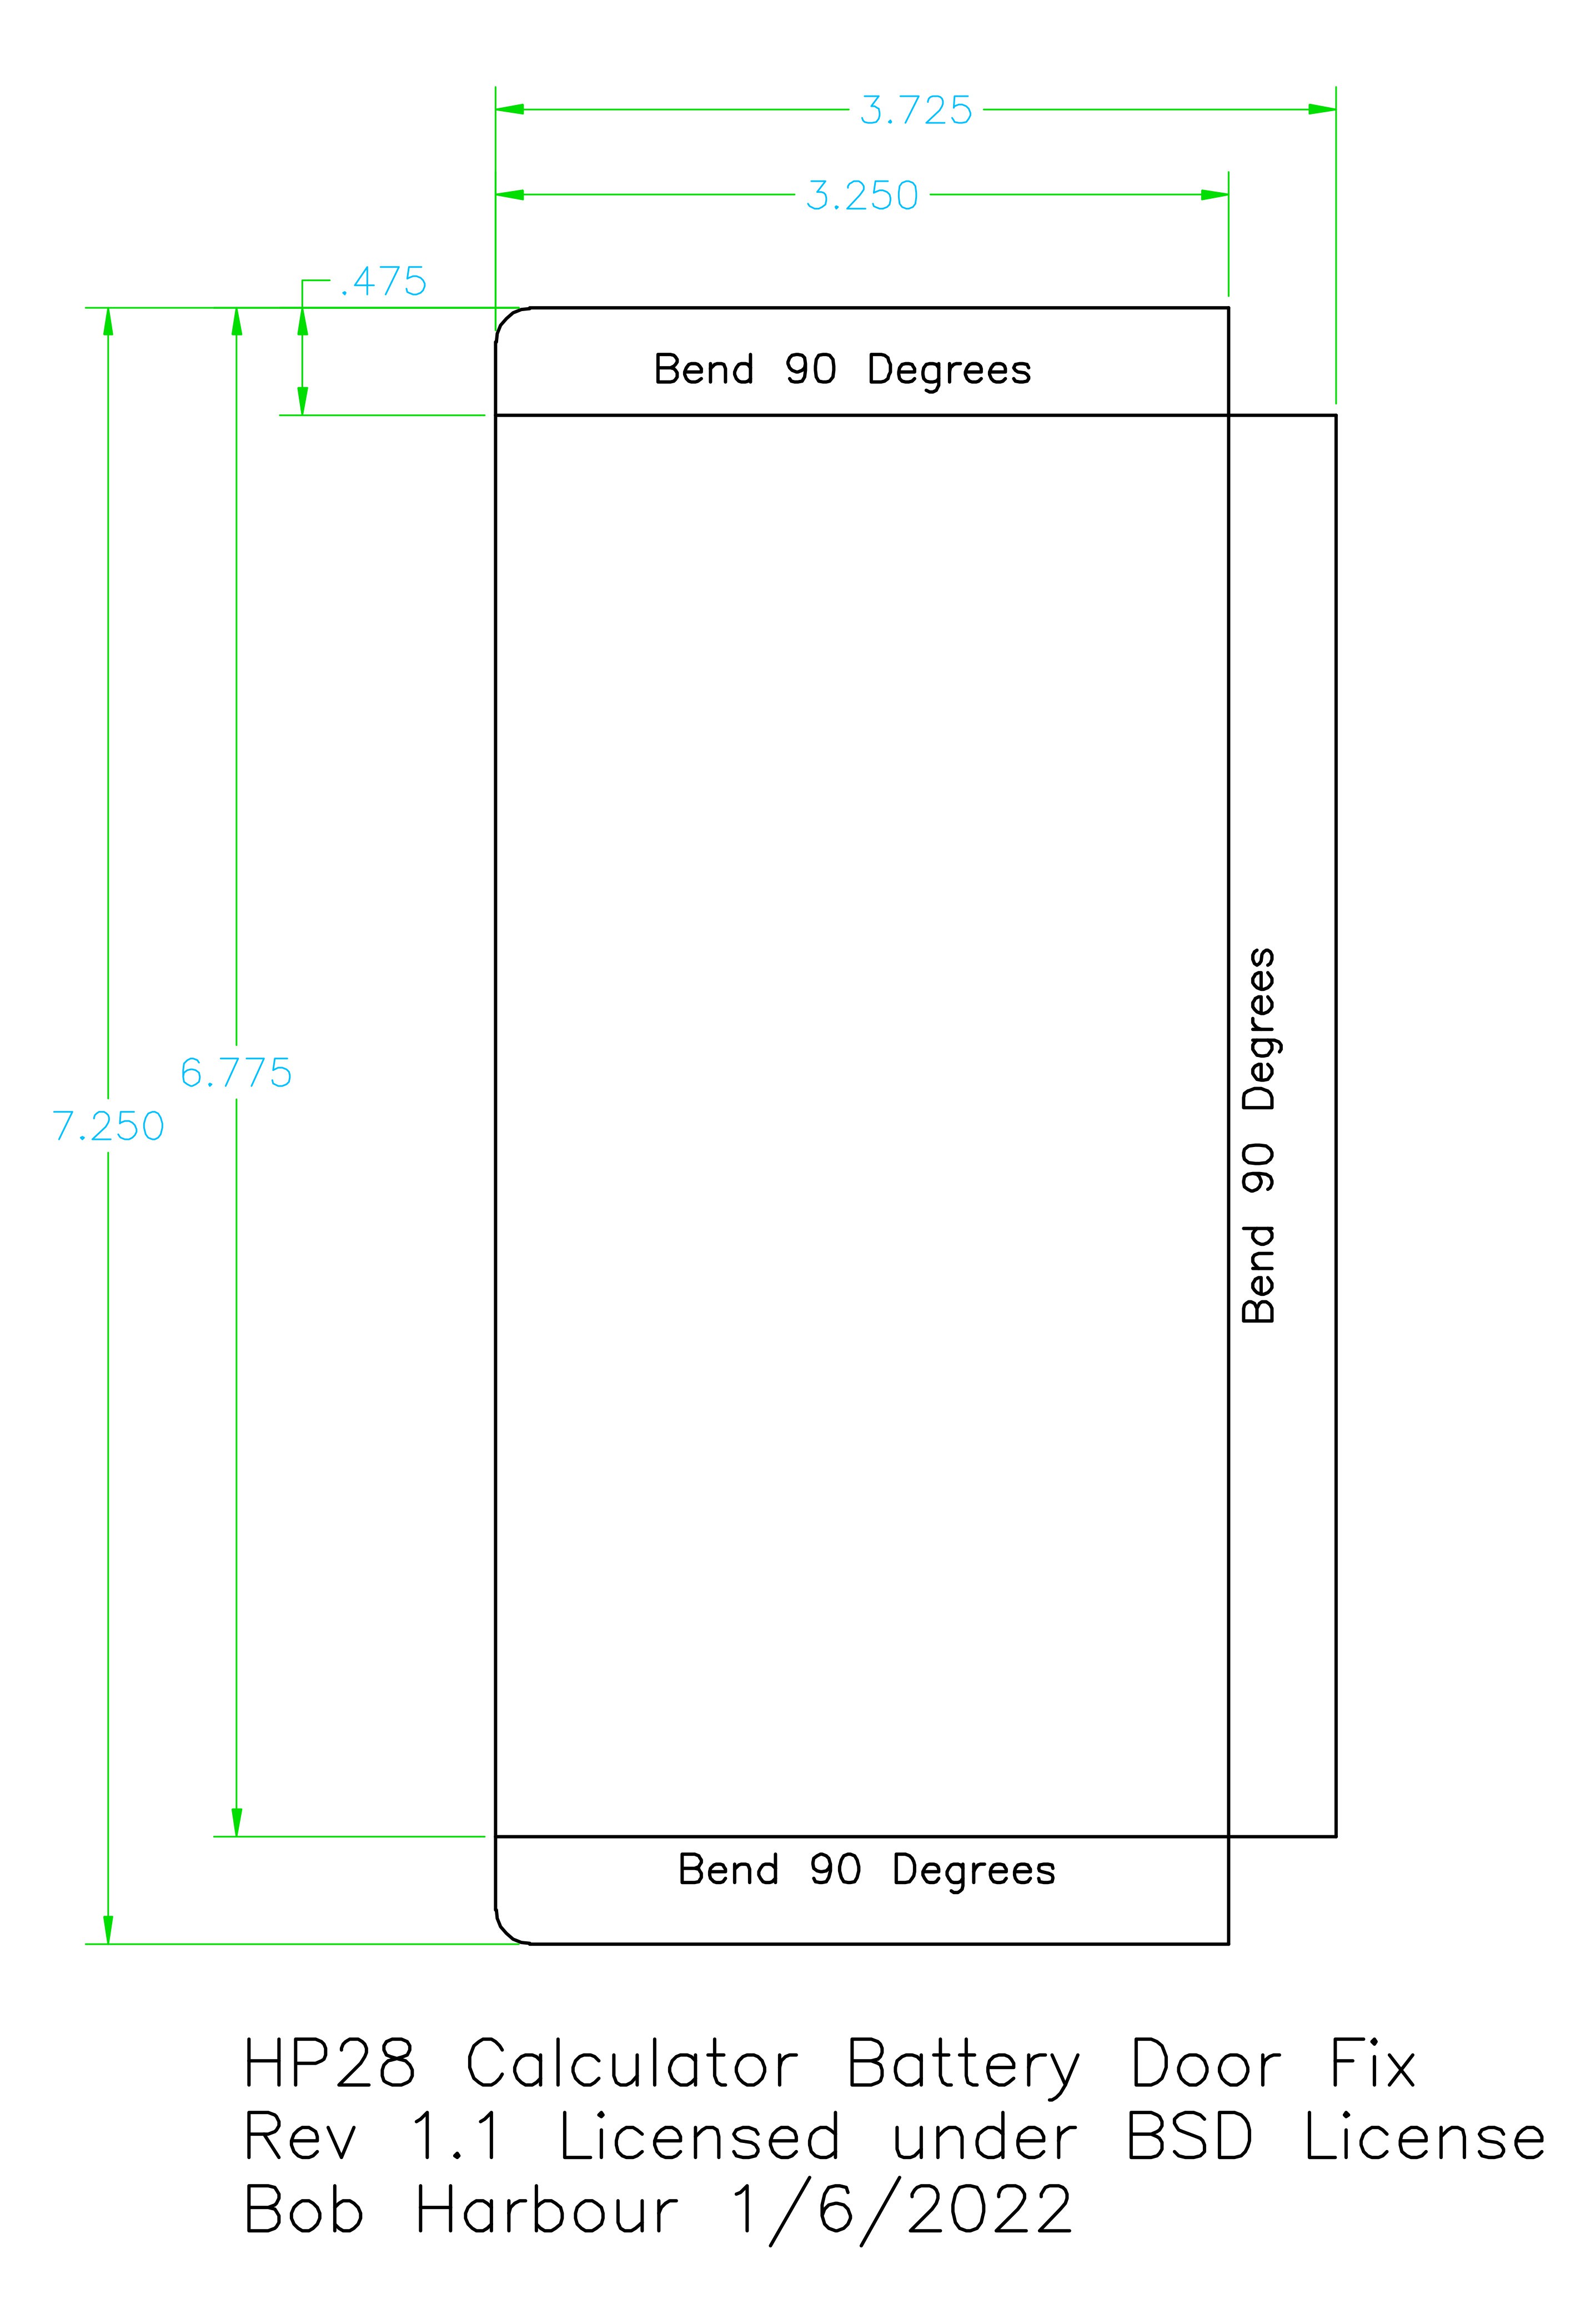
The mechanical drawing shown has 3 decimal places on the dimensions. This is what I use for marking the metal for cutting and bending. Obviously, that level of precision is not needed (or do-able, for me) at the fabrication steps. The radius on the two corners is not critical. It makes the finished part look better and not snag or cut stuff when handling it. Rough it in with a pair of snips and file it smooth.
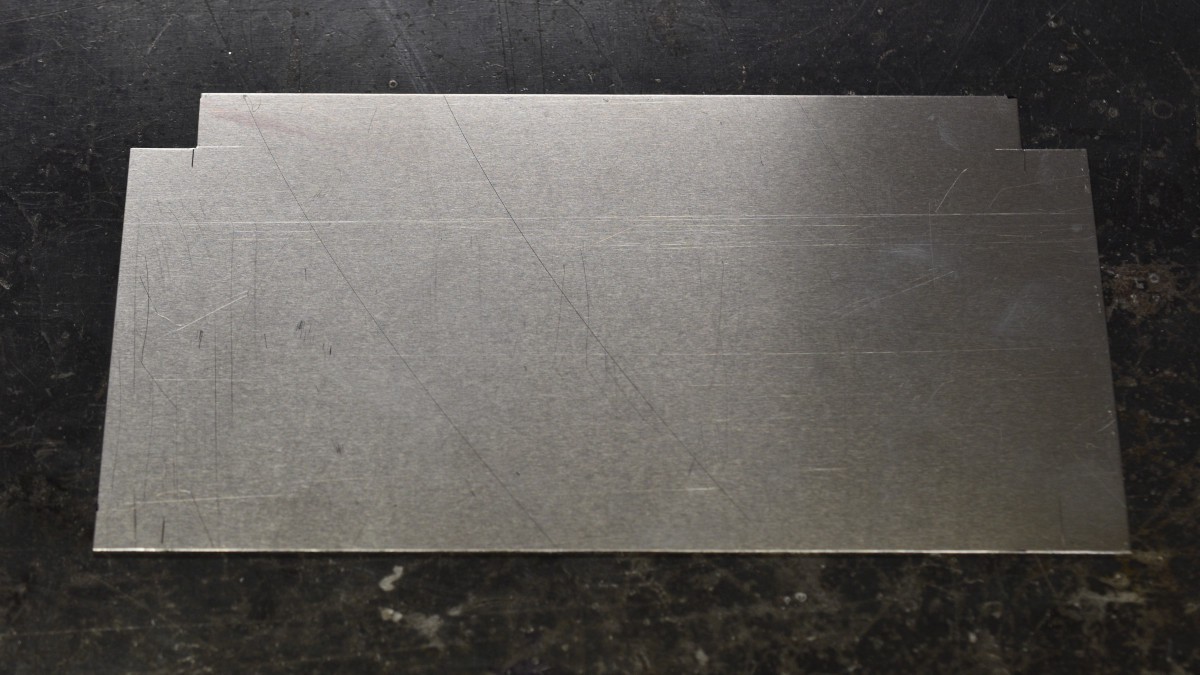
The cut out piece of aluminum is shown below.
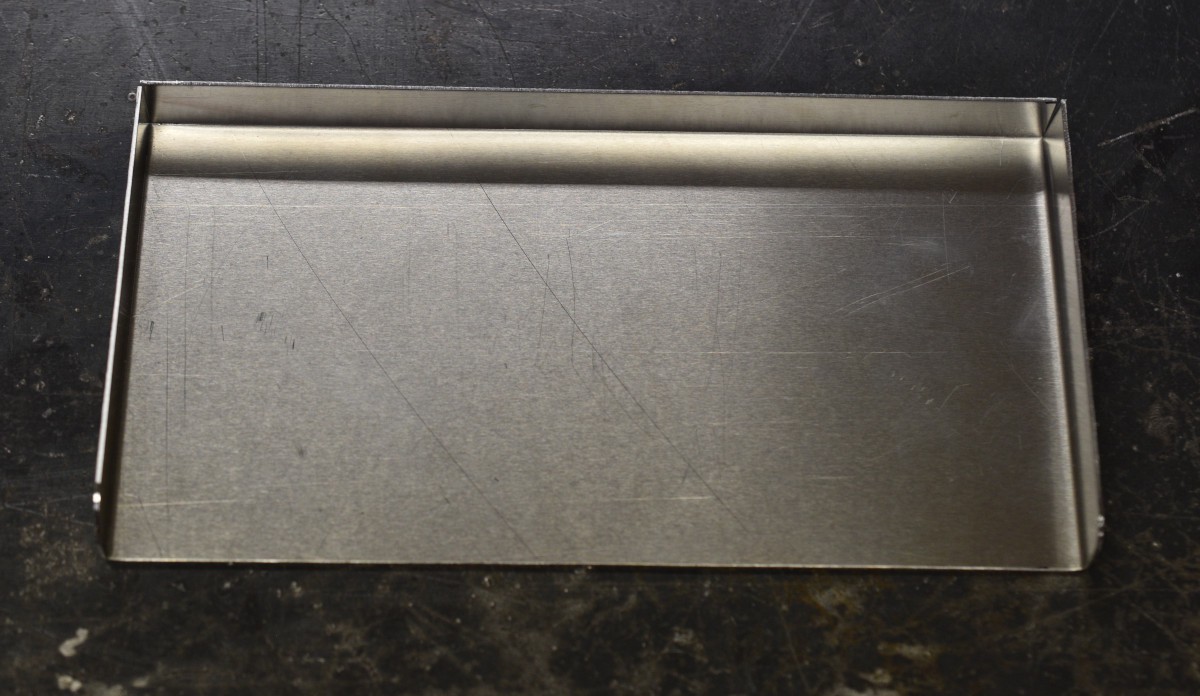
Next, the sides get folded up. Bending was done on a box and pan brake. Each bend was done with the brake finger holding the short or vertical section of the part. This insures that the lengths of the vertical sections are the same length without getting into messy bend allowance stuff. All bends are minimum radius bends.
After bending, the two corners are welded. I get the best results welding on thin aluminum using a "chill bar" to control the heat around the weld better and it makes it easy to clamp the parts to be welded into position. It is also easier to weld in the horizontal position. The "chill bar" is just a scrap of aluminum bar stock 0.5" x 1" and a few inches long.
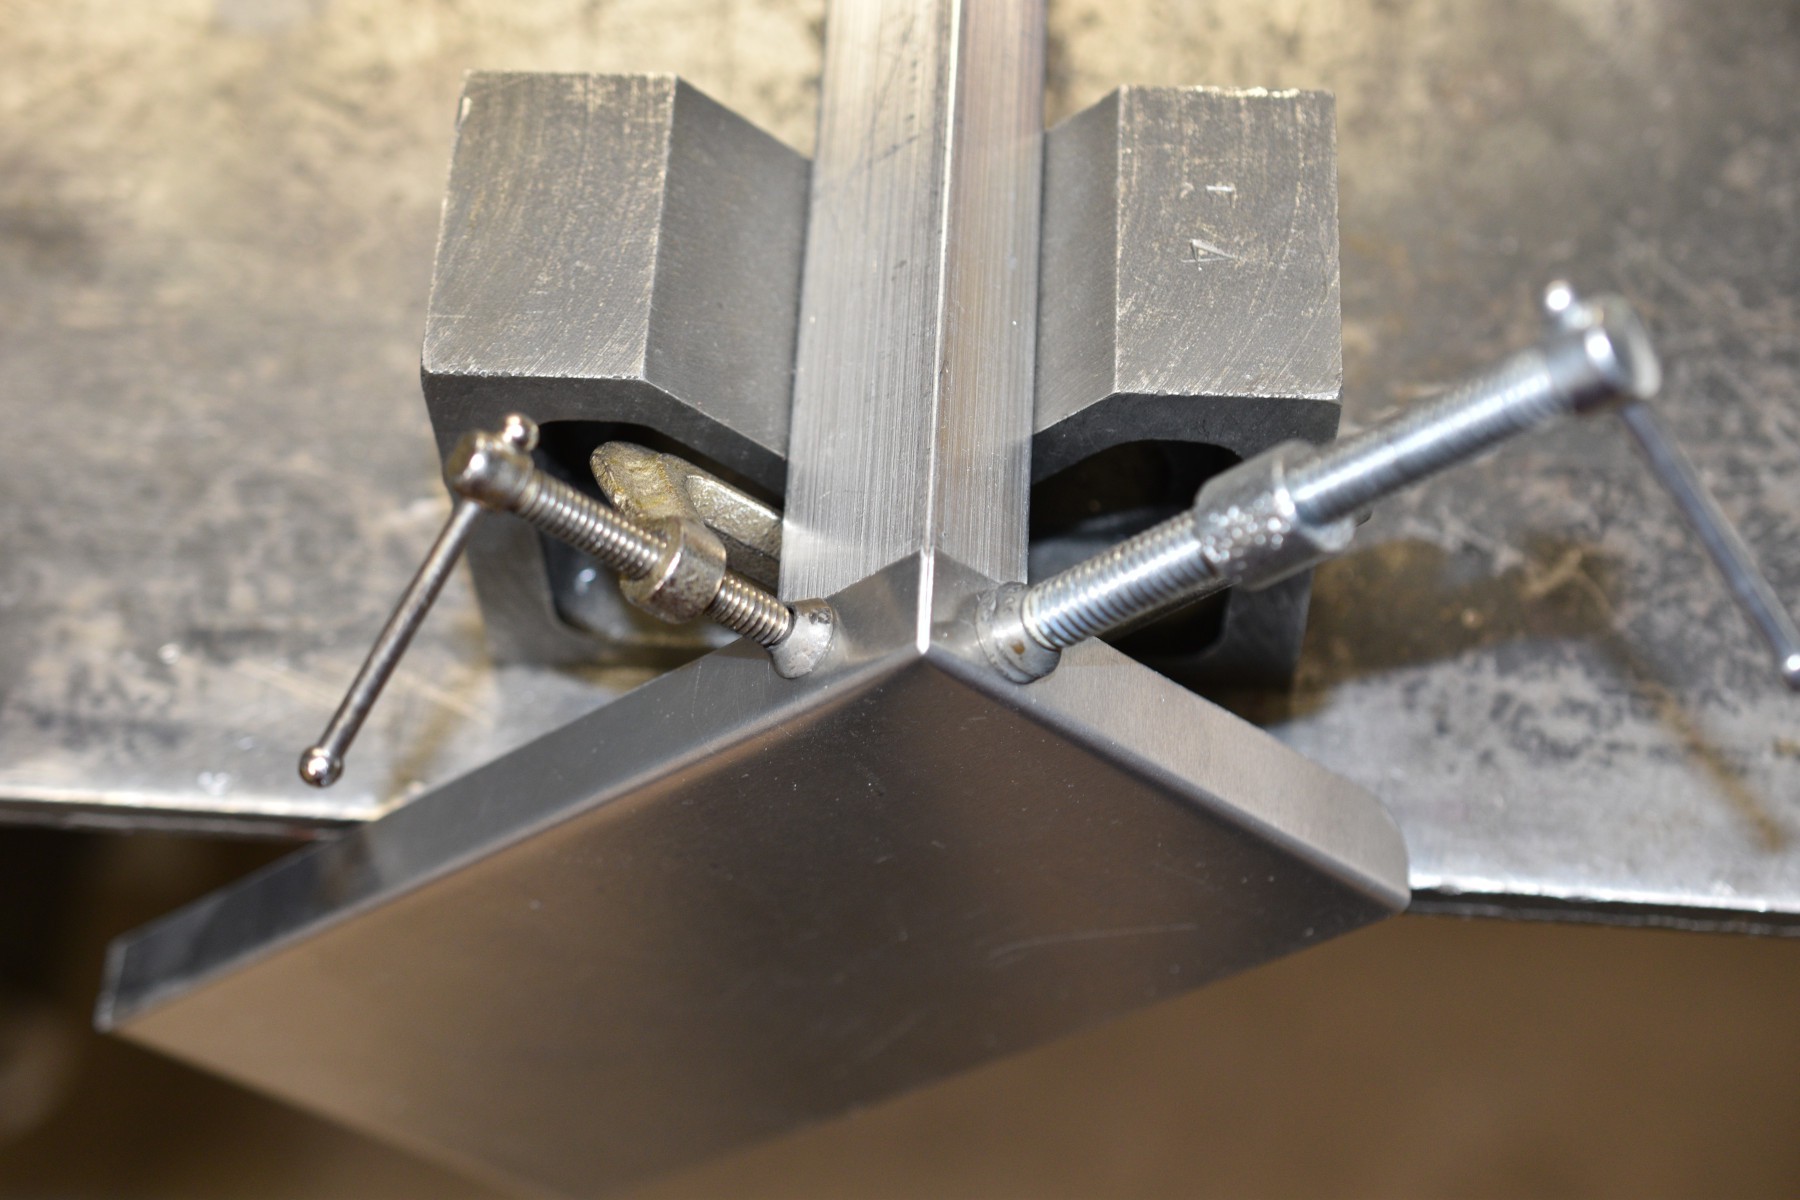
One of the welds is visible below, before cleanup.
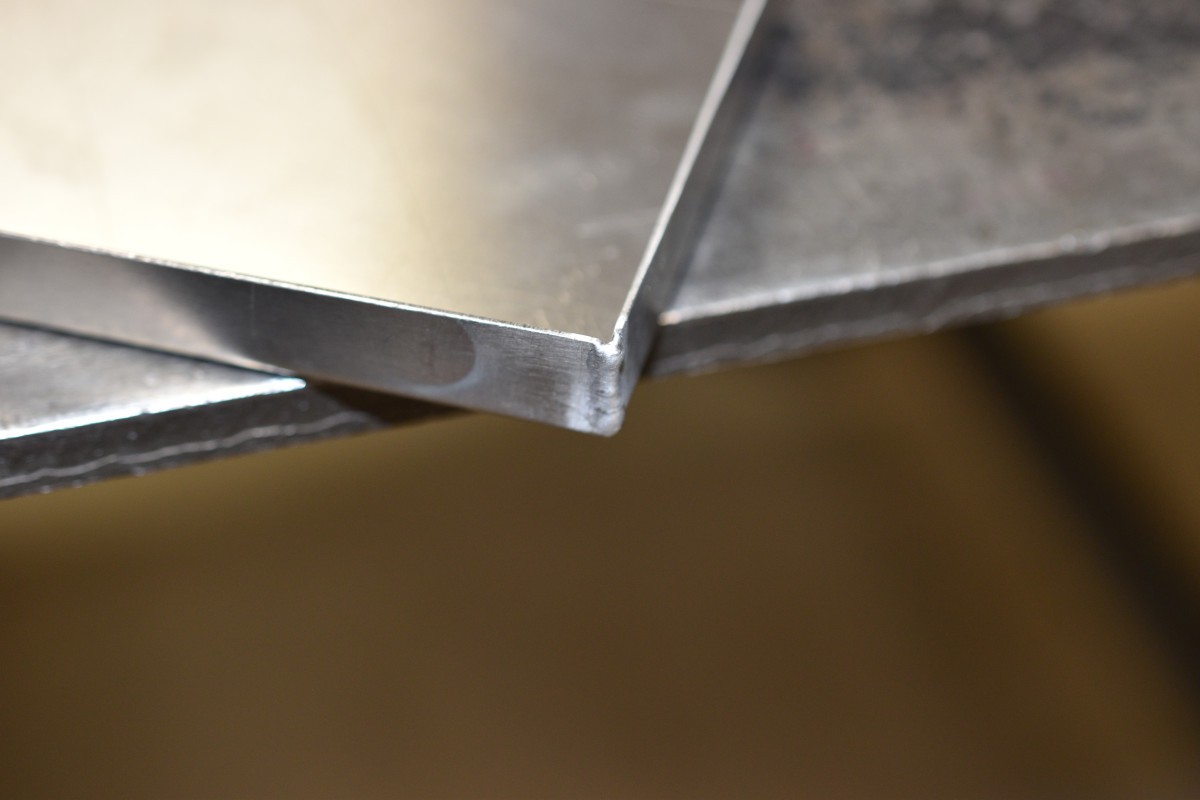
Next, the welds get cleaned up and the aluminum prepped for powder coating. Powder coating fills scratches in the metal pretty well and sticks to the aluminum better if the surface is roughed up slightly. I use a right angle die grinder with Scotch-Brite Rolloc wheels. They are not cheap and the wheels don't last very long, but they work very well for cleaning up welds and prepping for finishing.
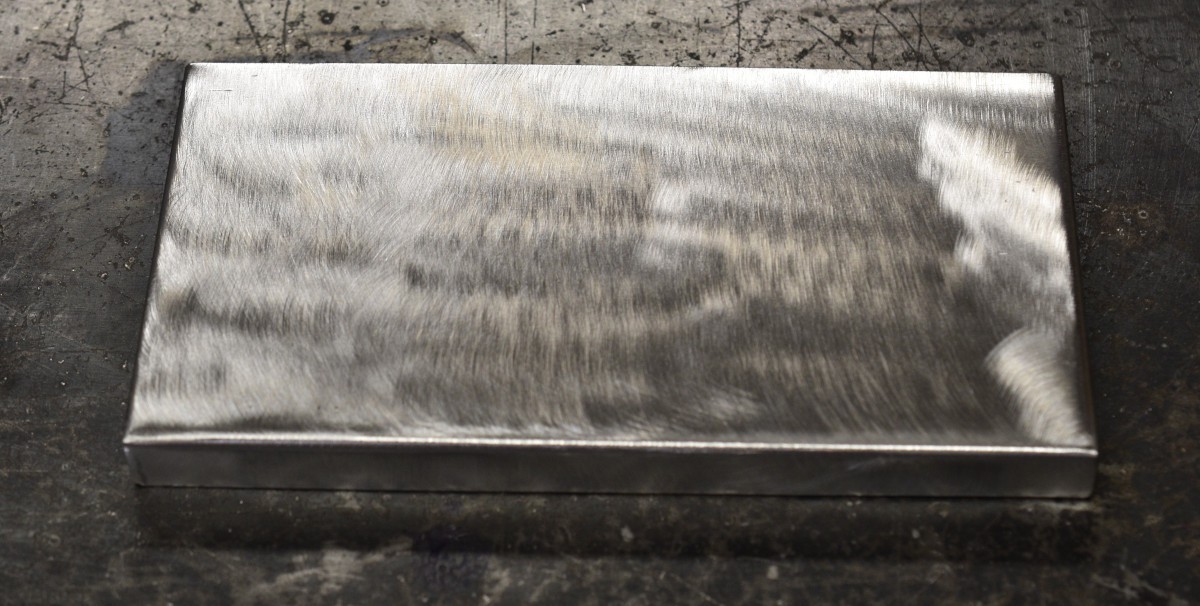
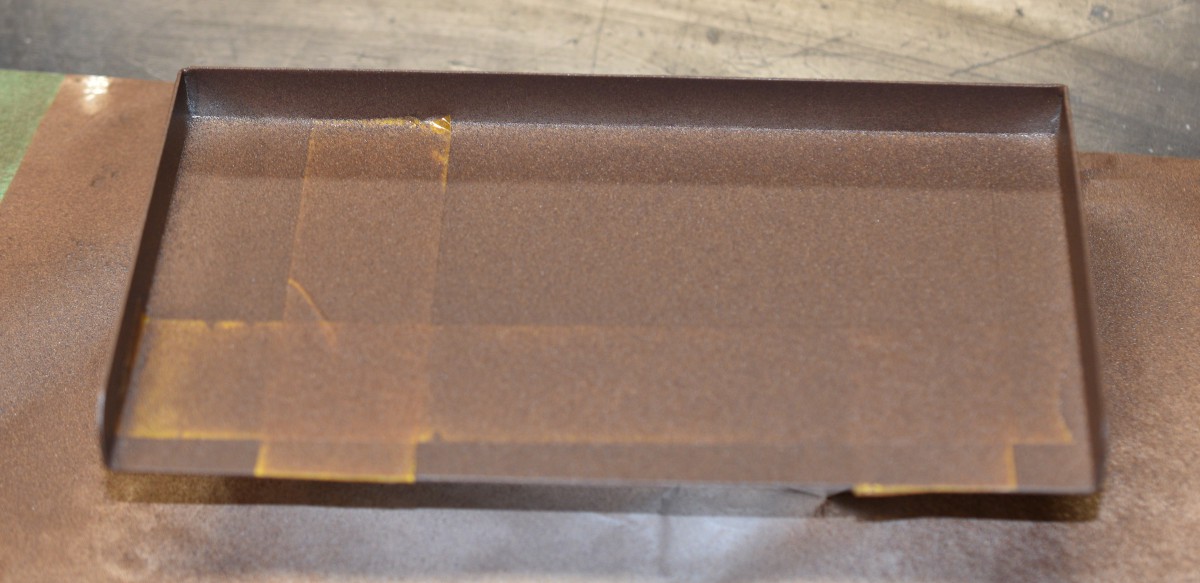
The tray was powder coated in two steps, the inside of the tray, then the outside with baking in between. The inside of the tray is masked with high temperature tape to provide a bare metal contact for the hook and loop tape before the powder is applied. After the powder is applied, the part gets put in the oven. This particular powder needs 10 minutes at 400F, but they vary, depending on the powder type. I use an old kitchen oven for the powder coating work that I do. Don't even consider using an oven currently used for food preparation for curing powder coating, it is a stinky, messy process and the oven will smell of powder coating forever after. The inside of the tray is not very visible when the calculator is in place, so I did not make a great effort for a perfect coating. Inside corners can be a problem with electrostatic powder coating.
After baking the outside of the tray. Spray on powder coating relies on an electrostatic charge on the powder to make it stick to the work piece. The tray is sitting on a piece of aluminum that is covered in aluminum foil to provide a ground path for the powder coat tool.
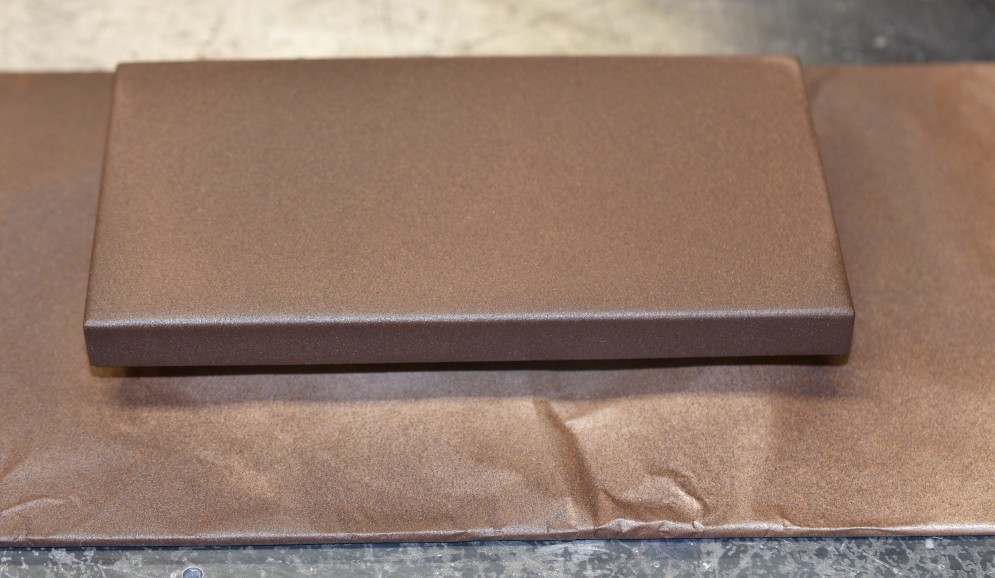
Finally, the tray is done and the hook and loop fastener tape is applied inside the tray. An HP28 calculator is shown next to the tray (without the hook and loop tape applied yet).
The powder used is Cardinal T091-BR47 Rust color. It is a semi gloss finish powder that is extremely durable.
 Bharbour