 danjovic
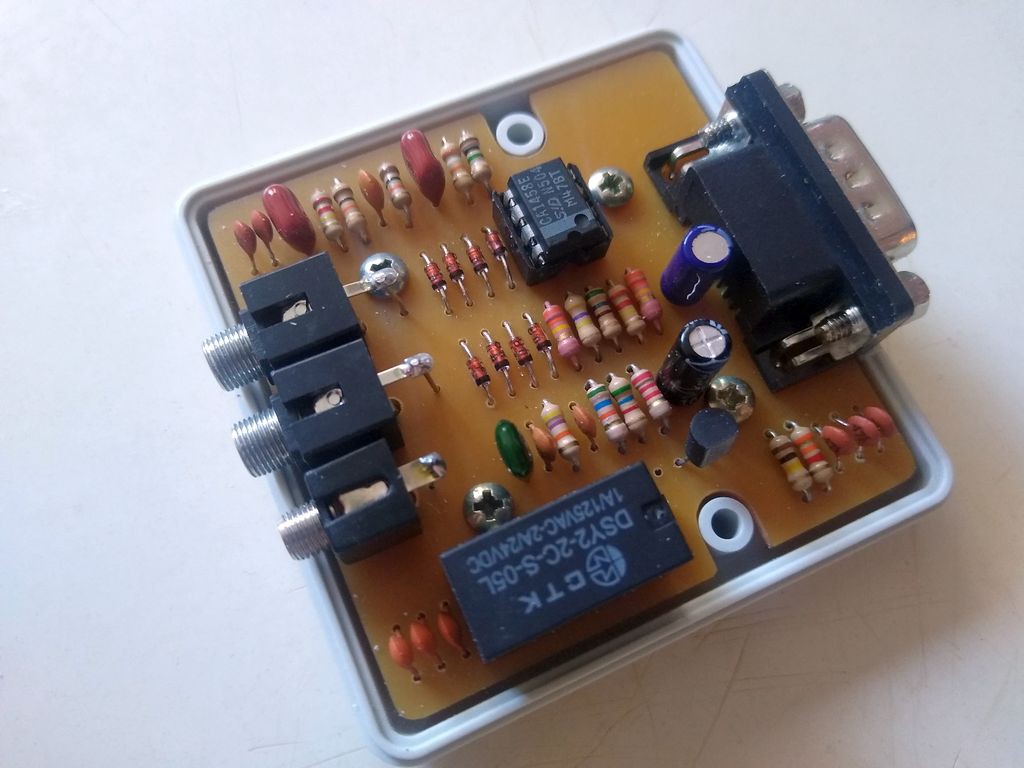
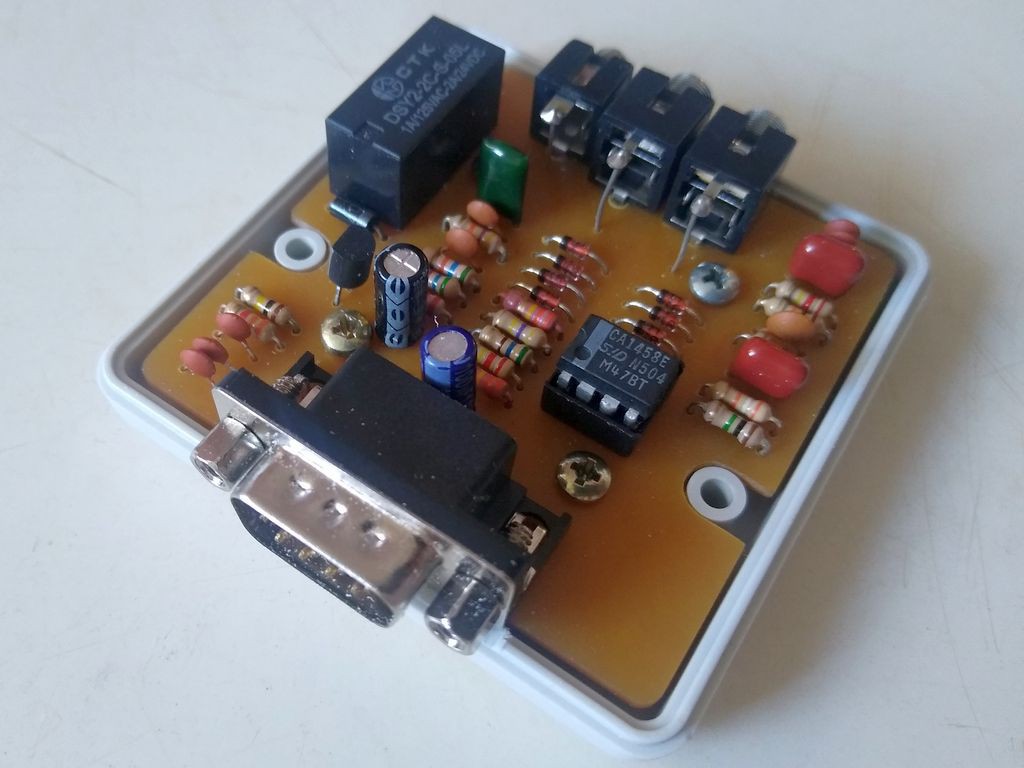
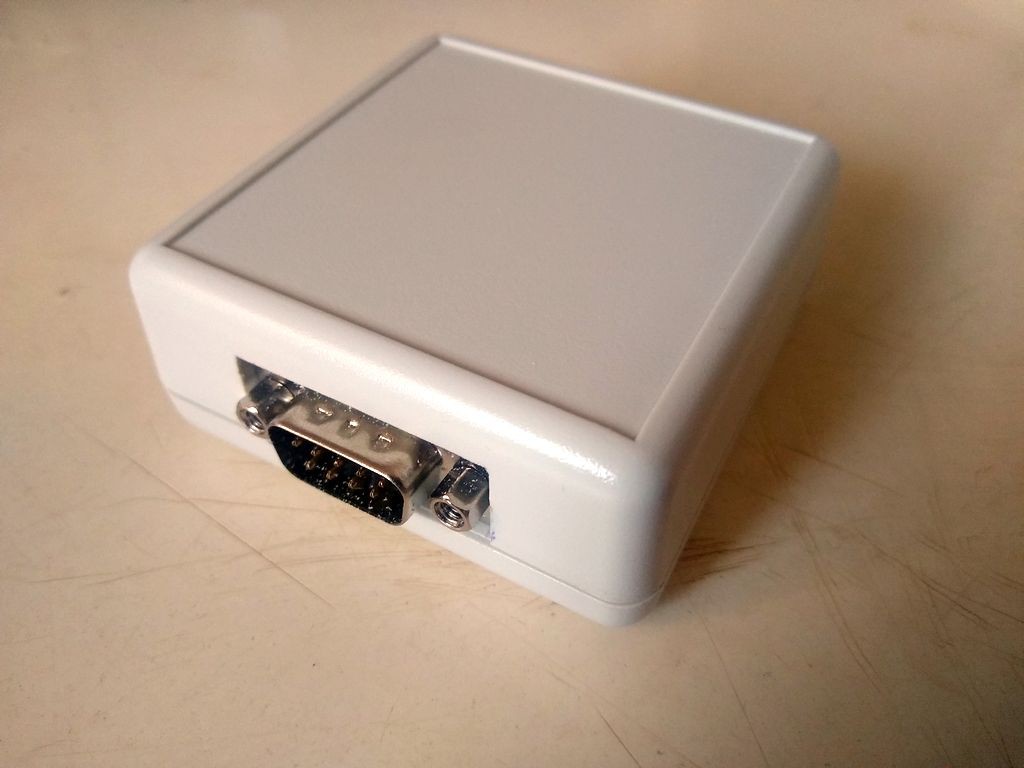
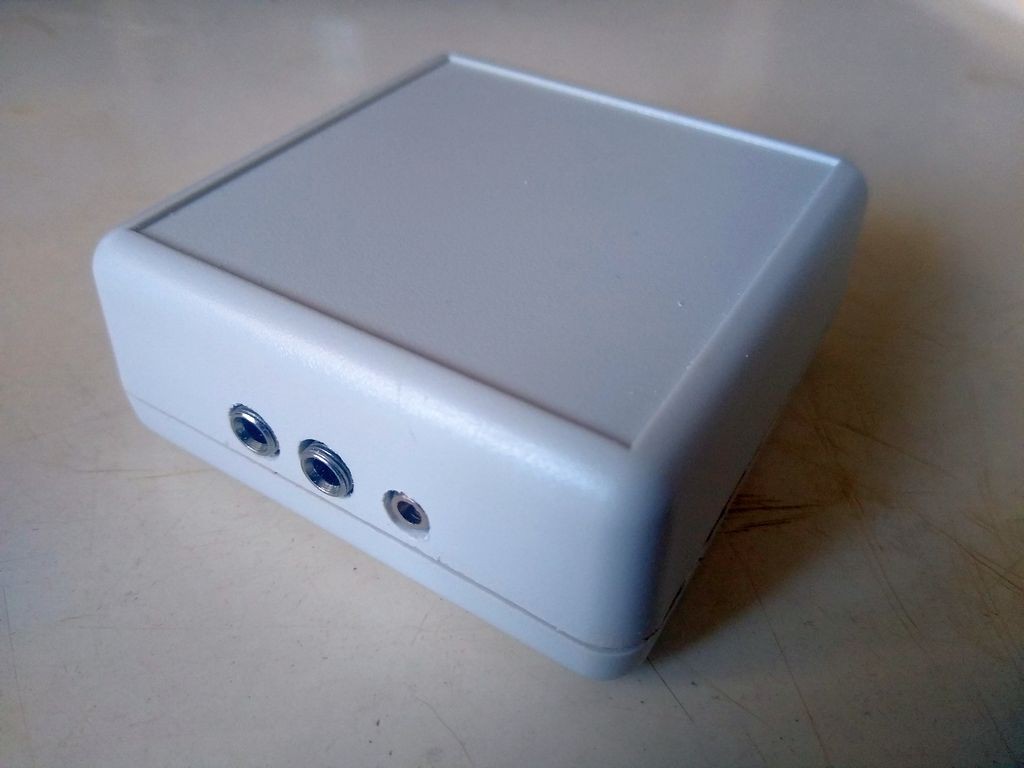
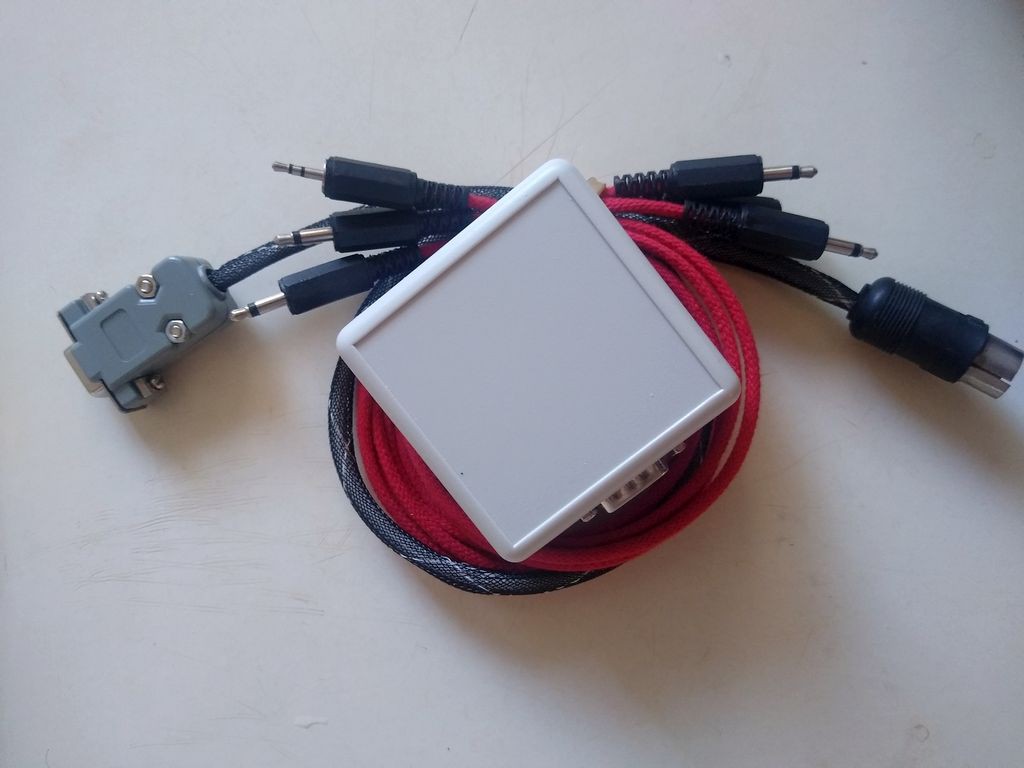
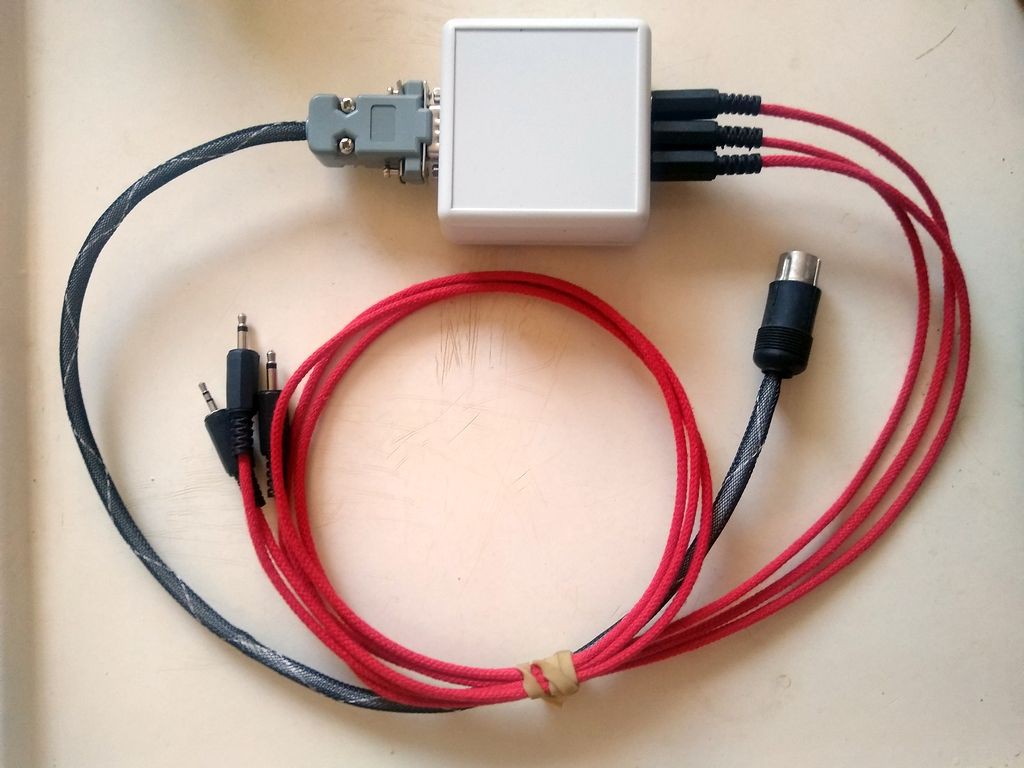
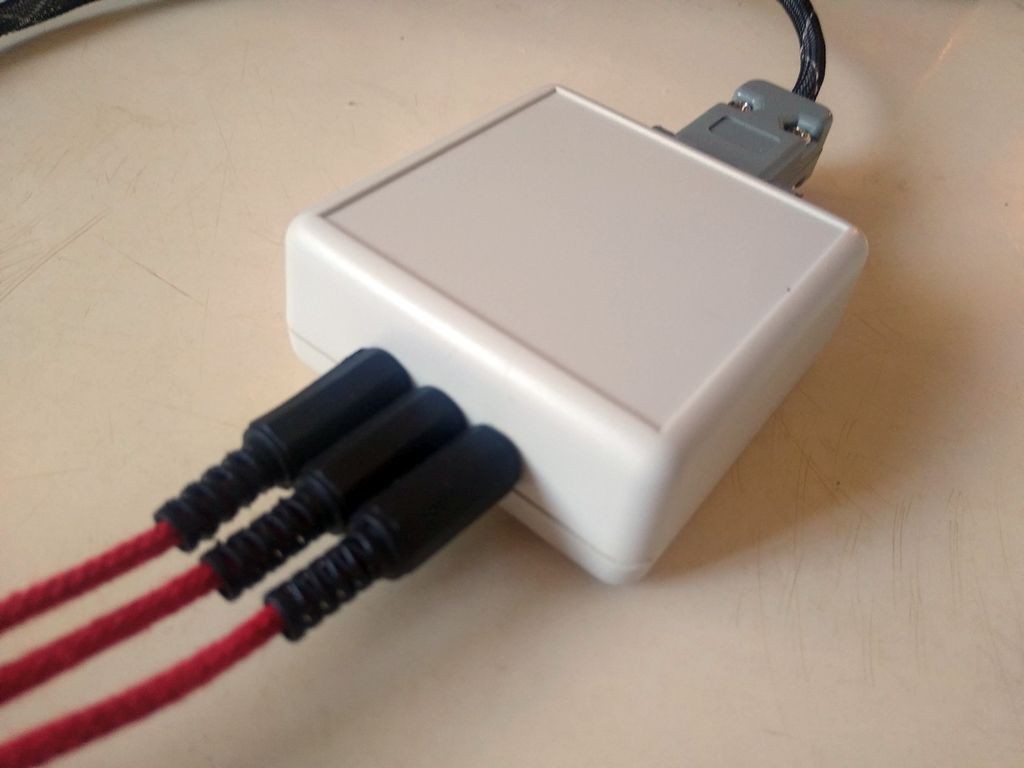
I have assembled the prototype and worked on the plastic case to fit the board.
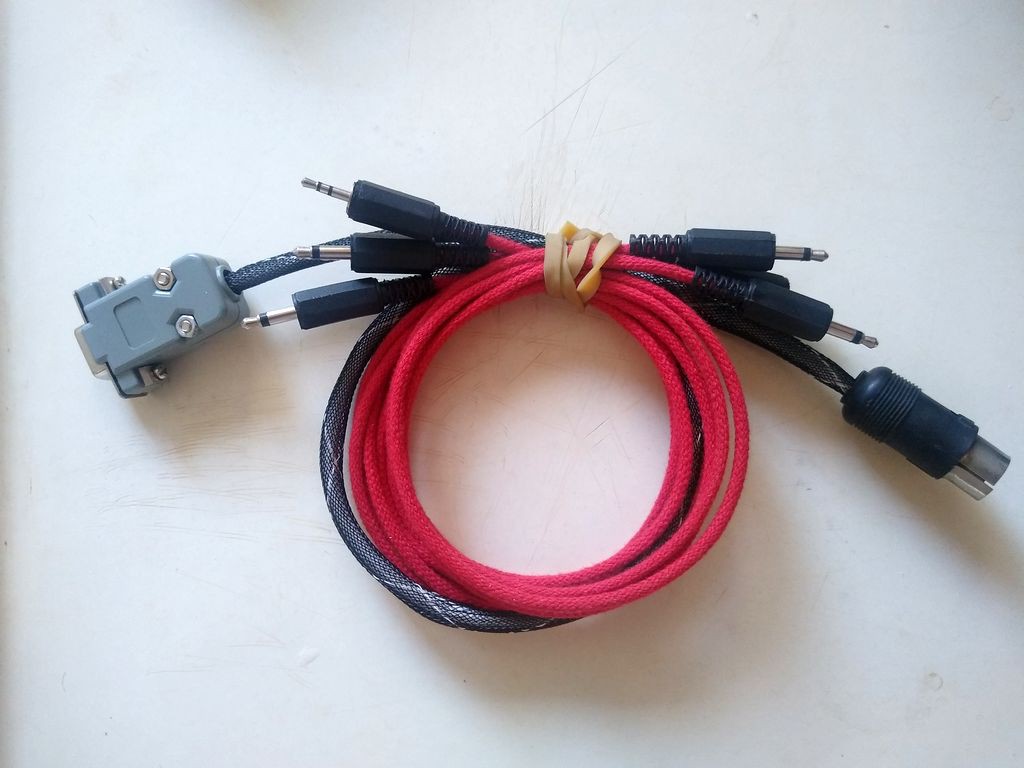
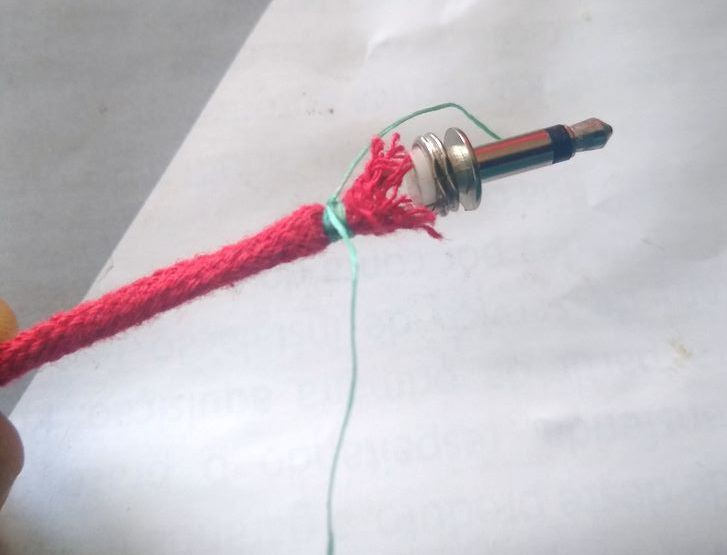
I have also built the cables using the shoestring technique (except for the DB-9 t- DIN cable, as a didn't have a thick enough shoestring at the moment of the build).
Worth to mention that I have used dental floss to tighten the ends of the cloth string.
And here is some pictures of the adapter and cables together
Discussions
Become a Hackaday.io Member
Create an account to leave a comment. Already have an account? Log In.