-
11Don't push my buttons
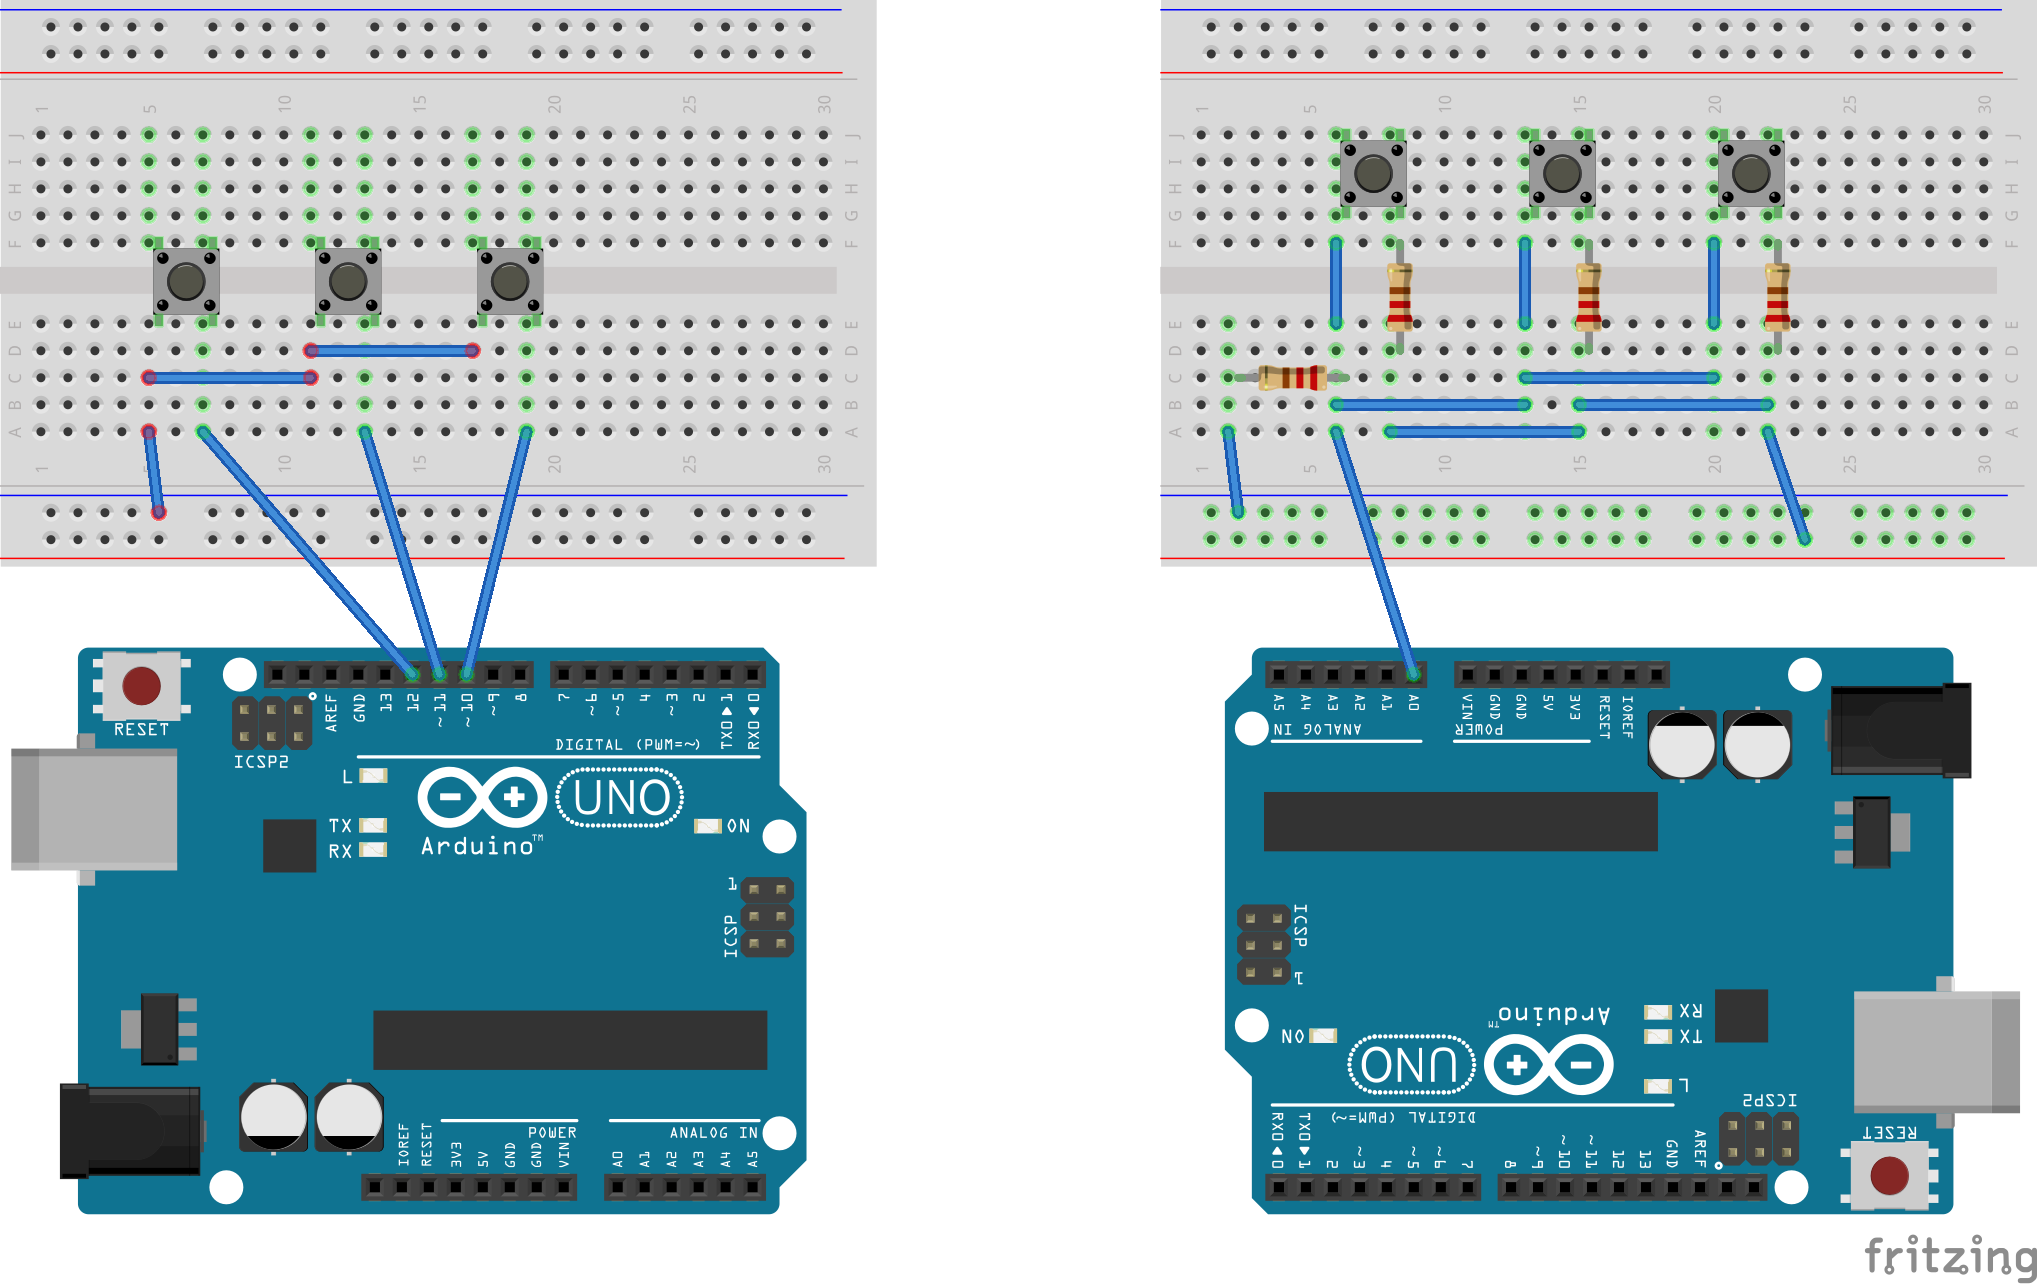
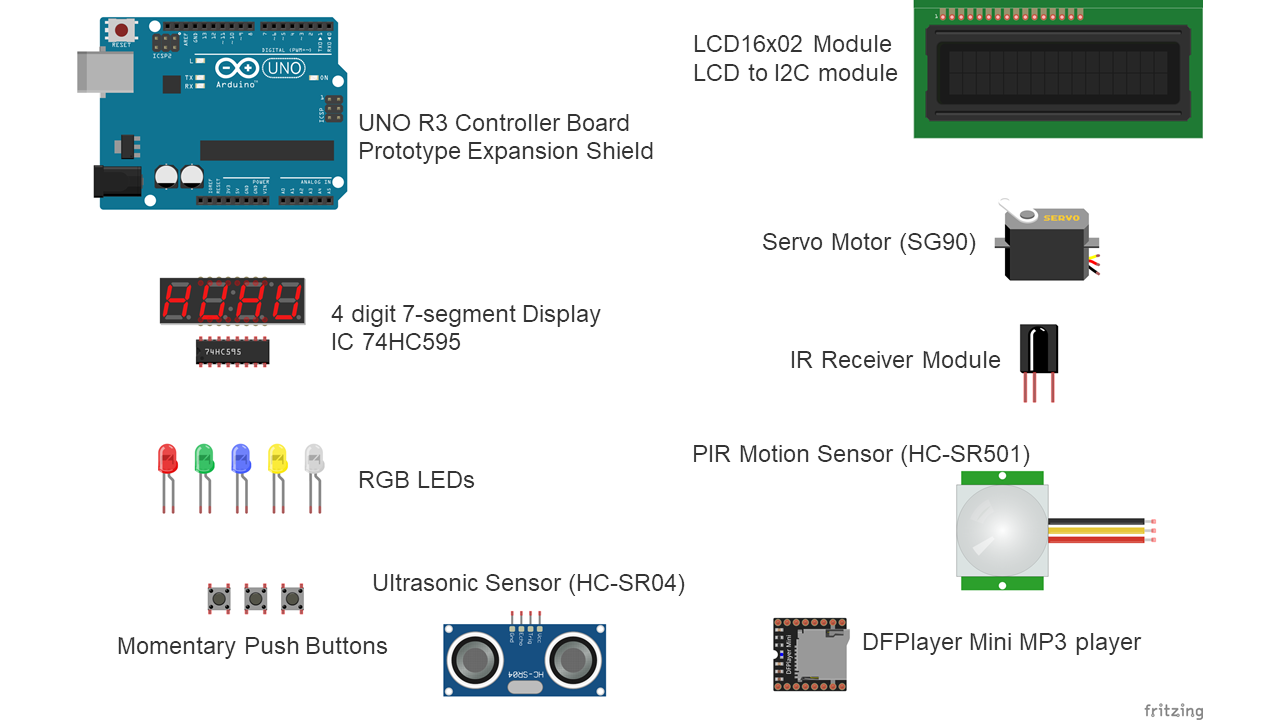
Finally, we are at the buttons. If you have the extra I/O pins, it is easier to connect each of these to a digital input. But I did not have this luxury for the UNO. Instead I had to use an analog input to read the resistor values to determine which button was being pressed. The values I used were, 1K, 2K, and 5K. Then I had a 220 Ohm resistor to pull the analog input low. Otherwise it will float and get random button presses.
I mounted the buttons on the same mounting plate as the LCD. This was not easy but I didn't have a better way. Soldering the wires onto these buttons then getting them to pass through little holes drilled in the plastic will test your patients.
![]()
![]()
-
12Can you hear me now?
Last step and probably the most important is the sound module. This will use the serial port on the UNO so you must add 1K Ohm resistors to the Tx and Rx pins otherwise, you will get blocked from programming the UNO after this connection is made. In addition, you will need to use the "busy" pin so that the UNO knows that a sounds is already playing. This is very important if you have MP3s play back-to-back.
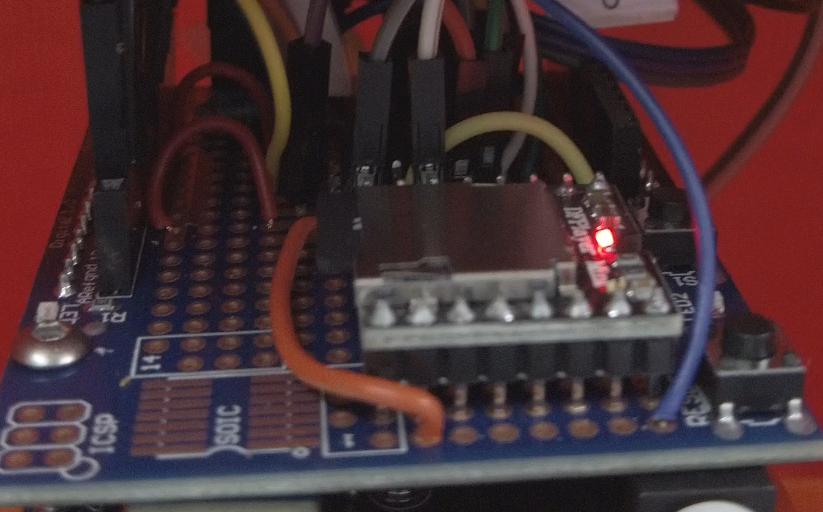
I mounted the MP3 player module on the prototype shield. This shield makes mounting components like this very convenient because it then just plugs into the UNO. This module will need an 8ohm speaker and has an output of 3W. The speaker was just glued down to the base of the doll. I drilled small holes under the speaker for the sound to come out better.
![]()
![]()
-
13Mount the UNO
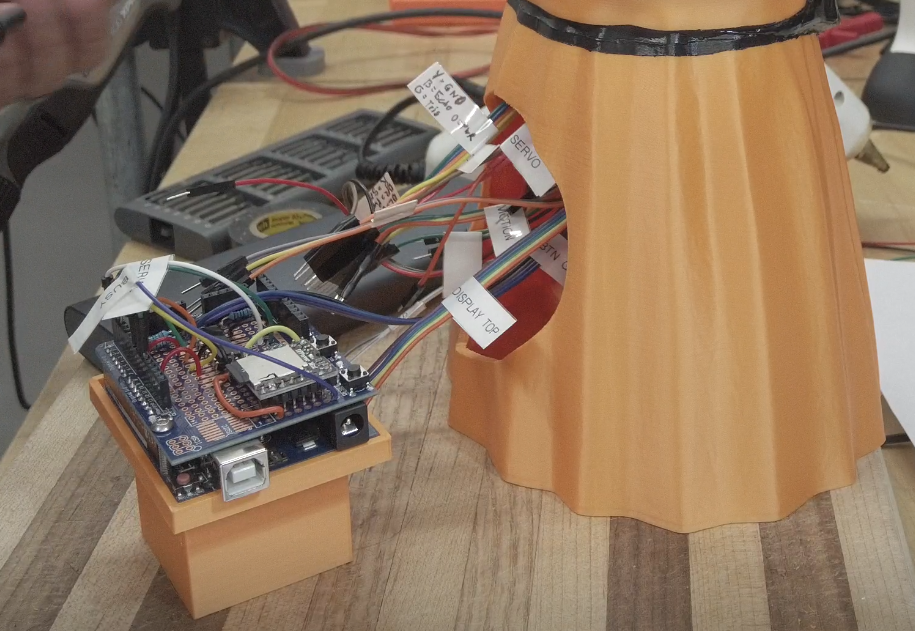
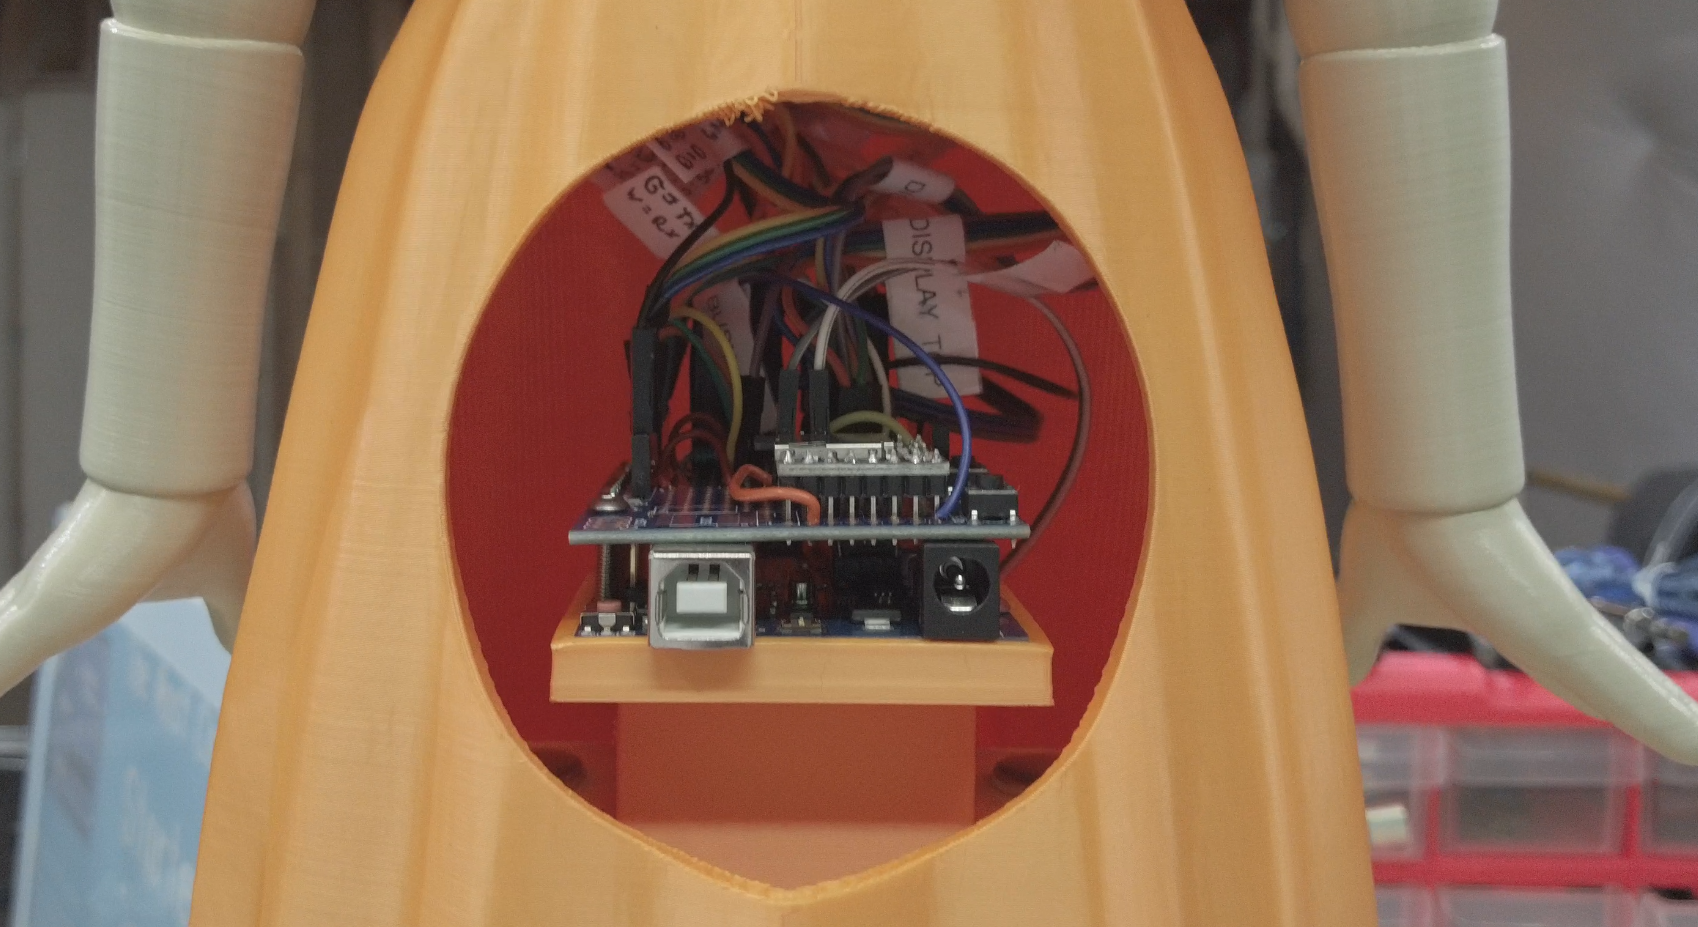
Install the UNO onto the platform and plug the prototype shield onto the UNO. Be sure that you have labeled all of the wires, if not you probably don't know where any of them go by now. With a little bit of negotiation, you can get the mounted UNO inside the doll with all the wires connected.
I used threaded inserts to mount the platform to the bottom of the doll.
![]()
![]()
-
14Test Fix Test
This is when you get to put your debugging hat on. I can tell you the software is working on GitHub so at least that is one less thing to debug. But go ahead anyway if you have doubts and send me any updates you find.
![]()
![]()
Squid Games Doll using Arduino UNO
I built a fully functional (non-violent) Squid Games Doll. She plays the red-light-green-light game with you.
 W. Jason Altice



Discussions
Become a Hackaday.io Member
Create an account to leave a comment. Already have an account? Log In.