 zapwizard
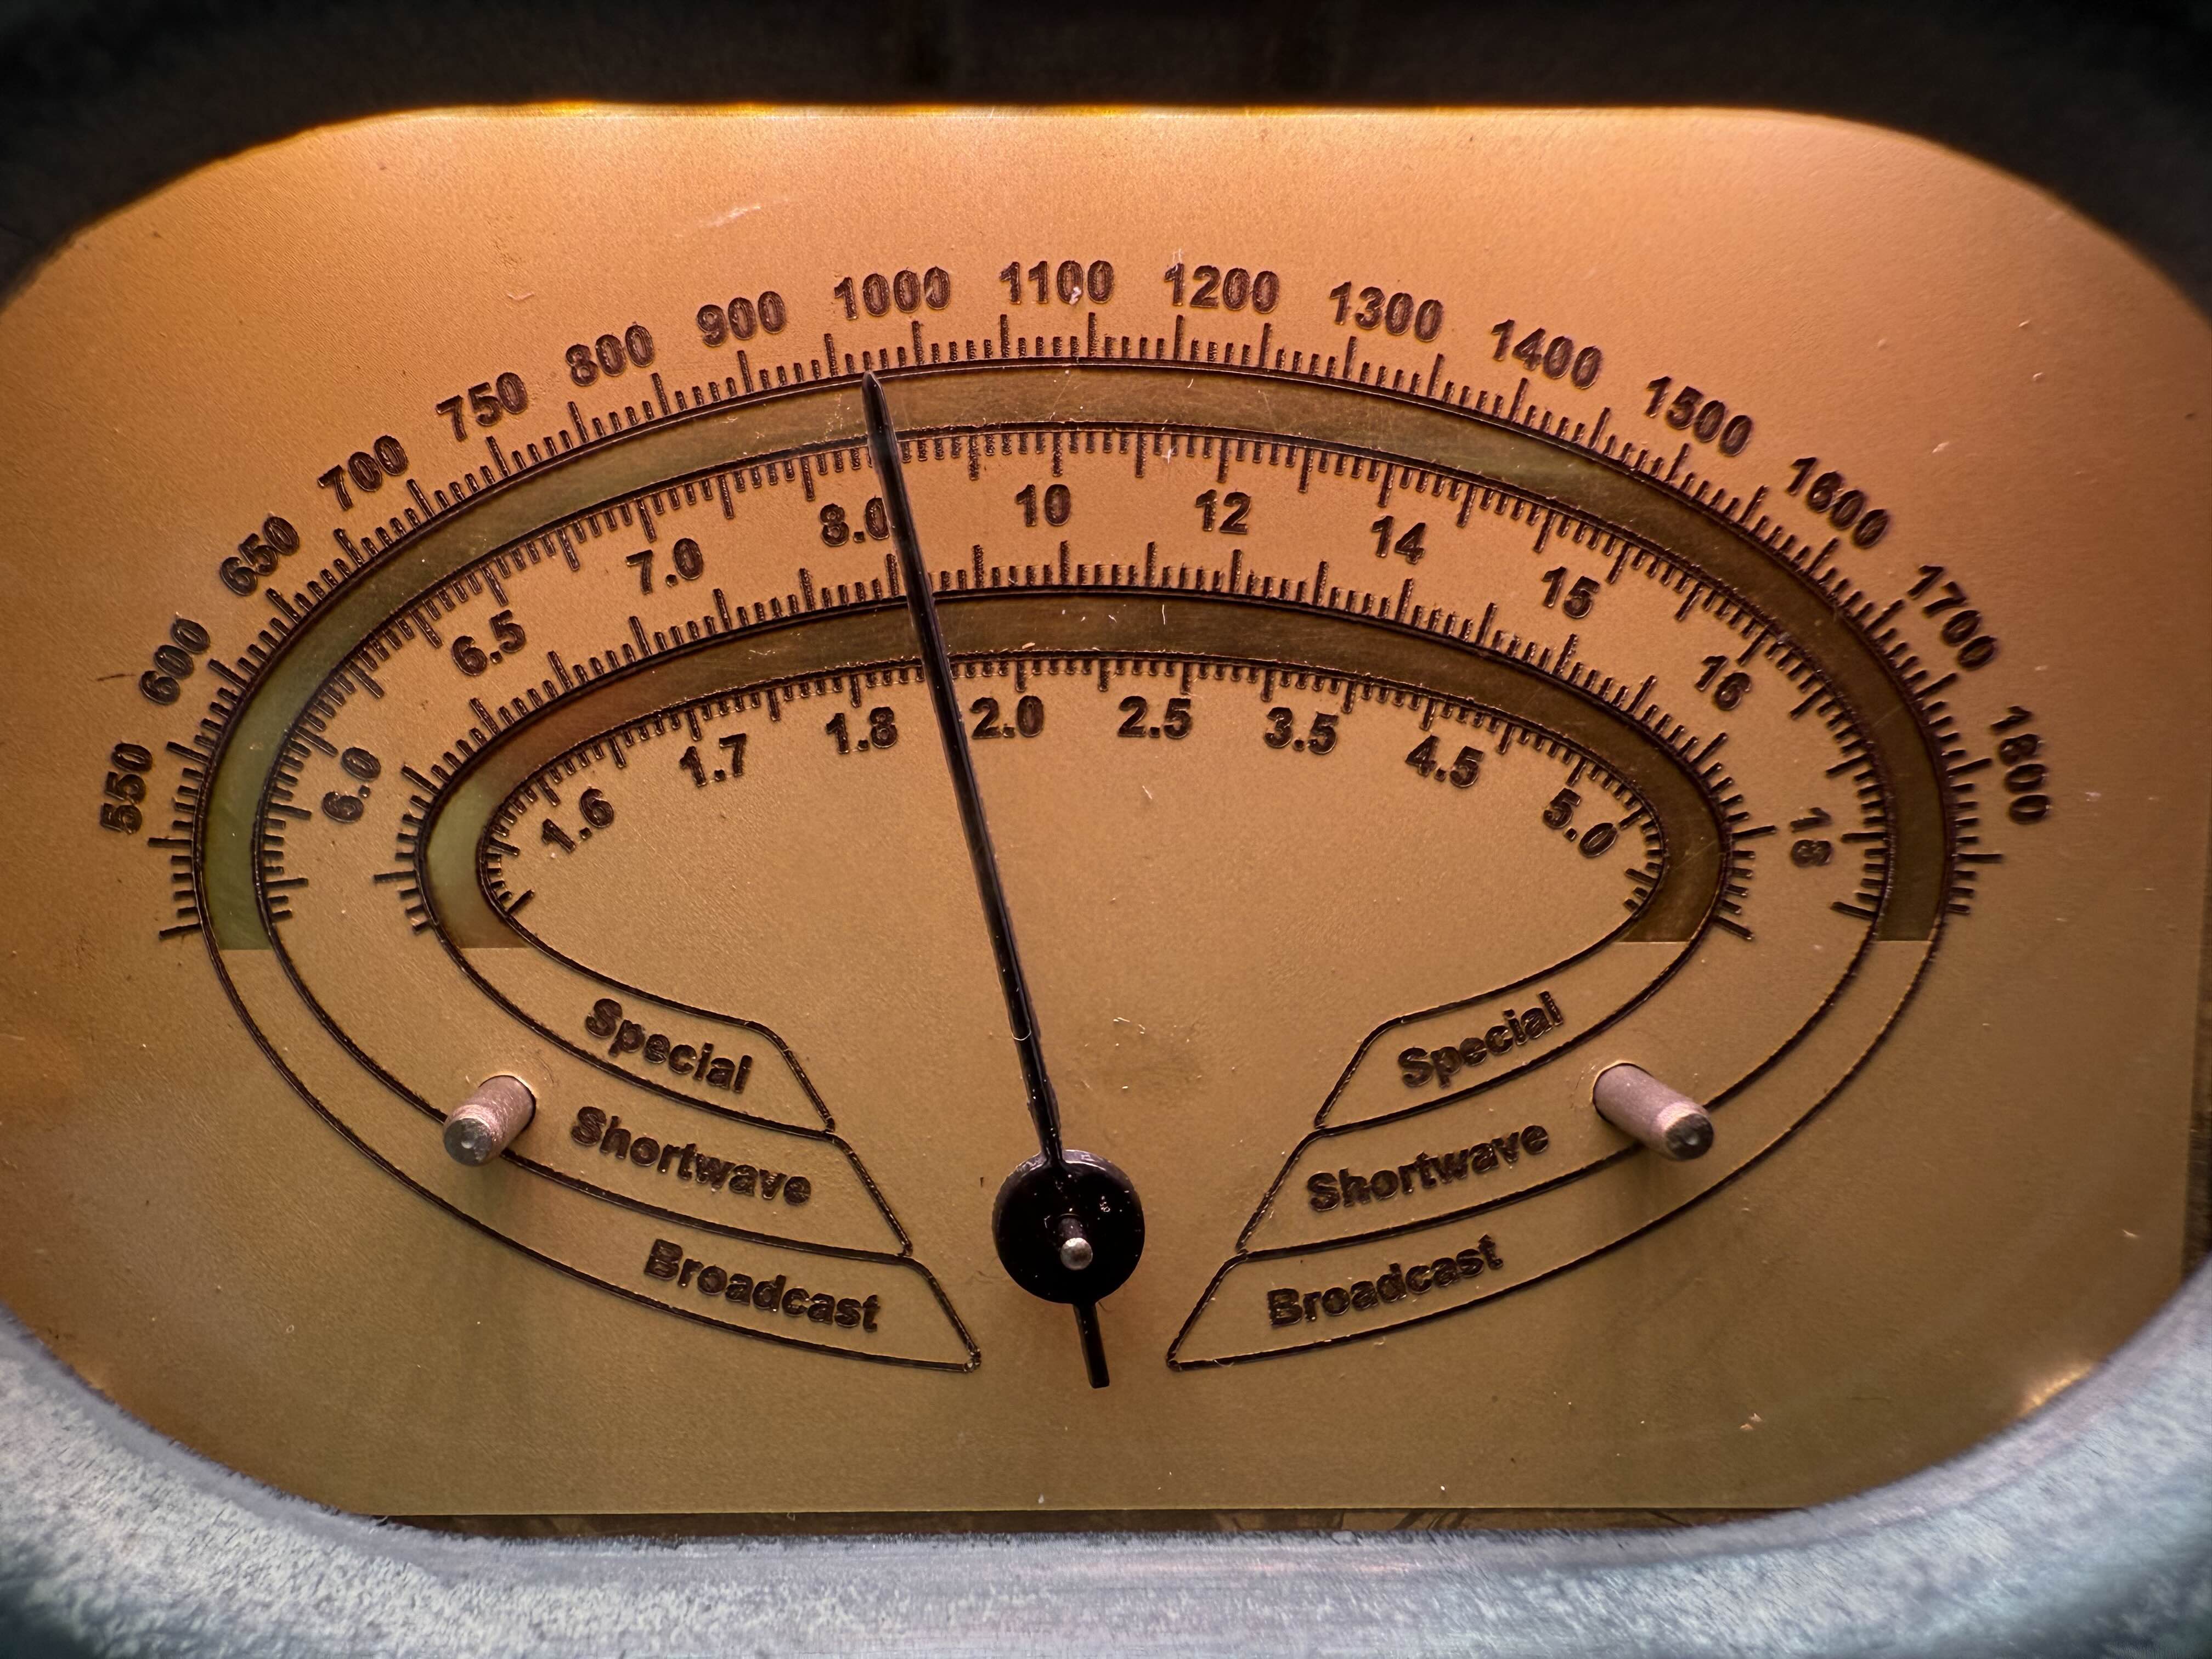
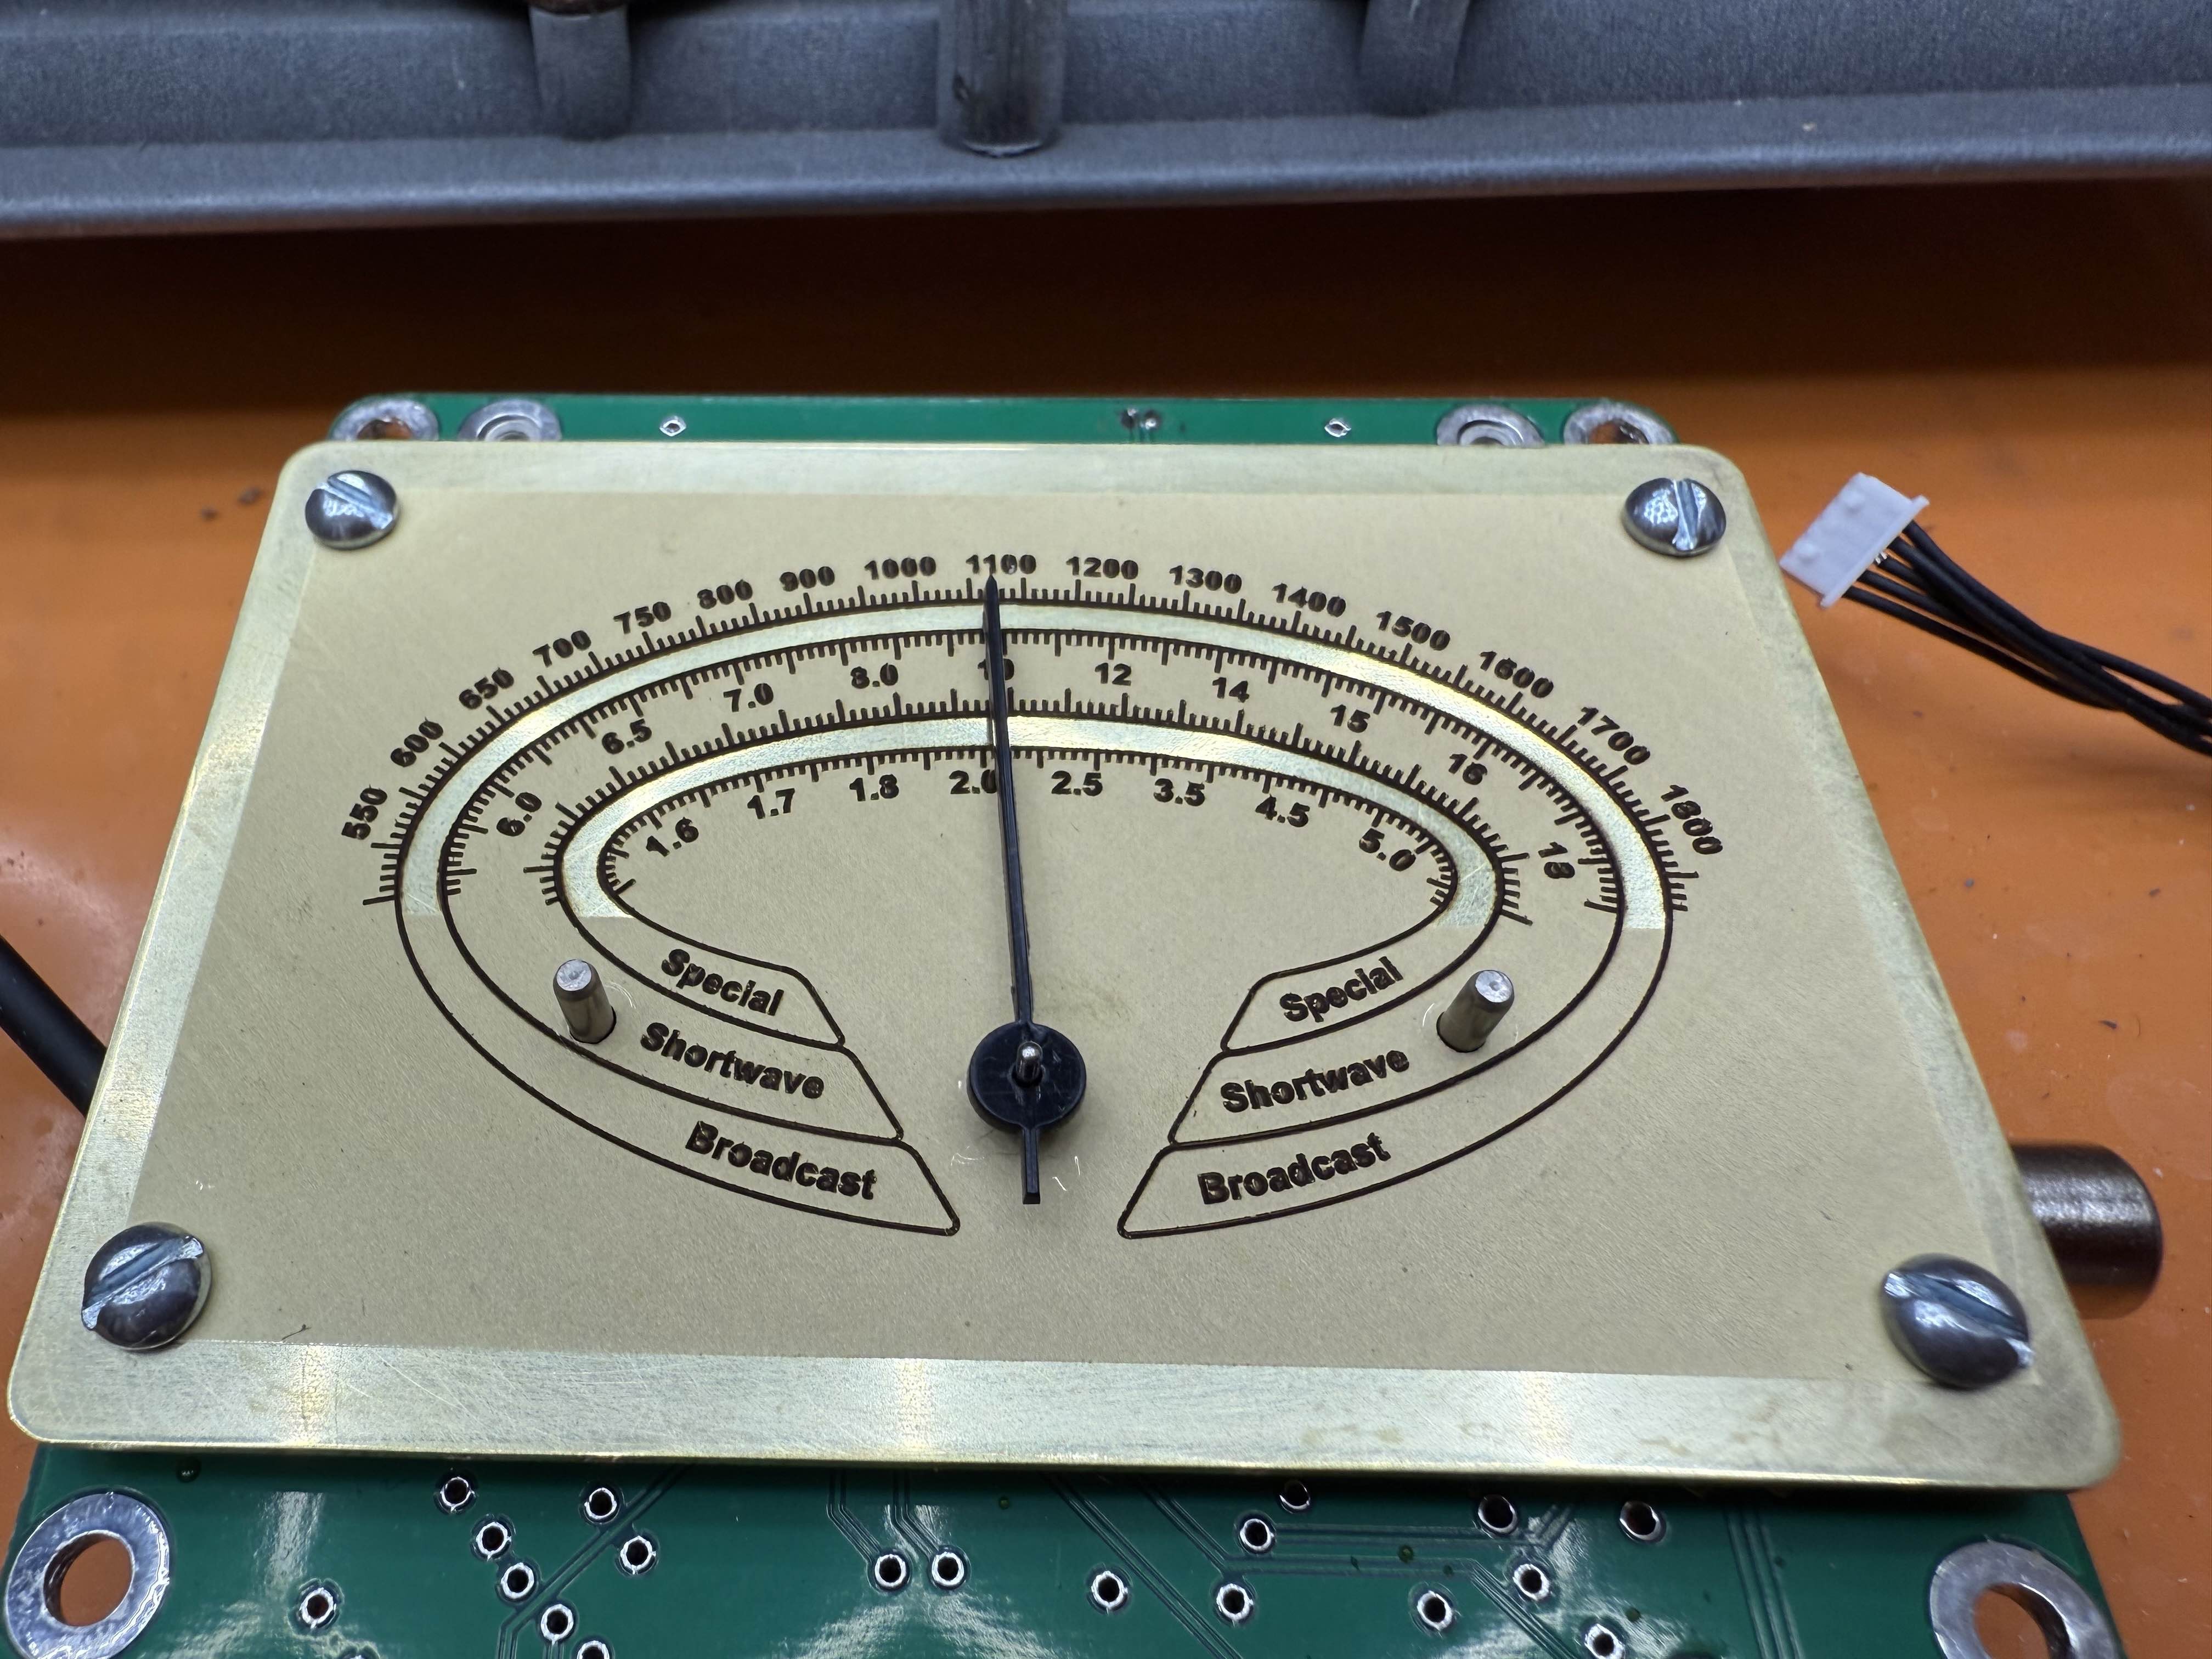
As one of the final steps of the project I laser etched the brass gauge face. First I had to polish the the plate, such that the area between the numbers stays with a mirror finish, and the rest is made matte by the laser. It also does the blackening all in one 6 minute etch by a fiber laser.
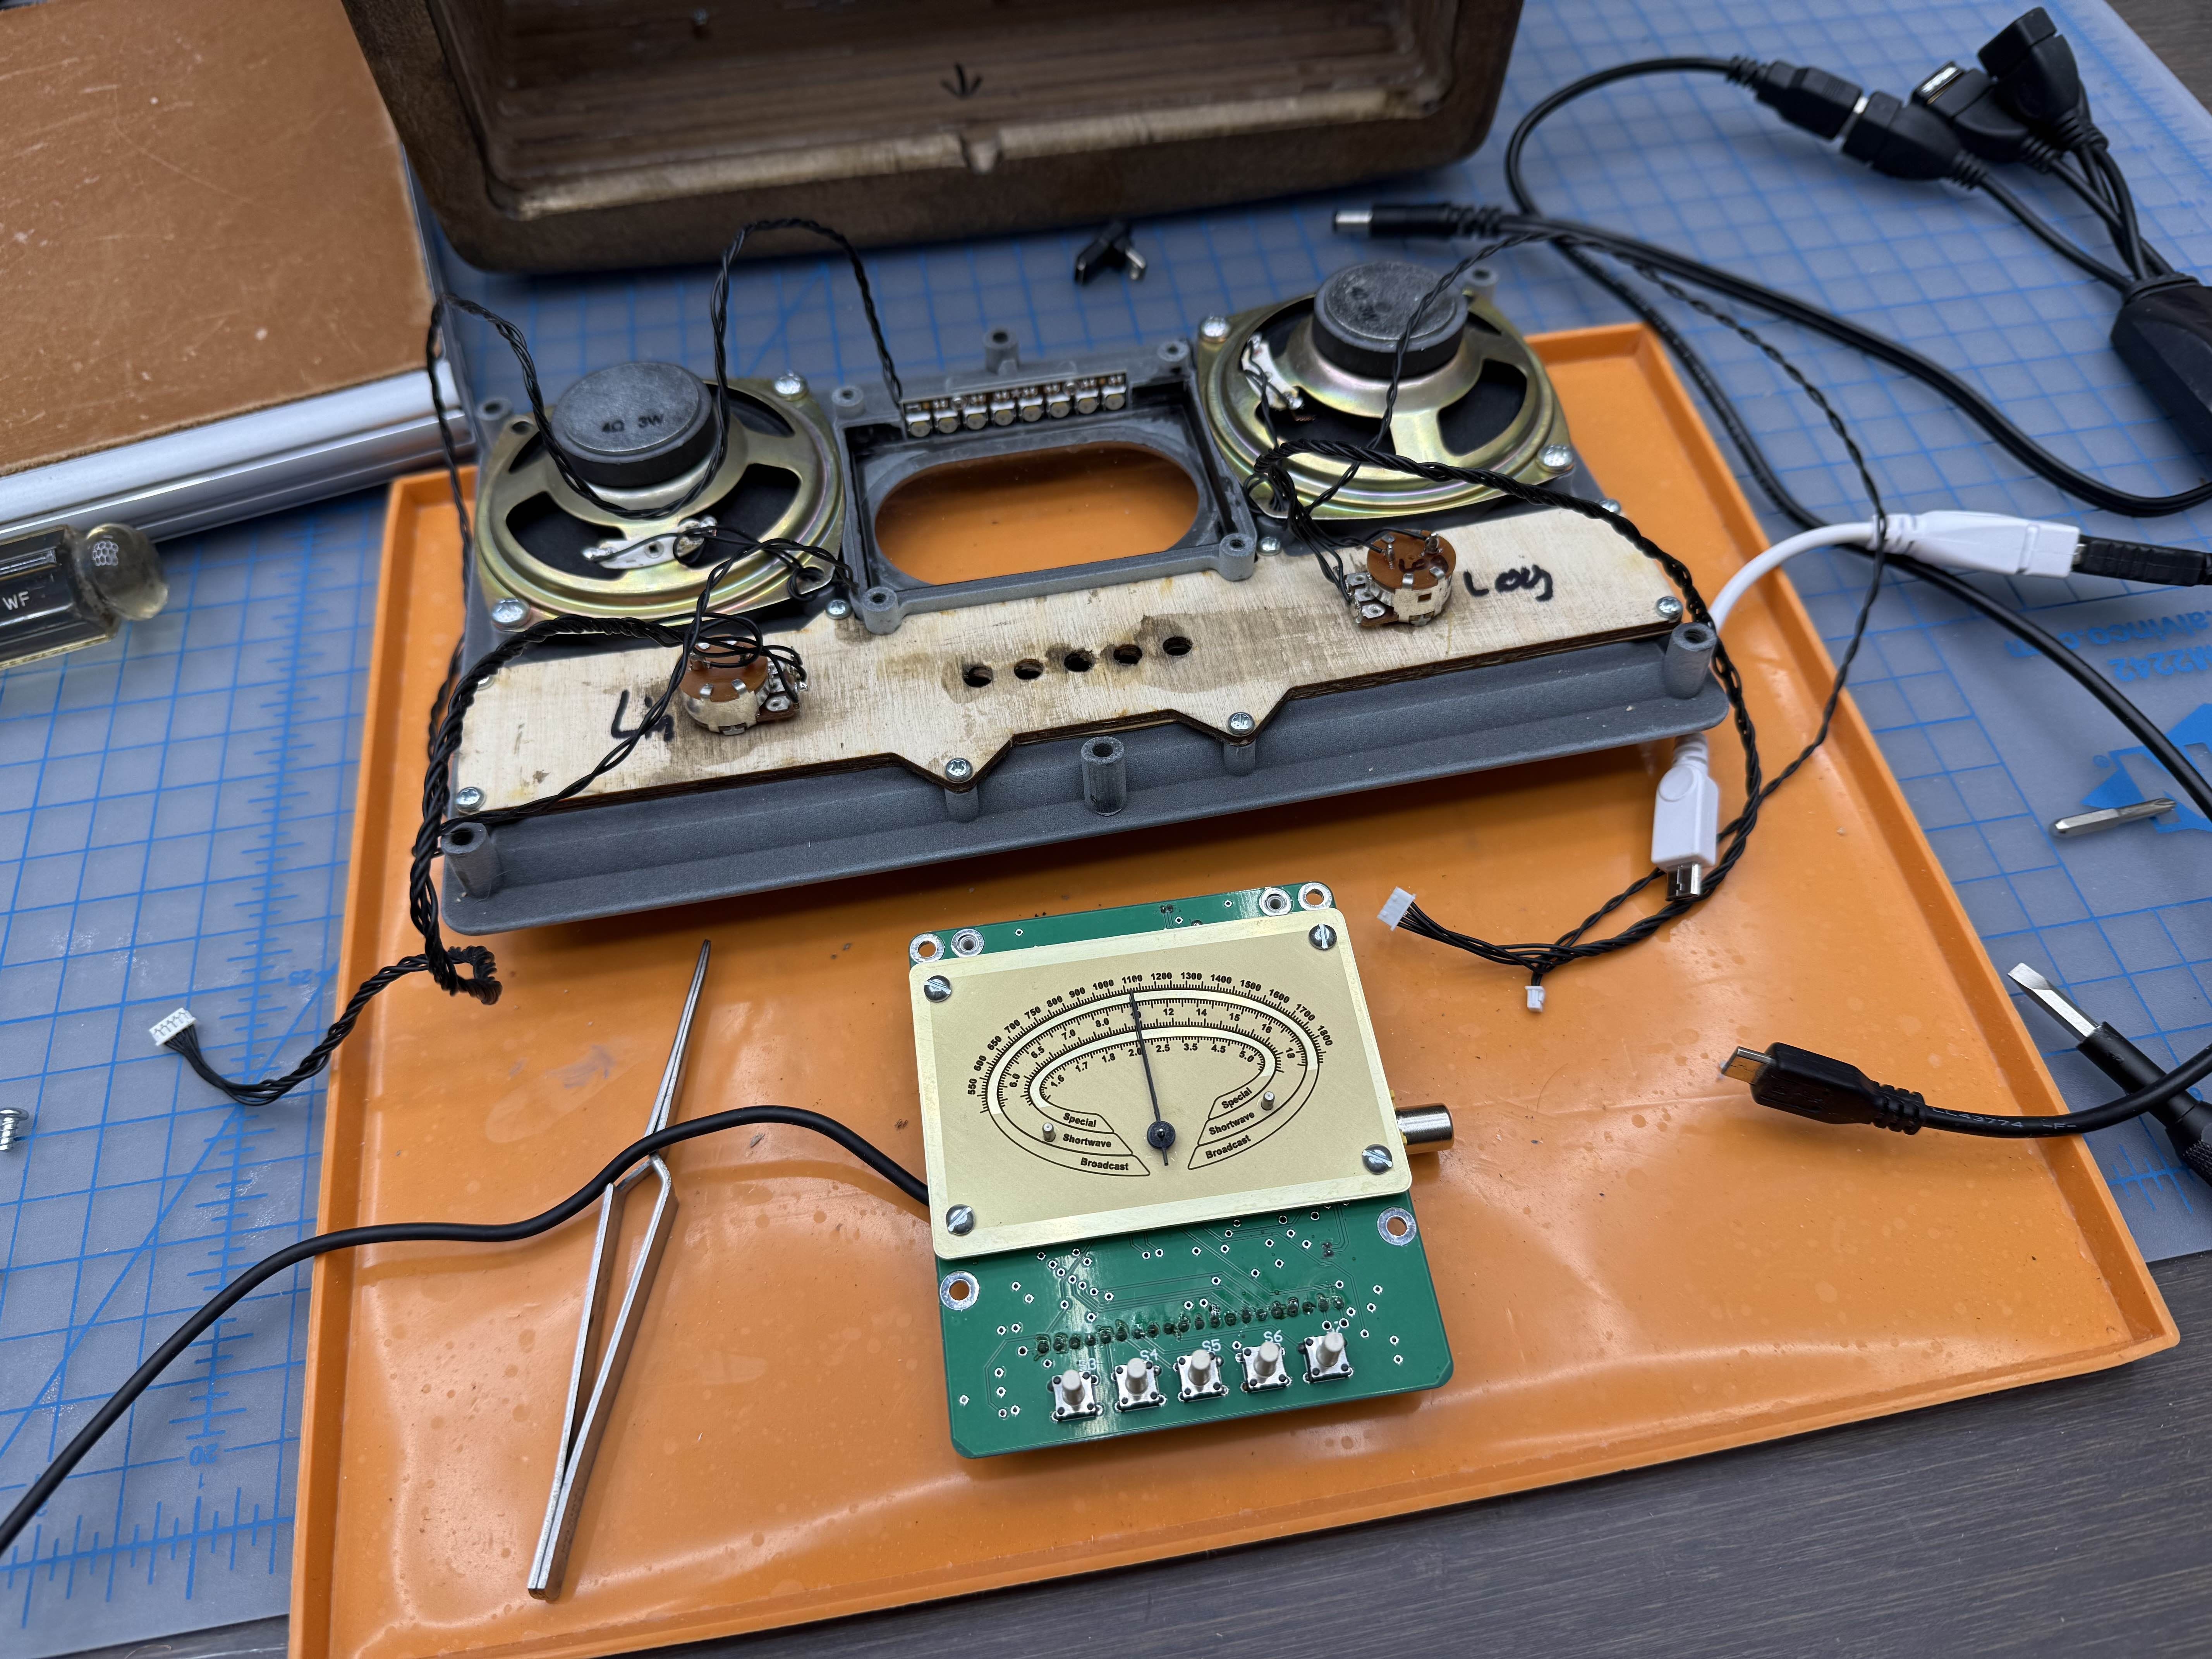
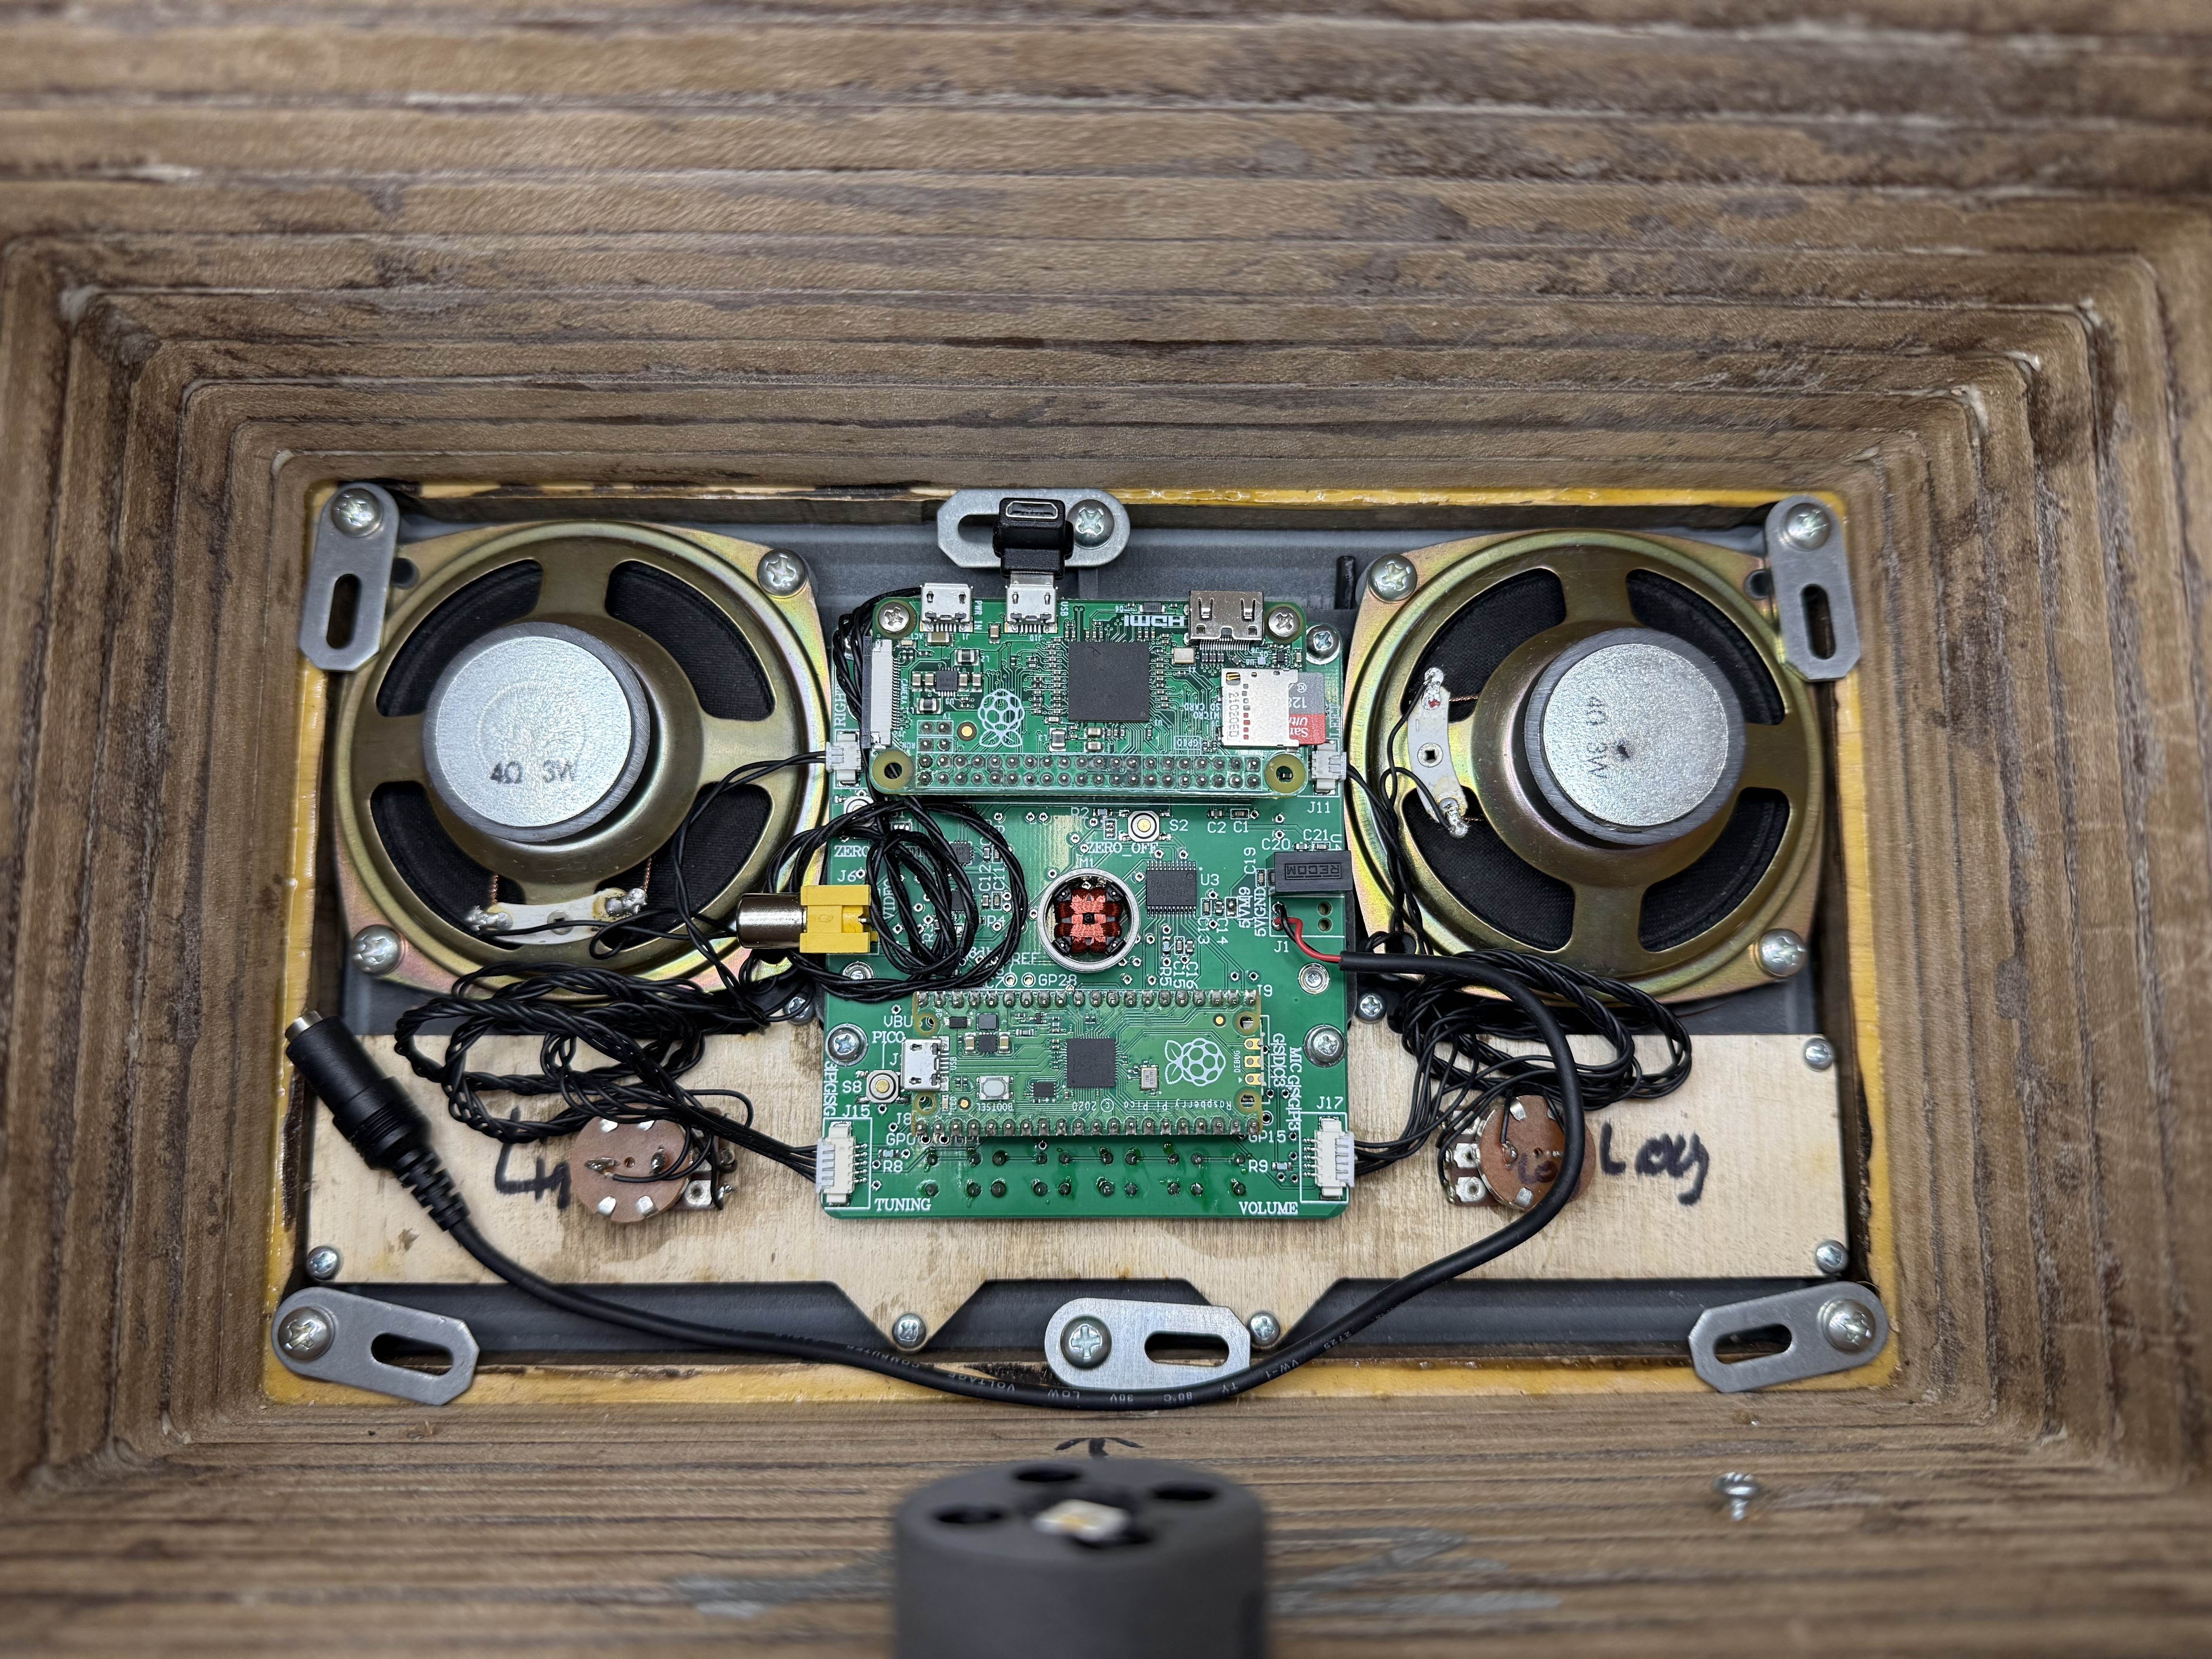
This is the electronics as they sit before final assembly. I should have spent some time to shorten the wires, but I was too lazy.
Not shown is the AC to DC supply.
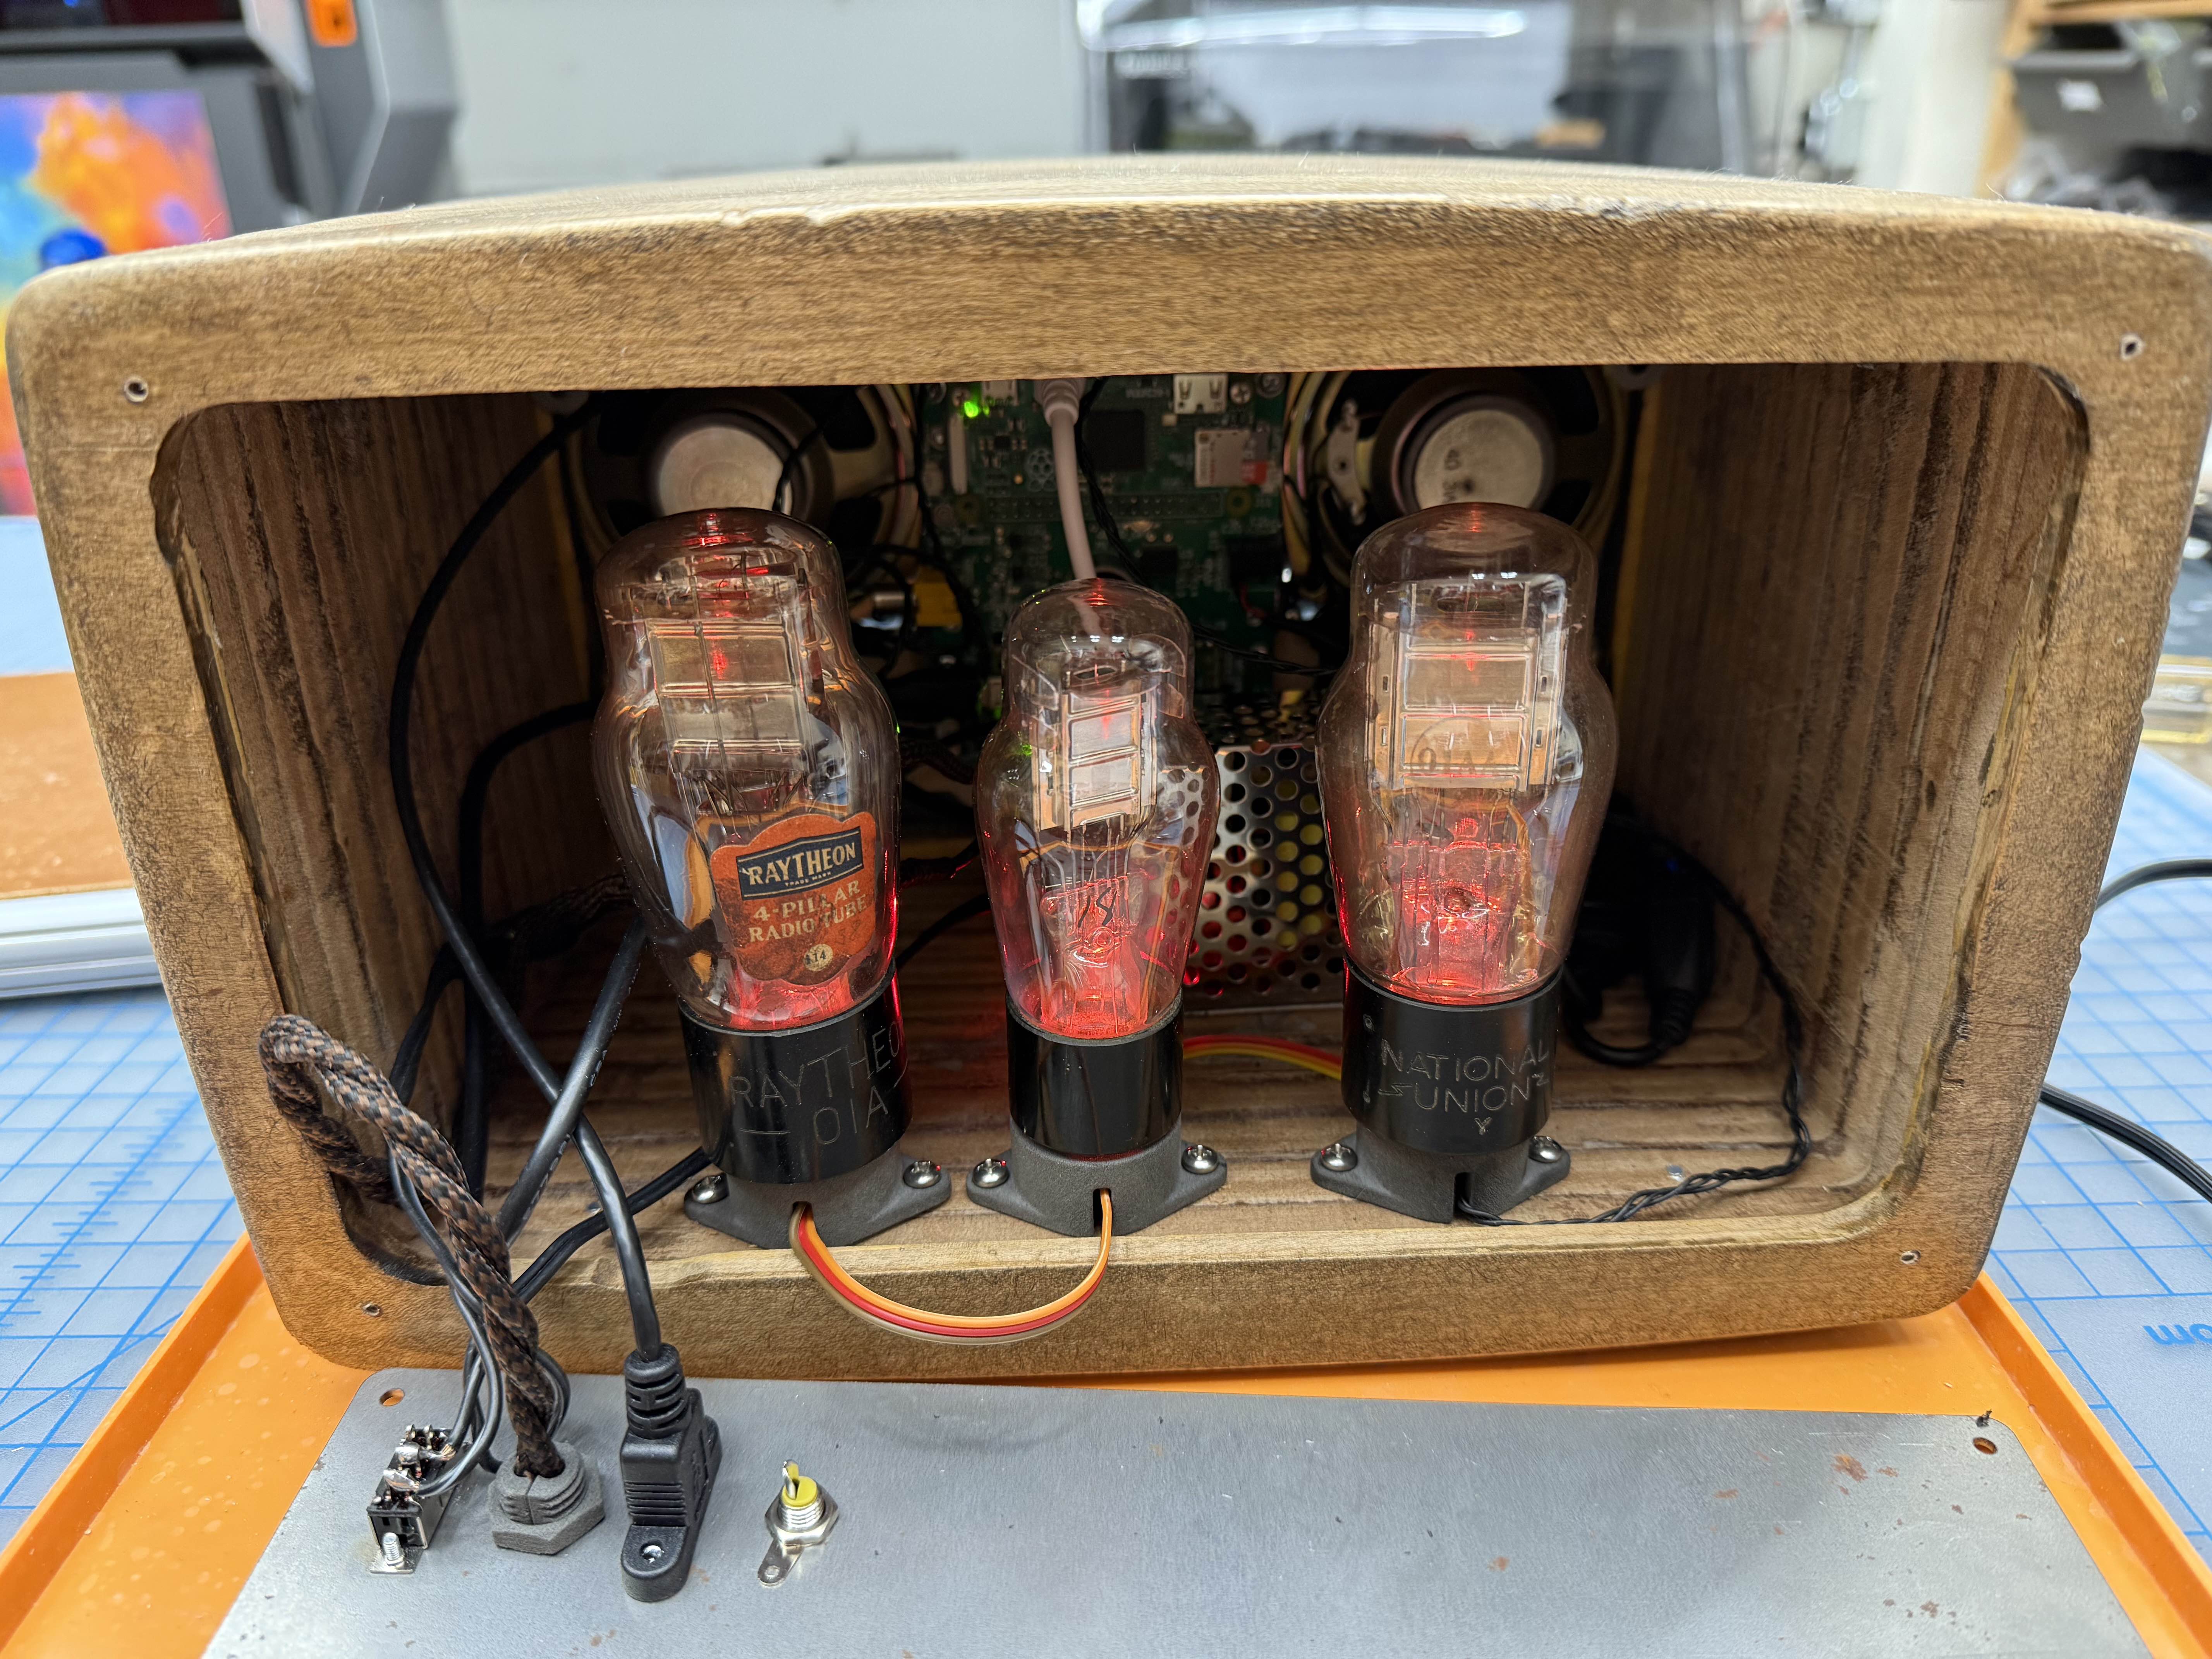
I have three neopixels inside 3D printed vacuum tube socket. Yes, these are real fake tubes. But they look great when you look inside the back of the radio.

The very last step (which I will probably redo) was to make the Radiation King badge as reflective as possible. For this I actually used silver gilding leaf. This was the best of 6 attempts, I am not sure if I want to redo it, or leave it a bit rough as the rest of the radio is that way anyways.
I also finally have the code done. I added a few new features that make it just work smoother.
Discussions
Become a Hackaday.io Member
Create an account to leave a comment. Already have an account? Log In.