 Michael Gardi
I've kind of been in a holding pattern waiting for the keyboard "kit" to arrive but no more as it was delivered this week. This is a classic retro-style ASCII keyboard, modeled after the ADM-3A keyboard, which can also be populated to fit perfectly in an Apple II/II+, or an Ohio Scientific Inc. computer, or as it turns out an MCM/70. For details check out the Unified Retro Keyboard project.
I was able to purchase the keyboard PCB, a set of Futaba MD-4PCS keys, a stabilizer panel for the Futaba keys, and a keyboard encoder card from Dave from osiweb.org.
The first thing I did was to set the keyboard PCB with a few keys loosely set in place onto the partially finished MCM/70 case to get a rough feel for what it would take to integrate the keyboard.

I was happy to see that while it looks like a tight fit, I am sure that I can make it work. So with some confidence I went ahead and assembled the encoder and keyboard. I'm not going to detail the process here since it was mostly identical to the work I did on my Sol-20 Reproduction. For details check out:
- The Keyboard Encoder
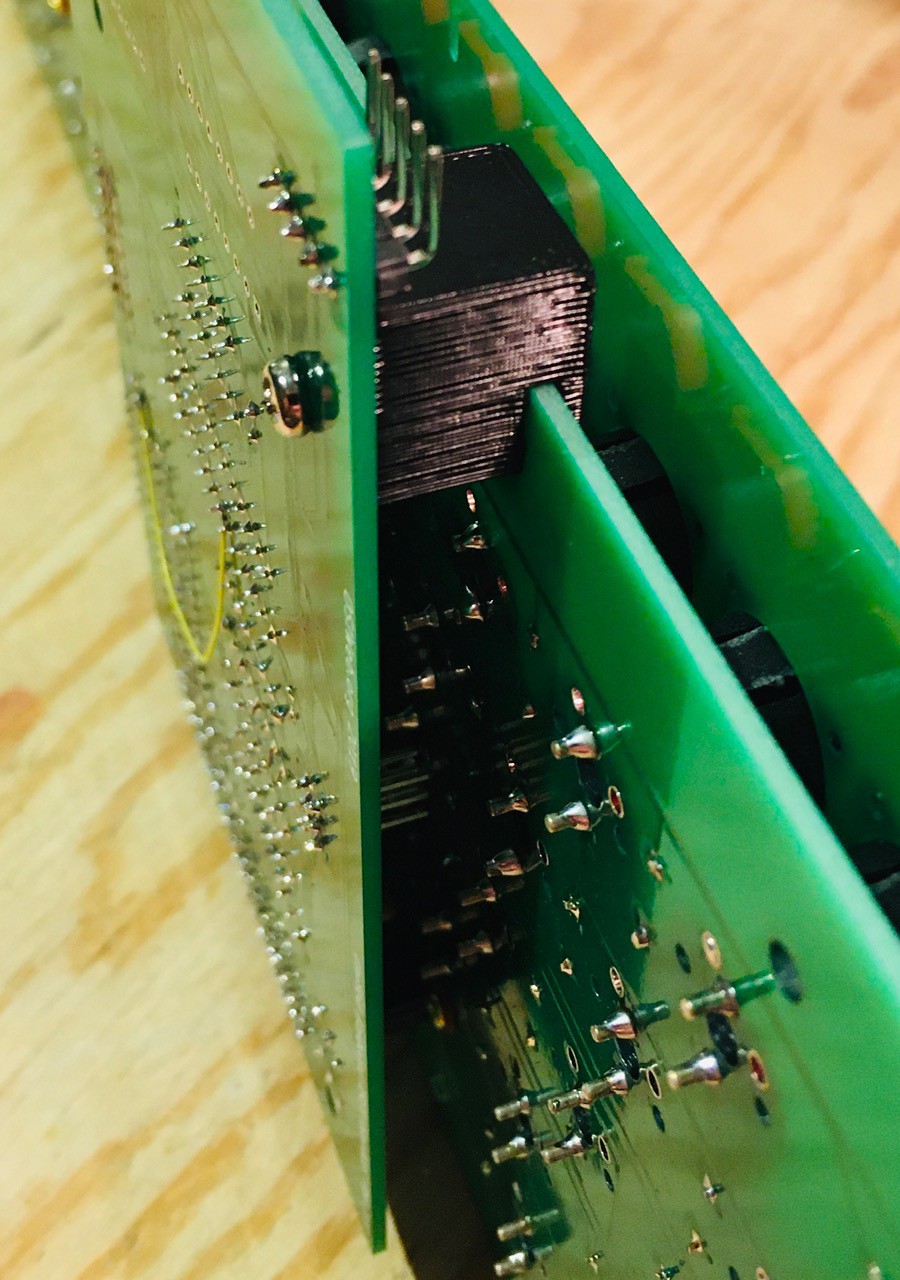
- Keyboard Construction (Note that the newer keyboard PCB has the discrete diodes and resistors pre-populated on the board. A real time saver. Thanks Dave.)
Here they are.
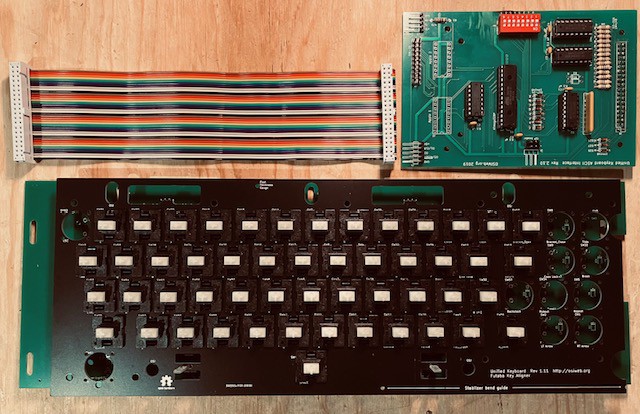
By design the encoder can be mounted onto the back of the keyboard via the 40-pin headers. This is what it looked like for the Sol-20.
However there is not enough room in the MCM/70 case, so I am going to use the ribbon cable pictured above.
Next testing.
Discussions
Become a Hackaday.io Member
Create an account to leave a comment. Already have an account? Log In.