 Bud Bennett
[Edit 2022-06-10: updated Current State of Progress.]
[Edit 2022-04-21: added a section describing the code flowchart and updated the project status.]
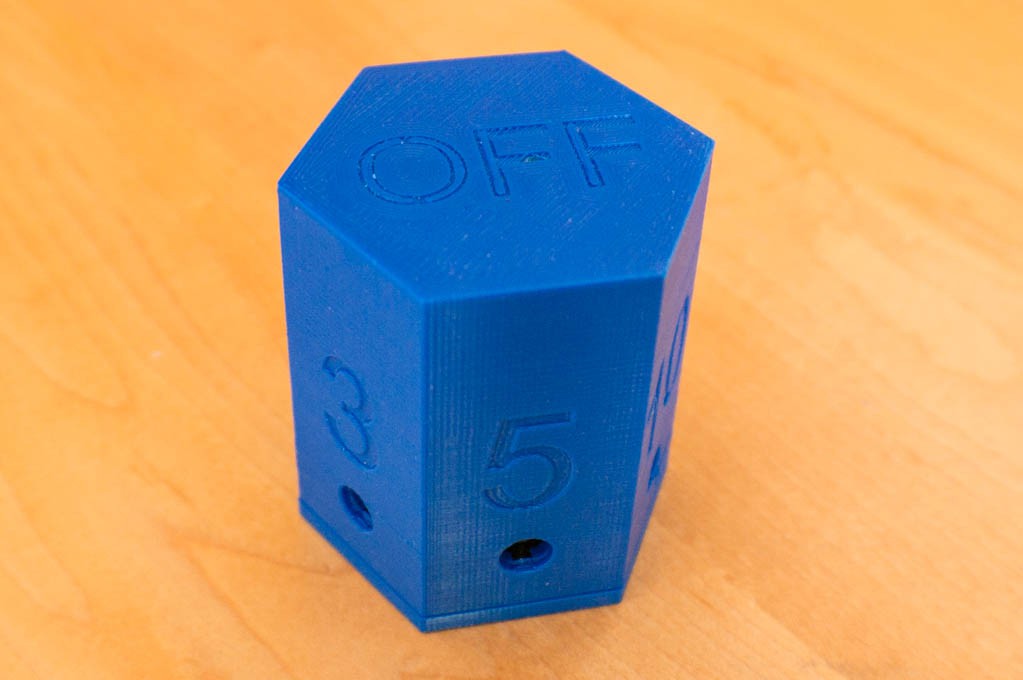
I have a timer cube -- from Amazon -- that will timeout 4 intervals: 1, 5, 10, 15 minutes. You simply tip the cube from the "off" side to one of the labeled intervals and it begins to timeout the interval. When it's done it beeps for about one minute, or until you flip it back to the side that designates "off". There is not much to it...no menus...just an on/off switch (which seems unnecessary.) The cube uses a metal ball (I'm guessing here) that rolls to the lowest point and informs the intelligent circuits which side is downward so that it can time out the interval properly. There is also a 4-digit LCD display that I almost never look at. I use this timer cube most often to let me know when to let Lucy, our Border Collie mix dog, back into the house after a potty break.
I thought it would be a nice simple project to employ some electronic hardware & software, as well as improve my 3D printing expertise, which is in its infancy.
Functionality:
- It should be low power since it will have a relatively small battery for power. I'm shooting for an idle current of less than 25uA, and less than 3mA average current when timing an interval. There is no on/off switch.
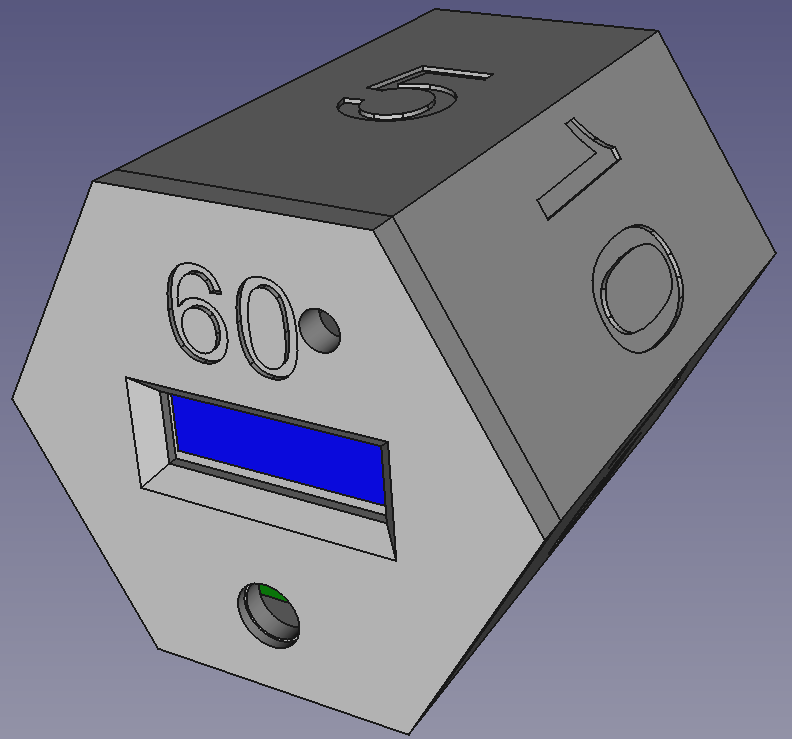
- It should begin a timing interval after having it's 3-dimensional position changed. There are seven timing intervals (3, 5, 10, 15, 30, 45 and 60 minutes) and an off state.
- The timing interval can be terminated simply by setting the box in the off position. In addition, any timing interval can be changed to another and restarted by tipping the box to a different side.
- The box will emit a short beep/tone/annunciation to confirm that it has started the interval.
- At the end of the timing interval the box emits 40 beeps/tones/??? until it is set to its off position or the series of beeps expires.
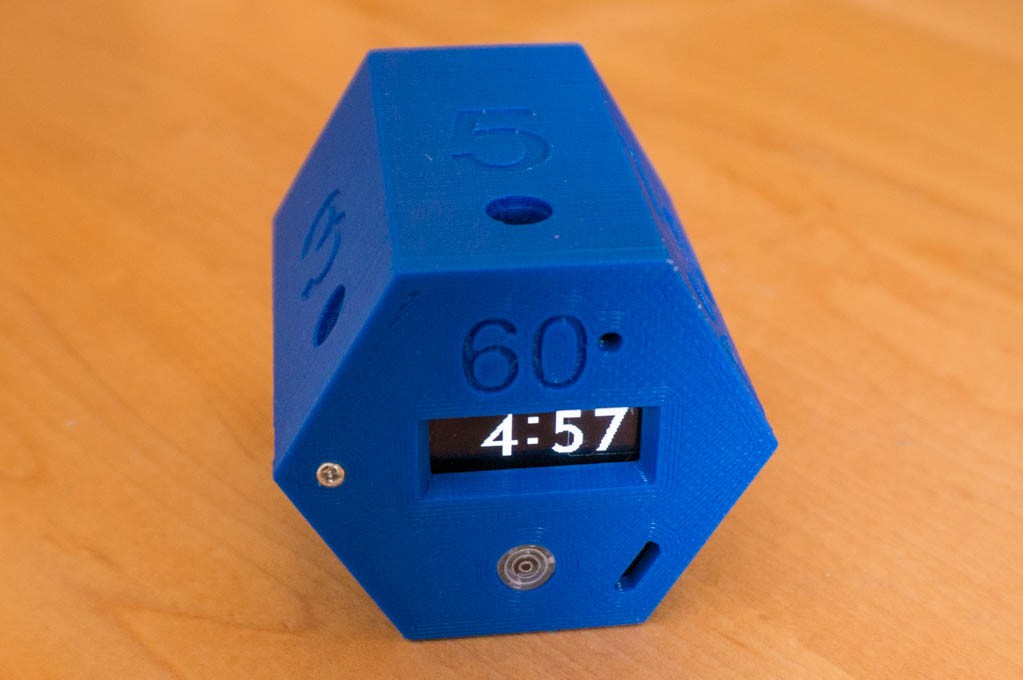
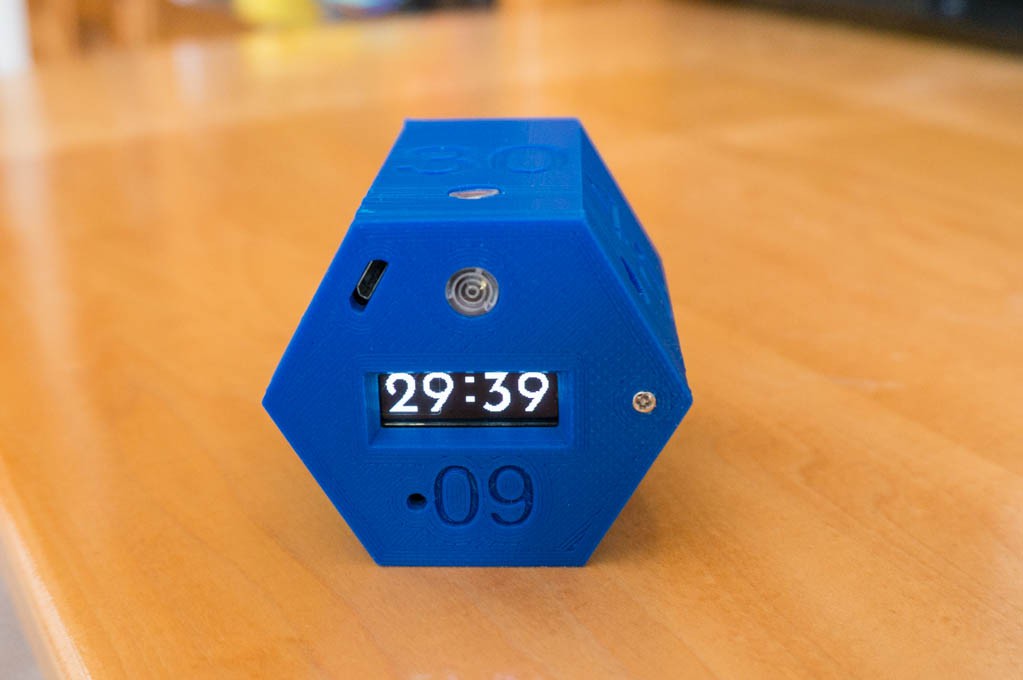
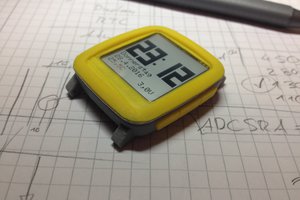
- The display will indicate the remaining time left in minutes:seconds. The Off position of the cube has the display face down on a surface, so that all of the timing intervals have a visible display. The display remains oriented so as to be always be "right side up" and readable.
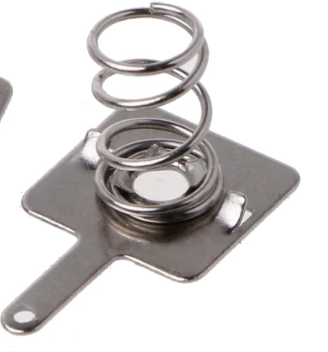
- Power is from a single lithium-Ion 10440 (AAA size) rechargeable battery. The battery should be easily replaceable. An internal charger gets 5V nominal power from a micro-USB connector. Recharging a depleted battery should require 1-2 hours, and the unit should have a standby operation of more than one year and be able to time out more than 100 hours per charge.
Other Features in the "It Would Be Nice To Have" Category:
- A menu mode to change certain parameters -- like beep volume, etc. This would be and interesting challenge since there are no buttons or switches on the box.
- Total cost < $10 USD.
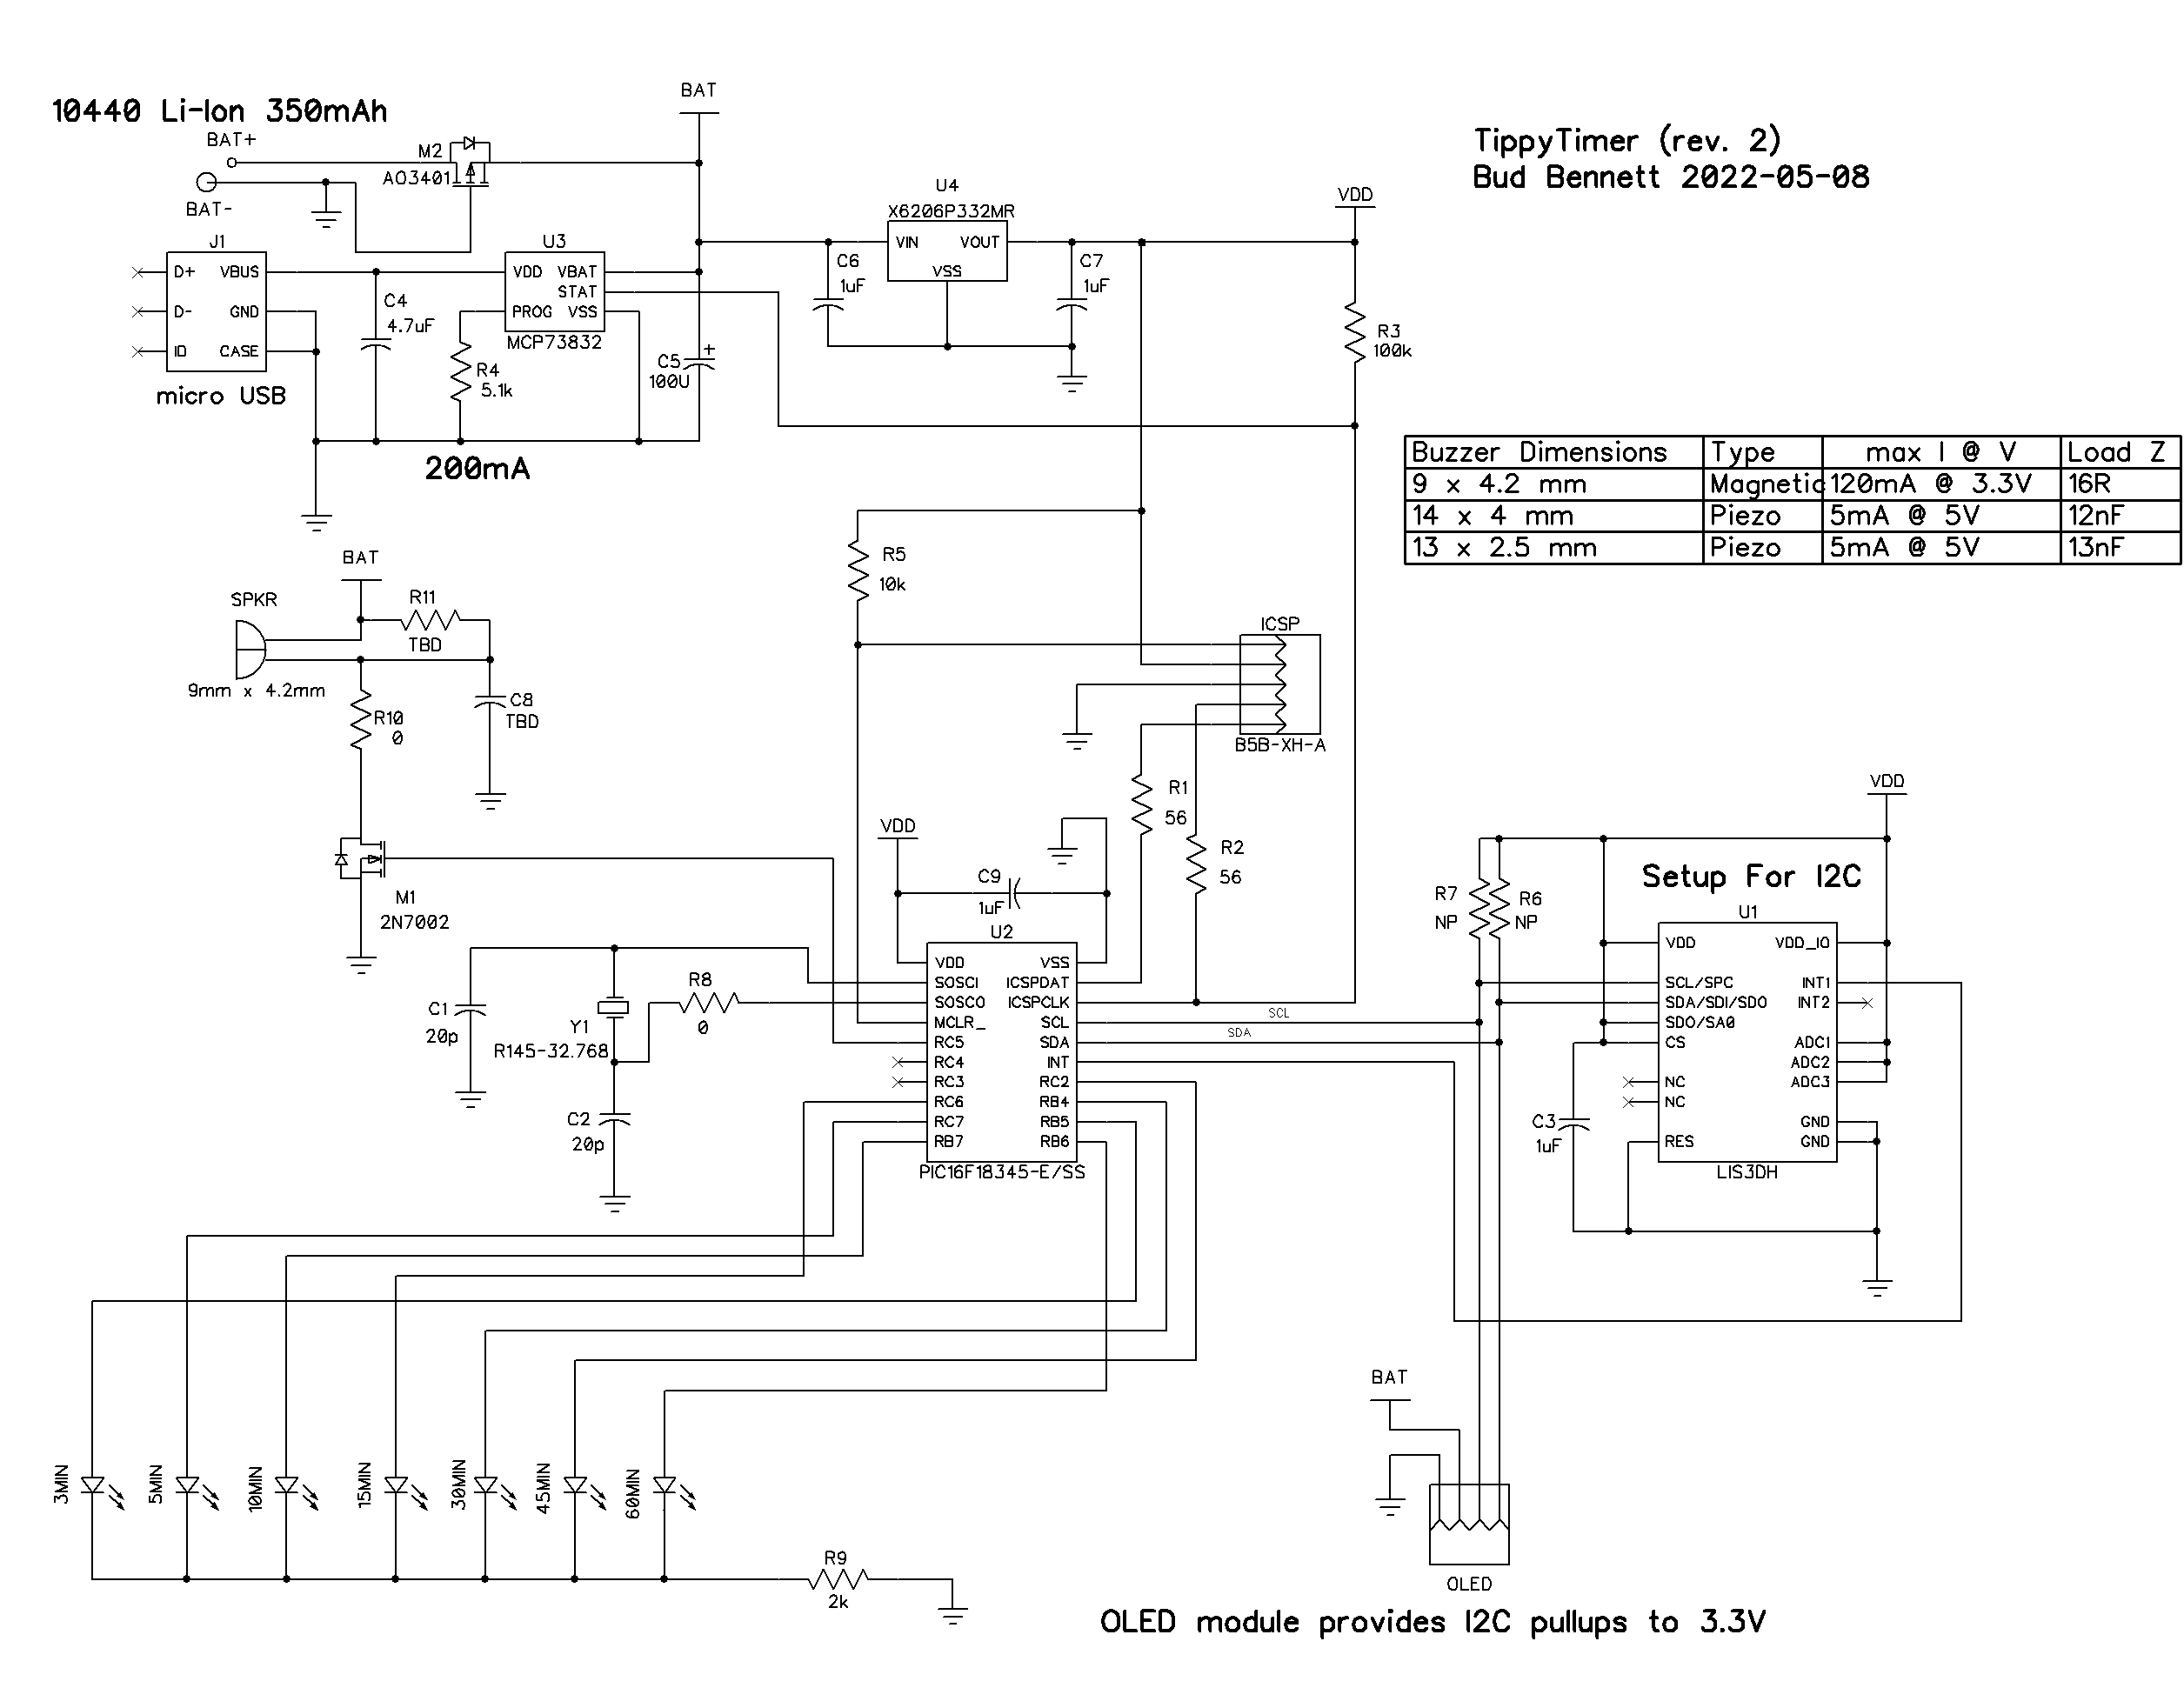
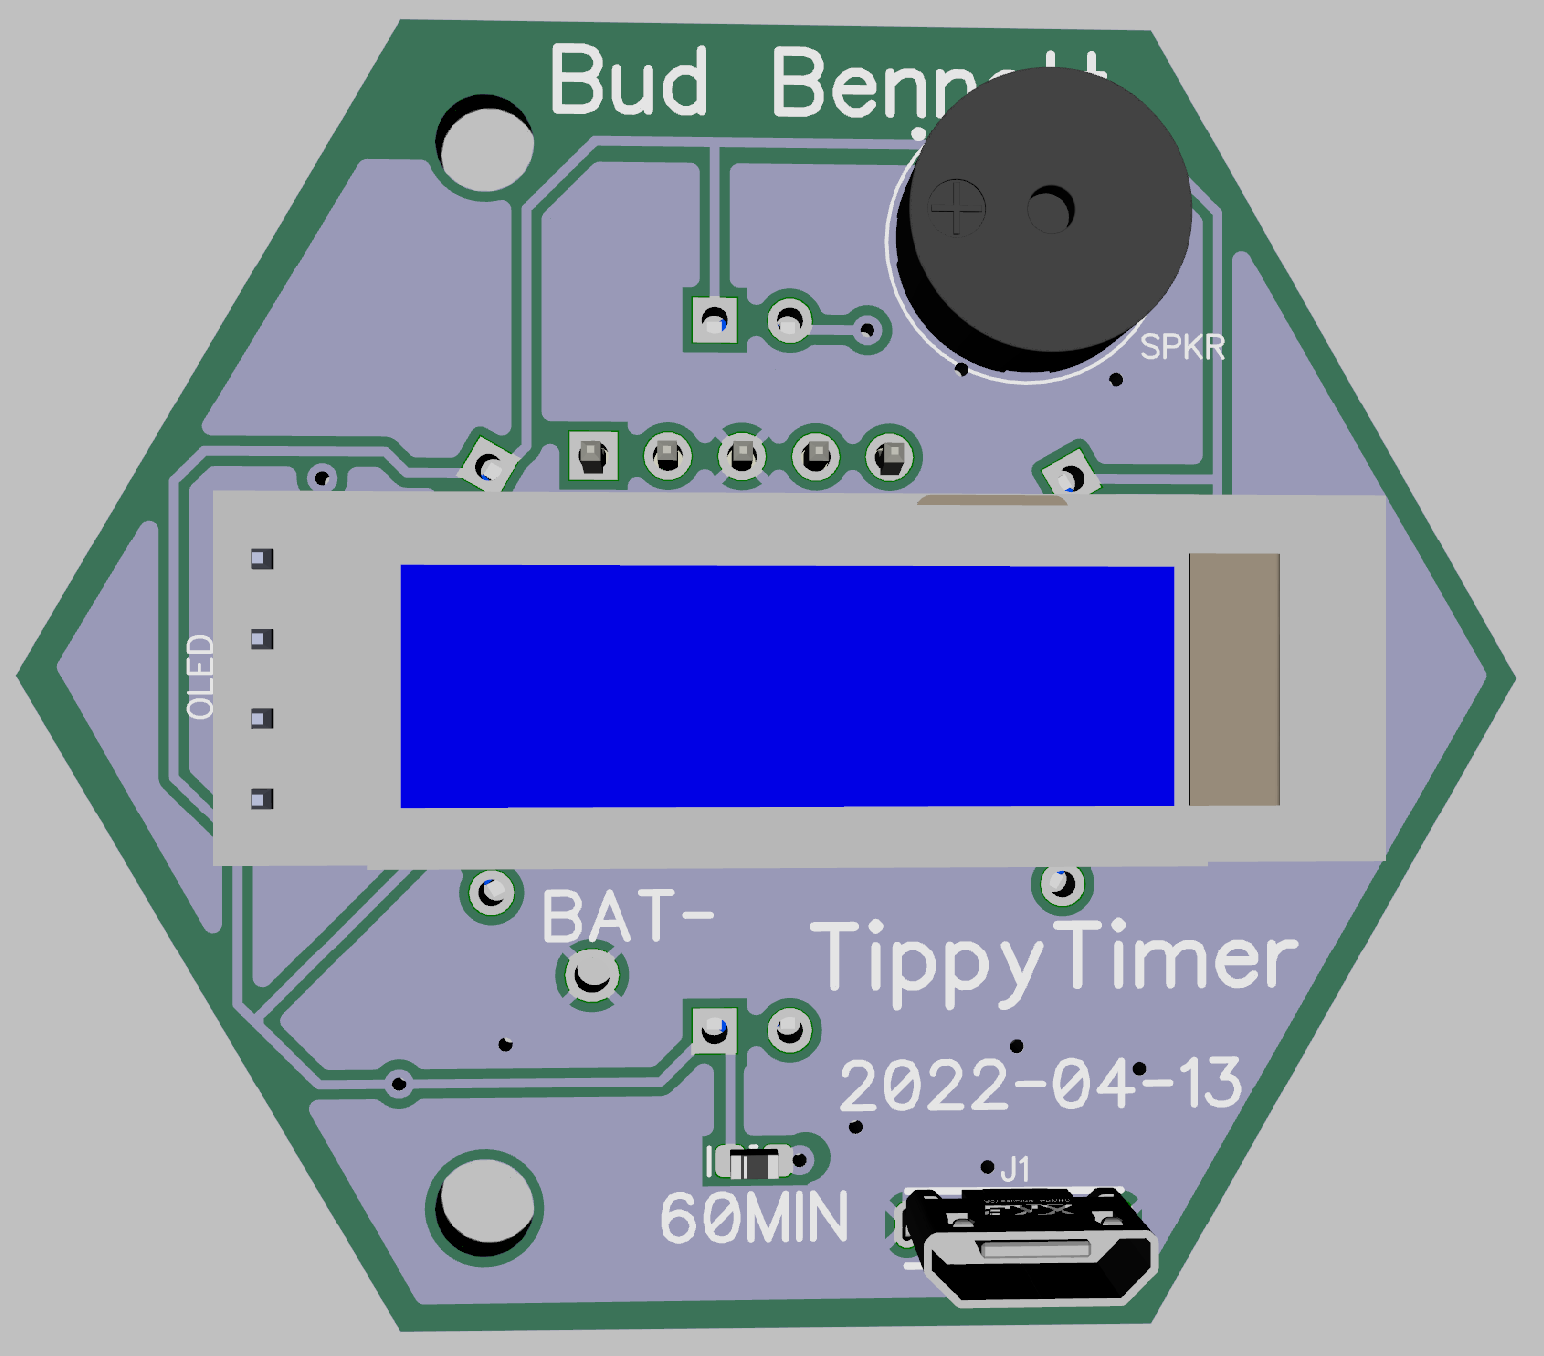
I've settled upon the PIC16F18345 micro-controller: a 20-pin 8-bit part that seems to contain the kitchen sink of stuff that you might need: I2C interface, ADC, PWM for beeper, low current secondary 32768Hz oscillator, timer/counters, 14k of program memory -- all for about $1.5 in low quantities. Here is my current schematic (currently rev.2):
This design uses one AAA 3.7V Li-Ion battery. I have figured out a method to house/contain this battery. I initially intended to use LiPo chemistry, but the system uses a 3.3V regulated voltage for VDD. The PIC's ADC is setup to measure an internal 2.048V input voltage using VDD as the reference. This implies that the PIC won't know what the battery voltage is until it drops below 3.3V. LiPo batteries should not be discharged below 3.5V, hence the switch to Li-Ion since they can be discharged to 2.5V without damage. (Yes, I could have configured the ADC to use an external resistor divider from the battery, but this is more PIC pins, components and potentially more current.)
Instead of a rolling metal ball, I'm using an accelerometer IC -- the LIS3DH -- which is a cheap and low current IC to tell the system what...
Read more »

 Max.K
Max.K
 Mile
Mile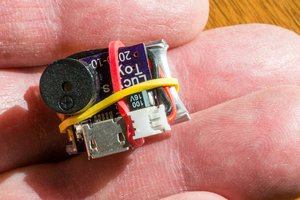
 TinLethax