 [zit] Olivier Gade
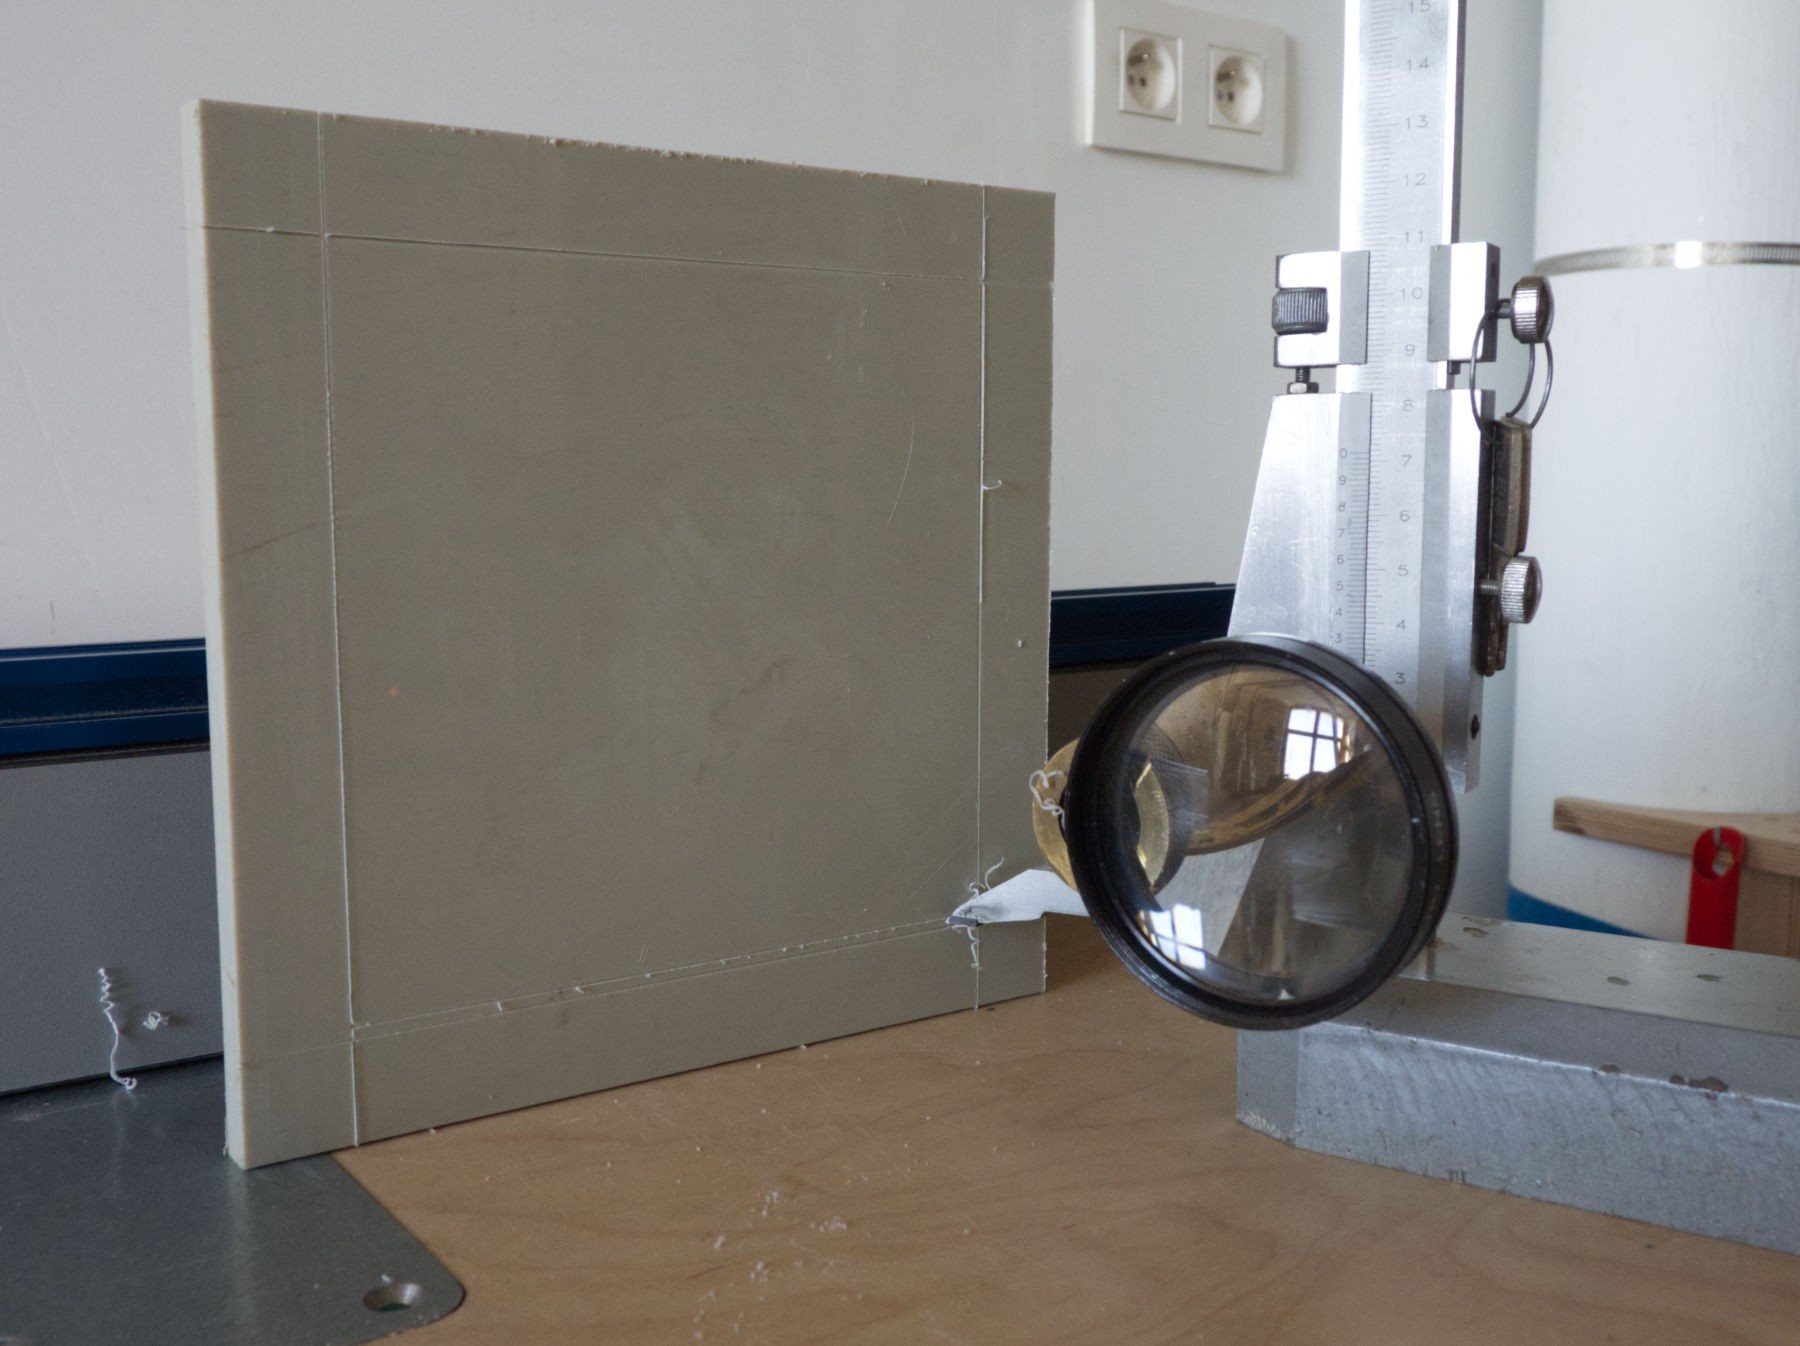
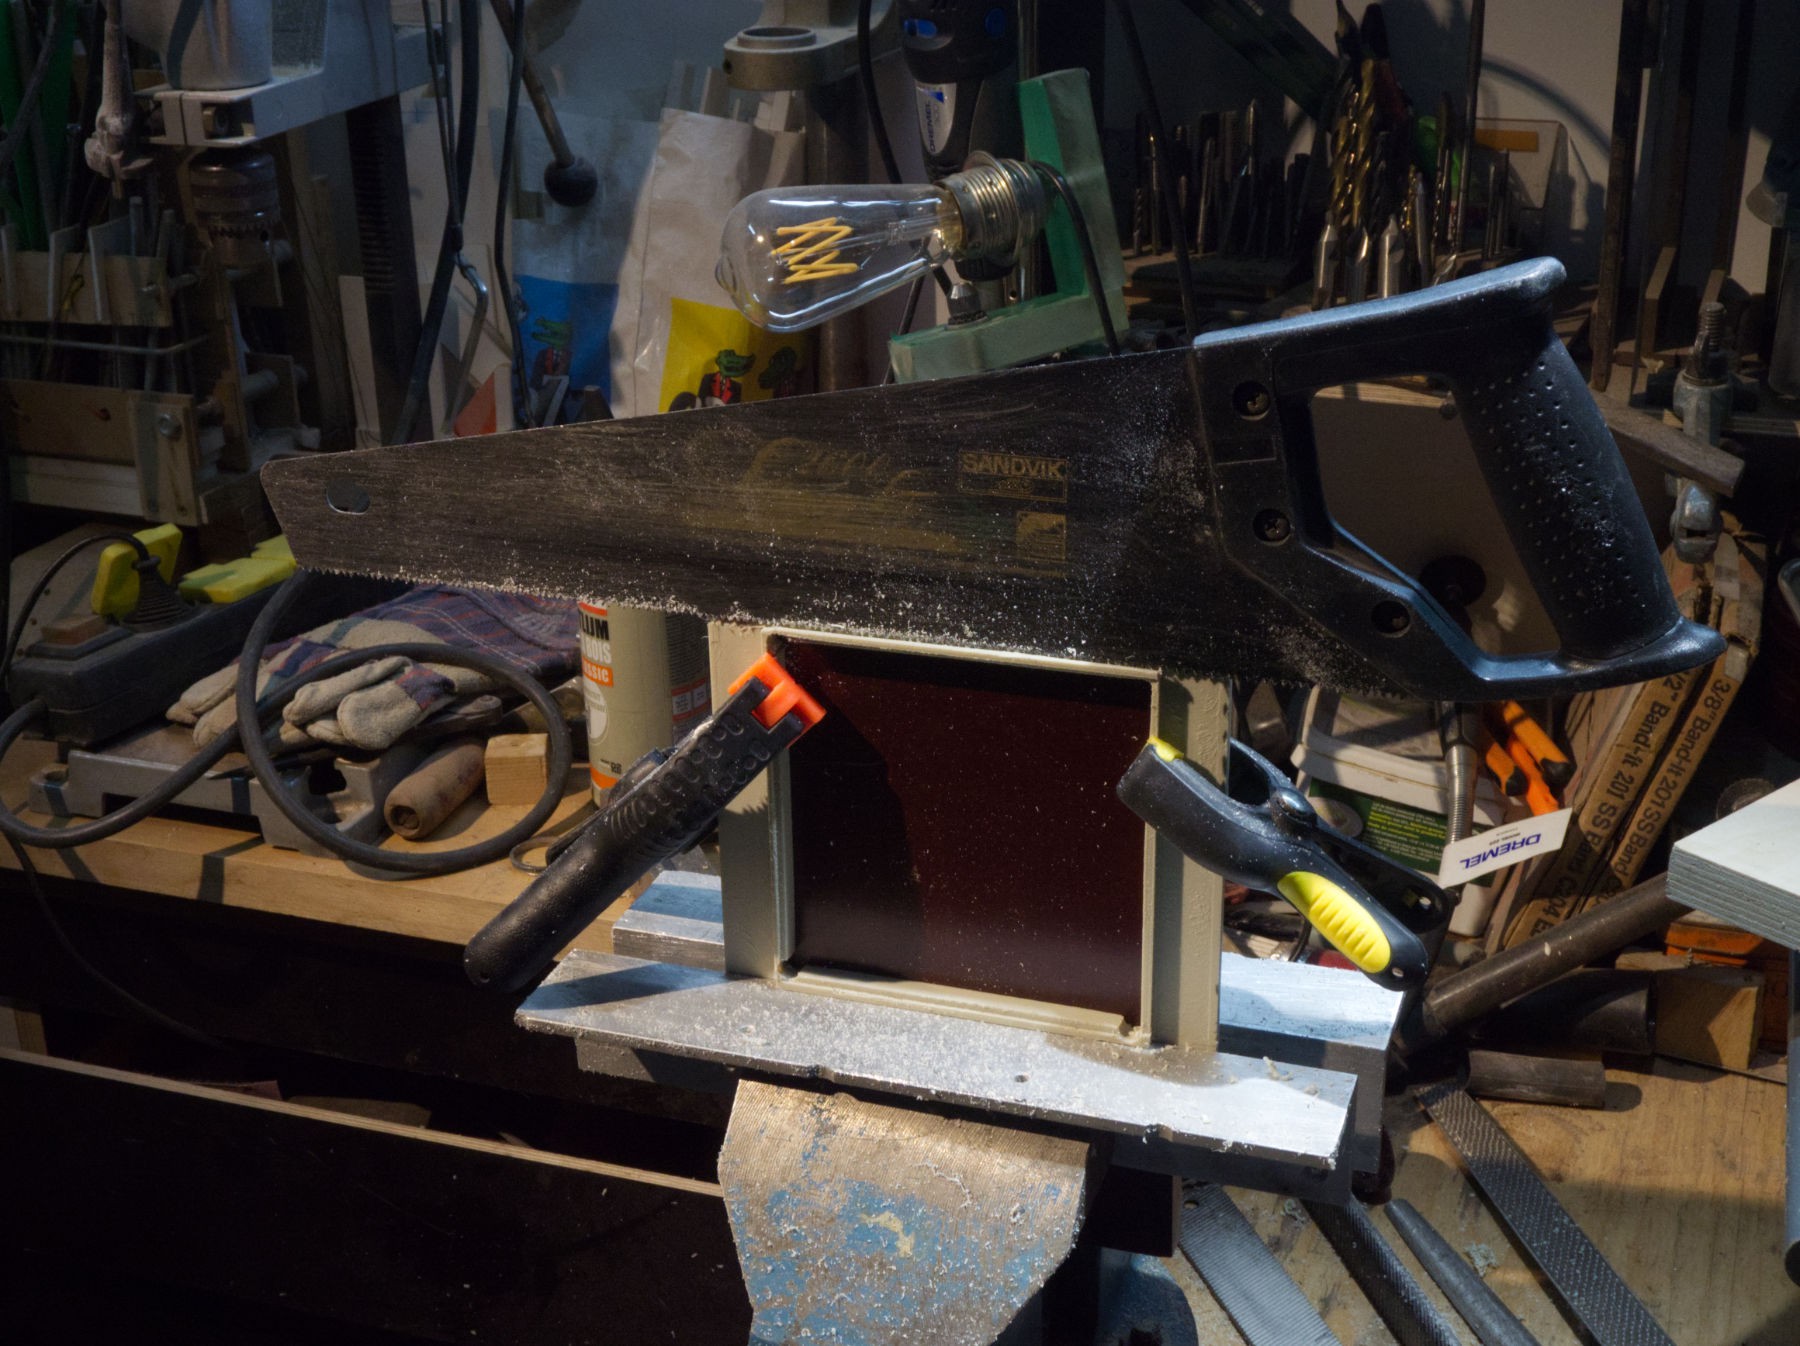
A more inert and solid material is chosen : 10 mm thick PVC.
I really enjoy a lot using the metal trusquin (marking gauge), as mine didn't come with the enlarging lens, I made it with a close-up 52 mm photographic filter and a piece of brass plumbing tube to hold it in place, very convenient ! very precise...
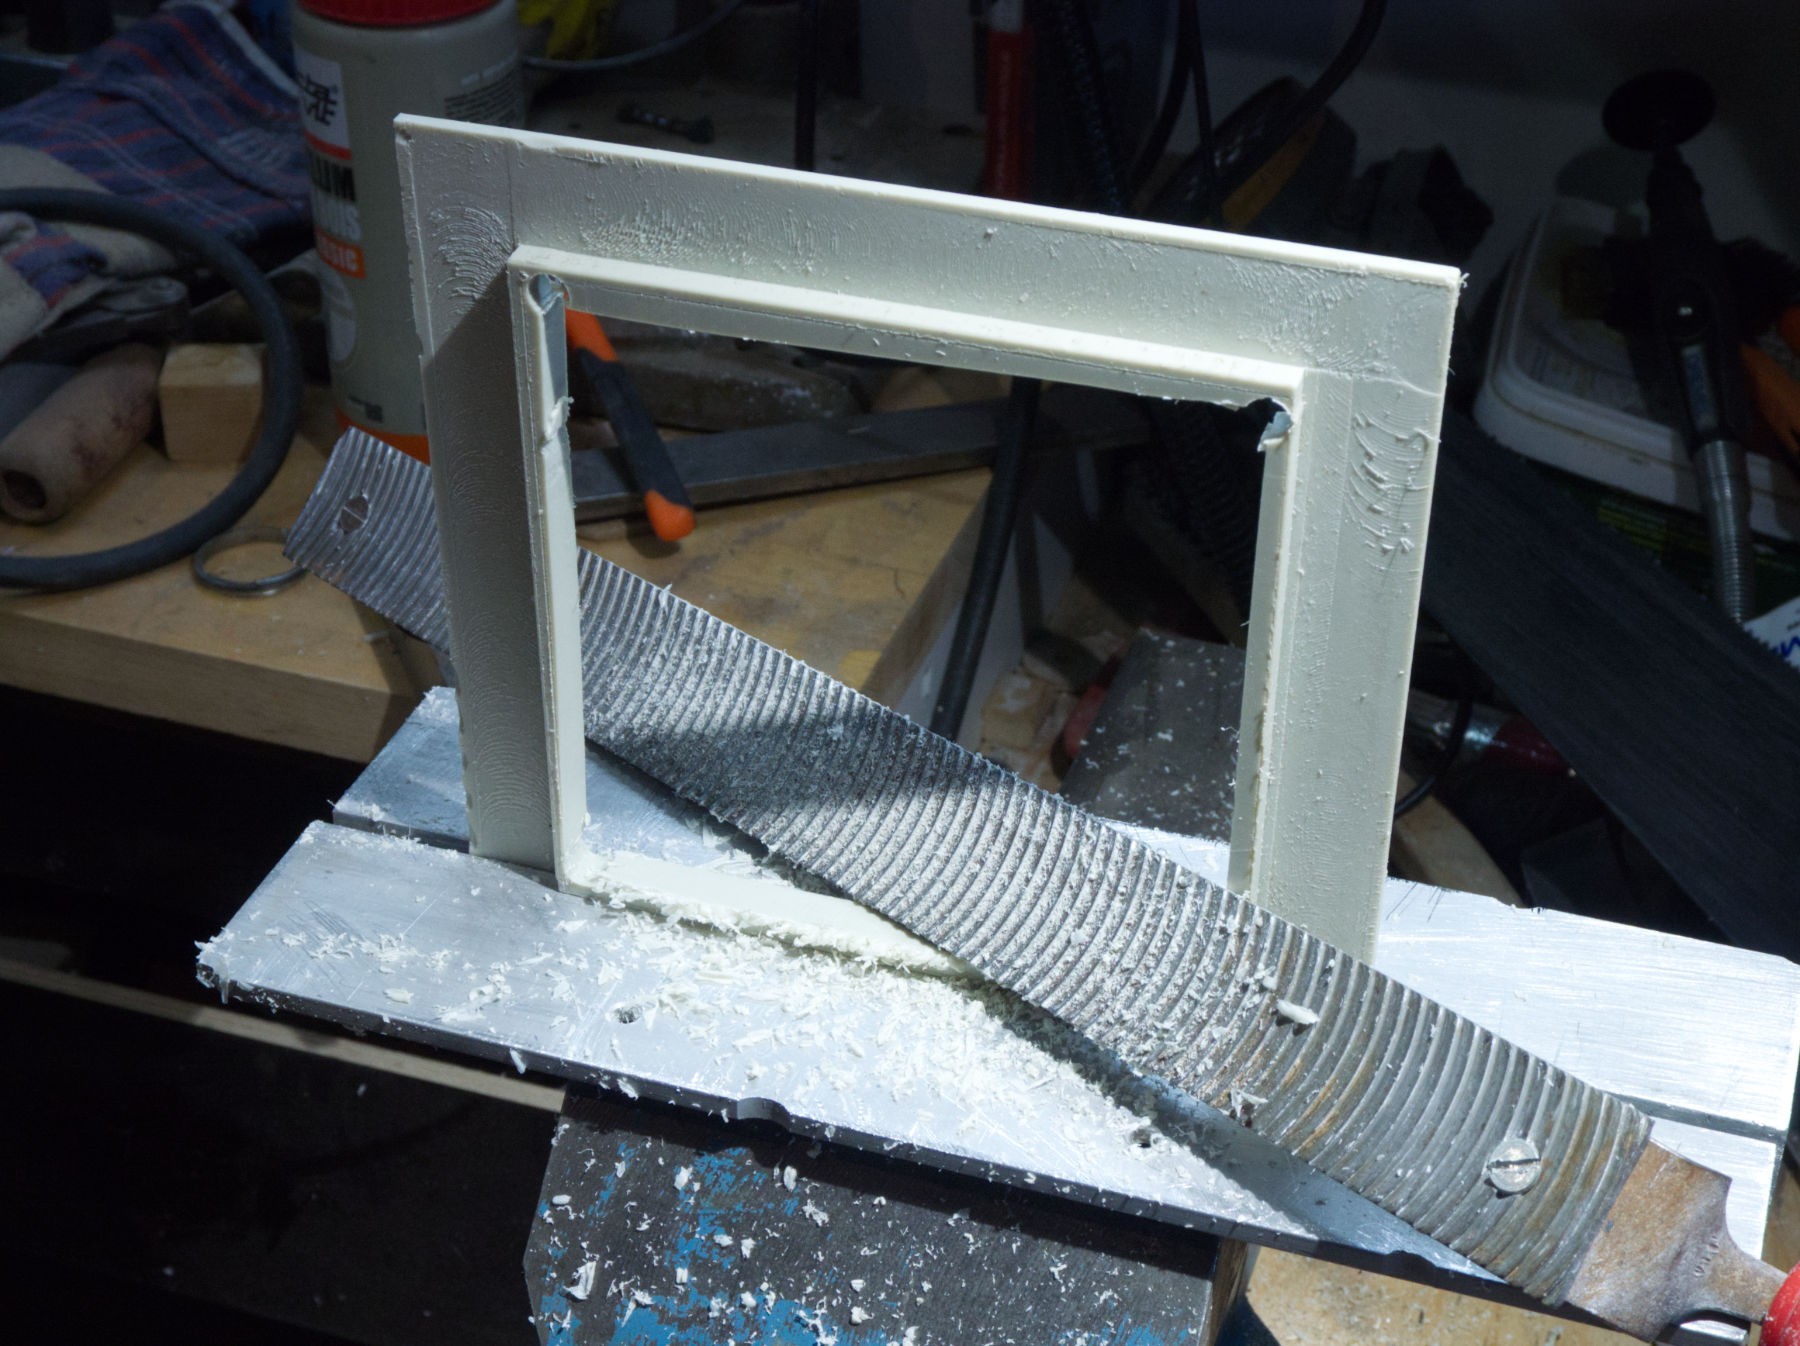
Routing was very fast (with a real table router), cutting the inside frame with the jig saw easy and filling very fast too.
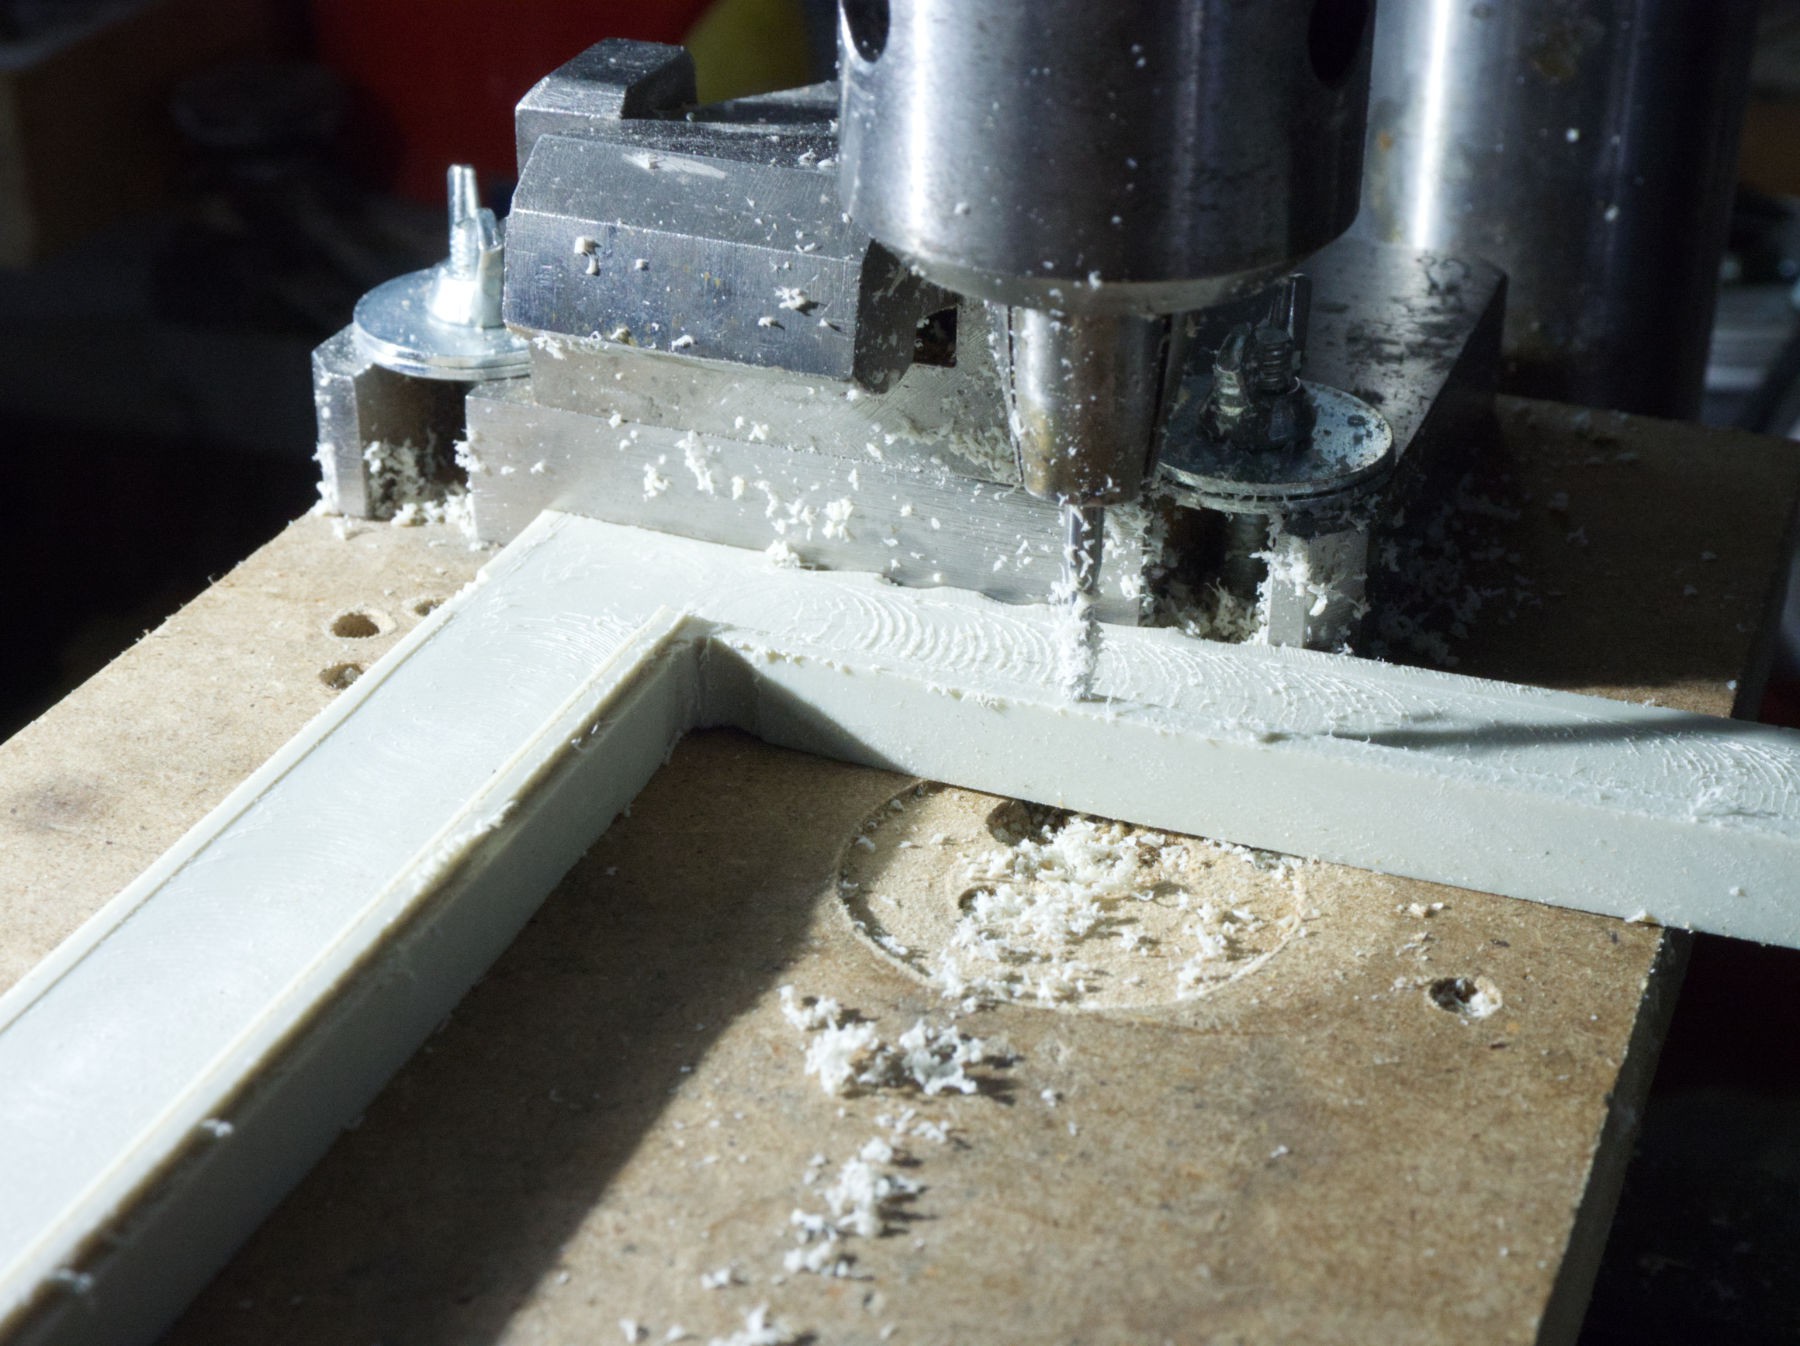
routing with the drill is easy too.
carefully cutting the inside groove, but, there's a problem : clamps are needed to have it flat...

Without clamps, it will never be flat to mont it on the camera : the heat generated by the router has distorted the plastic, merde ! too fast !
Discussions
Become a Hackaday.io Member
Create an account to leave a comment. Already have an account? Log In.