Close
0%
0%

Bloodletter Maquette

Animated figurine created to encourage a friend's screenplay project

Similar projects worth following
My friend Glenn Ramirez has been working on a sci-fi screenplay for a while and I wanted to encourage him; at the same time my friend Sean Lake was looking for some work and he is a master 3d and real-life model maker, so I commissioned him to create "Braomar", a character from Glenn's story. I did the 3D printing on my Form 2 and created the electronics and designed and laser cut the base.

My friend Glenn Ramirez has been working on a sci-fi screenplay for a while and I wanted to encourage him; at the same time my friend Sean Lake was looking for some work and he is a master 3d and real-life model maker, so I commissioned him to create "Braomar", a character from Glenn's story. I did the 3D printing on my Form 2 and created the electronics and designed and laser cut the base.

Legs.stl

Standard Tesselated Geometry - 20.61 MB - 04/25/2022 at 14:59

Download

Lefthand.stl

Standard Tesselated Geometry - 15.29 MB - 04/25/2022 at 14:59

Download

Grand Uusam flameball 2.stl

Standard Tesselated Geometry - 735.04 kB - 04/25/2022 at 14:59

Download

Secondarytopper.stl

Standard Tesselated Geometry - 26.66 MB - 04/25/2022 at 14:59

Download

Torso.stl

Standard Tesselated Geometry - 33.83 MB - 04/25/2022 at 14:59

Download

View all 6 files

  • 1 × Arduino Nano
  • 1 × Addressible LED Ring
  • 1 × Addressible LED Sequencer
  • 1 × Single Addressable Pixel for Fireball

  • Switching Braomar

    scubabear04/25/2022 at 15:21 0 comments

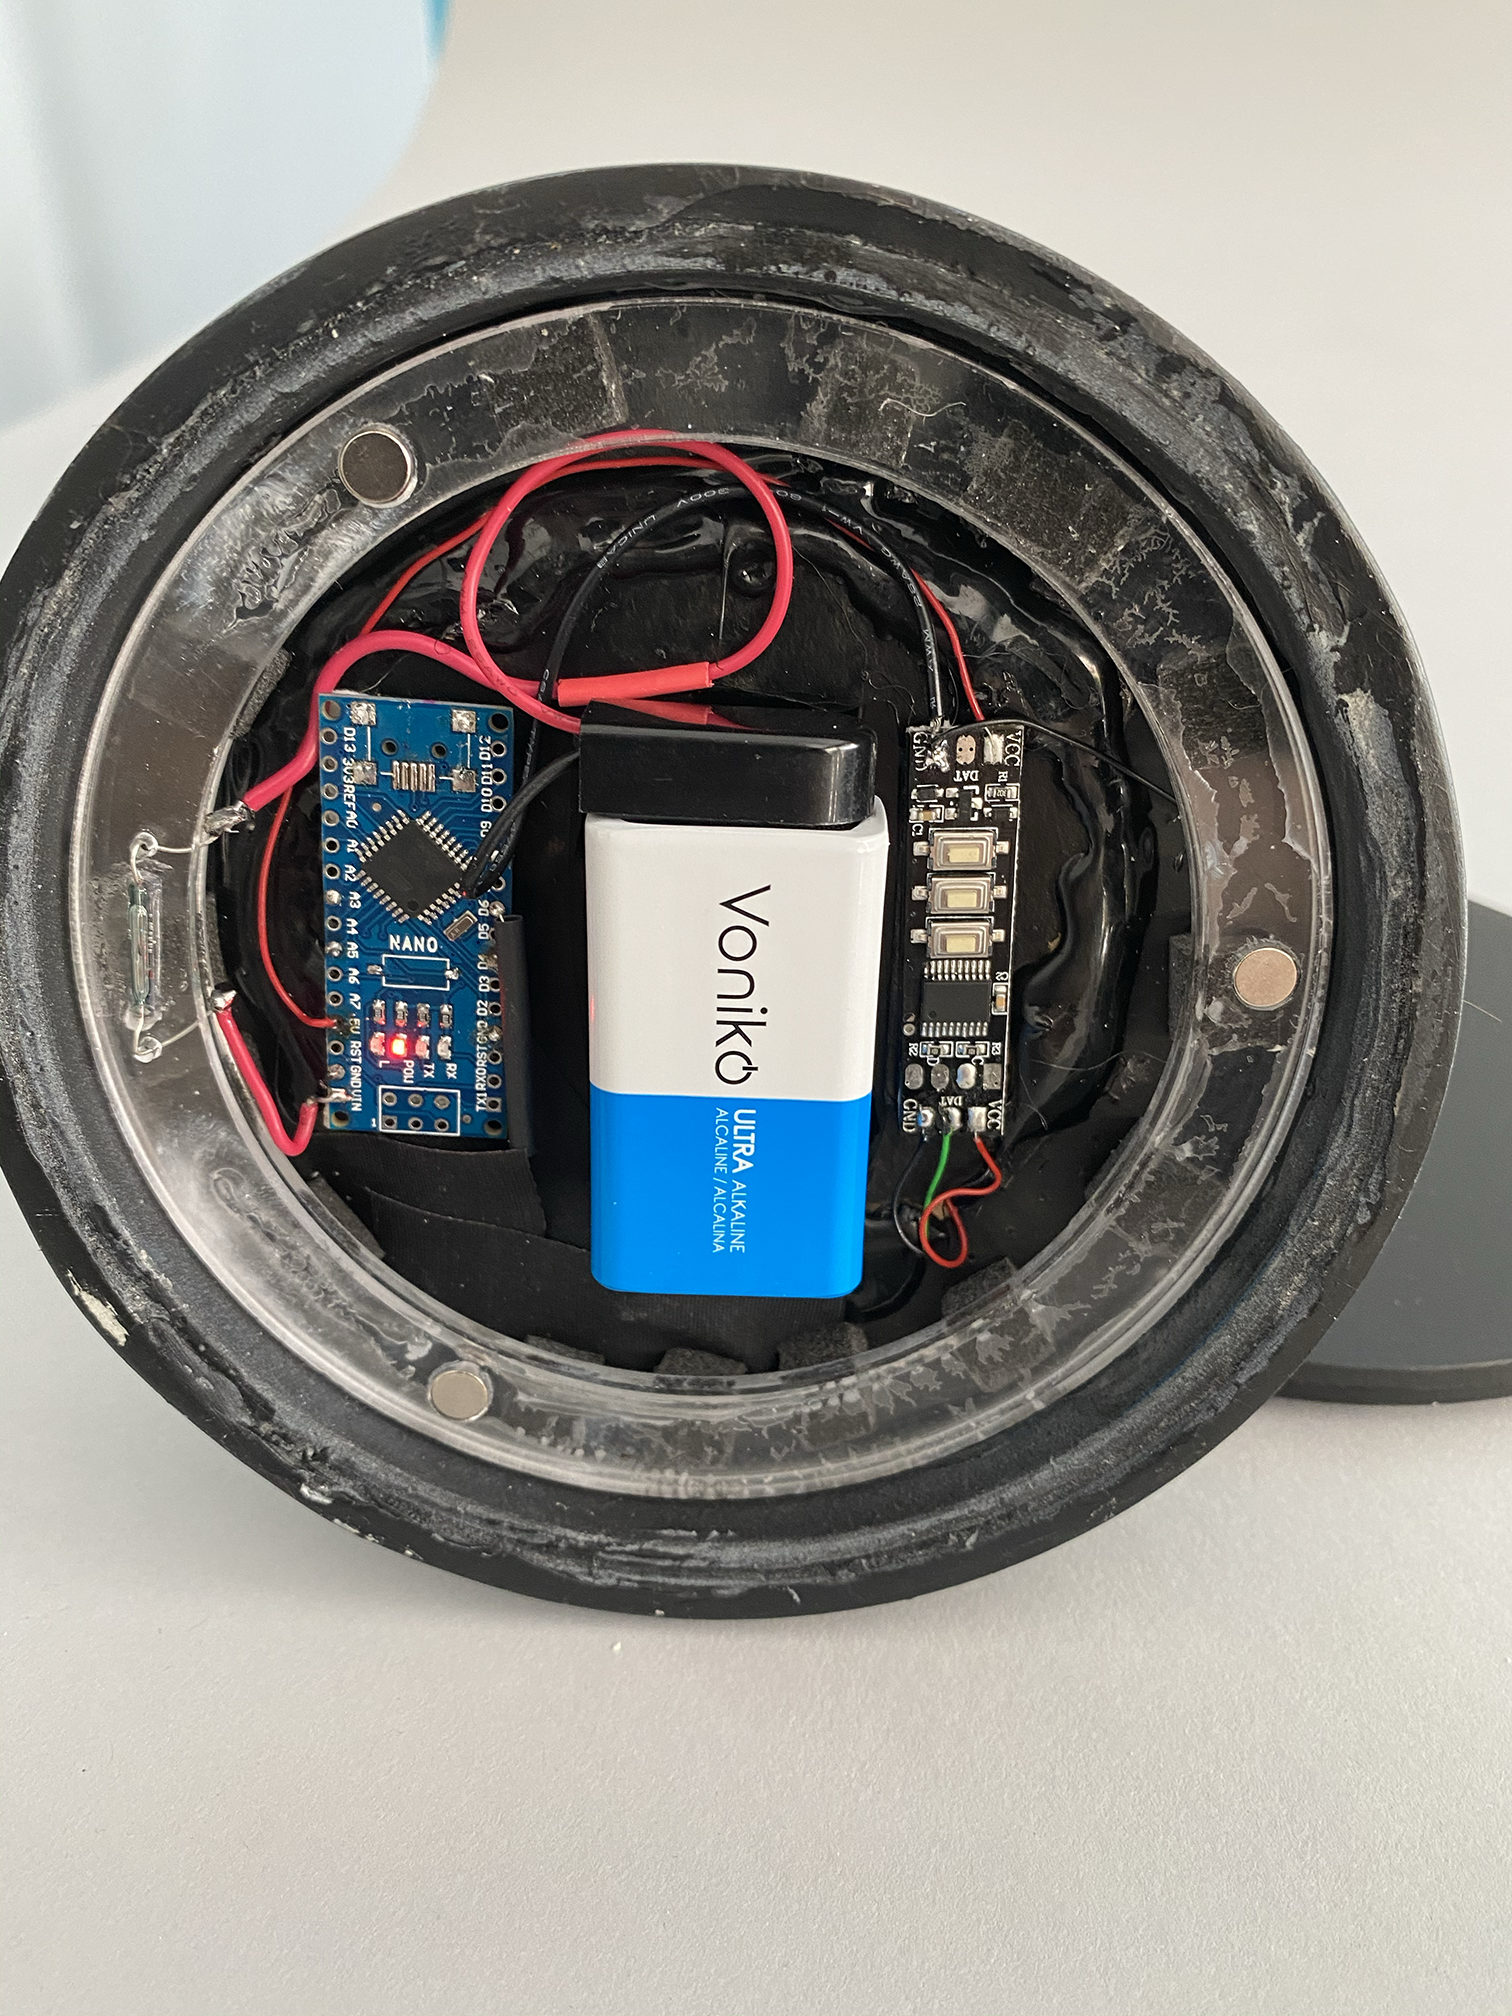
    This was probably the toughest part to figure out what I wanted to do.  At first I thought I'd just make Braomar hard-wired to a wall adapter, but I didn't like the idea of a wire coming out of the base.  I decided to make it battery powered.  I thought about using a RC switch, but that would still drain the battery.

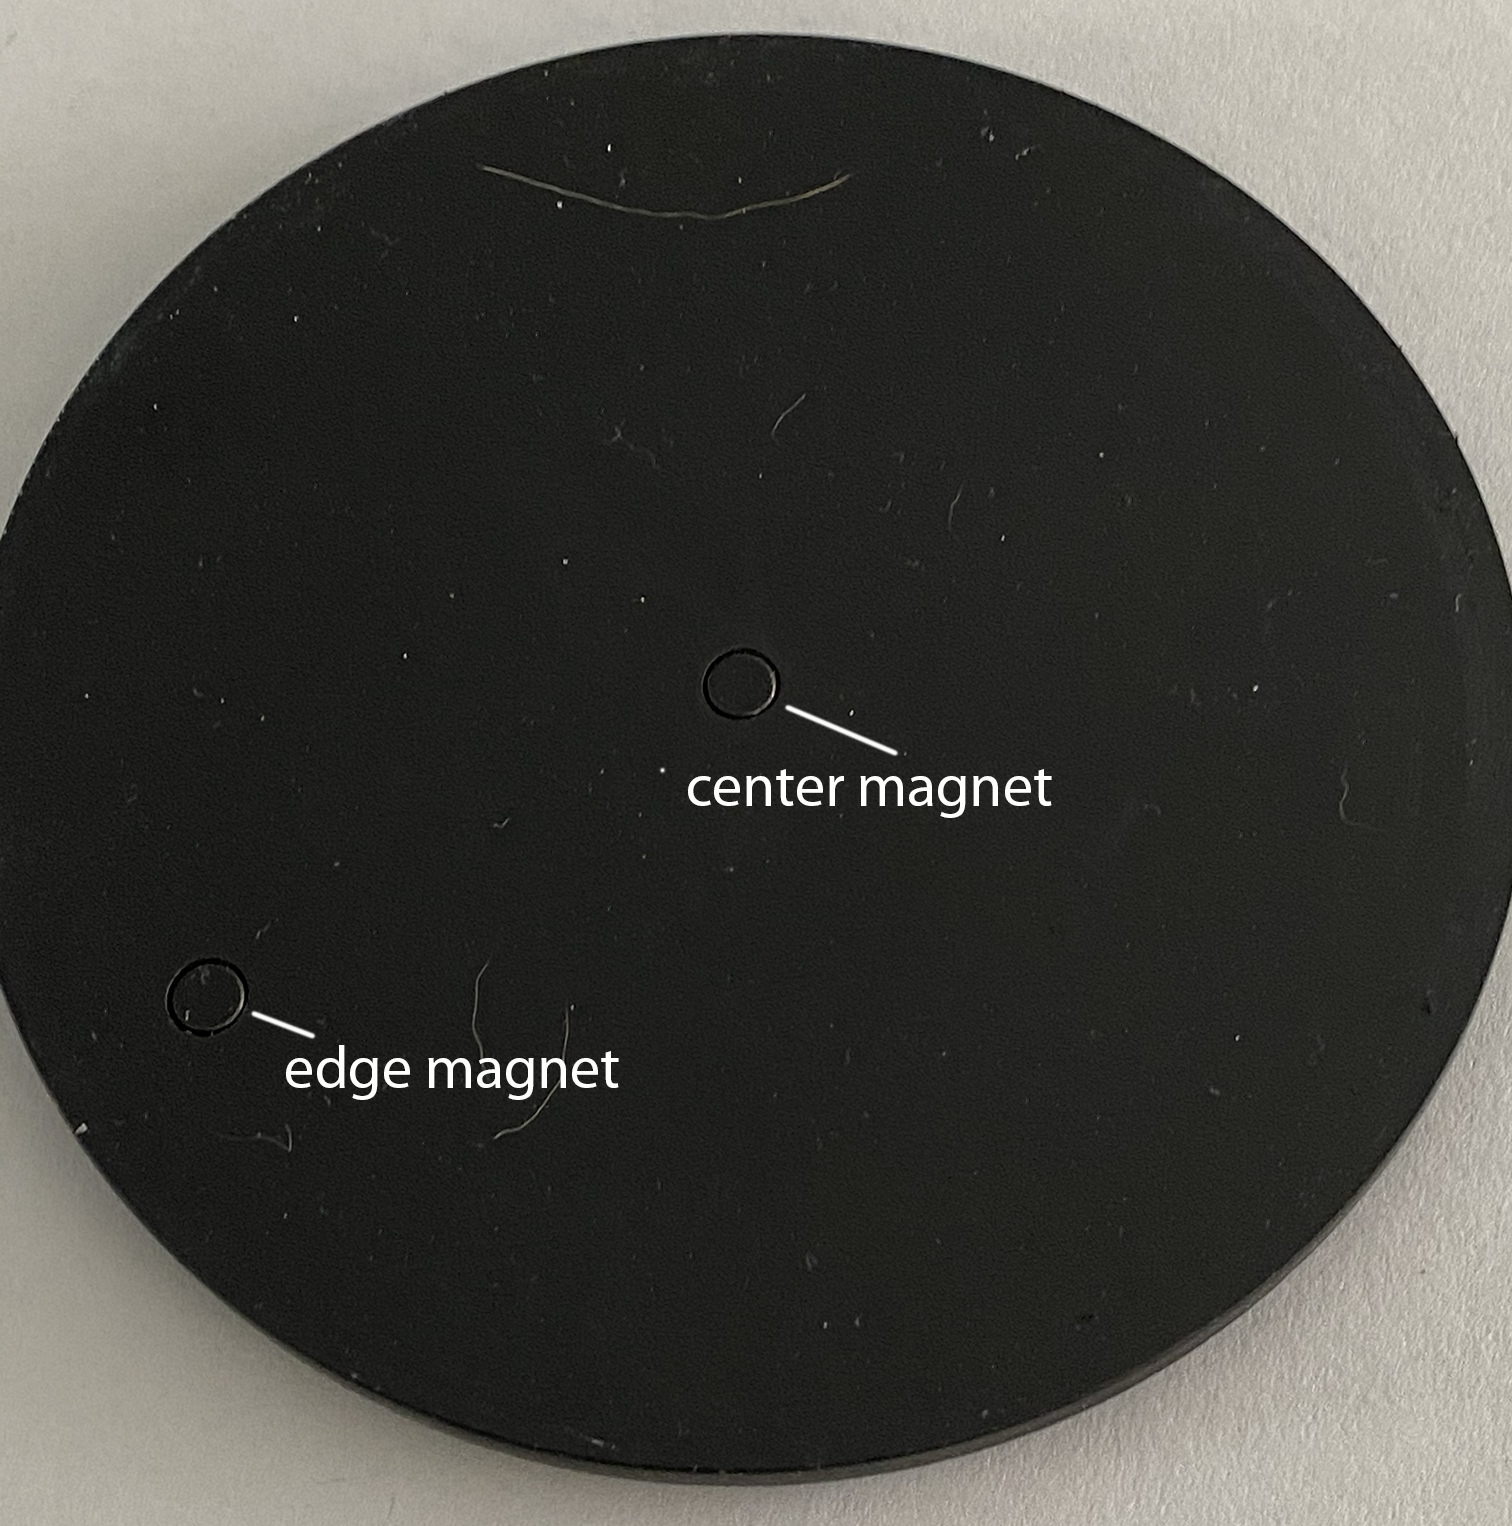
    What I came up with was putting a reed switch in the base, and having it sit on a platform that magnetically sticks to the 9V battery in the center and has a magnet along the edge to operate the reed switch.  When Glenn wants to turn Braomar on, he ritated the base and viola! Braomar turns on and does his light show.

  • Wiring Braomar

    scubabear04/25/2022 at 15:14 0 comments

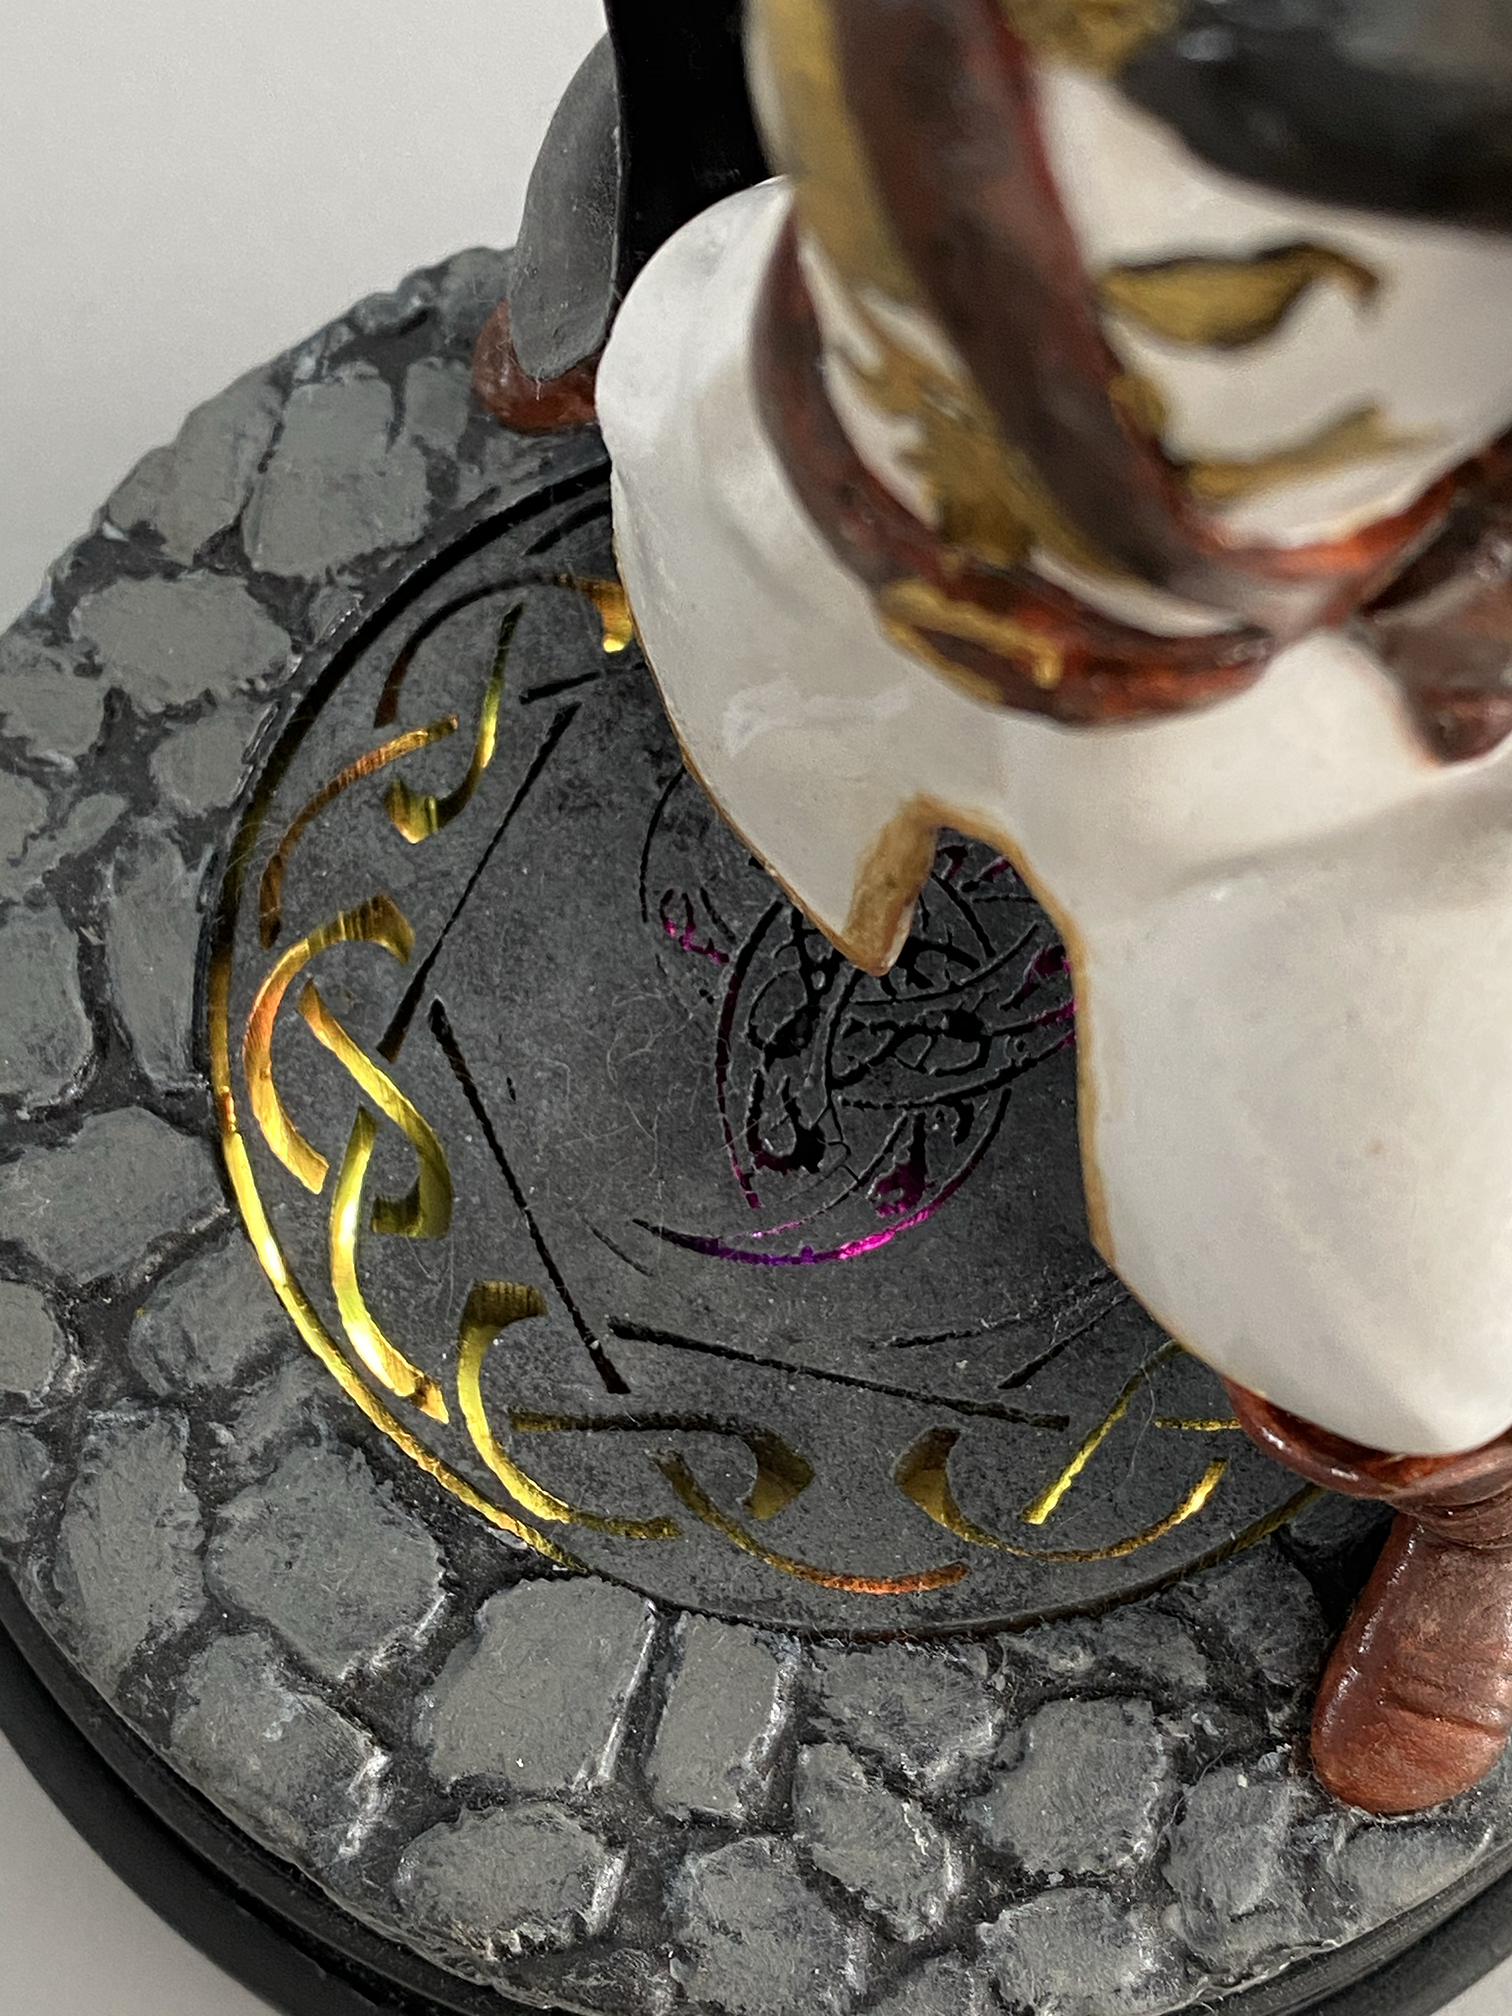
    The sigil that Braomar is standing on color-cycles.  I had wanted to used one of those addressible LED rings in a project, so I found a suitably sized one to put in the base.  I bought a tiny off the shelf controller for it and selected a color cycle program, but I also left an opening in the base so Glenn could dial in other sequences if he wanted to later.

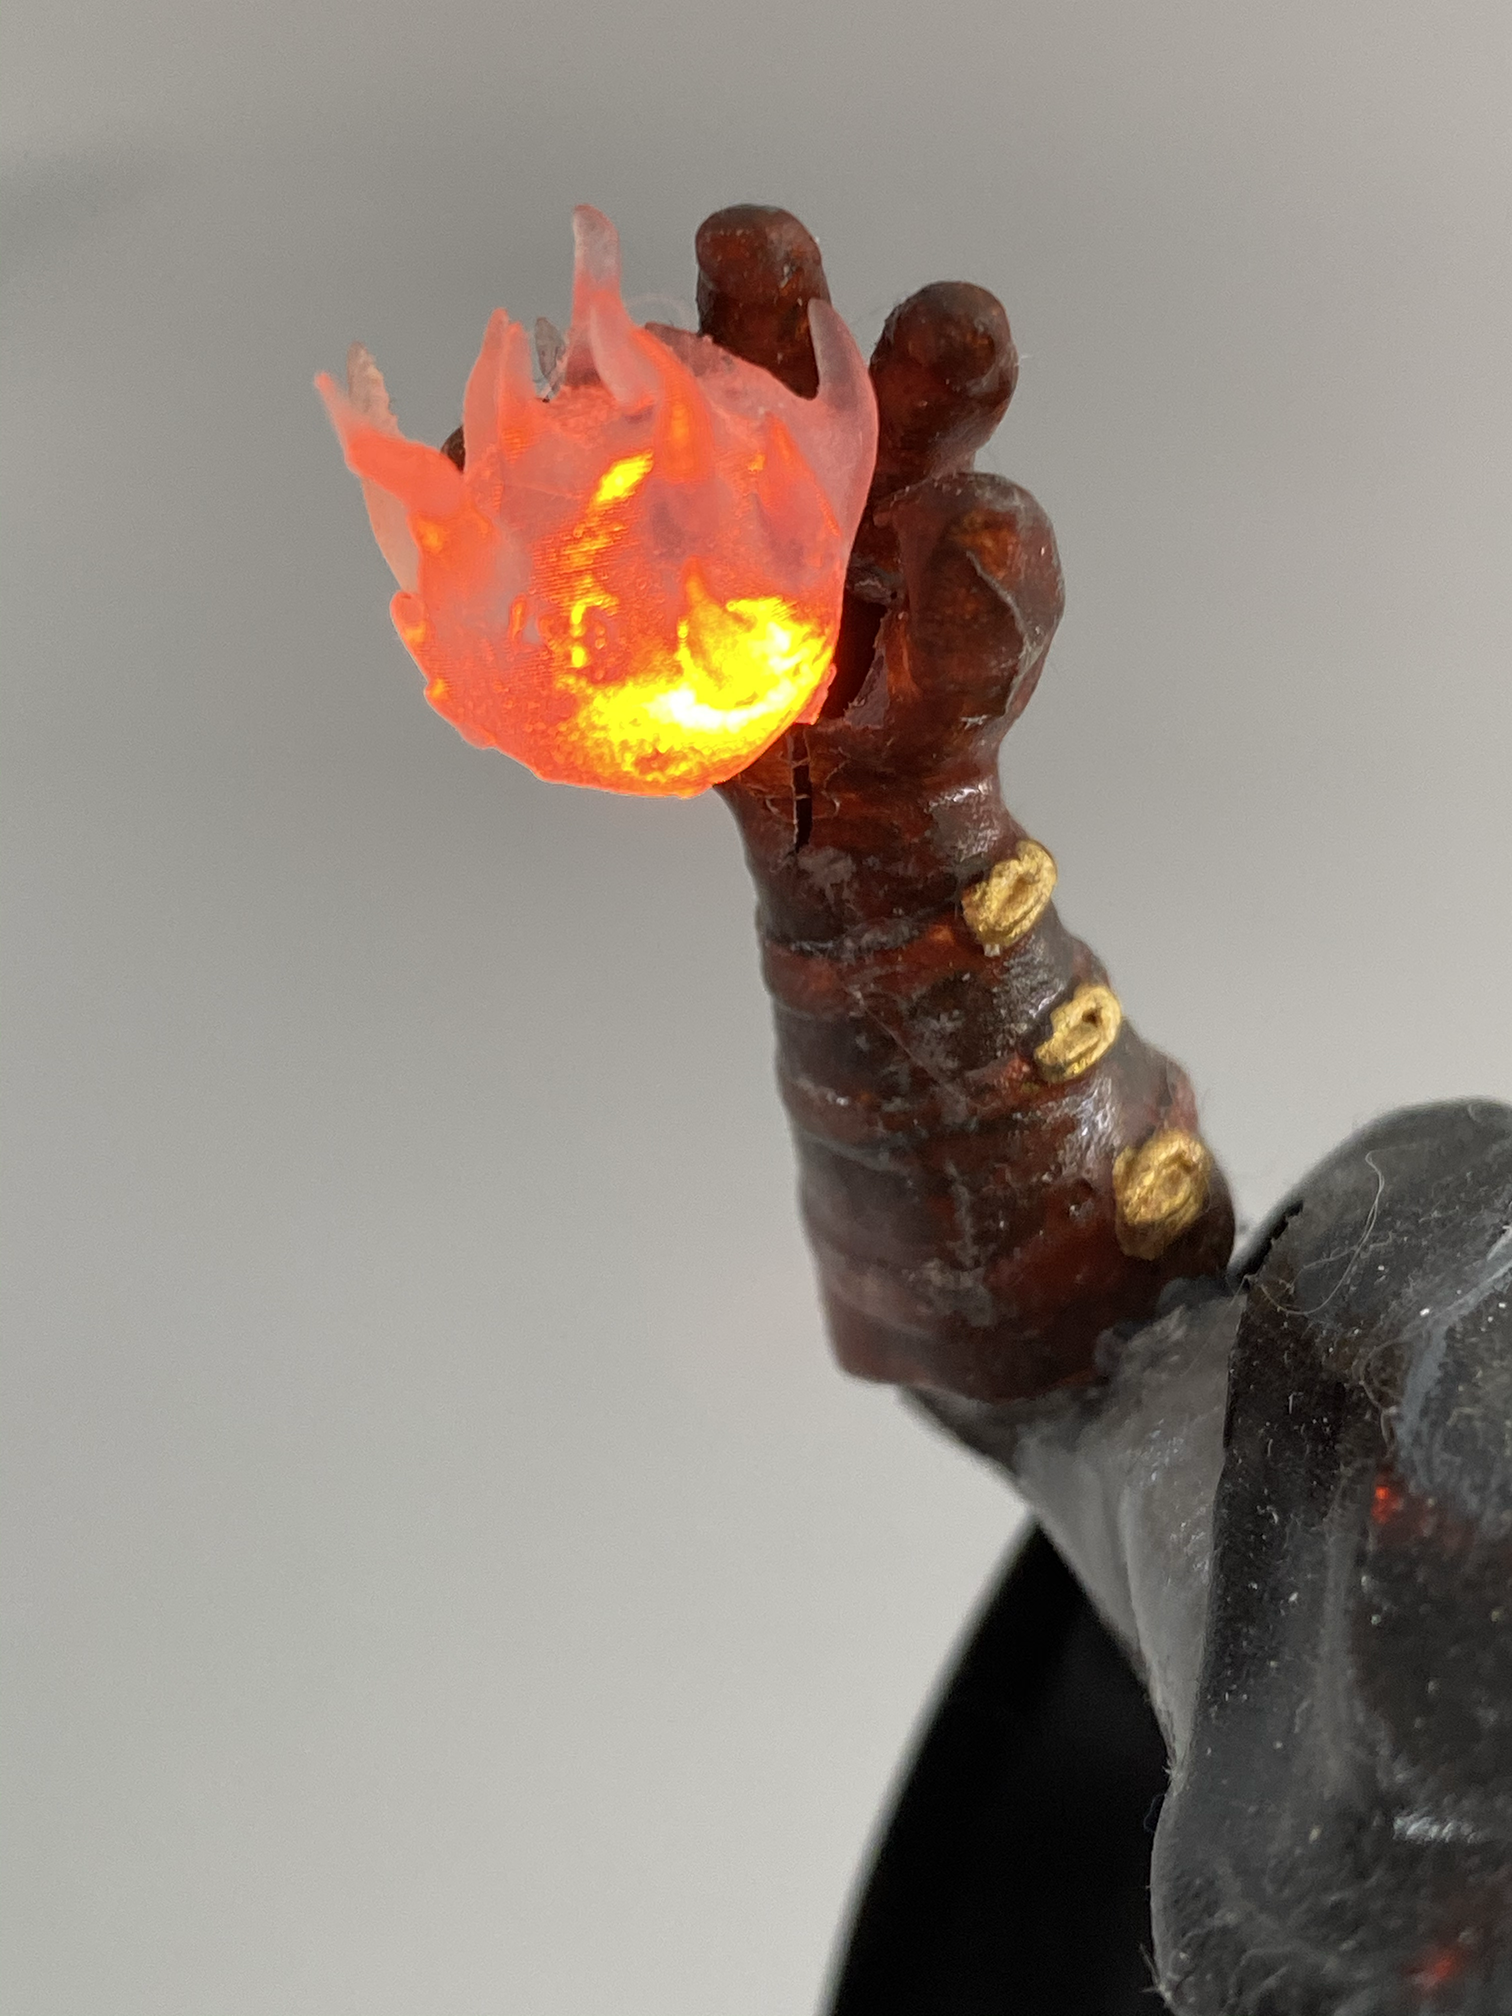
    Braomar's fireball also flickers like a fireball should.  I was trying to use stuff I had lying around to build this, so I grabbed a single 5mm RGB LED and hollowed out the fireball to accept it before I printed it on my Form2 in clear resin.  Then I ran the wires down to an Arduino Nano in the base and installed a fire-flicker program on it.  Could I have done the whole thing with just the Arduino?  Yes... but that little addressible LED sequencer was just so easy to drop in and it already had the switches on it.  Ultimately I'm satisfied with the electronics in there.

  • Printing Braomar

    scubabear04/25/2022 at 15:06 0 comments

    Once Sean had Braomar the way he wanted him to look, he & I discussed how I would install the electronics.  Obviously I needed the figure to be somewhat hollow so I could run the wires down from the fireball, but it also had to be strong enough to be durable in the real world.  Sean used Blender to edit the .stl files to create the interior hollow, and then gave me the files to print.  That actually went very smoothly and the first fully successful print (there were a few false-starts) was the one we used.

    I've uploaded the .STL files in case anyone wants to take a look.

  • Modeling Braomar

    scubabear04/25/2022 at 15:03 0 comments

    Sean started the figure in Autodesk Maya, then imported to Z-Brush to do the finer organic modeling.  Overall it took him about two weeks, working part time.  Occasionally I would 3D print a piece as we went along to see how the workflow was working, and it seemed quite promising.

View all 4 project logs

Enjoy this project?

Share

Discussions

Similar Projects

Does this project spark your interest?

Become a member to follow this project and never miss any updates