I am happy to say that you are now ready to download all the Windturer-P4 files. With these files you can print all the pieces. You also have the possibility to modify what you want in your favorite CAD program, depending on your goals and needs. The files can be downloaded directly from the Files section of this project.
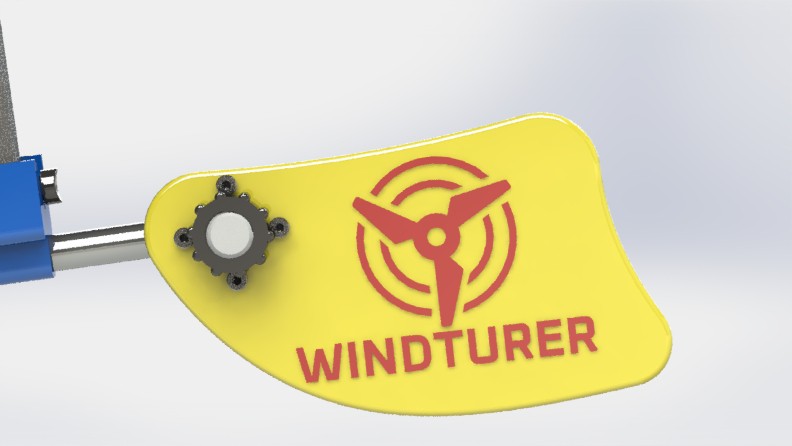
Additionally our Portable Wind Turbine already has a logo, brand and slogan. They are shown in the following image. I would love to hear your comments about it.
"Windturer: The Wind Turbine for your adventures"
Although the essence of this new P4-Prototype is consistent with the design philosophy of the P1-Prototype some improvements have occurred.
I believe the feedback I received on this article by Robin Kearey on Hackaday.com: https://hackaday.com/2022/05/02/hackaday-prize-2022-a-3d-printed-portable-wind-turbine-for -hikers/ were decisive in the improvements that I have been implementing. Thank you all for your criticism and suggestions.
All the pieces of the new design have been printed on ASA Filament for validation. The parts have tried to be designed in such a way that they are easy to print even with the recommended type of filament material. In particular I have used this one from the Polymaker brand https://amzn.to/3V0mu4I *affiliate link*
Kyle Burns from https://essentium.com/ has collaborated with this project and recommends printing with this type of filament with exceptional characteristics : https://essentium.com/product/essentium-pps-cf/
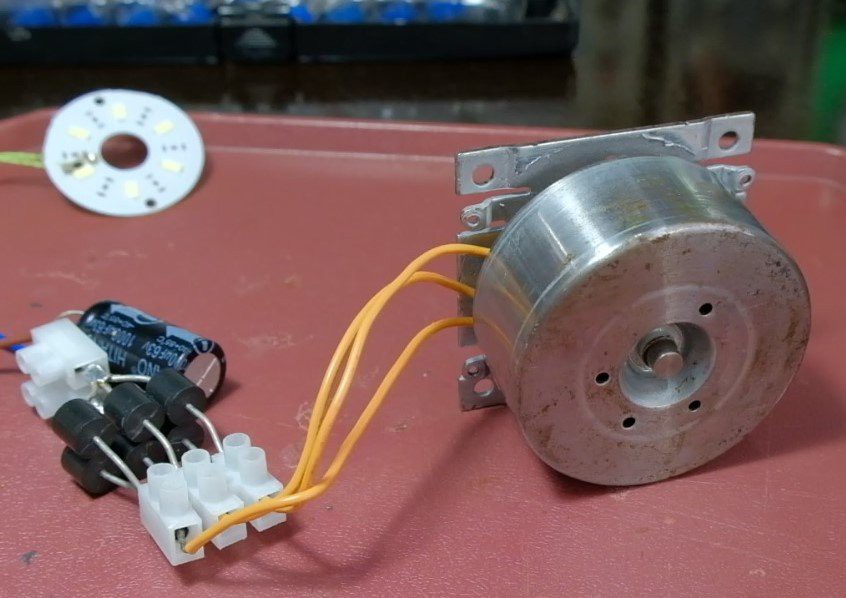
In this design, a generator based on a Stepper Motor is no longer used, but rather a BLDC motor, three-phase permanent magnets, rewound so that it complies with a 60 KV ratio. I have dedicated a Log where you can find additional information:
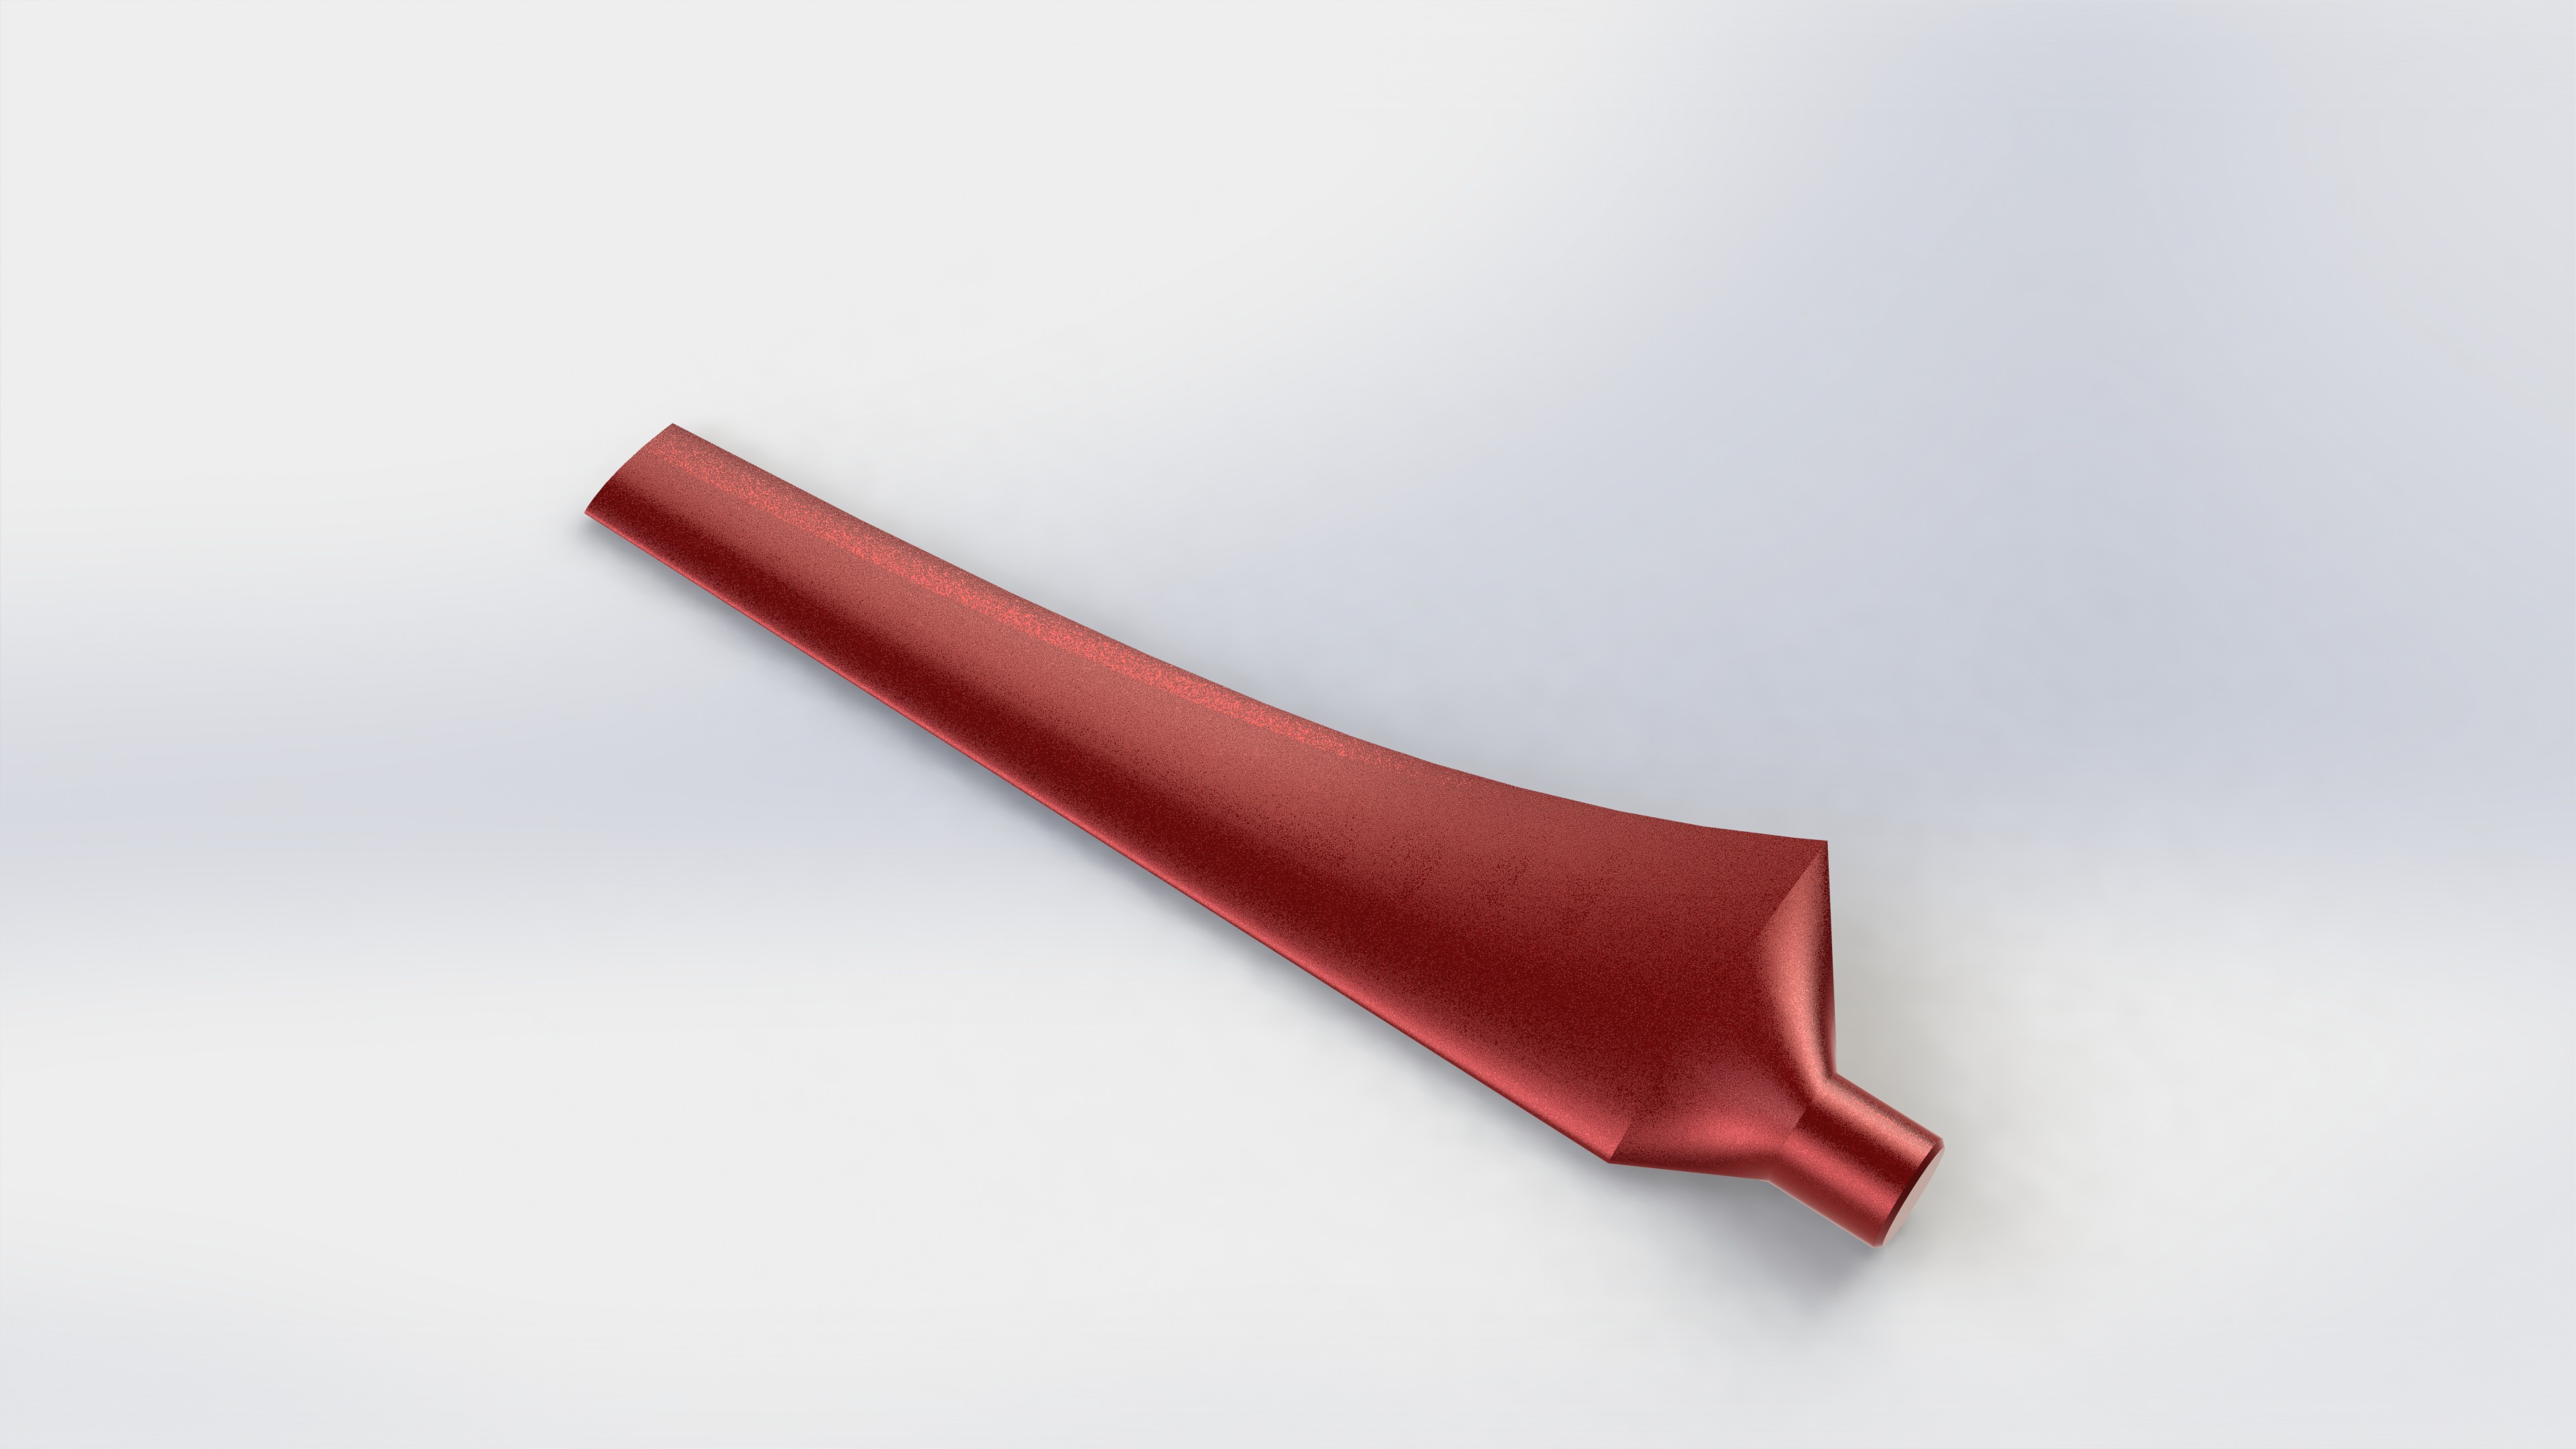
Blades have been redesigned and optimized with QBlade software. Its characteristics and simulation results can be found here:
They turn out to be more efficient Blades, with less mass and greater mechanical resistance. A 4 Blade configuration is now used which contributes to a higher Torque for rotation at low RPM and allows them to fold much better over the central body.
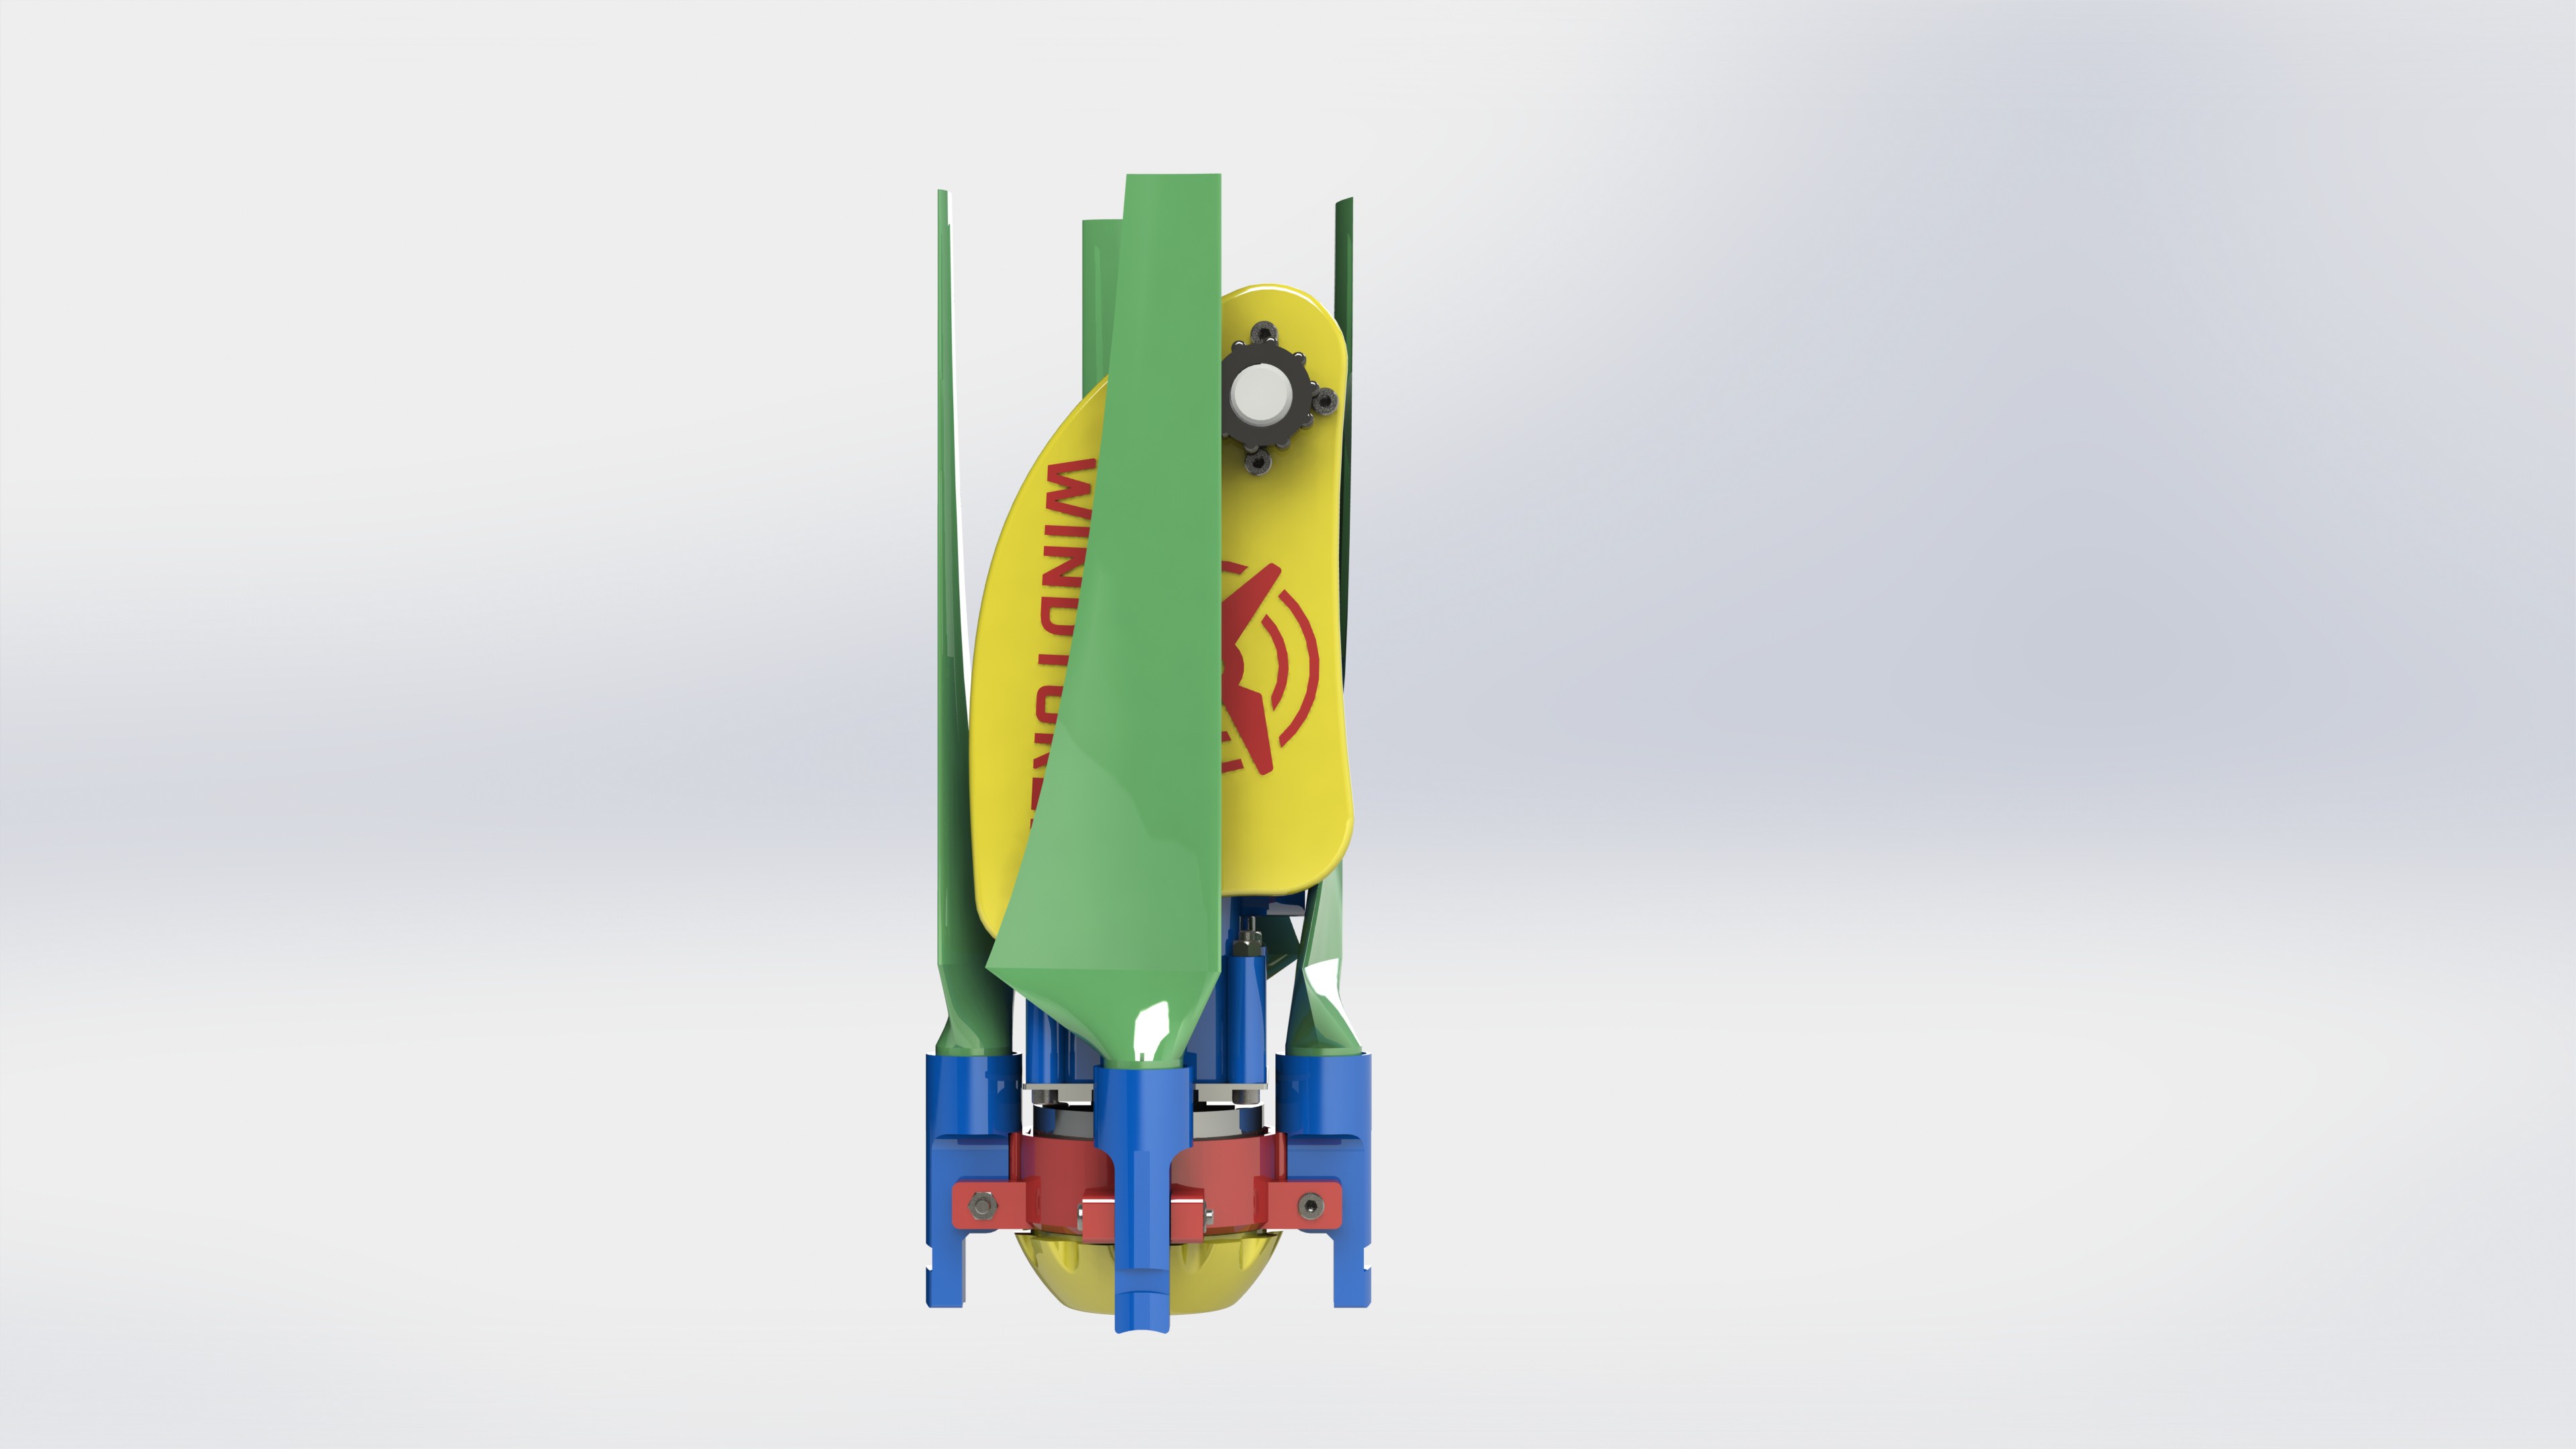
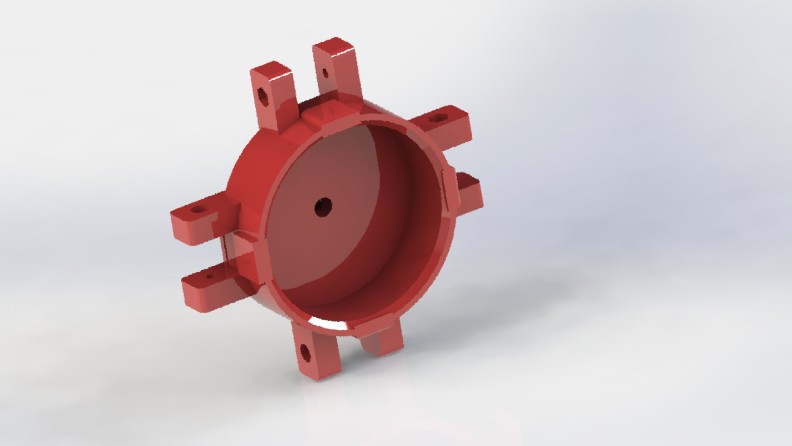
The central hub is glued directly to the external rotor of the BLDC motor without the need for Collet Prop Adapters. In the first prototype this was a recurring problem for those who replicated it, since the coupling to the shaft was not entirely secure and under certain loads there were
slips. This makes it possible to shorten the length of the arms of the Central Hub and contributes to a greater mechanical resistance of the assembly.
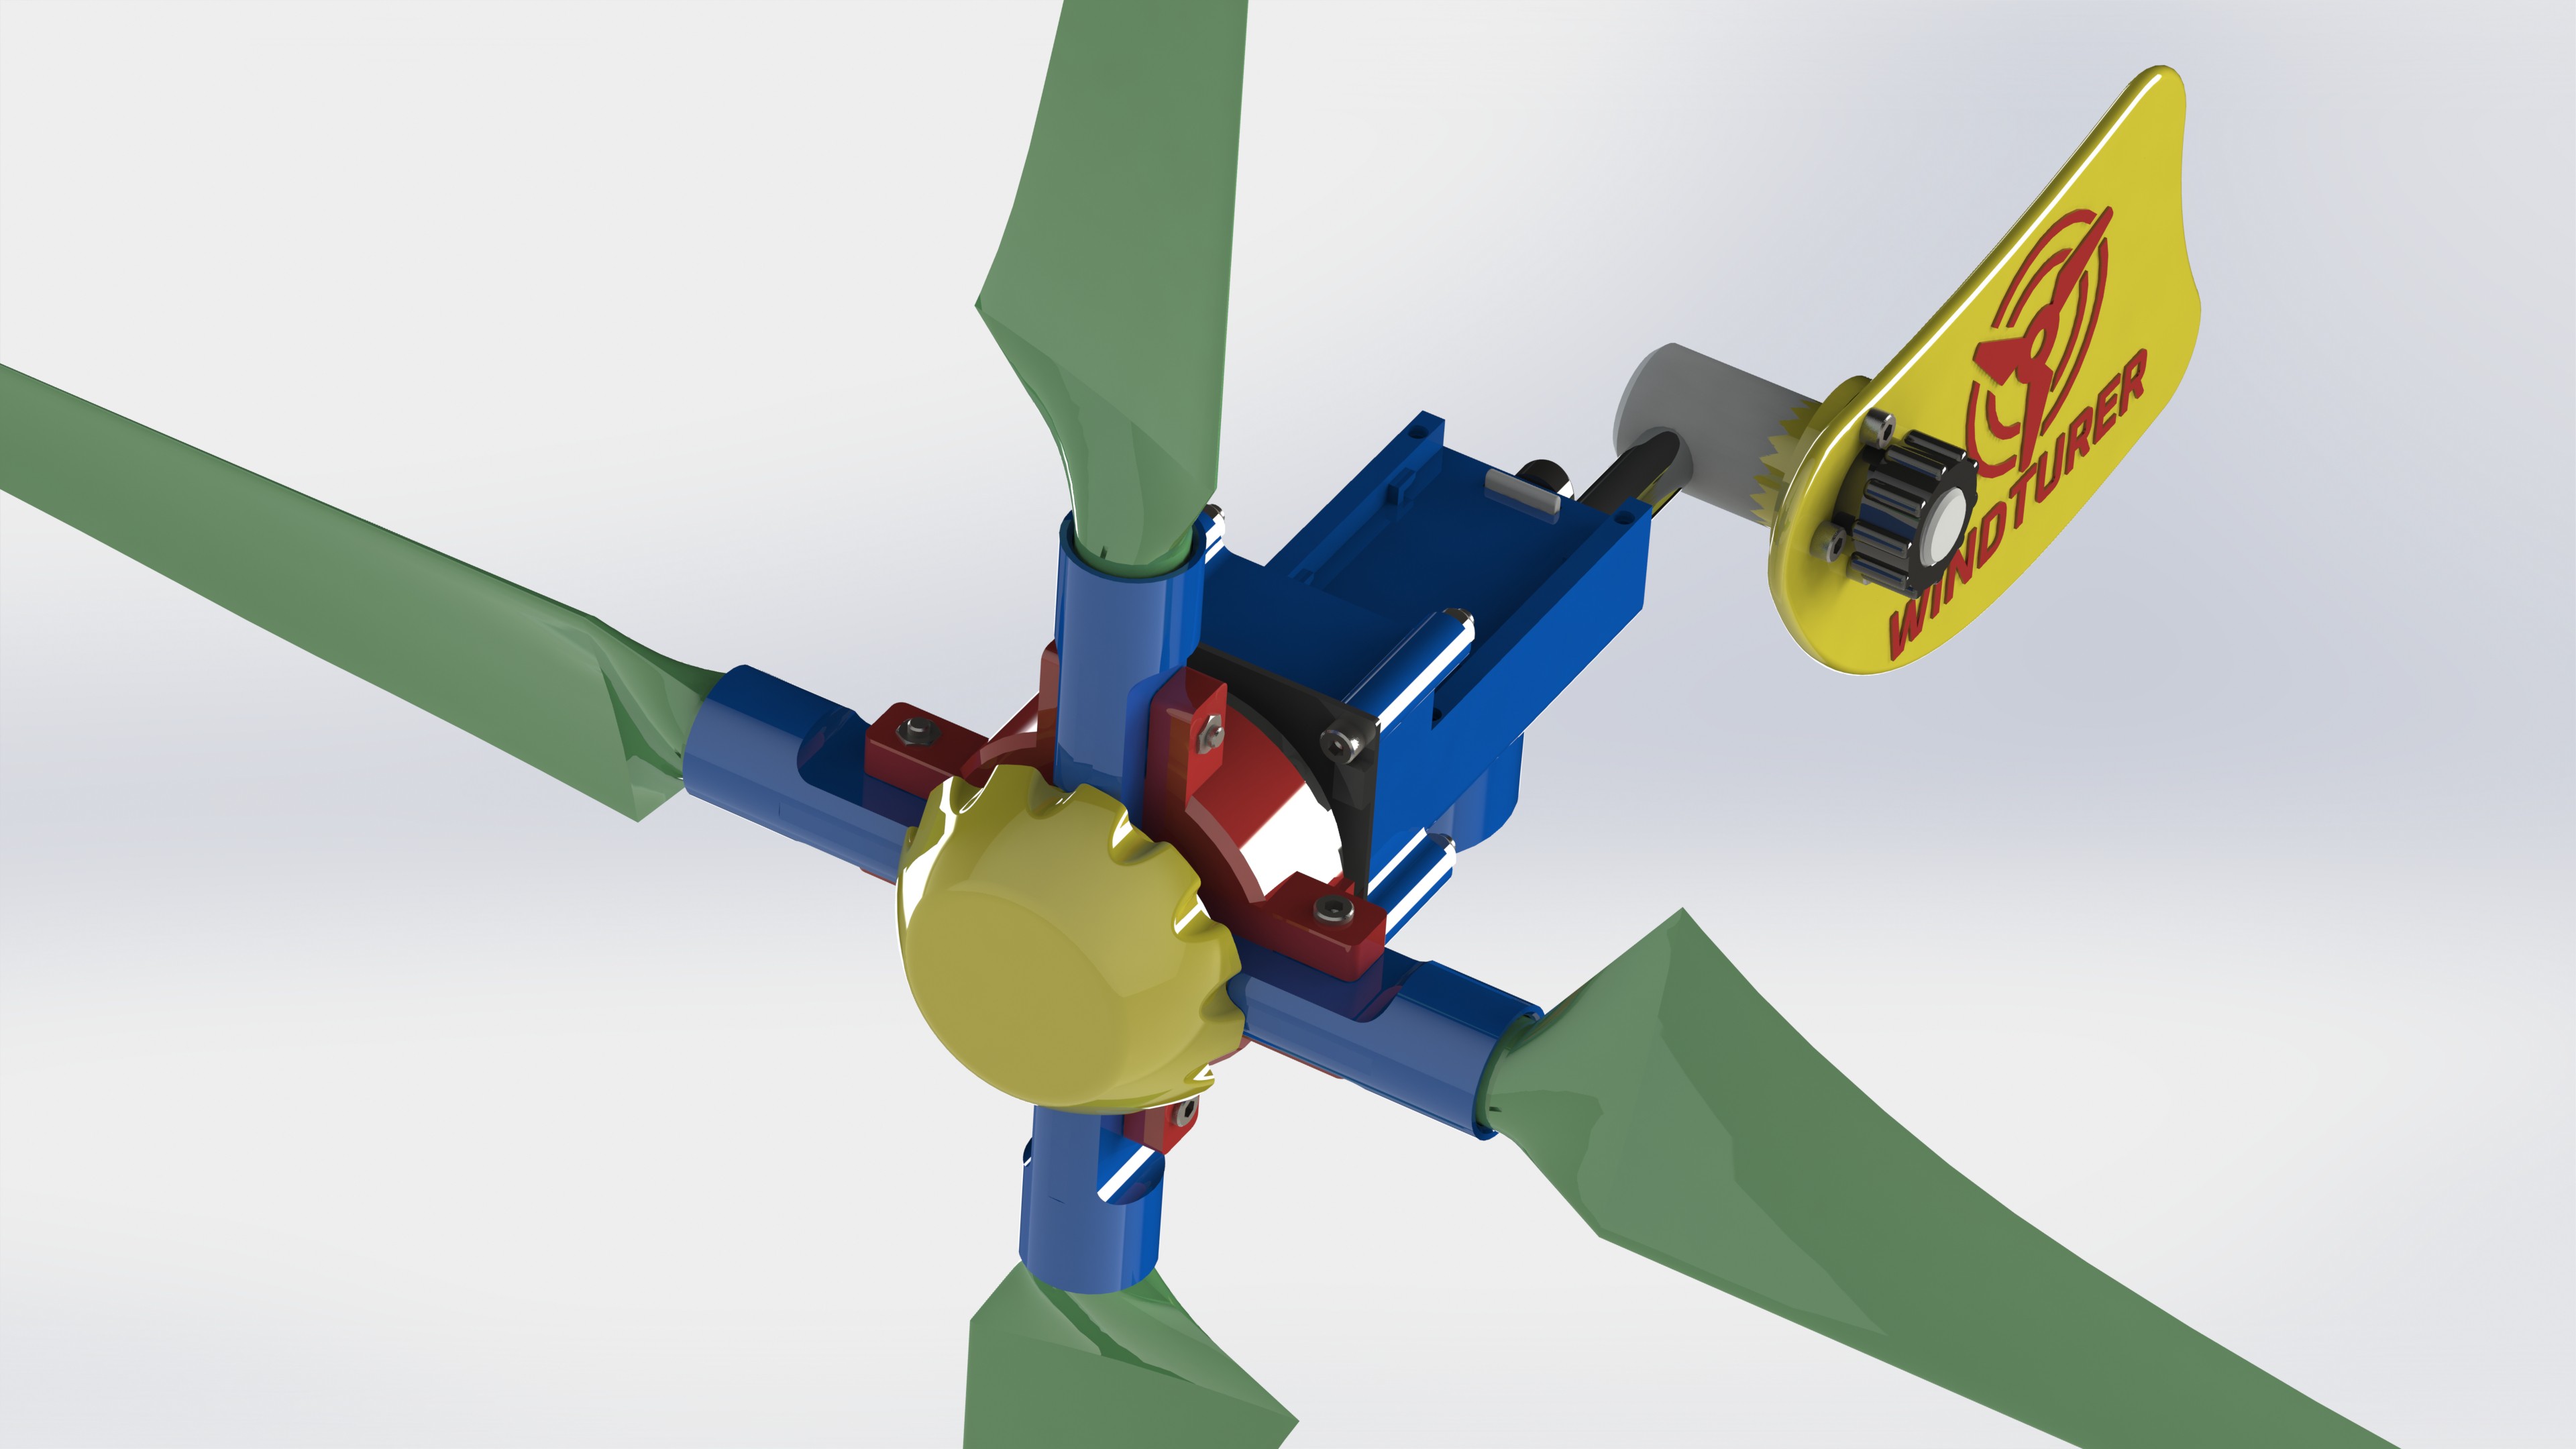
In this prototype, an external electrical cable is no longer used to conduct electricity. It was decided to place on his body batteries of the NP-F type. These batteries are interchangeable. You can leave one recharging and then place another etc. It behaves similarly to a standard NP-F battery charger. You can also use the batteries that best suit your requirements, with or without USB output, of greater or lesser capacity. Also with this you can decrease the total weight of this Portable Wind Turbine if you really don't need such big batteries. By being able to easily remove the battery and replace it, we avoid its obsolescence if the battery is damaged.
The ecosystem of NP-F Batteries is quite large. They are often used in equipment and lights for filming. There are manufacturers that have developed mounting plates with multiple outputs of different voltages, including PD and USB A for this type of battery. I have tried this particular one and find it very useful https://amzn.to/3ExhChR *affiliate link*
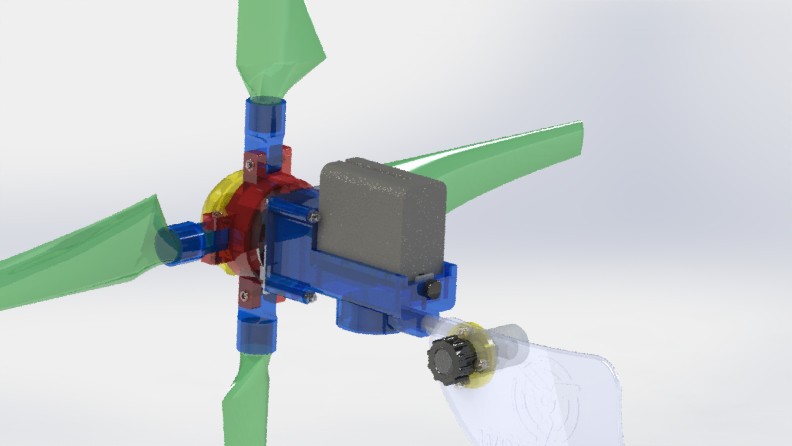
The central body includes a cavity where the rectification circuit is placed as well as for future modules such as voltage meters, RPM, load current, power, energy, etc. that could be developed and transmit this data to a mobile application to monitor the process. Although this would be somewhat detrimental to the general efficiency of this system, it would be very interesting to be able to know this data in real time and record it for later analysis.
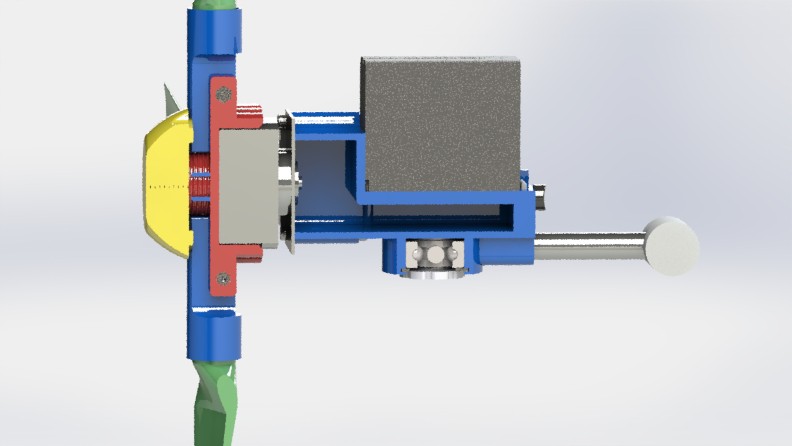
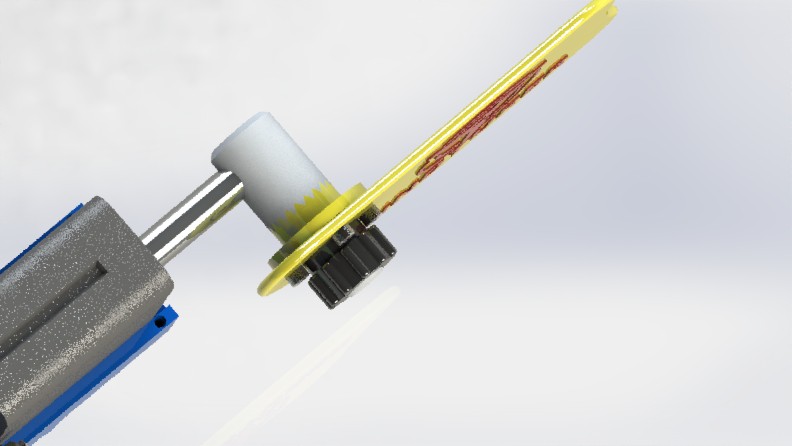
The tail folding mechanism has been simplified. Now it is enough to loosen the nut on the tail mechanism a little and unfold it to its operating position to tighten the nut again.
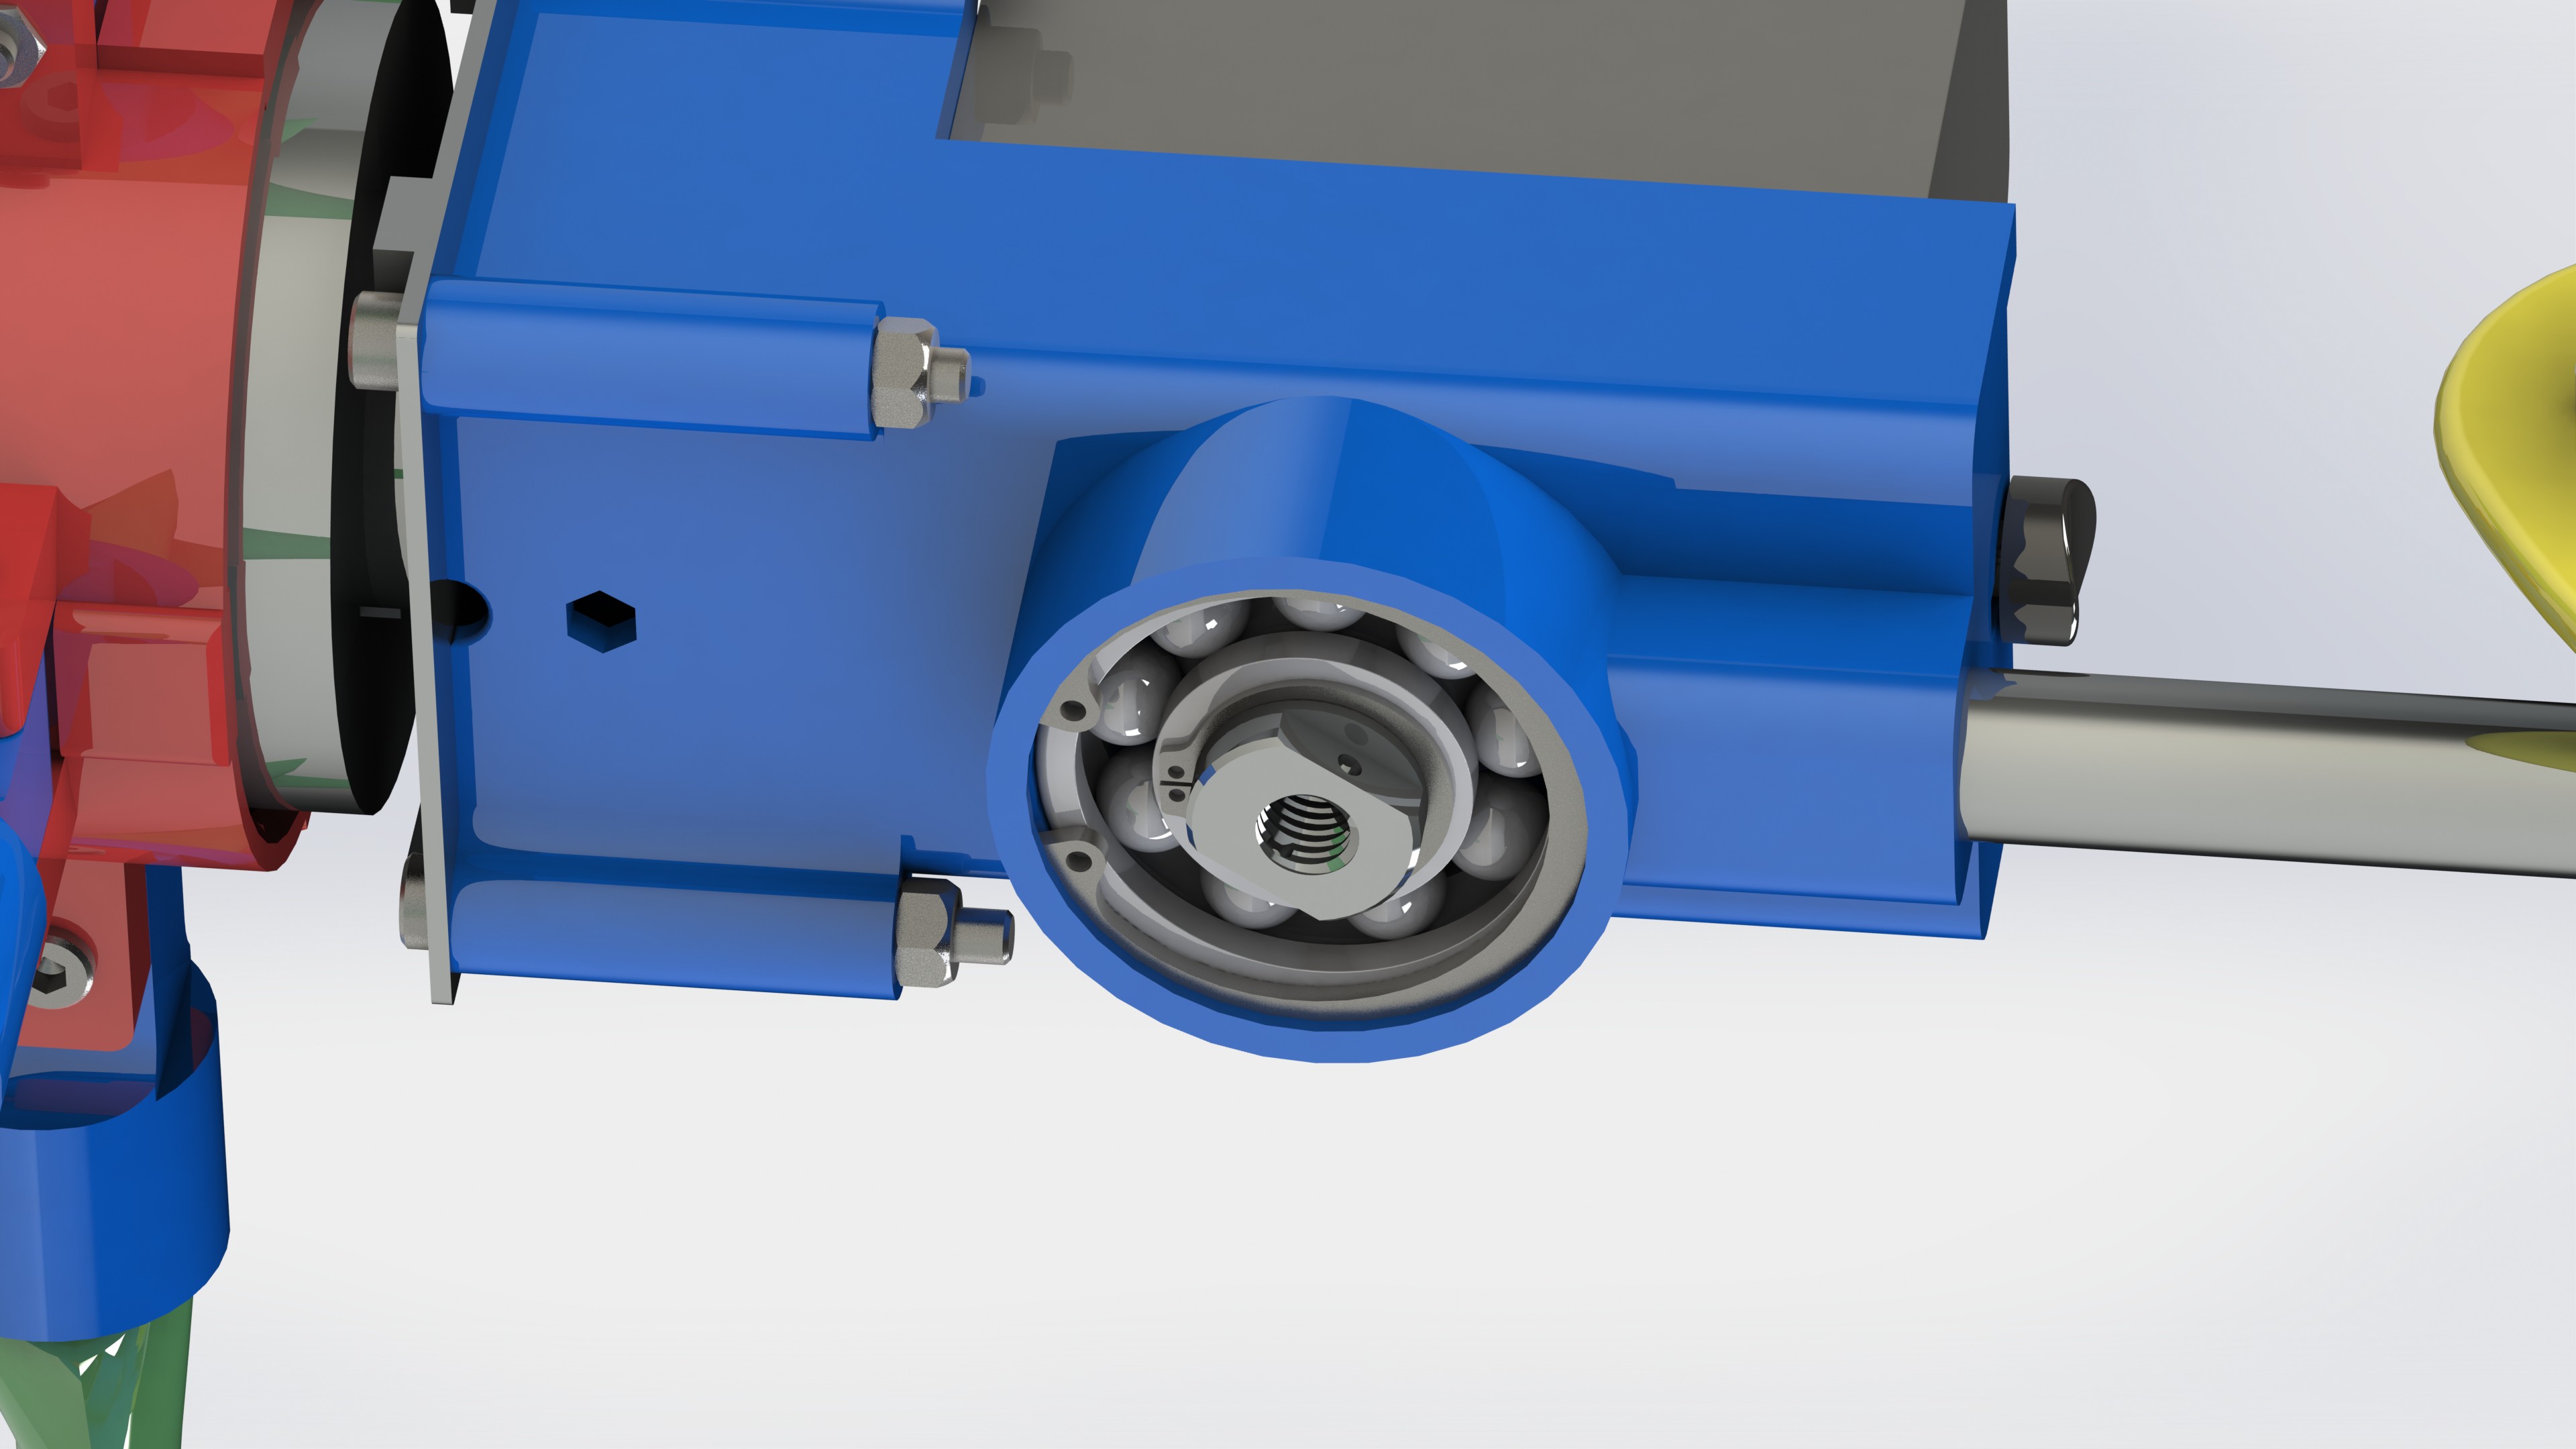
The diameter of the bearing of the Yaw mechanism is now larger. This allows the area of the central body that houses it to be better reinforced.
If you want you can start printing the parts right now and start making your own Windturer-P4. I would love to hear your opinions.
The next step would be to elaborate the instructions to help everyone who wants to replicate it.
See you!
 adriancubas
Discussions
Become a Hackaday.io Member
Create an account to leave a comment. Already have an account? Log In.