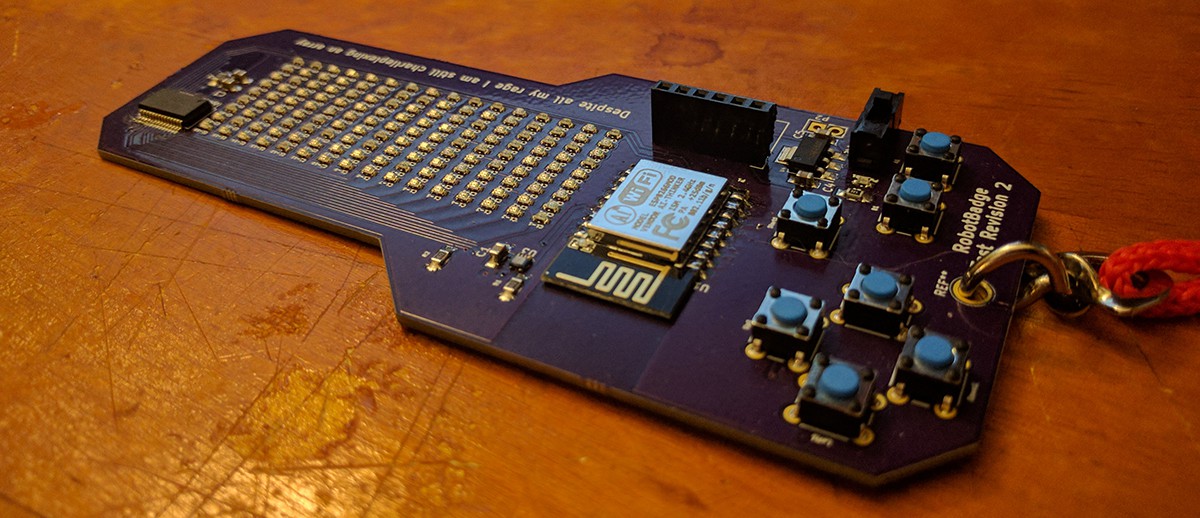
The test badges are complete. After a stupid mistake with copper fills and KiCad, I have an electrically complete badge. Some of these were sent off to the firmware devs. Once the entire circuit is confirmed working and power analysis is done, I can begin designing the complete badge.

ART
Before I begin designing the badge, I have to work on the one killer feature of this badge: a three-color image of the famous Mr. Robot 'mr. monopoly' mask. After about 10 hours in Illustrator, this is what I have:

Yeah, that looks cool. This is effectively a render of what the back of the badge will look like. Technically, this isn't a three-color PCB. Instead, the only 'color', per se, is the beige / skin tone. The white and black will be two processes of silk screen. This makes fabrication easier (and cheaper), since it's effectively only a second silk screen process on one side.
Of course this does make translating this into KiCad a bit difficult. It's a lot of work with illustrator layers, dividing objects below, and messing around with paths. Here's what the layers look like when separated:

It makes sense when you think about it.
Once the circuit is confirmed working, I'll be altering a few things (QFN for the LED driver instead of the SOIC - I can't buy enough SOICs for this project, moving to SMD tact switches, figuring out the battery holders) and doing a Revision 3 spin of the board using only the outline layer. Once that's confirmed, it's off to China to find a board house to make all these badges.
 Benchoff
Discussions
Become a Hackaday.io Member
Create an account to leave a comment. Already have an account? Log In.