JP Gleyzes
-
reuse a poorly reused bottle!
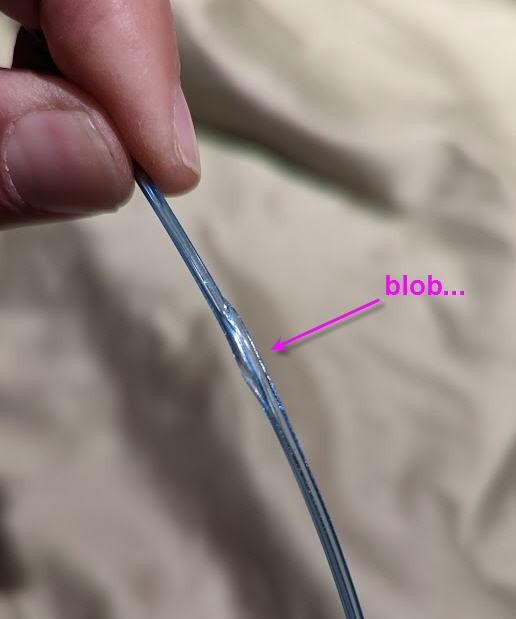
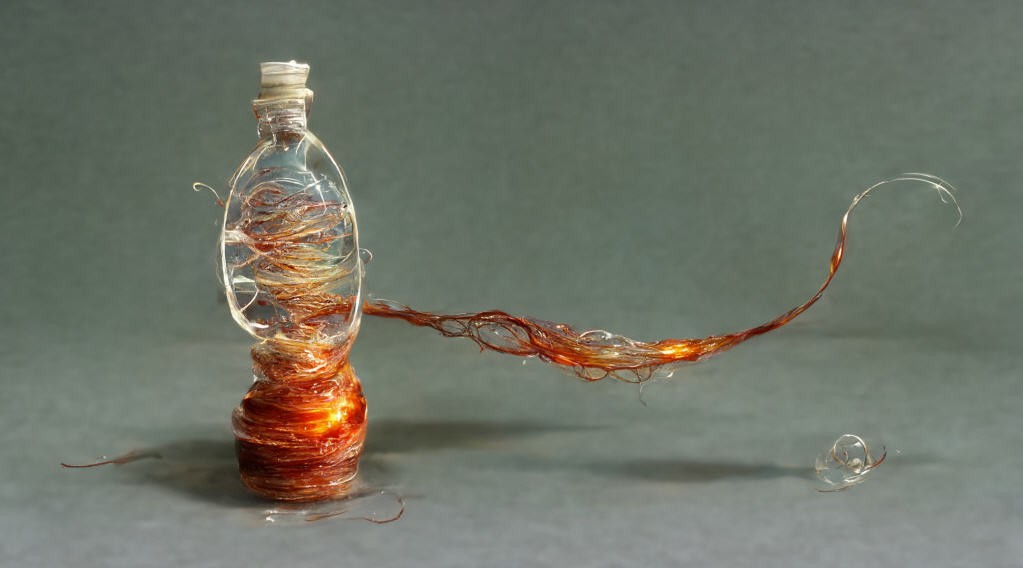
10/18/2022 at 14:28 • 0 commentsIt may occur that pullstruding the ribbon produces this kind of "blob"...
![]()
It is often due to a badly cut ribbon... Fortunately it doesn't occur very often.
So the first advice is to always manually slide fingers on the filament to double check its quality before printing!
But why would we throw away this poor filament ? Why not reusing it to something else ?
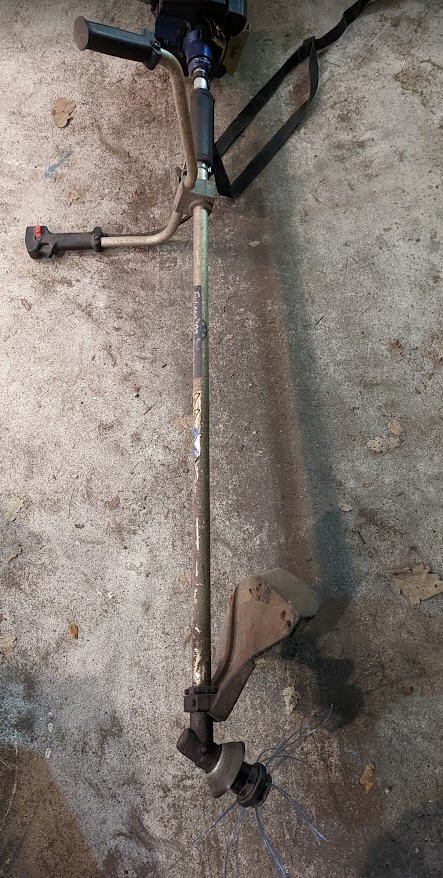
Nadja gave me a brilliant idea: try to use it as a grass trimmer line...
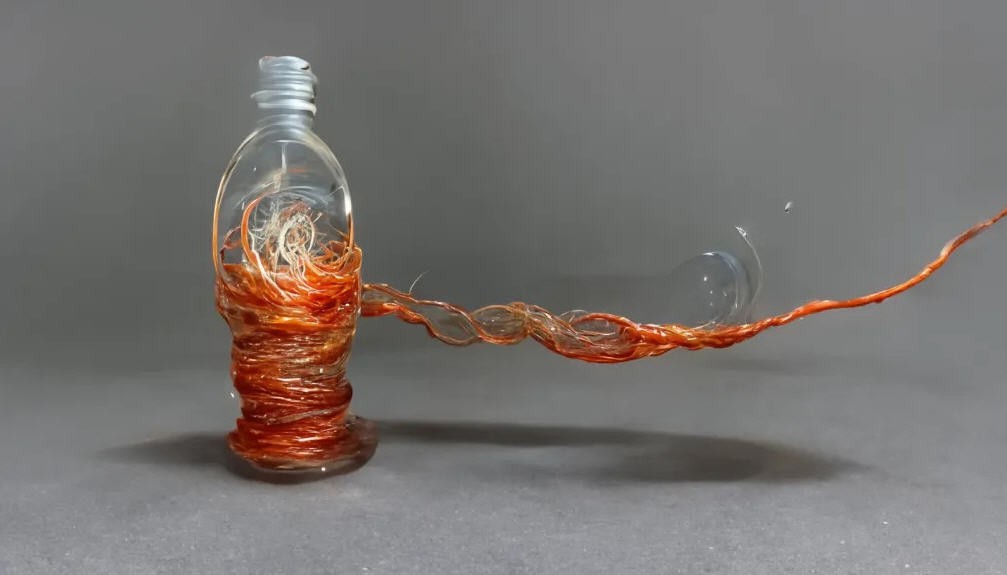
And you know what ? It works !
![]()
![]()
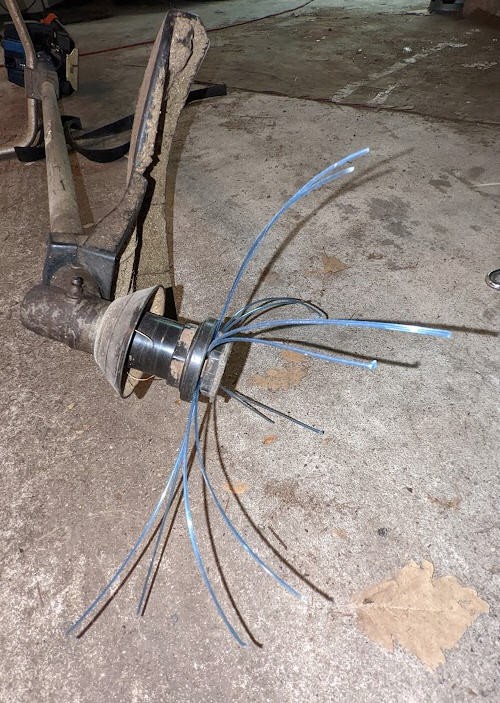
Ok stop kidding, it really works but the filament may be a little too small for big trimmers like my machine. It is however perfect to trim British lawns (Smooth-stalked Meadow Grass) !
So, if you want, you can build a second hotend with bigger diameter, able to eat larger ribbon to produce stronger grass trimmer line !
Reuse recycle, revamp they said... an everlasting story
-
Final video for #HackadayPrize
10/17/2022 at 19:03 • 0 commentsI know the intro and music are a bit demoralizing... but I think my French accent will lighten the mood !
-
Trying AI to design a splashscreen
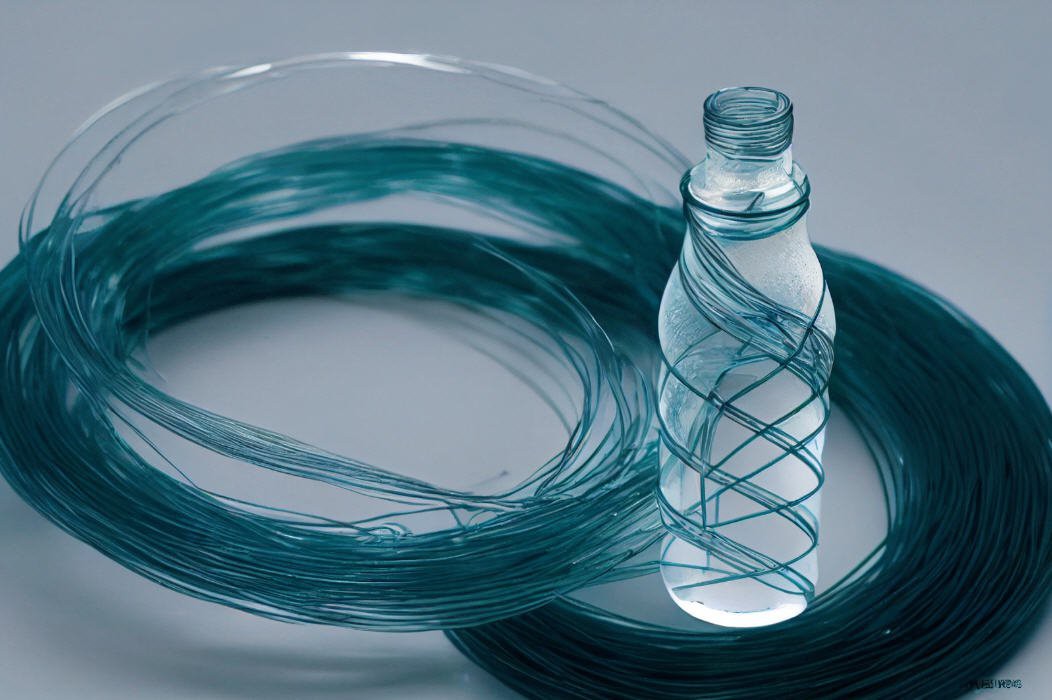
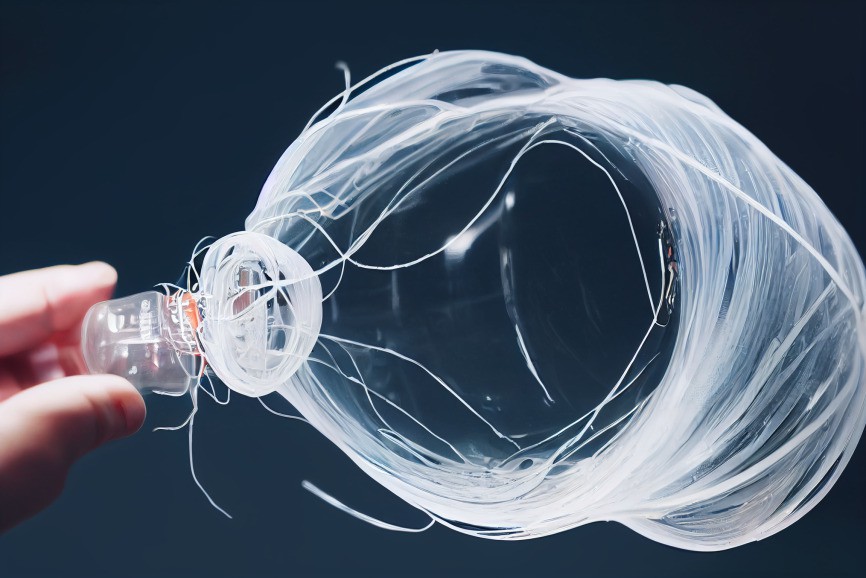
09/29/2022 at 08:04 • 3 commentsMy son tried to design a nice splashscreen image for the project.
He made several attempts using midjourney's AI power. And the results are quite impressive!
- white:
![]()
![]()
- bloody:
![]()
![]()
- green:
![]()
- hand:
![]()
Tell me which one you prefer!
-
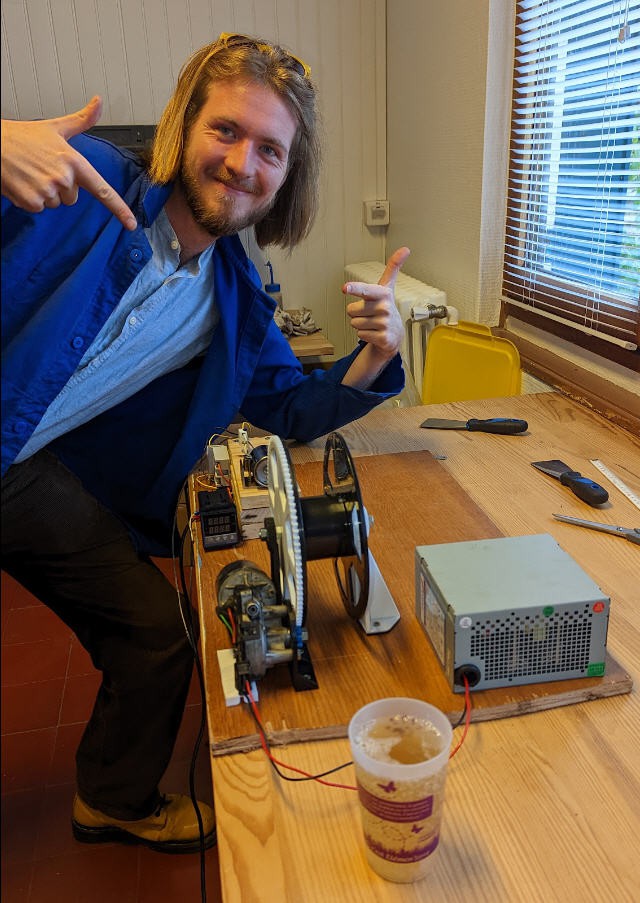
A PullStruder's baby
09/24/2022 at 07:59 • 0 commentsThe "Hundredth Monkey" effect is a hypothetical phenomenon in which a new behavior or idea is spread rapidly by unexplained means from one group to all related groups once a critical number of members of one group exhibit the new behavior or acknowledge the new idea".
Le "100e Singe" is also a Third Place, in vicinity of Toulouse, half-farm half-office, combined with an agricultural incubator that welcomes and experiments with new forms of work: cooperatives, collaborative, with meaning and impact on major societal issues.
![]()
Inline with the "reuse recycle revamp" spirit, they decided to build a PullStruder and the result is cool.
![]()
Thank you William for both the picture and the beer!
-
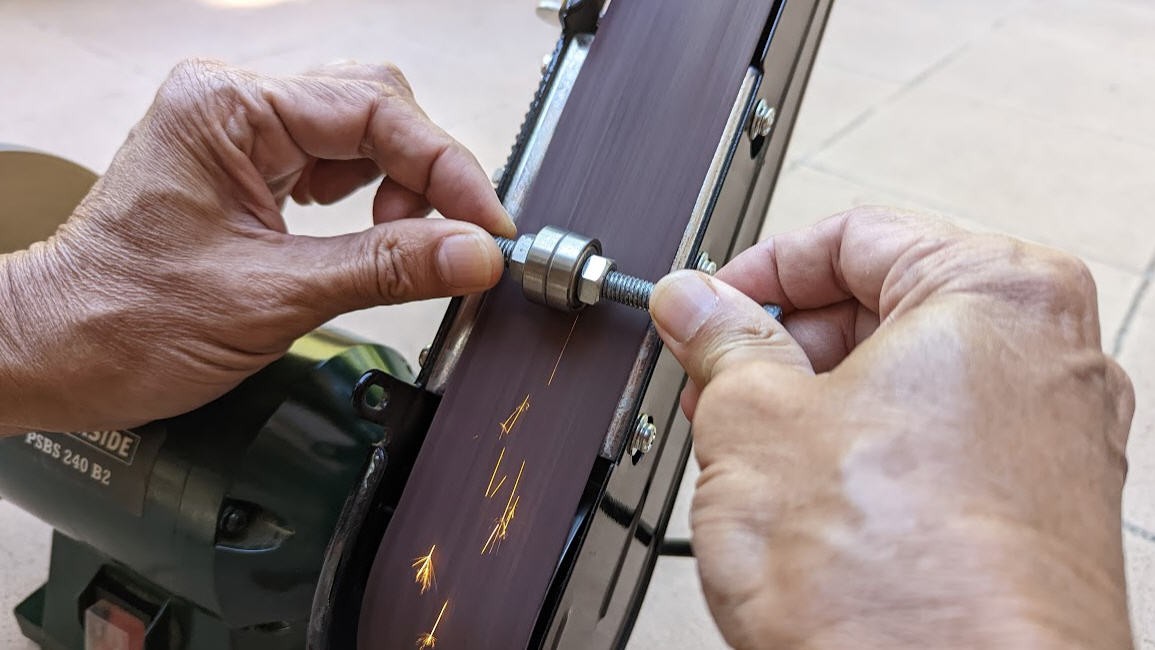
sharpening the roller bearings
09/19/2022 at 10:11 • 0 commentsSharpening the bearings is needed to get a nice 90° sharp edge on each roller bearing.
Mount the two bearings on a 8 mm rod, then grind the circumference on a belt sander.
Unlike what I am doing, YOU SHOULD WEAR GLOVES...
![]()
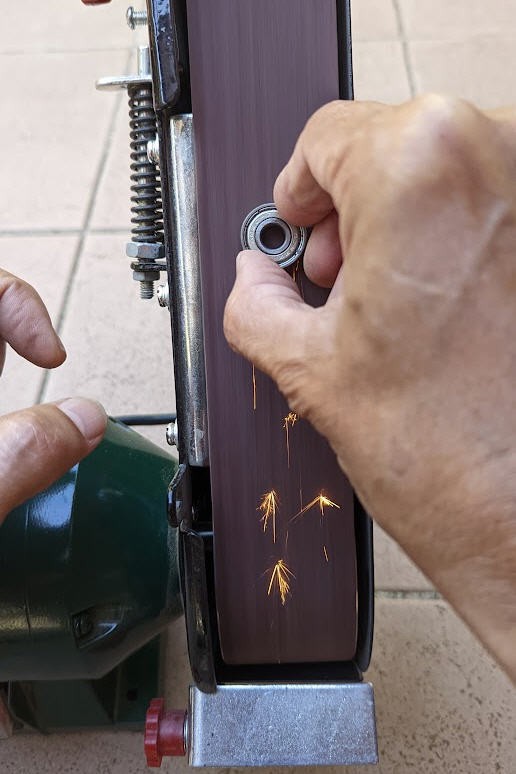
Then flatten the edge of each bearing.
![]()
That's it, your bearings are ready to be mounted on the ribbon cutter.
-
Detection of end of ribbon
07/18/2022 at 09:42 • 0 commentsHre is how I made this simple but efficient detection of end of ribbon:
![]()
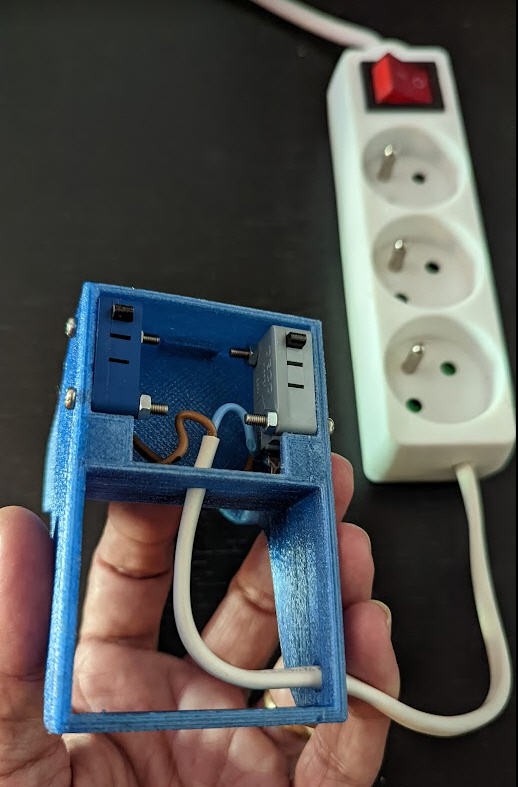
I simply wired two endstop switches (scavaged from an old micro waves owen) in parallel to the power cord switch.
![]()
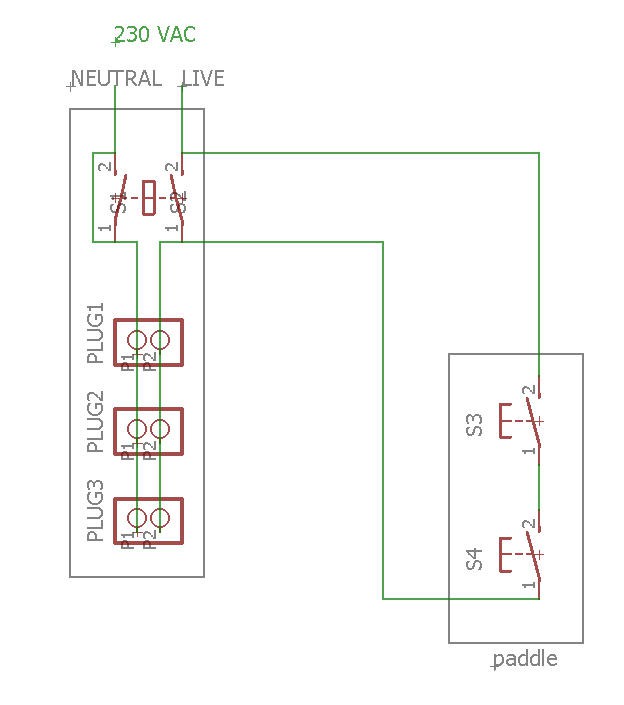
Here is the schematics, quite simple !
![]()
So the original switch is still active and allows to startup operations. Heater can be powered and when temperature is reached, the wiper motor can also be switched on.
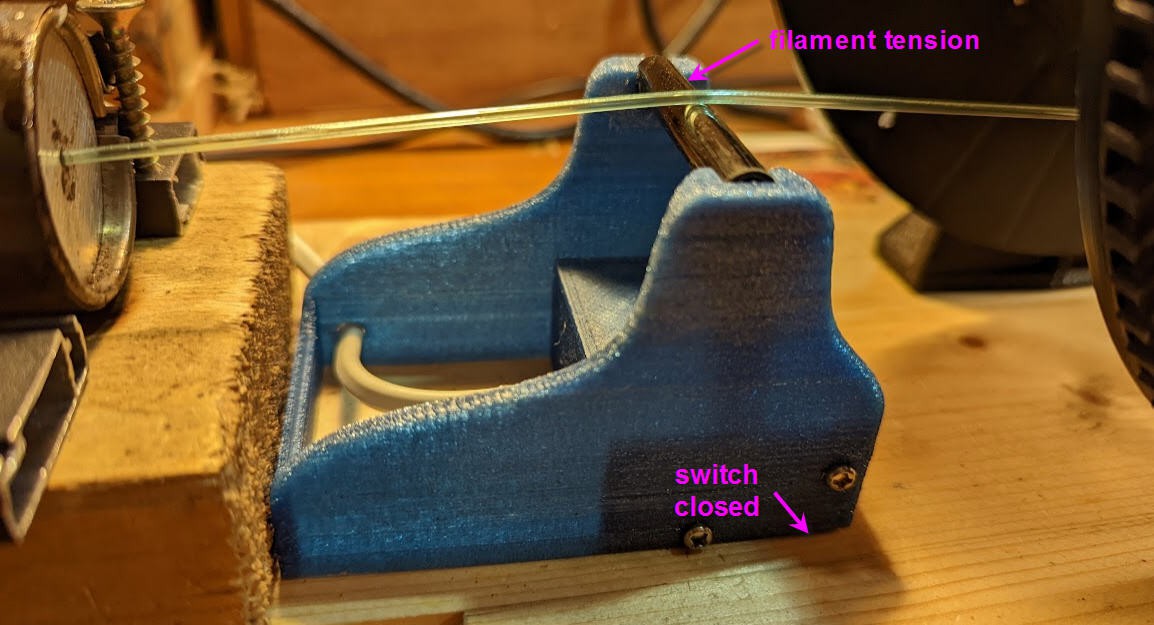
Then the paddle can be inserted under the filament. This is enough to close the switches S3 and S4 wired in serie into the paddle.
You can now switch off the power cord switch. The cord will remain powered until S3 or S4 is released.
![]()
stl files are avaliable here. Bear in mind that the filament must push down on the switches... you may need to adapt this design to your pullstruder geometry !
Once finished, it works like a charm!
-
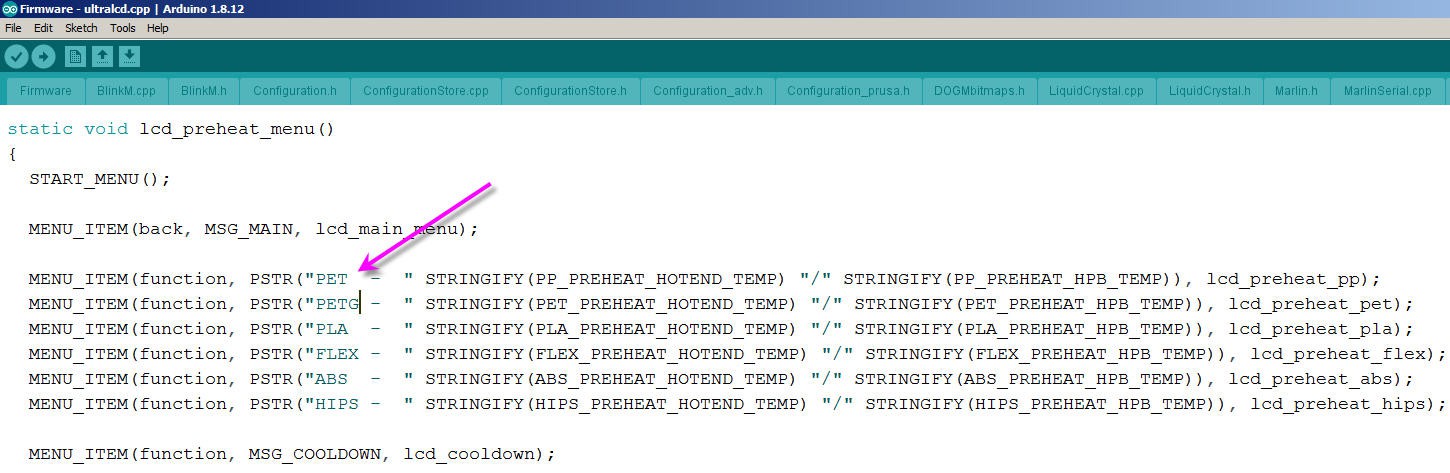
Adding PET into Prusa firmware
07/12/2022 at 07:01 • 0 commentsIn order to have default values for PET I have modified the default Prusa firmware.
Here is how I did:
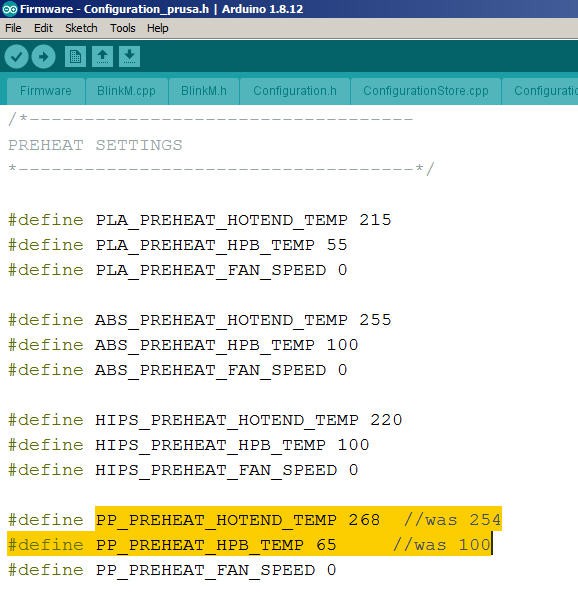
You just have two files to modify. I have just superseeded the "PP" values as I don't use this kind of filament :
![]()
and then I made the same here
![]()
As you can see the "PET" settings are pointing of the PP_PREHEAT_HOTEND_TEMP. This does the trick!
And I did also modified the original "PET" to "PETG" to avoid confusion...
-
Adding a filament run out sensor
07/11/2022 at 14:05 • 0 commentsThe best way to handle "small" filament lenght is to add a filament run out sensor.
My Prusa i3 mk2s wasn't equiped with such a device... So I added one!
Let's start by a video:
Full description and 3d model are here : https://www.thingiverse.com/thing:5136321
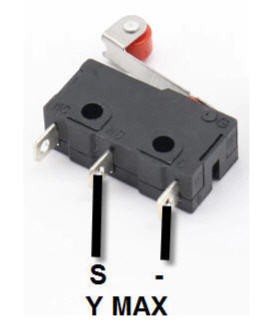
I have choosen, for reliability reasons, to use an endstop switch instead of an optical sensor.
They are very cheap, easy to find on aliexpress
https://s.click.aliexpress.com/e/_9AZ9pUI use the Normally Open switch so that the contact is closed when the filament is inserted.
![]()
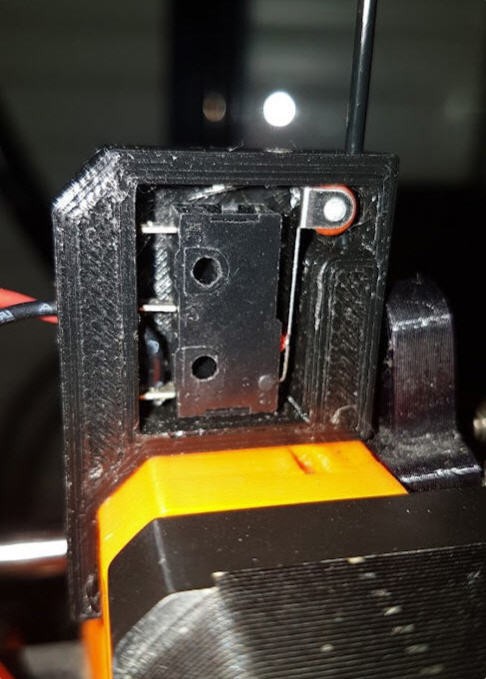
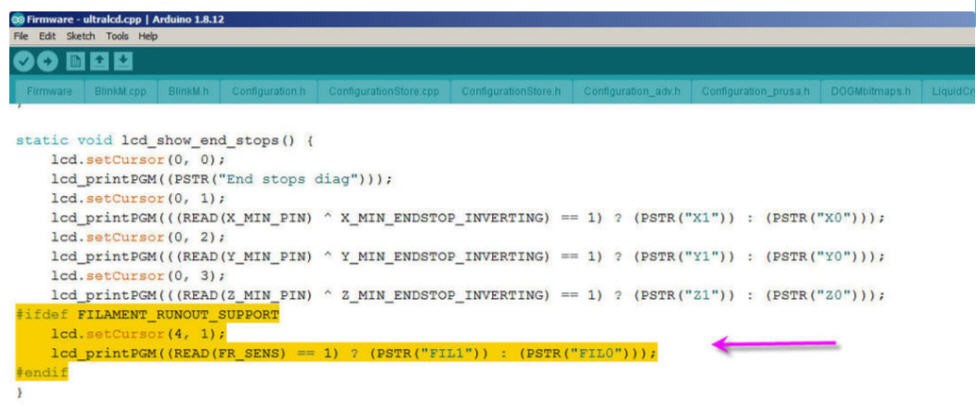
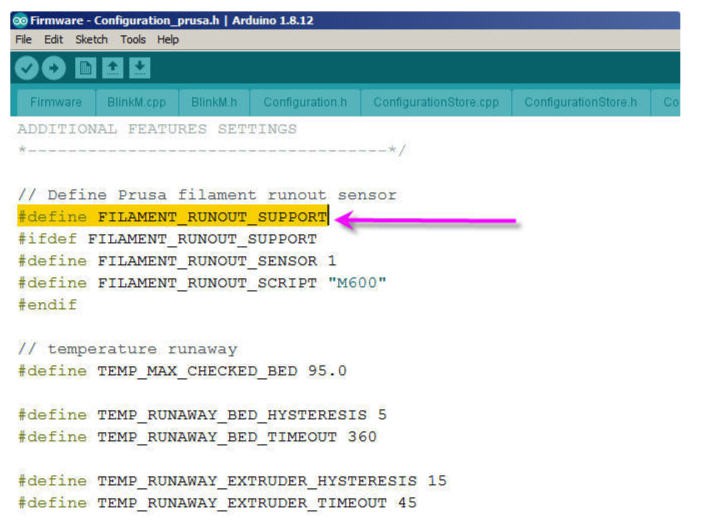
Prusa firmware is easily modified to activate the filament runOut option.
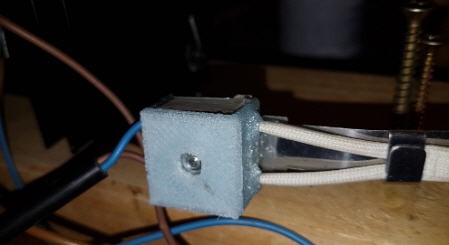
It does trigger the G600 Gcode command as soon as the filament is cut. It is the regular command to change filament.The sensor snaps on the extruder without any screw. Even the lid is inserted and fixed using a filament "rivet" (see picture on thingiverse).
![]()
The sensor is designed to fit this exact type of switch...
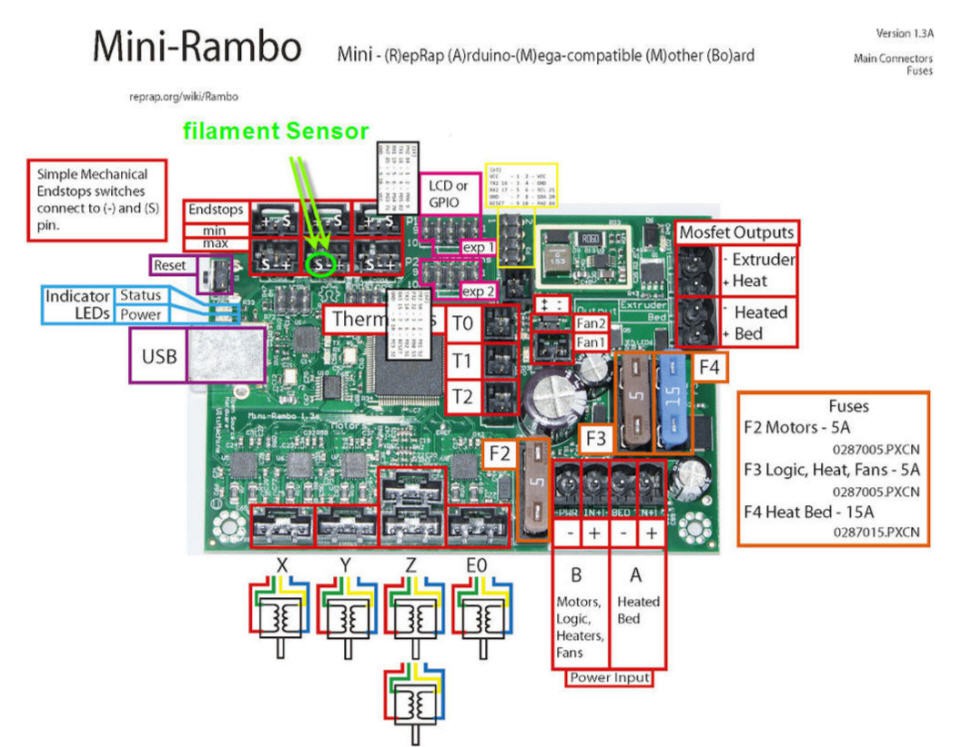
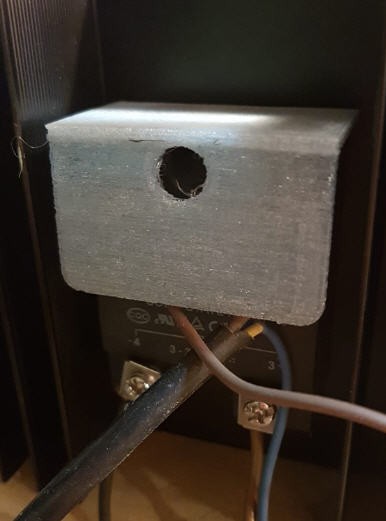
The two wires of the switch go to the Y_Max connector on the mini Rambo board. They are connected to the S and - pins of the connector. There is no polarity you can swap the two pins !
![]()
Compiling the Prusa firmware is quite easy as everything is open source. Guidelines for compilation are given here onthe Prusa's Github page.
Clone this repository on your PC and 4 files must be modified to activate the filament runOut sensor for the Prusa i3 mk2S. All the code is already there, just uncomment those lines and compile!
![]()
![]()
![]()
![]()
But if you are too lazy, here is the .hex for the modified firmware (Prusa i3 mk2s filament 1.75 with runout sensor)
-
safety against electrical chocks
05/27/2022 at 13:06 • 0 commentsI simply added a few 3d printed parts to protect against Mains Voltage.
These parts can be added to :
- heater block terminal
- PID controller (back side)
- static relay
They only protect MAINS voltages not low level DC voltage of the PID neither the static relay.
![]()
![]()
stl files are available here : PullStruderProtect.zip
-
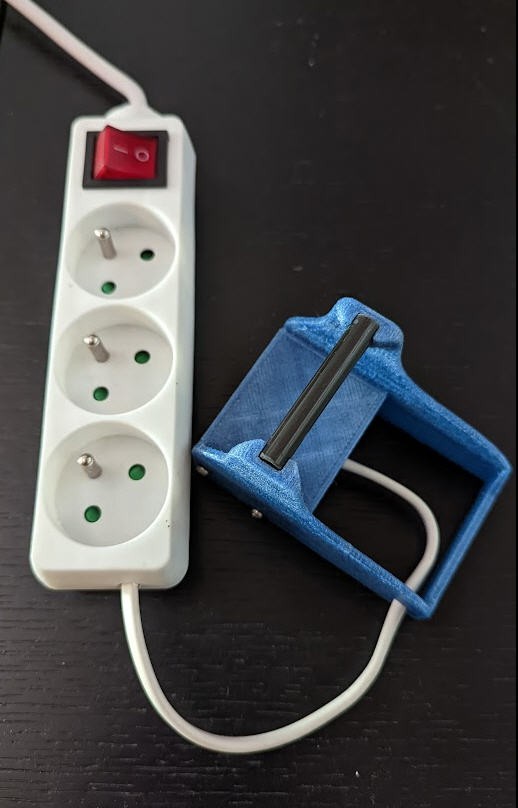
fusing two filaments into a longer one
05/13/2022 at 19:22 • 0 commentsTo achieve this goal I simply used my soldering iron !
I drilled a scrap piece of aluminium at the diameter of the tip of the iron and used it to melt the filament into a PFTE tube.
See this video to better understand !
The white clip to hold the iron in place on its support can be found on my thingiverse's channel here.
PullStruder: from plastic bottle to PET filament
Ever wanted to use plastic bottle for 3d printing ? Here is how to !