I have stumbled upon a FANTASTIC project --TheFuck when I just started learning Linux and the "notoriously"-hard-to-remember Linux commands and I immediately fell for it, because it makes learning Linux commands a LOT easier -- In fact, with this tool, you don't even have to remember all the commands name and usage, just anyhow type in a command and then type "fuck" followed by Enter and TheFuck will take a guess what you want to do and gives you suggestions or corrects what you typed wrong -- both literally and syntactically for you. That's no wonder it is ranked top 50 most starred Github repositories according to GitStar.
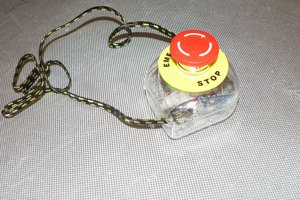
But I took this project a bit further and create a button that you can smash and release your stress while type in the fuck command for you XD
It uses BW16 (Realtek RTL8720DN) dev board which emulates a Bluetooth HID keyboard and a enconder (you can replace it with a push button if you like), so whenever you hit the button, BW16 will help you key in fuck command and follows with a Enter.
The project is a WIP one and I plan to replace BW16 dev board with a smaller module to make the button even smaller, then add battery to make it completely wireless (now the USB cable is to supply power only).
Watch the demo video to learn more,
I have also open sourced this project on Github, please visit this link to download all the Software and Hardware source files
I have also posted this project in PCBWay+ community, here is the link,
 SimonXi
 ReidDye
 Maciej Witkowiak

 MongooseOS