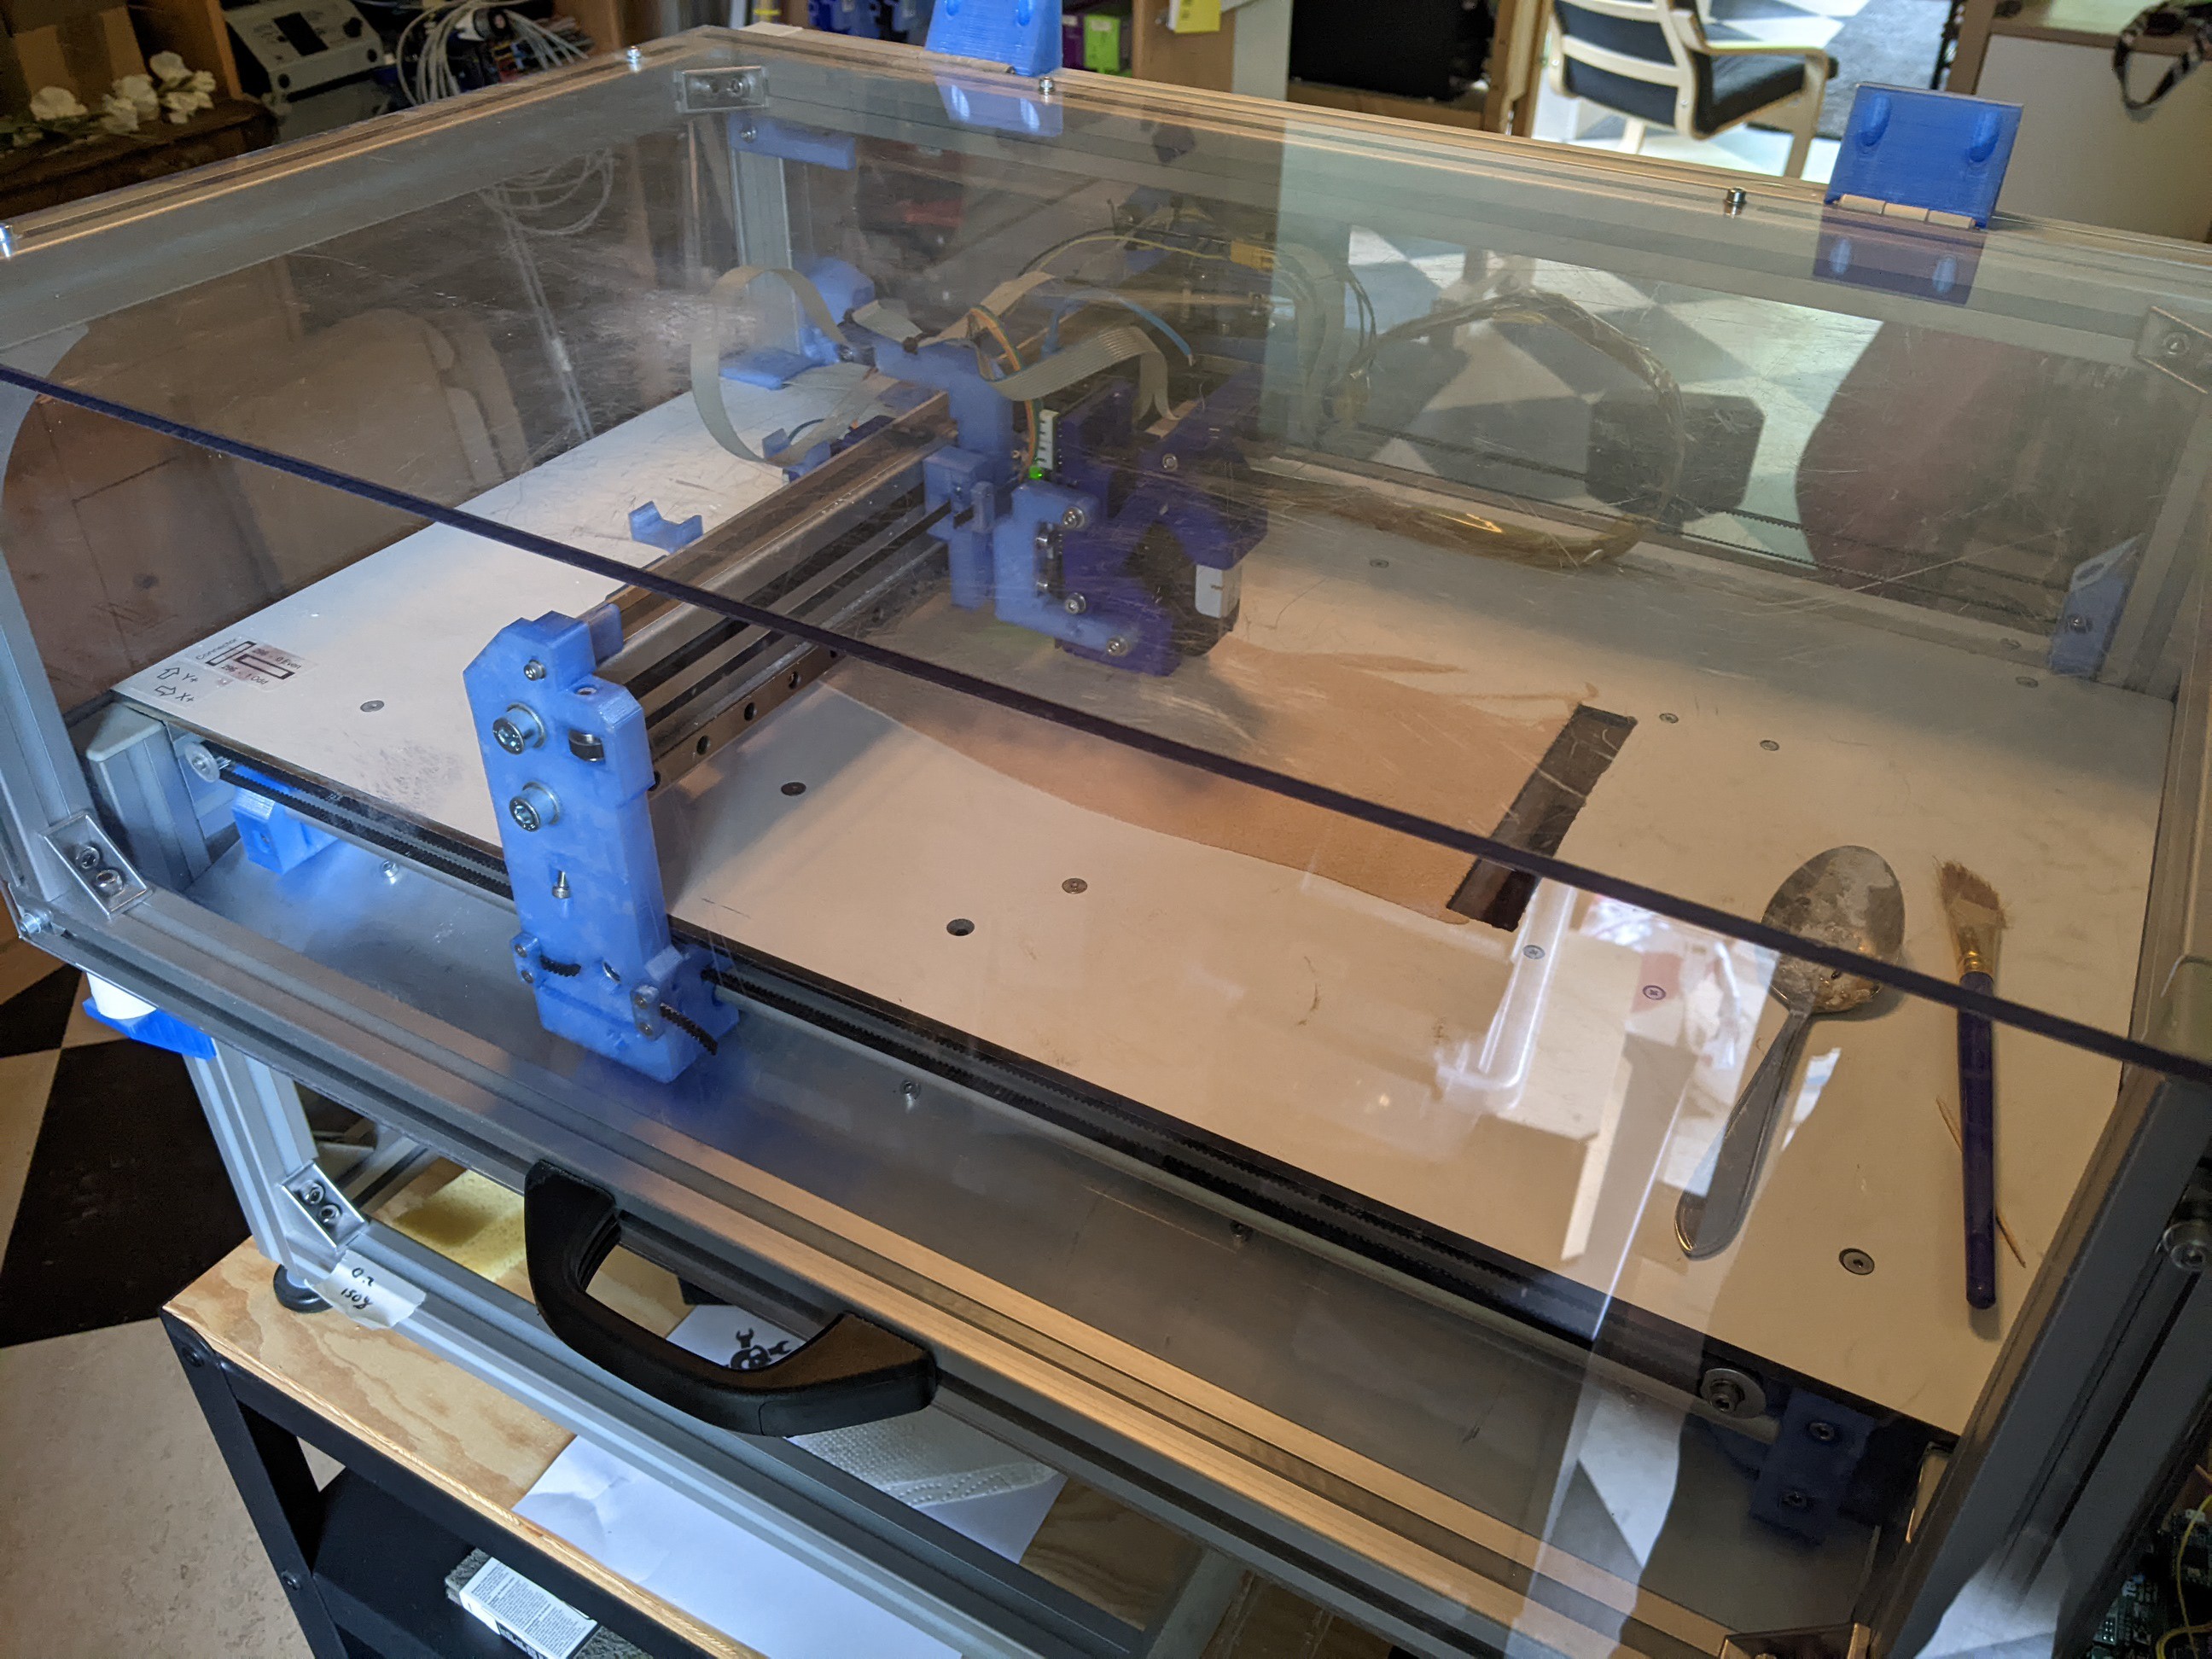
To test all the materials I am going to be using Oasis. This is an older project of mine where I built a 3DP printer (https://hackaday.io/project/86954-oasis-3dp). The printer still has the 80mm piston inside, and is mostly original. There are however some minor tweaks that have happened in the meantime. This will also include some backstory and a mention of the current state of things.
Changing the software
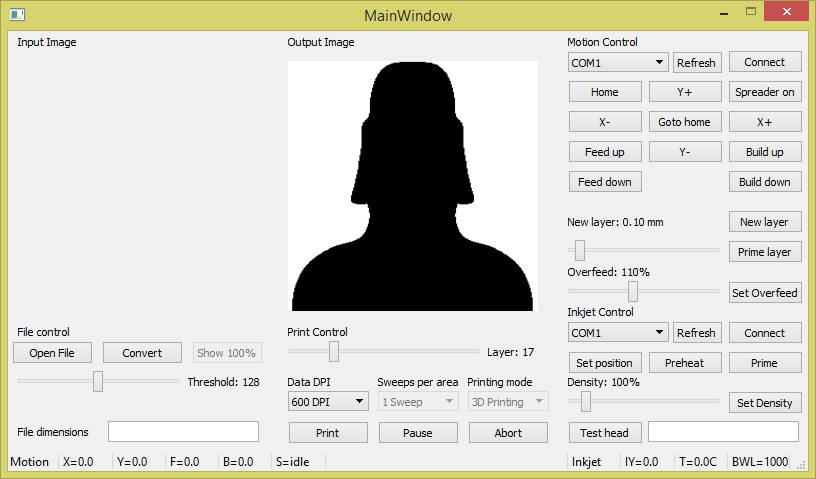
During operation the software has slowly received tweaks. The most notable one is that my current Oasis runs a completely new interface with some quality of life features. This new interface was designed to be able to run on a raspberry pi with a 720p touchscreen interface. While I never really got the software to run nicely on the Pi3 I had, I still use the software. Some of the features include:
- A list of available com ports
- Sliders or combo boxes for all variables instead of text boxes
- Selectable overfeed (how much too much the feed piston adds per layer)
It is still not perfect, but more usable than the old software. Since it does work, and it is an improvement, I will upload this new software to the Oasis project for all people interested asap.
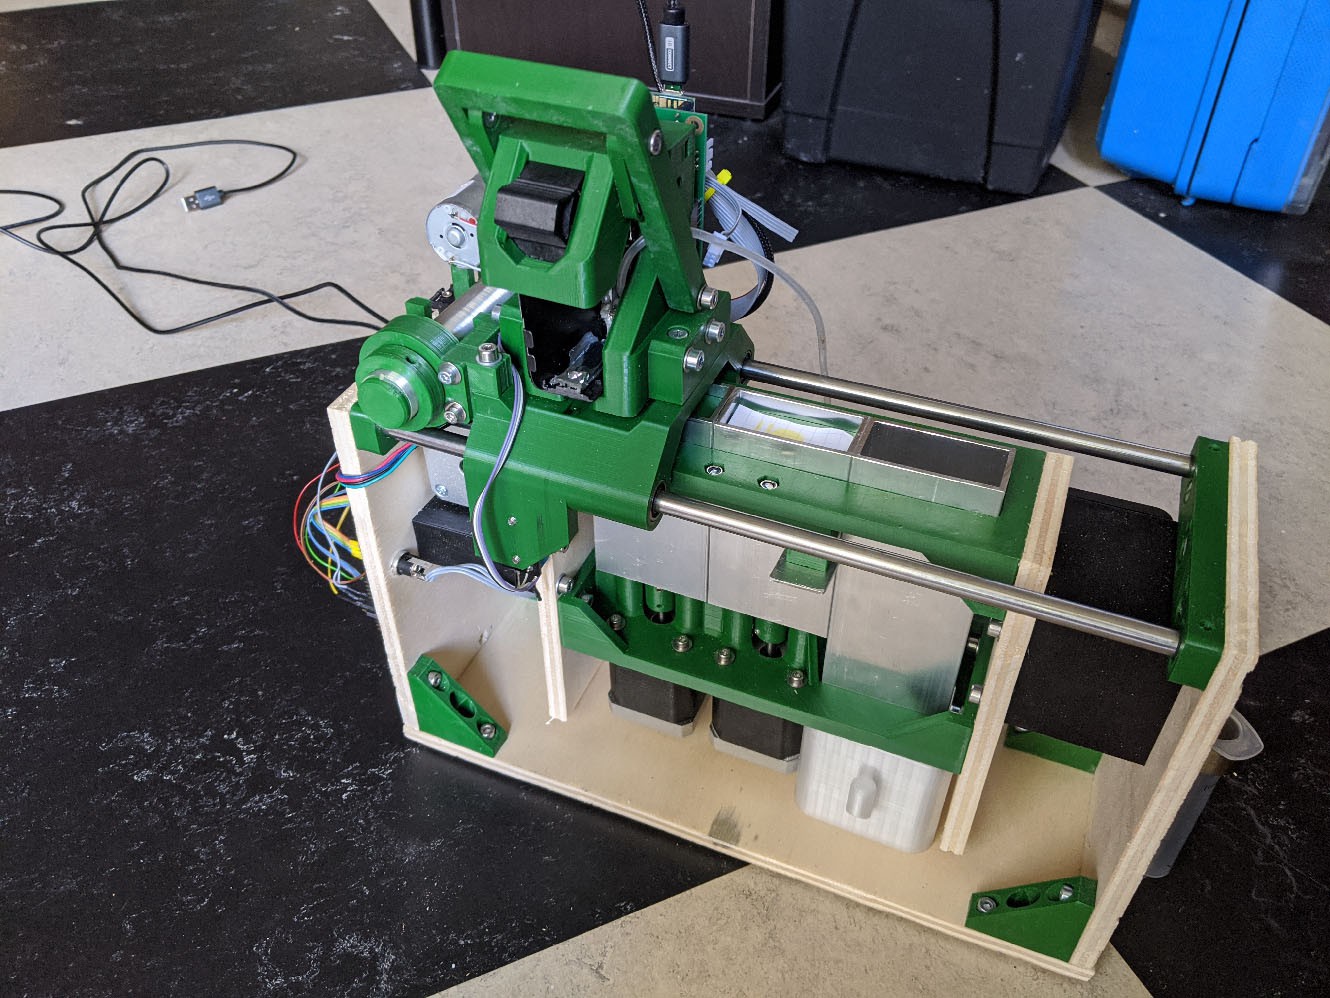
I built Grain, the tiny format test printer. It was designed to test small batches of materials. It only had a 40x15mm piston, and had a specially modified printhead that printed with a feed line instead of an ink tank, to allow for quick binder changing. Grain is the perfect printer to test small batches, except for it sucks. It is messy, it constantly jams and the CISS ink line is a hell to refill. It is still available, and functional, but for printing more different materials there are now other ideas.
V4 controller and software
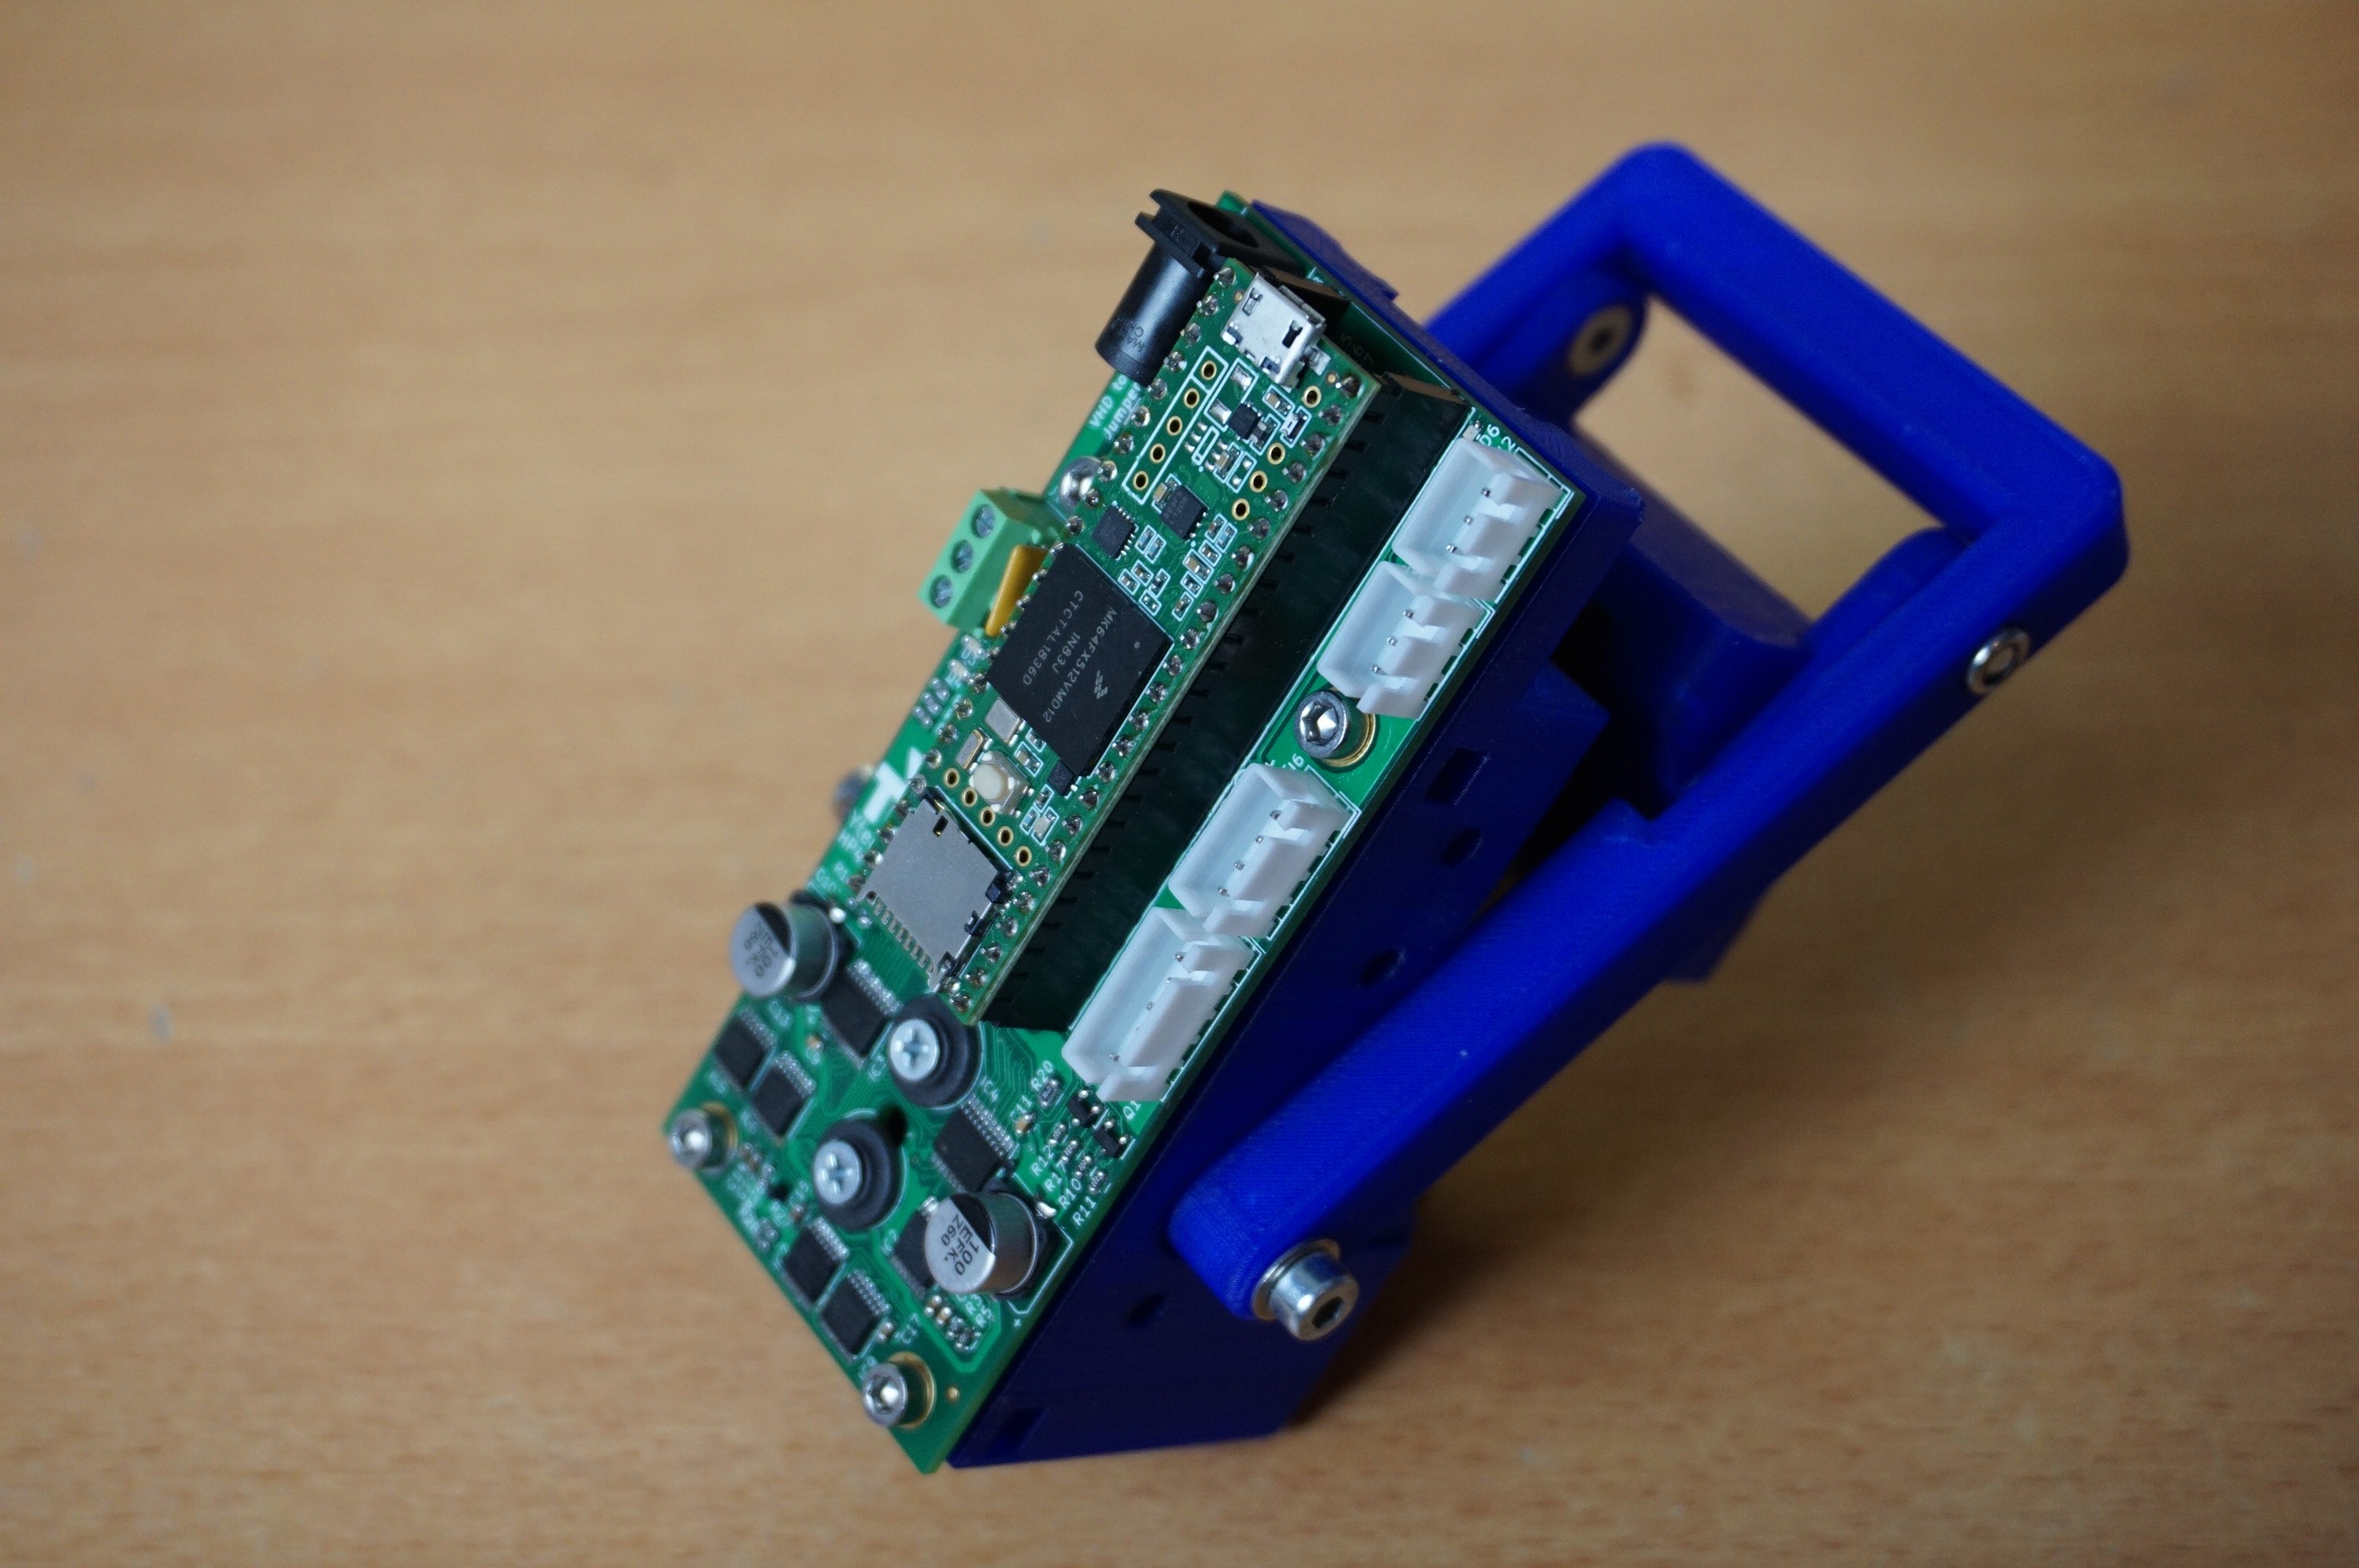
I build the V4 controller (https://ytec3d.com/hp45-controller-v4/). V3 was too much work to make, and was almost impossible to test. I never made them in large numbers because of this. The V4 is still a "work in progress", but it does already work much better than V3.
The V4 uses a Teensy 3.5, It is only a single PCB, has all the improvements from the V3.2 board and includes limited self testing, leds and a DC jack. The last 3 options are an amazing addition, because the board will now tell if it does not have power of misses features, and show leds with all power levels, which is more helpful that I want to admit. The DC jack also allows for simple hookup to power for other projects.
This controller was originally designed for standalone operation in other projects. It is designed to be a completely self contained inkjet controller for all applications. However I have sold some of these, and people asked me if it could work in Oasis. As it turned out, it could with very little modification. It runs more reliable and faster with the V4. The old pi software however does not yet use most of the features.
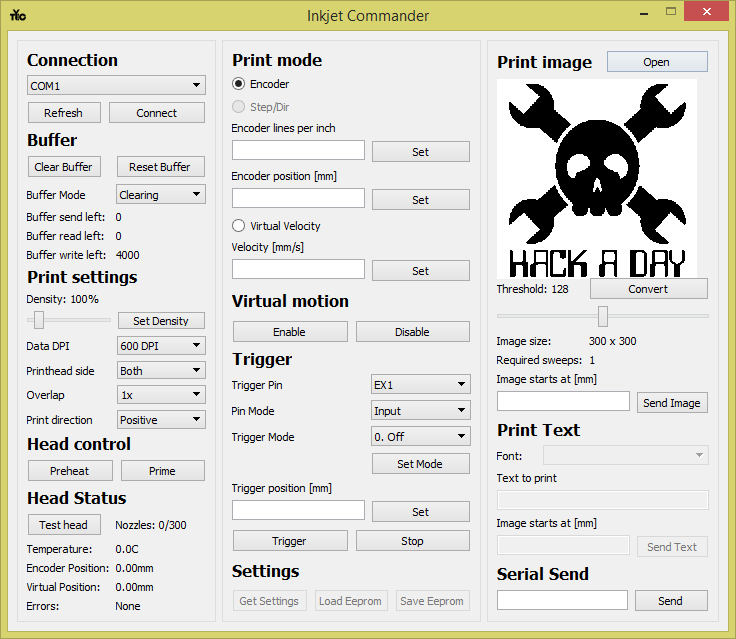
V4 uses a program called inkjet commander, and this does not support 3D printing, only 2D. It does this an order of magnitude better than Oasis could, but it should be able to 3D print, and at some point in the future it will. The new features compared to Oasis include:
- Special buffer modes to print images repeatedly
- A selector for which printhead side to print with
- The amount of overlap in an image between sweeps
- Printing positive direction only, negative direction only and alternating
- Virtual movement, where a trigger (software or hardware) and a fixed velocity is used to print
None of these are game changers, but all of the new features are nice to haves, and more are still being worked on. Some of the desired features are already in the interface.
 V4 would be available at the moment, but chip shortages have made the controller hard to source. Once chips become more available I will see how to make V4 available.
Current setup
And that is the current setup. The old Oasis, with a reskinned and slightly reworked piece of software and a fancy new controller with more features than the reworked software can work with. The software that can make use of all the features does not 3D print. It works, and will allow me to run the tests for this project.
Considered upgrades
There is however one thing which I might do during the testing. Upgrade Oasis to be able to test more parts at once. Each single print takes only minutes, but the time spent in the printbed is hours to cure. It would be nice if I could either print multiple settings in one printbed, or have multiple small pistons to test more than one batch at a time. This is still concept at the moment, but if I do get more solid progress on this I share.
Discussions
Become a Hackaday.io Member
Create an account to leave a comment. Already have an account? Log In.