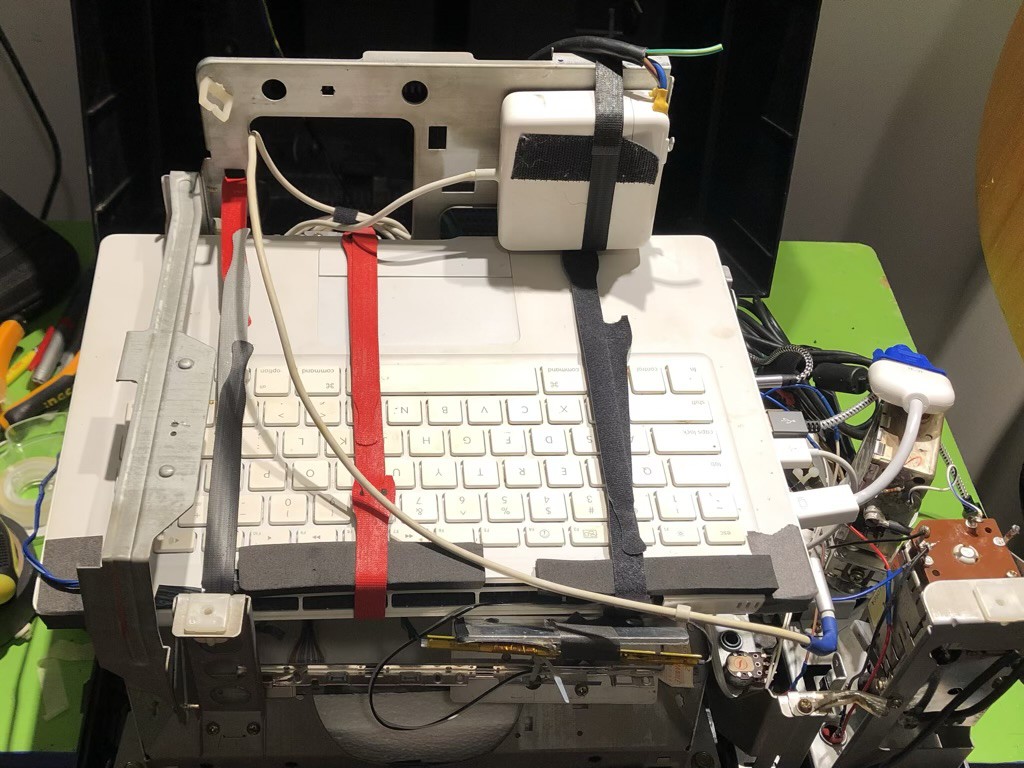
The brains of this system is a Core 2 Duo MacBook from around 2007. I chose this because I had it, and it was well out of date for any current internet use. I installed the Lakka linux distro with Retroarch, and it works great. Its emulation capability seems on par with a Raspberry Pi 3, its performance is hampered a bit by using an older mechanical hard drive, but that mostly just impacts boot time
Because of the way this laptop is built, it was easier to include the entire body and keyboard instead of deconstructing it to only use what was needed.

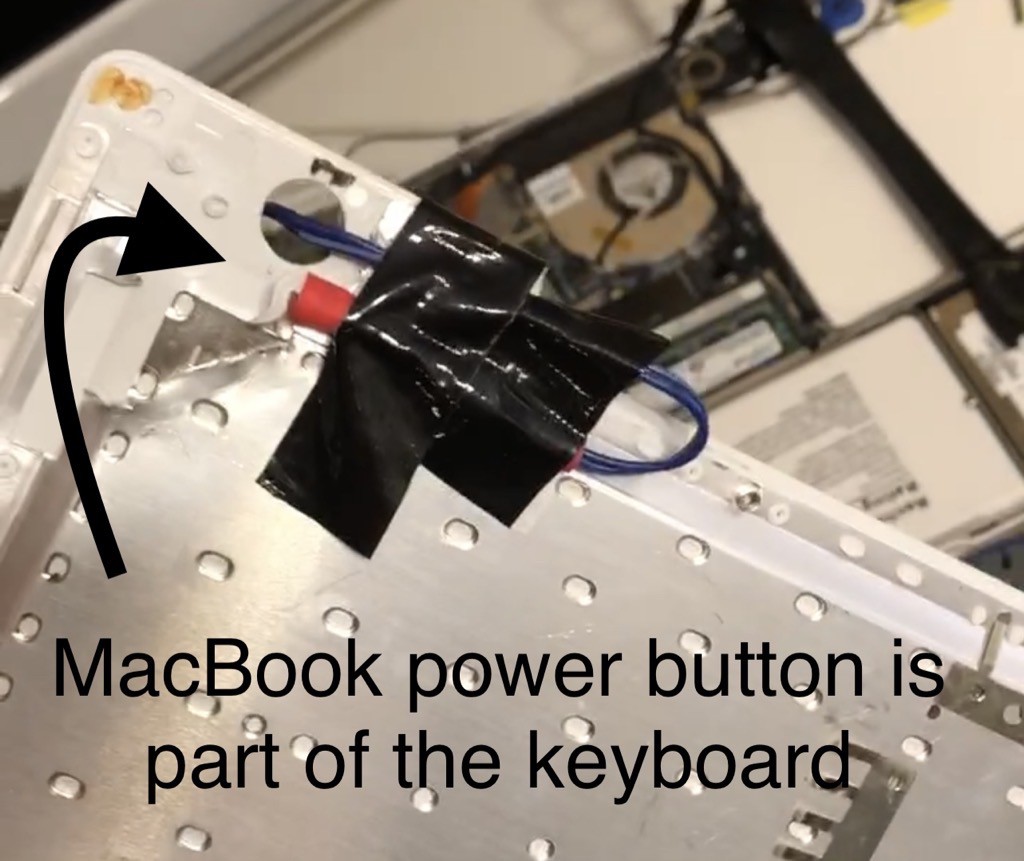
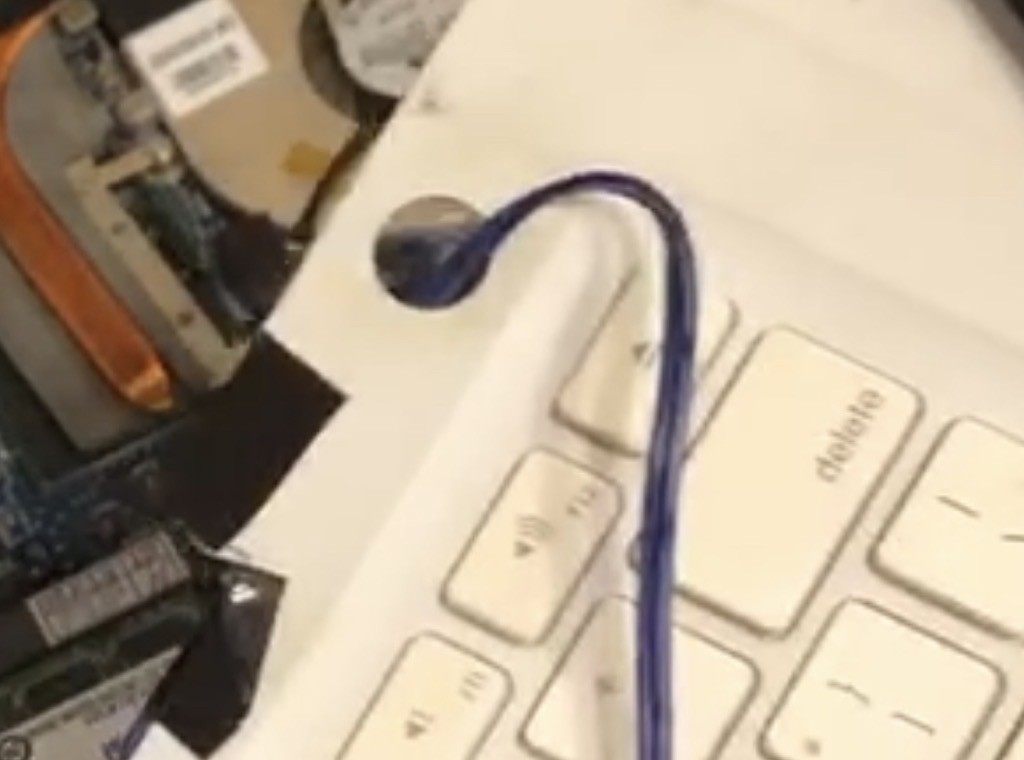
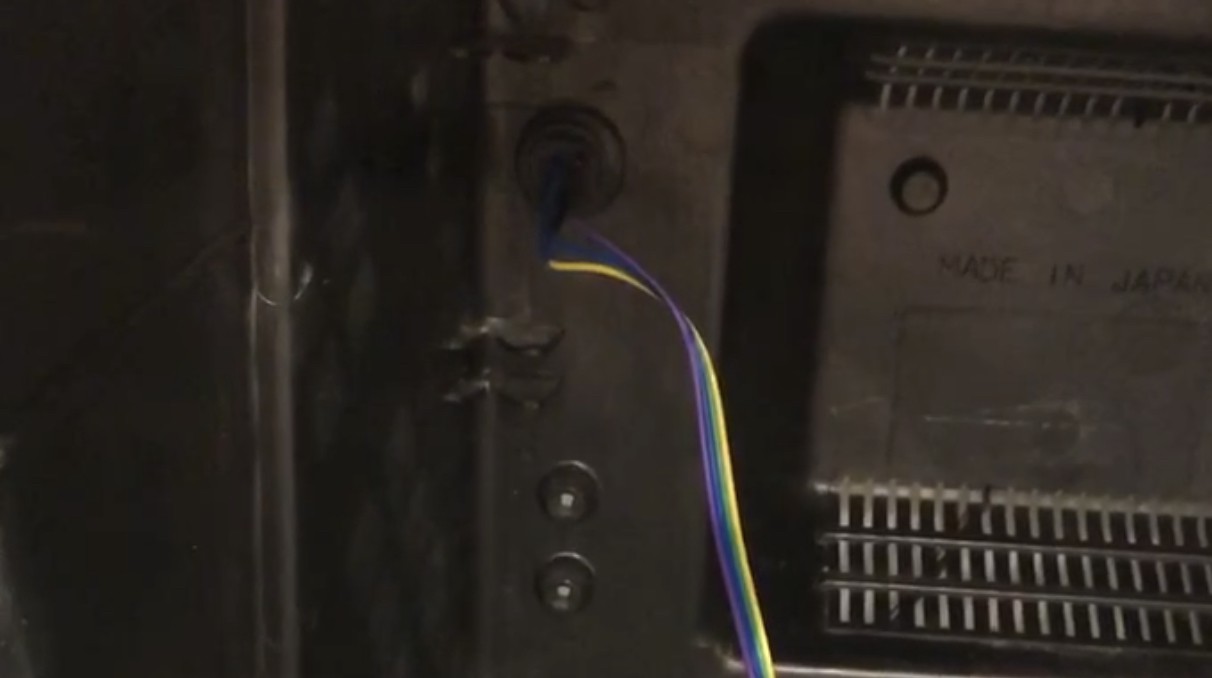
For instance, the power button is physically part of the keyboard, set between the top case plastic and a metal shield underneath. There is no power control on the motherboard itself. My solution was to peel back the metal shield and solder a wire to the power button contacts. This wire runs to the back of the case. It’s a bit janky, but it works.


AC power is provided by the original Apple power supply charger, hardwired to a standard computer extension cable, and run under the chassis through the groove designed for that purpose. Another standard cable can be connected to the extension, but is mostly needed for charging, because despite the goal of frugality, one of the few things I purchased for the build was a replacement battery for the MacBook.
I have since made a slight modification to the power arrangement, which I’ll cover in another update.
 Greg Does Things
Discussions
Become a Hackaday.io Member
Create an account to leave a comment. Already have an account? Log In.