After producing the first X-PC, I was given a lot of old laptops. These come from different departments around the school, but all have the same problem of the keys going missing.
Here's a stack of Lenovo B590 Laptops, all with missing keys or even no keyboards at all. All ready for the bin!
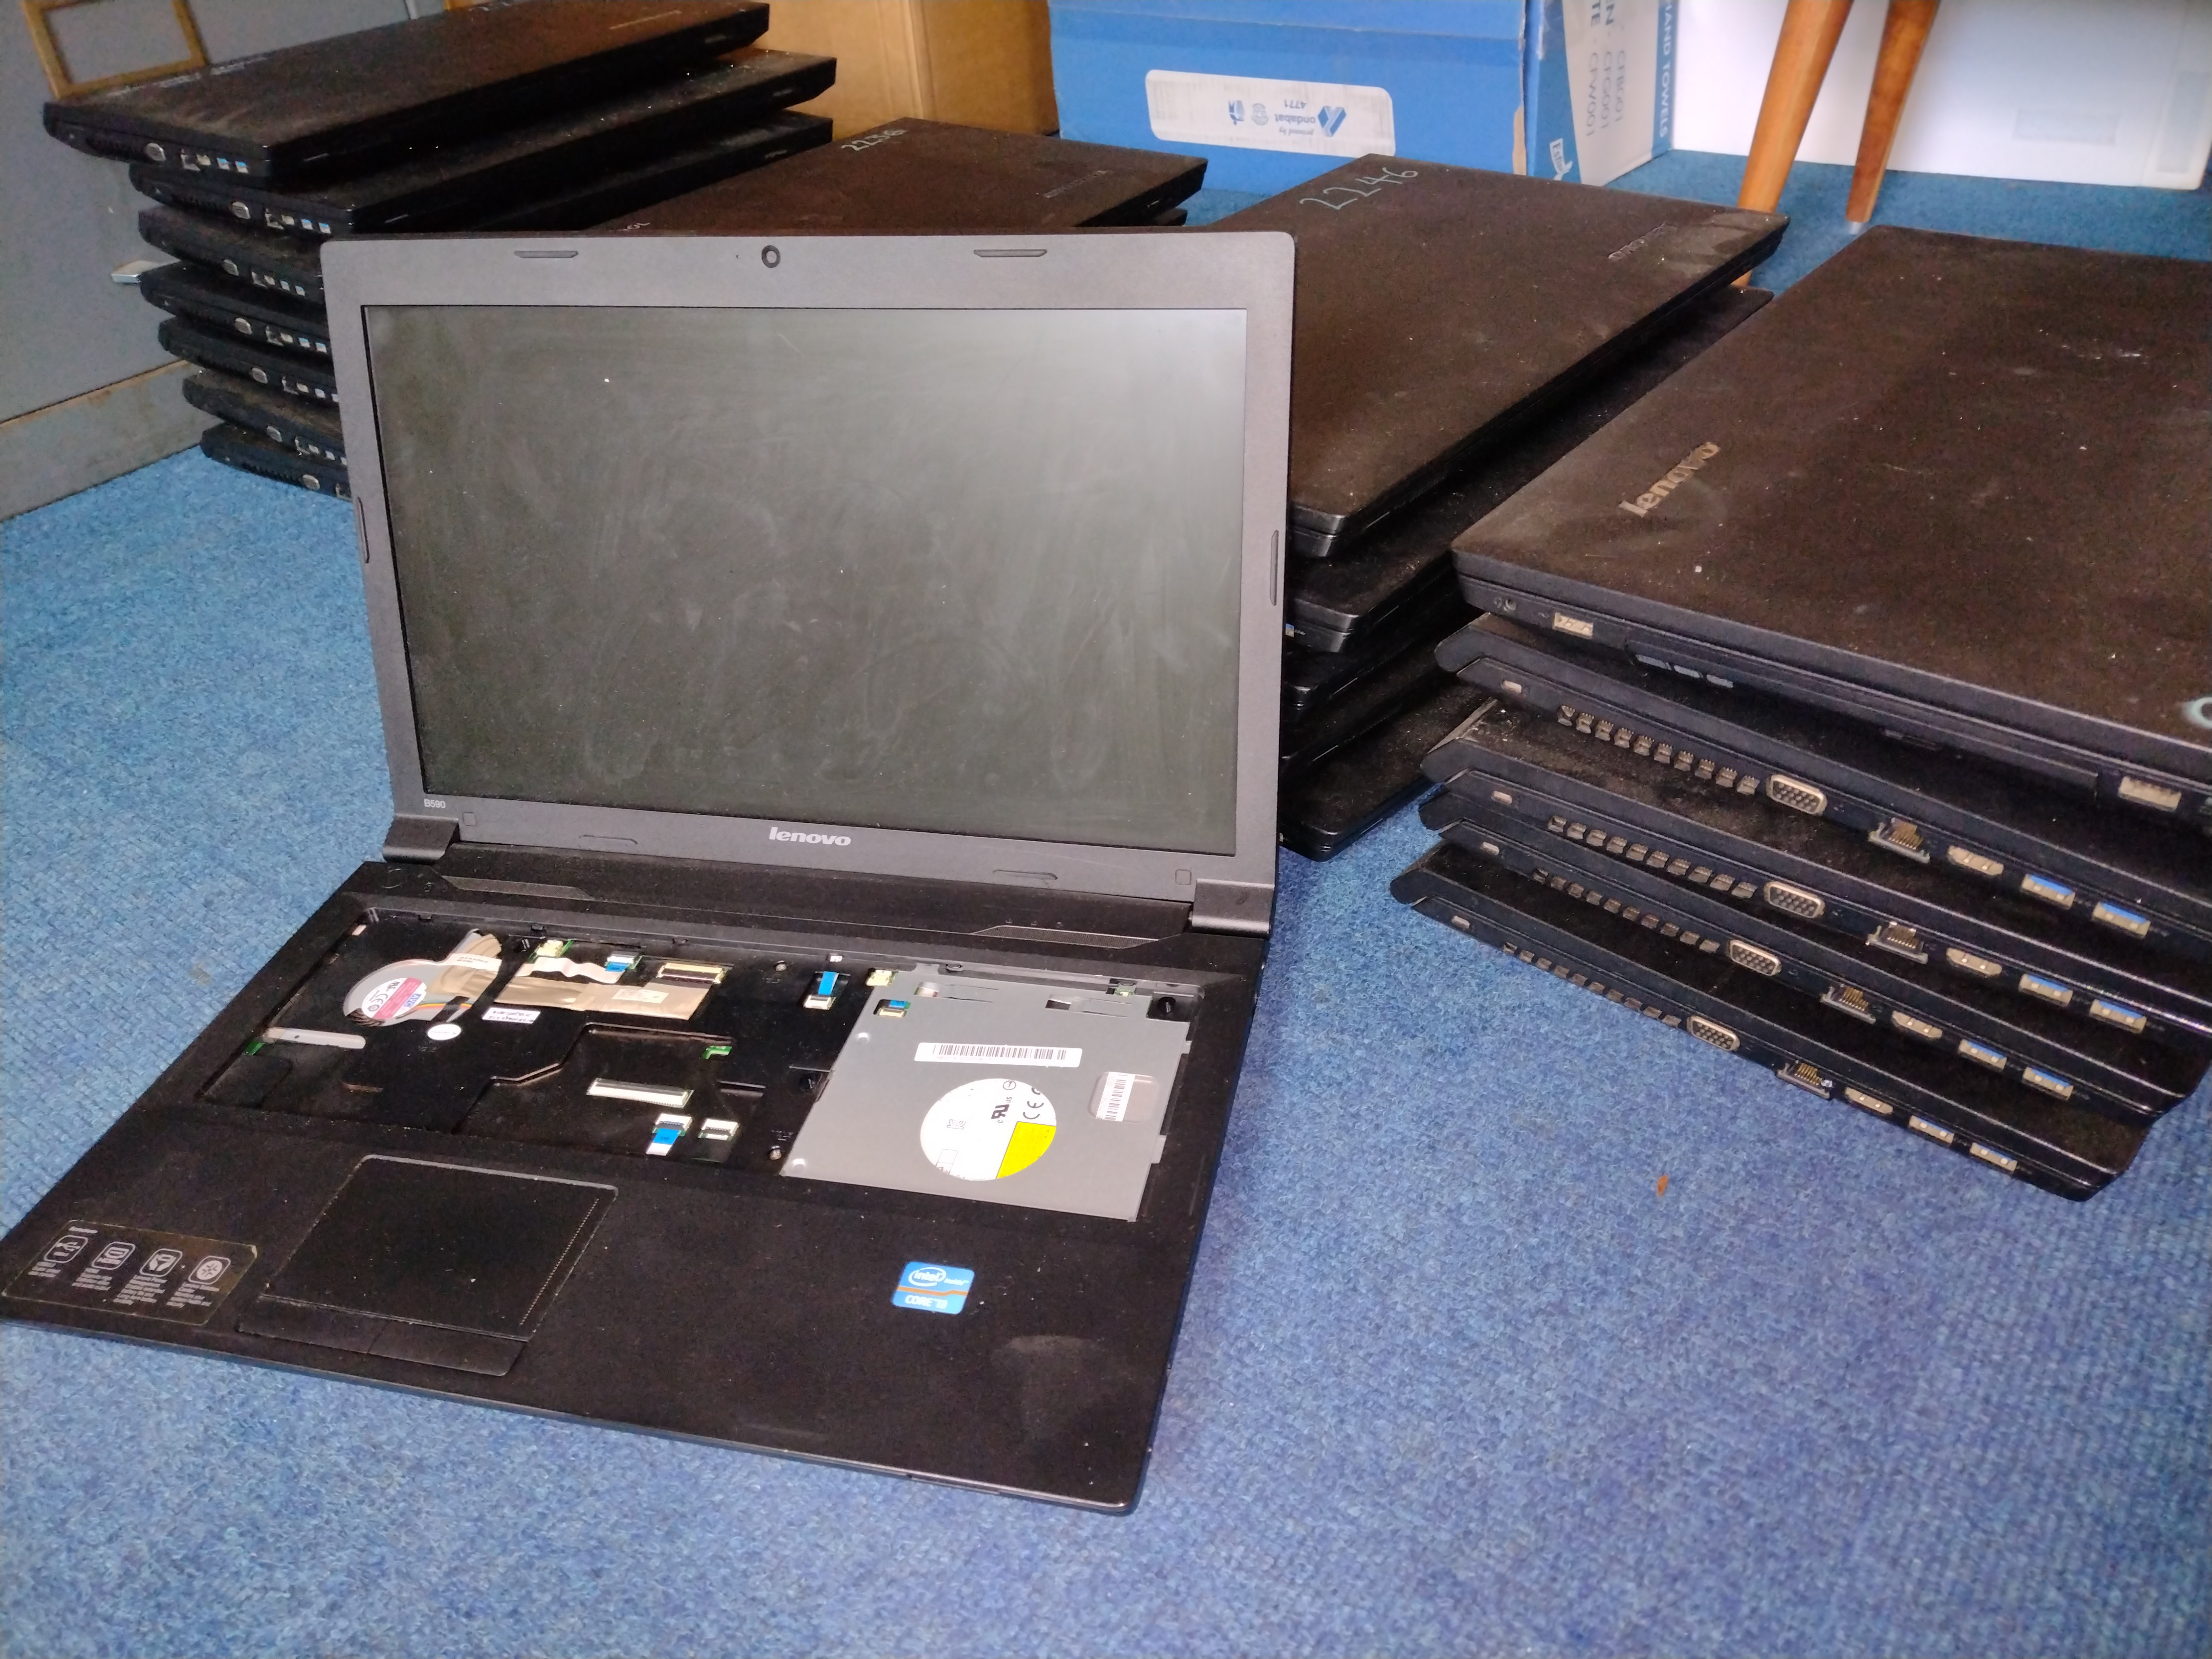
These are still quite capable computers and too good to be thrown away, so they became the first candidate for the new X-PC 2.
The first job was to strip one down and make sure that everything still worked.
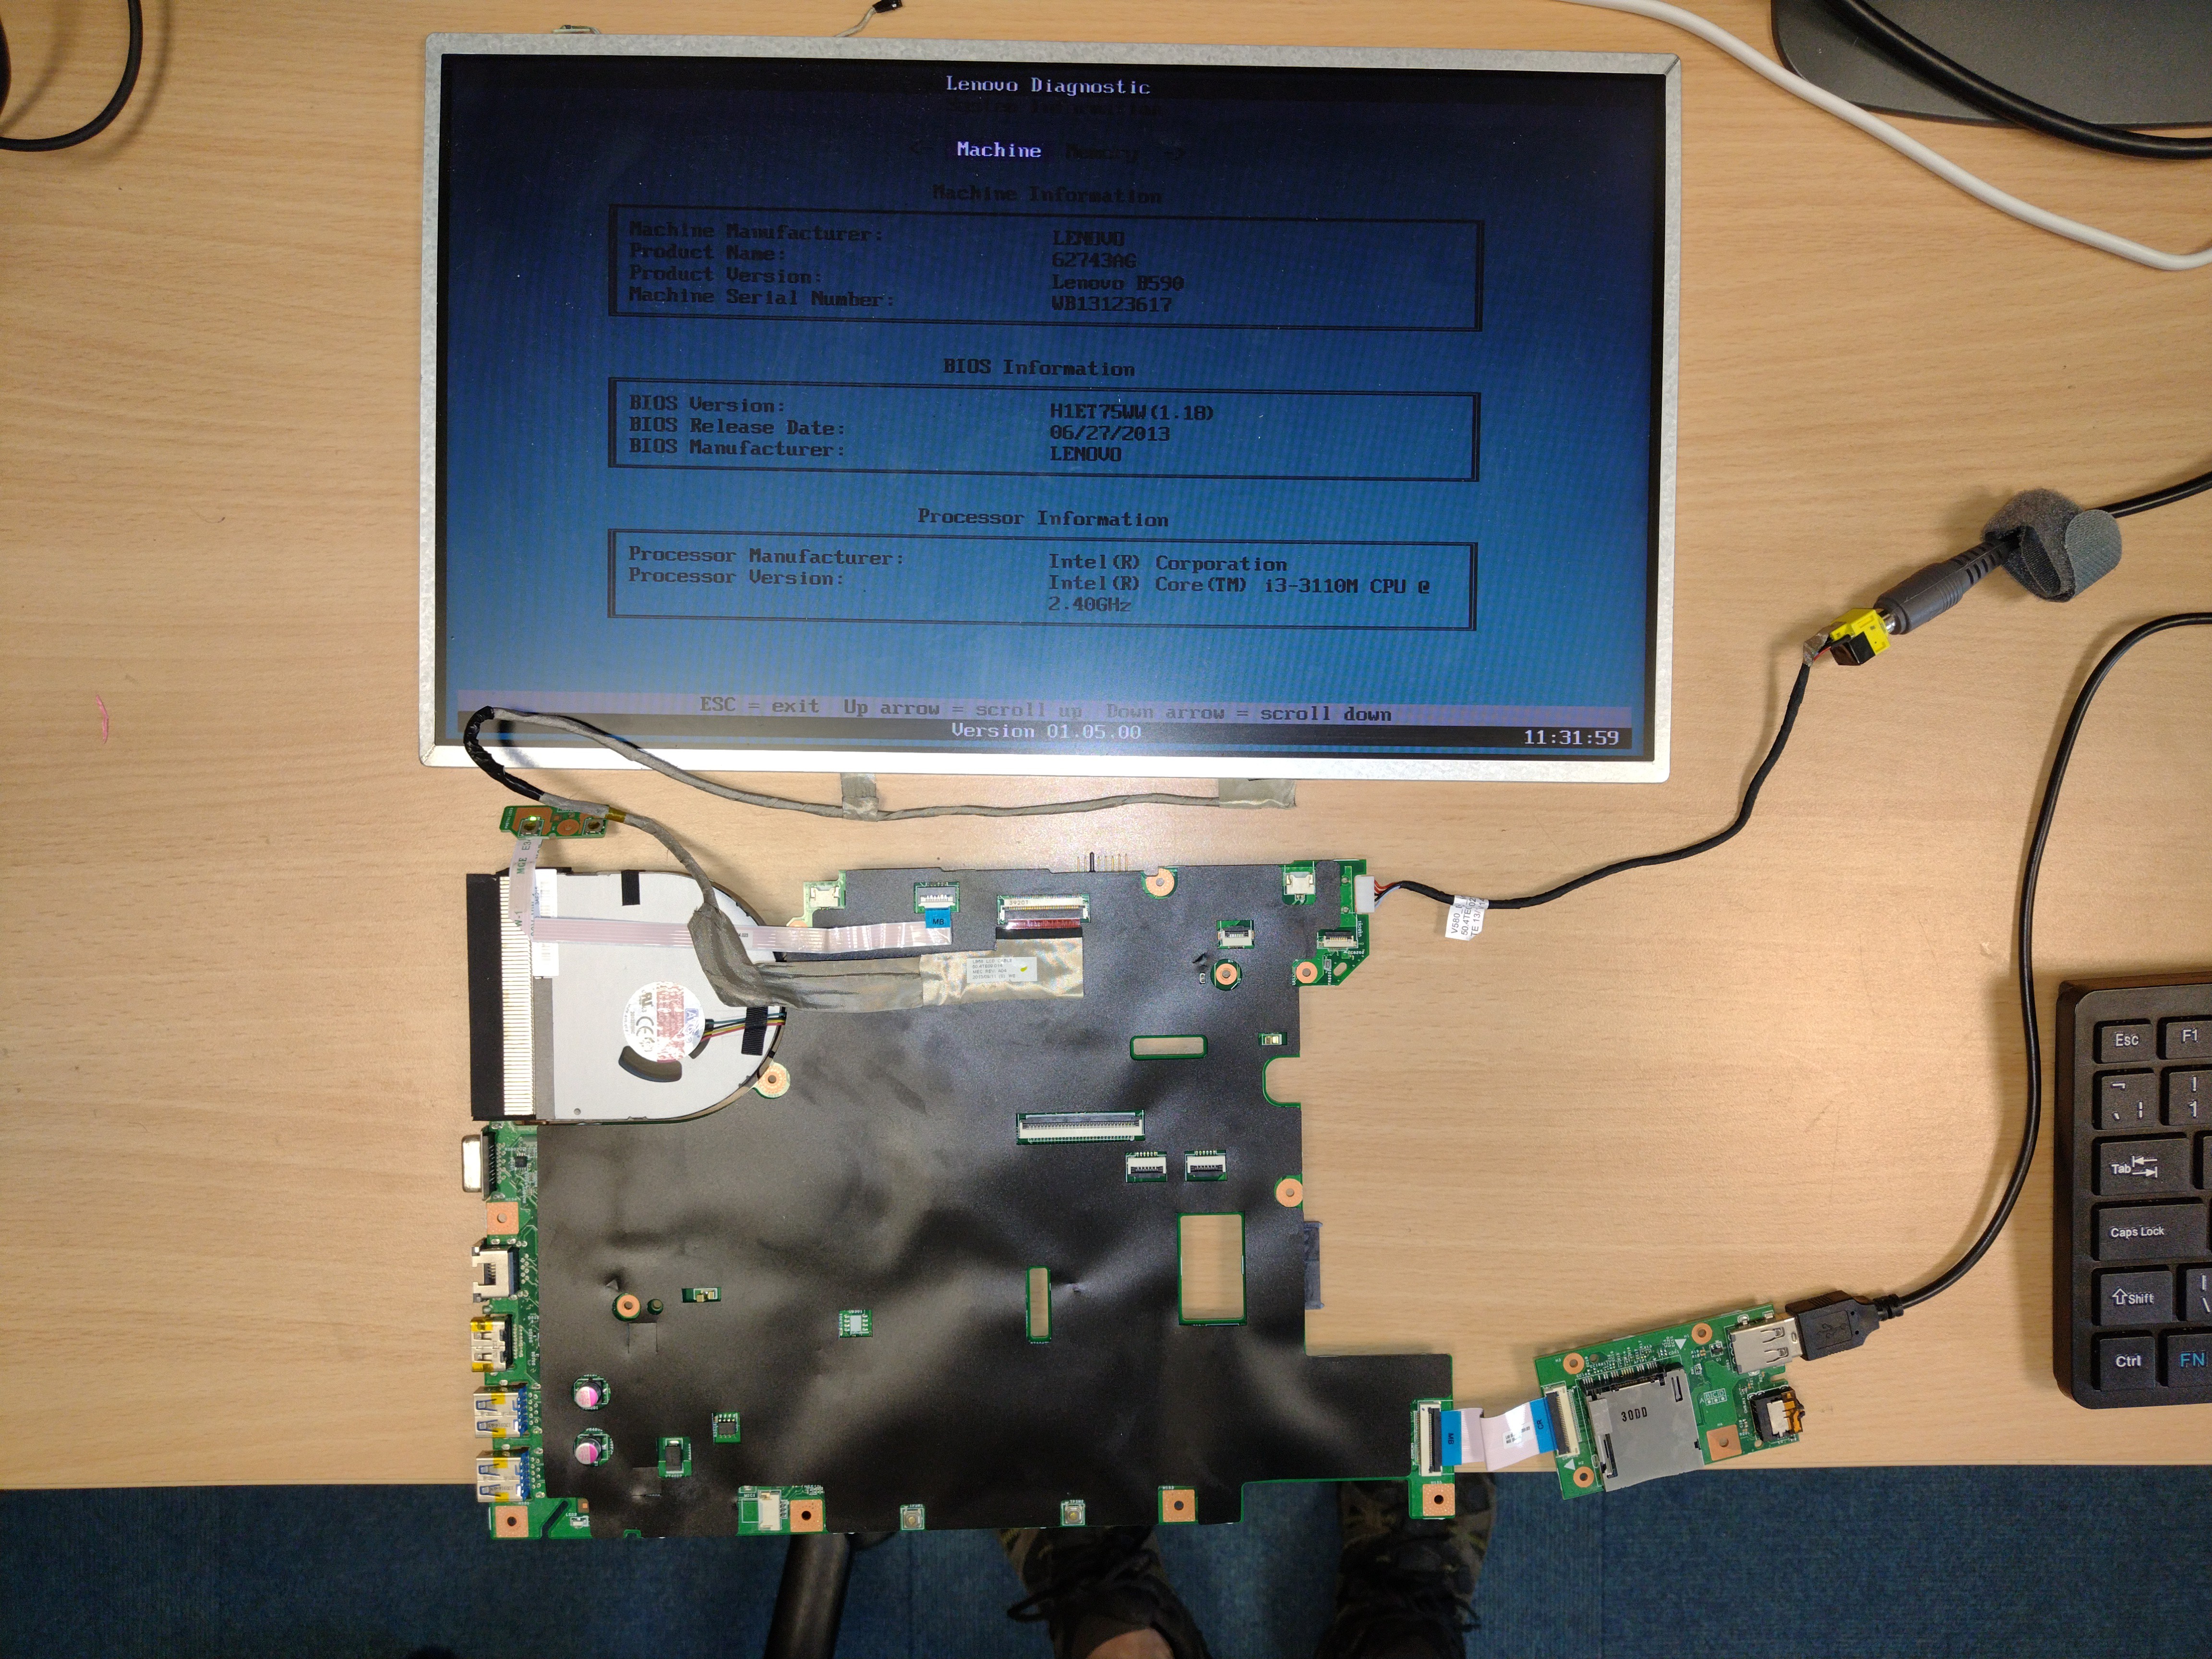
Everything is working fine, so now to measure the screen and enter the dimensions into the FreeCAD parametric model.
You don't ned any experience with FreeCAD to make changes to the model, it's just changing a couple of numbers.
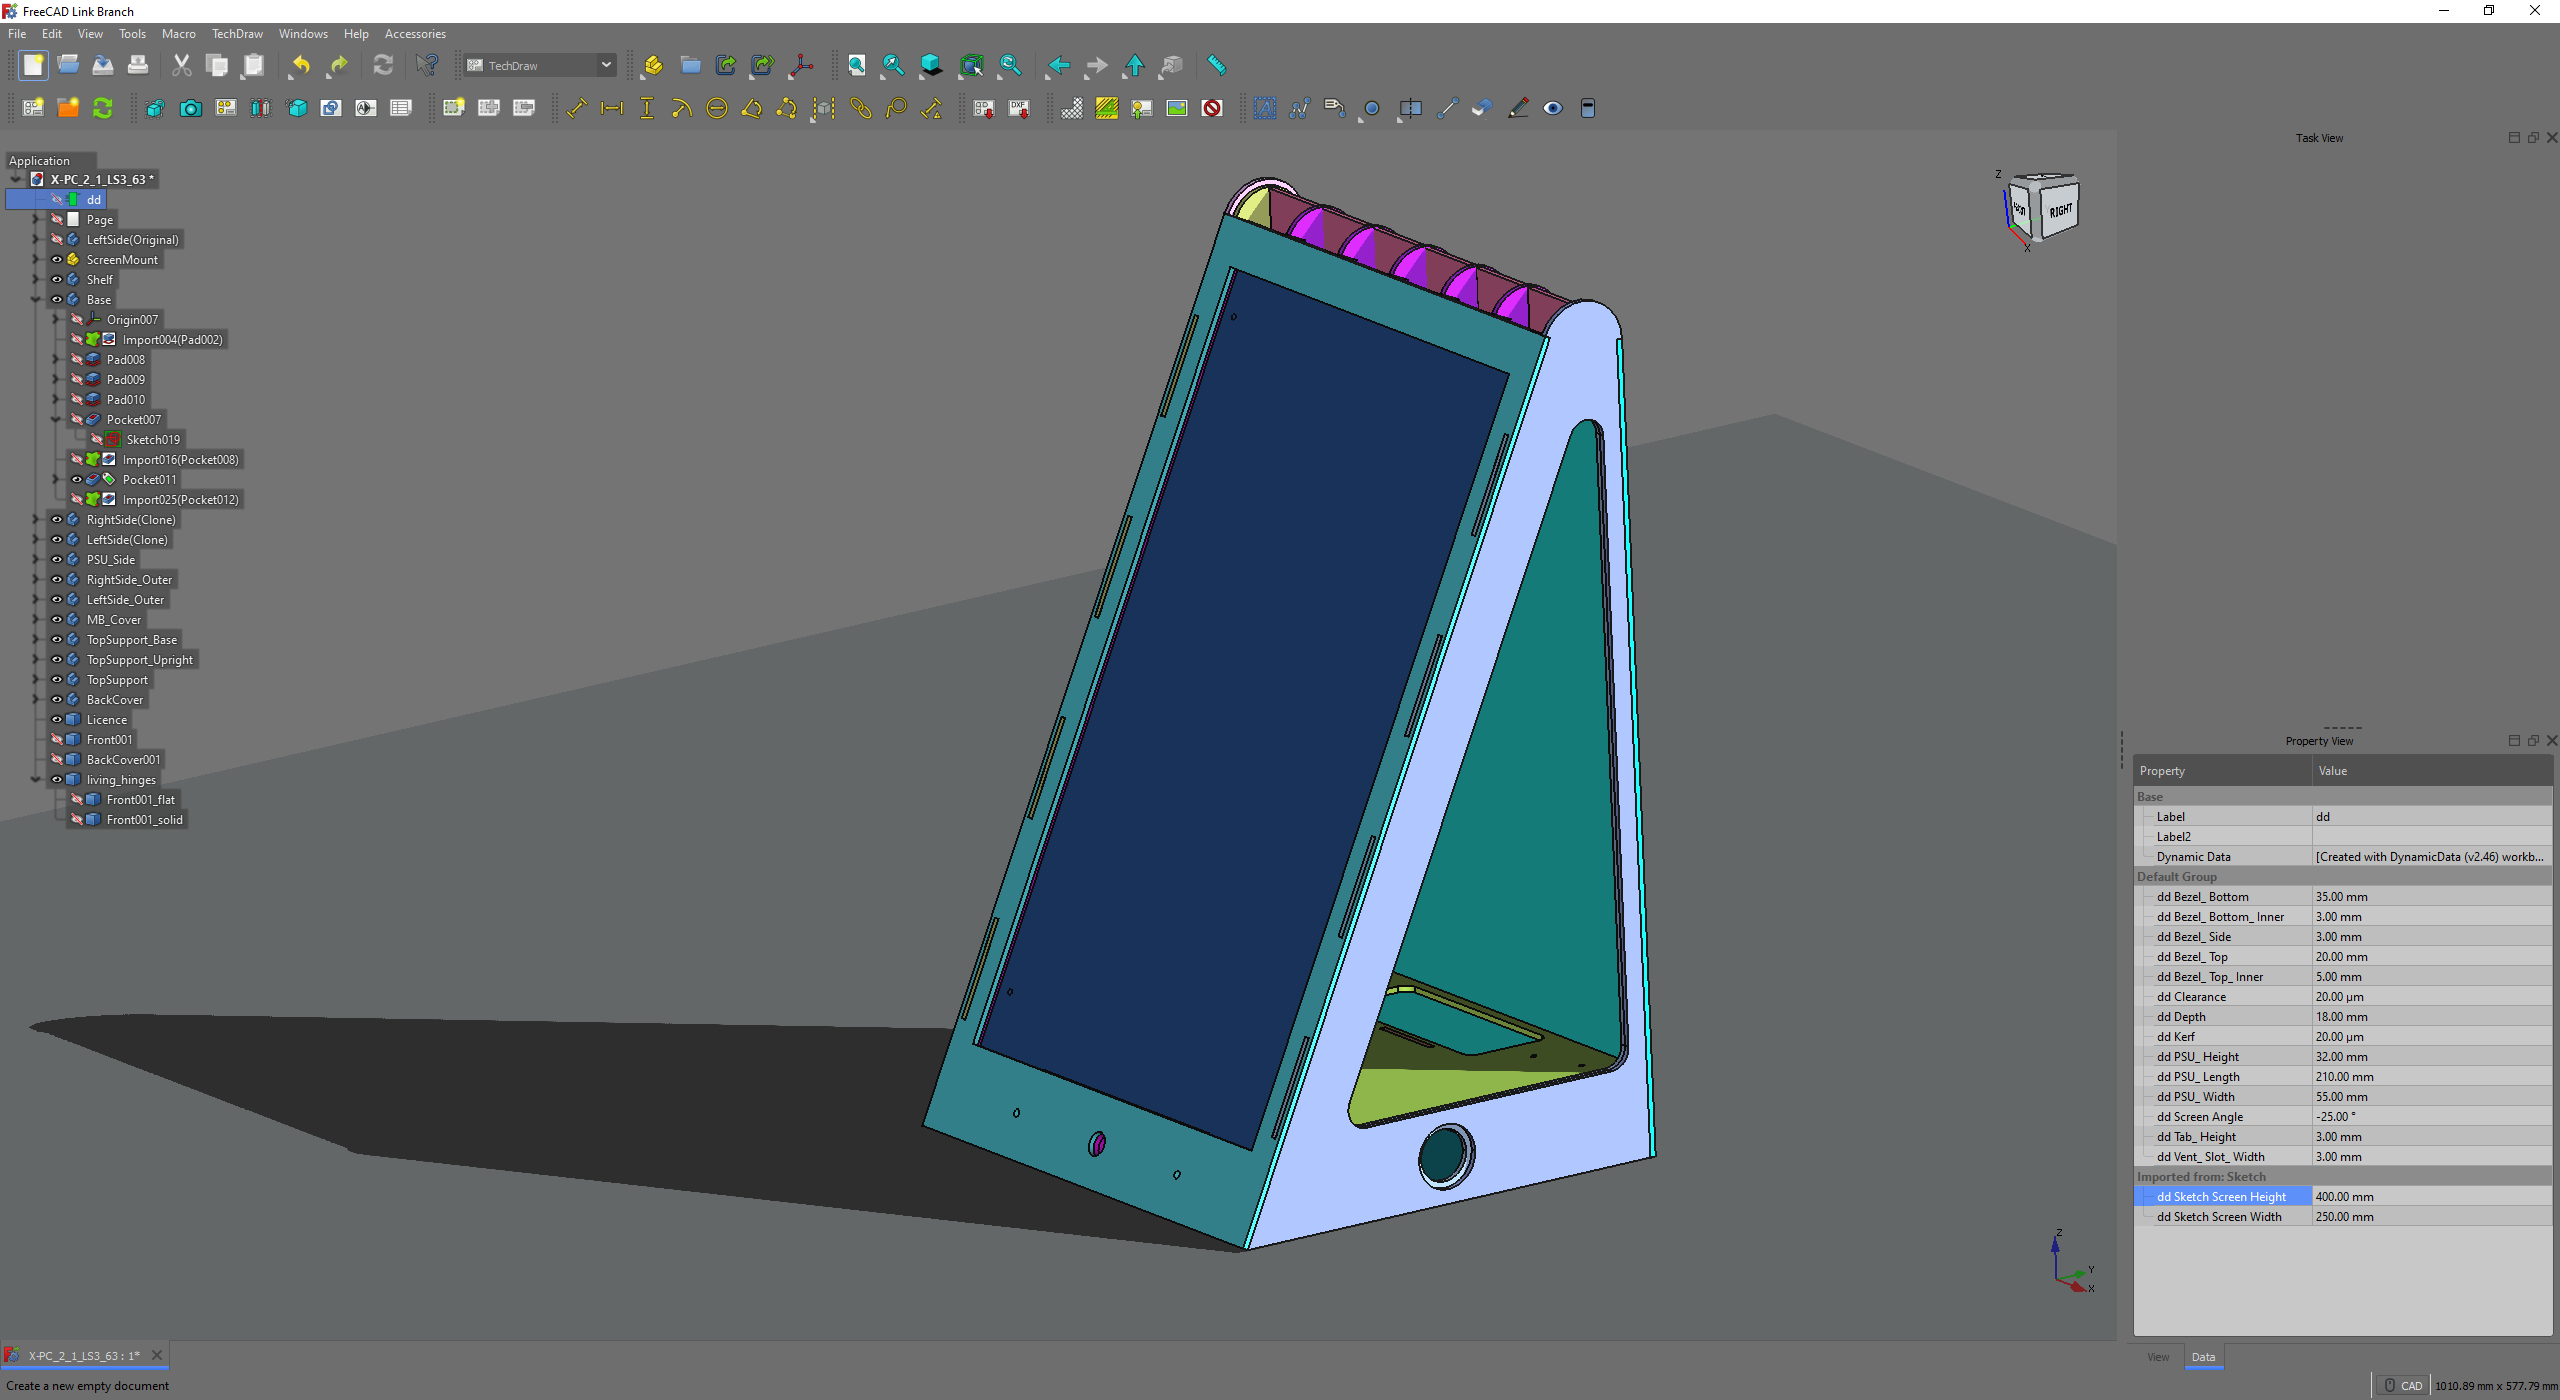
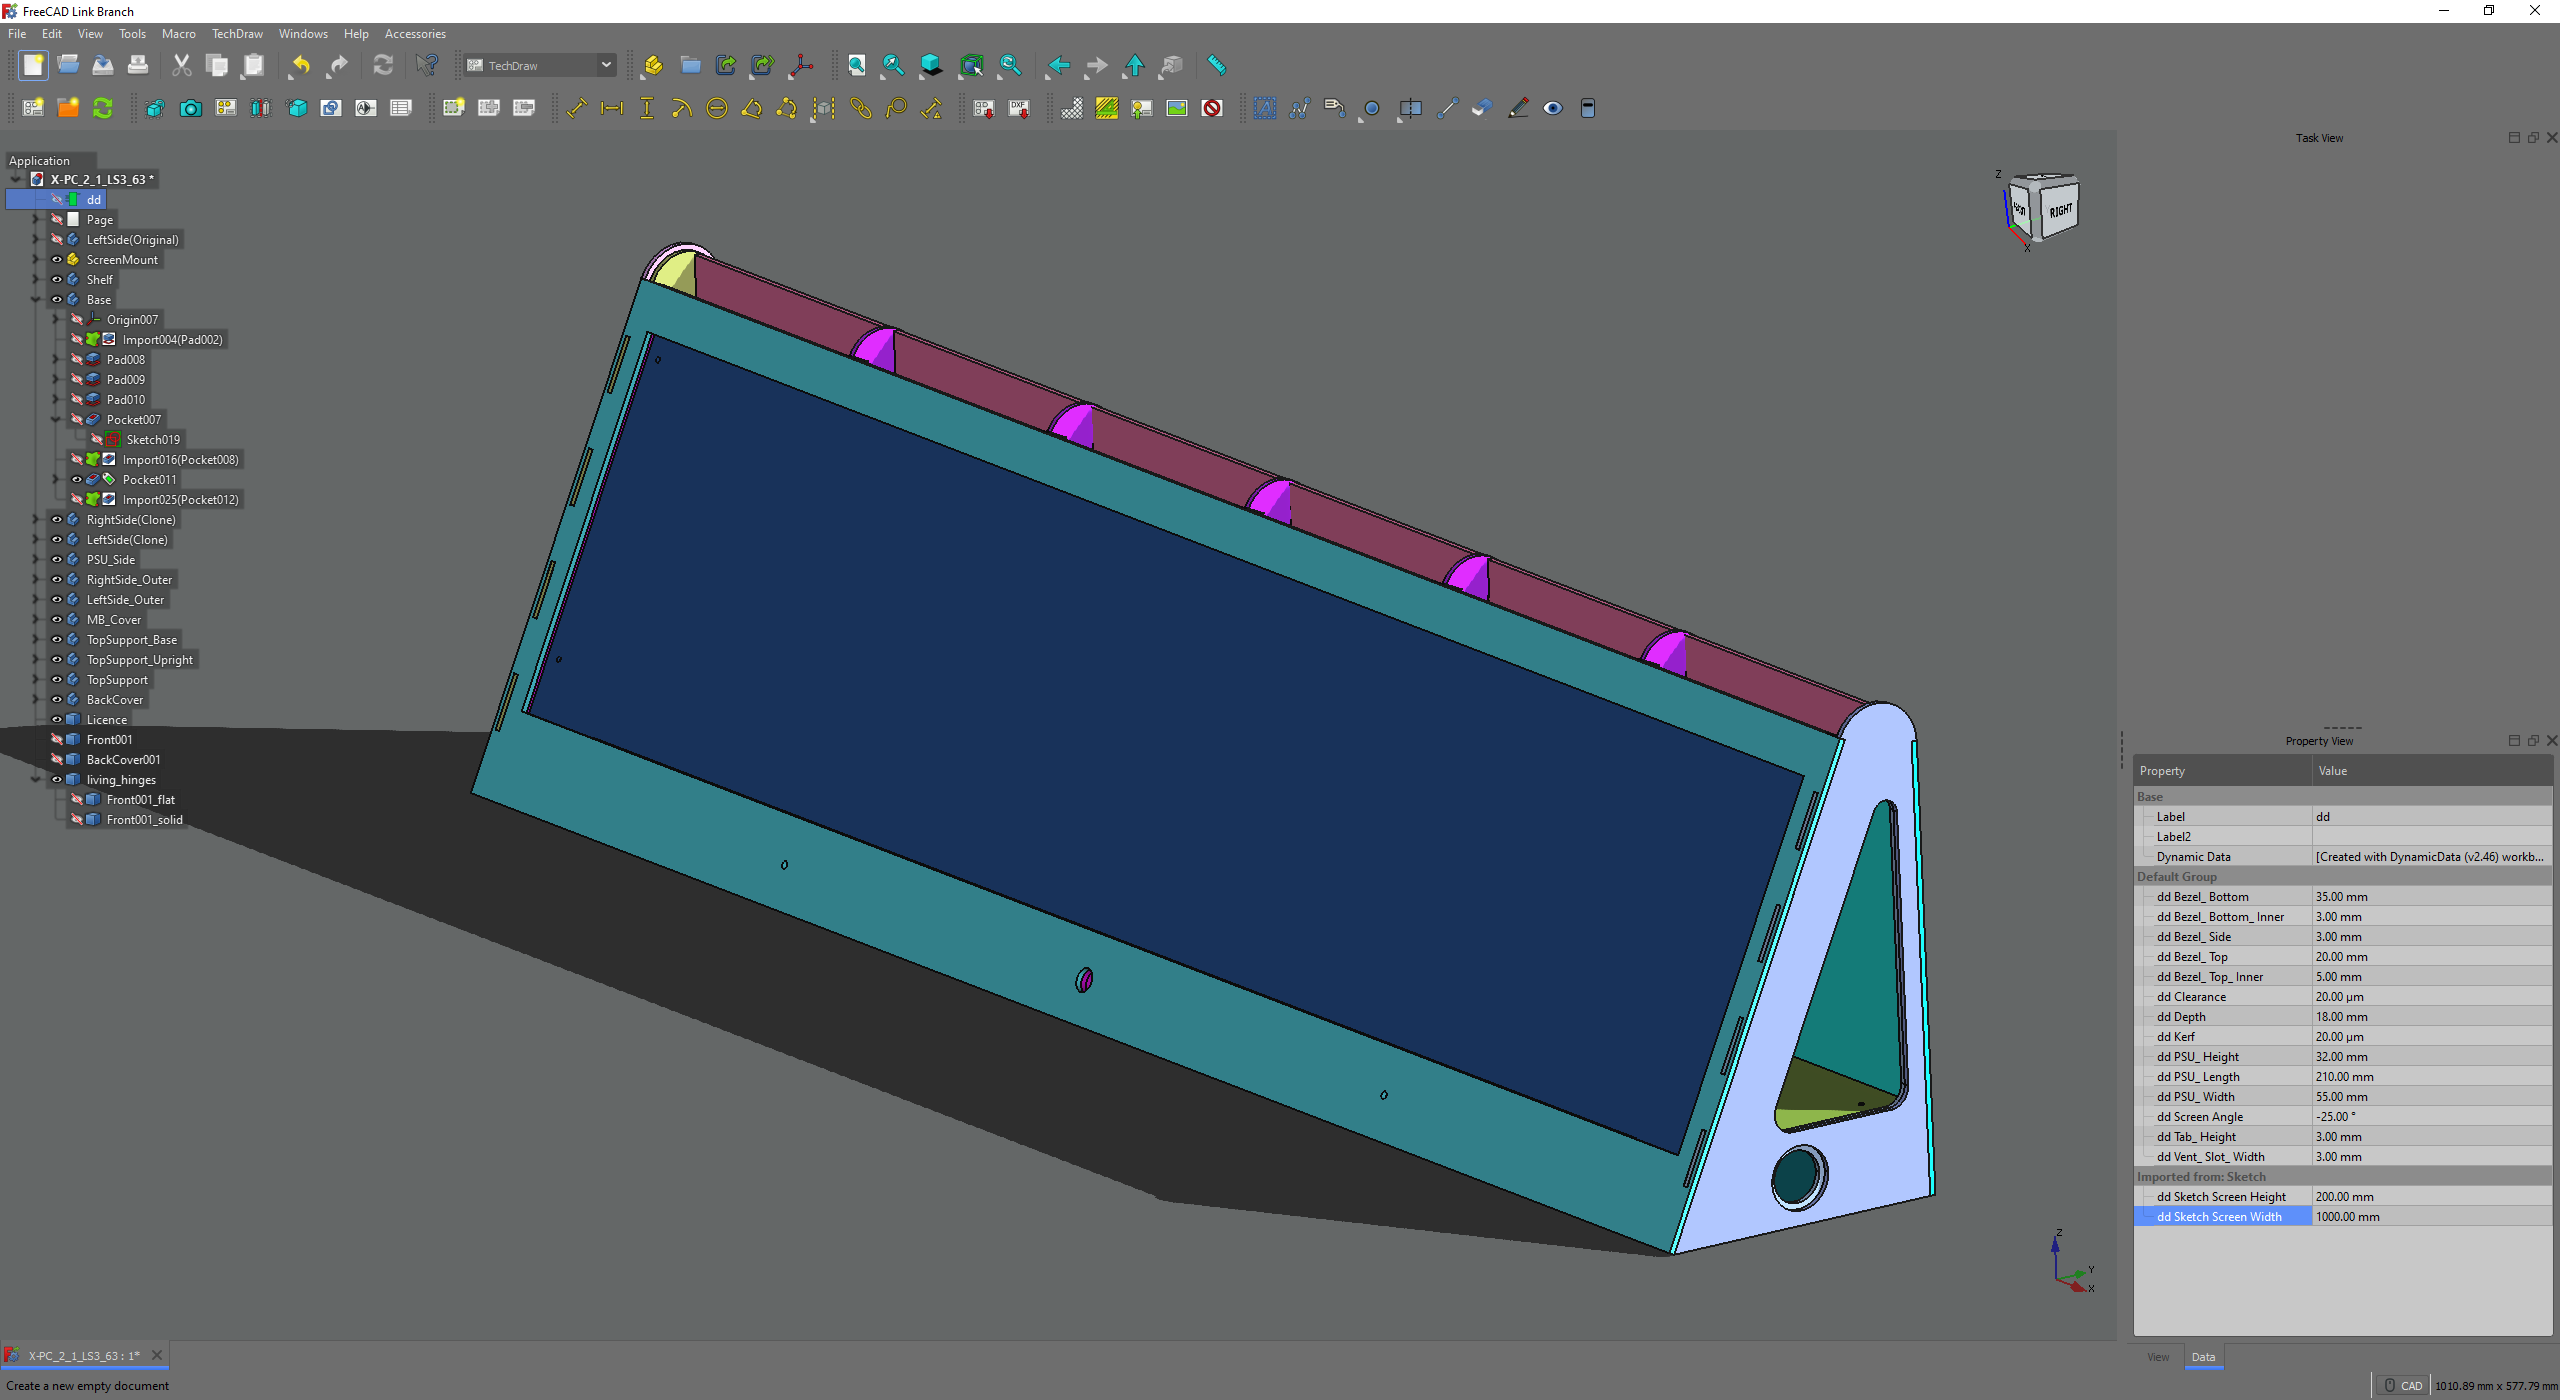
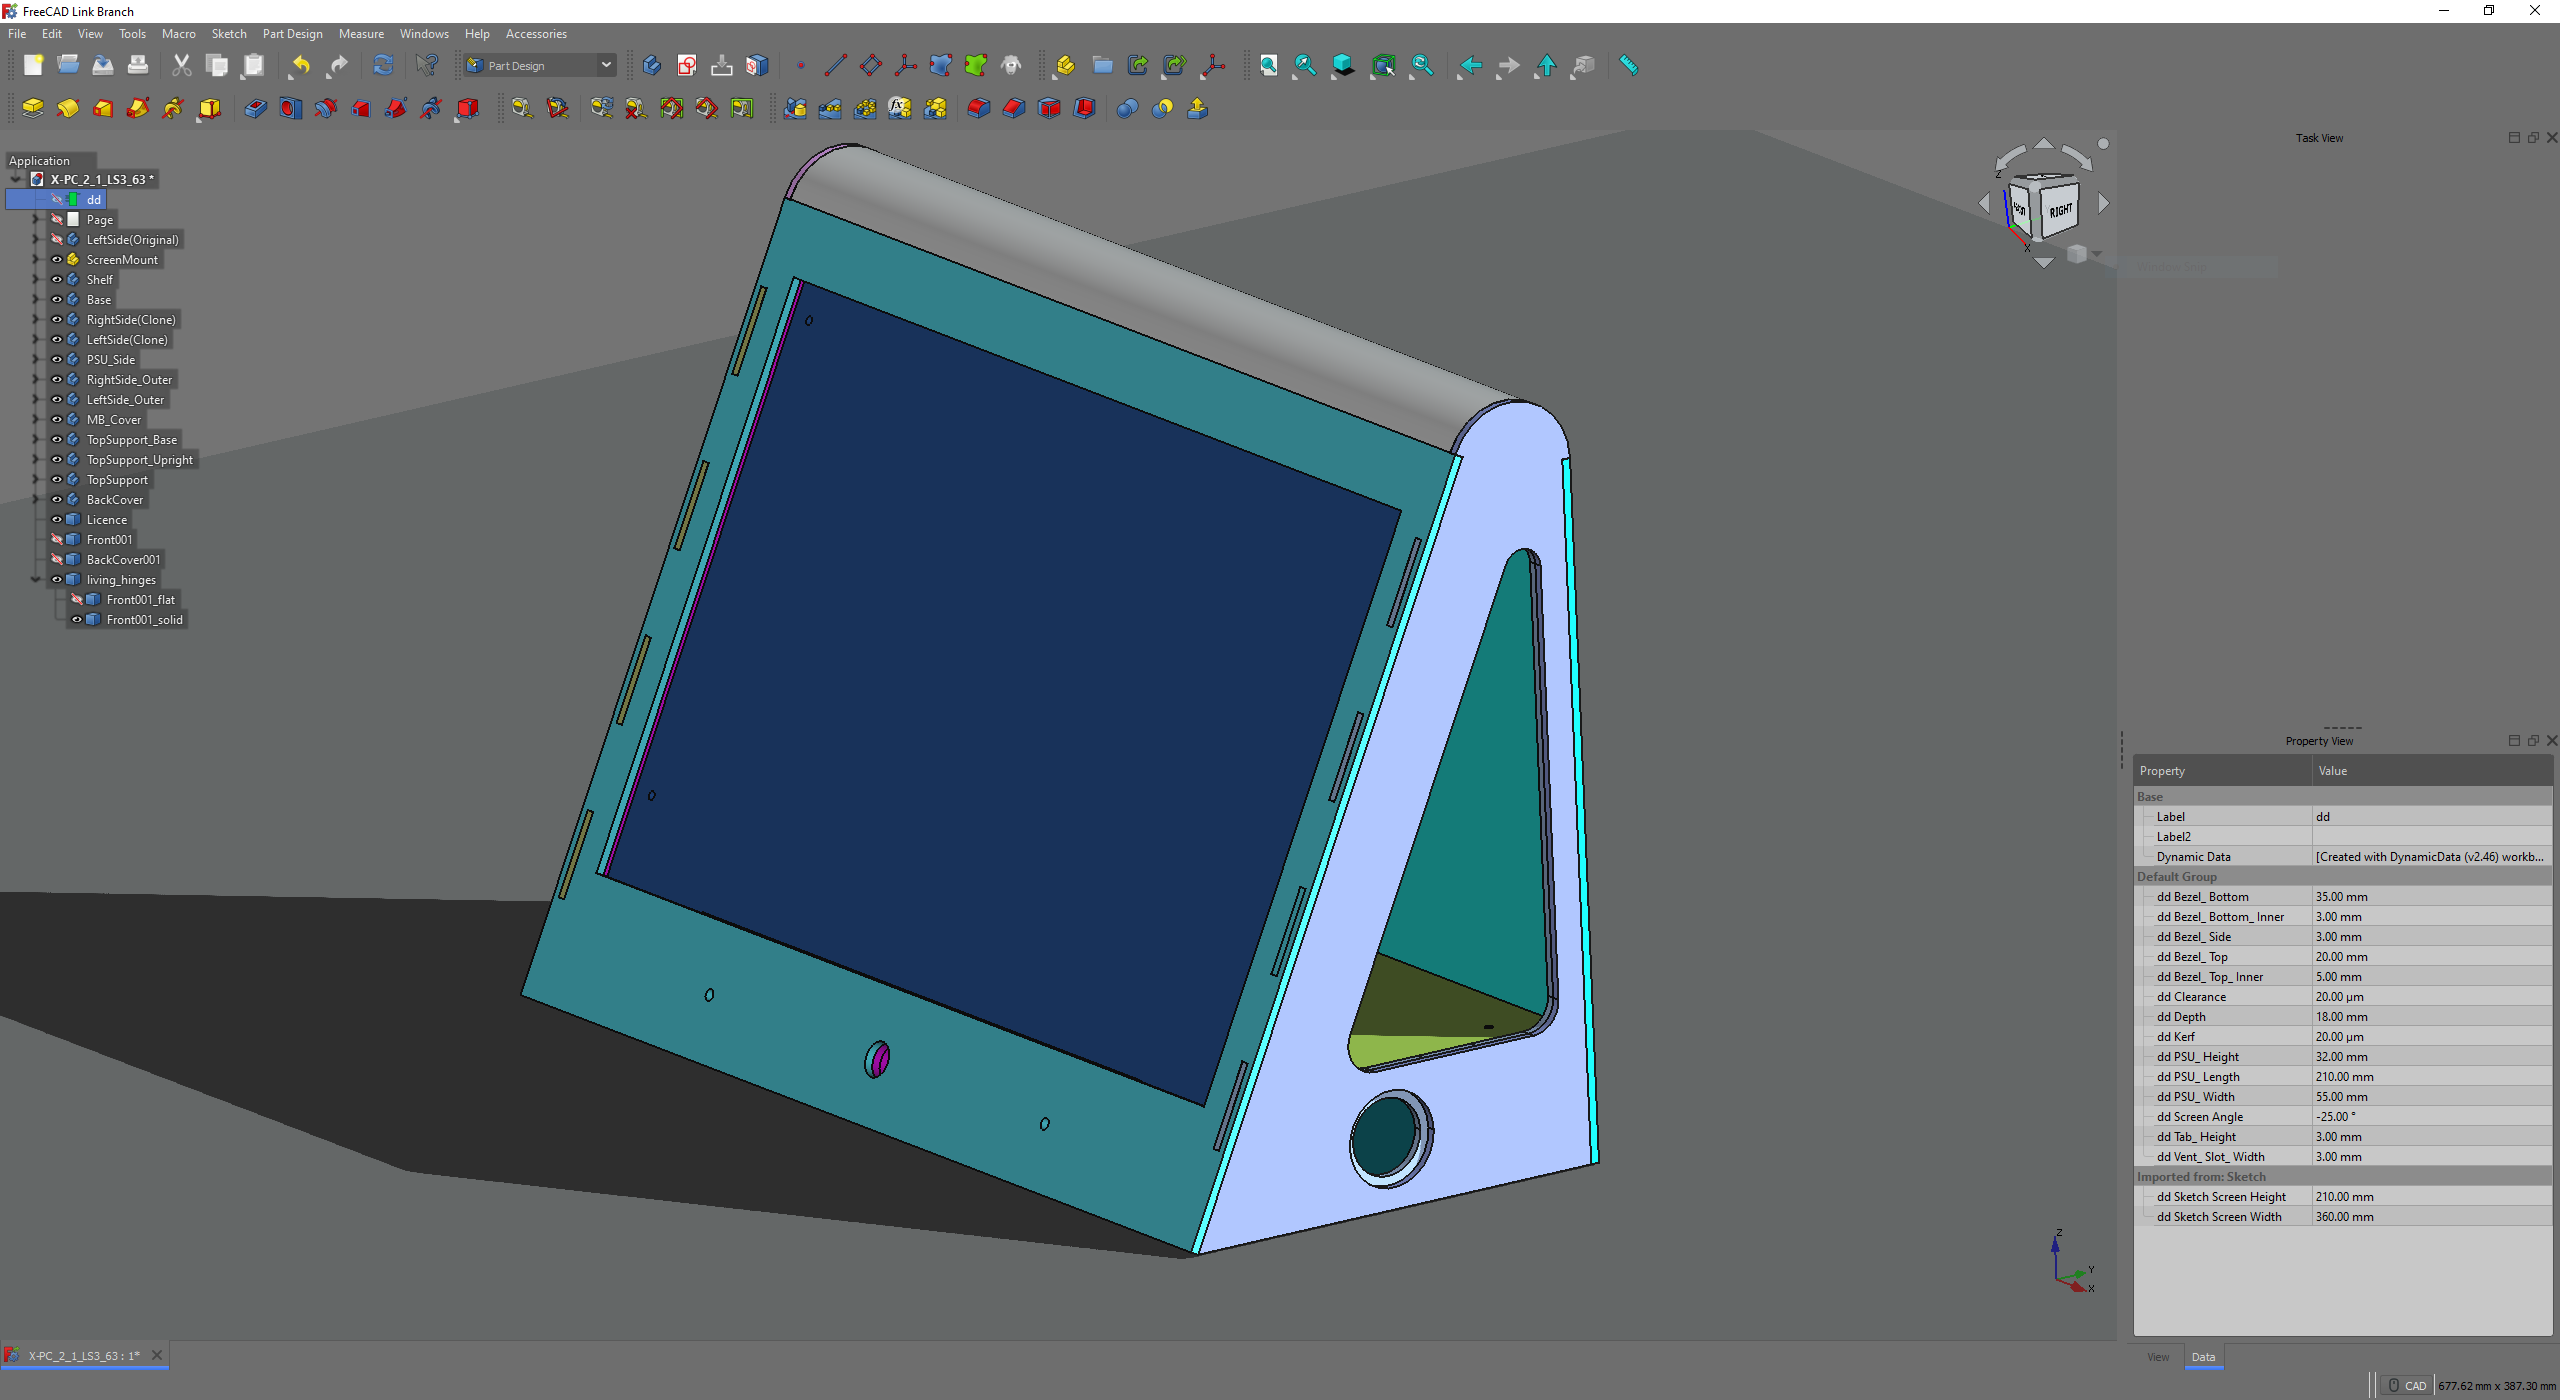
I'll go into more detail in the build instructions, but for now you can see the list of parameters in the box on the right hand side. At the bottom of the list are the parameters for the height and width of the screen. Here's a few screen shots of some different sizes.
Extra Tall.
Extra Wide.
And just playing with the screen angle.
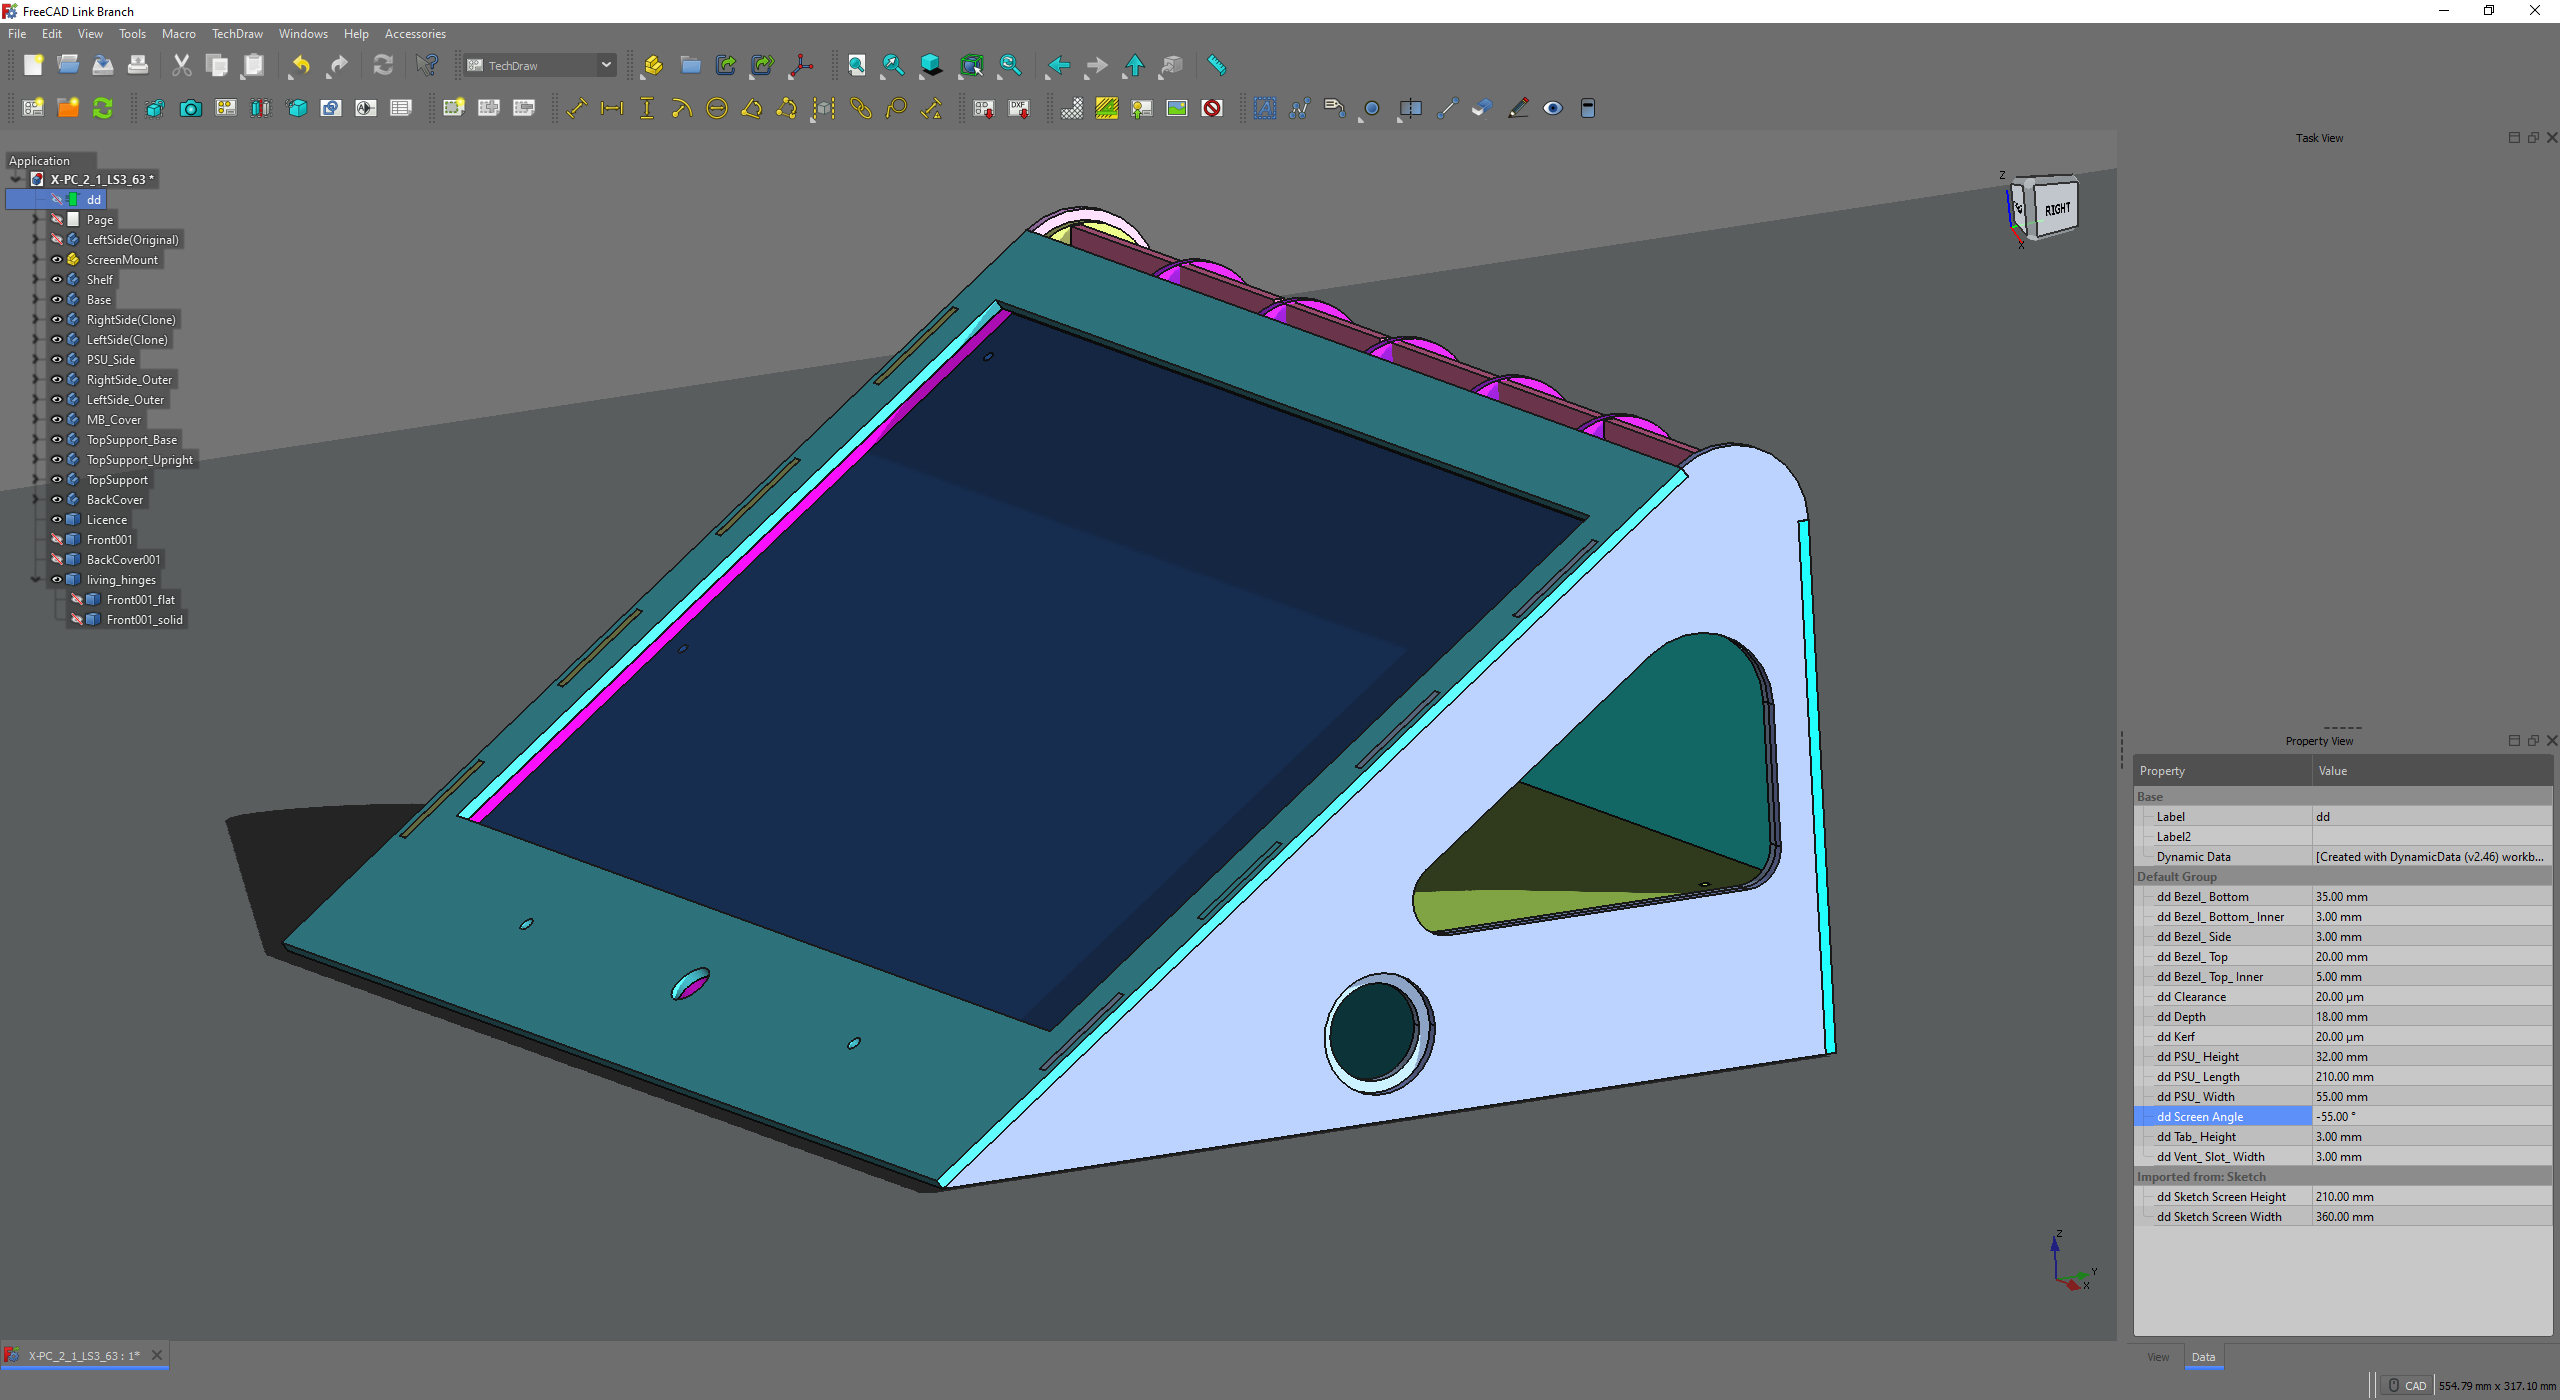
Here's the correct size for our laptop screen.
Now we have resized the case of the X-PC, we need to export all of the parts as a 2D CAD file for laser cutting. FreeCAD can do this easily using the Techdraw Workbench.
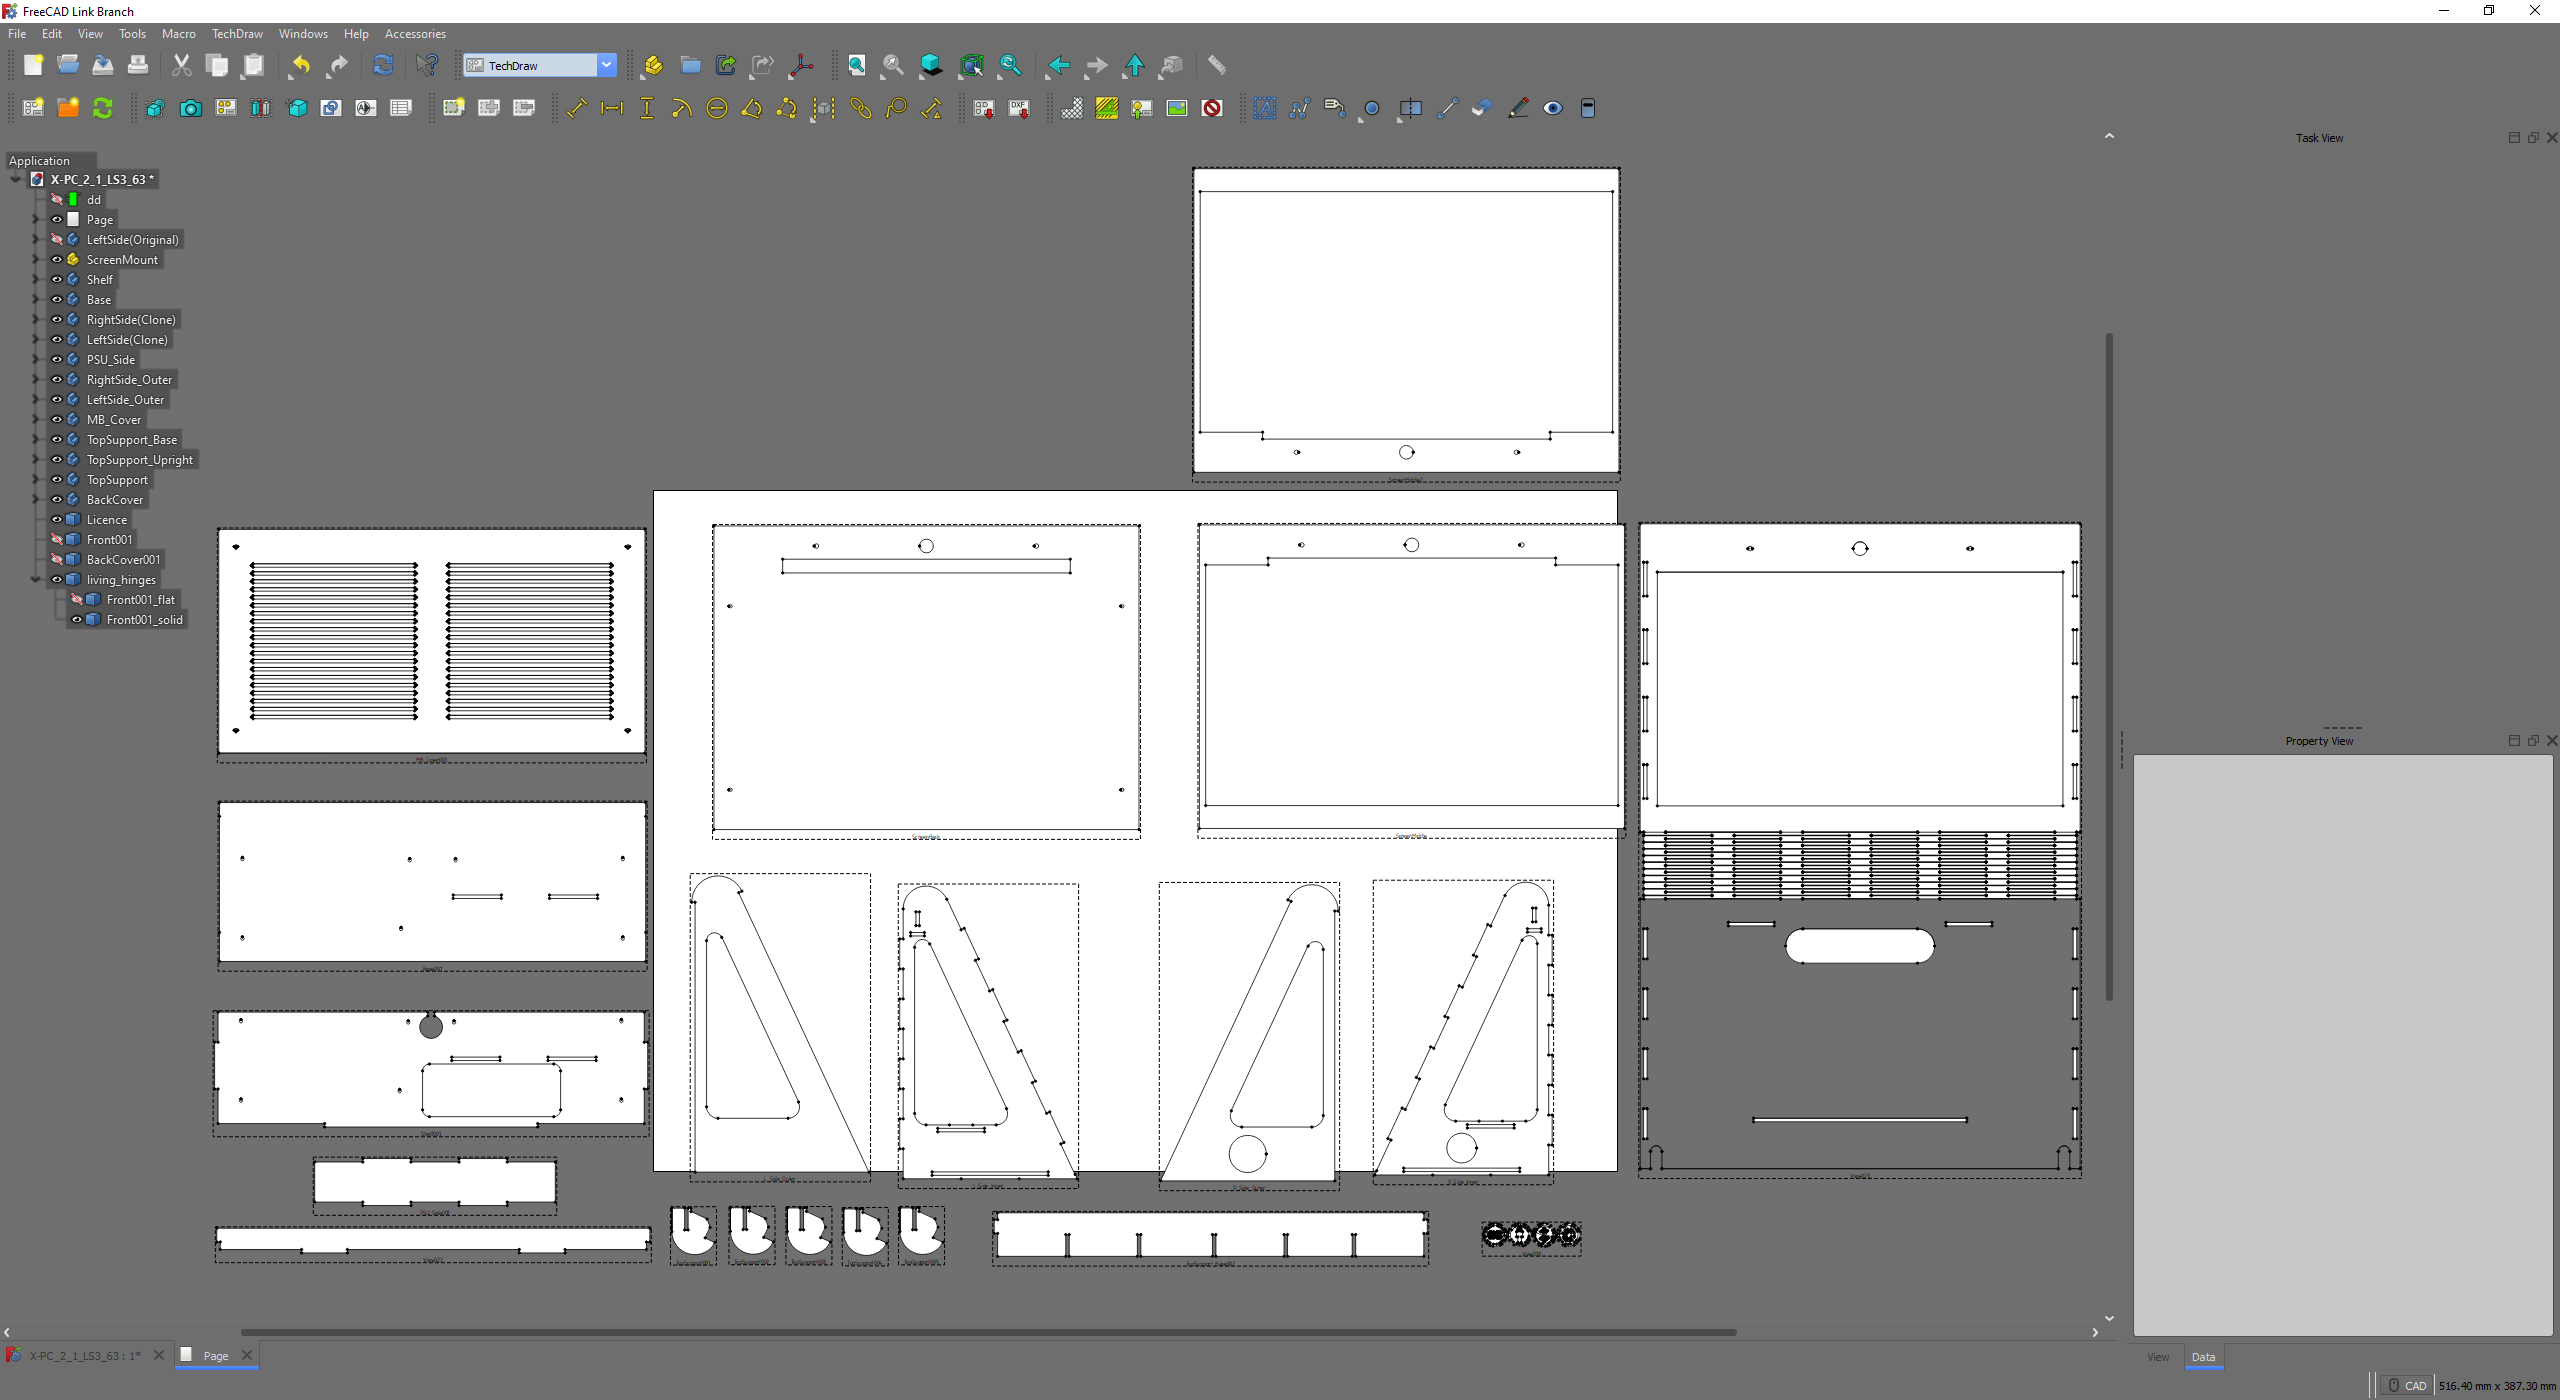
What's great here, is that any changes made to the 3D model automatically change the 2D parts. This file is now exported and then imported into your laser cutting software. There's a bit of tidying up to do so that all the parts fit nicely for the material you're using / bed size of your laser cutter. Once you have done that, you are ready to cut!
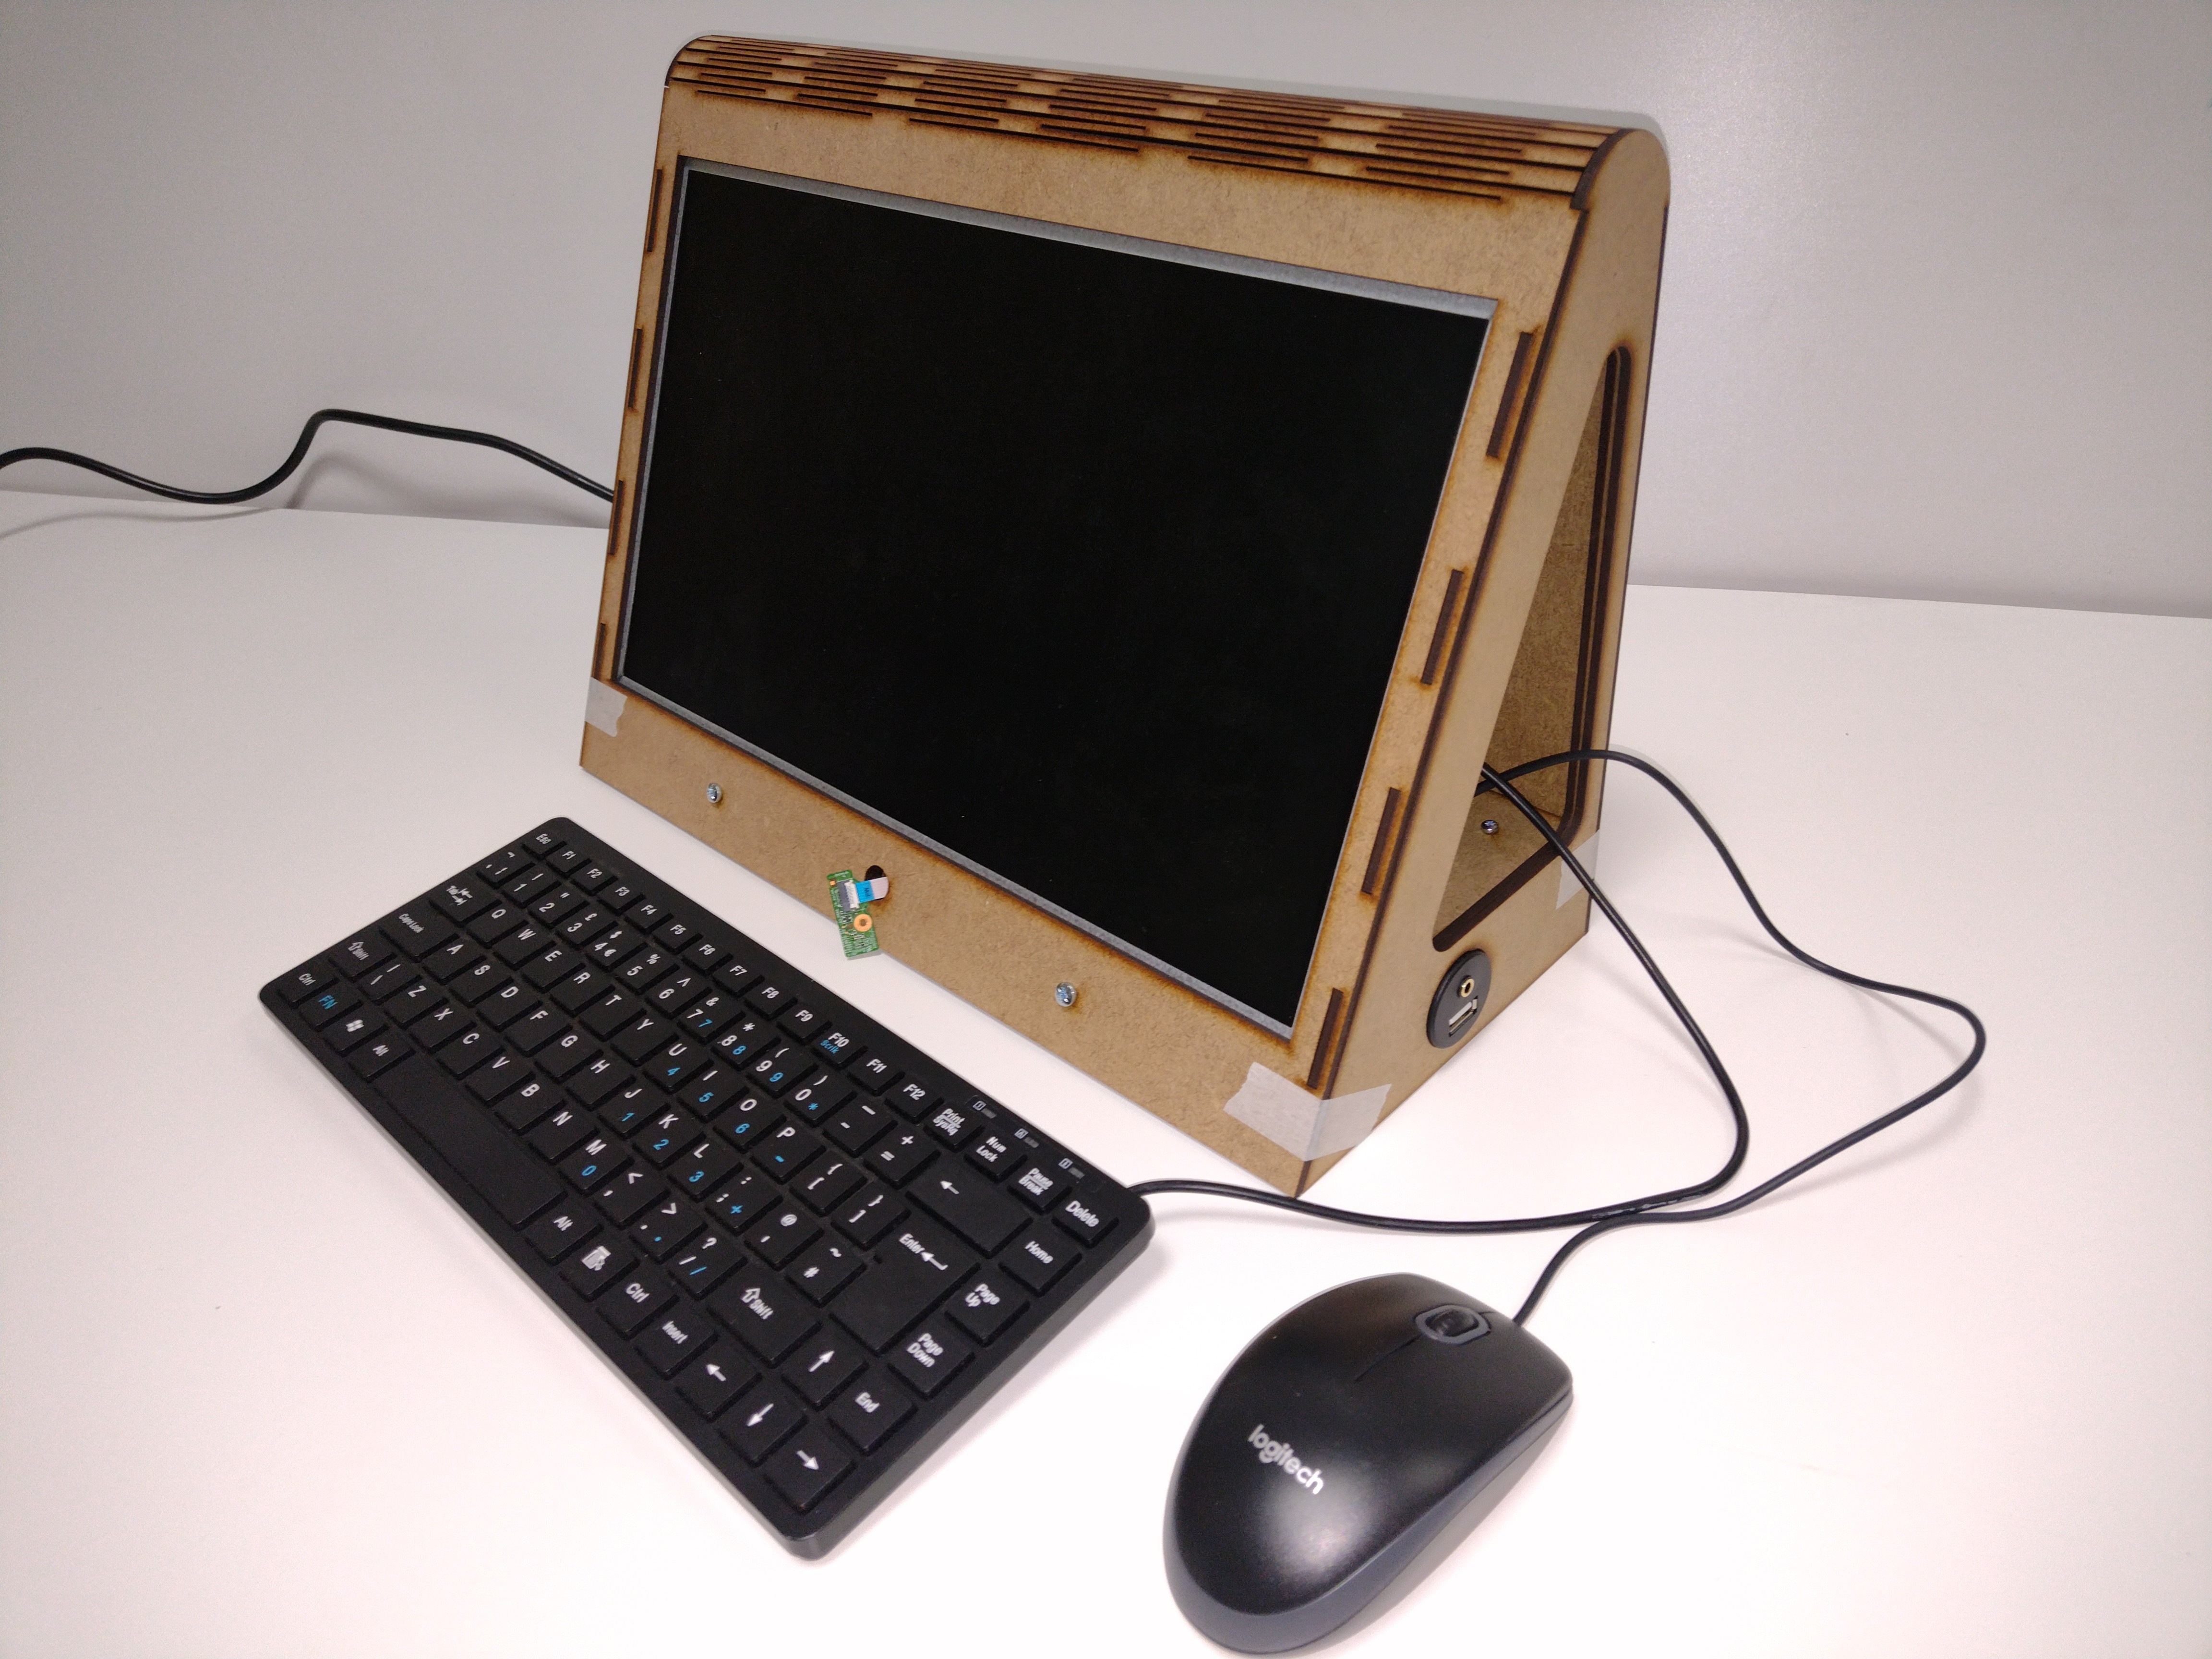
Here's the first prototype, cut out of 3mm MDF. Everything went together first time!
FreeCAD can also generate the Living Hinge, but more on that in another post.
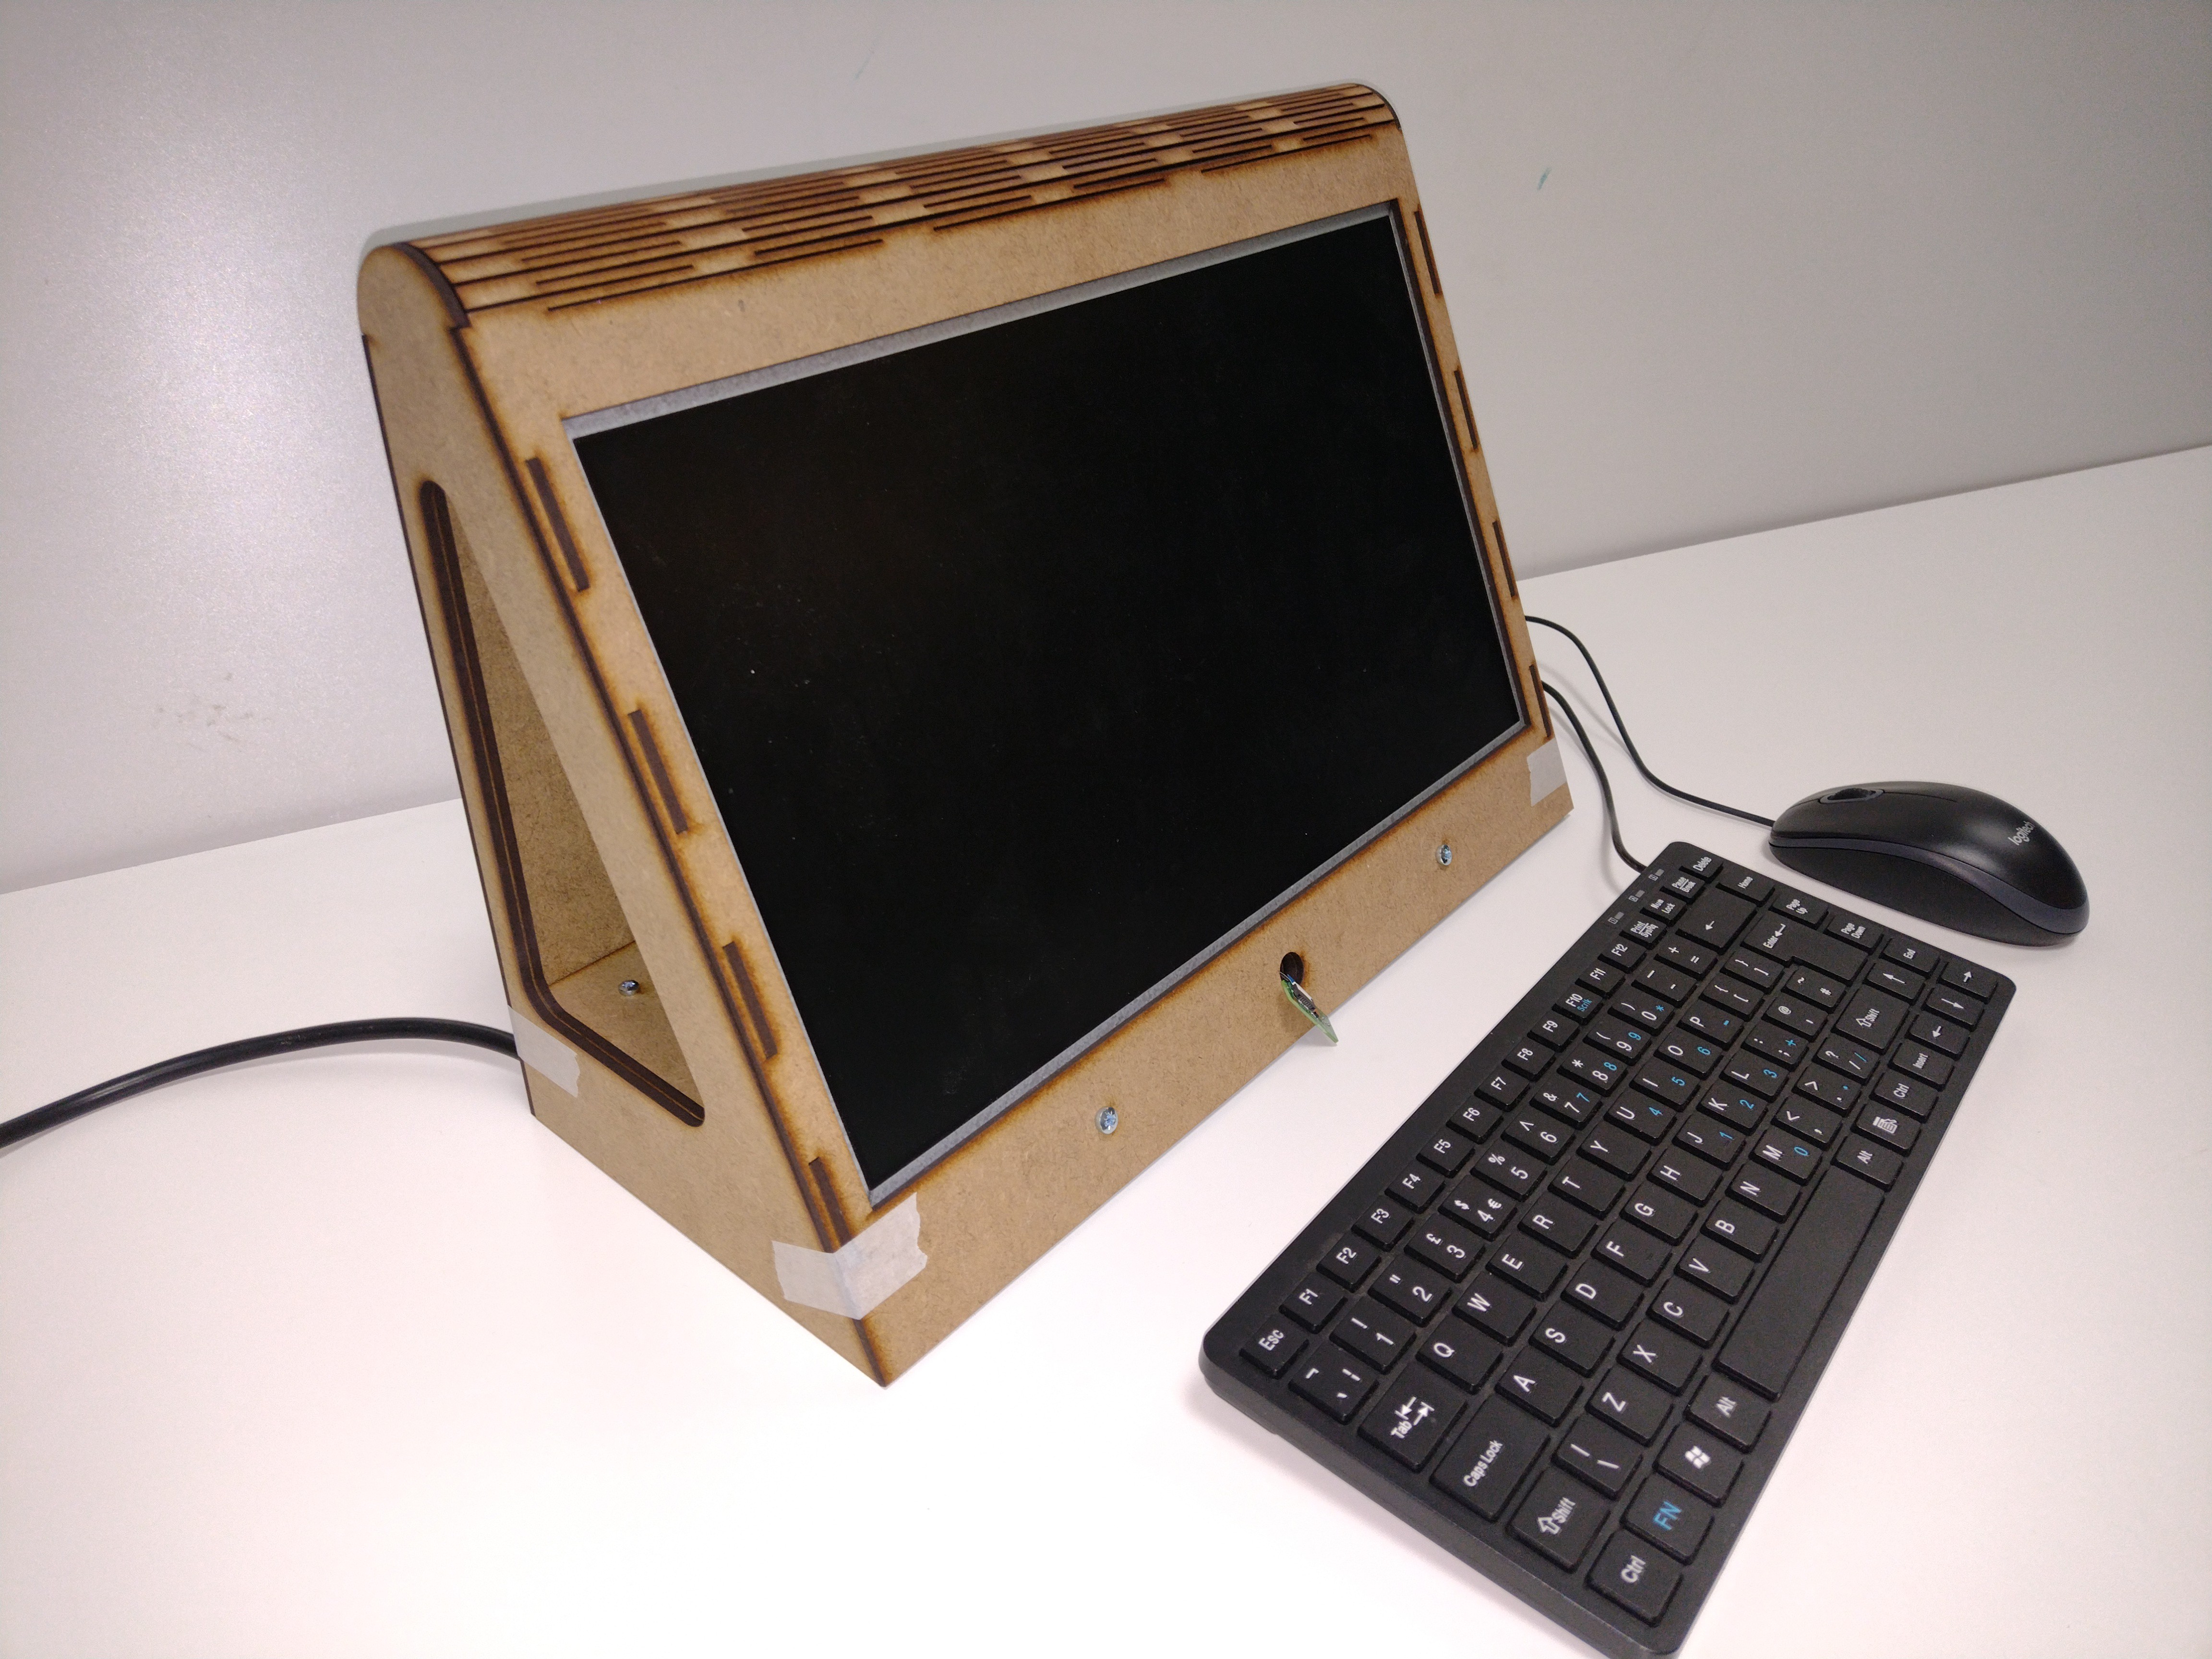
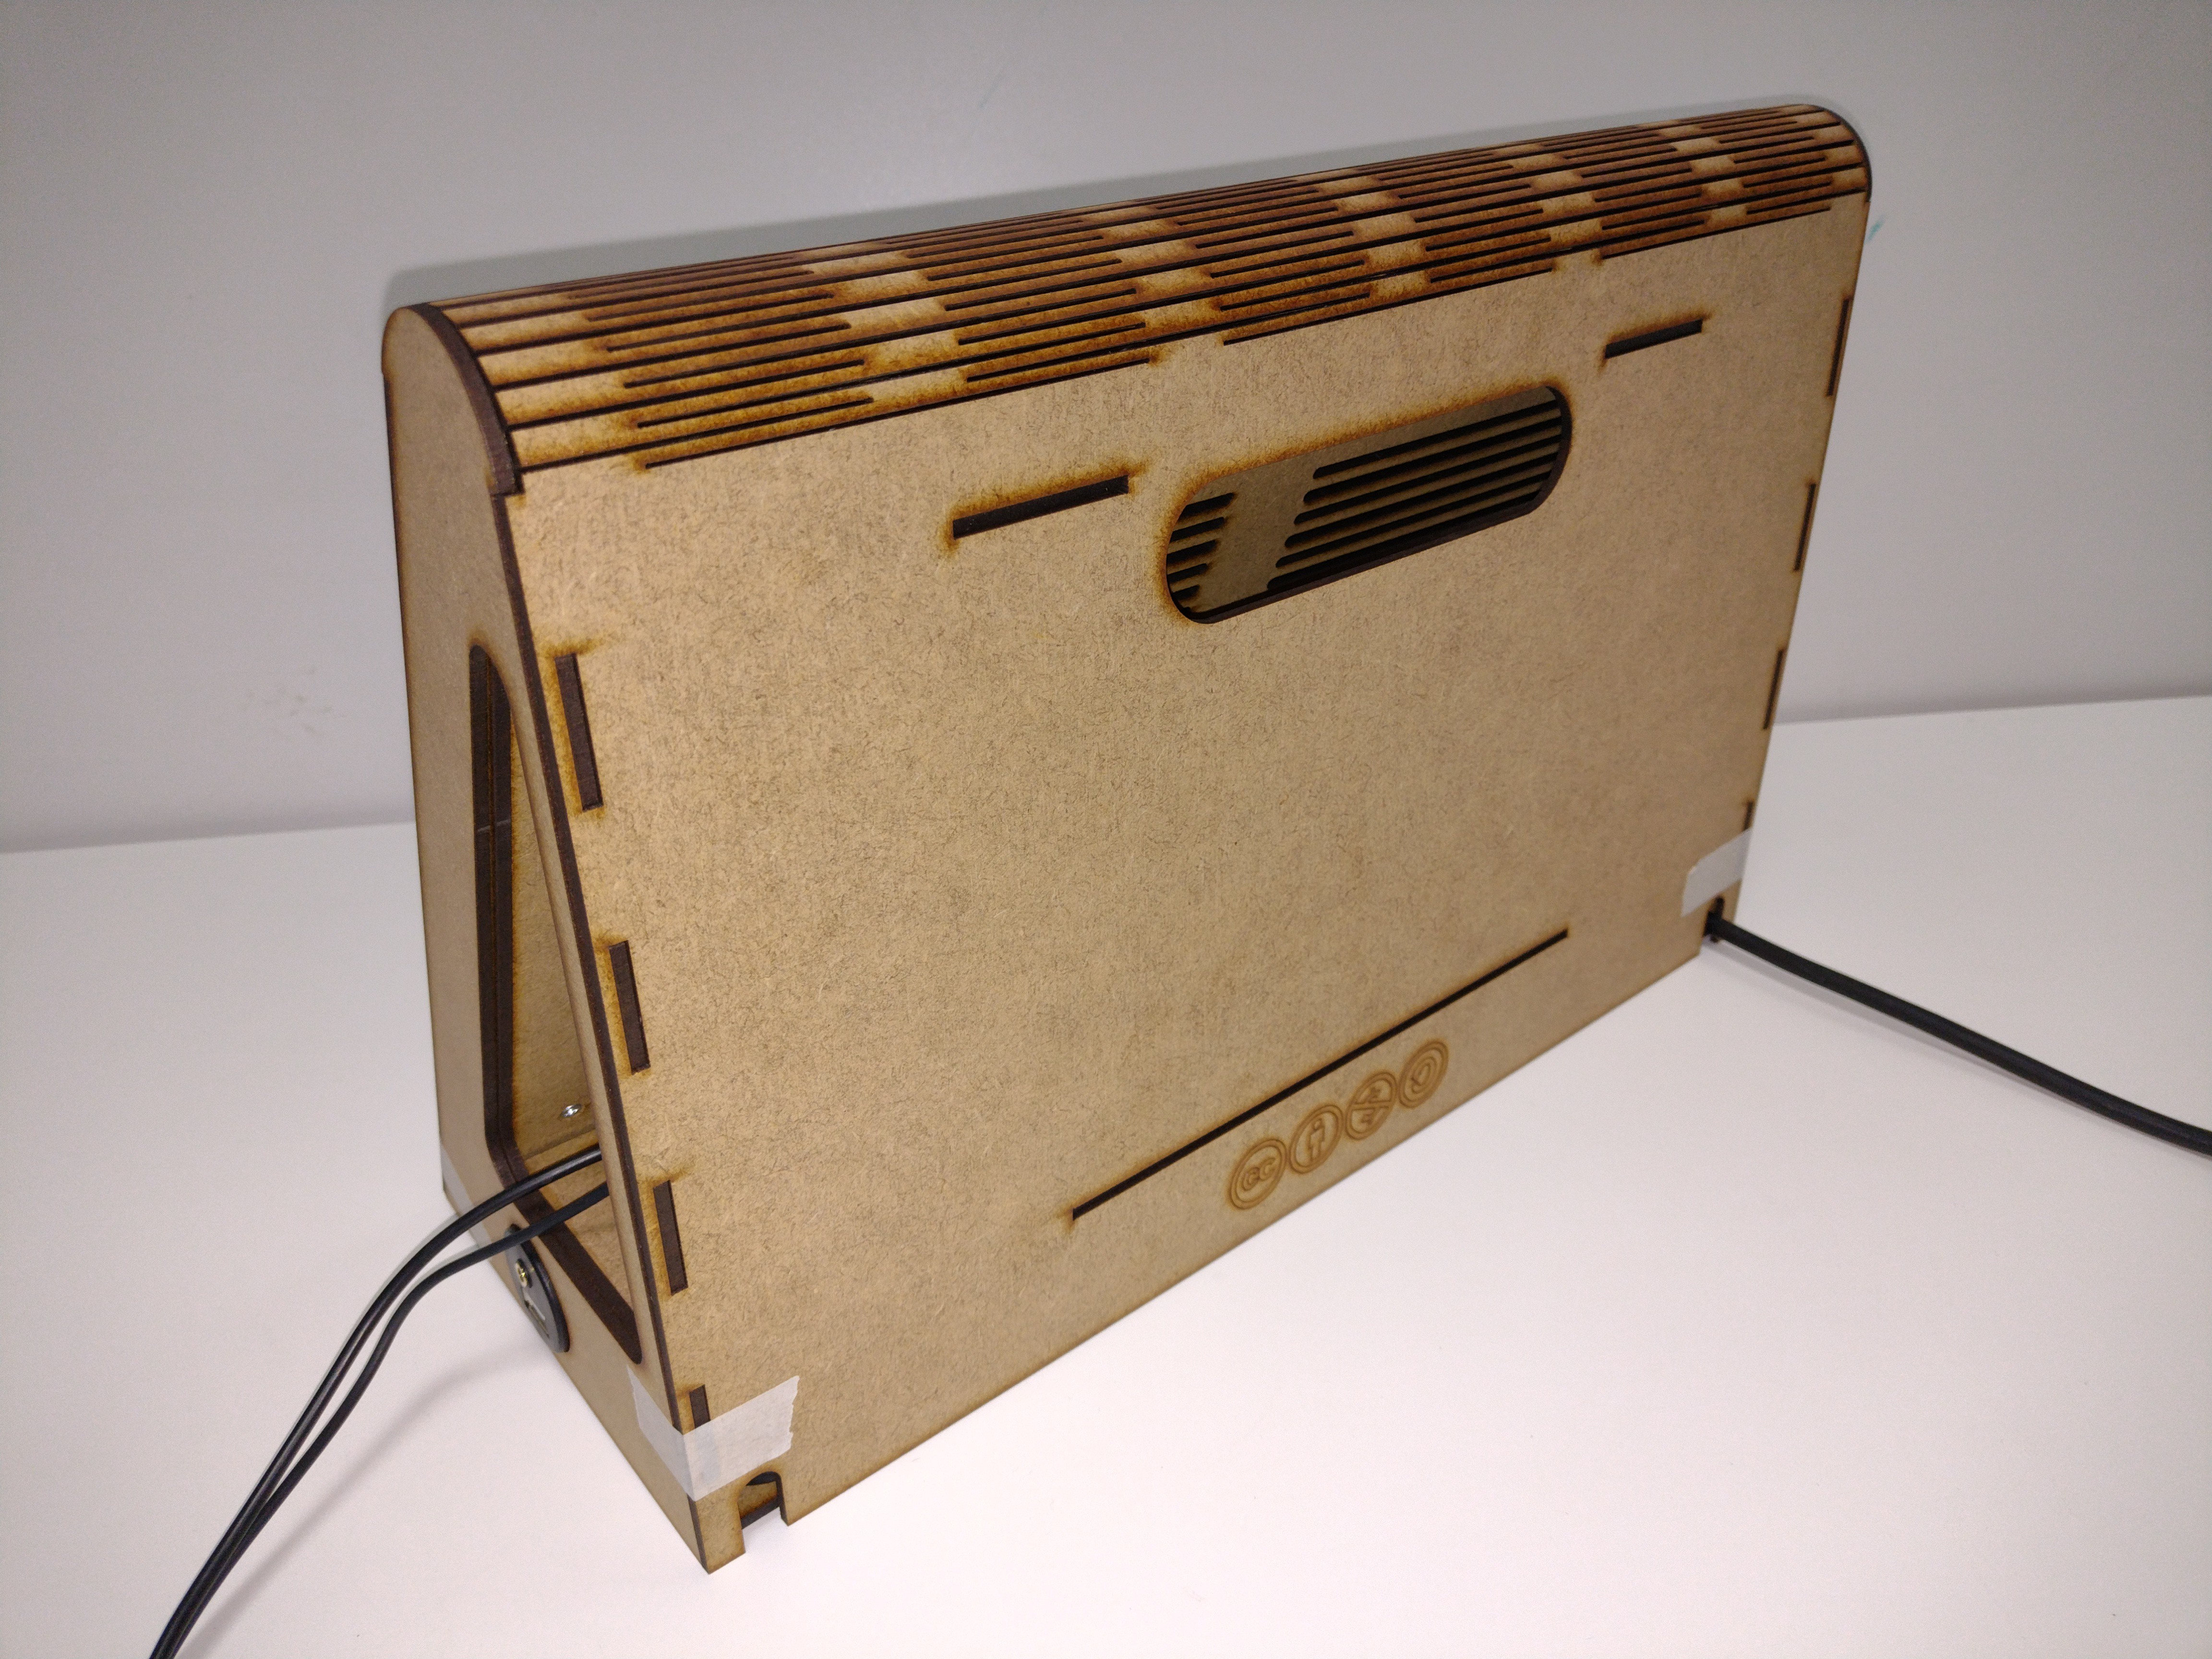
One significant change from the first X-PC is the mounting of the laptop motherboard. Originally all of the mounting holes were lasercut, but because this version is supposed to work with any laptop, I've left the mounting plate blank. I positioned the motherboard in a suitable place, then just drilled through the four holes nearest the corners.
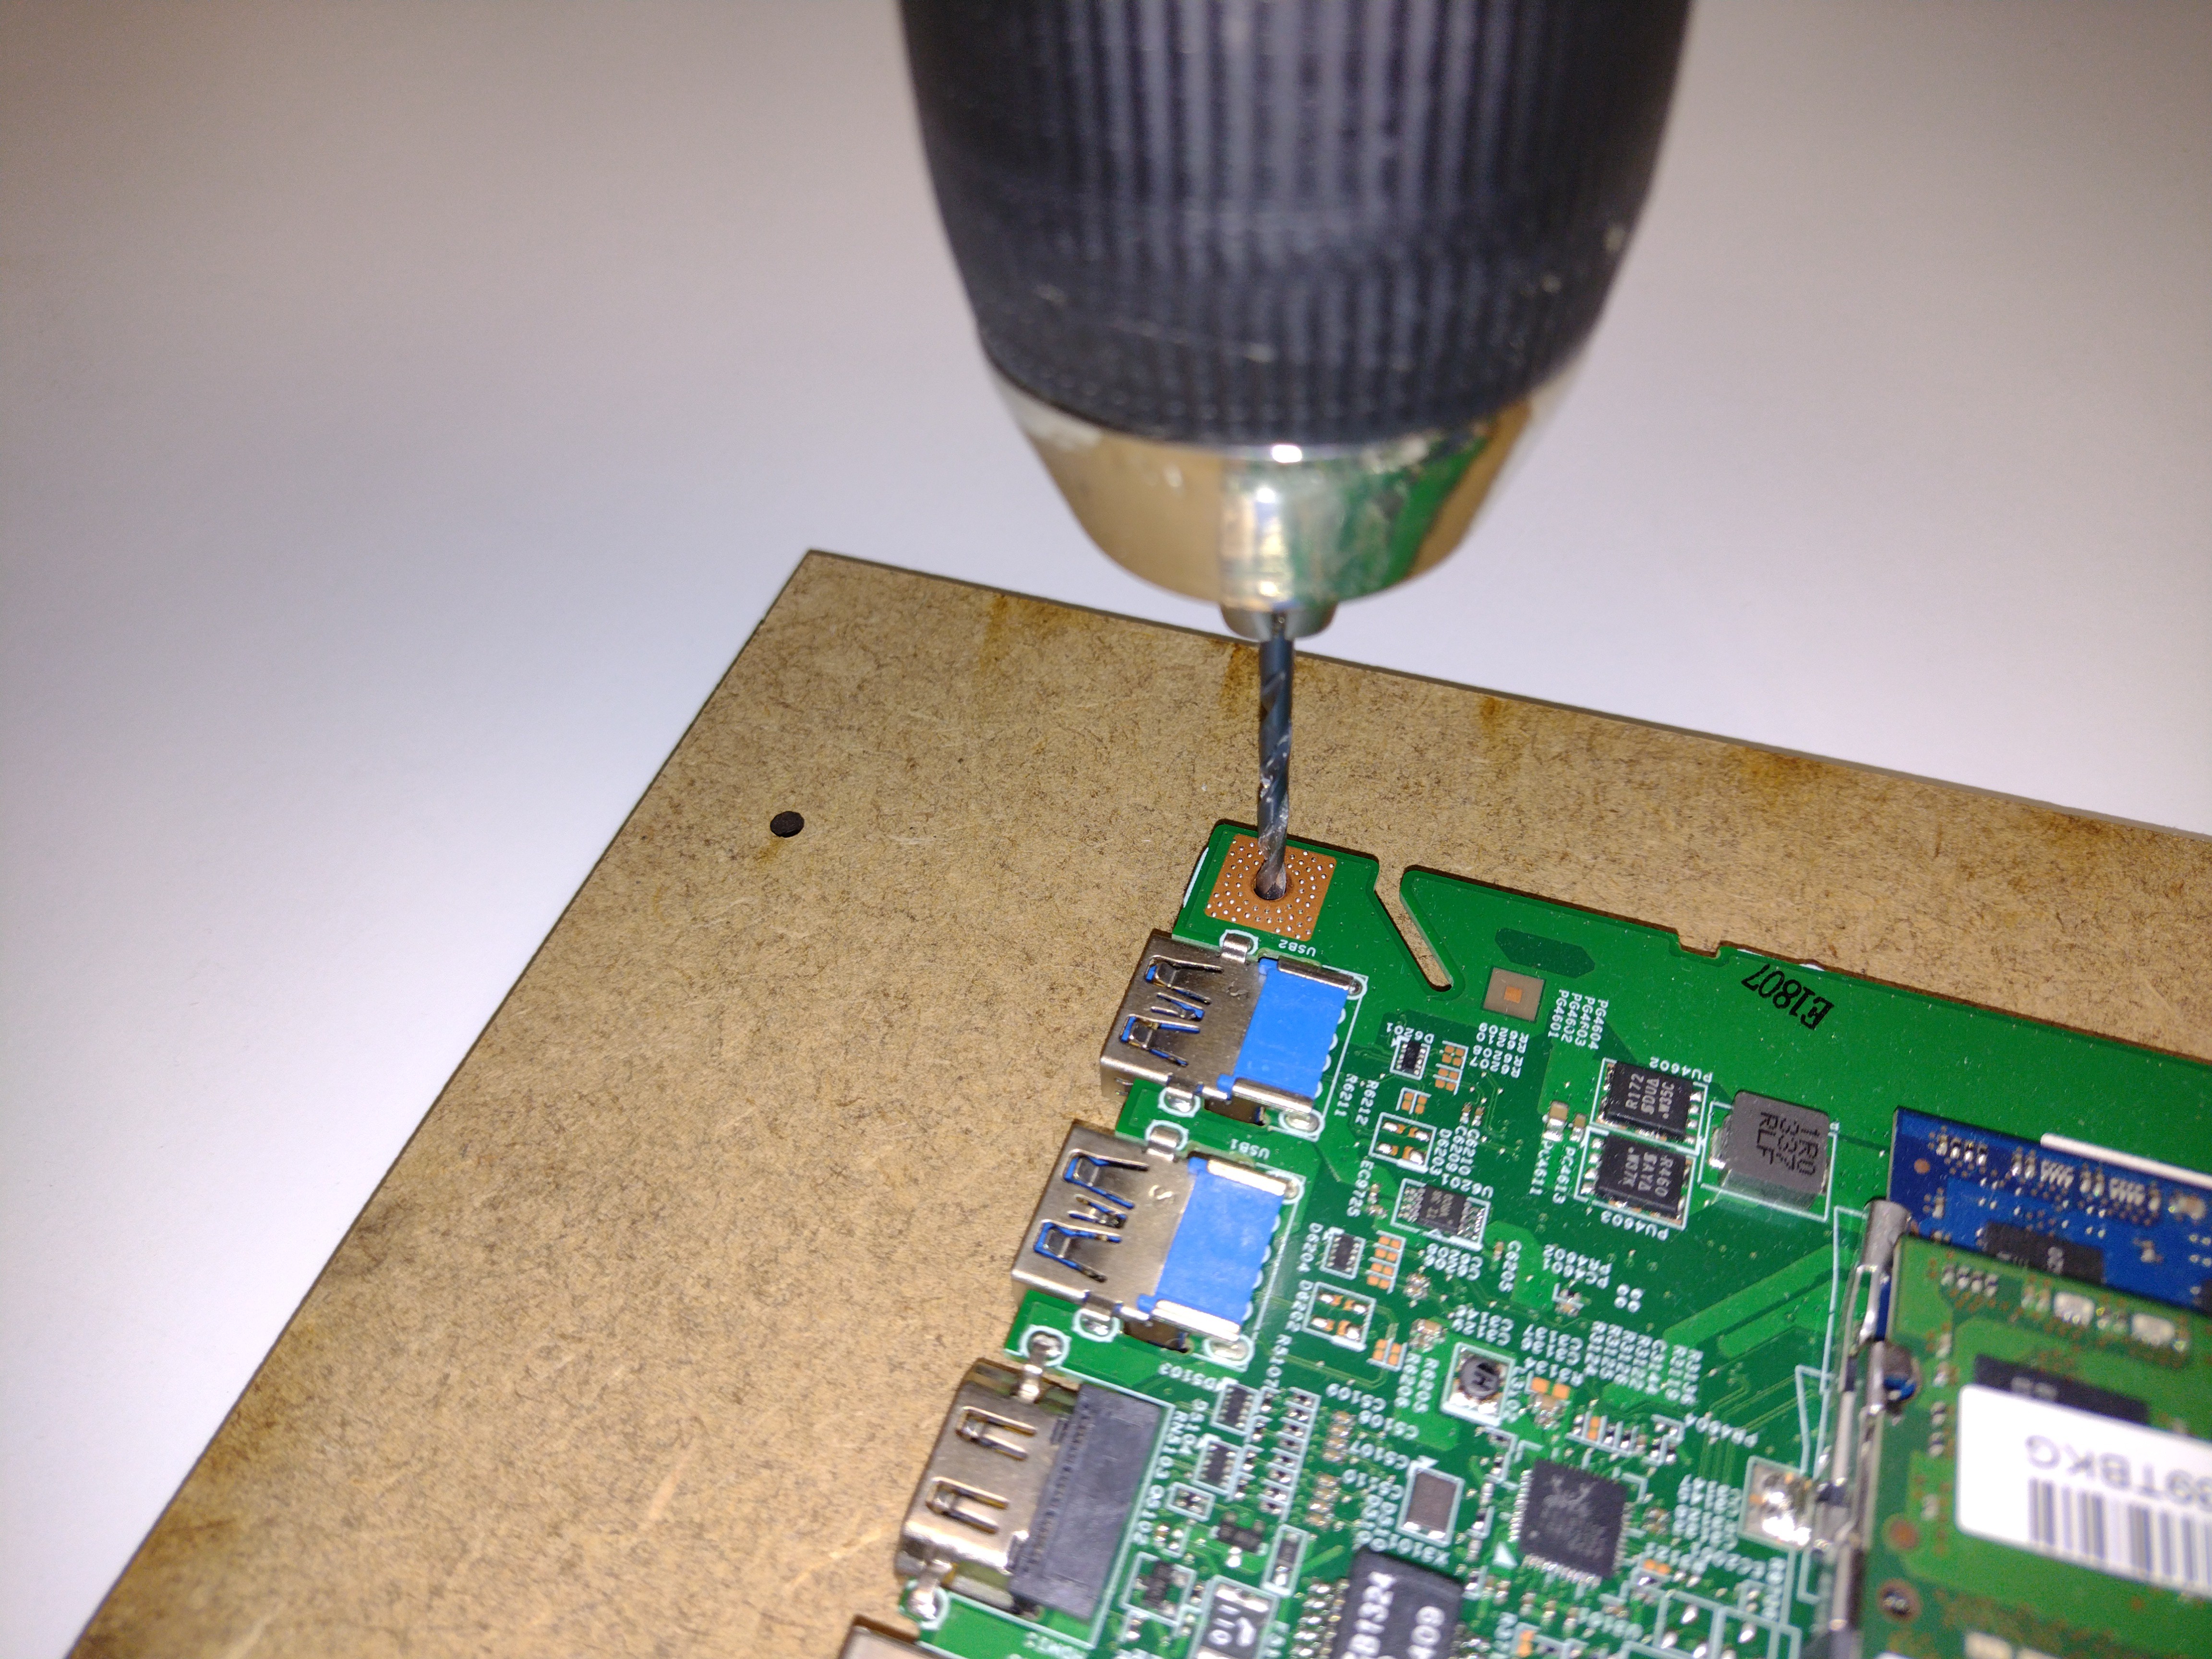
Here's the motherboard mounted to the plate.

Next on the To-do list is to make a universal power switch. You can see the original laptop switch PCB hanging out of the hole in the bottom of the front panel. It was quite tricky getting the power switch working in the original X-PC, so I need an easier solution...
 Neil Lambeth
Discussions
Become a Hackaday.io Member
Create an account to leave a comment. Already have an account? Log In.